Championship banners are among the most visible artifacts of a school’s athletic history. When installed correctly, they hang level, stay secure through decades of changing rosters and administrators, and tell a complete, accurate story of what your program has accomplished. When installed carelessly, they fade, fall, and lose the context that made them meaningful.
This championship banner installation checklist covers every step from pre-installation safety checks and hardware selection through placement standards, title documentation, and digital backup. Athletic directors, facilities staff, booster leaders, and school archivists can work through these phases in sequence to produce an installation that is safe, verifiable, and built to outlast any individual administration.
Quick Reference: Banner Installation Phases at a Glance
Use this table to understand the full workflow and who owns each phase before beginning detailed planning.
| Phase | Key Task | Primary Owner | Estimated Time |
|---|---|---|---|
| 1. Pre-Installation Planning | Stakeholder alignment, inventory, budget | Athletic Director | 1–2 weeks |
| 2. Safety Prep | Aerial lift policy, fall protection, work zone | Facilities Director | 1–3 days |
| 3. Placement and Layout | Height, spacing, hang-point mapping | Facilities + AD | 1 day |
| 4. Hardware Selection | Grommets, cables, tracks, anchor ratings | Facilities | 1–2 days |
| 5. Physical Installation | Hanging, leveling, securing | Facilities crew | ½–1 day per gym |
| 6. Title Documentation | Verify accuracy, label banners, update records | AD + Registrar | 1–2 weeks |
| 7. Digital Backup | Photograph, upload, publish searchable archive | IT or AD staff | 1–2 days |
| 8. Annual Review | Inspect condition, verify accuracy, update archive | Facilities + AD | Half day per year |
Phase 1: Pre-Installation Planning
Rushing to hang banners without a coordinated plan produces the most common errors: titles displayed out of sequence, wrong years attributed, and anchor points that damage structure or fail under load.
Stakeholder Meeting Checklist
- Athletic Director confirms the complete championship inventory—sport, year, classification, and any co-championship details.
- Facilities Director reviews structural constraints, ceiling access procedures, and whether current hang points are adequate.
- Principal or Assistant Principal approves the layout plan and confirms budget authorization.
- School Archivist or Registrar (if available) cross-references state athletic association records to verify every title before any banner is ordered or re-hung.
- Booster Club Representative (if funding is involved) confirms scope, timeline, and approval chain for new banner orders.
Inventory Worksheet
Document every championship your program claims before hanging a single banner. This record becomes the master reference for the entire project and for every future administration.
| Sport | Championship Year | Classification | Issuing Organization | Notes |
|---|---|---|---|---|
| Boys Basketball | 2019 | 3A | State athletic association | Sole champion |
| Girls Soccer | 2022 | Conference | Conference name | Co-champion |
| Wrestling | 2024 | 2A Regional | State athletic association | First-ever title |
Cross-reference this inventory against your state athletic association’s official records. Discrepancies discovered now cost nothing to fix. Discrepancies discovered after banners are ordered and hung cost money and credibility.
Phase 2: Safety Requirements and Equipment
Banner installation in gymnasiums typically requires working at height—15 to 40 feet depending on ceiling configuration. The specific safety requirements vary by jurisdiction; verify applicable OSHA standards, state regulations, and district policy before beginning.
Fall Protection Checklist
- Identify the access method. Scissor lift, articulating boom lift, or ladder each carries different training, certification, and two-person requirements. Confirm your district’s policy on aerial lift use inside buildings.
- Confirm required personal protective equipment. At minimum, a full-body harness and hard hat are standard when working at height above six feet. Inspect harness hardware before each use.
- Clear and mark the work zone below. Cones or caution tape beneath the work area keep students and visitors out during installation.
- Verify ceiling attachment points before loading. A qualified facilities professional should inspect and approve any new ceiling anchor hardware before a banner load is applied.
- Two-person minimum. One person should remain at floor level and in visual contact with the person working at height throughout the installation.
- No improvised access. Stacked chairs, bleacher seats, and unbraced ladders leaned against walls cause injuries. Budget for proper equipment rental if your school does not own a lift.
Tools and Materials Checklist
Gather everything before installation day to avoid multiple aerial trips.
- Tape measure (25 ft minimum) and chalk line
- Laser level or spirit level with extension arm
- Pencil and painter’s tape for marking hang points
- Drill with masonry or wood bits appropriate for your ceiling substrate
- Hardware specific to your chosen hanging system (see Phase 4)
- Pole hook or banner-hanging wand for positioning fabric from below
- Camera or phone for documenting hang points and final installation
Phase 3: Placement and Height Standards
How high and how far apart you hang banners determines whether they read as a coherent record of history or a jumbled arrangement visitors cannot follow.
Height Guidelines
There is no single mandated height for championship banner installation in gymnasiums, but these ranges reflect common practice and functional visibility.
| Ceiling Height | Recommended Banner Bottom Edge | Rationale |
|---|---|---|
| 18–22 ft | 10–12 ft above floor | Visible over bleacher crowd; clears basketball backboard swing |
| 23–28 ft | 12–15 ft above floor | Standard secondary school gym; avoids interference with play |
| 29–35 ft | 15–20 ft above floor | Arena-style ceilings; may require larger banner scale for legibility |
| 36 ft+ | 18–24 ft above floor | Large fieldhouses; ensure banner text is scaled to viewing distance |
At each height, confirm that banners do not interfere with movable gym equipment, lighting fixtures, speaker systems, HVAC ducts, or fire suppression heads. Map all ceiling obstructions before marking hang points.
Sequence and Spacing Checklist
- Decide on the organizing principle. Chronological order (oldest to newest, reading left to right) is most common and easiest for visitors to interpret. Sport-grouped layouts work in facilities with large banner counts.
- Establish a uniform spacing interval. A consistent gap between banners—typically 12 to 18 inches between banner edges—creates visual order. Measure and mark spacing with painter’s tape before drilling.
- Reserve intentional space for future championships. Plan your layout with empty intervals for the sports most likely to add titles. A completely packed wall forces awkward re-layouts after the next championship season.
- Align the top edges of all banners horizontally. Snap a chalk line across the full span to ensure a consistent hang line. Top-edge alignment reads more professionally than bottom-edge alignment in most gym configurations.
- Note banners requiring extra clearance. Oversized banners and banners with hanging pennants or fringe need individual clearance verification before you finalize the layout.
Phase 4: Hardware Selection and Hanging Methods
The hanging hardware you choose determines how long a banner stays level, how easily it can be removed for cleaning, and how well it survives decades of climate changes in an unconditioned gymnasium.
Hanging System Comparison
| System | Best For | Pros | Cons |
|---|---|---|---|
| Grommets + cable and hook | Standard fabric banners | Low cost; easy removal | Can sag between hang points if span is too wide |
| Aluminum top pocket with dowel | Professional fabric banners | Rigid top edge; hangs level | Requires precise pocket sewing; heavier |
| Banner track with glider clips | High-volume installations (10+ banners) | Easy reordering; adjustable | Higher upfront hardware cost |
| Magnetic mount systems | Lighter vinyl banners | Tool-free removal; repositionable | Not rated for large or heavy banners |
| Welded ring + aircraft cable + turnbuckle | Permanent fabric banners in high ceilings | Extremely secure; adjustable tension | Requires professional installation; not easily removed |
Hardware Checklist
- Specify hardware load rating before ordering. A finished fabric championship banner can weigh 2 to 8 pounds depending on size and material. Hardware, anchor points, and cable must be rated for the loaded weight with a safety factor of at least 3:1.
- Use stainless steel or zinc-coated hardware in gymnasiums subject to humidity or climate swings. Bare steel hardware corrodes and stains banner fabric over time.
- Install at minimum two hang points per banner. Single-point installation allows banners to spin, bunch, and develop uneven stress on grommet holes.
- Match grommet size to cable or hook diameter. Undersized grommets cut through banner fabric under their own weight over years of use.
- Inspect all existing anchor hardware before reusing it. Ceiling hooks or eyebolts more than ten years old may have loosened from cyclical load or substrate changes.
Phase 5: Physical Installation—Step-by-Step
With planning, safety prep, and hardware in place, the physical hang is the shortest phase.
- Mark hang points on the ceiling. Use your pre-planned layout, chalk line, and tape measure to mark exact anchor locations. Double-check spacing before drilling.
- Install ceiling anchors. Drill pilot holes appropriate to anchor type and substrate. For concrete or block, use sleeve anchors rated for overhead load. For wood joists, use lag eye bolts driven into joist centers. Torque to specification and do not over-drive.
- Run cable or install track hardware. If using cables, pre-cut to length and attach turnbuckles or crimps before ascending again.
- Hang banners in sequence from one end. Hang the first banner, level it, then work outward. Adjust cable length or turnbuckle tension as needed.
- Check level from the floor after each banner. A laser level at floor height confirms alignment before you move on. Corrections are far easier before adjacent banners are hung.
- Photograph the final installation from multiple floor-level angles. These photos document the installation, establish a baseline for future condition checks, and provide a visual record for insurance purposes.
Phase 6: Title Documentation and Accuracy
A banner that says the wrong year, omits a co-champion, or claims a title your program did not win is worse than no banner at all. Title documentation is the step most schools skip—and the source of most long-term credibility problems.
Title Verification Checklist
- Pull the official championship record from your state athletic association’s website or records office for every title your program claims. Download or print the official listing; do not rely solely on internal coaching records.
- Confirm the exact championship classification. A “3A State Champion” banner for a year when your school competed in 4A creates confusion for alumni and incoming coaches.
- Verify spelling of team names, school names, and classifications exactly as they appear in official records. Abbreviations and informal names are common error sources.
- Document co-championships explicitly. If two schools shared a title under your state’s rules, both programs deserve credit. A banner claiming “State Champion” when the record shows “Co-State Champion” is inaccurate.
- Review disputed or vacated titles with your principal and legal or compliance staff before hanging. Document whichever decision is made and file it with the master title register.
- Create a master title register and file it with the athletic office and the school archive. This register is the authoritative source for all future banner orders, display updates, and record-board entries.
Label and Identification Standards
Each banner should make its meaning legible to a first-time visitor from the gym floor.
- Sport name in large, primary text
- Championship year (season year, not academic year—use the year of the championship event)
- Classification or level (State, Regional, Conference, District)
- Issuing organization name or abbreviation if space allows
A banner that reads only “STATE” with a year tells visitors nothing about the sport. A banner that reads “Girls Soccer | 2A State Champions | 2022” tells the complete story in two seconds.
Phase 7: Digital Backup and Searchable Archive
Every championship banner should have a digital record that exists independently of the physical artifact. Physical banners fade, are removed during renovations, and are vulnerable to fire and flood. A digital backup preserves the history regardless of what happens to the fabric.
Digital Documentation Checklist
- Photograph every installed banner at full resolution: one wide shot showing the banner in context and one close-up showing all text legibly. Label files with sport, year, and gym location.
- Record metadata for each championship: sport, academic year, season record if known, head coach at the time, classification, issuing organization, and notable context such as a first-ever title or back-to-back championship.
- Store files in a location separate from the physical gym. A shared district drive, a cloud storage account controlled by the athletic department, or a dedicated recognition platform provides off-site redundancy.
- Update the archive within 30 days of any new banner being added or any existing banner being replaced.
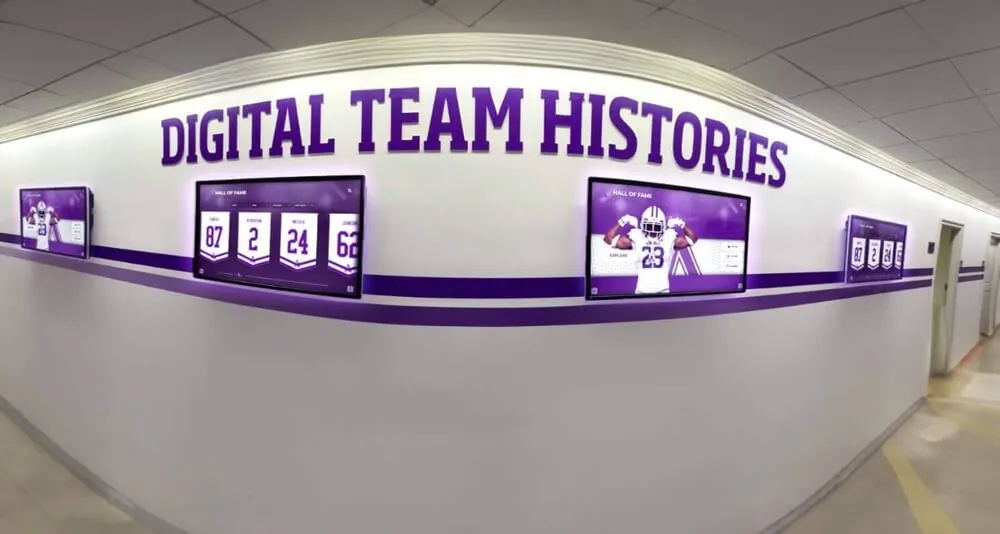
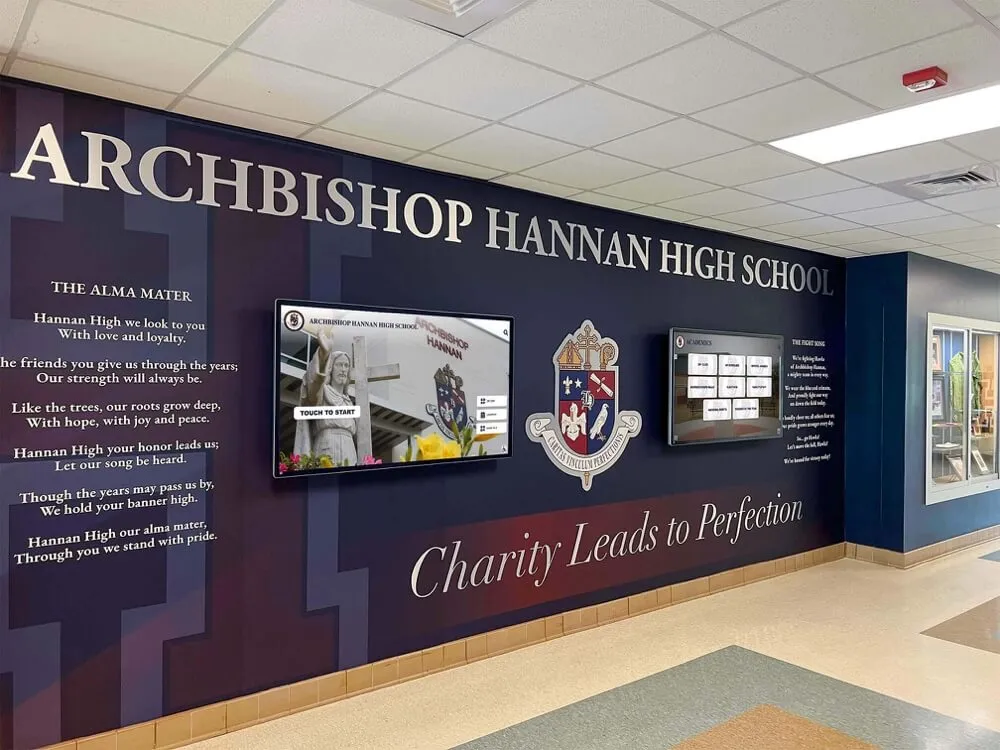
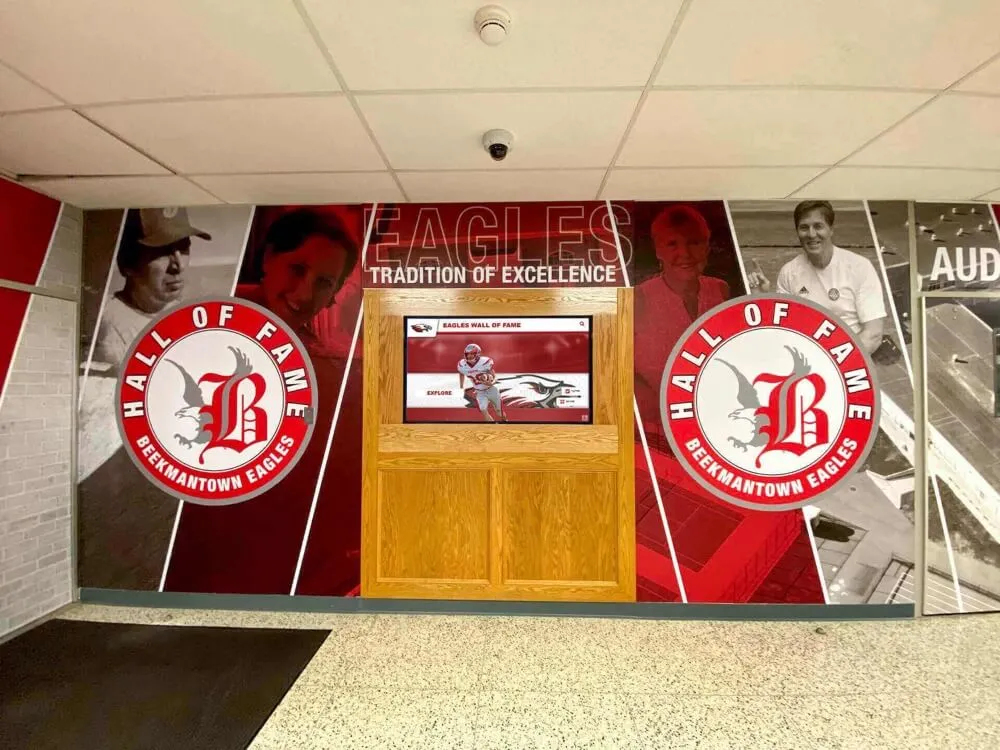
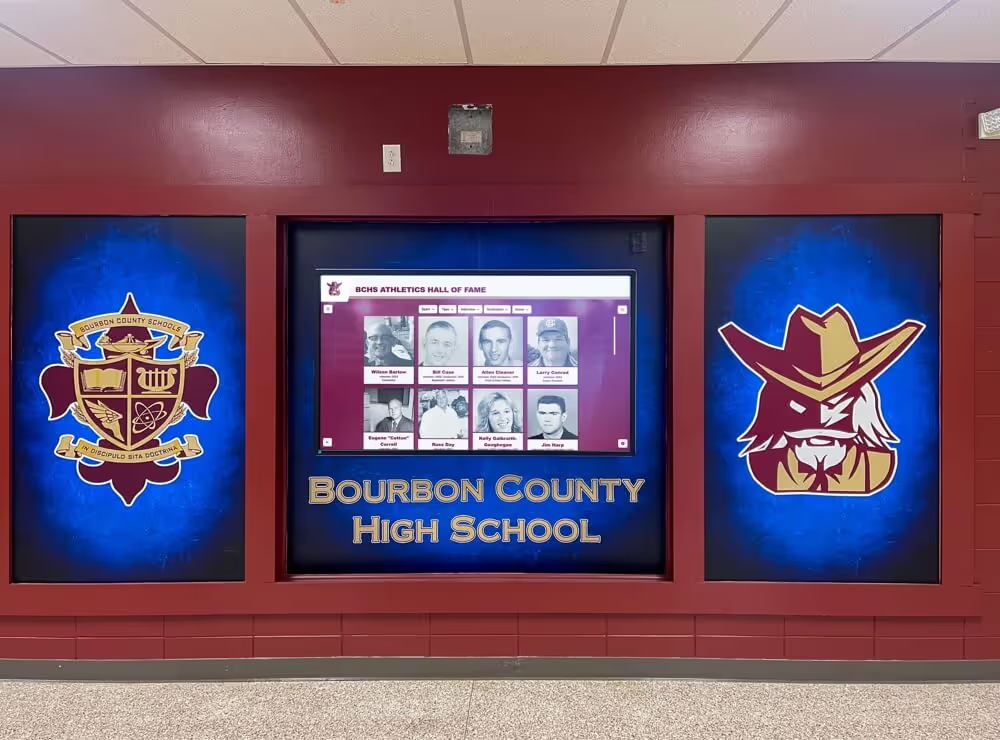
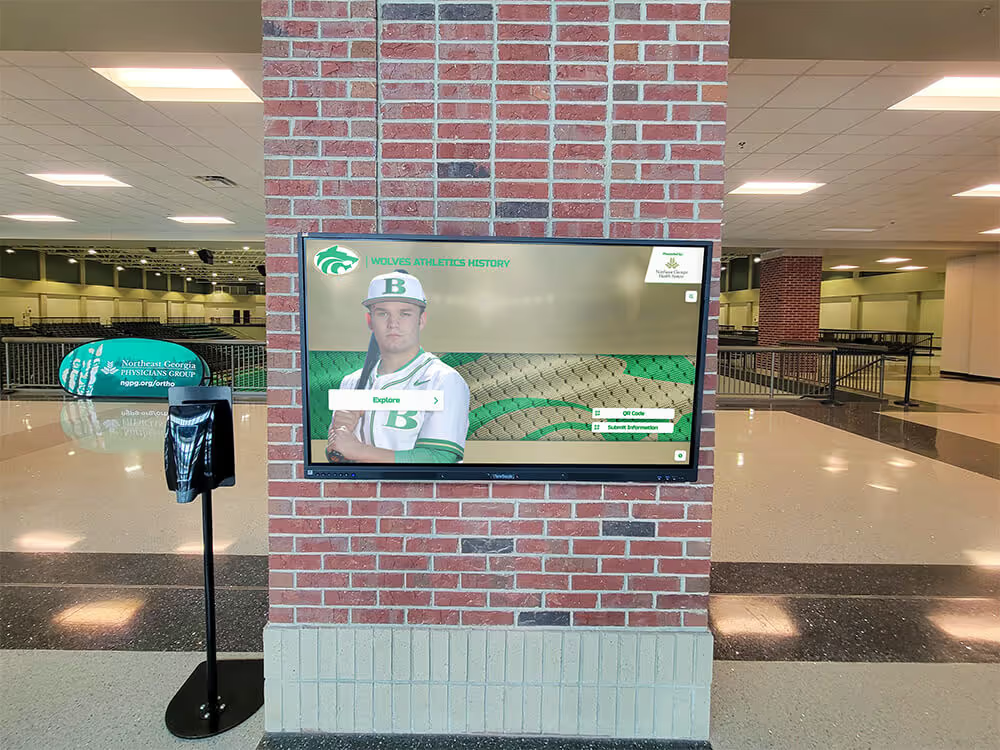
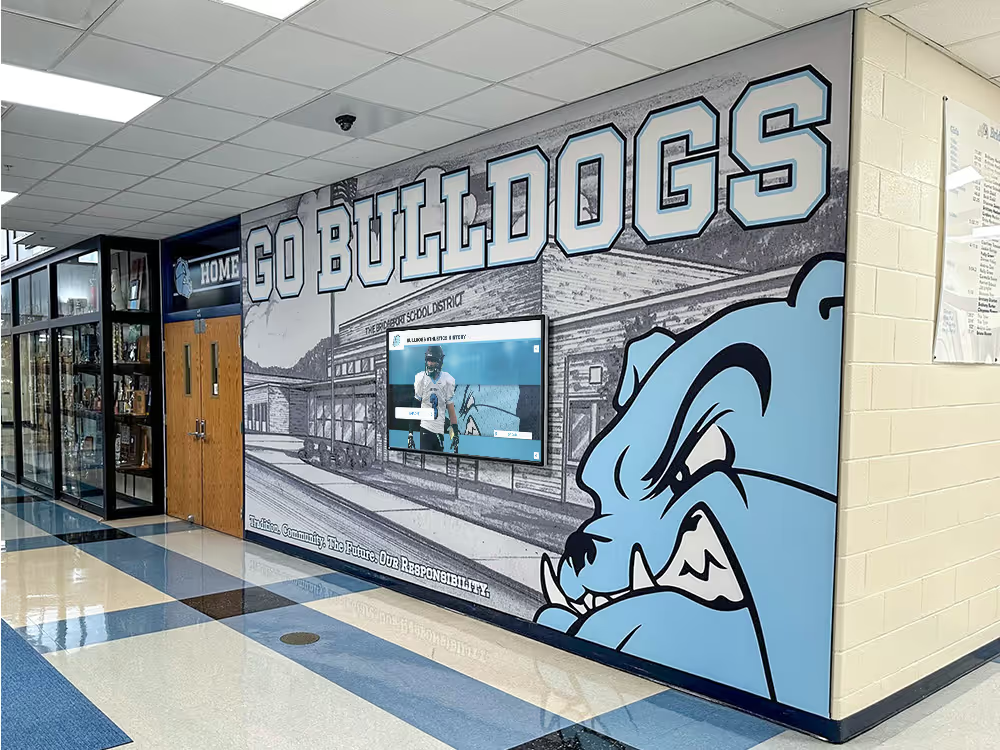
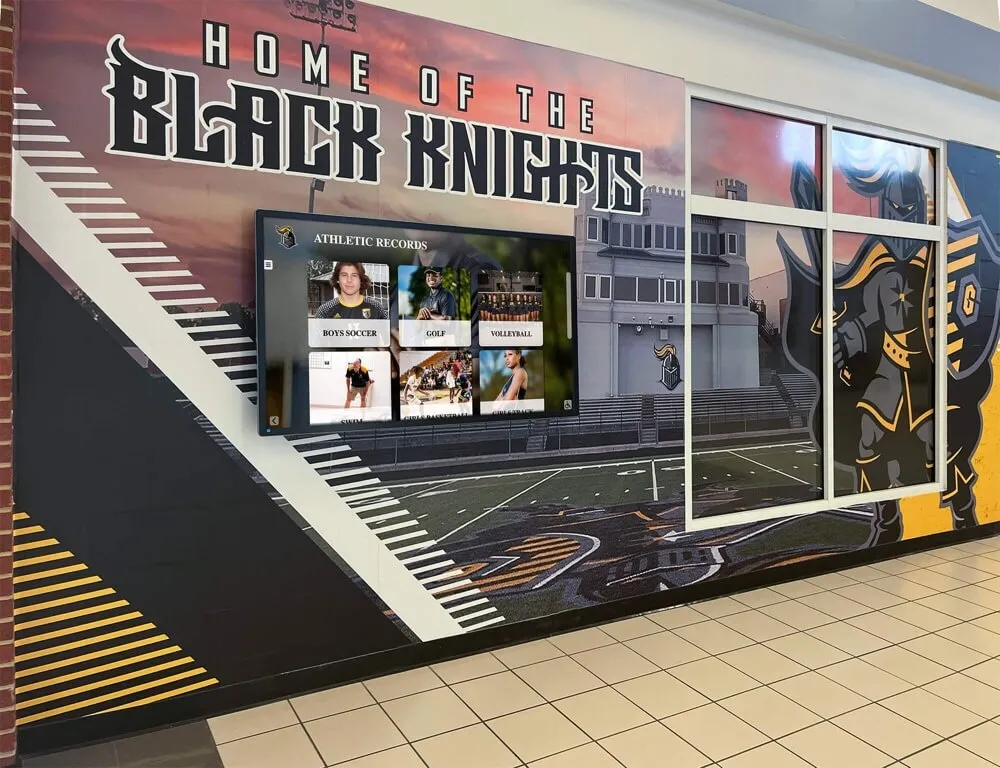
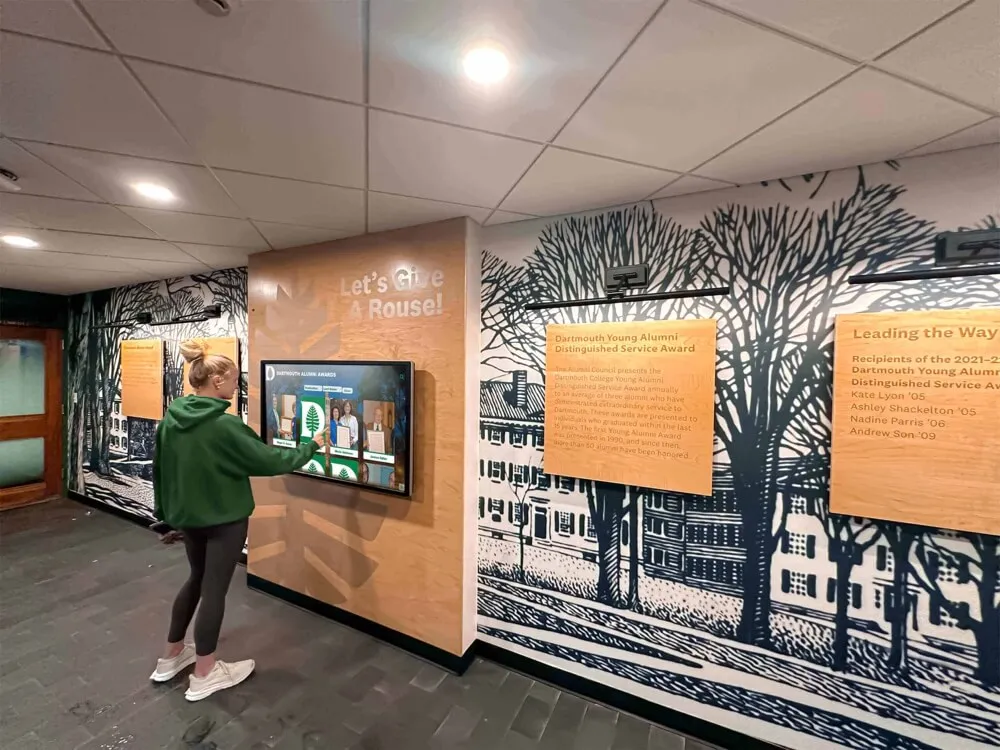
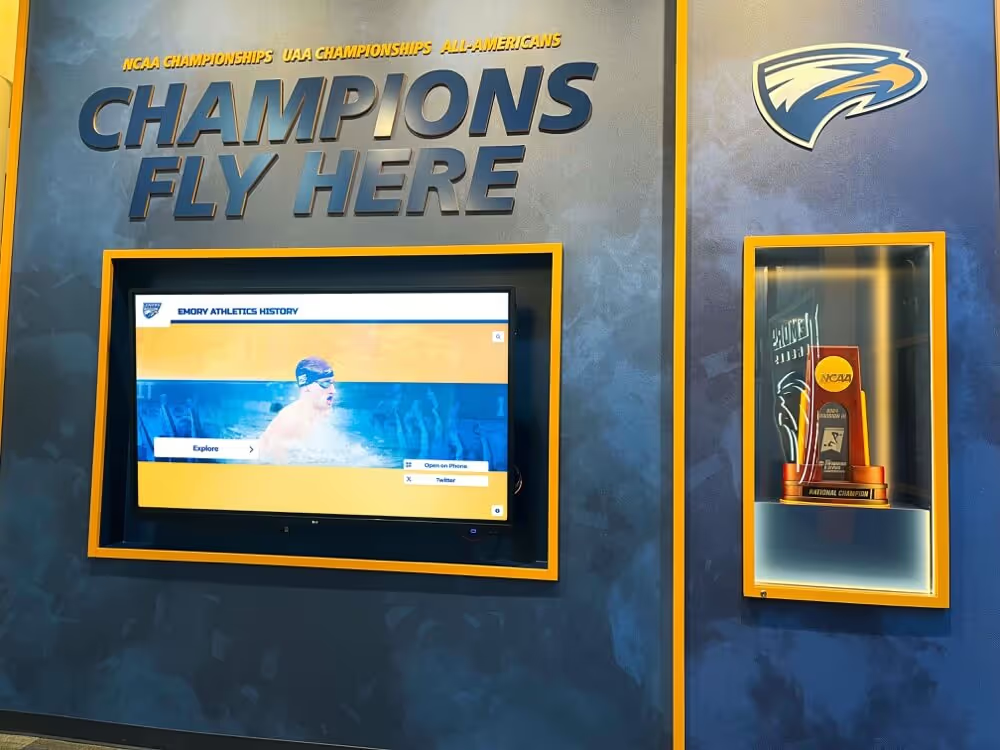
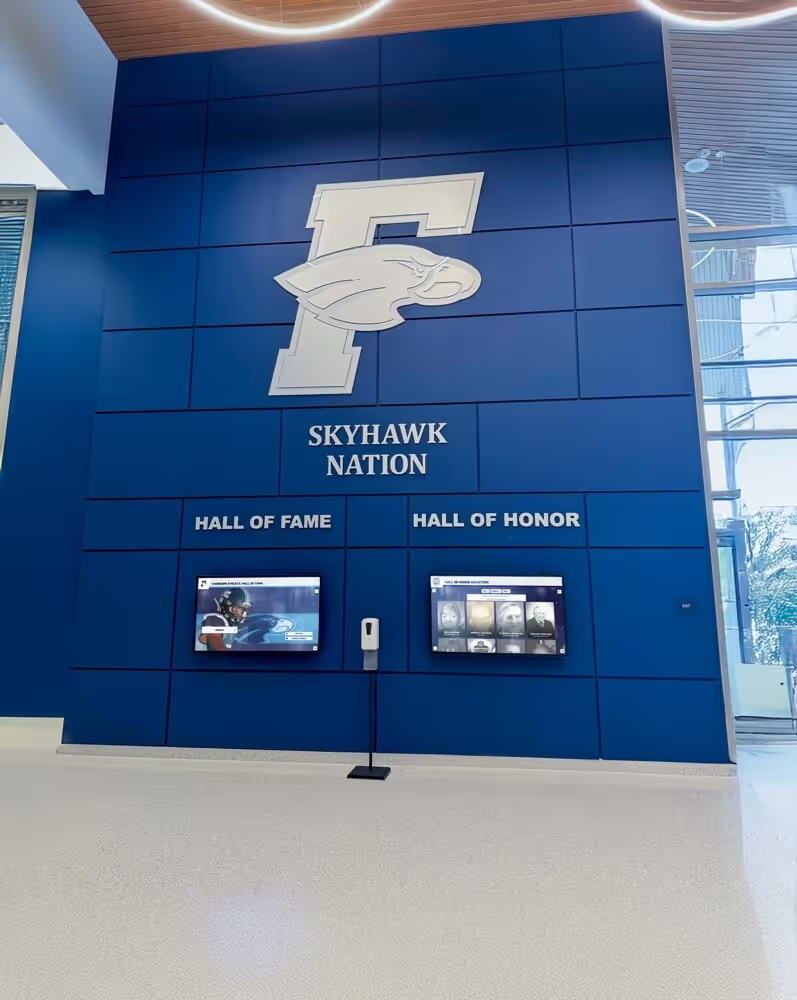
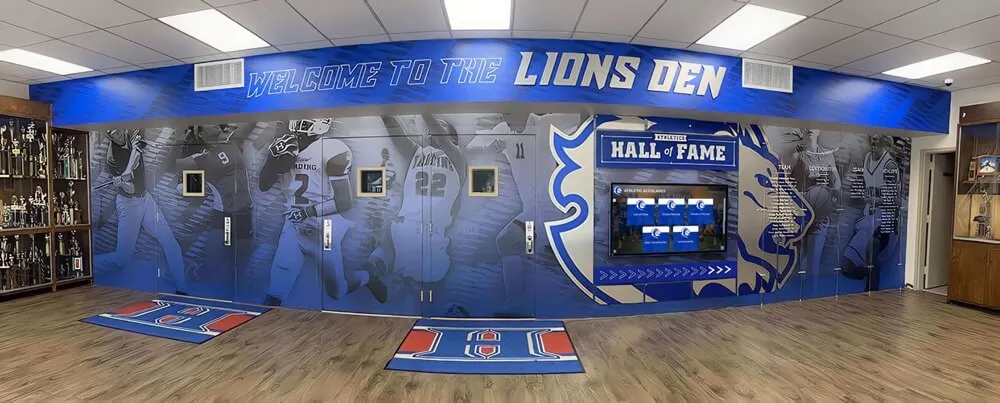
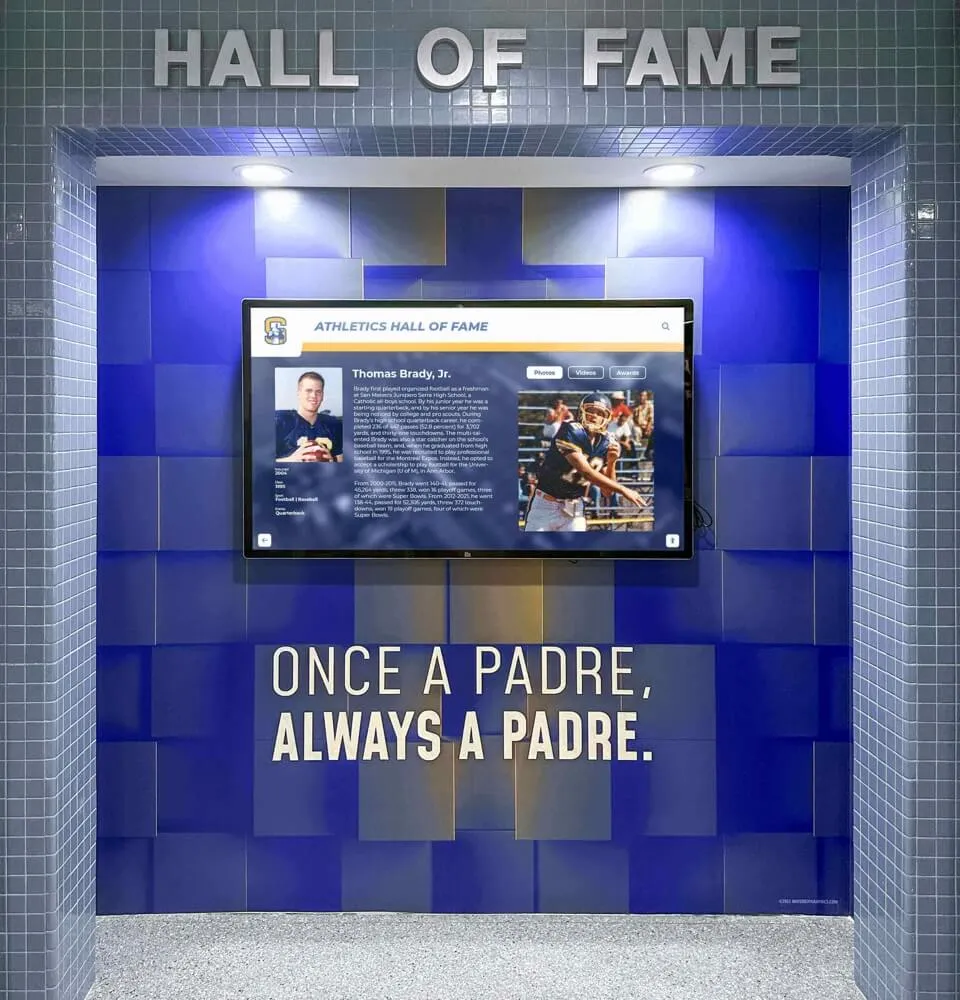
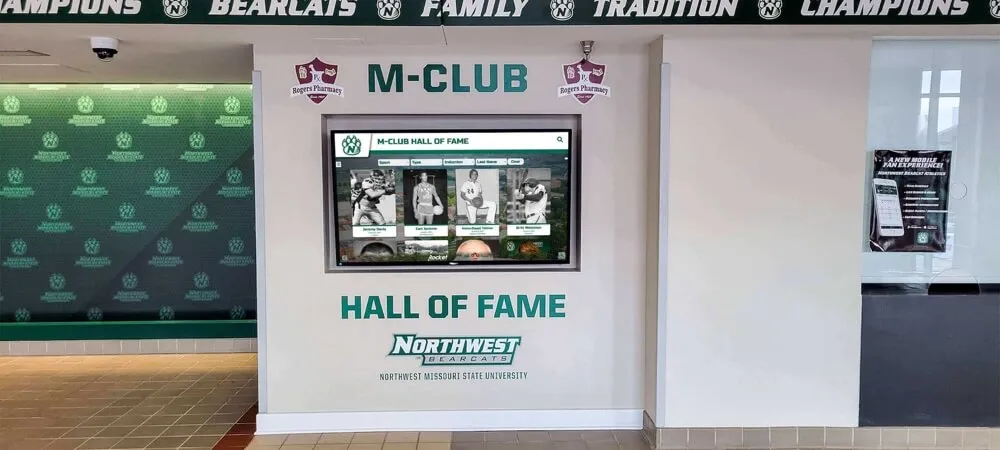
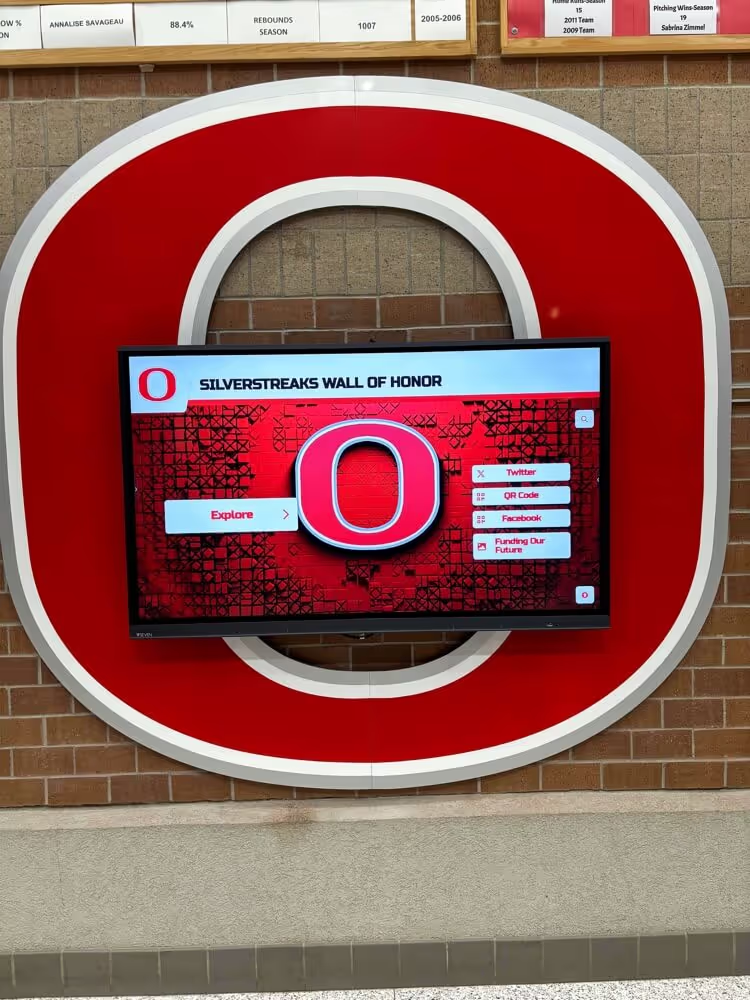
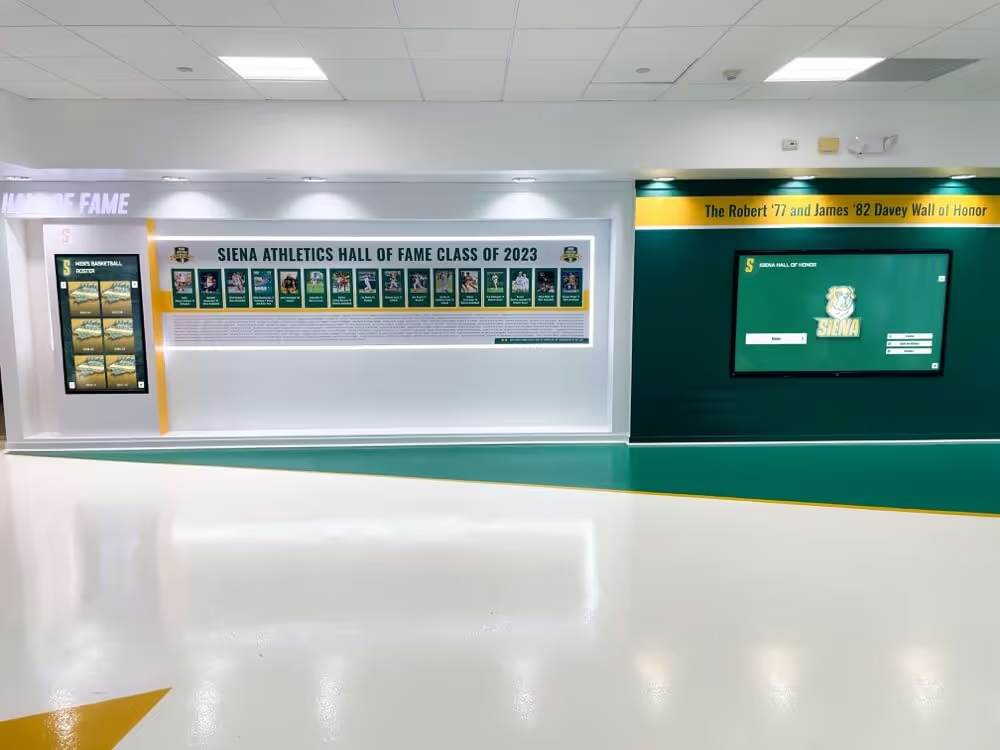
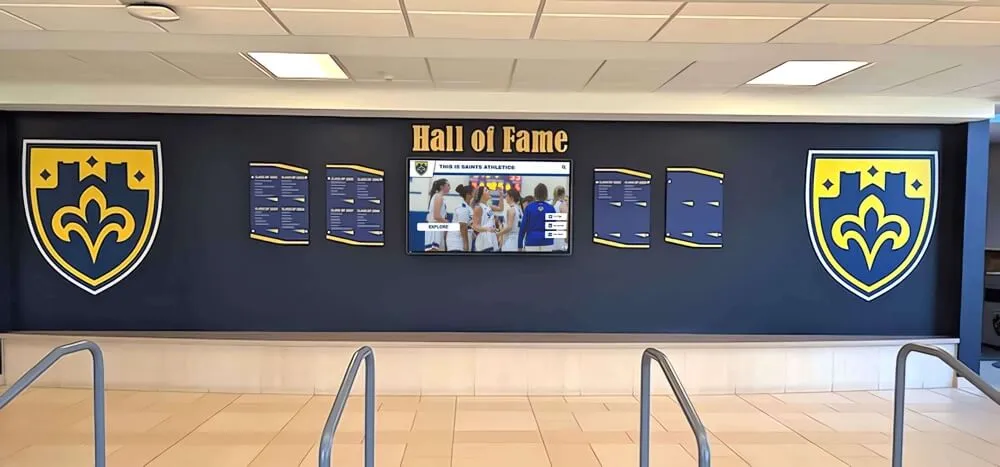
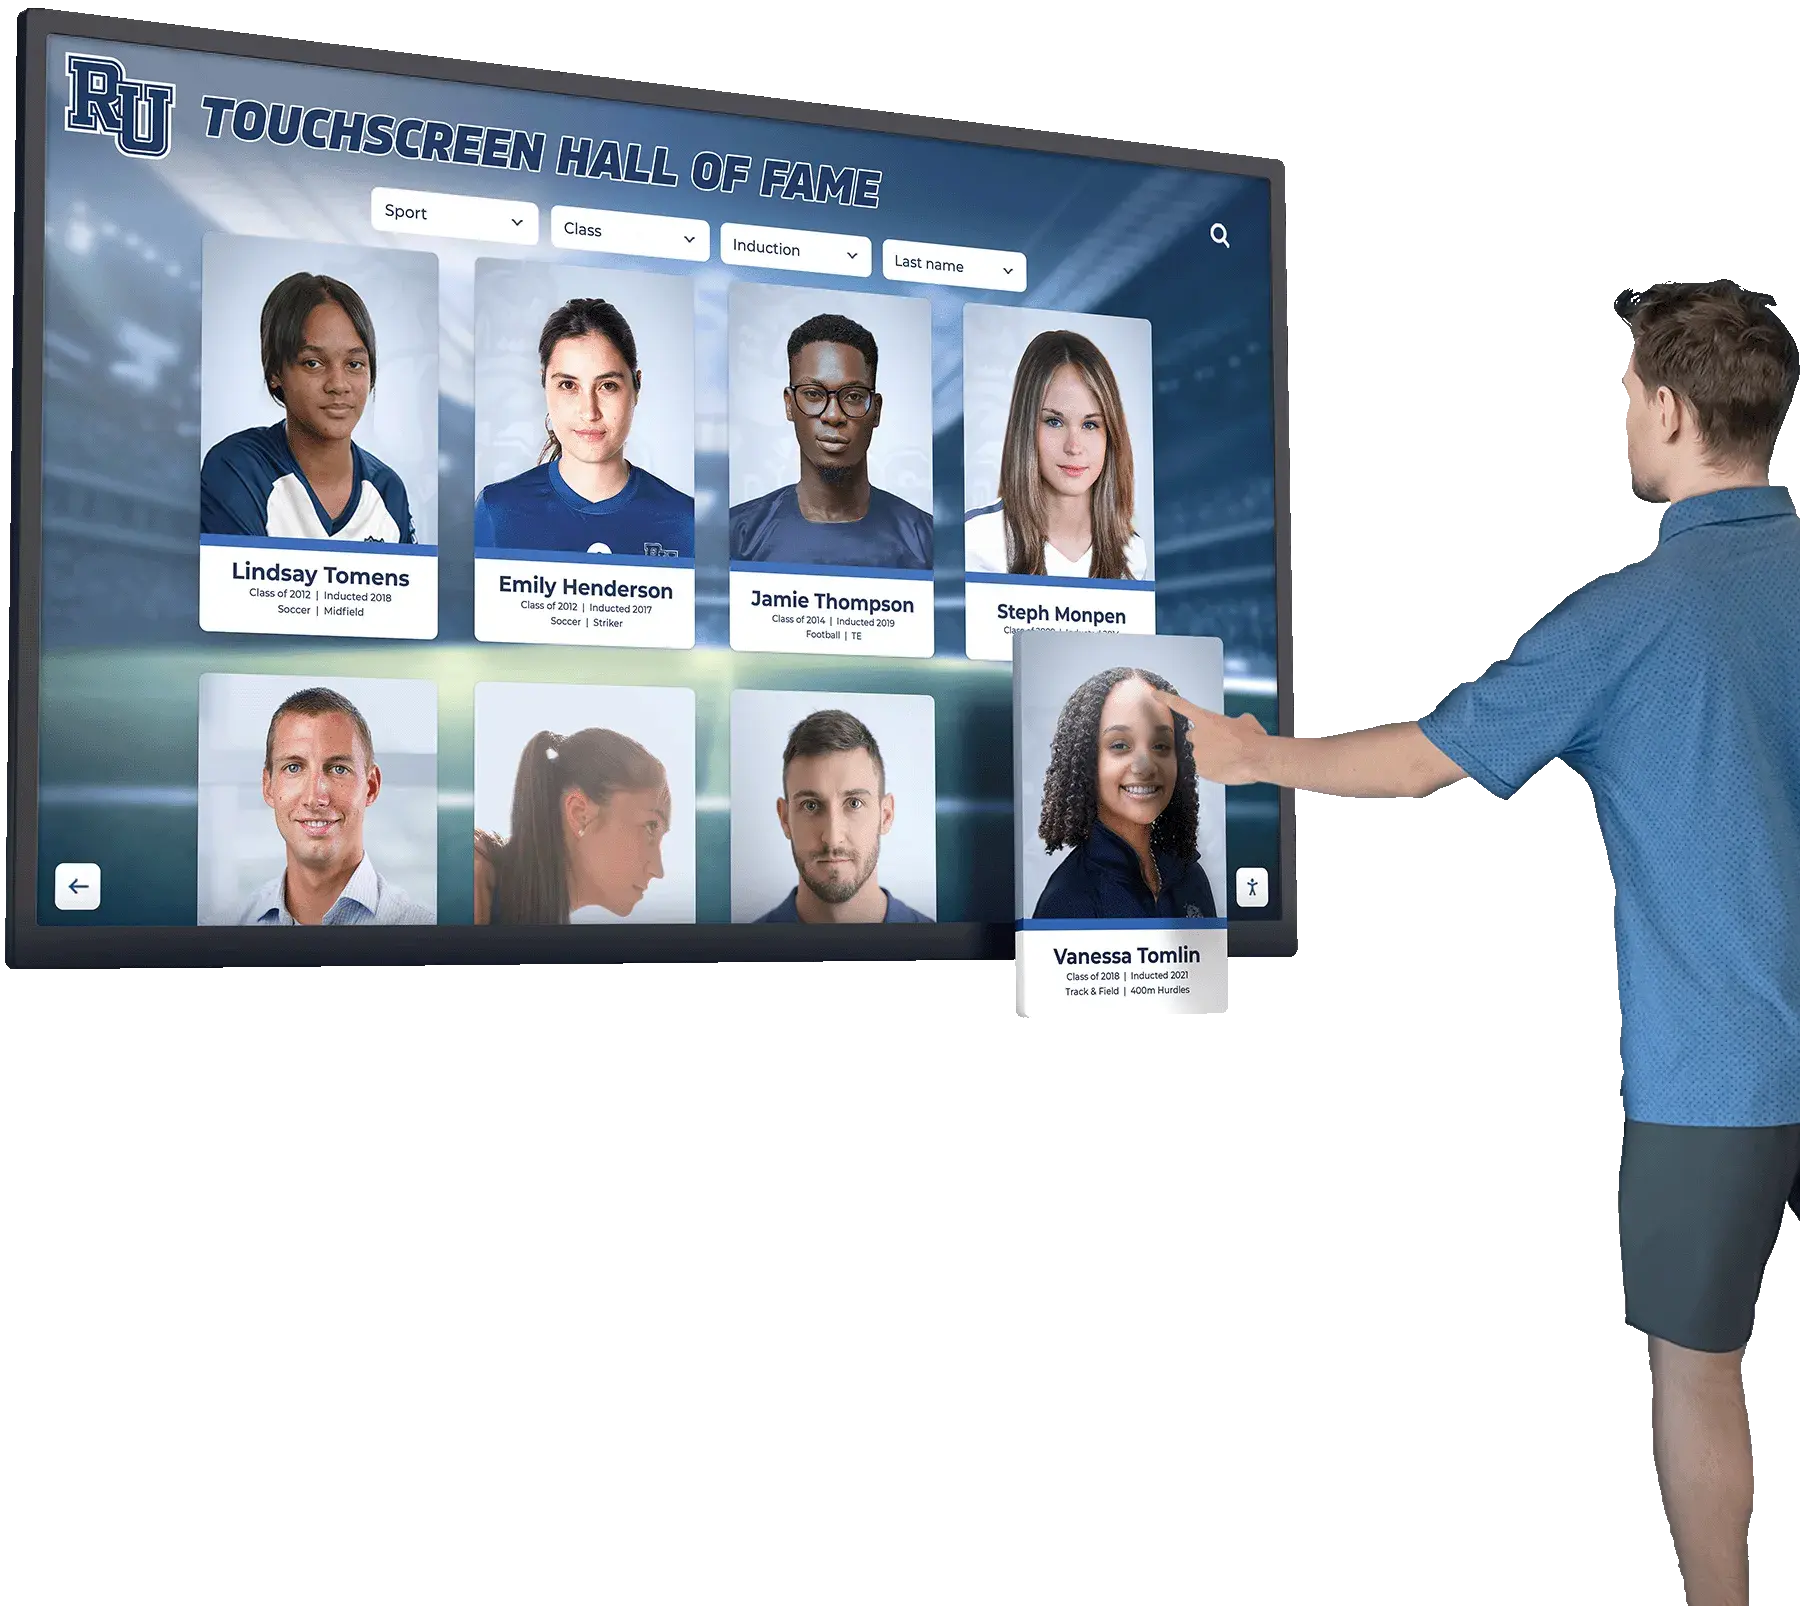
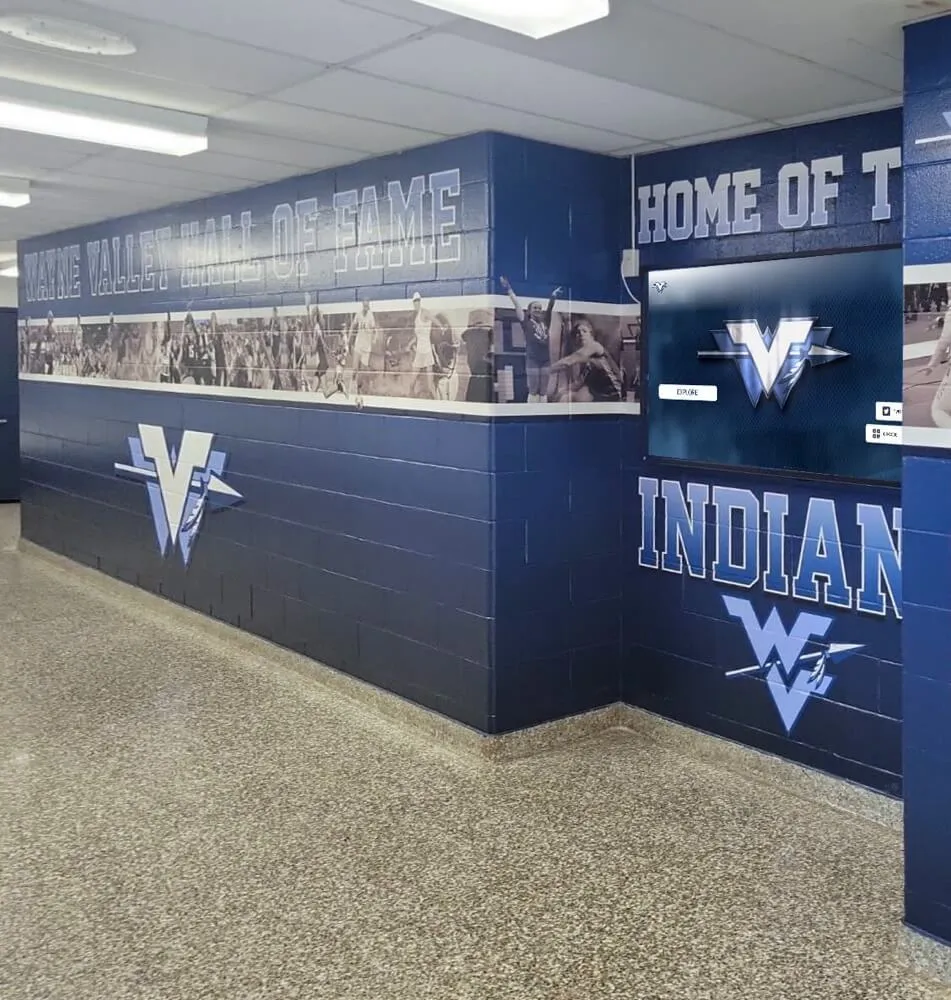
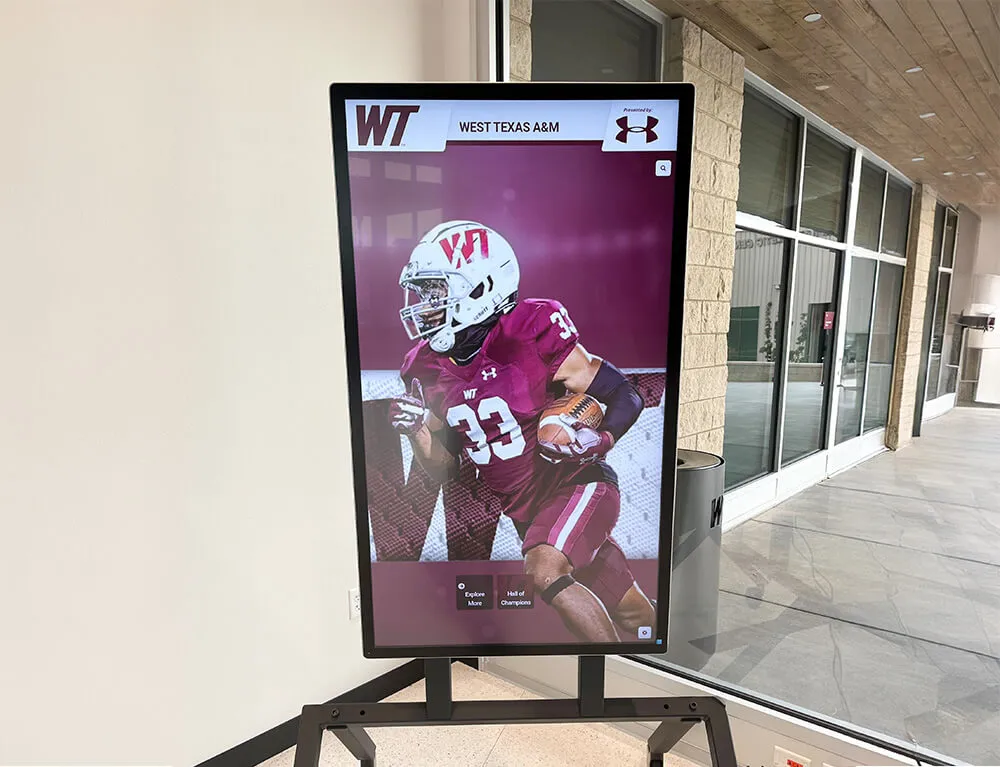
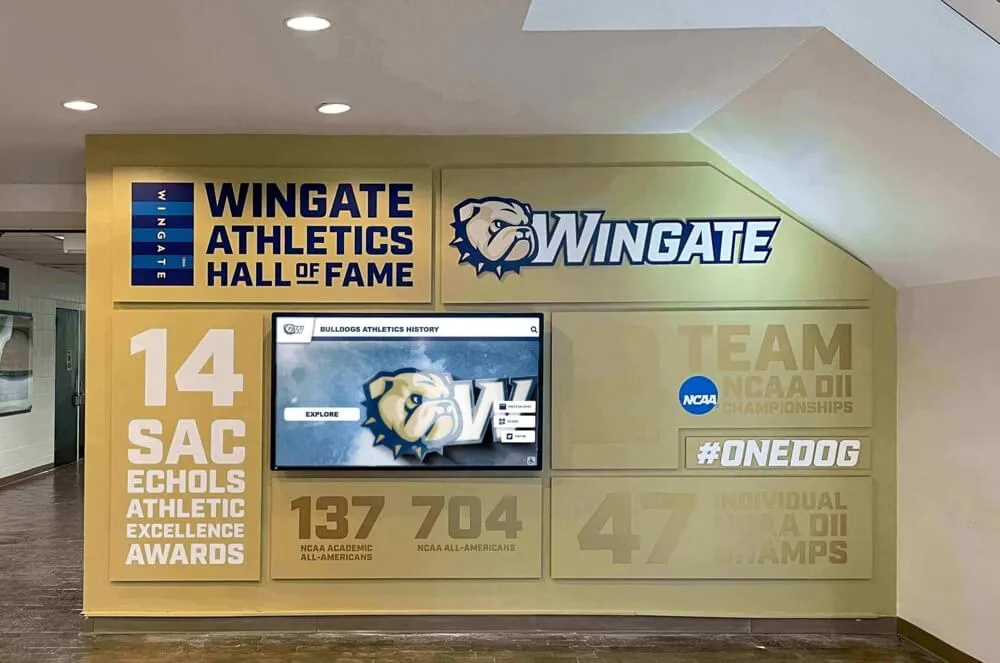
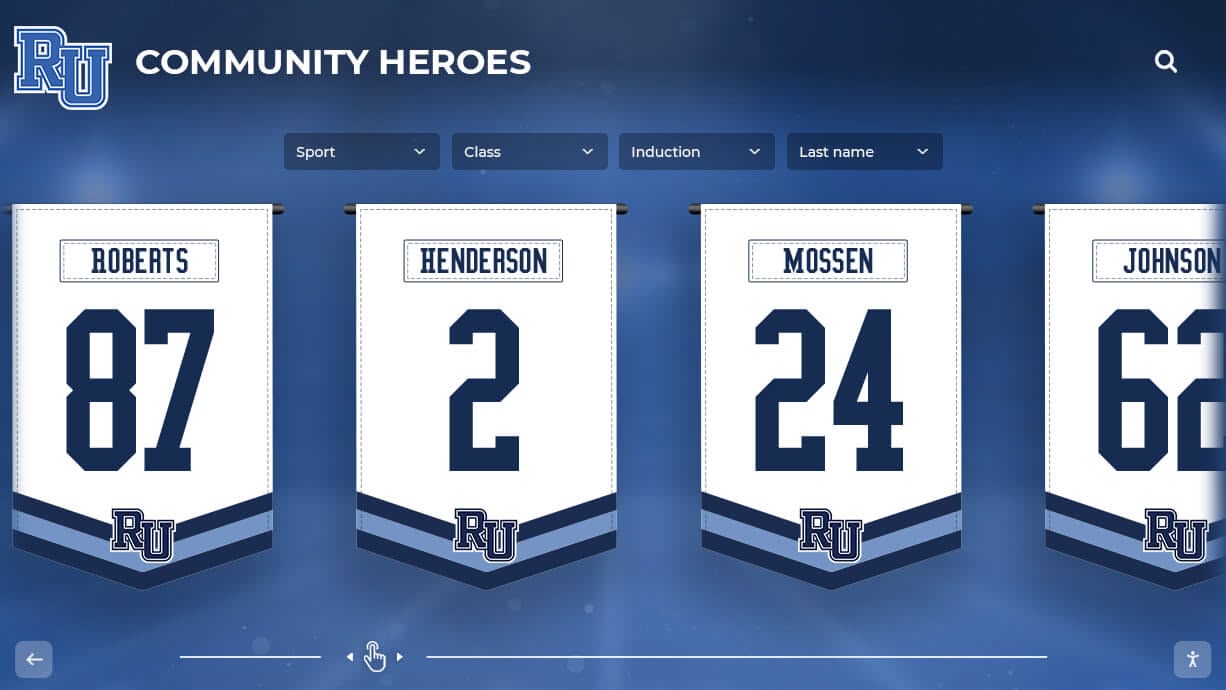
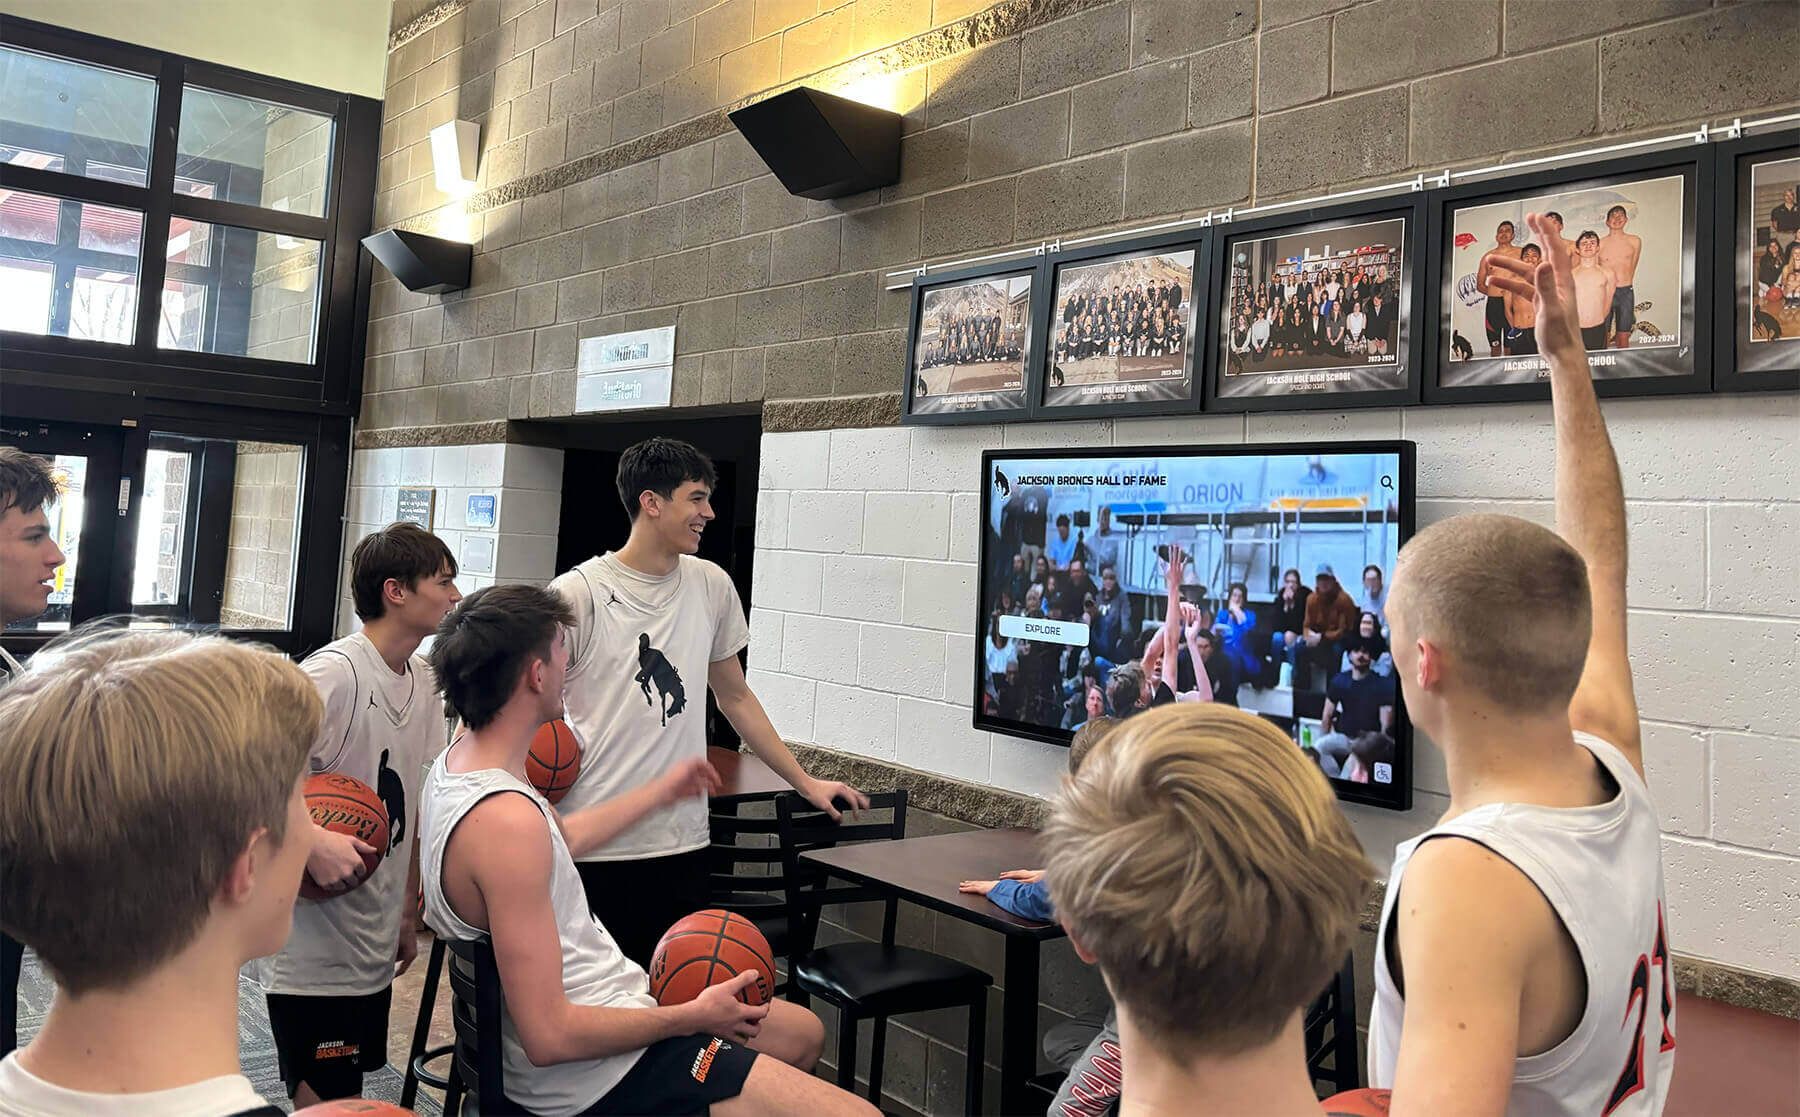
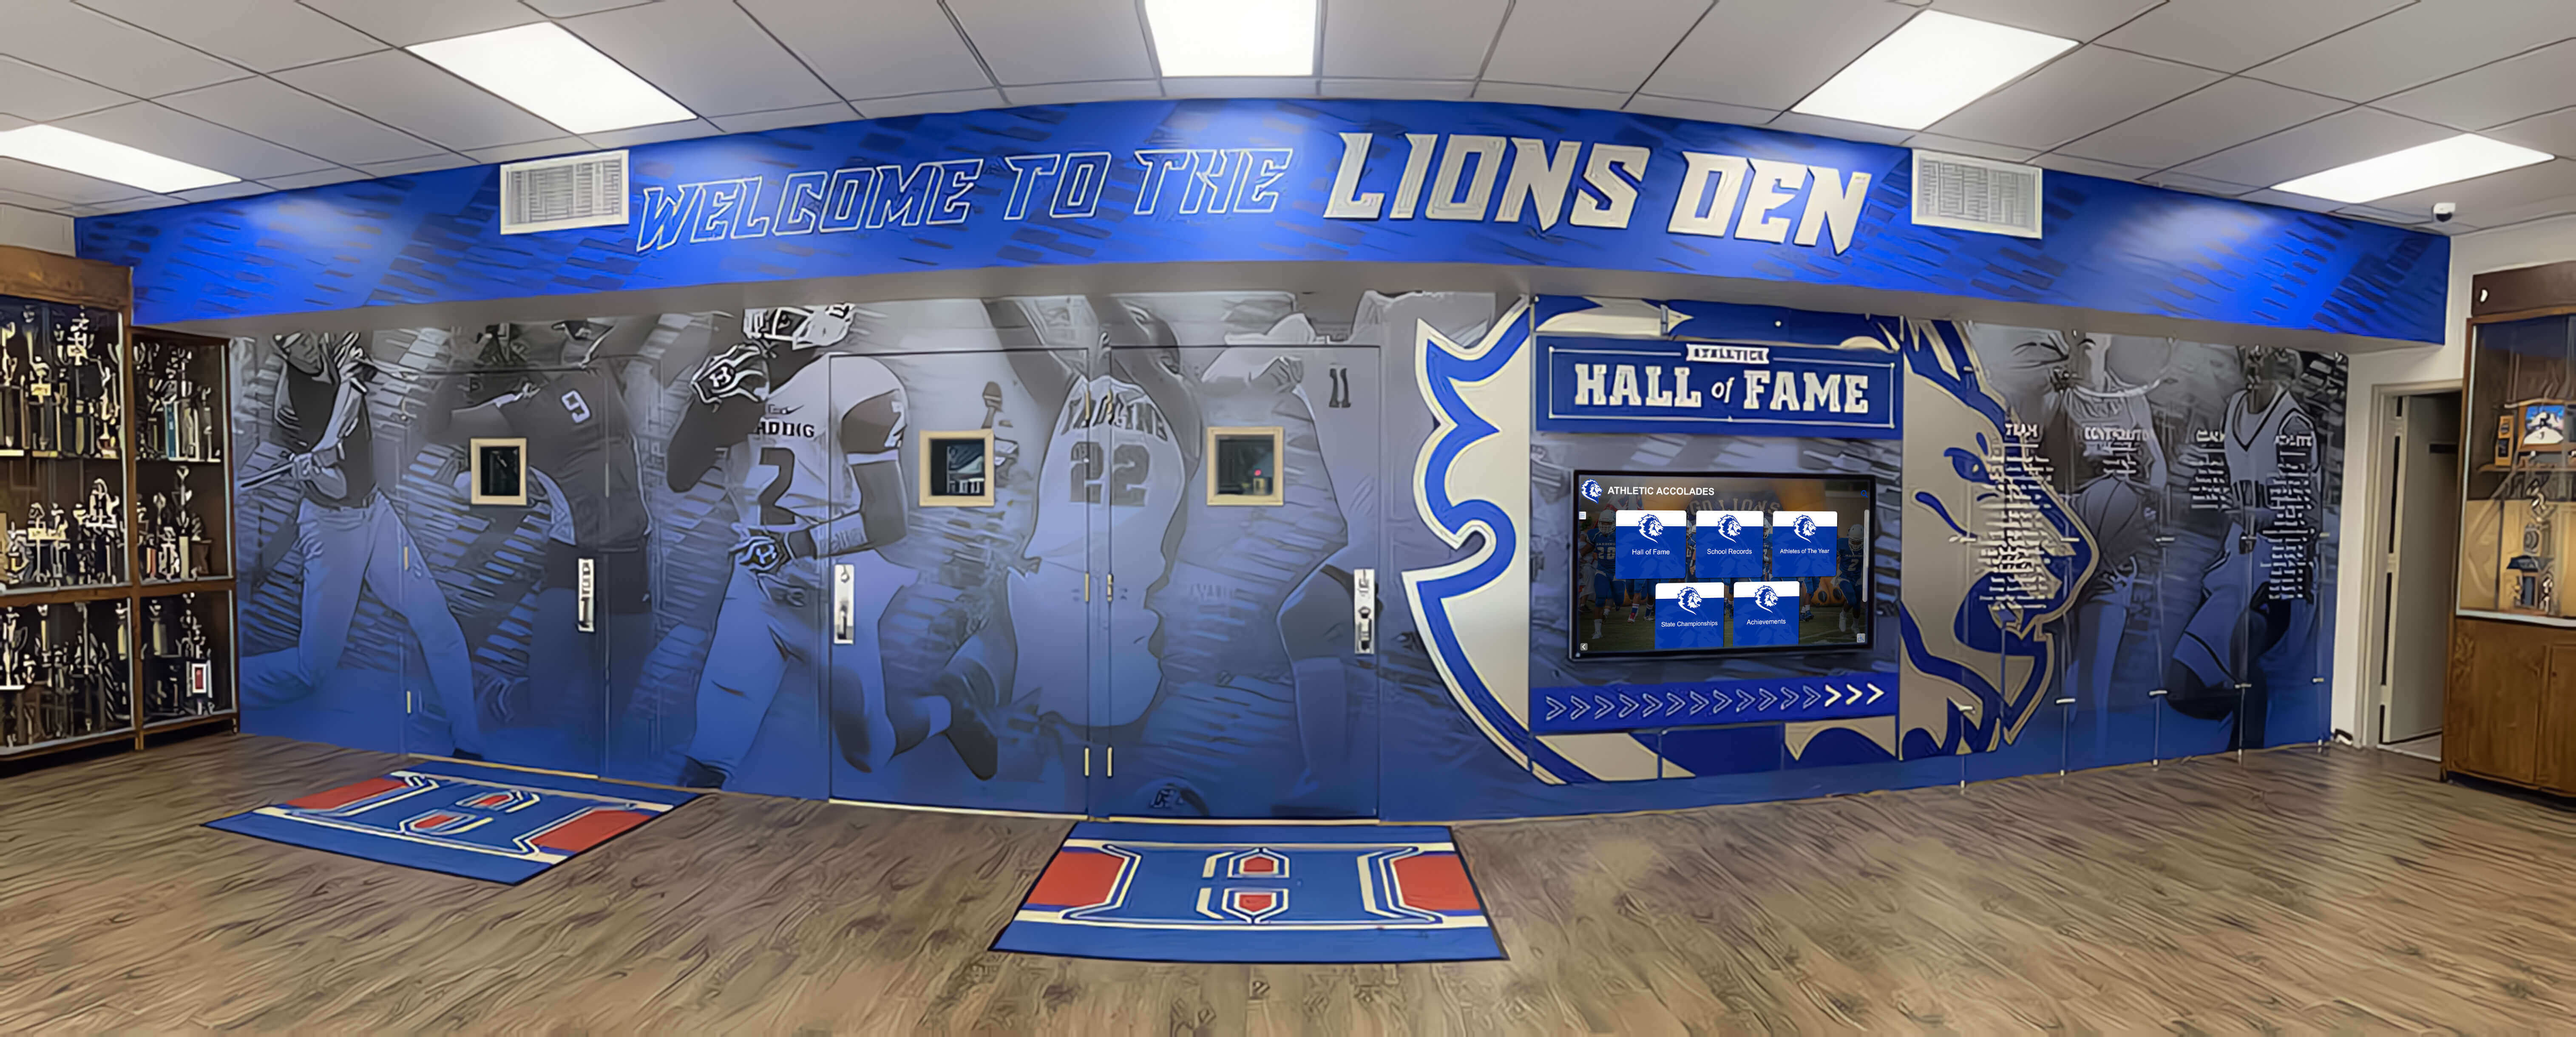
- Consider a searchable digital display as a permanent companion to the physical banners. Schools that maintain a digital record of their championship history create a resource alumni can access from anywhere, that new coaches can reference during recruiting conversations, and that media staff can pull from when writing program histories.
A gym full of championship banners tells visitors what happened. A digital archive tells them how it happened—who played, who coached, what the season looked like. The difference between a static display cabinet and a searchable digital archive is the difference between a moment frozen in fabric and a living institutional memory accessible to the next generation.
The documentation logic for championship banners mirrors the approach used for other forms of athletic recognition. The way schools handle retired jersey number programs follows the same principles: accurate records, displayed context, and digital backup that protects both the recognition and the meaning behind it.
Phase 8: Annual Review Cycle
A championship banner installation is not a one-time project. Banners age, new championships are earned, and school populations change in ways that affect what the display communicates. An annual review keeps the physical and digital records in sync.
Annual Review Checklist
- Inspect every banner for physical condition. Look for fading, fraying edges, stained fabric, failing grommets, and hardware that has begun to corrode. Repair or replace before deterioration advances.
- Test all ceiling anchor hardware. Apply moderate hand force to each anchor point. Any movement requires immediate professional inspection before the banner is re-hung.
- Verify level alignment from the floor. Banners that have shifted or sagged due to cable stretch or anchor settling should be adjusted.
- Audit the master title register against the physical banners. Confirm every banner in the gym has a corresponding record and every record in the register has a corresponding banner.
- Update the digital archive for any new banners added during the past year, any banners removed or replaced, and any corrections to historical records.
- Review state athletic association records for any changes to official championship listings that affect your program’s history.
- Document the review with a dated sign-off from the athletic director and facilities director. This record demonstrates due diligence and supports any future insurance or audit process.
Championship Banners and the Broader Recognition Ecosystem
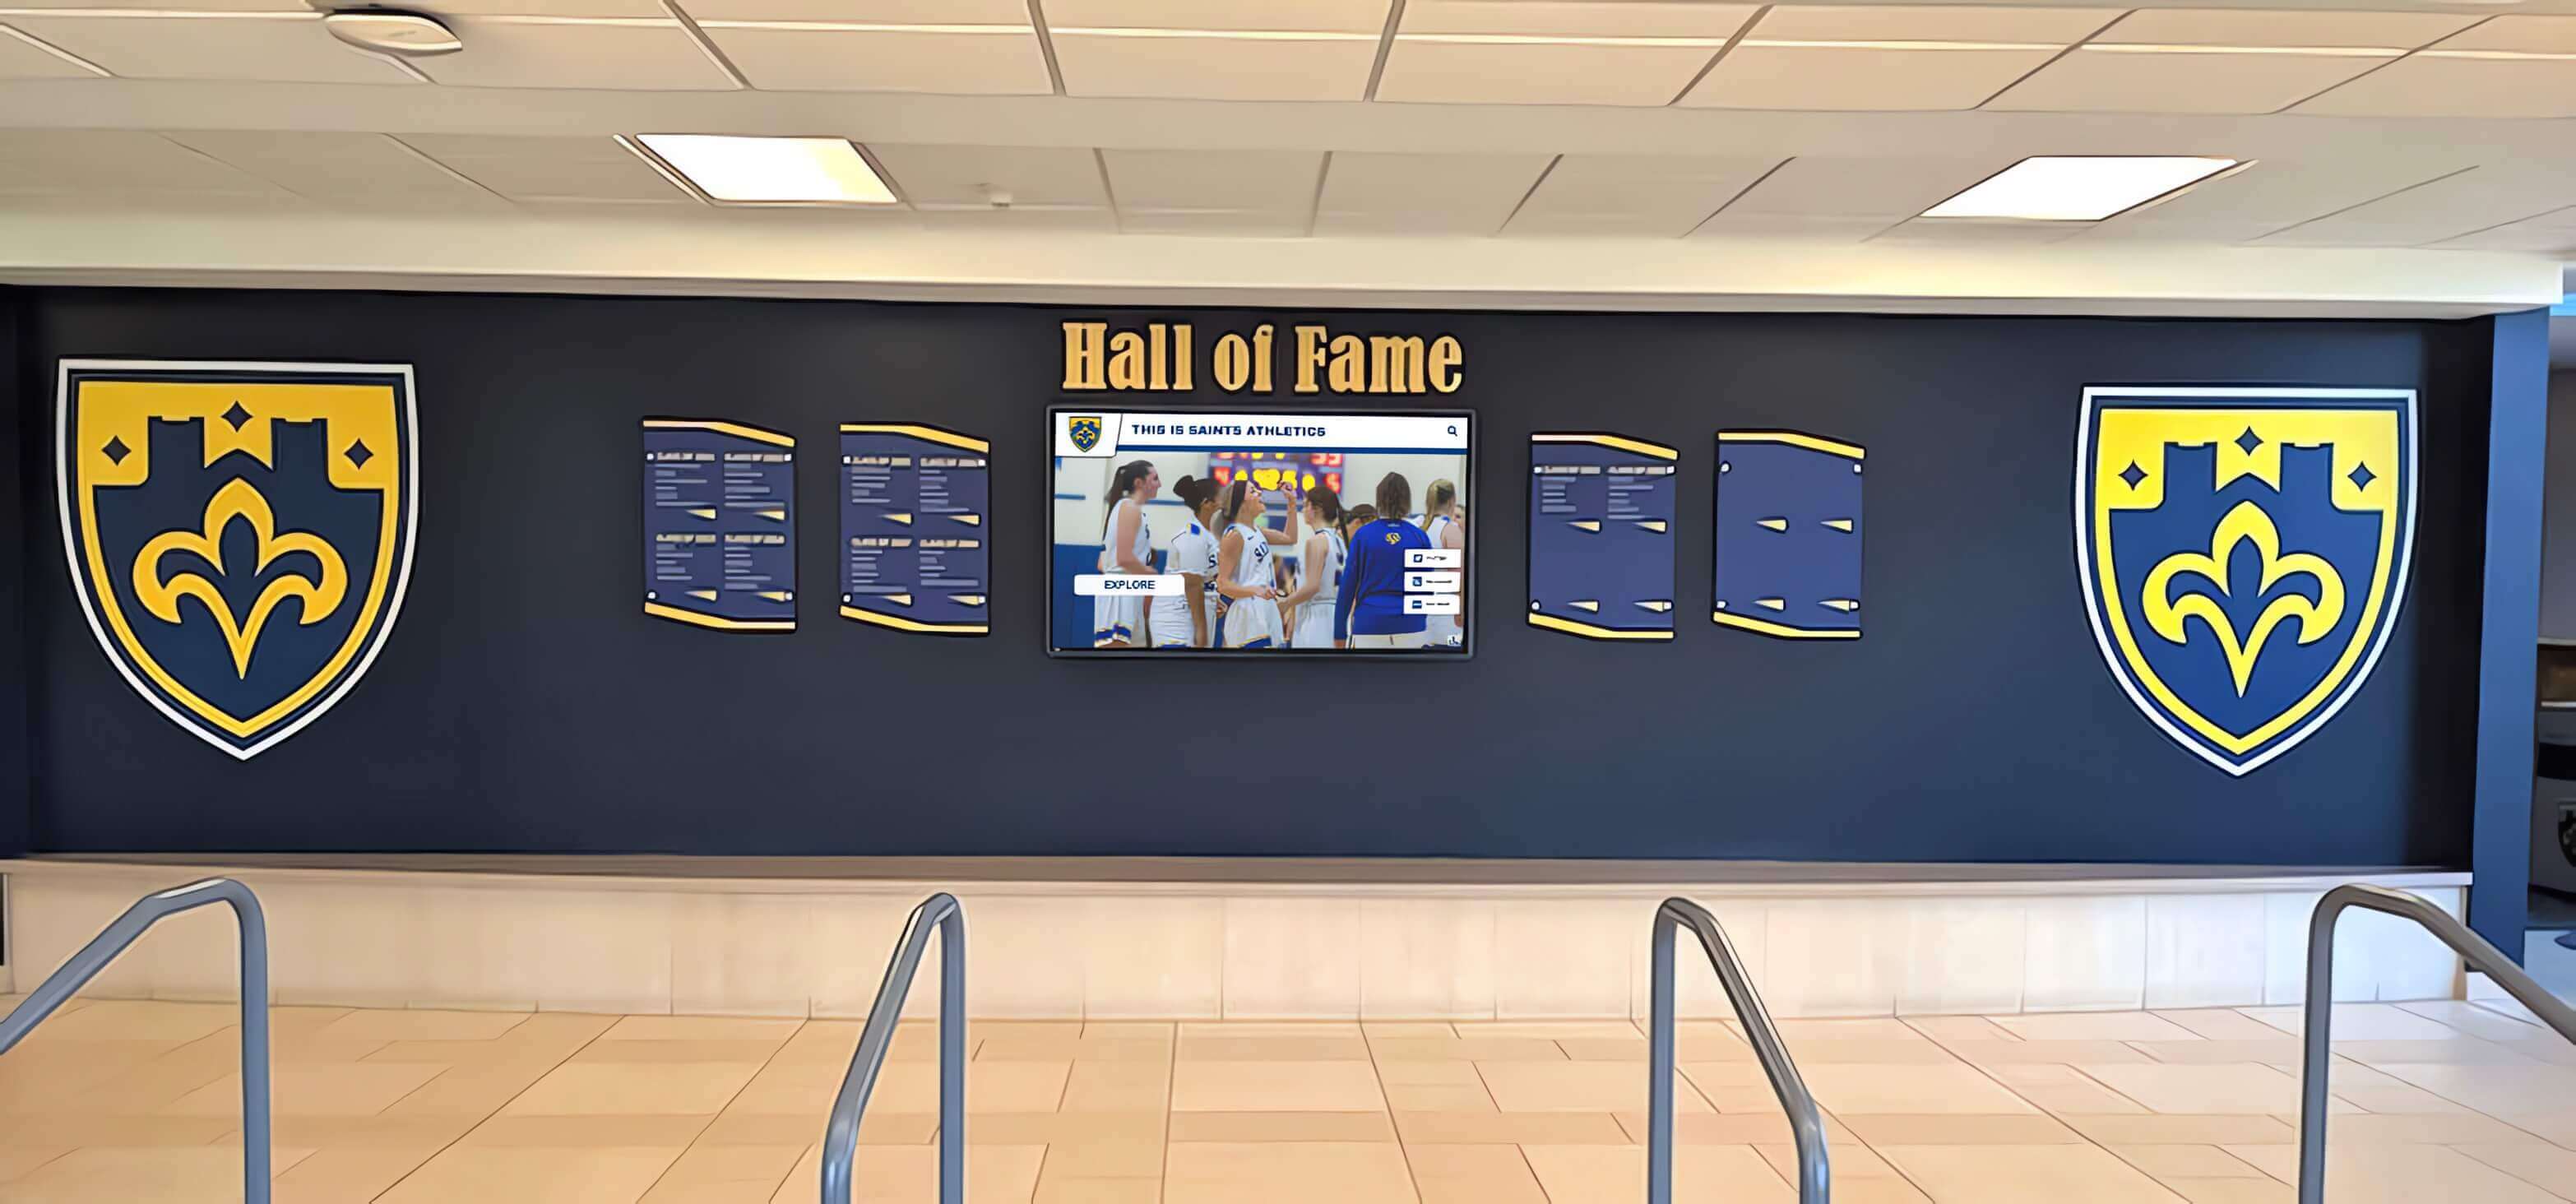
A gymnasium full of championship banners is the most visible layer of a school’s athletic identity—but it is rarely the complete picture. Schools that integrate banner documentation into a broader recognition approach connect physical displays to digital systems that serve alumni, current athletes, and future coaches simultaneously.
Championship ring display ideas for schools that pair rings with banners create layered recognition moments where visitors move from the banner hanging overhead to the ring in the case below and understand both parts of the same story.
Recognition events depend on accurate championship records. When planners design awards ceremonies for schools and organizations, championship banner history provides the institutional context that makes present-day recognition feel earned rather than isolated.
Athletic banquet season also runs on verified records. Coaches honoring senior athletes and record-breakers at end-of-year events draw directly from championship history—having the archive updated before the banquet means everyone works from the same verified source.
A complete recognition culture acknowledges the full range of contributors. Athletic trainer appreciation and other support-staff recognition programs exist alongside championship banners in the same institutional culture of acknowledging everyone who made championships possible.
Frequently Asked Questions
How high should championship banners hang in a school gymnasium?
For ceilings between 23 and 28 feet—the most common configuration in secondary schools—a banner bottom edge of 12 to 15 feet above the floor provides clear sightlines over bleachers, avoids basketball equipment, and keeps text legible from mid-court. Use the height table in Phase 3 to adjust for your specific ceiling and equipment layout.
What hardware is best for permanent championship banner installation?
For fabric banners in standard gymnasiums, a two-point hang using stainless steel ceiling anchors, aircraft cable, and turnbuckles provides the most secure and level result. Turnbuckles allow tension adjustment if cable stretches over time. Banner track systems are preferable when your inventory is large enough that you need to add or reorder banners frequently.
How do we verify championship title accuracy before ordering banners?
Request the official championship records from your state athletic association’s records office or public database. Compare the official listing against your internal coaching records and any existing banners. Resolve discrepancies with the state association before any banner is ordered or displayed.
What should a digital backup of championship banners include?
At minimum: a high-resolution photograph showing all banner text legibly, and a metadata record including sport, year, classification, issuing organization, and the athletic director of record at the time. Store these records in a cloud-accessible location separate from any single building.
How do we handle a championship title that was later vacated?
Consult with your principal and district legal or compliance staff before making any display decision. Options include removing the banner, adding a contextual placard, or displaying the banner with a written explanation of the title’s status. Document whichever decision is made and file it with the master title register.
How often should we inspect championship banner hardware?
At minimum once per year before the academic year begins. Schools in regions with high humidity, significant temperature swings, or seismic activity should inspect semi-annually. Any time a banner is taken down for an event, inspect the hardware before re-hanging.
Validation Table: Quick-Audit Your Current Installation
Use this table to identify your highest-priority gaps before committing to a full installation project.
| Area | Pass Condition | Fail Indicator |
|---|---|---|
| Safety documentation | Written lift-access procedure on file | No procedure; improvised access is common |
| Anchor hardware | Professional installation; rated load documented | Unknown origin; anchor age unknown |
| Banner leveling | All top edges on a single horizontal line | Mixed heights; visible sagging |
| Title accuracy | Every banner verified against state records | No verification process exists |
| Master title register | Current, signed, filed with athletic office | No register; records are informal only |
| Digital archive | Every banner photographed and catalogued | No digital record exists |
| Annual review | Dated sign-off within past 12 months | No annual review conducted |
Three or more failures indicate a project-level intervention is warranted, not just a routine maintenance pass.
Build a Championship Banner Program That Lasts
Rocket Alumni Solutions helps schools document, display, and digitize their athletic championship history—from banner installation planning and title verification through searchable digital archives and interactive recognition walls that work alongside your physical displays. Whether you are starting from scratch or updating a decades-old installation, our team works with athletic directors, facilities staff, and booster leaders to create recognition systems that serve the next generation of athletes as well as the alumni who built the foundation.
Schedule a Free DemoNext Practical Step
Review your master title register against your state athletic association’s official records this week. If no register exists, start one now using the inventory worksheet in Phase 1. A verified, documented championship inventory is the foundation every other step in this checklist depends on—and it is the work that protects your program’s credibility for every administration that follows yours.