Intent: Define Requirements and Calculate Implementation Costs
Dental practices face persistent communication challenges in patient education, appointment management, and service promotion. Paper brochures pile up unread in waiting rooms. Staff members repeat the same pre-treatment explanations dozens of times daily. Patients arrive unprepared for procedures because they didn't review educational materials. Meanwhile, your practice's advanced capabilities—cosmetic services, specialized treatments, flexible payment options—remain invisible to patients focused solely on their immediate dental concerns.
Interactive digital displays transform dental office communication through automated patient education, dynamic service promotion, streamlined appointment coordination, and engaging waiting room experiences that reduce perceived wait times while increasing treatment acceptance rates. This implementation guide walks you through every technical requirement, content strategy, placement decision, and budget consideration needed to deploy effective digital display systems—from initial needs assessment through content creation and performance optimization.
Dental practices investing in patient experience and practice growth recognize that effective communication tools directly impact clinical outcomes, case acceptance, and revenue generation. Patients who understand treatment options make better-informed decisions. Waiting rooms that engage and educate rather than bore create positive first impressions. Practices that communicate value effectively differentiate themselves in competitive markets.
Digital displays serve multiple critical functions in modern dental offices: educating patients about oral health and treatment options, reducing staff burden through automated information delivery, promoting high-value services that patients don’t know to request, managing appointment flow and reducing no-shows, and creating professional environments that reflect commitment to modern care standards.
This comprehensive guide provides actionable specifications, content strategies, budget worksheets, and implementation frameworks that enable practice managers, office administrators, and dentists to deploy digital display systems confidently—even without prior technology experience or large capital budgets.
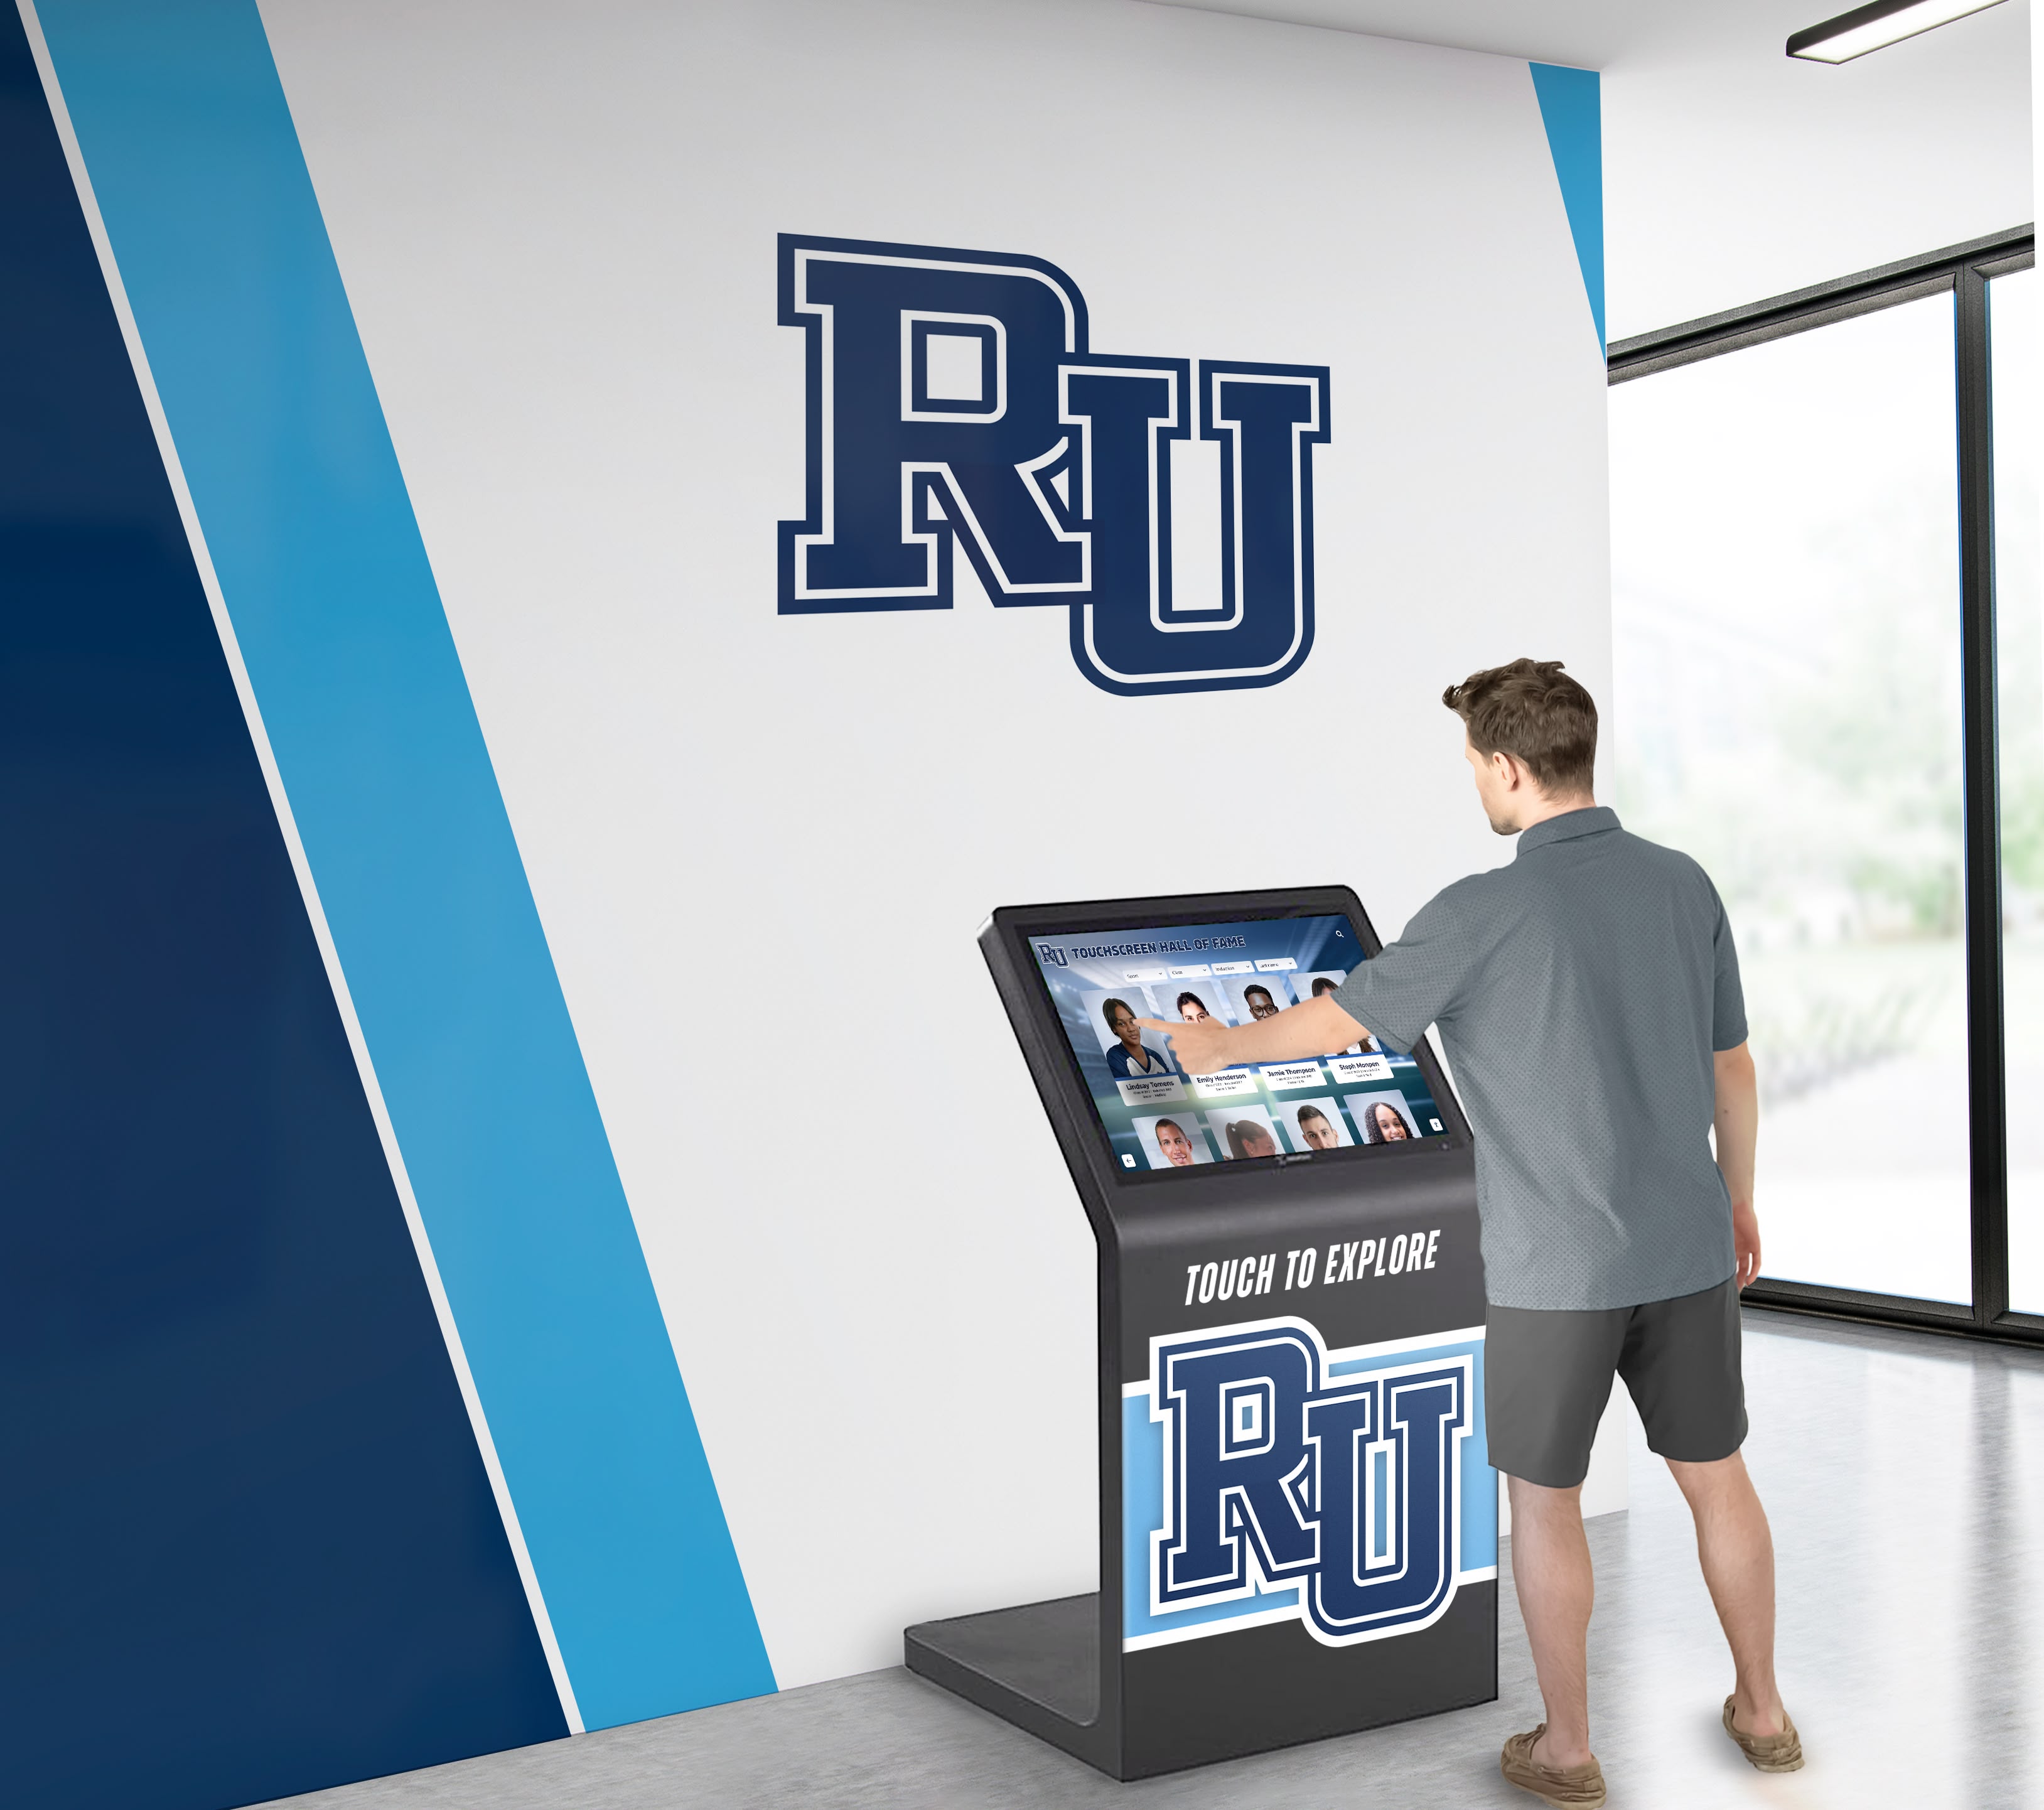
Before You Start: Prerequisites and Planning
Successful digital display implementation begins with clear understanding of your practice’s specific communication challenges, patient demographics, and operational objectives.
Identifying Communication Pain Points
Document current challenges that digital displays can address:
Patient Education Gaps: Staff time consumed explaining common procedures (root canals, crowns, implants, orthodontics), patients arriving unprepared for treatment consultations, difficulty communicating complex treatment options requiring visual aids, and inconsistent messaging when multiple staff members provide different explanations.
Service Awareness Deficits: Patients unaware of available services beyond routine cleanings, cosmetic procedures that could address unstated concerns, specialized capabilities differentiating your practice from competitors, and financing options making expensive treatments accessible.
Operational Inefficiencies: Reception staff answering repetitive questions (insurance, hours, services, pricing), patients arriving late or missing appointments, forms and paperwork incompletely filled, and difficulty communicating urgent practice updates (office closures, new services, staff changes).
Waiting Room Experience: Long perceived wait times generating patient frustration, dated magazines and materials communicating lack of investment in patient experience, missed opportunities to build trust and credibility during downtime, and inability to gather patient feedback systematically.
Comprehensive assessment frameworks for healthcare facility digital communication demonstrate how systematic needs analysis informs effective implementations.
Practice Assessment and Requirements Gathering
Evaluate factors determining system requirements and content priorities:
Patient Demographics: Age distribution affecting content complexity and interface design (older patients need larger text, simpler navigation; younger patients expect tablet-like interactions), language needs (multilingual communities require translation capabilities), typical visit patterns (pediatric vs. general vs. specialty practices have different educational priorities), and technology comfort levels.
Physical Environment: Waiting room capacity and typical occupancy, treatment room sizes and patient line-of-sight during procedures, reception area visibility and traffic patterns, hallway spaces connecting different practice areas, and available wall space or locations for freestanding displays.
Service Mix and Revenue Goals: High-value services deserving promotion (implants, veneers, orthodontics, whitening), routine preventive care requiring consistent reinforcement, specialized capabilities differentiating your practice, and elective procedures with low awareness but high patient satisfaction.
Staffing Structure: Number of front office staff available for digital system management, clinical staff preferences regarding treatment room displays, practice manager involvement in content creation and oversight, and existing marketing or communications responsibilities.
Budget considerations and implementation roadmaps for professional office digital displays provide relevant frameworks adaptable to dental practice contexts.
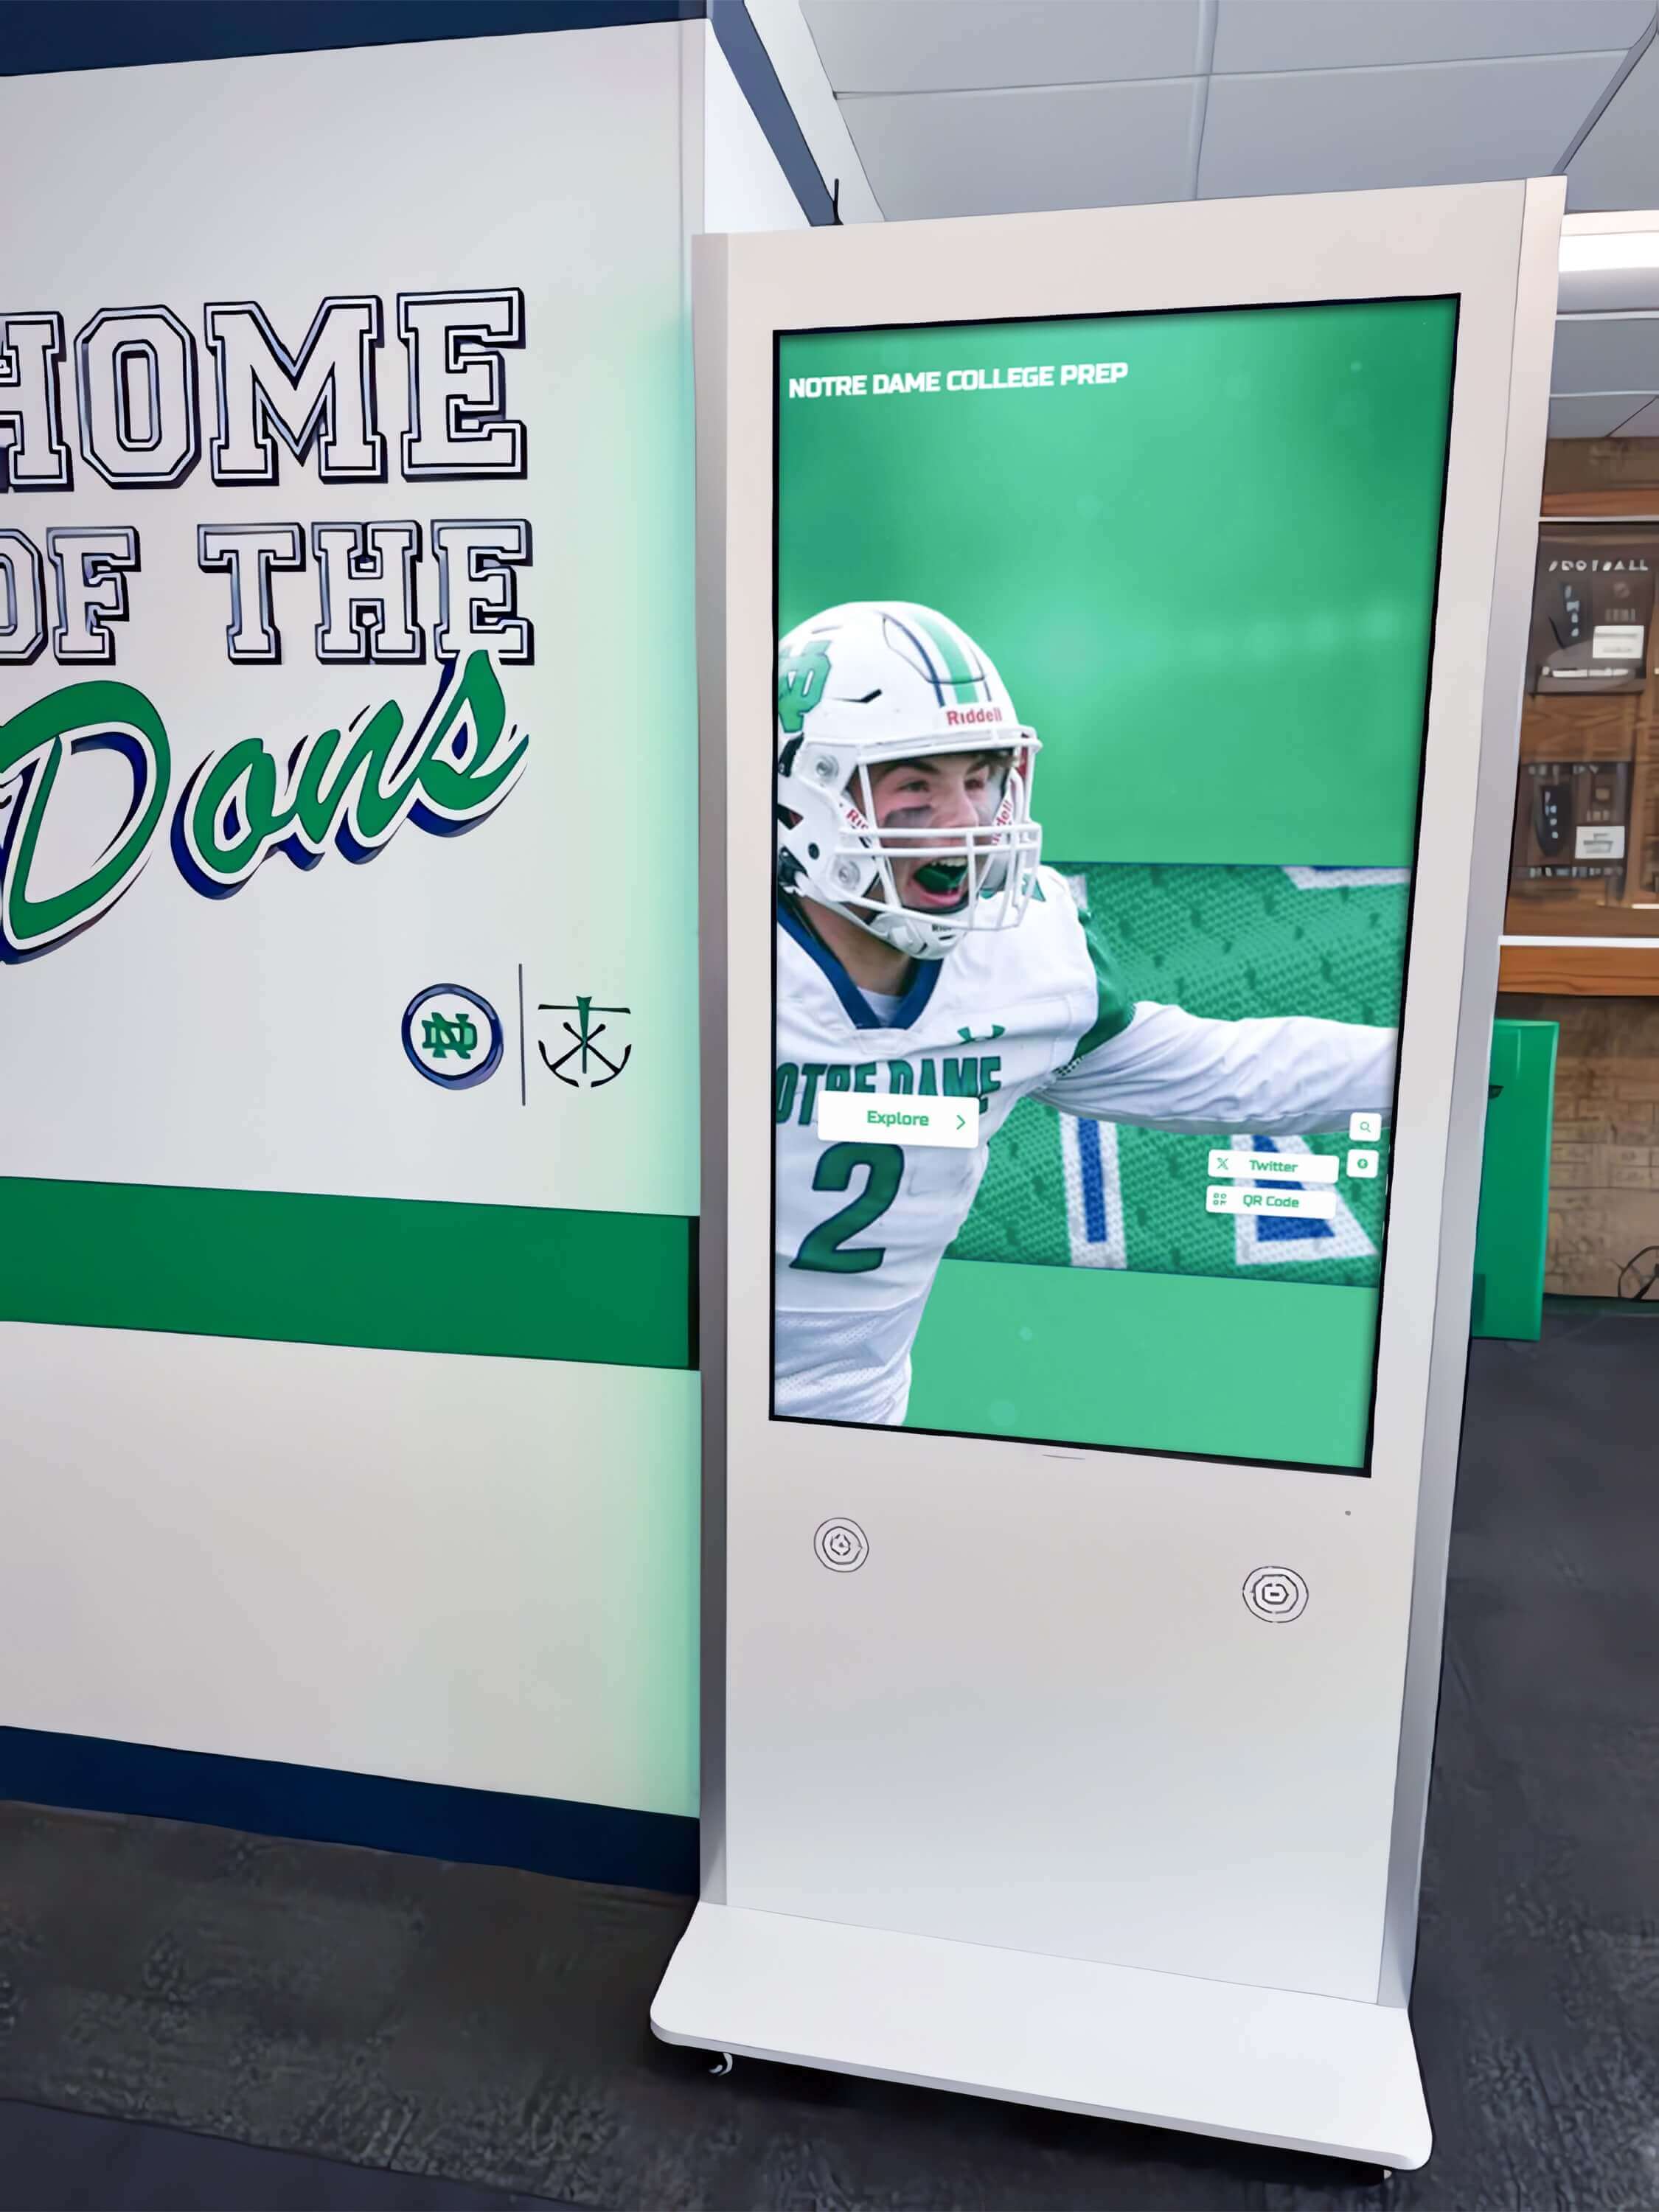
Technical Infrastructure Assessment
Verify infrastructure availability at proposed installation locations:
Electrical Power: Digital displays require standard 120V outlets with adequate amperage. Document available power at planned locations, distance from outlets to desired mounting positions, capacity of existing circuits to support additional loads, and need for new installations requiring licensed electrician work.
Network Connectivity: Cloud-based content management systems require reliable internet access for remote updates and content scheduling. Assess available wired ethernet connections (preferred for reliability), WiFi coverage and signal strength at proposed locations, network security considerations for adding devices, and IT support requirements for device authentication and management.
Physical Mounting Options: Wall construction types affecting mounting hardware selection (drywall requiring stud mounting, concrete or brick walls needing masonry anchors), available floor space for freestanding displays in waiting areas, countertop space for reception desk displays, and considerations for treatment room installations (ceiling mounts, wall arms, mobile carts).
Environmental Conditions: Lighting conditions affecting screen brightness requirements (bright windows requiring high-brightness displays, dim hallways working with standard screens), temperature control in various practice areas, and exposure to cleaning chemicals or dental aerosols in clinical spaces.
Create site assessment documentation for each proposed display location including power availability, network access, mounting surface type, ambient lighting characteristics, and typical viewing distances.
Strategic Placement Planning for Dental Practices
Display effectiveness depends critically on placement ensuring patients encounter content when they’re receptive and have time to engage meaningfully.
High-Priority Installation Locations
Implement displays first at locations delivering maximum communication impact:
Tier 1 - Essential Locations (Implement First):
Reception Area Check-In Display: Position near reception desk where patients naturally focus attention during check-in procedures. Ideal for service promotion, practice information, appointment reminders, and insurance guidance. Vertical orientation displays work well in limited counter space while providing adequate screen real estate. Patients typically spend 2-5 minutes at reception during check-in—adequate time for meaningful content engagement.
Main Waiting Room Display: Large-format displays (43-55 inches) mounted at comfortable viewing height in waiting areas where patients spend 10-30 minutes. Primary location for patient education content, treatment explainers, testimonial videos, and practice story. Multiple patients view simultaneously, making this highest-reach location in practice. Consider audio output with closed captioning ensuring accessibility without disturbing ambiance.
Checkout Counter Display: Smaller displays (22-32 inches) near payment area where patients finalize appointments and receive treatment recommendations. Optimal for treatment plan reinforcement, financing option promotion, rebooking reminders, and next-visit preparation instructions. Patients in positive mindset after completed treatment more receptive to scheduling follow-up procedures.
Tier 2 - High-Value Locations (Implement Second):
Treatment Room Displays: Ceiling-mounted or wall-arm displays positioned in patient line-of-sight during procedures. Enable dentists to show treatment explanations, before/after comparisons, and procedure visualizations during consultations. Significantly improve case acceptance by making complex treatments understandable through visual aids. Mount displays where dentists can control content from chairside without awkward positioning.
Hallway Transition Zones: Corridor displays connecting waiting room to treatment areas entertain patients during escort to treatment rooms while reinforcing key practice messages. Shorter engagement times (30-90 seconds) require concise, visually-striking content rather than detailed explanations.
Consultation Room Displays: Dedicated screens in private consultation spaces where dentists discuss treatment plans and financial arrangements. Support detailed case presentations, treatment simulations, pricing breakdowns, and financing comparisons that facilitate informed decision-making in calm, private settings.
Tier 3 - Comprehensive Coverage (Implement Third):
Hygiene Bays: Displays in hygiene treatment rooms provide oral health education, preventive care tips, and product recommendations during cleanings. Captive audience during 45-60 minute appointments creates opportunity for meaningful education that hygienists can reference during treatment.
Pediatric Treatment Areas: Child-focused content entertaining young patients during treatment reduces anxiety and improves cooperation. Animated characters, games, and age-appropriate education create positive dental experiences that establish lifelong preventive care habits.
Staff Break Room: Internal communication displays keep team informed about practice updates, training opportunities, patient feedback, and performance metrics without requiring formal meetings or email communications.
Phased implementation following priority sequence manages capital investment while building internal support based on demonstrated results before expanding comprehensively.
Resources on reception area digital communication strategies demonstrate effective approaches to high-traffic spaces adaptable to healthcare environments.
Hardware Specification and Selection
Commercial-grade components designed for continuous operation deliver reliability that consumer products cannot match in demanding healthcare environments.
Commercial Display Requirements
Screen Size Selection by Location:
- Reception counter displays: 22-32 inches (adequate for individual viewing, fits limited space)
- Waiting room primary displays: 43-55 inches (visible across room, accommodates multiple viewers)
- Treatment room displays: 22-32 inches (appropriate viewing distance from dental chair)
- Consultation room displays: 32-43 inches (supports detailed case presentations for 2-3 viewers)
- Hallway displays: 32-43 inches (visible from distance, brief engagement)
Brightness and Display Quality: Commercial displays rated 350-500 nits ensure readability in dental office lighting conditions including bright waiting rooms with windows, treatment room task lighting, and reception areas with overhead lighting. Consumer displays rated 200-300 nits appear washed out in well-lit healthcare environments. Matte screen finishes reduce glare from windows and overhead lights.
Orientation Options: Portrait (vertical) orientation maximizes content visibility in narrow spaces like reception counters, checkout areas, and hallway installations. Landscape (horizontal) orientation suits waiting rooms, consultation rooms, and locations accommodating wider viewing angles. Select displays supporting both orientations for installation flexibility.
Continuous Operation Rating: Dental practices operate 8-12 hours daily, five days weekly. Commercial displays rated for extended operation include enhanced cooling systems, industrial-grade components with longer lifespans, and warranties covering continuous rather than intermittent residential use. Consumer displays operated continuously commonly fail within 18-24 months compared to 5-7 year commercial display lifespans.
Connectivity and Control: Ensure displays include HDMI inputs for media player connections, USB ports for firmware updates and service access, RS-232 or Ethernet control for remote power management and monitoring, and audio outputs supporting external speakers when sound desired.
Guidance on selecting professional-grade displays addresses specifications balancing performance, longevity, and budget considerations.
Computing Hardware and Content Delivery
Digital displays require computing power to deliver content, process updates, and manage scheduling:
Media Player Options: Dedicated media players purpose-built for digital signage offer reliability and features consumer devices lack. Specify commercial-grade players including sufficient processing power (quad-core ARM or Intel processors), adequate RAM (minimum 4GB for smooth performance), sufficient storage (32-64GB for local content caching), reliable solid-state storage (no moving parts prone to failure), and gigabit ethernet plus WiFi connectivity.
System-on-Chip Displays: Integrated displays incorporating computing directly into screen enclosures simplify installation, reduce potential failure points, and eliminate cable clutter from separate media players. Verify integrated computing specifications meet content requirements for video playback, interactive features, and future functionality expansion.
Content Management Platforms: Cloud-based digital signage software enables remote content updates, scheduling, and display management from any internet-connected device. Evaluate platforms offering intuitive content creation tools requiring no design skills, scheduling capabilities for time-of-day content variation, multi-display management updating all practice locations simultaneously, content templates accelerating initial setup and ongoing updates, and usage analytics tracking engagement metrics.
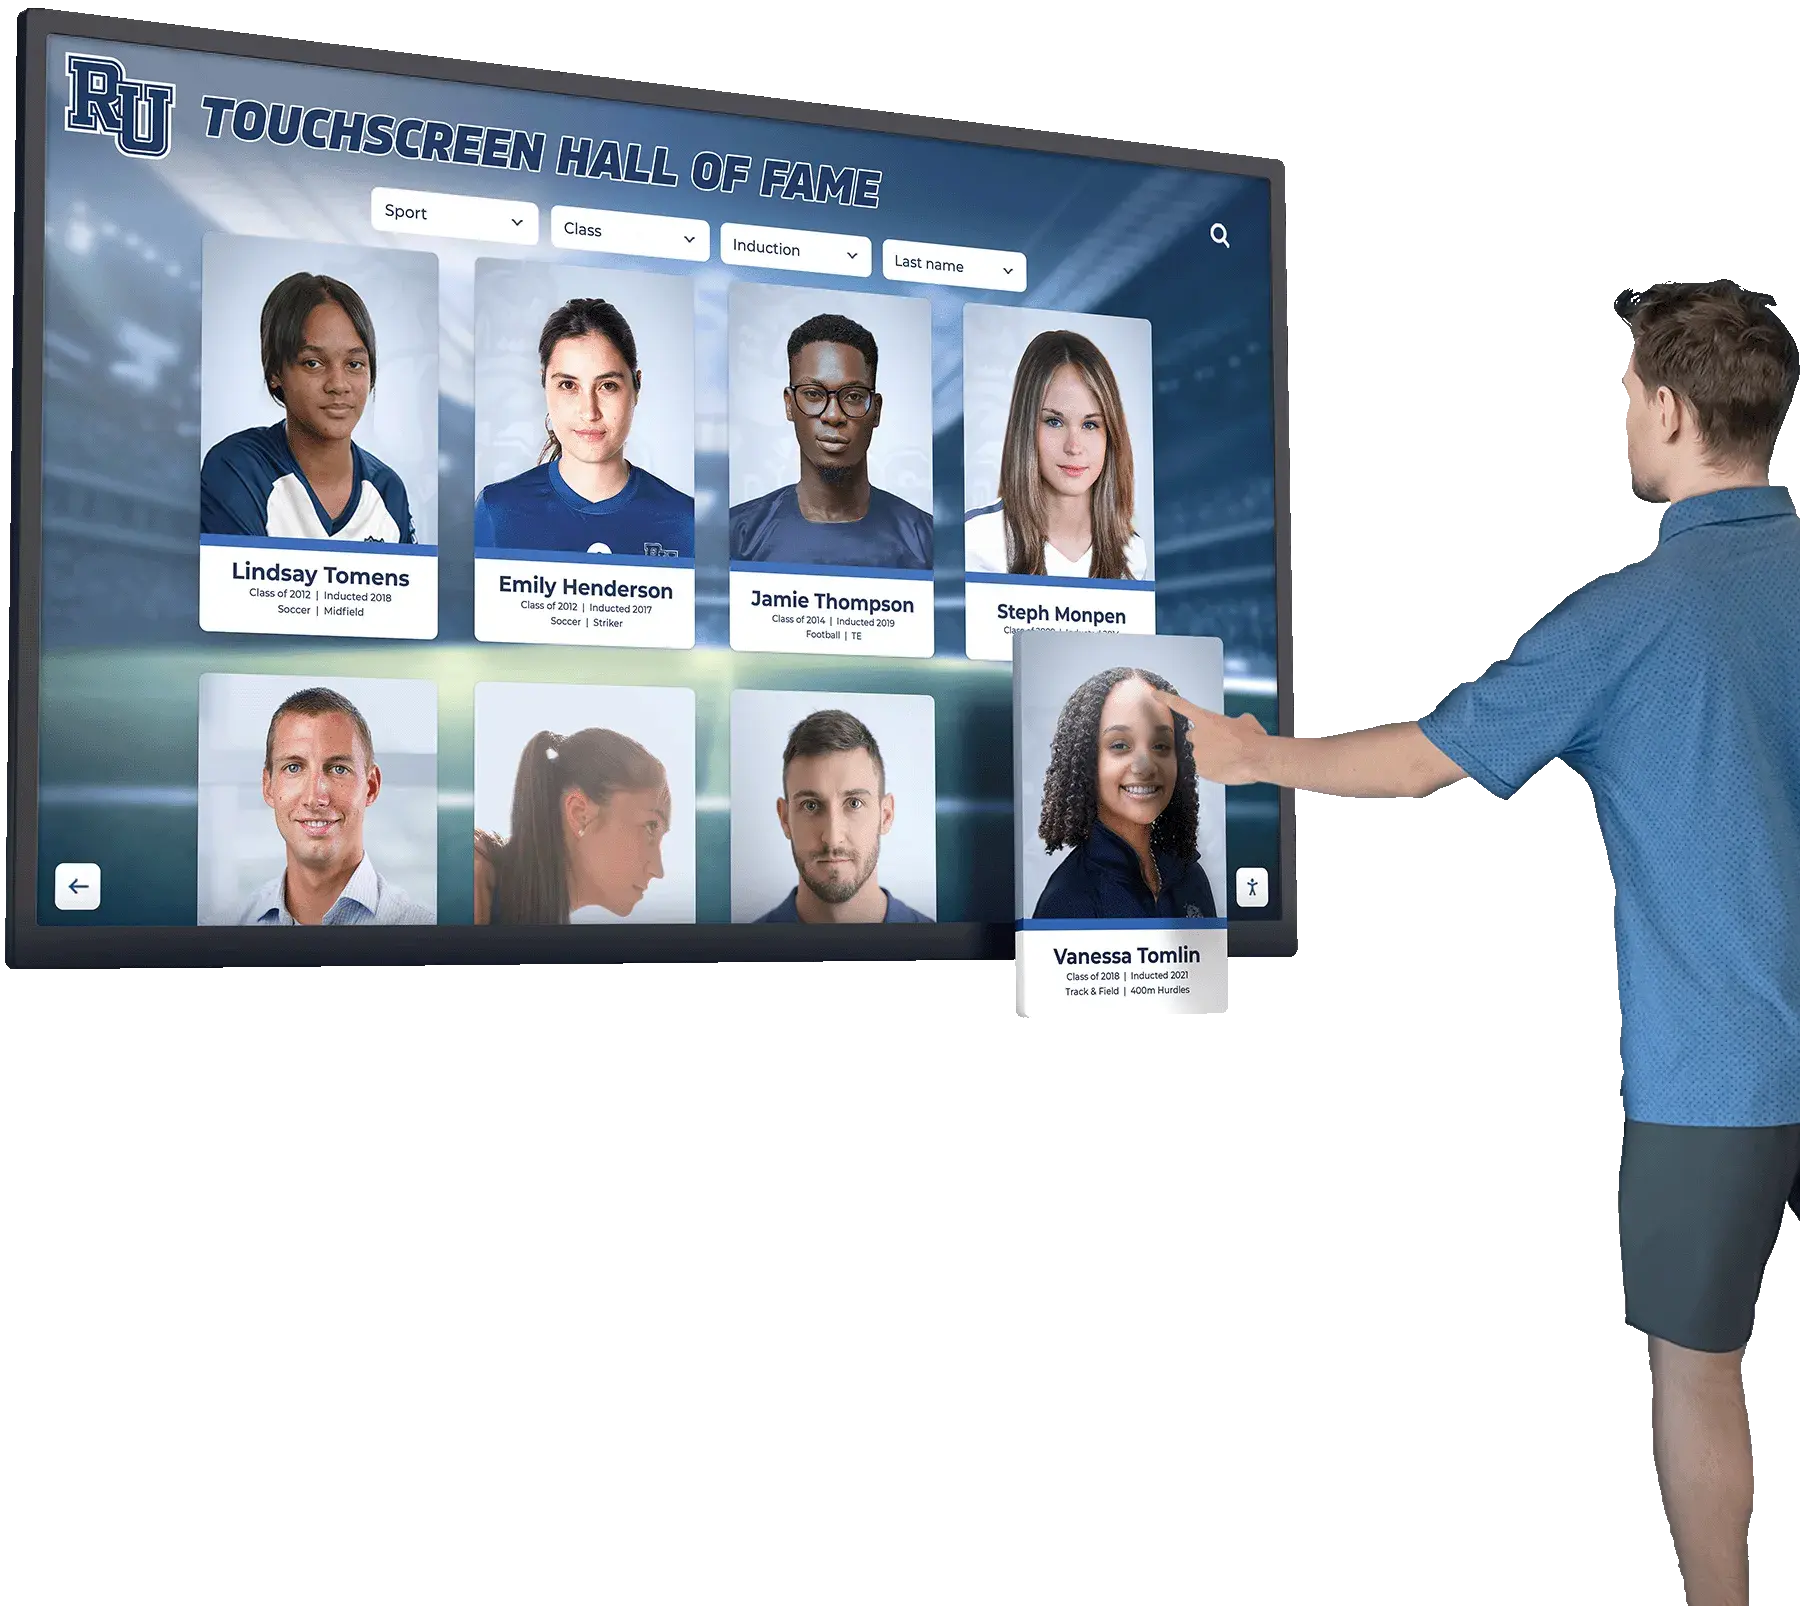
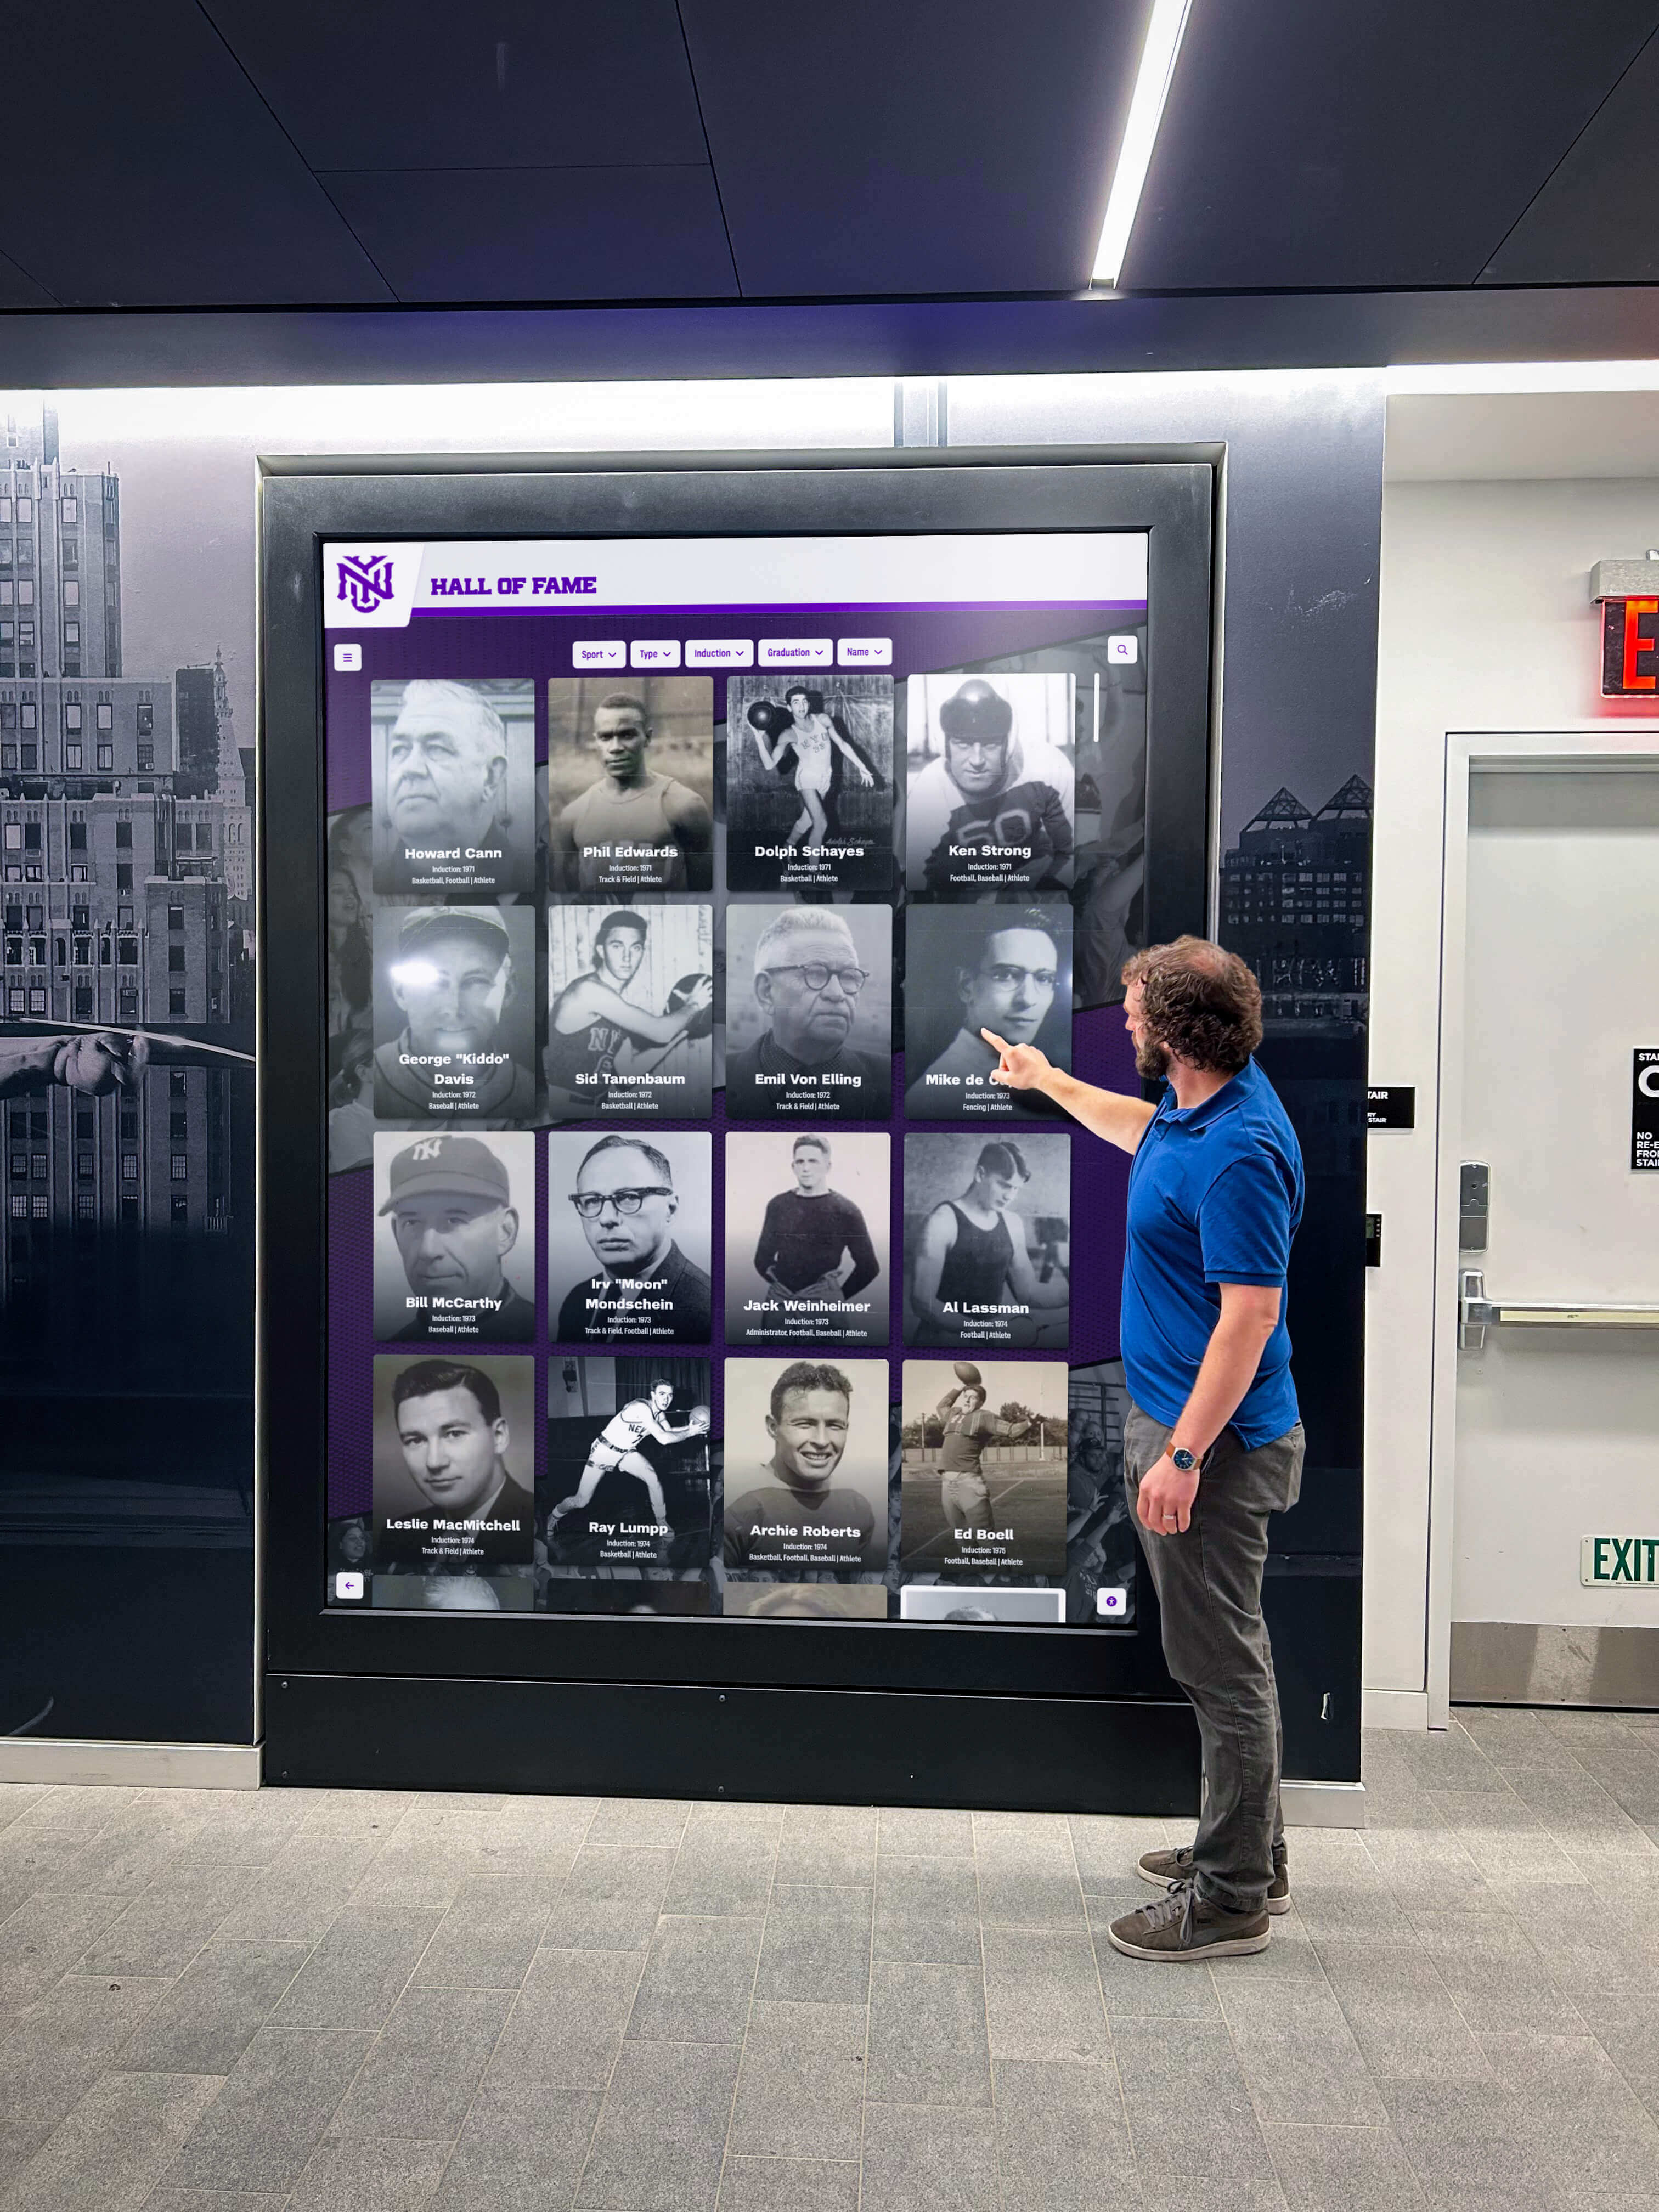
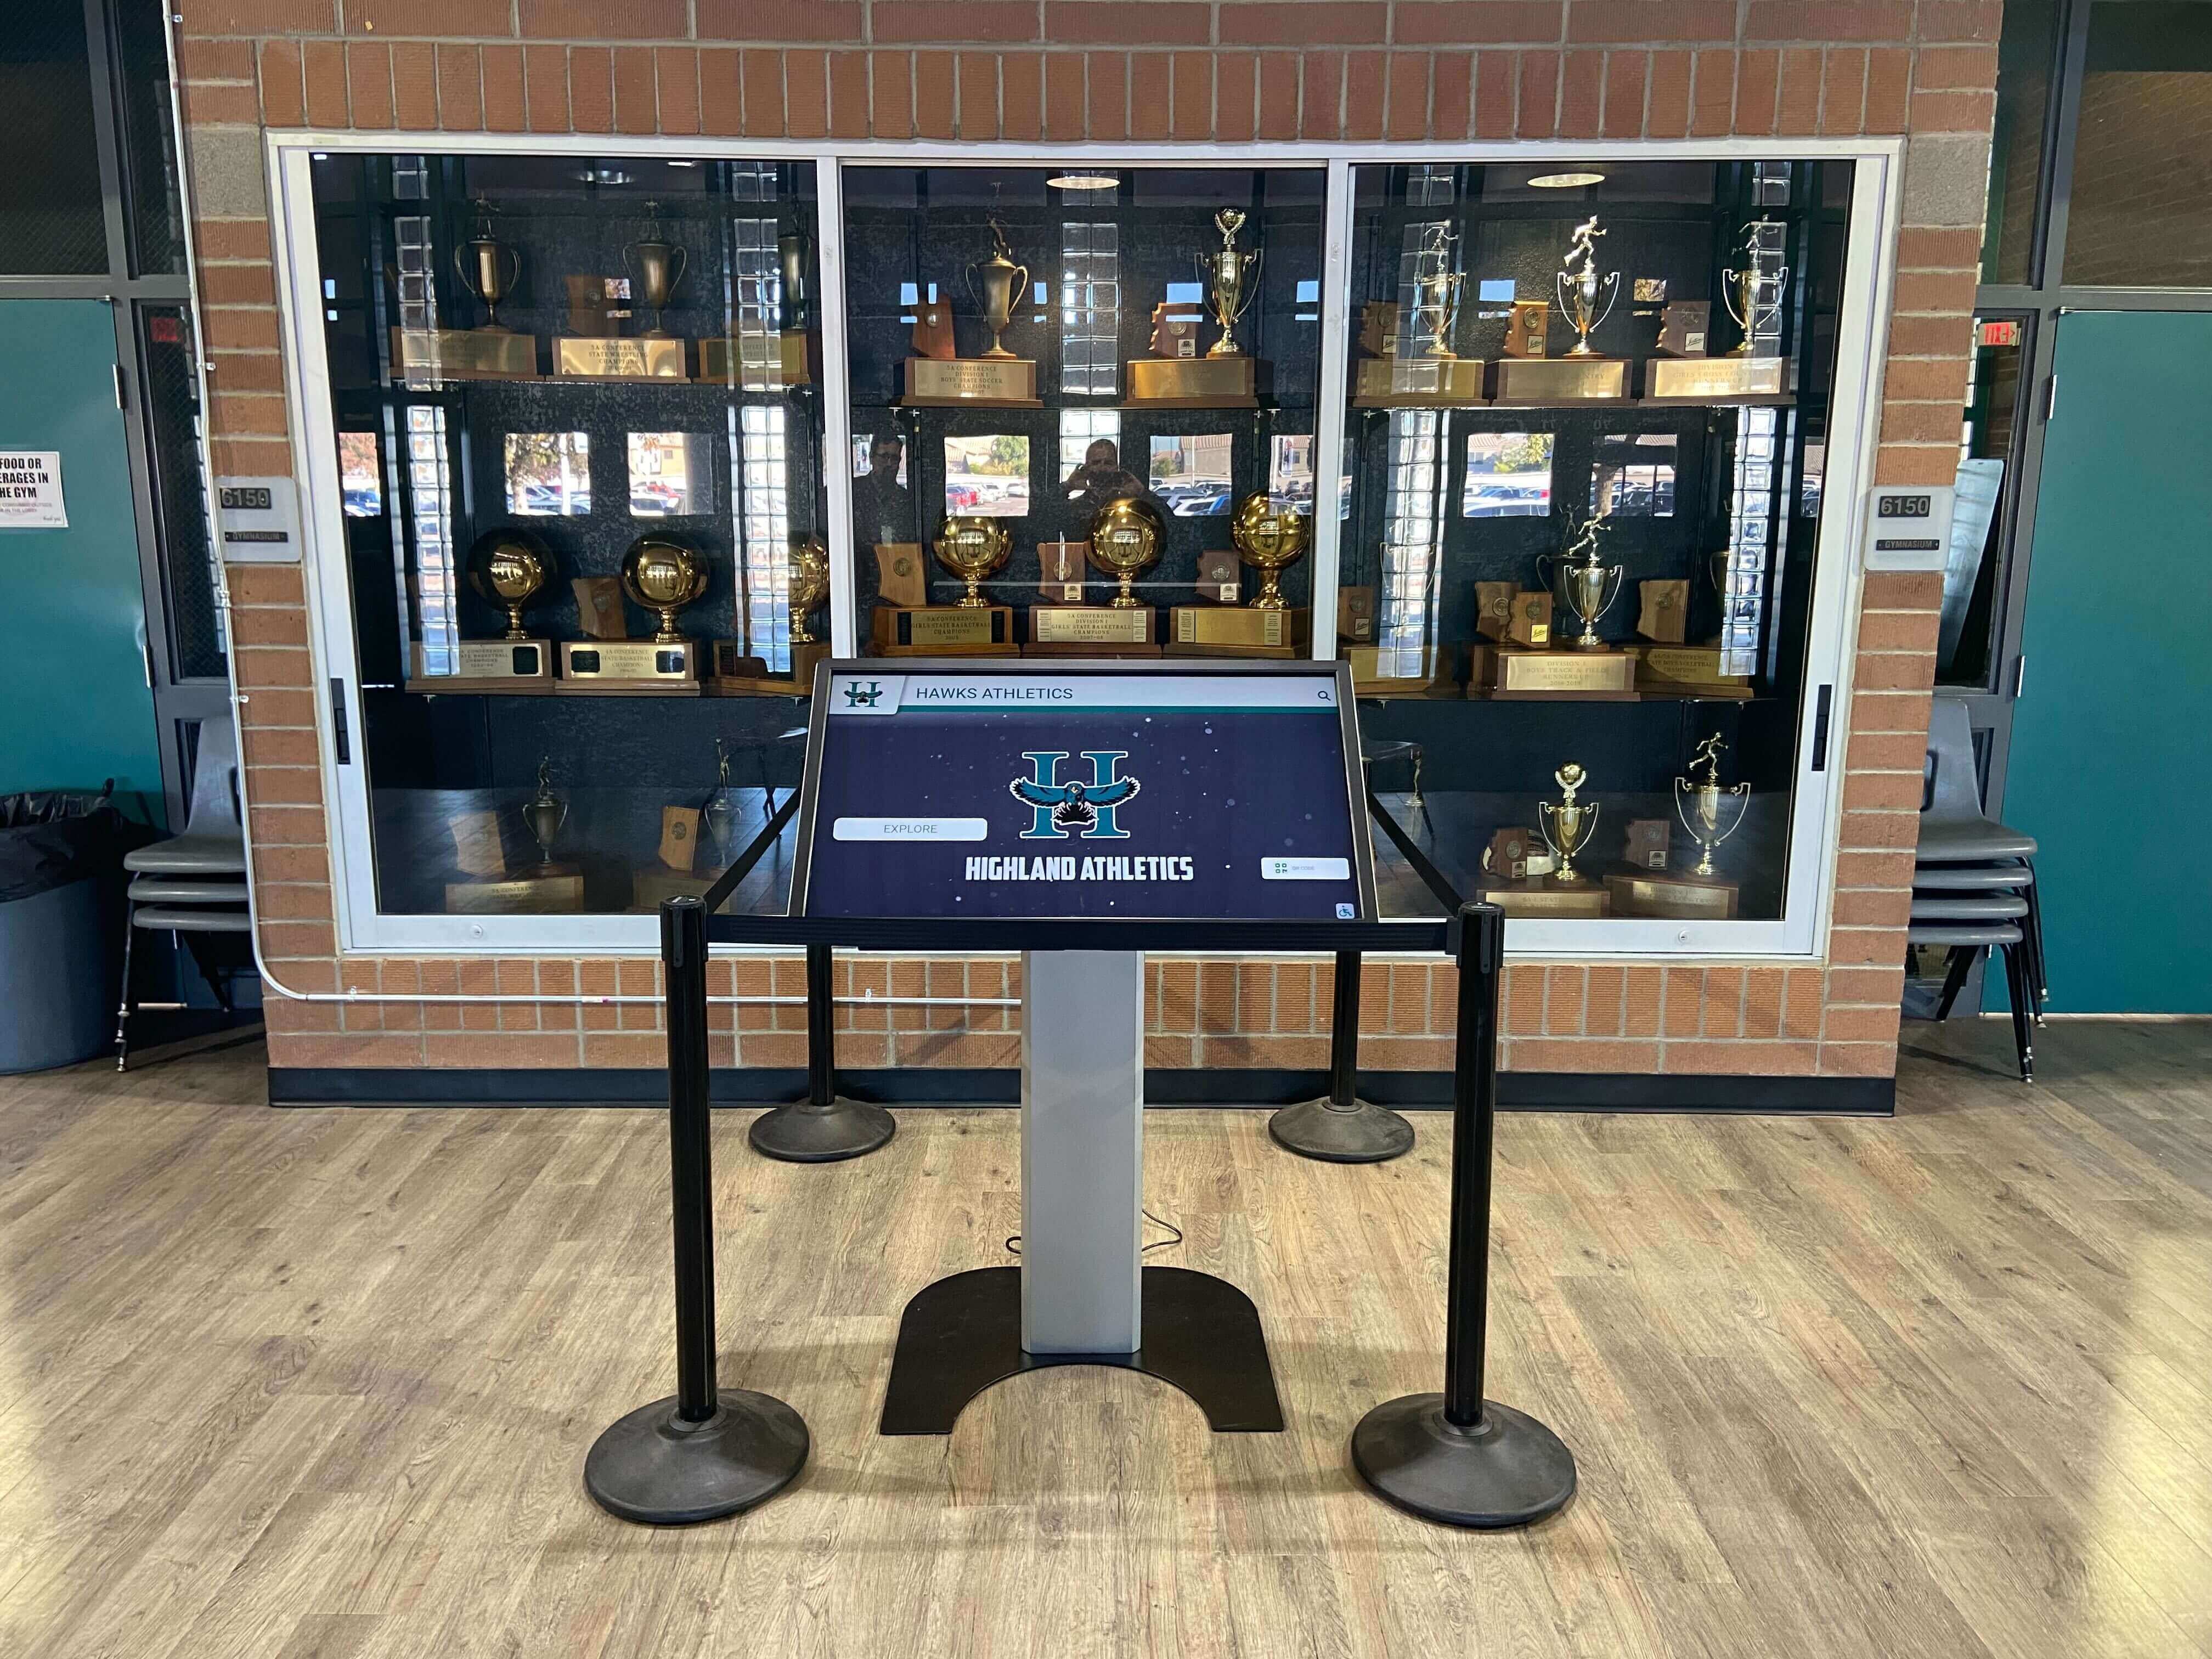
Interactive Touchscreen Considerations: Waiting room and consultation displays supporting patient interaction require projected capacitive (PCAP) touch technology providing responsive multi-touch gestures, durability withstanding public use and cleaning protocols, and accurate touch detection across entire screen surface. Interactive displays expand functionality to treatment browsers, before/after galleries, and patient intake forms.
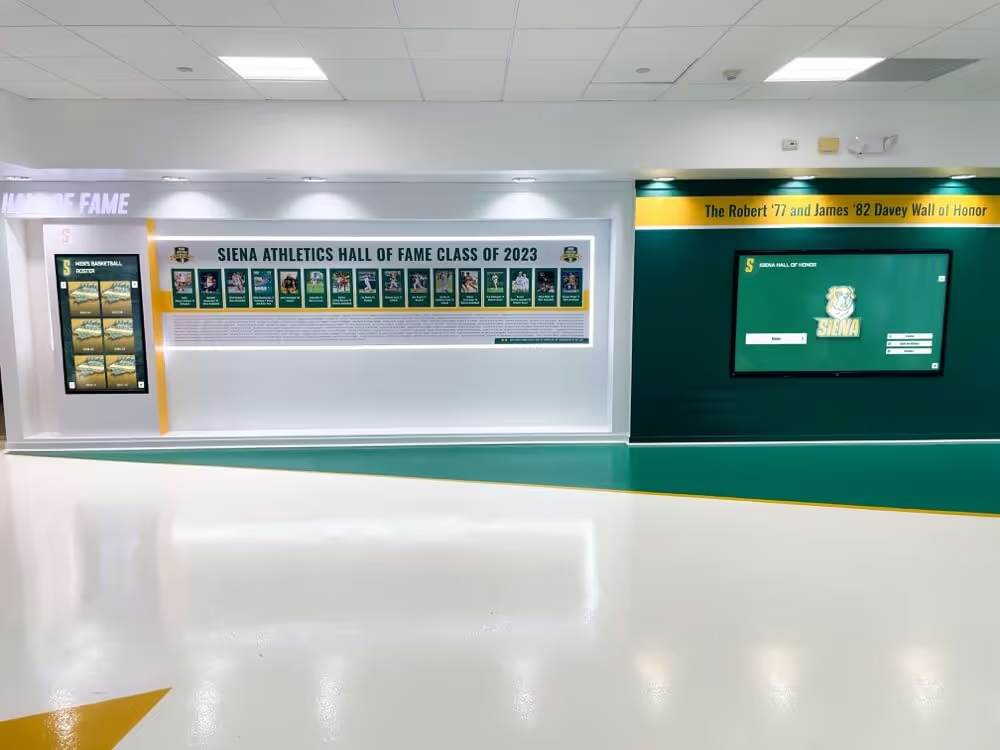
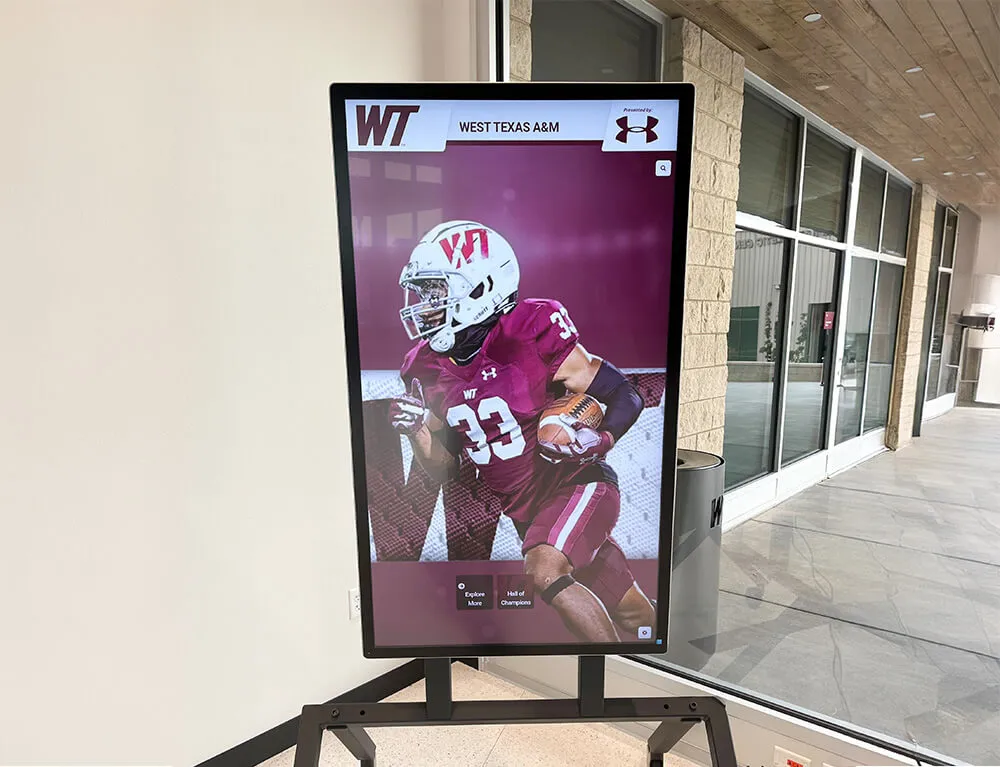
Examples of healthcare touchscreen implementations demonstrate capabilities relevant to dental practice applications.
Mounting Solutions and Installation Options
Professional mounting systems ensure displays remain secure, accessible for service, and properly positioned for optimal viewing:
Wall-Mount Brackets: Low-profile wall mounts position displays flush against walls in waiting rooms, hallways, and reception areas. Tilting mounts enable angle adjustment optimizing viewing for seated patients. Ensure mounting brackets rated for display weight plus safety margin, installed into wall studs or using appropriate anchoring for wall construction type, and positioned at comfortable viewing height (40-50 inches center-height for seated viewing, 55-65 inches for standing viewing).
Ceiling Mounts for Treatment Rooms: Articulating ceiling mounts suspend displays above dental chairs enabling positioning in optimal patient line-of-sight during treatment. Adjustable arms facilitate display movement for various procedures and patient positions. Specify ceiling mounts rated for display weight, appropriate drop length based on ceiling height, and locking mechanisms preventing unintended movement.
Freestanding Floor Stands: Mobile floor stands offer flexibility for displays that may require relocation, temporary installations testing effectiveness before permanent mounting, or practices with leased spaces restricting wall modifications. Commercial stands feature weighted bases preventing tipping, cable management systems concealing power and network connections, and lockable wheels enabling movement while preventing unauthorized relocation.
Countertop Stands: Small displays at reception or checkout benefit from commercial desktop stands providing proper viewing angle, cable management, and security features preventing theft. Adjustable-height stands accommodate various counter configurations and staff preferences.
ADA Compliance Considerations: Interactive displays in public areas must meet ADA accessibility requirements including mounting height enabling wheelchair user access, adequate clear floor space for approach, and reachable controls without obstructions. Consult digital display accessibility standards ensuring compliant installations.
Content Strategy and Development for Dental Practices
Hardware delivers infrastructure, but content determines whether digital displays achieve communication objectives and generate meaningful returns on investment.
Core Content Categories and Priorities
Effective dental practice displays balance multiple content types serving different communication goals:
Patient Education Content (40-50% of Content):
Procedure Explainers: Short videos (60-180 seconds) explaining common treatments in patient-friendly language including what to expect during procedures, why treatments are recommended, recovery expectations and care instructions, and realistic outcome timelines. Cover frequent procedures: root canals, crowns, dental implants, veneers, orthodontics, wisdom teeth extraction, and gum disease treatment.
Oral Health Education: Preventive care instruction reinforcing dentist and hygienist guidance including proper brushing and flossing techniques, diet impact on oral health, importance of regular cleanings, early warning signs requiring attention, and connection between oral health and overall wellness.
Treatment Benefits and Options: Comparative content helping patients understand choices including implants vs. bridges vs. dentures for missing teeth, traditional braces vs. clear aligners, porcelain vs. composite veneers, and sedation options for anxious patients.
Service Promotion Content (25-30% of Content):
Cosmetic Dentistry Showcase: Before/after galleries demonstrating transformative results from teeth whitening, veneers, smile makeovers, and cosmetic bonding. Visual evidence proves possible outcomes far more effectively than verbal descriptions. Include diverse patient examples representing age ranges, treatment types, and aesthetic concerns.
Specialty Services Awareness: Promote capabilities patients may not know to request including dental implant placement and restoration, orthodontic treatments (traditional and clear aligner options), pediatric dentistry and kid-friendly approach, periodontal disease treatment and maintenance, TMJ disorder diagnosis and management, and sleep apnea treatment with oral appliances.
Financing and Accessibility: Communicate options making treatments affordable including insurance acceptance and filing assistance, in-house financing plans with monthly payment examples, third-party financing partnerships (CareCredit, LendingClub), flexible appointment scheduling accommodating work schedules, and emergency dental services availability.
Practice Information Content (15-20% of Content):
Team Introductions: Profile dentists, hygienists, and staff members building personal connections that reduce anxiety and increase trust. Include professional credentials, personal interests, and why team members chose dentistry—humanizing clinical relationships.
Technology and Capabilities: Showcase modern equipment and techniques differentiating your practice including digital x-rays reducing radiation exposure, intraoral cameras enabling patients to see what dentist sees, CEREC same-day crowns eliminating temporary crowns and multiple visits, laser dentistry for less invasive procedures, and 3D imaging for precise implant placement.
Patient Testimonials and Reviews: Real patient experiences build credibility and trust more effectively than practice marketing claims. Include video testimonials when possible, specific treatment stories, and five-star review highlights from Google, Yelp, and Facebook.
Practice Operations Content (5-10% of Content):
Appointment Reminders and Preparation: Reinforce upcoming appointment preparation, new patient intake requirements, what to bring for first visits, and post-treatment care instructions patients may have forgotten.
Office Policies and Logistics: Communicate important operational information including office hours and emergency contact, insurance and payment policies, cancellation and rescheduling procedures, and COVID-19 safety protocols or other health precautions.
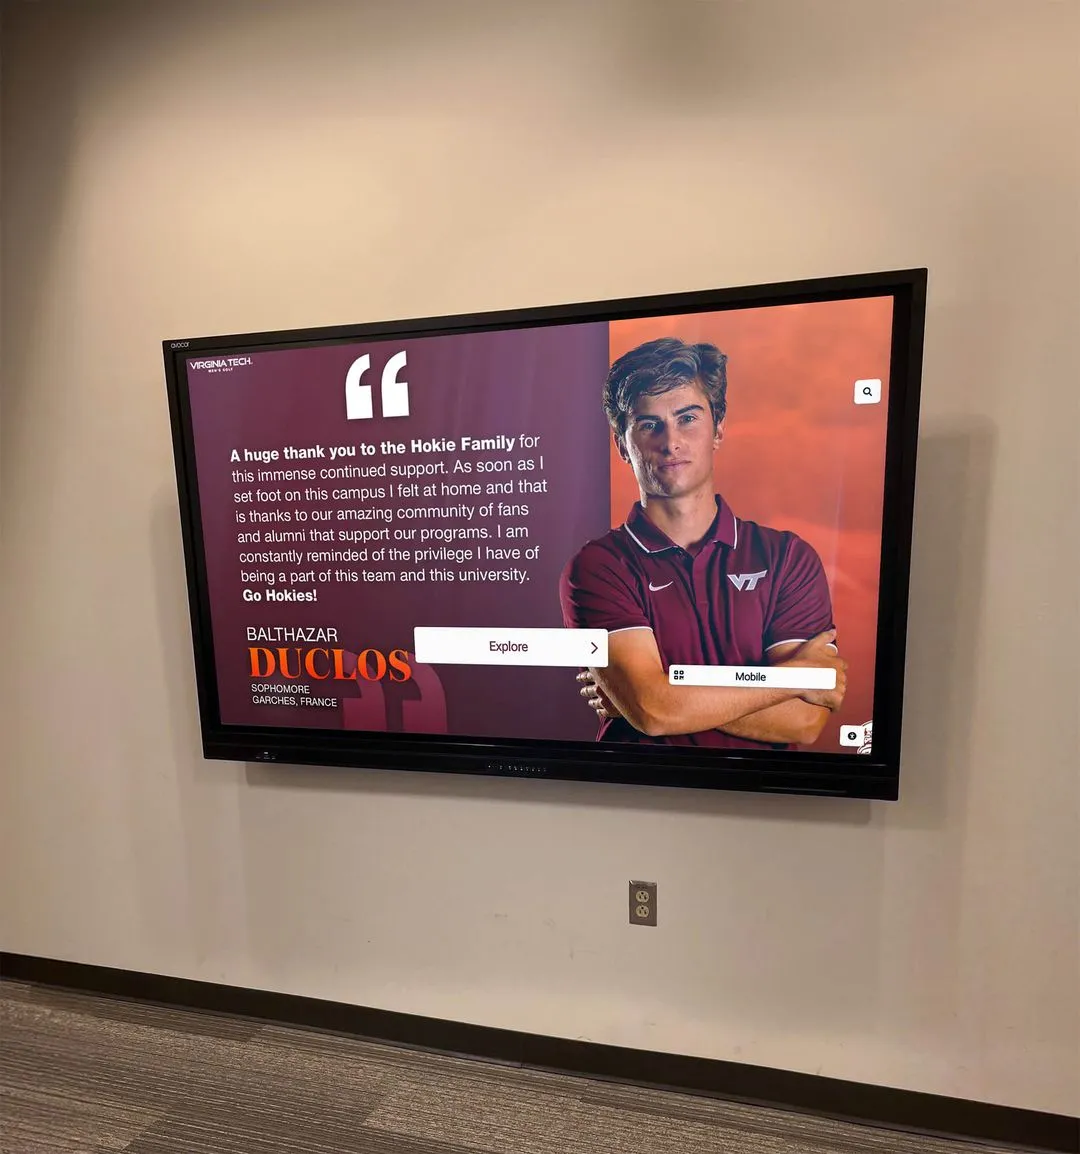
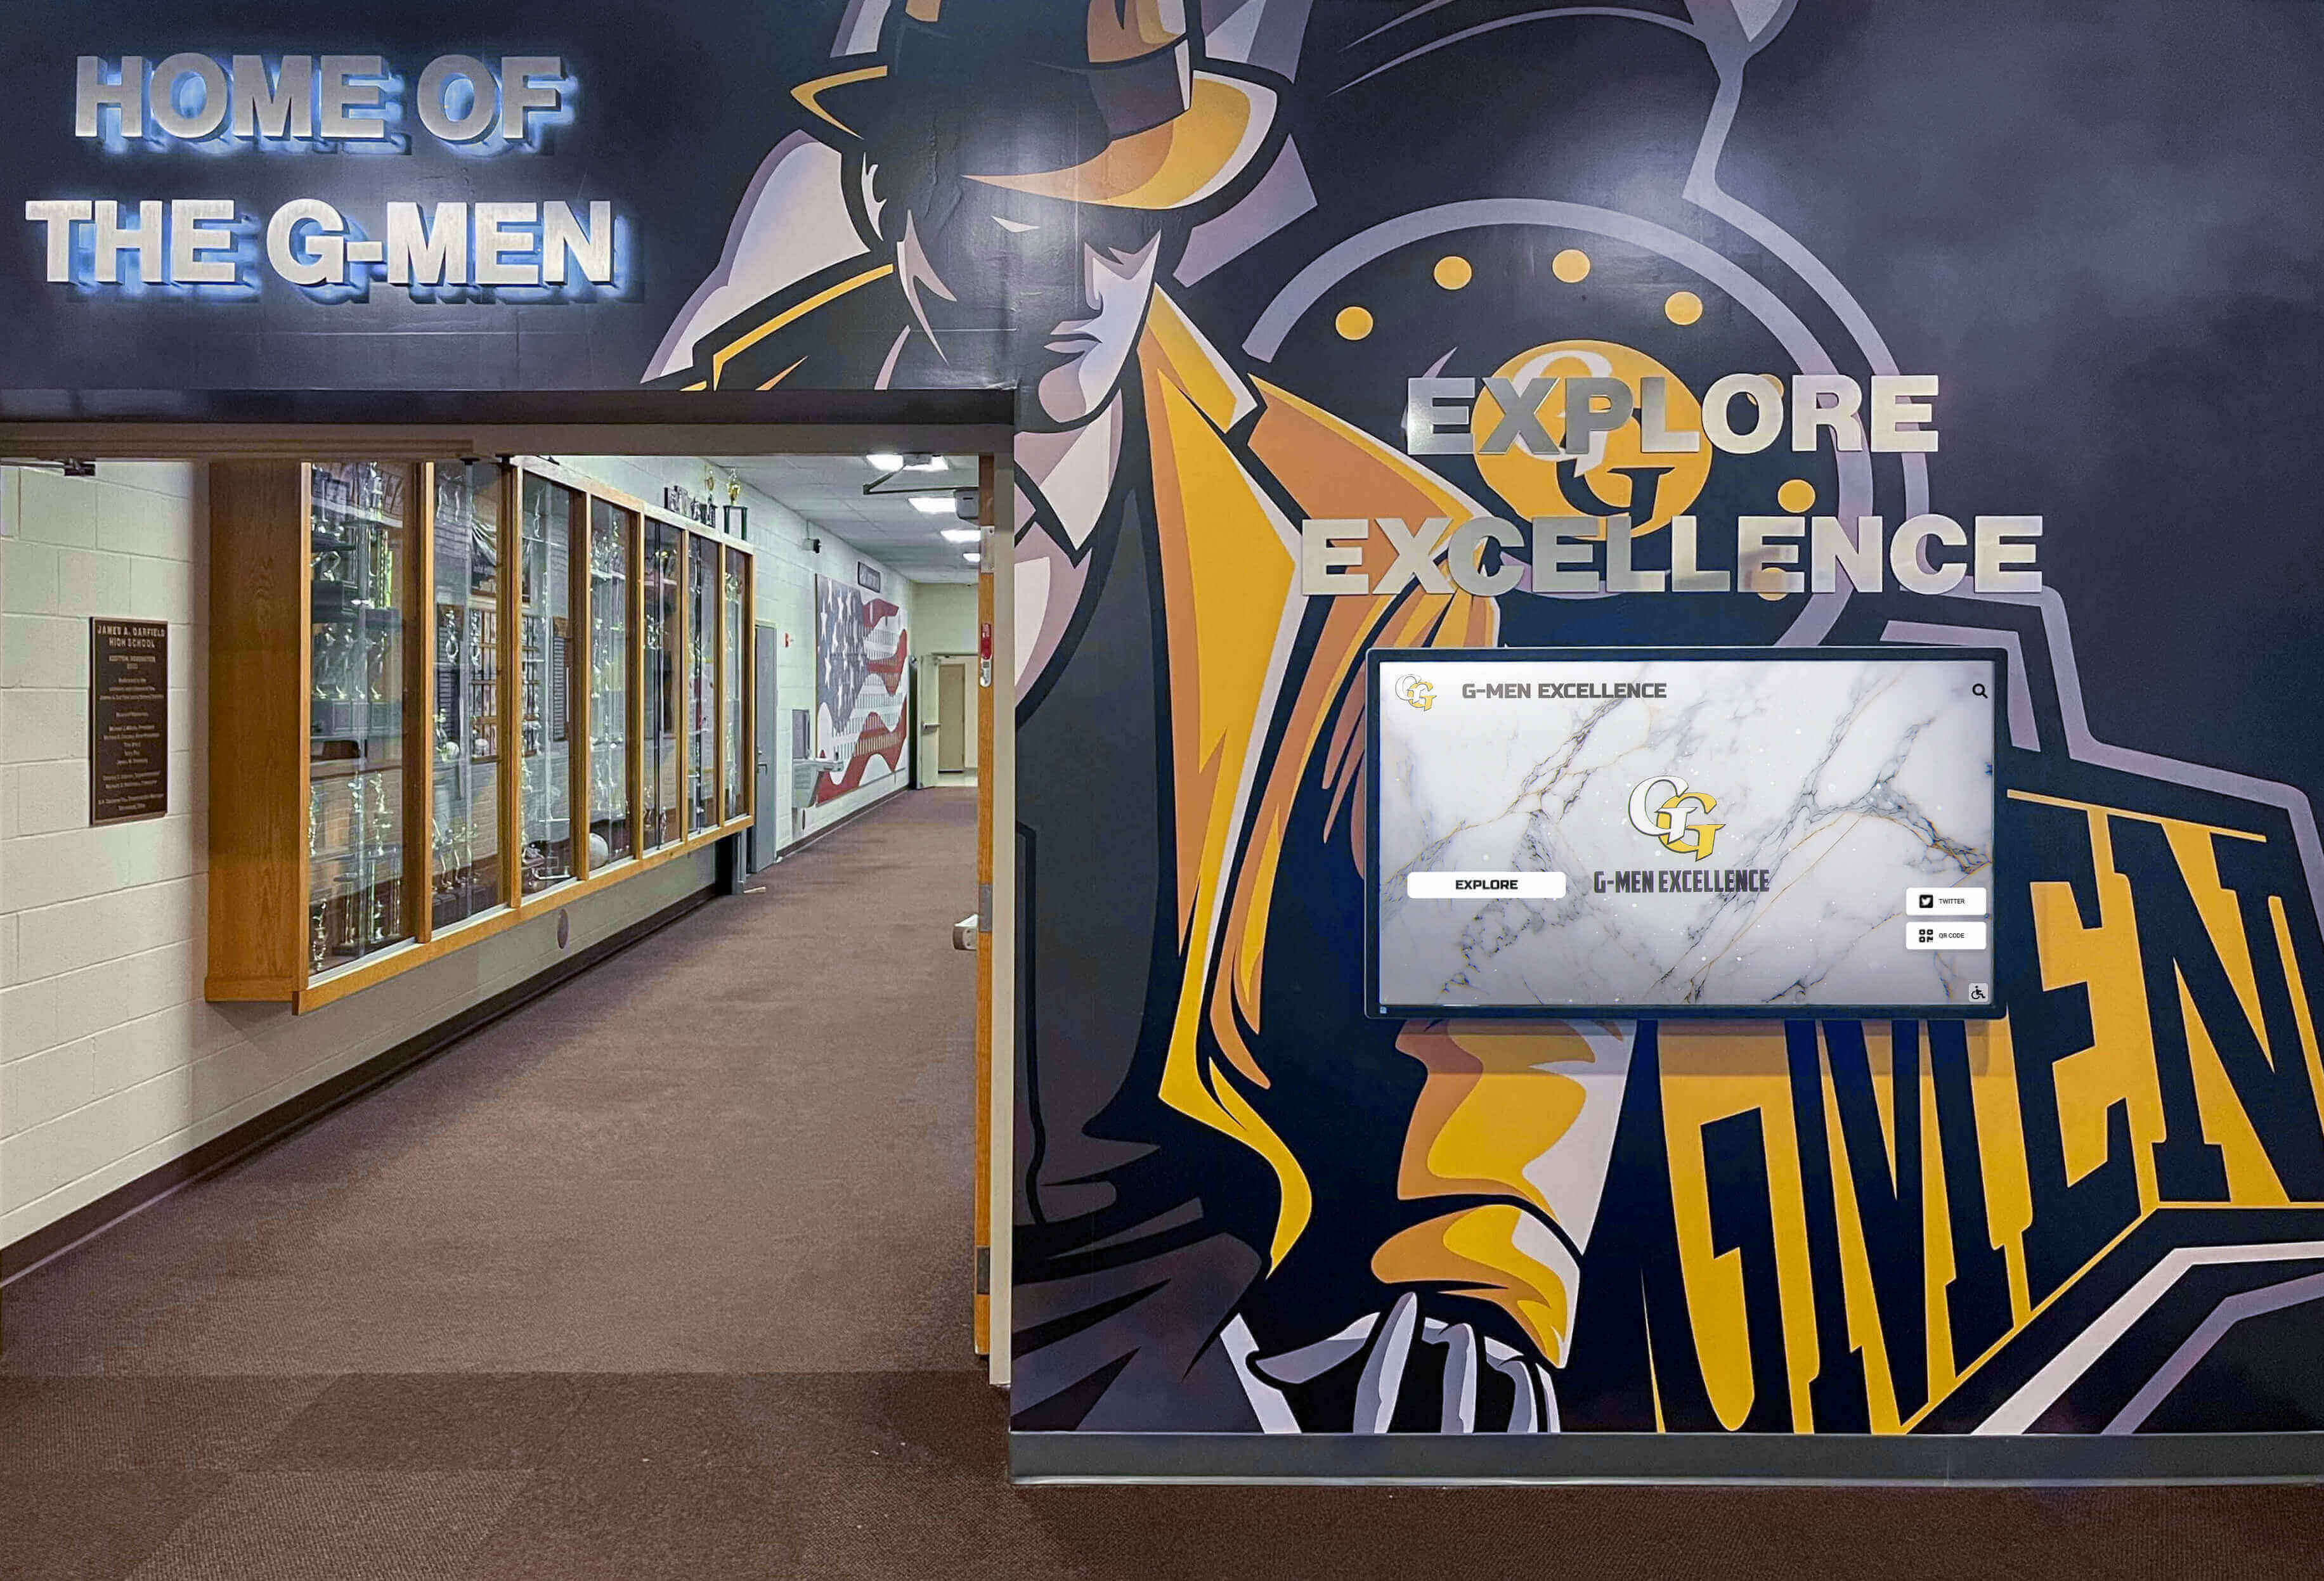
Effective content development strategies demonstrated in educational display implementations translate effectively to healthcare communication contexts.
Content Creation Resources and Approaches
Dental practices have multiple options for generating display content matching quality expectations and budget constraints:
Professional Content Services: Dental-specific digital signage companies provide libraries of pre-produced patient education videos, procedure explainers, and oral health tips created by dental professionals. Subscription services typically cost $50-$200 monthly depending on library size and customization options. Benefits include immediate content availability, professional production quality, and regular updates with new topics. Limitations include generic content not specific to your practice and inability to showcase your team and facilities.
Custom Video Production: Hiring professional videographers creates unique content featuring your practice, staff, and facilities. Typical project costs: $2,000-$8,000 for initial content library (8-12 videos), $500-$1,500 per additional video for ongoing updates. Advantages include authentic practice representation, ability to address practice-specific topics, and content reflecting your brand personality. Disadvantages include higher upfront investment and longer production timelines.
In-House Content Creation: Modern smartphones and simple editing software enable practice staff to create acceptable content at minimal cost. Effective for team introductions, practice tours, patient testimonials, and timely announcements. Requires staff time commitment (budget 3-5 hours per quality 2-minute video including filming, editing, and approval). Quality varies significantly based on staff skills and available tools.
Hybrid Approach (Recommended): Combine pre-produced educational content from subscription services with custom-filmed practice-specific content creates comprehensive libraries balancing professional polish with authentic practice representation. Use professional content for complex procedure explanations and oral health education. Create in-house content for team introductions, practice tours, financing explanations, and local community connections.
Content Specifications for Professional Production:
- Video length: 60-180 seconds (optimal for waiting room viewing)
- Resolution: Minimum 1080p HD, 4K preferred for large displays
- Aspect ratio: Match display orientation (16:9 landscape, 9:16 portrait)
- Audio: Include narration with closed captioning (accessibility plus viewing without sound)
- Branding: Include practice logo and contact information in lower third
- Call-to-action: End each piece with next step (schedule consultation, ask staff, visit website)
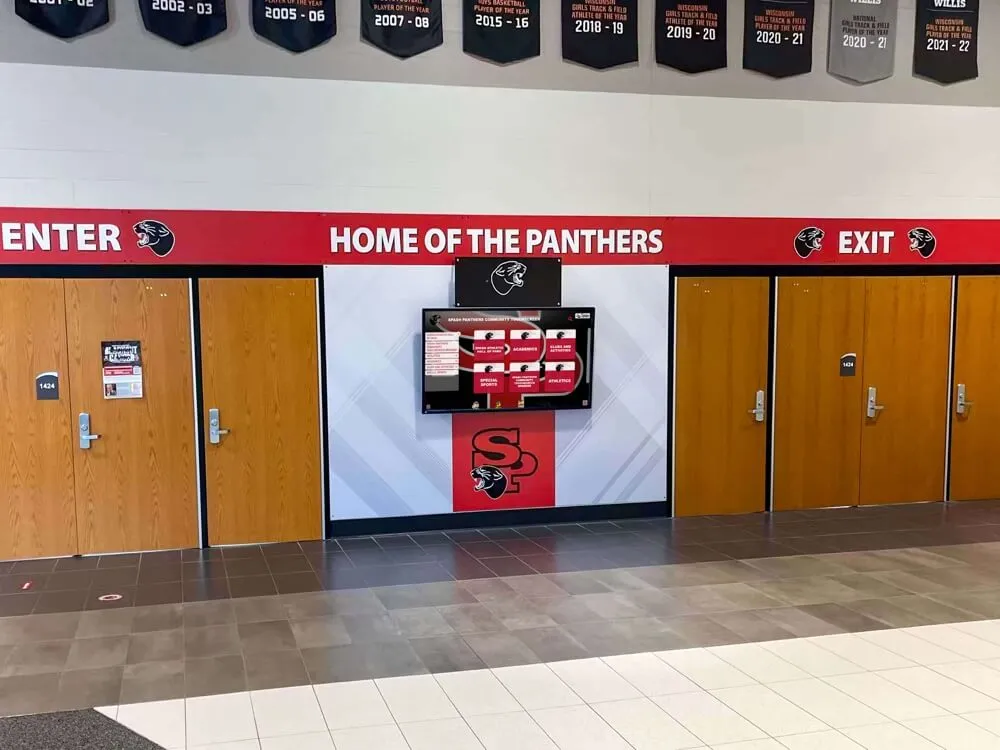
Implementation examples from donor recognition displays demonstrate effective mixed-content approaches balancing various formats and sources.
Content Scheduling and Display Management
Effective content management ensures right messages reach right audiences at optimal times:
Time-of-Day Scheduling: Program content playlists matching patient demographics and practice activities throughout day. Morning appointments (7-10 AM) skew toward working professionals needing quick visits—emphasize efficiency, convenient scheduling, and minimal disruption messaging. Midday appointments (10 AM-2 PM) accommodate varied demographics—balanced mix of educational content, service promotion, and practice information. Afternoon appointments (2-6 PM) often include families and children—incorporate kid-friendly content, family dentistry services, and orthodontic information.
Day-of-Week Variations: Monday content can preview week’s practice focus or promote specific services. Friday content emphasizes weekend emergency protocols and scheduling for following week. Adjust content supporting practice flow management and operational priorities.
Seasonal Content Calendars: Develop content plans aligned with seasonal opportunities including back-to-school dental checkups (July-August), holiday smile makeovers (October-December), New Year’s resolution wellness (January-February), oral cancer awareness month (April), and children’s dental health month (February).
Treatment Room Display Control: Enable dentists to override waiting room playlists and display specific educational content relevant to individual patient consultations. Quickly access procedure videos, before/after galleries, treatment simulations, and financial breakdowns supporting case presentation without technical expertise required.
Reception Desk Override Capabilities: Empower front office staff to display appointment schedules, insurance information, or practice announcements when directly relevant to patient interactions—temporarily overriding automated playlists for immediate needs.
Scheduling strategies from campus digital communication systems demonstrate sophisticated content management approaches applicable across contexts.
Budget Development and ROI Analysis
Comprehensive budget understanding enables accurate proposals, appropriate funding requests, and realistic expectations for returns on digital display investments.
First-Year Implementation Costs
Hardware Components (per display installation):
- Commercial display (22-32" reception/treatment): $800-$1,800
- Commercial display (43-55" waiting room): $1,200-$2,800
- Media player or system-on-chip upgrade: $300-$800
- Mounting hardware (wall/ceiling/floor): $150-$600
- Cabling and connectivity accessories: $50-$150
Installation Services (per location):
- Professional mounting and setup: $200-$500
- Network configuration and testing: $100-$250
- Staff training and documentation: $150-$300
Content and Software (typically practice-wide):
- Digital signage software subscription (annual): $500-$2,000
- Professional content library subscription (annual): $600-$2,400
- Custom video production (initial library): $2,000-$8,000
- Content templates and design: $500-$1,500
Typical Single-Display Investment: $3,000-$8,000 first year including hardware, installation, software, and initial content.
Typical Three-Display Practice Investment: $8,000-$18,000 first year (waiting room + reception + checkout displays) with economies of scale for content and software costs.
Ongoing Annual Operating Costs
Software and Services (practice-wide):
- Digital signage platform subscription: $500-$2,000 annually
- Professional content library updates: $600-$2,400 annually
- Technical support and maintenance agreements: $300-$800 annually
Content Maintenance:
- Staff time for content updates (2-4 hours monthly): $1,000-$2,500 annually
- Periodic custom video production: $500-$2,000 annually
- Stock photography and graphics: $100-$300 annually
Hardware Maintenance:
- Cleaning and minor adjustments: $100-$200 per display annually
- Replacement parts or service calls: $50-$150 per display annually
Typical Annual Operating Costs: $3,000-$8,000 practice-wide for 2-4 displays depending on content production approach and staff resource allocation.
Return on Investment Calculation
Digital displays deliver measurable value through multiple revenue-impacting channels:
Increased Case Acceptance Rates: Dental practices implementing educational displays in treatment rooms and consultation spaces report 15-35% improvement in case acceptance for elective and high-value procedures. Calculate impact: If practice presents $50,000 monthly in treatment plans and accepts 40% currently, 10-point acceptance increase ($50,000 × 0.10 = $5,000 additional monthly revenue × 12 months = $60,000 annually). Even conservative 5% acceptance improvement generates $30,000 additional annual revenue.
Service Mix Optimization: Digital displays increase awareness of high-value services most patients don’t know to request. Practices report 10-25% increase in cosmetic consultation requests, implant inquiries, and orthodontic evaluations after implementing promotional displays. Conservative estimate: Two additional implant cases monthly ($4,000 per case × 24 annually = $96,000 revenue increase). One additional full-case orthodontic treatment quarterly ($5,000 per case × 4 annually = $20,000 revenue increase).
Reduced No-Show Rates: Appointment reminder displays and patient engagement content contribute to 5-15% reduction in missed appointments. Calculate impact: Practice with 100 daily appointments, 8% no-show rate (8 daily), and $200 average appointment value loses $1,600 daily ($1,600 × 250 working days = $400,000 annually). Even 2-point no-show reduction recovers $100,000 annually.
Staff Efficiency Gains: Automated patient education reduces time staff spend answering repetitive questions and providing procedure explanations. Calculate staff time value: If displays save 15 minutes per hour across front office and clinical staff (3 total hours daily), value savings at loaded hourly rate of $35 per hour ($105 daily × 250 days = $26,250 annually). Redirected time enables additional patient appointments or reduces overtime expenses.
Marketing Value and Patient Acquisition: Professional waiting room displays create favorable first impressions increasing positive online reviews, referral likelihood, and new patient conversion rates. While harder to quantify precisely, practices report 10-20% increase in Google review submissions after implementing displays requesting feedback. Enhanced online reputation generates 3-8 additional monthly new patients in competitive markets ($300 lifetime patient value × 50 additional annual patients = $15,000 value).
Conservative Total Annual Impact: $30,000 (case acceptance) + $40,000 (service mix) + $50,000 (no-shows) + $26,000 (efficiency) + $15,000 (acquisition) = $161,000 annual benefit against $15,000 first-year investment and $5,000 ongoing costs. ROI of over 900% first year, sustaining 2,800% in subsequent years.
Most dental practices achieve payback on digital display investments within 3-6 months based solely on treatment acceptance improvements—with additional benefits delivering compounding value throughout 5-7 year hardware lifecycles.
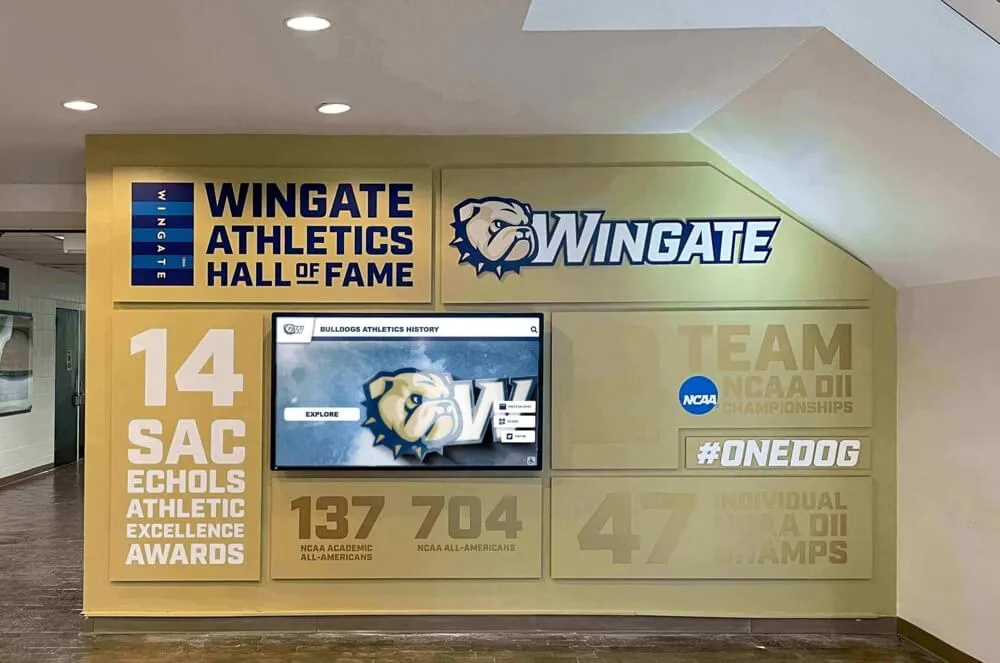
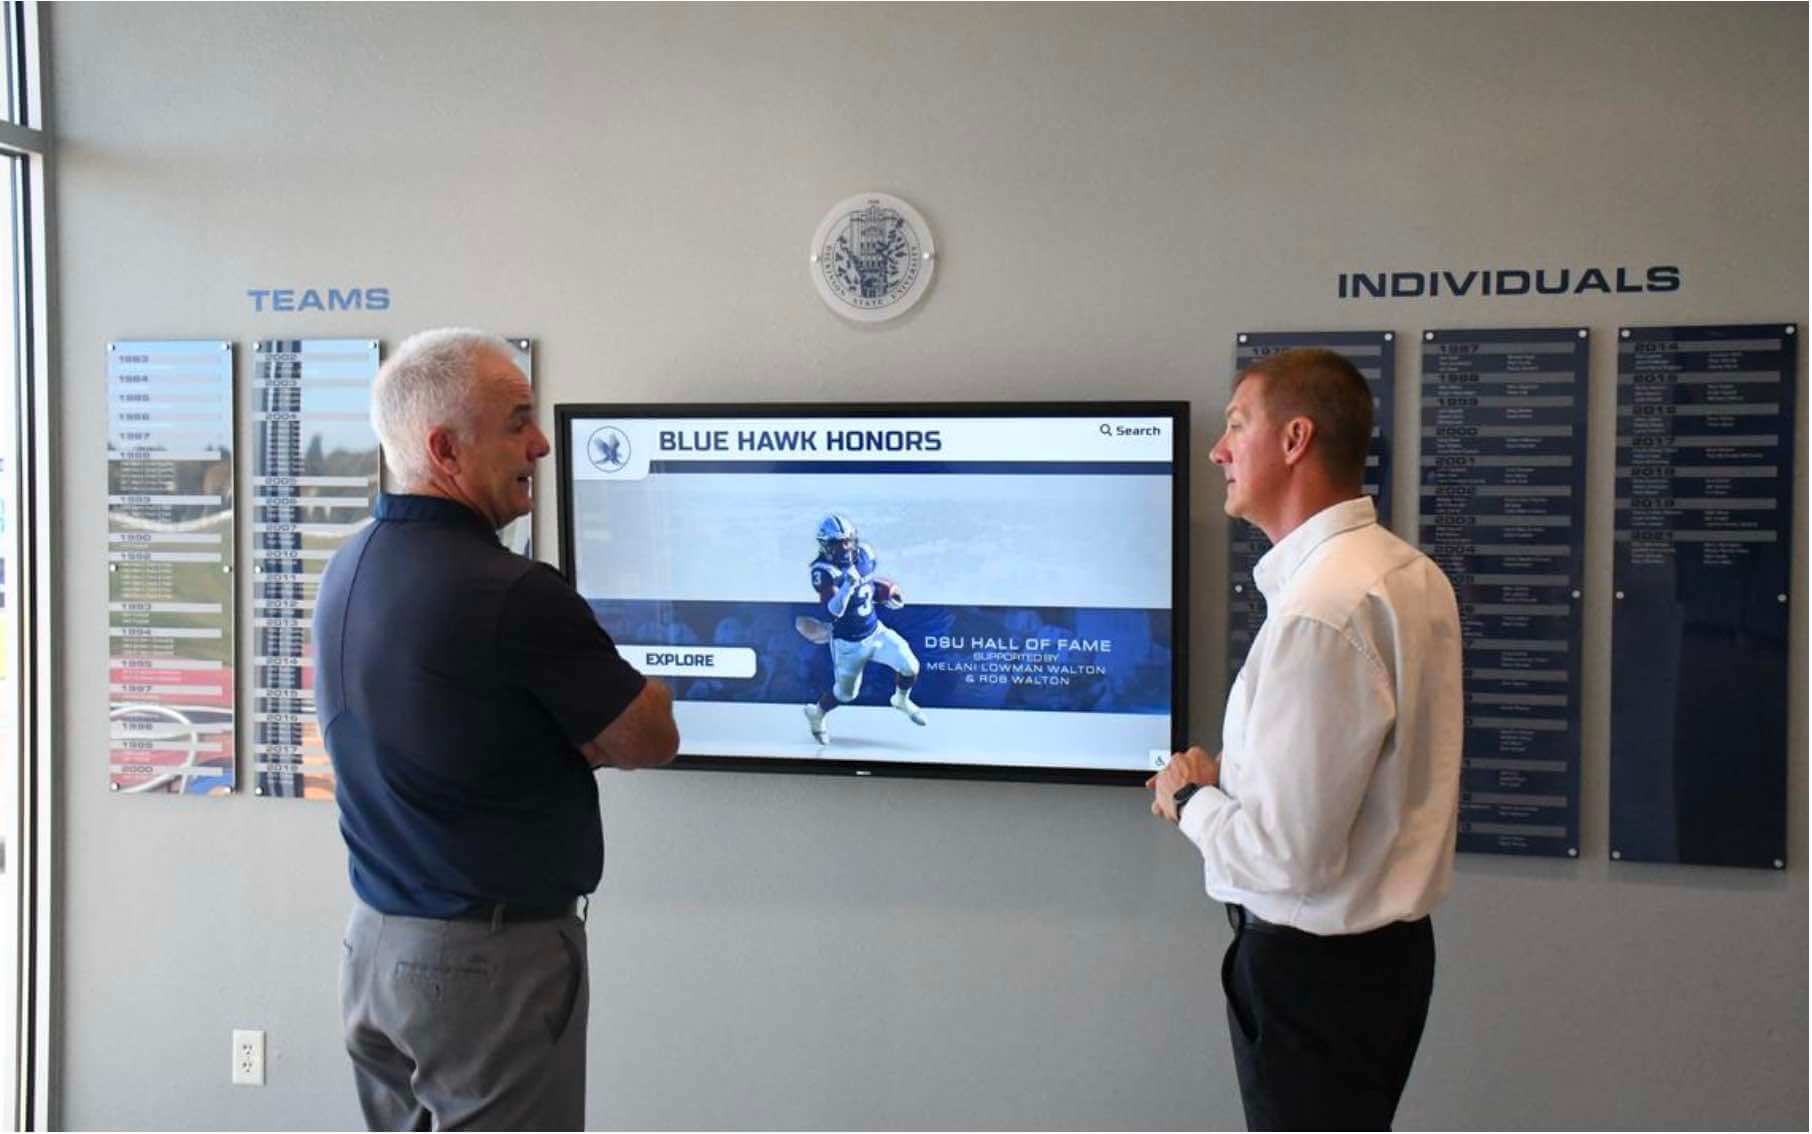
Resources on digital recognition ROI analysis demonstrate calculation approaches applicable to various professional contexts.
Implementation Process and Project Timeline
Systematic project management ensures successful deployment meeting operational requirements and budget expectations.
Phase 1: Planning and Vendor Selection (2-3 Weeks)
Week 1: Needs assessment identifying communication priorities, location scouting and site assessment documentation, staff input gathering on content needs and operational considerations, and preliminary budget development.
Week 2: Vendor research and proposal requests, product demonstrations and platform evaluations, reference checks with similar dental practices, and preliminary content planning.
Week 3: Final vendor selection and contract negotiations, detailed site surveys with installation partners, infrastructure assessment identifying power and network requirements, and project timeline finalization.
Deliverables: Signed vendor contracts, approved budget, identified installation locations, preliminary content outline, and implementation schedule.
Phase 2: Infrastructure and Content Preparation (3-4 Weeks)
Weeks 1-2: Network and power infrastructure installation if required, procurement and delivery of display hardware, content library subscription setup and access configuration, and identification of staff responsible for ongoing management.
Weeks 3-4: Initial content collection and organization, custom video production or in-house filming sessions, content template customization with practice branding, and playlist development for different display locations.
Deliverables: Installed infrastructure supporting displays, delivered hardware ready for mounting, populated content library with initial playlists, and trained content administrators.
Phase 3: Installation and Configuration (1-2 Weeks)
Week 1: Display mounting and hardware installation, media player setup and network connectivity testing, content management software configuration, and display calibration ensuring optimal brightness and color.
Week 2: Content loading and playlist synchronization, functionality verification testing all features, staff training on content management and display control, and troubleshooting any technical issues.
Deliverables: Fully operational display installations running scheduled content, trained staff comfortable with content management, and documented procedures for common tasks.
Phase 4: Launch and Optimization (2-4 Weeks)
Week 1: Soft launch for internal staff testing and feedback, content refinement based on staff observations, patient response monitoring, and issue resolution.
Weeks 2-4: Full operational launch, patient feedback collection, usage analytics review, content performance assessment, and playlist optimization based on engagement data.
Deliverables: Fully launched display system meeting communication objectives, established content update workflows, documented best practices, and baseline performance metrics.
Total Implementation Timeline
Minimum Deployment: 8-10 weeks from project initiation to full operation Typical Deployment: 10-13 weeks allowing buffer for content development and vendor coordination Complex Multi-Location Practices: 12-16 weeks for comprehensive deployments across multiple offices
Plan implementations avoiding busy practice periods (tax season when patients defer elective care, December holidays, summer vacation weeks when staff unavailable) and coordinate with any planned office renovations or equipment upgrades.

Content Management Best Practices
Sustained display value requires establishing clear governance, update procedures, and quality standards from implementation start.
Assigning Content Responsibility
Designated Content Coordinator (Recommended): Appoint specific staff member overseeing display content management, processing update requests from dentists and staff, maintaining content quality and accuracy, coordinating with vendors for technical support, and tracking display performance metrics. Typical assignment to practice manager, office administrator, or marketing coordinator depending on organizational structure.
Distributed Content Creation: While centralized coordination remains important, enable clinical staff to request specific educational videos or case examples supporting their patient communication. Dentists identify common patient questions or treatment acceptance barriers that content could address. Hygienists contribute oral health tips and preventive care messaging from frontline patient interactions.
Regular Update Schedule: Establish routine content review and refresh cadence preventing displays from becoming stale. Monthly minor updates replace dated announcements, add new testimonials, and incorporate seasonal content. Quarterly major updates assess overall content mix, add new service promotions, update team introductions, and refresh design templates. Annual comprehensive reviews ensure content remains accurate, relevant, and aligned with practice priorities.
Quality Standards and Approval Workflows
Content Approval Process: Implement review workflow ensuring all displayed content meets professional standards before publication. Clinical content requiring dentist approval for medical accuracy. Practice information and policy content requiring practice manager approval. Marketing content ensuring consistent brand representation and compliance with advertising regulations.
Accessibility Requirements: All content must include closed captioning for deaf or hard-of-hearing patients, color contrast meeting WCAG standards for visual impairments, and simple language appropriate for diverse education levels and English proficiency.
Compliance Considerations: Dental advertising regulated by state dental boards and federal requirements. Ensure content compliance including accurate representation of procedures and outcomes, no guaranteed results or misleading claims, clear disclosure of any limitations or risks, proper testimonial disclaimers, and avoidance of fear-based marketing tactics.
Analytics and Performance Optimization
Tracking Engagement Metrics: Modern digital signage platforms provide analytics showing content performance including total impressions (how many times content displayed), dwell time (how long patients viewed specific content), interaction rates (for touchscreen displays), and peak viewing times by location.
Content Performance Analysis: Identify high-performing content maintaining patient attention, underperforming content requiring replacement or enhancement, optimal content length balancing information depth with attention span, and most effective formats (video vs. static images vs. animations).
Iterative Improvement Process: Use analytics informing content decisions rather than assumptions about what patients find valuable. Test content variations measuring comparative performance. Gather staff feedback on patient questions and comments about displayed content. Solicit patient feedback through brief surveys or informal conversations.
Examples of successful recognition display management demonstrate governance approaches maintaining content quality and relevance over multi-year deployments.
Common Implementation Challenges and Solutions
Understanding typical obstacles enables proactive prevention or rapid response when issues emerge during implementation or operation.
Challenge: Staff Resistance to New Technology
Some dental practice staff members, particularly those with long tenure, resist changes to established workflows and communication approaches. Concerns include perceived complexity, time required to learn new systems, or skepticism about value compared to traditional methods.
Prevention Strategies:
- Involve staff in planning process gathering input on communication challenges
- Select platforms with intuitive interfaces requiring minimal training
- Emphasize automation reducing rather than increasing workload
- Start with single high-impact location proving value before comprehensive deployment
- Provide adequate training and ongoing support resources
Resolution Approaches:
- Identify early adopters demonstrating system benefits to skeptical colleagues
- Share patient feedback and positive responses to displays
- Document time savings and improved treatment acceptance attributable to displays
- Offer individual coaching for staff members struggling with platform
Challenge: Content Creation Bottlenecks
Practices underestimate ongoing effort required for content development, leading to outdated displays undermining credibility and wasting infrastructure investments. Initial enthusiasm fades as staff face competing priorities.
Prevention Strategies:
- Utilize professional content libraries reducing custom production requirements
- Create content in batch production sessions maximizing efficiency
- Template standardized formats for common content types
- Allocate specific staff time for display management in job descriptions
- Start with manageable content volume expanding as processes mature
Resolution Approaches:
- Engage dental marketing agencies offering content production services
- Repurpose existing practice materials (website content, blog posts, social media videos)
- Solicit user-generated content from satisfied patients
- Simplify content reducing production requirements
- Schedule recurring content creation sessions maintaining consistent pipeline
Challenge: Measuring ROI and Demonstrating Value
Practice owners and dentists understandably want evidence that display investments generate meaningful returns. Attributing specific revenue gains or patient acquisition to displays proves challenging with multiple marketing touchpoints influencing patient behavior.
Solution Strategies:
- Establish baseline metrics before implementation for comparison
- Track specific indicators: treatment acceptance rates, service mix changes, no-show percentages, patient feedback scores
- Survey patients about information sources influencing treatment decisions
- Monitor Google review submission rates and sentiment before/after implementation
- Document staff time savings through productivity tracking
- Calculate conservative estimates acknowledging displays as one factor among many
Challenge: Technical Issues and Display Downtime
Network connectivity problems, software glitches, or hardware failures occasionally interrupt display operation—creating blank screens that communicate neglect rather than professionalism.
Prevention Strategies:
- Select reliable commercial-grade hardware rated for continuous operation
- Ensure robust network infrastructure with adequate bandwidth and signal strength
- Implement remote monitoring alerting staff to display problems
- Establish relationships with vendors providing responsive technical support
- Train staff on basic troubleshooting for common issues
Resolution Approaches:
- Develop contingency plans for extended outages (static signage backup)
- Maintain vendor contact information for rapid support access
- Document common problems and solutions in troubleshooting guide
- Consider service agreements including guaranteed response times
- Keep spare media players on hand for critical display locations
Advanced Features and Integration Opportunities
Understanding emerging capabilities and integration opportunities helps specify forward-looking systems that remain relevant as technology evolves and practice needs expand.
Interactive Patient Intake and Registration
Digital Check-In Kiosks: Touchscreen displays enable patients to complete check-in procedures without staff assistance including identity verification, insurance information updates, health history questionnaire completion, and consent form signing. Integration with practice management software automatically updates patient records eliminating duplicate data entry and reducing errors. Benefits include reduced reception workload, faster check-in during busy periods, improved data accuracy, and enhanced infection control (patients use personal touchpoints rather than shared pens and clipboards).
Pre-Appointment Form Completion: Web-based patient portals accessible from display touchscreens or personal devices enable new patients to complete extensive intake forms before first appointments. Saves valuable appointment time otherwise consumed by paperwork, improves form completion quality when patients complete thoughtfully at home, and reduces reception area congestion.
Treatment Visualization and Case Presentation Tools
3D Smile Simulation Integration: Advanced systems integrate with dental imaging software displaying before/after simulations of proposed cosmetic treatments directly on patient-facing displays. Dentists demonstrate expected outcomes from veneers, crowns, orthodontics, or whitening using patient’s actual dental images. Visual evidence of transformation potential dramatically improves case acceptance compared to verbal descriptions.
Digital Treatment Planning Presentations: Interactive displays enable dentists to walk patients through phased treatment plans, demonstrate why specific procedures are recommended, show treatment alternatives with comparative pros/cons, and illustrate long-term consequences of delaying care. Touchscreen control enables dentists to pace presentations matching patient questions and comprehension.
Financial Presentation Tools: Integration with practice management systems displays real-time treatment cost breakdowns, insurance coverage estimates, out-of-pocket calculations, and monthly payment options for various financing terms. Transparent, interactive financial presentations reduce anxiety about costs while facilitating informed decisions.
Multi-Location Practice Coordination
Centralized Content Management: Practices with multiple office locations benefit from unified display management ensuring consistent patient messaging, service promotion, and brand representation across all sites. Cloud-based platforms enable corporate marketing staff to create approved content automatically distributing to all locations while allowing individual offices to supplement with location-specific information (hours, staff, local events).
Cross-Location Service Promotion: Displays can promote specialized services available at different practice locations—informing patients at general dentistry offices about orthodontics at specialty locations, pediatric dentistry, periodontal surgery, or oral surgery services available within practice network.
Integration with Practice Management Systems
Appointment Schedule Display: Reception area displays can show real-time appointment availability, communicate running status (“Doctor is running 15 minutes behind schedule—thank you for your patience”), and facilitate appointment scheduling for walk-in inquiries. Reduces perceived wait frustration when patients understand delays while enabling efficient appointment coordination.
Automated Content Triggering: Practice management system integration enables automated display responses to specific events including displaying post-treatment instructions after procedure completion codes entered, triggering financing information when high-value treatment plans saved, and showing oral surgery preparation videos when wisdom teeth extraction appointments scheduled.
Patient Recognition and Loyalty Programs: Displays can celebrate patient milestones including congratulating braces removal, recognizing perfect attendance at preventive appointments, thanking longtime patients on practice anniversaries, and promoting referral rewards programs.
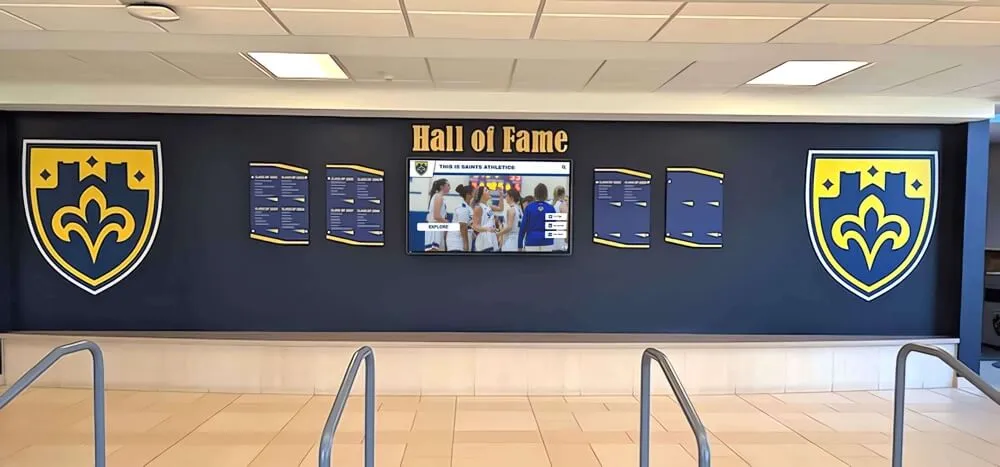
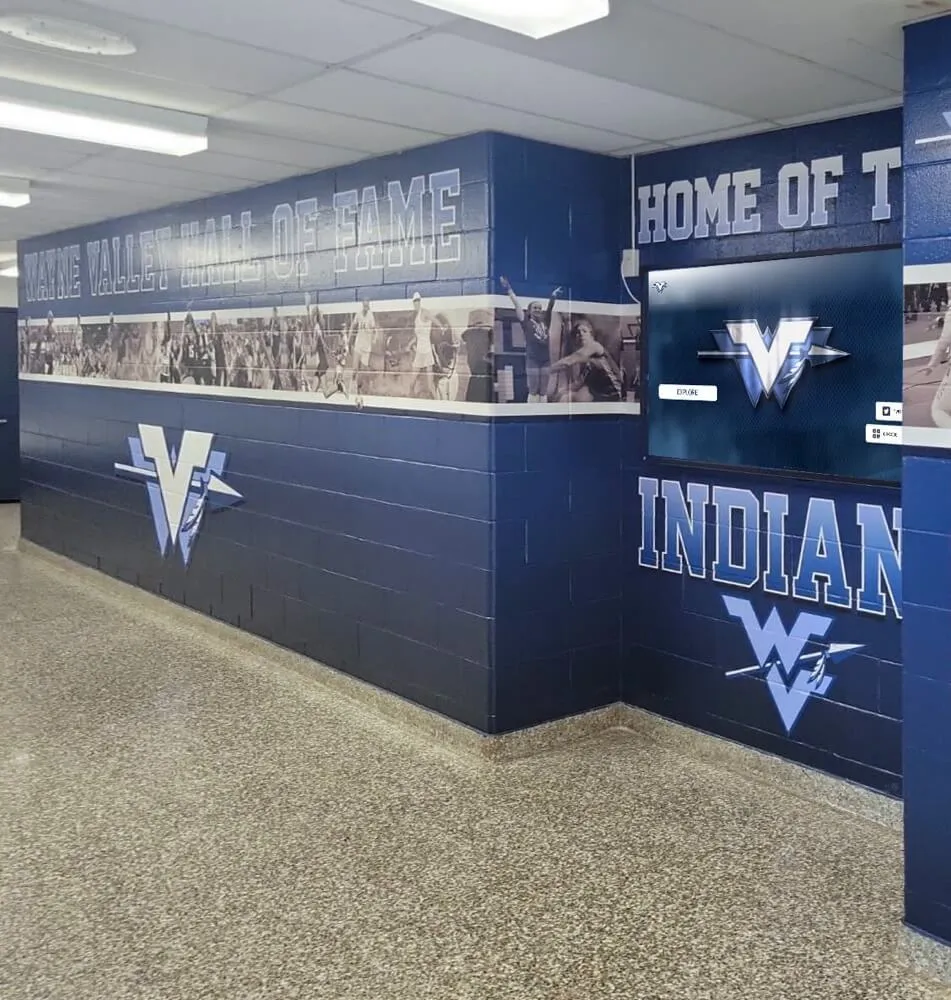
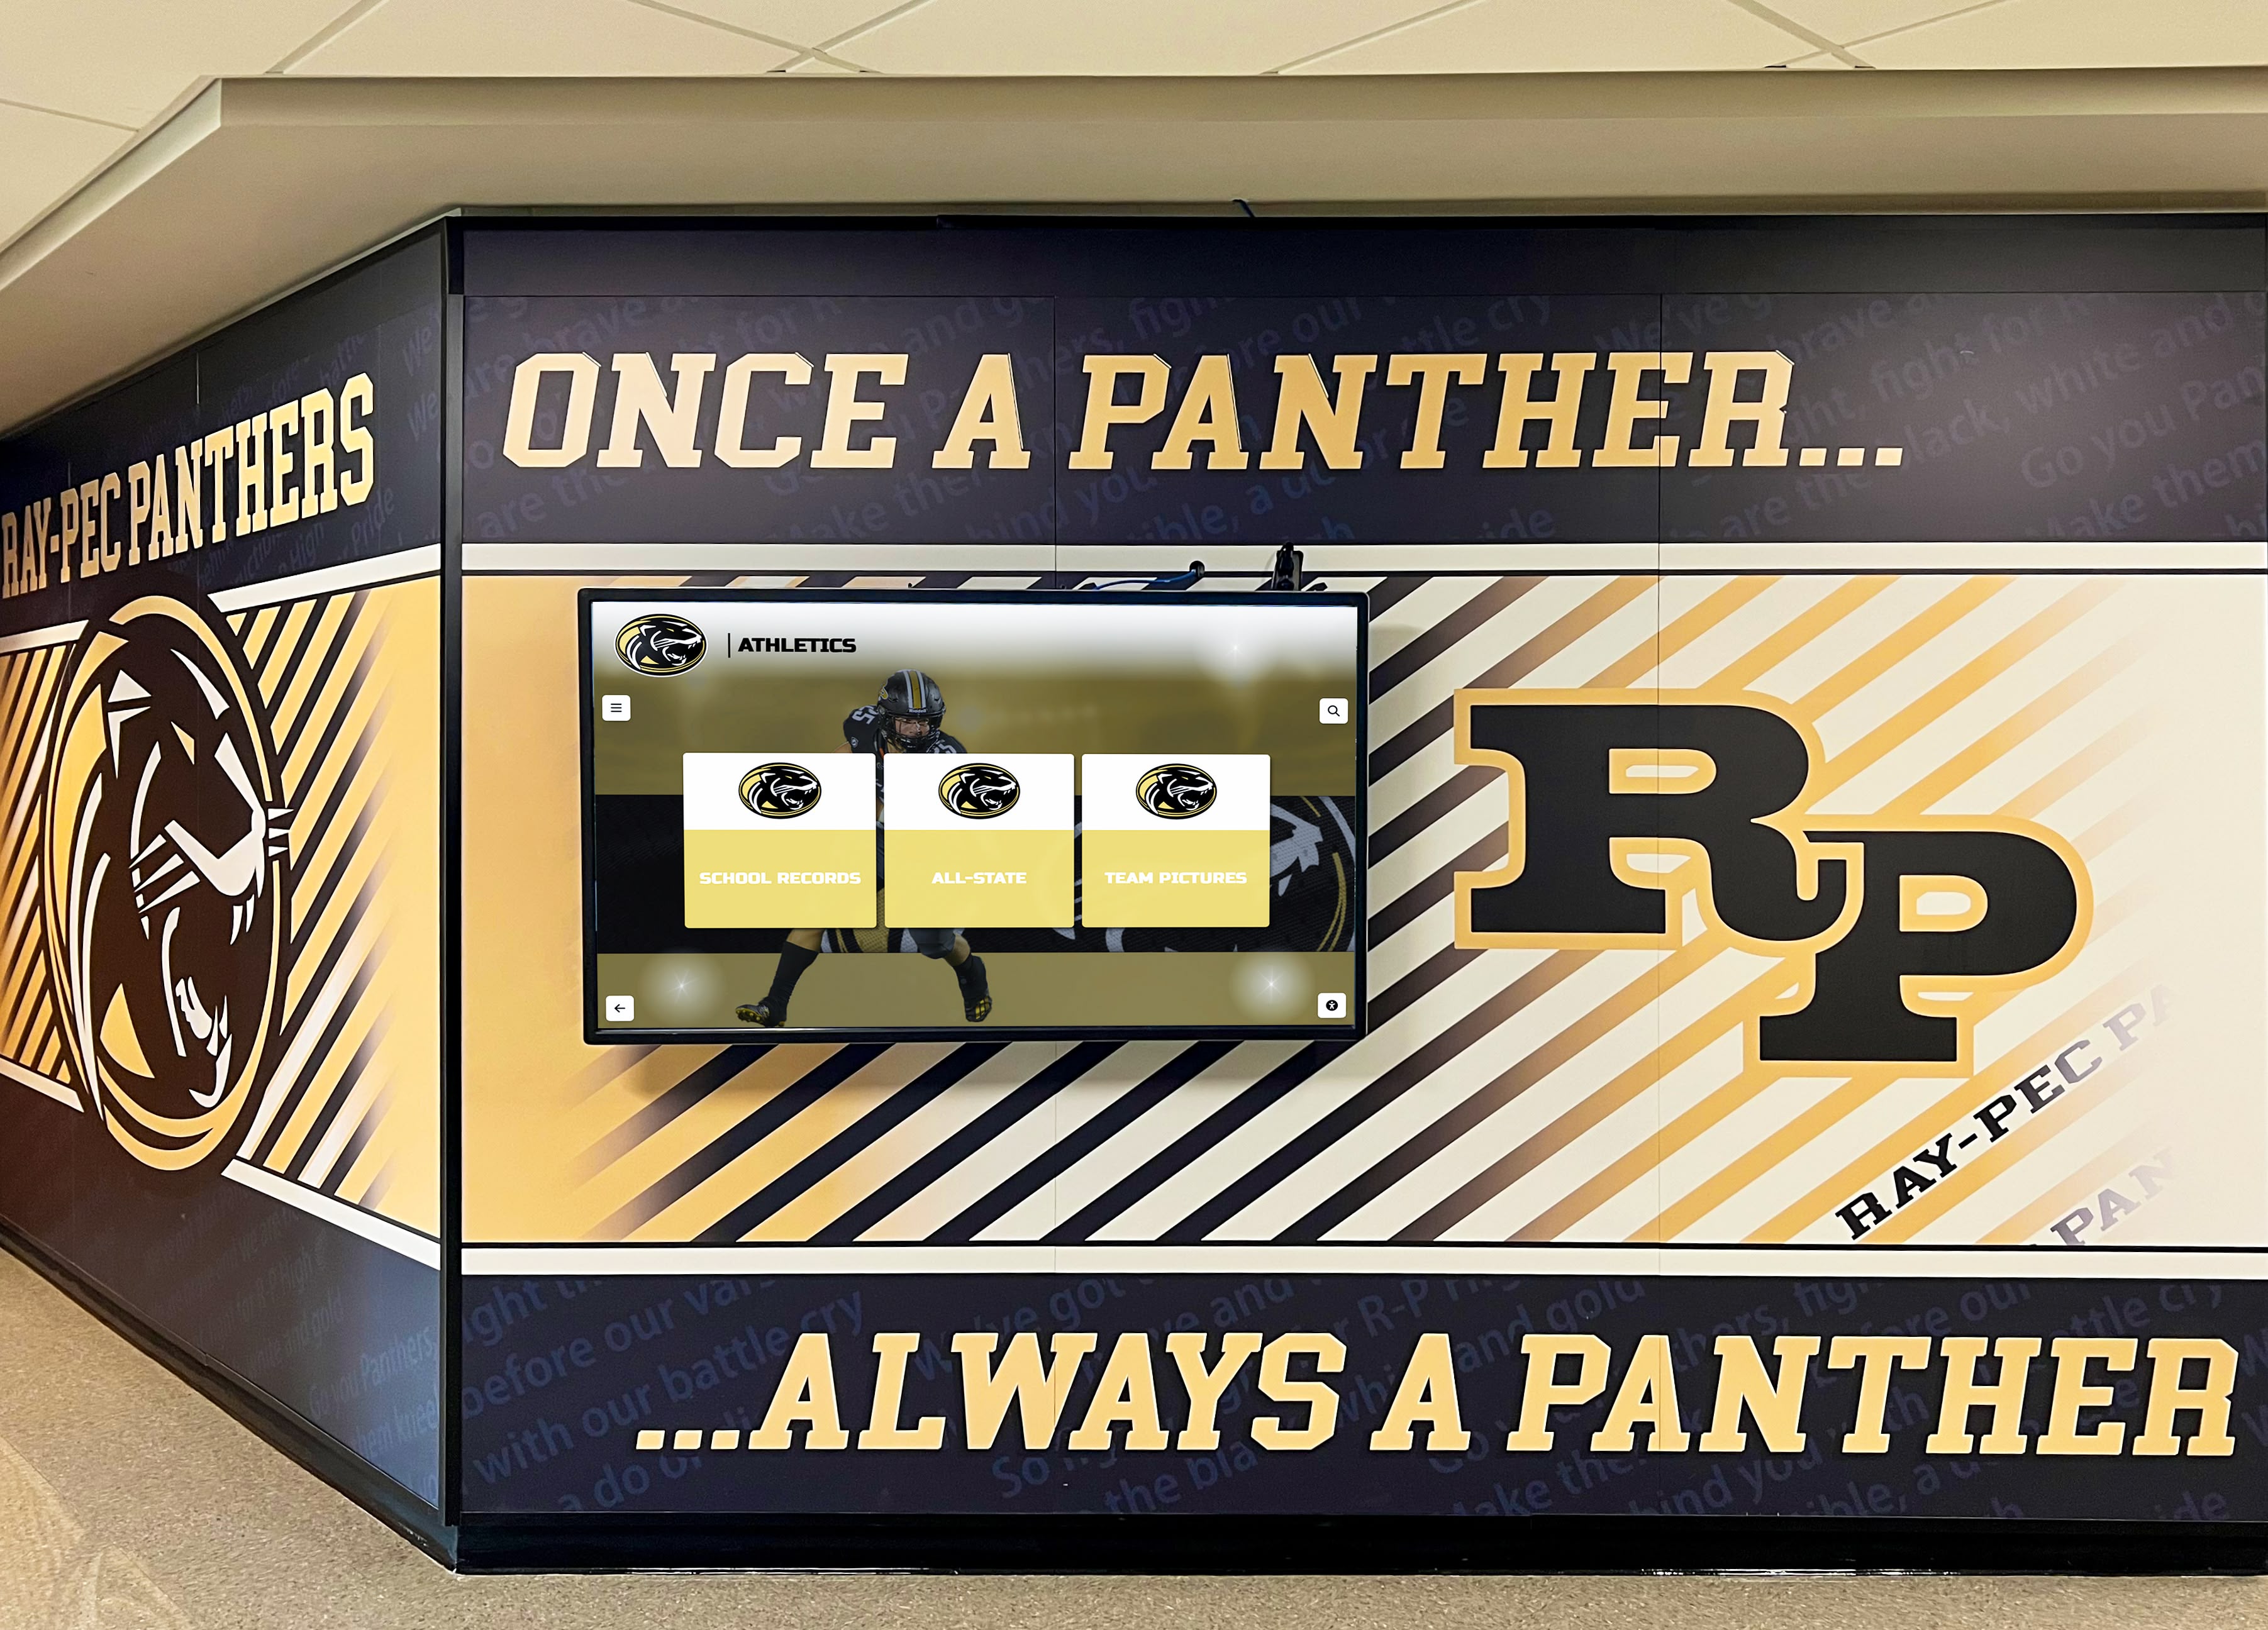
Implementation examples from interactive institutional displays demonstrate multi-purpose platform approaches maximizing technology infrastructure investments.
Vendor Selection Criteria and Evaluation
Choosing the right platform and partner determines long-term satisfaction, operational ease, and sustained value from display investments.
Essential Vendor Qualifications
Healthcare Sector Experience: Prioritize vendors serving dental practices or healthcare facilities rather than general digital signage companies. Healthcare-focused vendors understand HIPAA compliance requirements, medical terminology and content needs, clinical workflow considerations, and patient communication best practices that generic vendors lack.
Software Capability Assessment: Evaluate content management platforms through hands-on demonstrations testing ease of content uploading and editing, playlist creation and scheduling functionality, multi-display management across locations, template customization for practice branding, and user interface intuitiveness for non-technical staff.
Content Library Quality and Scope: If subscribing to professional content services, assess video production quality (professional appearance, clear audio, accurate information), topic coverage relevance to your practice services, content freshness and update frequency, multilingual options matching patient demographics, and ability to customize generic content with practice branding.
Integration Capabilities: Document available integrations with your existing practice management software (Dentrix, Eaglesoft, Open Dental, Curve), patient communication platforms, imaging systems requiring display connectivity, and payment processing systems for financial presentations.
Support and Training Quality: Evaluate vendor support infrastructure including implementation assistance and staff training, ongoing technical support availability and response times, content creation guidance and best practices, troubleshooting resources and documentation, and software training materials (video tutorials, user guides, webinars).
Pricing Transparency and Value: Request detailed pricing covering all costs including hardware (displays, media players, mounting hardware), software licensing (one-time vs. subscription), content library access if applicable, professional services (installation, training, custom development), and ongoing support and maintenance. Compare total cost of ownership over 5 years rather than only initial investment.
Reference Check Questions
When contacting vendor references from other dental practices, ask:
- How long have you used this system? Overall satisfaction level?
- Did implementation meet timeline and budget expectations? Unexpected costs or delays?
- How intuitive is content management? Can non-technical staff update displays?
- How responsive is vendor support? Typical issue resolution time?
- Has system reliability met expectations? Frequency of technical problems?
- Do patients respond positively to displays? Noticed impact on treatment acceptance or satisfaction?
- Would you select this vendor again? Anything you would do differently?
- What advice would you offer practices considering this system?
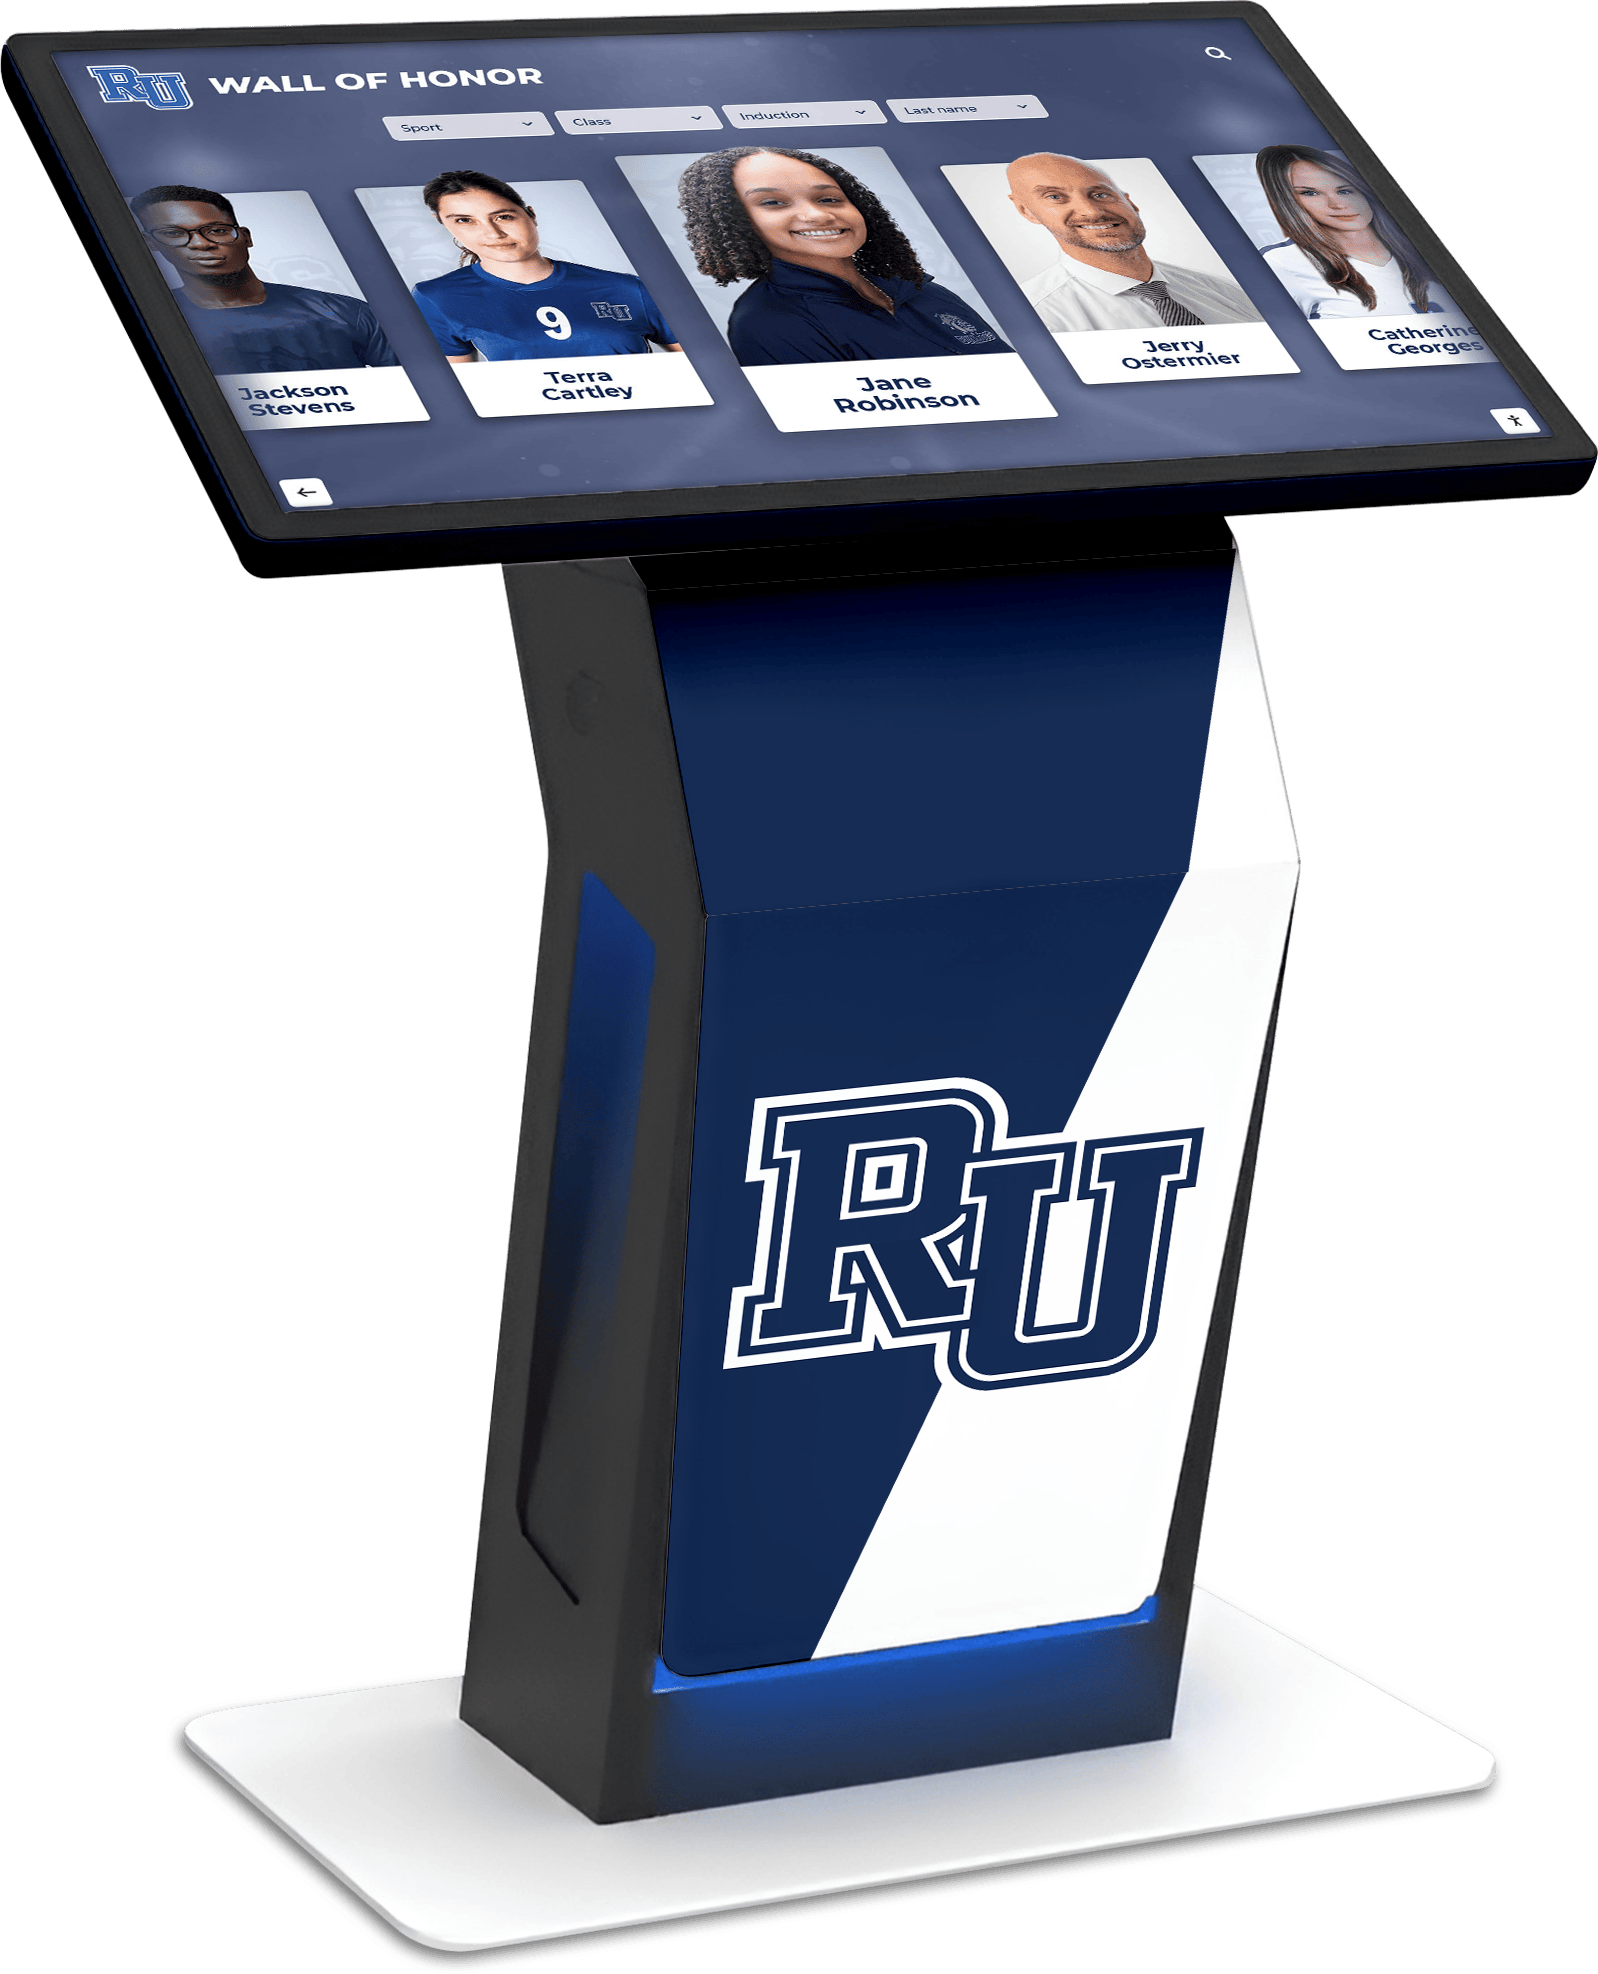
Solutions like Rocket Alumni Solutions provide touchscreen display platforms supporting diverse professional applications including healthcare practices. While originally designed for educational institutions, the robust content management capabilities, reliable commercial-grade hardware, and flexible software architecture adapt effectively to dental practice communication needs through customizable templates and integration capabilities.
Conclusion: Transform Patient Communication Through Strategic Display Implementation
Digital displays represent strategic communication investments that shape patient experiences, improve clinical outcomes through better-informed patients, differentiate practices in competitive markets, and generate measurable returns through increased treatment acceptance and practice efficiency.
The most effective implementations recognize that technology enables communication but doesn’t automatically create better patient relationships. Success requires thoughtful content development addressing actual patient questions and concerns, strategic placement ensuring displays exist where patients are receptive to messages, staff commitment to maintaining fresh and relevant content, and continuous improvement based on patient responses rather than assumptions.
For dental practices struggling with low treatment acceptance rates, patients unprepared for recommended procedures, inefficient staff time answering repetitive questions, or simply seeking to demonstrate commitment to modern patient care, digital display systems provide proven solutions delivering measurable returns across multiple value sources.
Modern patients increasingly expect healthcare providers to leverage digital tools making information accessible, understandable, and engaging. Dental practices implementing comprehensive display systems meet these expectations while positioning themselves as forward-thinking organizations investing in communication quality that reflects their clinical excellence.
This implementation guide has provided actionable specifications, content strategies, budget worksheets, and operational frameworks enabling you to confidently deploy dental office digital displays—transforming patient communication from persistent challenge into competitive advantage that supports clinical outcomes and practice growth.
Whether implementing new display systems, modernizing outdated static signage, or expanding existing networks to additional practice locations, the planning frameworks and technical specifications detailed throughout this guide enable successful projects delivering sustained value throughout 5-7 year hardware lifecycles. Start your dental office digital display planning today to ensure your practice provides communication experiences worthy of the exceptional clinical care you deliver daily.
Ready to implement digital displays at your dental practice? Book a demo with Rocket Alumni Solutions to explore comprehensive touchscreen platforms adaptable to professional practice communication needs with proven content management capabilities and reliable hardware infrastructure.