School hallways have displayed athletic achievements and academic honors through trophy cases for decades. Yet facility managers and athletic directors now face a decision: continue with traditional glass cases and plaques, or transition to digital recognition displays. Each approach carries distinct technical requirements, budget implications, maintenance demands, and spatial considerations.
This guide provides the comparison framework you need. You’ll find specification checklists, cost calculators, installation requirement tables, and decision matrices that transform this abstract choice into a documented plan. By the end, you’ll know exactly which approach fits your space, budget, and operational capacity.
Before You Start: Define Your Requirements
Trophy case and digital display decisions fail when administrators skip the requirements definition phase. Before evaluating specific solutions, document what you actually need to accomplish.
Recognition Volume Assessment
Calculate your current and projected recognition needs:
Current inventory:
- Count existing trophies, plaques, and awards currently displayed
- Document items stored in offices or closets due to display space limitations
- List championship teams, record holders, and individual honorees recognized
Annual additions:
- Estimate new trophies and awards acquired each academic year
- Project championship teams requiring recognition
- Calculate individual athlete/student honors added annually
If you add 15-25+ new recognition items annually, traditional trophy cases reach capacity quickly. Digital systems accommodate unlimited additions without physical expansion.
Space Constraint Analysis
Measure your available hallway space precisely:
Physical dimensions:
- Wall length available for recognition display (measure in feet)
- Hallway width (ADA requires 36-inch minimum clear passage)
- Ceiling height and any overhead obstructions
- Distance from electrical outlets to proposed locations
Traffic flow assessment:
- Peak hallway congestion times (class changes, before/after school)
- Whether displays will create bottlenecks during high-traffic periods
- Clearance needed for wheelchair accessibility and emergency egress
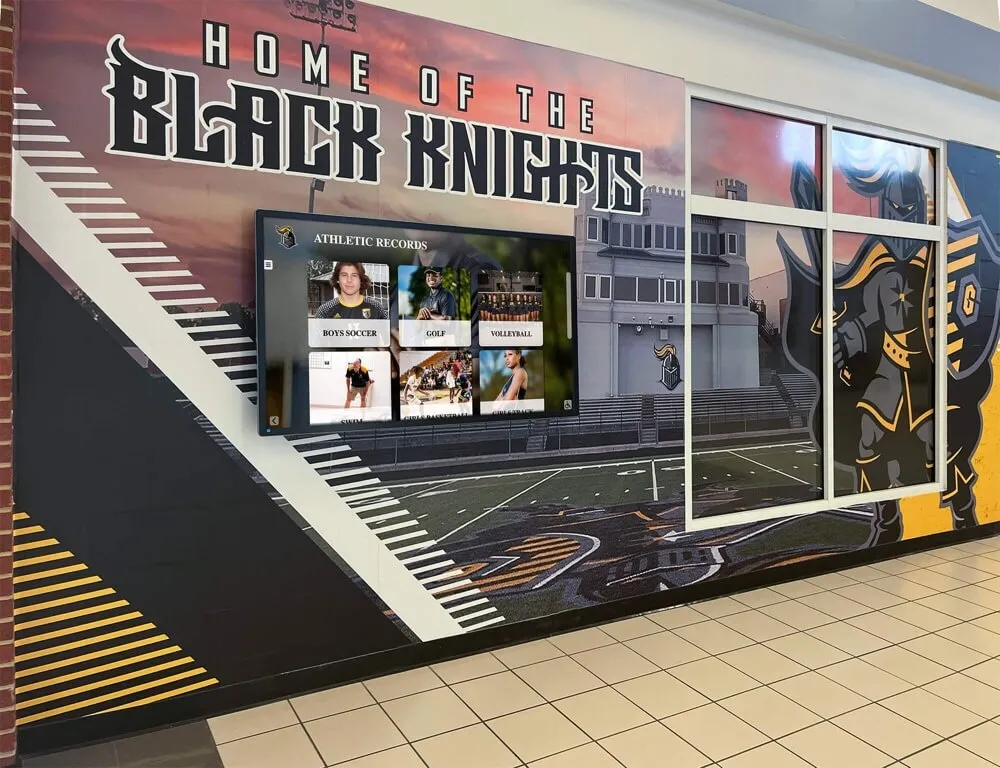
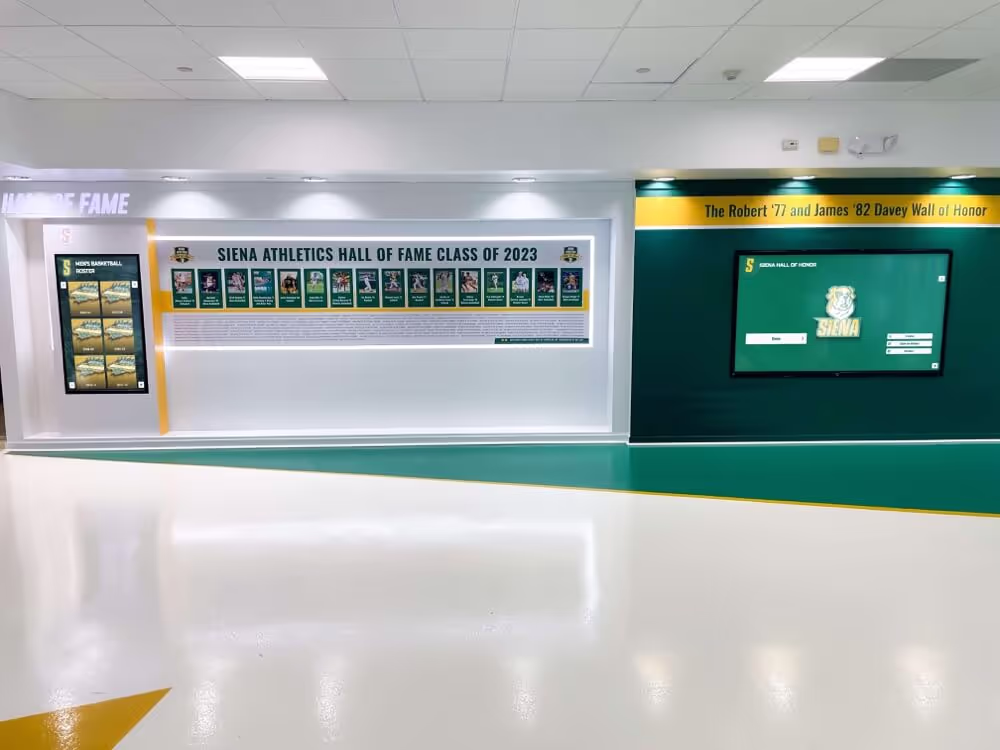
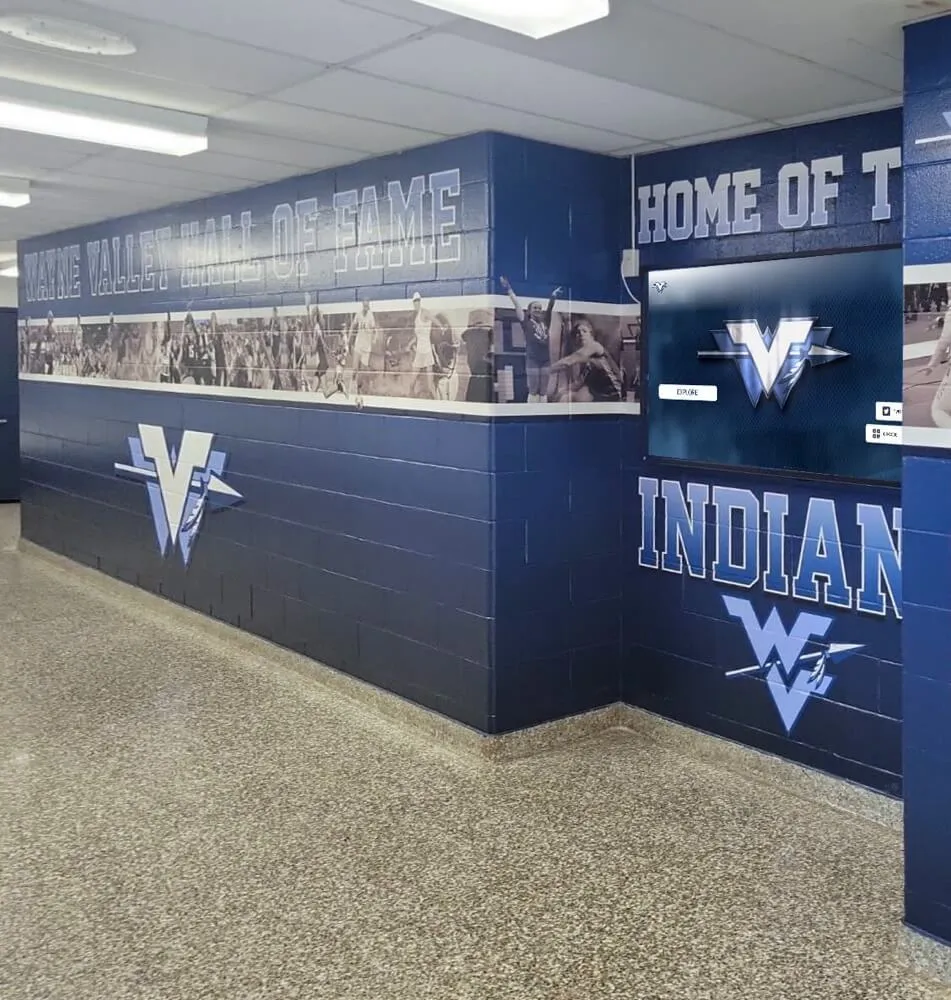
Traditional trophy cases typically protrude 12-18 inches from walls. Digital wall-mounted displays protrude only 3-4 inches, preserving hallway width.
Technical Specifications Comparison
Understanding the infrastructure each option requires prevents installation roadblocks and budget overruns.
Traditional Trophy Case Requirements
Structural specifications:
- Wall mounting: Cases 4+ feet wide require structural wall backing capable of supporting 150-300 pounds
- Floor-standing models: Require level floor surface; uneven floors need leveling compound or shims
- Anchoring: Free-standing cases must be anchored to walls to prevent tipping (ASTM F2057-19 standard)
- Glass panels: Tempered safety glass required in high-traffic areas; 1/4-inch minimum thickness
Installation considerations:
- Cases installed on drywall need studs located and blocking installed between studs
- Concrete walls require masonry anchors rated for case weight plus 200% safety factor
- Recessed cases need wall cavity depth of 6-8 inches minimum
- Lighting (if included) requires electrical outlet within 6 feet
Maintenance access:
- Hinged or sliding doors need clearance for opening (add 18-24 inches to depth measurements)
- Lock mechanisms require key management protocols
- Interior shelving typically adjustable in 1-2 inch increments
Digital Display Technical Requirements
Power specifications:
- Circuit capacity: 55" commercial displays draw 250-350 watts; calculate: (watts ÷ 120V) × 1.25 = required amps
- Outlet positioning: Wall-mounted displays need outlets behind or within 12 inches of mounting location
- Dedicated circuits: Displays should not share circuits with HVAC or equipment causing voltage fluctuations
- Surge protection: Required for all commercial touchscreen installations
Network connectivity:
- Bandwidth: Cloud-based content management needs 2-10 Mbps reliable connection
- Firewall access: Outbound HTTPS (port 443) must be allowed; some systems need specific domain whitelisting
- Connection type: Wired Ethernet provides superior reliability; wireless acceptable with -65 dBm or stronger signal
- Static IP: Optional but recommended for enterprise network management
Mounting surface assessment:
- Weight capacity: 55" commercial displays weigh 50-80 pounds; wall must support 200+ pounds with mounting hardware
- Surface type: Concrete/CMU ideal; wood studs acceptable with lag bolts; metal studs may require backing plates
- ADA compliance: Touchscreen center should be 15-48 inches from floor for accessibility
- Ventilation clearance: Allow 2-4 inches around display for air circulation
Many schools implementing interactive touchscreen displays discover network connectivity poses the biggest infrastructure challenge. Test connectivity at proposed locations before purchasing equipment.

Cost Comparison Calculator
Athletic directors and facilities managers need realistic total cost projections, not just purchase prices. Use these frameworks to calculate true costs over 10 years.
Traditional Trophy Case Total Cost (10-Year Projection)
| Cost Category | Entry-Level | Mid-Range | Premium |
|---|---|---|---|
| Initial Purchase | |||
| Trophy case (8-foot wall-mounted) | $2,500-$4,000 | $5,000-$8,000 | $10,000-$15,000 |
| Installation labor | $500-$1,000 | $1,000-$2,000 | $2,000-$3,500 |
| Electrical (if lighted) | $200-$600 | $400-$800 | $800-$1,500 |
| Recurring Costs (Annual) | |||
| New plaques/nameplates | $300-$600 | $500-$900 | $800-$1,500 |
| Engraving services | $150-$300 | $250-$450 | $400-$700 |
| Glass cleaning supplies | $50-$100 | $75-$125 | $100-$150 |
| Lock/hinge maintenance | $50-$150 | $100-$200 | $150-$250 |
| Bulb replacement (if lighted) | $40-$80 | $60-$120 | $100-$180 |
| Expansion Costs | |||
| Additional case (when full) | $2,500-$4,000 | $5,000-$8,000 | $10,000-$15,000 |
| 10-Year Total | $9,400-$17,300 | $16,450-$29,050 | $28,500-$48,300 |
Digital Display Total Cost (10-Year Projection)
| Cost Category | Entry-Level | Mid-Range | Premium |
|---|---|---|---|
| Initial Purchase | |||
| Display hardware (43-55") | $3,500-$5,500 | $7,000-$11,000 | $14,000-$22,000 |
| Software platform (initial) | $1,200-$2,500 | $2,500-$4,500 | $4,500-$8,000 |
| Installation labor | $800-$1,500 | $1,500-$2,500 | $2,500-$4,000 |
| Network infrastructure | $0-$800 | $500-$1,500 | $1,200-$3,000 |
| Initial content setup | $800-$1,500 | $1,500-$2,500 | $2,500-$4,500 |
| Recurring Costs (Annual) | |||
| Software licensing/hosting | $400-$800 | $800-$1,500 | $1,500-$2,500 |
| Content updates (staff time) | $200-$500 | $400-$800 | $600-$1,200 |
| Electricity | $60-$100 | $80-$130 | $120-$180 |
| Technical support | $0-$500 | $300-$700 | $600-$1,200 |
| Hardware Replacement | |||
| Display replacement (Year 7-8) | $3,000-$4,500 | $6,000-$9,000 | $11,000-$18,000 |
| 10-Year Total | $13,160-$24,700 | $25,380-$44,630 | $44,820-$77,480 |
Hidden Costs Often Overlooked
Traditional cases:
- Staff time opening/locking cases: 15-30 minutes weekly = $390-$780 annually (at $30/hour loaded cost)
- Trophy polishing and dusting: 1-2 hours monthly = $360-$720 annually
- Plaque ordering coordination: 2-4 hours annually = $60-$120
- Storage costs for items that won’t fit: ongoing
Digital displays:
- Staff training time: 3-5 hours initially = $90-$150 one-time
- Photo digitization for historical content: $1-$3 per item
- Network monitoring and IT support coordination: varies by district
When comparing trophy display options, calculate total cost of ownership including labor, not just equipment purchase prices.
Maintenance Requirements Comparison
Ongoing maintenance demands significantly impact which solution works best for your operational capacity.
Traditional Trophy Case Maintenance Schedule
Daily tasks:
- Visual inspection for vandalism or damage (2 minutes)
- Check that cases remain locked (1 minute)
Weekly tasks:
- Exterior glass cleaning (10-15 minutes per case)
- Verify lighting functionality (if equipped)
- Check for water infiltration or condensation
Monthly tasks:
- Interior dusting and cleaning (30-45 minutes per case)
- Trophy polishing (15-30 minutes depending on quantity)
- Inspect hinges, locks, and hardware for wear
- Clean interior glass surfaces
Annual tasks:
- Complete inventory of all displayed items (2-4 hours)
- Hardware lubrication and adjustment (30 minutes per case)
- Light fixture cleaning and bulb replacement
- Evaluate structural integrity and anchoring
As-needed tasks:
- Add new trophies/plaques (20-40 minutes per item including unlocking, arranging, relocking)
- Rearrange items when adding new recognition
- Replace broken glass panels
- Repair damaged locks or hinges
Digital Display Maintenance Schedule
Daily tasks:
- Verify display is functioning upon arrival (30 seconds)
- Note any error messages or performance issues (1 minute if issues present)
Weekly tasks:
- Clean touchscreen with microfiber cloth and approved cleaner (3-5 minutes)
- Verify content is displaying correctly (2 minutes)
- Check network connectivity indicator (30 seconds)
Monthly tasks:
- Review content for accuracy (10-20 minutes)
- Add new recognition content via web portal (5-15 minutes per entry)
- Check for software updates (5 minutes)
Quarterly tasks:
- Review system logs for errors or warnings (15 minutes)
- Test all interactive functions (10 minutes)
- Update photos or content that needs refreshing (30-60 minutes)
- Verify backup systems are functioning (10 minutes)
Annual tasks:
- Comprehensive content audit (2-3 hours)
- Review warranty and service agreement status (30 minutes)
- Clean display housing and vents (20 minutes)
- Test disaster recovery procedures (1 hour)
As-needed tasks:
- Add new recognition content remotely via browser (3-8 minutes per entry)
- Update team rosters or records (5-10 minutes)
- Respond to technical issues with vendor support (varies)
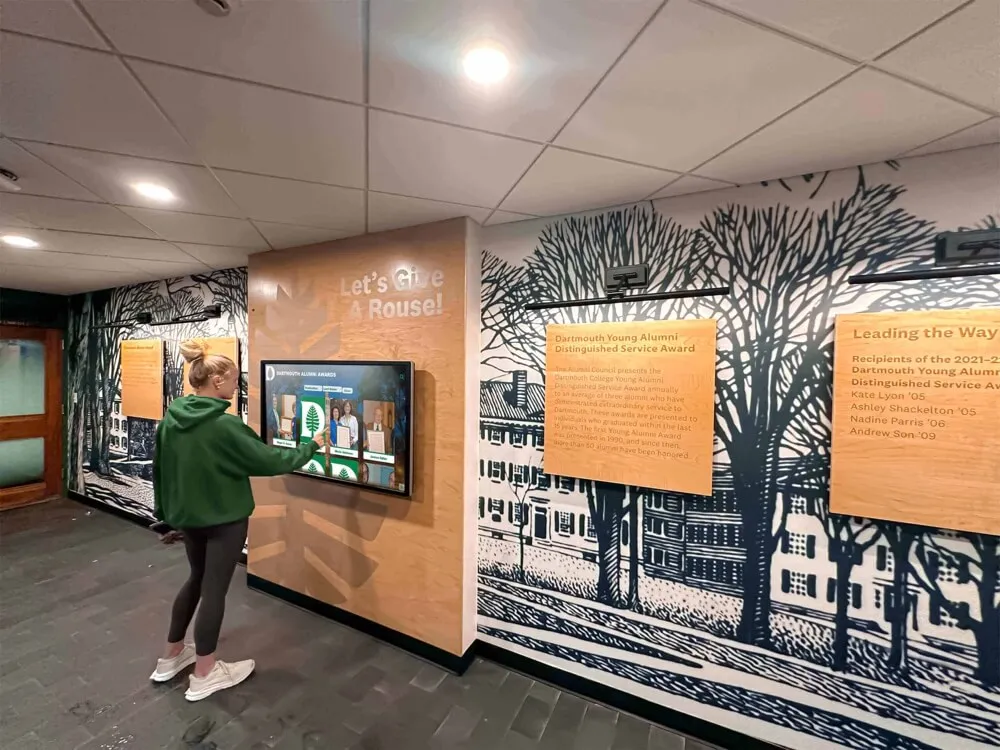
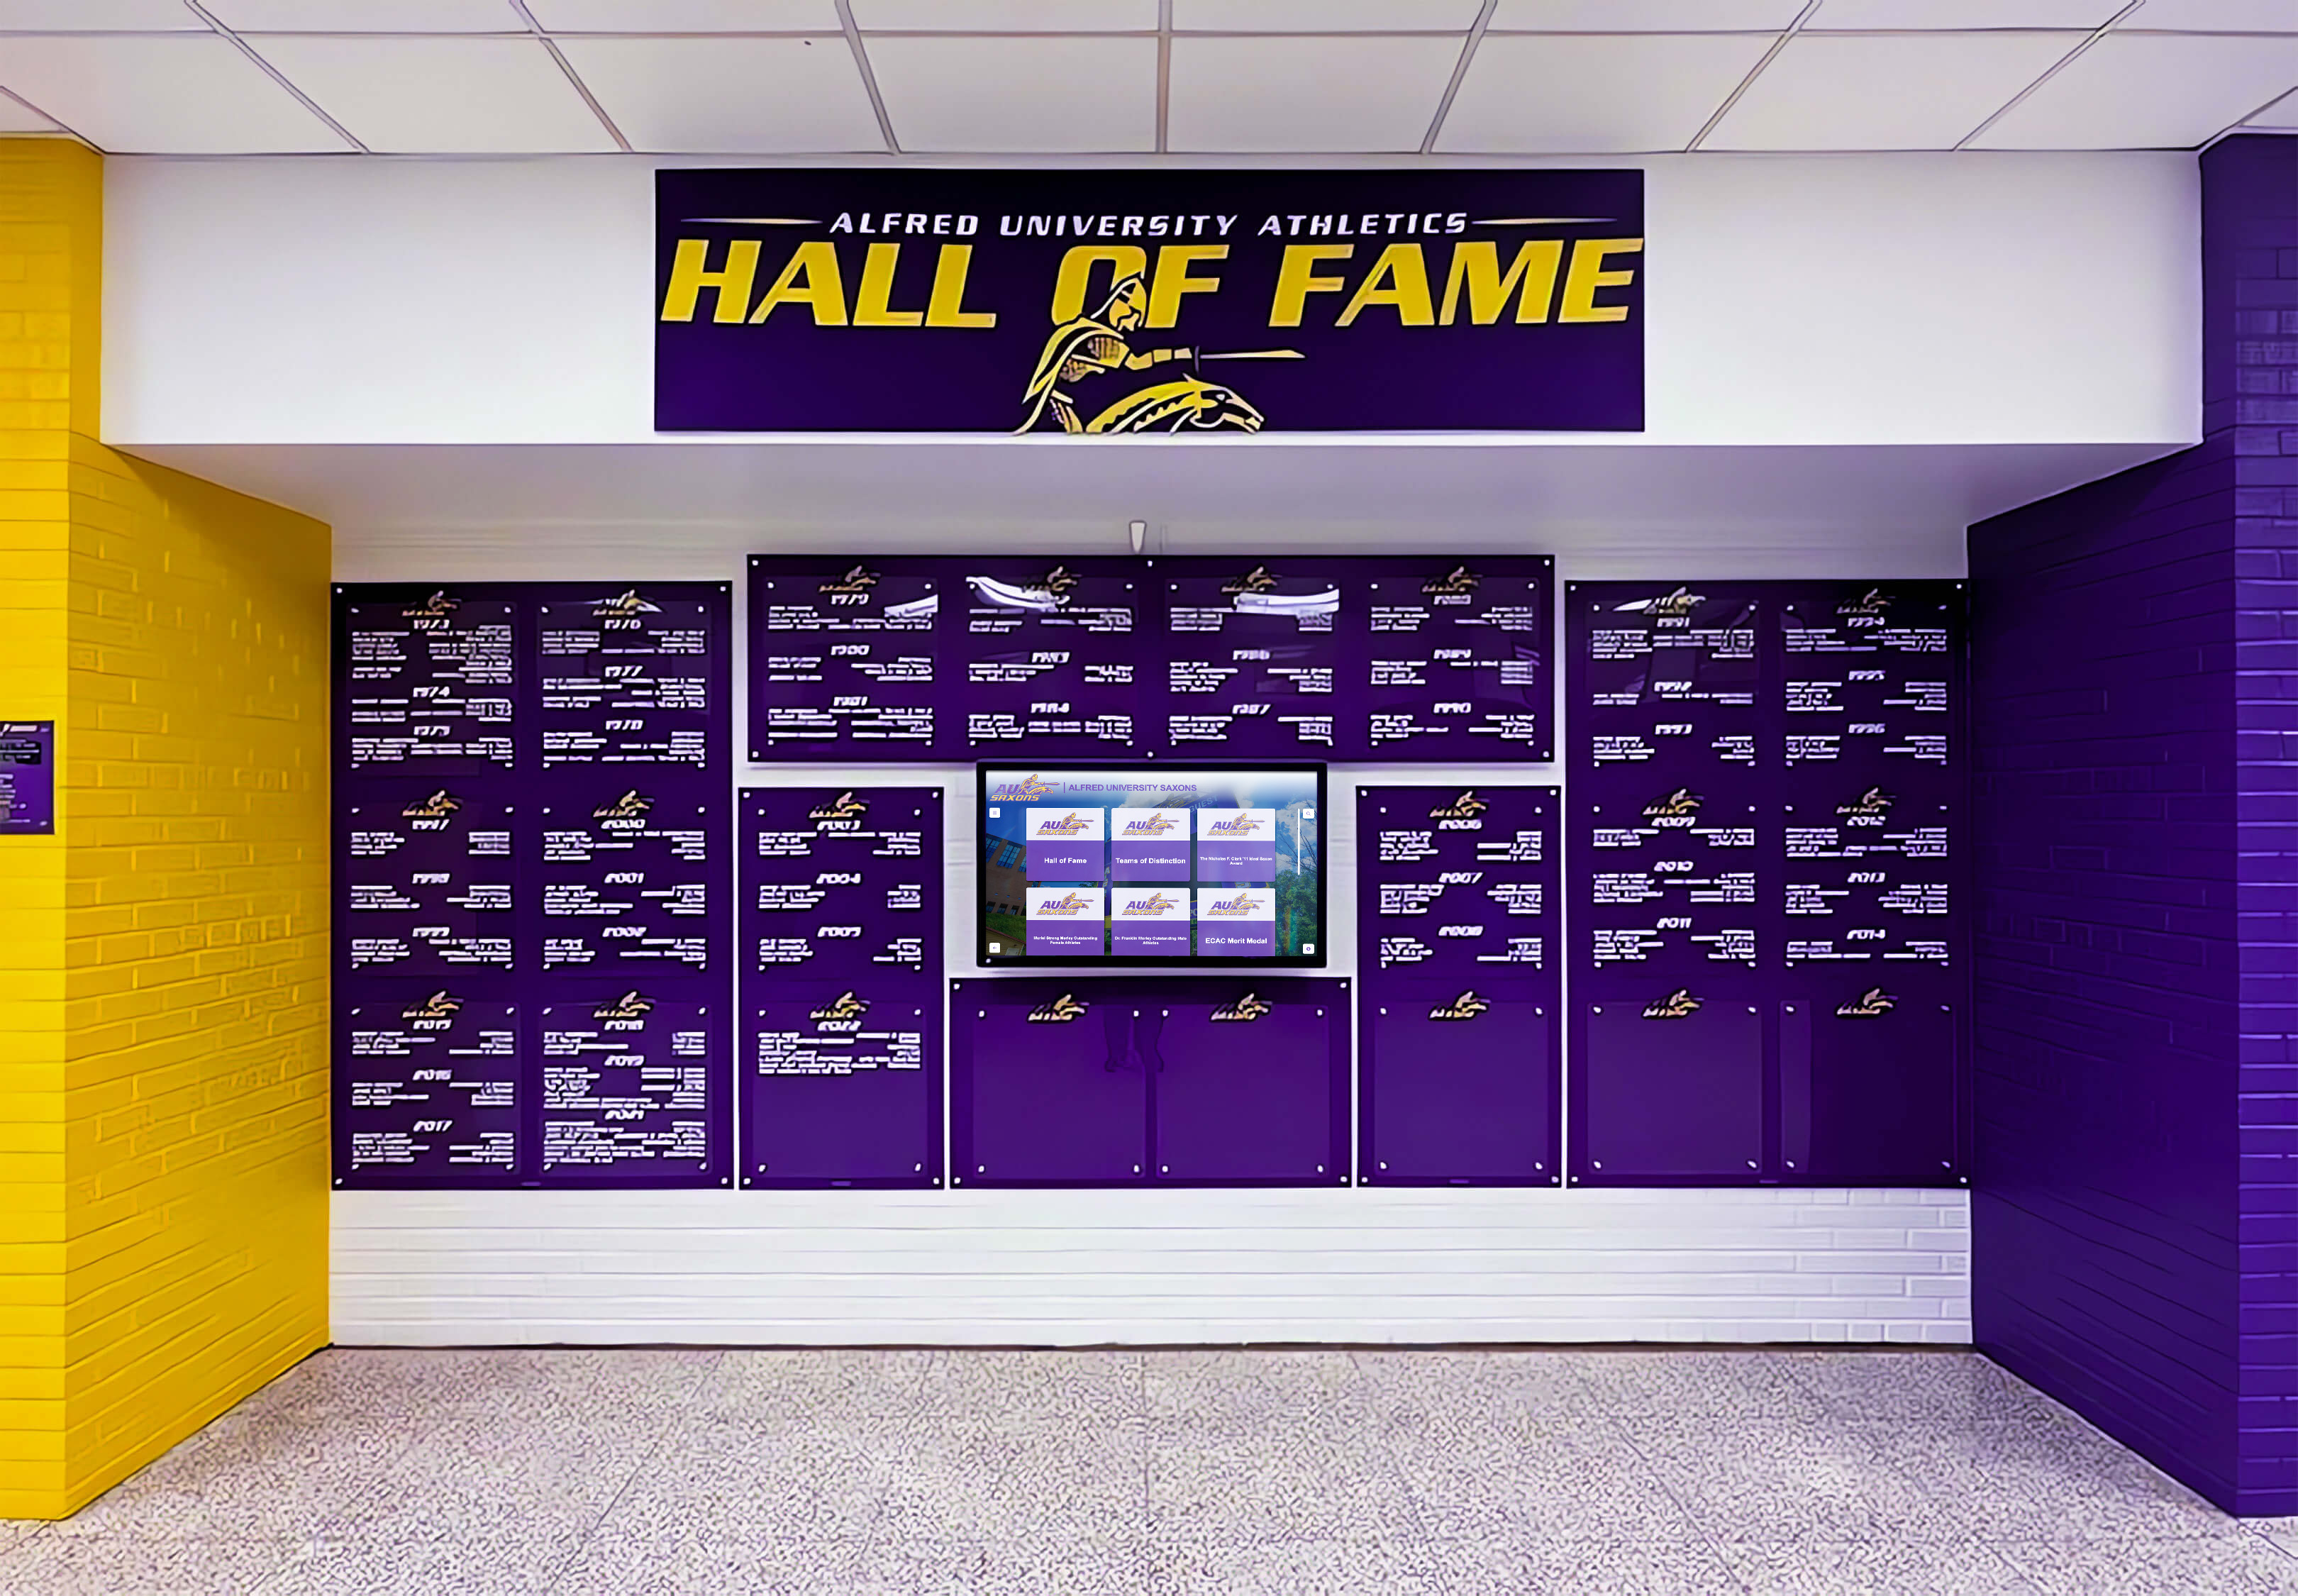
Key difference: Traditional cases require physical access for every update. Digital systems allow remote content management from any location with internet access.

Content Capacity and Expansion Analysis
Recognition programs grow over time. Understanding capacity limits prevents costly expansions.
Traditional Trophy Case Capacity Limits
Spatial constraints:
Standard 8-foot wall-mounted case dimensions:
- Interior depth: 10-16 inches
- Shelf count: 4-6 adjustable shelves typically
- Shelf spacing: 12-18 inches vertical clearance
Item capacity by type:
| Item Type | Approximate Capacity per 8-ft Case |
|---|---|
| Large trophies (18-24" tall) | 12-20 items |
| Medium trophies (12-18" tall) | 20-35 items |
| Small trophies (6-12" tall) | 40-60 items |
| Plaques (8×10 to 12×16) | 25-40 plaques |
| Championship balls/pucks | 8-15 items |
| Jerseys (framed) | 1-2 jerseys |
Expansion scenarios:
If you add 20 medium trophies annually:
- Year 1: 20 items (58% of capacity)
- Year 2: 40 items (case full; requires second case or removal of older items)
- Year 3: 60 items (requires second case purchase and installation)
Cost of capacity expansion:
- Second identical case: $2,500-$15,000 (depending on quality tier)
- Installation labor: $500-$3,500
- Wall space consumption: additional 8 feet of hallway wall
- Total expansion cost: $3,000-$18,500 every 1-2 years
Digital Display Capacity Analysis
Content storage:
Modern digital recognition systems typically offer:
- Profile capacity: 1,000-10,000+ individual profiles (athletes, students, teams)
- Photo storage: 10,000-50,000+ images
- Video storage: 100-1,000+ video clips
- Document storage: Unlimited PDFs, certificates, news clippings
Expansion capacity:
If you add 20 athlete profiles annually:
- Year 1: 20 profiles (0.2-2% of capacity depending on system)
- Year 5: 100 profiles (1-10% of capacity)
- Year 10: 200 profiles (2-20% of capacity)
- Year 25: 500 profiles (5-50% of capacity)
Cost of capacity expansion:
- Additional content: $0 (within system limits)
- Wall space consumption: 0 square feet
- Physical installation: not required
- Total expansion cost: $0-$500 annually (software subscription only)
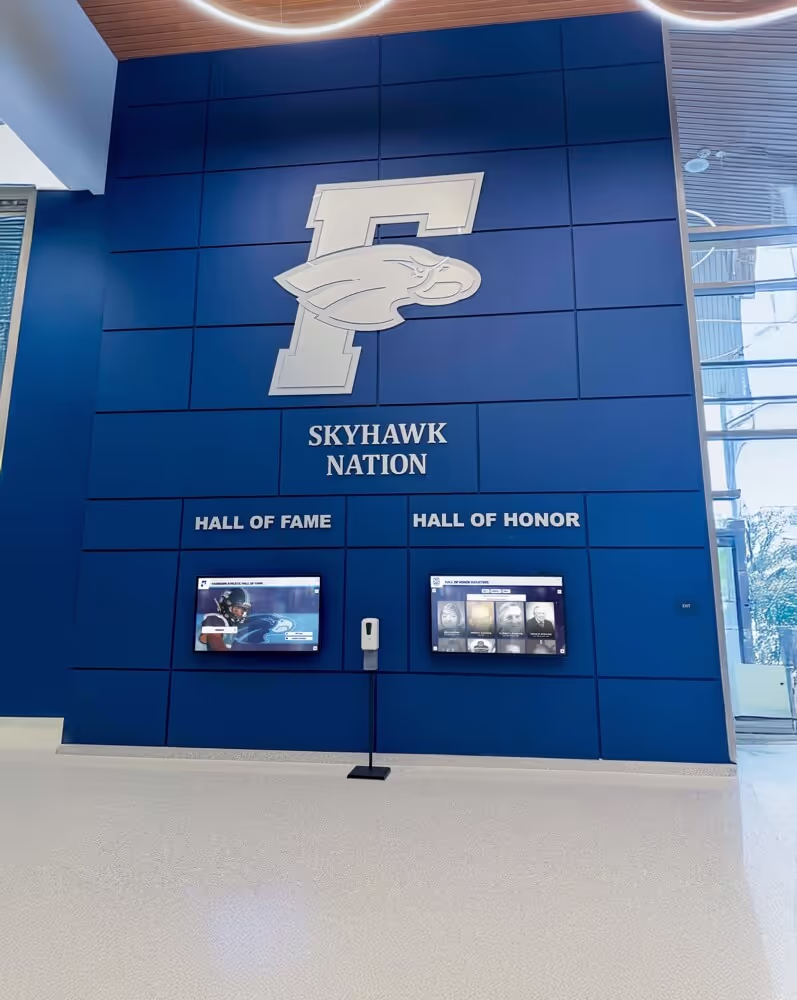
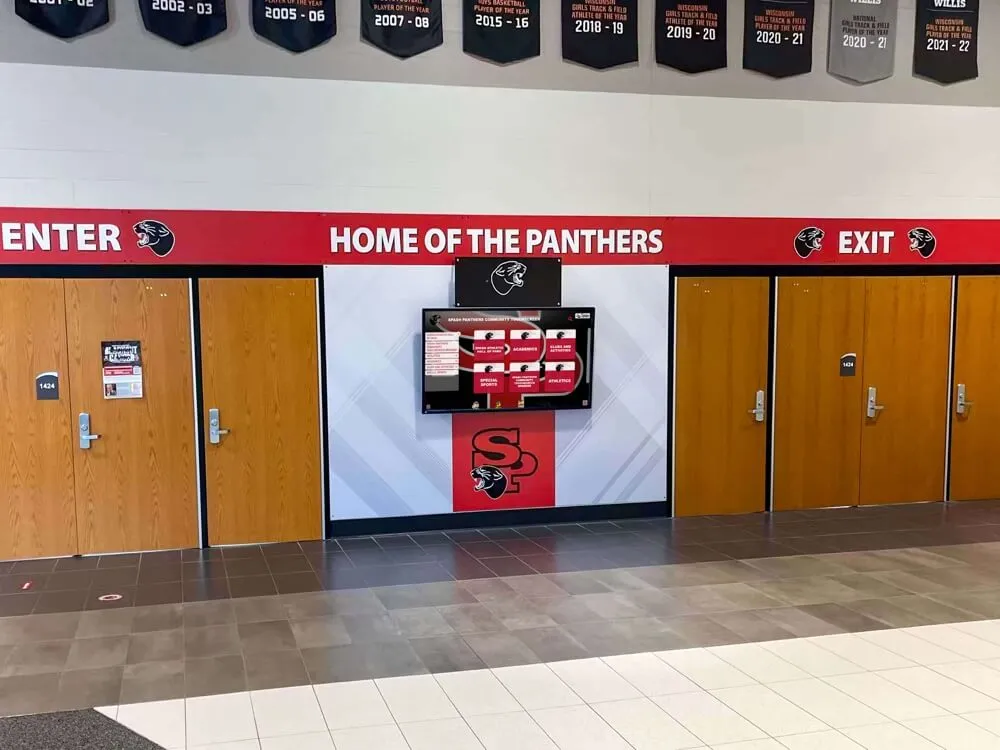
Multi-Location Distribution
Traditional approach:
- Each additional display location requires purchasing separate trophy case
- Cannot display same content in multiple locations simultaneously
- Updating multiple cases requires visiting each location physically
Digital approach:
- Same content displays on unlimited screens (depending on licensing)
- Add displays in gym lobby, athletic office, community center
- Update all locations simultaneously from single web portal
- Marginal cost per additional screen: hardware only, no content duplication needed
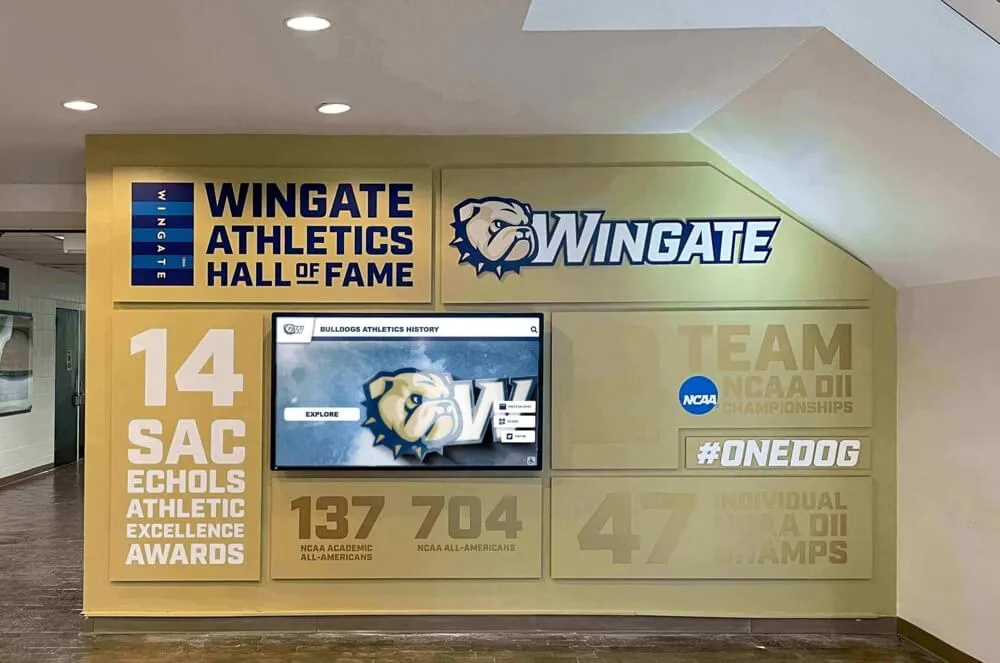
Schools managing athletic recognition across multiple buildings find digital systems eliminate content duplication costs.
Installation Timeline Comparison
Understanding realistic installation timelines helps with project planning and stakeholder communication.
Traditional Trophy Case Installation Timeline
Weeks 1-2: Planning and Measurement
- Measure wall space and document dimensions
- Verify wall construction type (stud locations, load capacity)
- Select case style and obtain quotes from vendors
- Finalize purchase order and schedule delivery
Weeks 3-5: Procurement
- Vendor fabricates custom case (if custom-built)
- Stock cases ship from warehouse
- Coordinate delivery date with facilities team
- Prepare installation site (clear wall area, protect flooring)
Week 6: Pre-Installation Preparation
- Verify wall structural capacity
- Install electrical outlet if case includes lighting
- Locate studs or install blocking between studs for anchoring
- Paint or prepare wall surface behind case location
Week 7: Installation
- Receive delivery and inspect for shipping damage (4 hours)
- Position and level case (2-3 hours for wall-mounted; 1-2 hours for floor-standing)
- Anchor to wall per manufacturer specifications (1-2 hours)
- Install shelving and adjust heights (1 hour)
- Connect electrical if applicable (30 minutes)
- Test doors, locks, lighting (30 minutes)
Week 8: Content Population
- Clean interior surfaces (30 minutes)
- Transfer trophies and awards to new case (2-4 hours depending on volume)
- Arrange items aesthetically with proper spacing (1-2 hours)
- Install plaques or nameplates (1-3 hours)
- Final cleaning and lock testing (30 minutes)
Total timeline: 7-8 weeks from decision to completed installation
Digital Display Installation Timeline
Weeks 1-2: Requirements Documentation
- Define content scope and recognition criteria
- Measure wall space and document dimensions
- Test network connectivity at proposed location
- Verify electrical capacity and outlet locations
- Obtain vendor proposals and compare solutions
Weeks 3-4: Vendor Selection and Contracting
- Review demos and reference checks
- Finalize contract terms and purchase order
- Schedule installation date
- Begin content preparation and photo gathering
Weeks 5-7: Pre-Installation Preparation
- Complete any needed electrical work (new outlet installation)
- Install network drop if wired connection required
- Configure firewall access with IT department
- Prepare content: scan photos, write profiles, gather statistics
- Upload initial content batch to platform
Week 8: Physical Installation
- Receive hardware shipment and inspect (1 hour)
- Mount display bracket to wall (1-2 hours)
- Install display on bracket and verify level (1 hour)
- Connect power and network cables (30 minutes)
- Boot system and complete initial configuration (1-2 hours)
- Test touchscreen functionality (30 minutes)
Week 9: Configuration and Testing
- Configure content display settings (2-3 hours)
- Test all interactive features (1-2 hours)
- Verify remote access and content management (1 hour)
- Conduct staff training on content updates (2-3 hours)
- Perform final quality assurance testing (1-2 hours)
Weeks 10-12: Soft Launch and Refinement
- Soft launch with limited promotion
- Gather user feedback and identify issues
- Make content adjustments based on feedback
- Resolve any technical issues discovered
- Document update procedures for staff
Total timeline: 10-12 weeks from decision to completed installation
Digital installations take longer initially due to content preparation and configuration, but this upfront investment pays dividends through easier future updates.
Space Efficiency and ADA Compliance
Hallway displays must comply with accessibility requirements while not creating traffic bottlenecks.
ADA Accessibility Requirements
Both traditional and digital displays must meet these standards:
Protruding object limits:
- Objects protruding 4-12 inches from wall must be mounted 27-80 inches above floor
- Objects protruding more than 12 inches must be cane-detectable below 27 inches
- Wall-mounted displays cannot reduce hallway clear width below 36 inches
Reach ranges for interactive elements:
- Forward reach: 15-48 inches from floor
- Side reach: 9-54 inches from floor (if unobstructed)
- Operating force: maximum 5 pounds force required
Visual access:
- Important information must be visible from wheelchair height
- Text must have sufficient contrast (4.5:1 ratio minimum for normal text)
- Visual information should not rely solely on color coding
Space Consumption Comparison
Traditional trophy case:
- Wall-mounted depth: 12-18 inches protruding from wall
- Floor-standing depth: 14-24 inches
- Width: 4-10 feet typical
- Door clearance: Add 18-24 inches when doors open
- Total footprint: 16-48 inches extending into hallway
Digital wall-mounted display:
- Mounted depth: 2.5-4 inches protruding from wall
- Width: 3.5-5 feet typical (for 55-65" displays)
- Interactive clearance: 30×48 inch clear floor space in front
- Total footprint: 3-4 inches extending into hallway (no protrusion into clear floor space)
Hallway Width Calculation
Determine if your hallway can accommodate displays:
Minimum hallway clear width: 36 inches (ADA requirement)
Traditional case scenario:
- Hallway width: 8 feet (96 inches)
- Case protrusion: 15 inches
- Opposite wall protrusion (if any): 6 inches (fire extinguisher)
- Remaining clear width: 96 - 15 - 6 = 75 inches ✓ Compliant
Digital display scenario:
- Hallway width: 8 feet (96 inches)
- Display protrusion: 3.5 inches
- Opposite wall protrusion: 6 inches (fire extinguisher)
- Remaining clear width: 96 - 3.5 - 6 = 86.5 inches ✓ Compliant
Narrow hallway scenario:
- Hallway width: 5 feet (60 inches)
- Traditional case protrusion: 15 inches
- Remaining clear width: 60 - 15 = 45 inches ✓ Compliant (but tight during class changes)
- Digital display protrusion: 3.5 inches
- Remaining clear width: 60 - 3.5 = 56.5 inches ✓ Compliant with better traffic flow
Schools with narrow hallways find digital displays preserve more clear width for traffic flow while still meeting accessibility requirements.
Content Update Process Comparison
How you update recognition content impacts staff workload and recognition timeliness.
Traditional Trophy Case Update Process
Adding a new trophy/plaque:
- Receive trophy from awards vendor or event (0 minutes staff time)
- Unlock trophy case (walk to location, locate key, unlock) (3-5 minutes)
- Rearrange existing items to create space for new addition (10-20 minutes)
- Place new trophy and verify stable positioning (2-3 minutes)
- Add nameplate or label if not already attached (3-5 minutes)
- Lock case and return key to secure location (2-3 minutes)
- Update inventory log with new item (3-5 minutes)
Total time per addition: 23-41 minutes
Updating existing information:
- Cannot modify engraved plaques; requires ordering replacement plaque
- Nameplate replacement: $15-$45 per plaque
- Engraving turnaround: 1-2 weeks typically
- Physical replacement requires unlocking case, removing old plaque, installing new one
Challenges:
- Staff must physically travel to display location
- Requires key access and security protocols
- Limited hours when hallways are accessible for maintenance
- Cannot update during school hours without student traffic disruption
- Rearranging items risks tipping or damaging trophies
Digital Display Update Process
Adding new athlete/team profile:
- Log into content management system via web browser from any location (1 minute)
- Create new profile using web form (2-3 minutes)
- Upload photo (already digitized) (30 seconds)
- Enter achievement details (name, year, sport, accomplishments) (3-5 minutes)
- Preview profile to verify formatting and accuracy (1 minute)
- Publish to live display (30 seconds)
Total time per addition: 8-11 minutes
Updating existing information:
- Log into web portal (1 minute)
- Search for profile requiring update (30 seconds)
- Edit field needing correction (1-2 minutes)
- Publish update (30 seconds)
- Total update time: 3-4 minutes
Advantages:
- Update from office, home, or any location with internet
- No physical travel to display required
- Updates appear instantly or on scheduled publish times
- Can update 24/7 without accessing school building
- No risk of damaging physical items
- Multiple staff members can have update access
Content scheduling: Many digital recognition platforms allow scheduling content to appear on specific dates—useful for automatically recognizing season championships, senior nights, or milestone anniversaries without manual intervention on the exact date.
Decision Matrix: Which Solution Fits Your Situation?
Use this matrix to evaluate which approach aligns with your specific circumstances.
Choose Traditional Trophy Cases When:
Budget constraints are severe:
- Initial capital budget under $5,000
- No recurring budget for annual software licensing
- One-time purchase must last 10+ years without additional investment
Recognition volume is limited:
- Adding fewer than 10 new items annually
- Total recognition population under 50 items
- Content unlikely to grow significantly
Technical capacity is minimal:
- No IT staff support available
- No reliable network connectivity at display location
- Staff uncomfortable with technology platforms
- Preference for zero technical maintenance
Physical trophies have high value:
- Community tradition strongly favors displaying actual trophies
- Unique or historically significant trophies that cannot be adequately represented digitally
- Donor expectations for physical trophy display
Aesthetic preference:
- School architectural style favors traditional display methods
- Recent renovation specifically designed trophy case spaces
- Strong stakeholder preference for classic appearance
Choose Digital Displays When:
Recognition volume is high or growing:
- Adding 15+ new honorees annually
- Total recognition population exceeds 100 individuals/teams
- Multiple sports, activities, or achievement categories
Space is limited:
- Narrow hallways where protruding cases create bottlenecks
- No additional wall space for expansion
- Multiple locations need same content displayed
Staff time is constrained:
- Limited facilities staff for physical maintenance
- Frequent recognition updates needed
- Remote content management valuable for efficiency
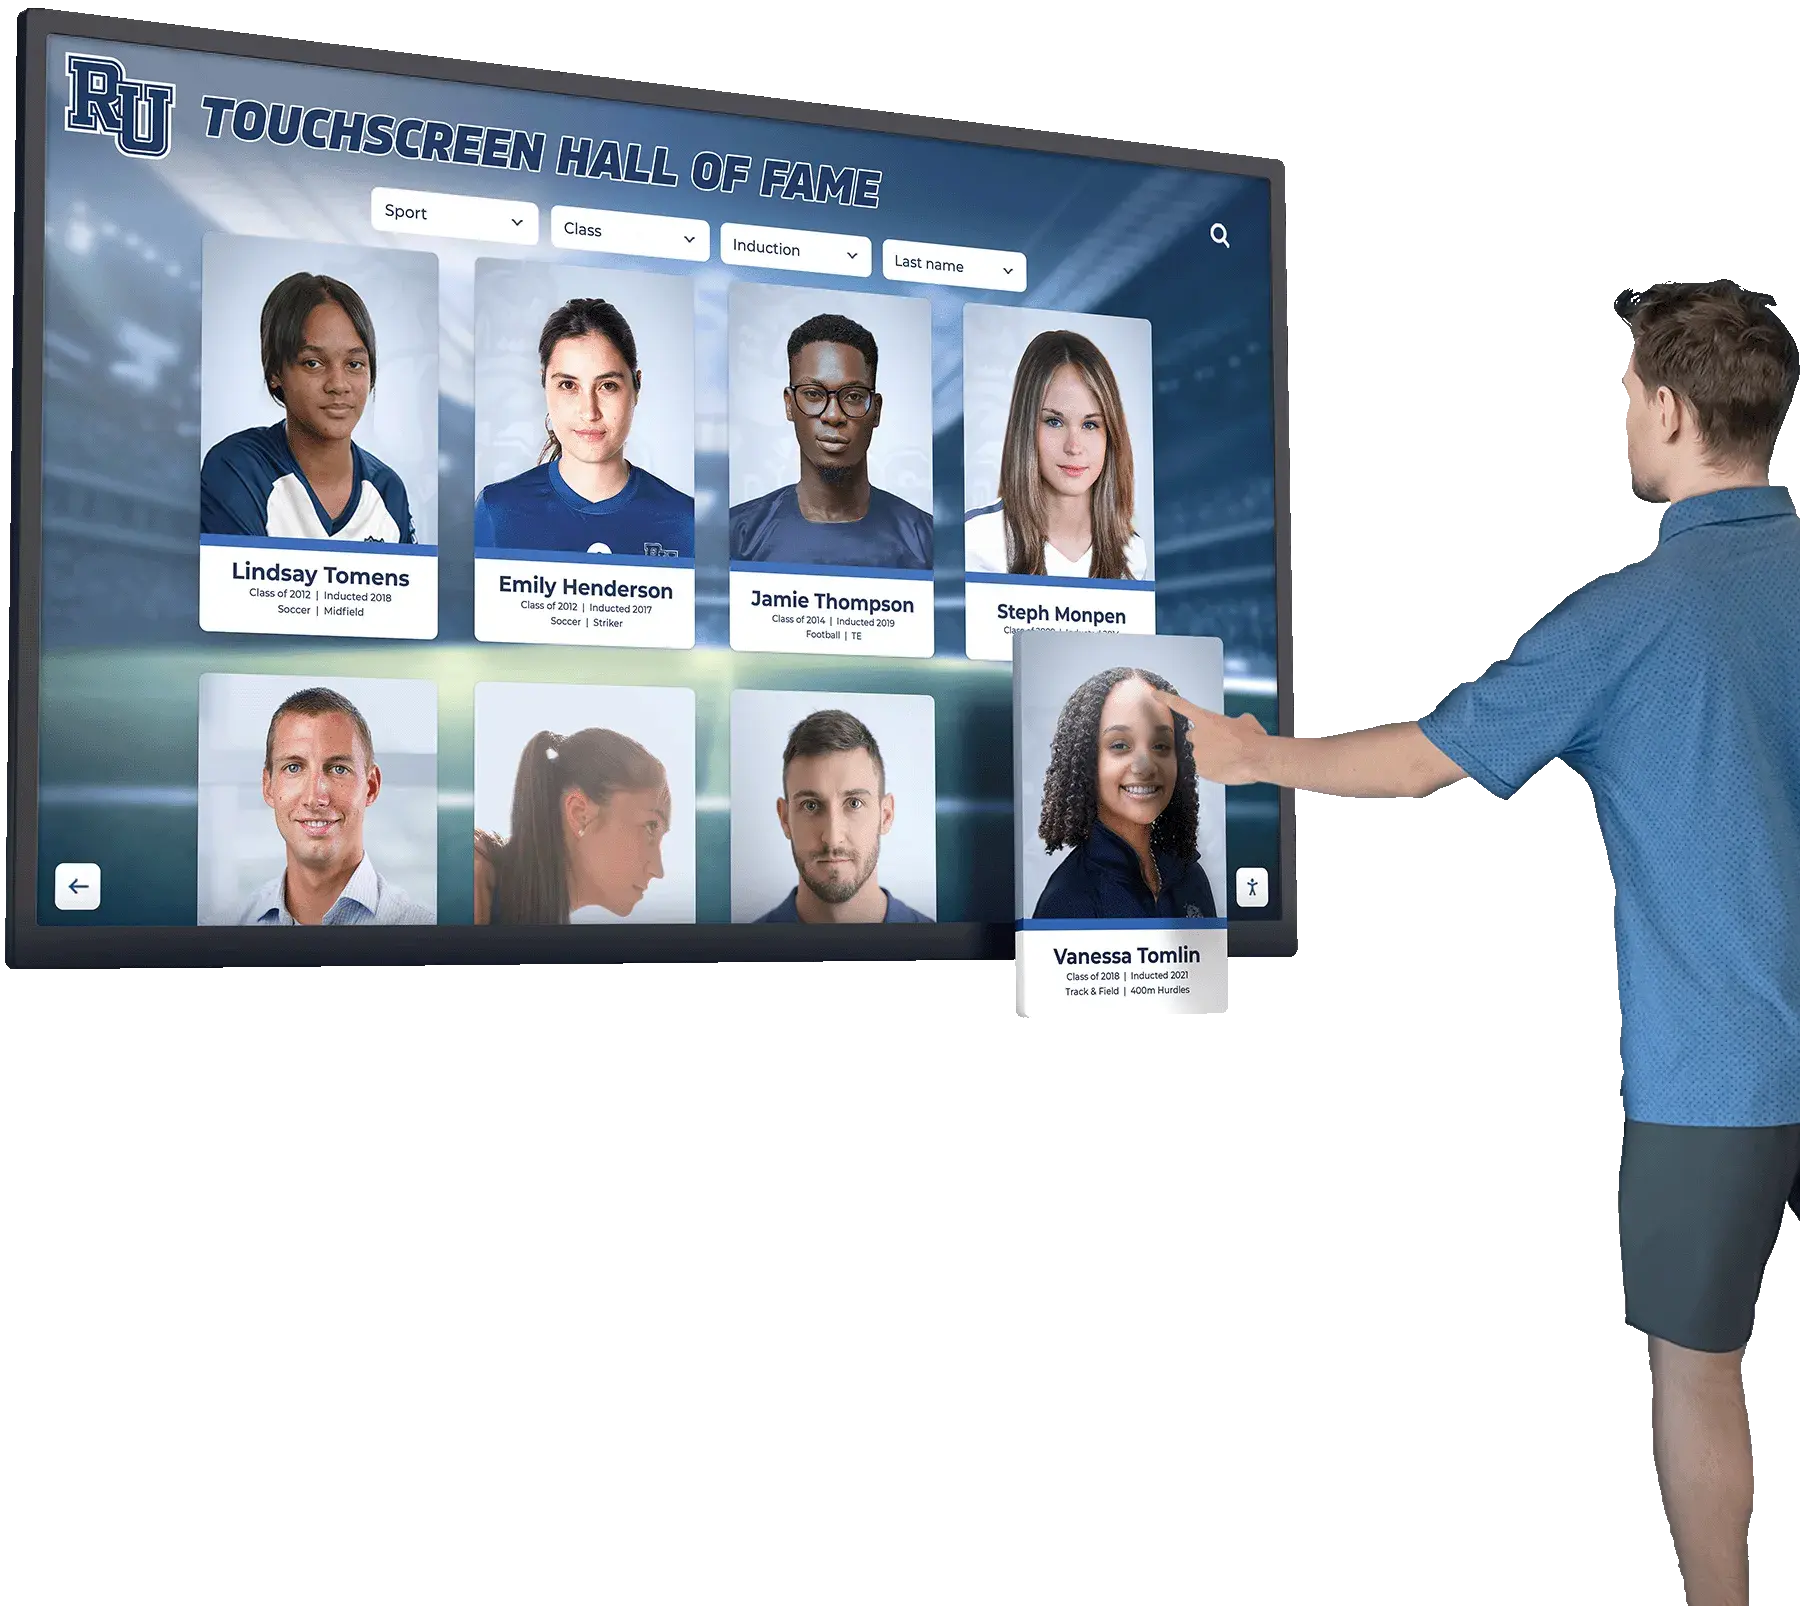
Rich content matters:
- Want to include photos, videos, statistics, and detailed biographies
- Need to tell complete athlete/student stories beyond names and dates
- Value searchable, filterable content for easy browsing
Technical capacity exists:
- IT staff available for network configuration and support
- Reliable internet connectivity at display locations
- Staff comfortable learning content management platforms
Multi-year budget flexibility:
- Higher initial investment acceptable for lower ongoing costs
- Recurring software budget available
- Willingness to calculate total cost of ownership over 10 years
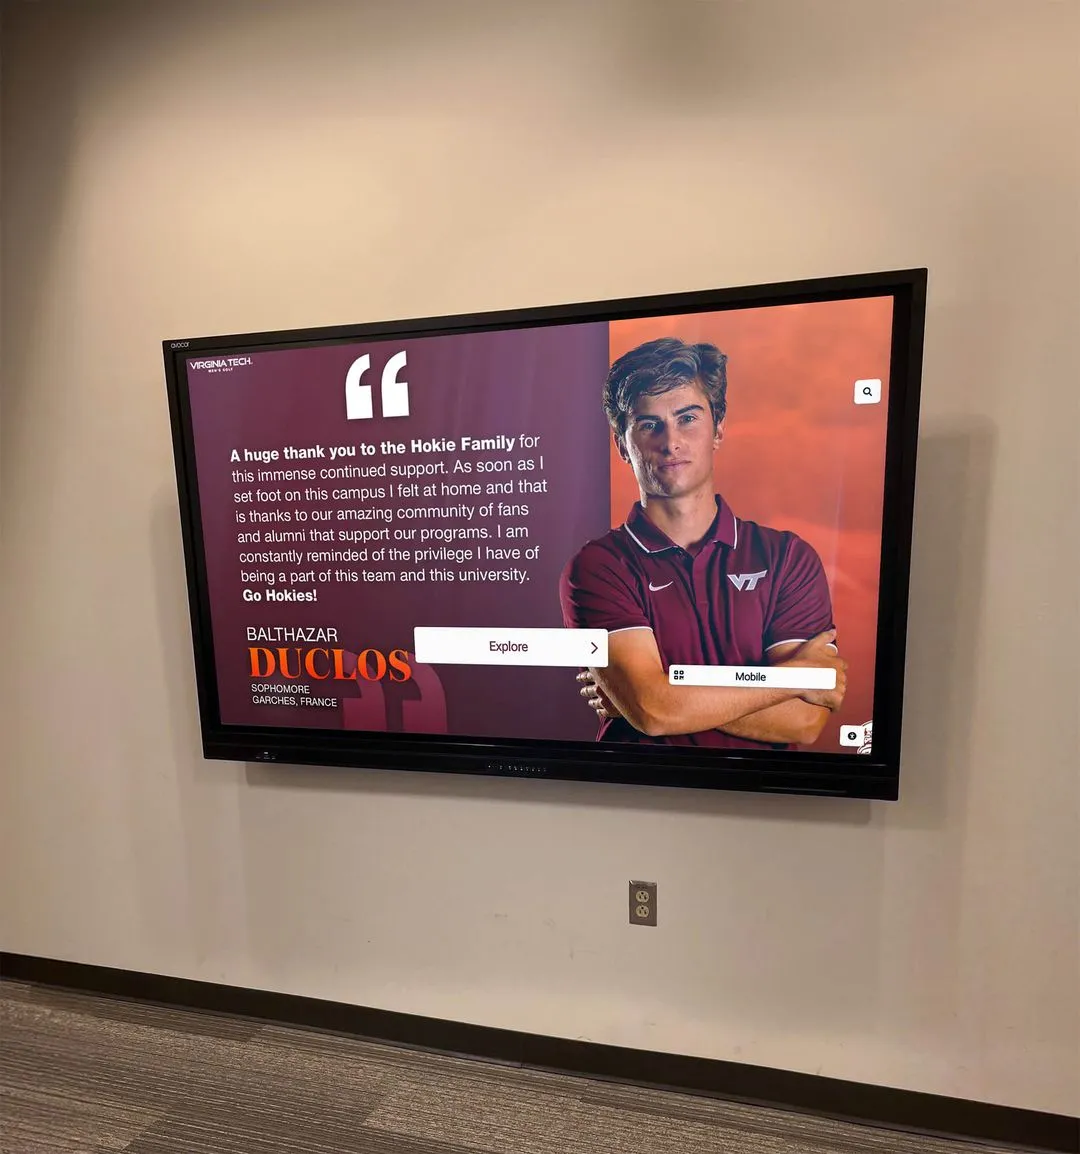
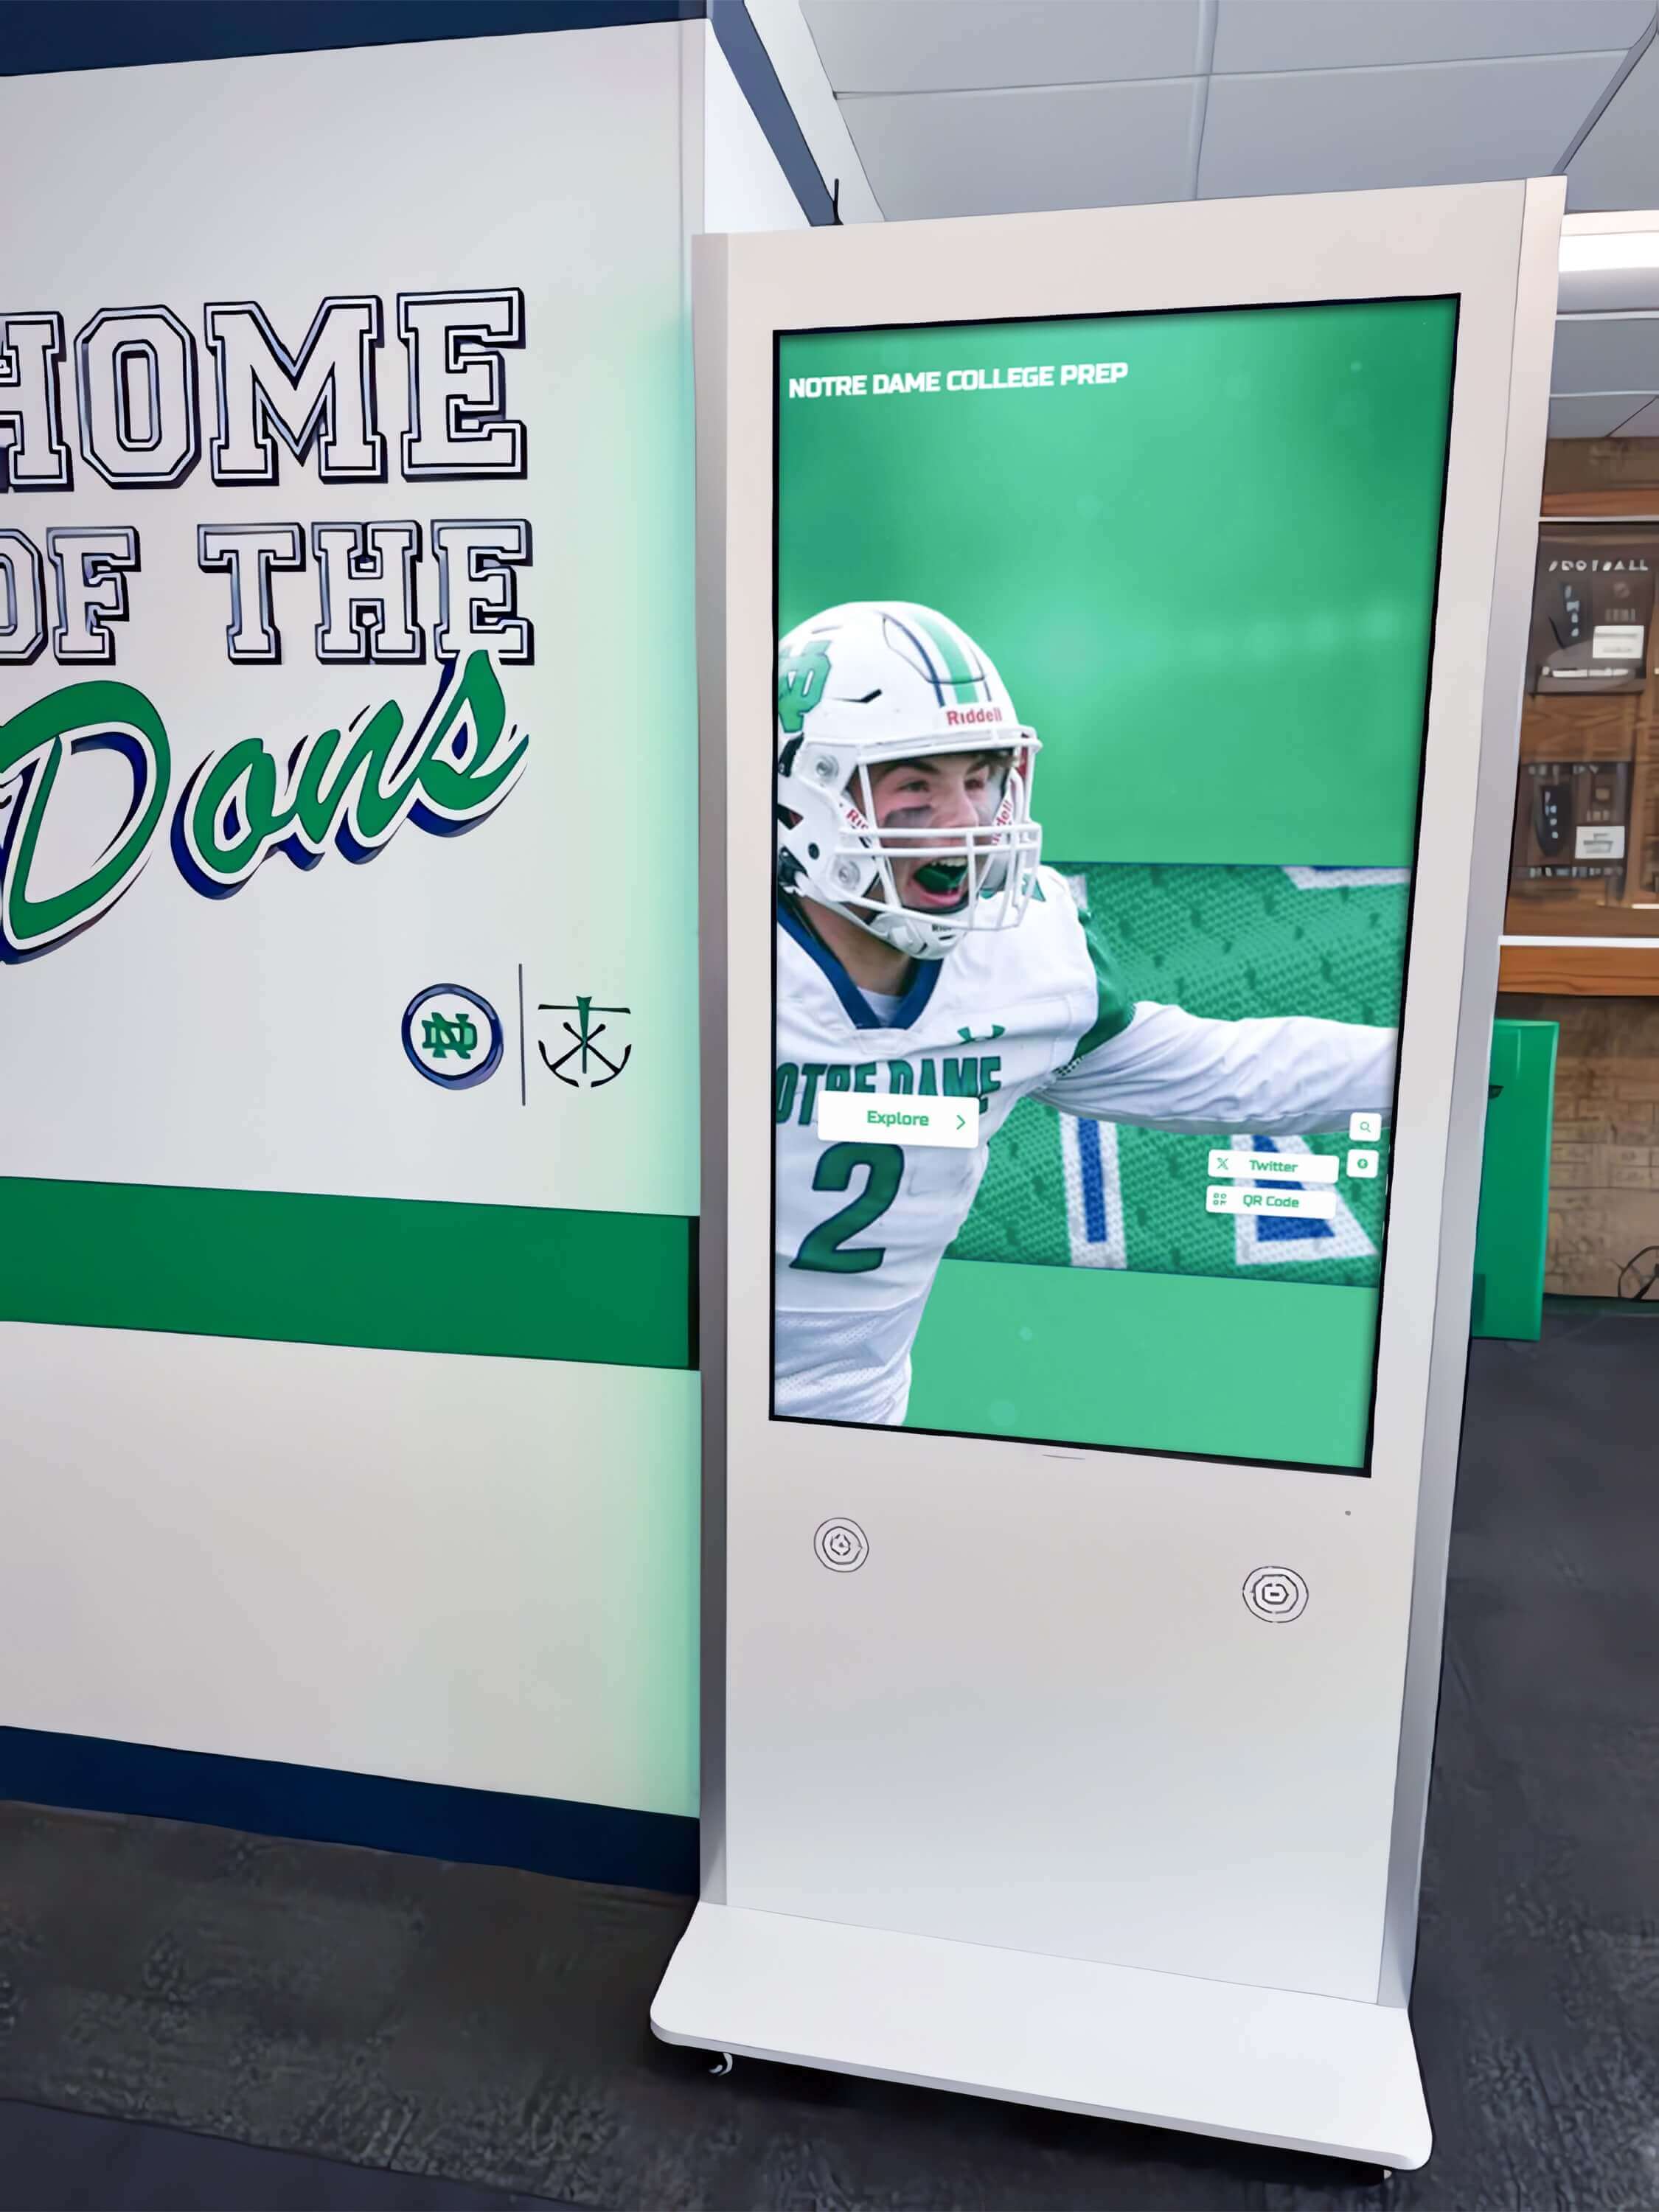
Accessibility is priority:
- Need compliance with ADA requirements for interactive content
- Want content accessible remotely to alumni and community
- Value QR code access to mobile devices for detailed information
Validation Checklist: Pre-Decision Audit
Before finalizing your decision, complete this checklist to confirm you’ve addressed critical factors.
Infrastructure Confirmed
- Wall structural capacity measured and documented (can support 200+ pounds if digital, 300+ pounds if traditional)
- Electrical capacity verified at proposed location with circuit amperage calculated
- Network connectivity tested if considering digital (minimum 2 Mbps reliable connection confirmed)
- Hallway width measured to verify ADA compliance after display installation
- Distance from electrical outlets to display location documented
Budget Realistic
- Initial capital costs calculated including installation labor, not just equipment purchase
- Recurring annual costs projected for 10 years
- Hidden costs included (staff time, content development, maintenance supplies)
- Total cost of ownership compared between traditional and digital approaches
- Budget approval secured from appropriate authority
Operational Capacity Assessed
- Staff time available for content updates quantified (hours per month)
- Maintenance responsibilities assigned to specific individuals
- Key management protocols established (for traditional cases)
- IT support commitment secured (for digital displays)
- Training time allocated for staff learning new systems
Content Requirements Defined
- Current recognition inventory counted and documented
- Annual new additions projected for next 5-10 years
- Content types identified (trophies, plaques, photos, videos, statistics)
- Selection criteria documented for who/what gets recognized
- Historical content digitization needs assessed (if going digital)
Stakeholder Alignment Achieved
- Administration approval secured for approach and budget
- Facilities management input obtained on installation requirements
- IT department consulted on network and technical requirements (if digital)
- Athletics staff input gathered on content and update processes
- Booster club or donor expectations clarified
This validation catches issues before they derail projects. Athletic directors who skip this audit often discover problems during installation that could have been addressed during planning.
Installation Requirements Checklist
Use these checklists during installation planning to ensure contractors have complete specifications.
Traditional Trophy Case Installation Checklist
Pre-Installation Requirements:
- Wall construction type identified (wood stud, metal stud, concrete, CMU)
- Stud locations marked if wood/metal stud wall
- Blocking installed between studs if case wider than single stud bay
- Wall surface prepared (painted, patched, cleaned)
- Electrical outlet installed if lighted case (within 6 feet of case location)
- Floor surface level verified (use level; address irregularities)
- Adjacent wall/floor surfaces protected during installation
- Delivery access confirmed (measure doorways, hallways, elevators)
Installation Day Requirements:
- Case inspected for shipping damage before accepting delivery
- Protective covering placed on floor beneath work area
- Case positioned and leveled using shims if necessary
- Anchoring hardware appropriate for wall type (lag bolts for studs, masonry anchors for concrete)
- All mounting points secured per manufacturer specifications
- Anti-tip hardware installed per ASTM F2057-19 standard
- Shelving installed and adjusted to planned heights
- Doors adjusted for proper operation and alignment
- Locks tested and keys labeled/organized
- Lighting connected and tested (if applicable)
- Case cleaned and prepared for content installation
Digital Display Installation Checklist
Pre-Installation Requirements:
- Wall structural capacity confirmed (can support 200+ pounds)
- Mounting bracket template used to mark hole locations precisely
- Electrical outlet installed behind display location or within 12 inches
- Network drop installed if using wired connection
- Firewall access configured with IT department (port 443 outbound HTTPS)
- Static IP reserved if required by system (optional)
- Content management system accessed and tested before installation day
- Initial content batch uploaded to platform for day-one operation
Installation Day Requirements:
- Display hardware inspected for shipping damage
- Mounting bracket installed level using appropriate anchors for wall type
- Bracket load-tested before hanging display (pull test with 200+ pounds force)
- Display mounted on bracket and secured per manufacturer instructions
- Power cable connected (cord management concealed if possible)
- Network cable connected or WiFi configured
- Display powered on and boot sequence verified
- Network connectivity confirmed (run speed test)
- Content management system logged in successfully
- Touchscreen responsiveness tested across full surface
- Content displaying correctly with proper formatting
- Interactive features tested (search, filtering, media playback)
- Remote access verified from web portal
- Staff training completed on basic operations and content updates
Facilities teams implementing digital donor walls or recognition displays find these checklists prevent installation delays and ensure contractors have complete specifications.
Long-Term Considerations and Sustainability
Recognition displays remain in place for decades. Plan for long-term sustainability from the beginning.
Traditional Trophy Case Longevity
Expected lifespan:
- Quality wood/glass cases: 20-30 years with proper maintenance
- Metal cases: 25-35 years
- Lighting systems: 5-10 years before requiring updates
- Locks and hardware: 10-15 years before replacement needed
Obsolescence factors:
- Physical capacity limits require expansion cases or removal of older items
- Style changes make decades-old cases appear dated
- Lighting technology advances (LED replacements for fluorescent/incandescent)
- Glass scratching or hazing reduces visibility over time
Renovation requirements:
- Complete refurbishment typically needed every 15-20 years
- Involves refinishing wood, replacing glass, updating lighting, replacing hardware
- Cost: 40-60% of new case purchase price
Digital Display Longevity
Expected lifespan:
- Commercial display panels: 50,000-100,000 hours (6-11 years at 24/7 operation)
- Touchscreen overlay: 60-70 million touches or 10+ years typical use
- Mounting hardware: 20+ years
- Content management software: ongoing updates maintain current functionality
Technology evolution:
- Display resolution improves (4K becomes standard, 8K emerging)
- Touchscreen technology advances (multi-touch, gesture recognition)
- Software platforms add features through updates
- Network connectivity speeds increase enabling richer media
Upgrade path:
- Hardware replacement every 7-10 years maintains current technology
- Software updates provide new features without hardware changes
- Content remains accessible during hardware upgrades (cloud-based storage)
- Mounting brackets often compatible with newer display models
Sustainability considerations:
- Commercial displays designed for recycling at end-of-life
- Software energy management reduces electricity consumption
- Remote management reduces vehicle trips for updates
- Digital content eliminates plaque manufacturing and material waste
Staff Transition Planning
Recognition displays outlast individual staff members. Plan for transitions:
Traditional cases:
- Document key storage locations and access protocols
- Maintain inventory records of all displayed items
- Record vendor information for replacement plaques and parts
- Take photos of current arrangements to guide future layout decisions
Digital displays:
- Maintain written procedures for content updates
- Document login credentials securely
- Store vendor contact information and service agreement details
- Train multiple staff members to avoid single-point-of-failure
- Schedule vendor training refreshers when staff changes occur
Moving Forward: Your Implementation Plan
Facilities directors and athletic administrators who have reviewed this comparison should now have the data needed to make a documented decision. Your immediate next steps:
Complete the decision matrix above, honestly evaluating which criteria align with your situation.
Run the cost calculator for both approaches using your specific circumstances, projecting 10-year total costs.
Conduct the validation checklist to confirm you have infrastructure, budget, and operational capacity for your selected approach.
Measure your proposed location precisely, documenting wall construction, electrical access, network connectivity, and ADA compliance.
Prepare installation checklist for your selected solution, providing complete specifications to vendors and contractors.
For schools considering digital recognition displays, solutions like Rocket Alumni Solutions provide comprehensive technical specifications, installation planning support, and ongoing content management that addresses every requirement outlined in this guide. From network configuration assistance to ADA compliance verification to staff training, the platform handles the implementation details that determine project success.
Build Your Recognition Display with Complete Specifications
Rocket Alumni Solutions provides the technical documentation, installation support, and content management tools that facilities directors need to implement recognition displays confidently. Whether you're replacing aging trophy cases or launching new recognition programs, we provide the specifications and support that transform planning into successful installation.
Schedule a TouchWall demonstration to review exact technical requirements for your space, calculate realistic budgets, and see how modern digital recognition addresses the infrastructure and operational challenges outlined in this guide. We'll provide the installation checklist, network requirements document, and vendor specifications you need to move forward.
Frequently Asked Questions
Can traditional trophy cases be converted to accommodate digital displays?
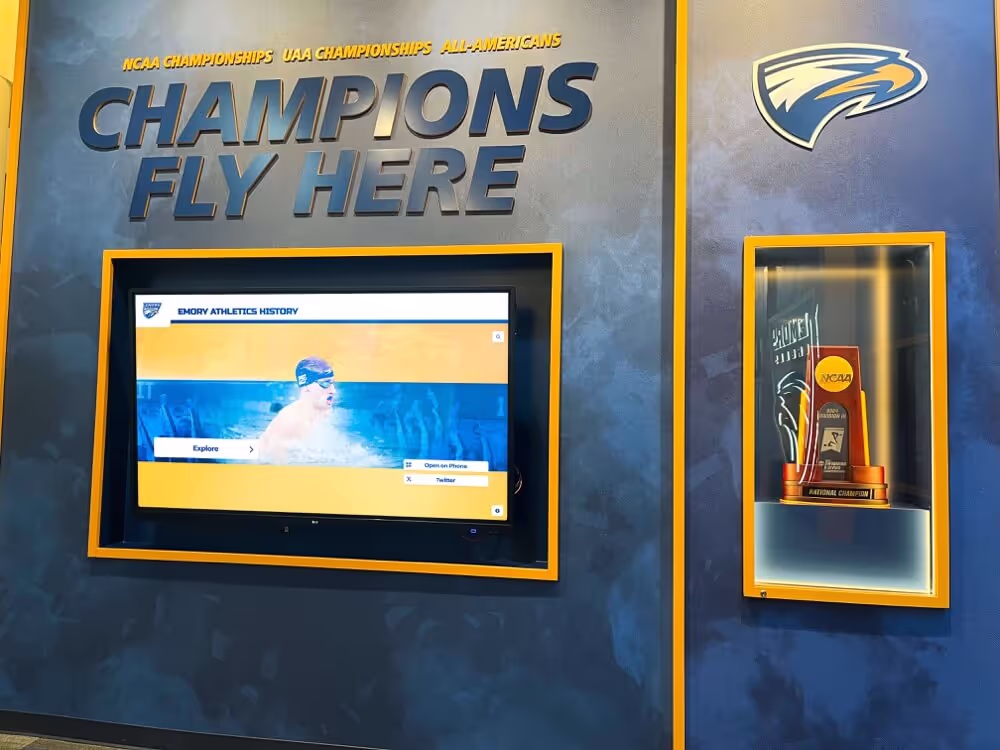
Yes, but the approach depends on case construction. Some schools install small digital tablets inside existing trophy cases to supplement physical trophies with video highlights or athlete biographies. This hybrid approach works when you want to preserve physical trophies while adding digital content. However, touchscreen access through glass is problematic, and screens small enough to fit inside cases (7-10 inches) limit content visibility. More commonly, schools replace traditional cases entirely with wall-mounted digital displays when making the transition. The case removal creates wall space for proper digital display mounting. If preserving some trophy display is important, consider adjacent placement—digital display on one wall section, smaller trophy case on another—rather than trying to integrate both in a single unit.
What happens to our physical trophies if we switch to digital displays?
Schools handle this transition several ways depending on space and stakeholder preferences. Many photograph all trophies for digital inclusion, then relocate physical trophies to athletic offices, team rooms, or coach offices where they remain accessible but don’t consume prime hallway space. Some schools create a historical trophy archive room that preserves physical items while freeing hallway space for digital recognition that includes current and historical content. Championship trophies and items of exceptional significance often remain on display in protected cases while individual awards and plaques transition to digital format. A few schools hold trophy return events where athletes/families can reclaim individual awards, keeping only team championships and school records physically. The key is photographing everything before disposition—once digitized, the content remains permanently accessible even if physical items are relocated.
Do digital displays work well in gymnasiums where ambient light is bright?
Commercial displays designed for digital signage applications include high-brightness panels (500-700 nits) specifically engineered for well-lit environments. Consumer televisions typically operate at 250-400 nits and struggle with visibility in bright conditions. When specifying displays for gymnasium lobbies or well-lit hallways, request commercial-grade panels with minimum 500-nit brightness ratings. Anti-glare screen treatments further improve visibility by reducing reflections from overhead lighting or windows. Test brightness in your specific location before purchasing—vendors should provide demo units for on-site evaluation. If your proposed location has direct sunlight exposure, consider adjusting installation position slightly to avoid sun paths, or specify commercial displays rated for outdoor/semi-outdoor use (1,000+ nits) that handle even extreme lighting conditions.
Can we phase implementation by starting with one display and adding more later?
Yes, digital systems particularly suit phased approaches since the same content appears on all displays simultaneously. Many schools start with a single display in the main entrance or athletic facility lobby, then add displays in other locations as budget allows—athletic director’s office waiting area, gymnasium lobby, community center, or alumni gathering spaces. The content management system distributes content to all displays automatically, so adding locations doesn’t multiply content development work. When planning phased implementation, select a content management platform that supports unlimited displays without per-screen licensing fees. This prevents the situation where adding displays becomes cost-prohibitive due to recurring per-screen charges. Document your ultimate vision during initial planning so the first installation uses infrastructure (network, content organization, user accounts) that accommodates future expansion without requiring reconfiguration.
What technical skills do staff need to update digital display content?
Most modern content management platforms require skills equivalent to using social media or basic website editing. If staff can upload photos to Facebook, create Google Docs, or edit content in WordPress, they can manage digital recognition displays. The workflow typically involves: logging into a web portal, clicking “create new profile,” filling out a form (name, year, sport, achievements), uploading a photo, and clicking publish. Training takes 2-3 hours initially to cover all features, with most staff becoming proficient within 1-2 actual updates. The larger skill requirement is content creation—writing compelling athlete biographies, gathering high-quality photos, researching historical achievements. This requires research and writing ability, not technical skills. For schools concerned about technical capacity, many vendors offer managed content services where you provide raw information (names, years, achievements) and they handle formatting, photo editing, and publishing.
How do we handle content when our display vendor goes out of business or we want to switch vendors?
This critical question should be addressed before purchasing. During vendor evaluation, specifically ask: “Do we own our content, and can we export it in standard formats?” Quality vendors provide full data portability—you can export athlete profiles as CSV spreadsheets, download all photos as JPG files, and retrieve videos in standard formats (MP4). This content ownership means you can migrate to another platform if necessary. Cloud-based systems typically provide better data portability than proprietary local systems. Before signing contracts, request vendors demonstrate the export process and confirm in writing that you retain full ownership of all content with export capability. Some vendors offer content escrow arrangements where your data is periodically backed up to independent third-party storage, providing additional protection. Avoid vendors who claim your content is “locked in” to their proprietary system or charge fees for content extraction.
Related Implementation Resources
Facilities directors and athletic administrators planning recognition displays may find value in these related guides:
- Digital Trophy Display Case Complete Guide - Additional comparison frameworks for trophy display solutions
- Athletic Hall of Fame Implementation Guide - Selection criteria templates and content organization strategies
- Interactive Kiosk Planning for Schools - Technical specifications and installation requirements
- Memorial Wall Planning Guide - Recognition display approaches for honoring individuals and groups
- WCAG 2.2 Accessibility Compliance - Detailed accessibility requirements for digital displays
These resources provide complementary frameworks that facilities teams can adapt to specific situations. Together, they form a comprehensive planning toolkit for recognition display projects in educational settings.