Intent: Demonstrate safe yearbook digitization methods and integration with digital hall of fame displays
Schools accumulate decades of yearbooks—bound volumes filled with graduating class photos, athletic team pictures, club activities, and memorable moments that document institutional history. These books sit in storage rooms, administrative offices, and library archives, slowly deteriorating with each passing year. Pages yellow and become brittle, binding adhesive fails, and photographs fade. Meanwhile, schools want to celebrate this history through hall of fame displays, but the traditional approach of removing photos from yearbooks destroys the very artifacts they’re trying to preserve.
The challenge is real: How do you make these historical photographs accessible for public display and recognition purposes while keeping the original yearbooks intact and undamaged? Schools need a method that preserves the physical books for archival purposes while extracting digital copies of photos for use in modern recognition displays.
Modern digitization technology offers a clear path forward. Schools can now create high-quality digital copies of entire yearbooks without breaking bindings, removing pages, or causing any physical damage to the originals. Once digitized, these images become the foundation for interactive digital hall of fame displays that bring historical photos to life while the physical yearbooks remain safely preserved.
Why Traditional Methods Damage Yearbooks
Before examining proper digitization methods, it’s important to understand why common approaches fail and cause permanent damage to yearbooks.
Flatbed Scanner Limitations
Standard office flatbed scanners require pressing books flat against the glass scanning surface. This pressure breaks yearbook bindings—particularly in older volumes where adhesive has already weakened. The spine cracks, pages separate from binding, and the book literally falls apart with repeated scanning attempts. Schools that attempt this method often discover they’ve destroyed irreplaceable yearbooks in the process of trying to preserve them.
Photo Removal Destruction
Some schools consider removing photos directly from yearbooks for framing or display purposes. This approach guarantees permanent damage. Photos attached with decades-old adhesive tear when removed, leaving residue and damage on pages. The yearbook loses its completeness and historical integrity. Future researchers find gaps where photos once existed, with no record of what was removed or where those images now reside.
Environmental Damage During Handling
Even careful manual handling causes problems. Oils from hands transfer to aging paper. Brittle pages tear at the slightest stress. Exposure to light during photography attempts accelerates fading. Temperature and humidity changes during transport between storage and scanning locations contribute to deterioration. Every handling session compounds the damage.
Safe Digitization Methods for Bound Yearbooks
Proper yearbook digitization requires specialized equipment and techniques designed specifically for bound volumes. These methods keep books intact while producing high-quality digital images suitable for display purposes.
Overhead Book Scanner Systems
Professional overhead book scanners represent the standard for non-destructive digitization. These systems use cameras mounted above a V-shaped book cradle. The yearbook rests open at a natural angle (typically 100-120 degrees) that doesn’t stress the binding. Glass platens press gently on pages to flatten them for photography without forcing the spine.
Modern overhead scanners capture both pages simultaneously using dual cameras, then automatically correct for the book’s curved surface through software processing. The resulting images appear as if pages were perfectly flat, but the physical book experienced no damaging pressure. Schools can digitize entire yearbook collections page by page without causing any structural damage.
Planetary Scanner Alternative
Planetary scanners use a single overhead camera to capture one page at a time. While slower than dual-camera systems, planetary scanners work well for extremely fragile yearbooks that shouldn’t be opened fully. The book rests at an angle as shallow as 90 degrees. An operator manually turns pages while the camera captures each image. This method suits particularly delicate volumes where even the V-cradle approach seems too aggressive.
Professional Scanning Services vs. DIY Approach
Schools face a choice between purchasing equipment and handling digitization internally or contracting with professional scanning services. Professional services bring experience with delicate materials, specialized equipment, and workflows designed for speed and quality. Most services charge per page ($0.15-0.50 per page depending on volume and specifications), making outsourcing economical for smaller projects or one-time digitization needs.
Purchasing equipment makes sense for large ongoing projects. Entry-level overhead book scanners start around $3,000-5,000, while professional-grade systems run $15,000-40,000. Schools with extensive archival collections often justify this investment, particularly when digitizing extends beyond yearbooks to other bound materials.
Preparation Steps Before Scanning
Proper preparation protects yearbooks during digitization and improves final image quality. Take these steps before beginning any scanning project.
Condition Assessment
Examine each yearbook for existing damage before digitization begins. Document tears, loose pages, broken bindings, and deteriorating covers. Photograph damage using your phone or camera. This documentation establishes a baseline showing that scanning didn’t cause pre-existing problems. It also identifies books requiring conservation work before handling.
Environmental Stabilization
Yearbooks stored in varying temperature and humidity conditions need time to adjust before scanning. Move books to the scanning location 24-48 hours in advance. This allows materials to reach equilibrium with the scanning environment, reducing risk of damage from rapid environmental changes. Maintain scanning areas at 65-70°F with 40-50% relative humidity—ideal conditions for paper materials.
Cleaning Protocol
Remove surface dust and debris using soft brushes designed for archival materials. Never use compressed air, which can force particles deeper into bindings or between pages. Address mold or mildew before scanning begins—these contaminants spread to other materials and pose health risks. Professional conservators should handle significant mold remediation.
Handling Guidelines
Train everyone who will touch yearbooks in proper handling techniques. Wash hands before handling or wear nitrile gloves (cotton gloves can catch on fragile pages). Support yearbooks from beneath when carrying—never grab by the spine. Open books slowly and gently. Never force pages flat. Use clean work surfaces. These basic practices prevent handling damage during the digitization process.
Image Capture Specifications for Display Use
Digital files destined for hall of fame displays require specific technical specifications. These parameters ensure photos look sharp and professional when displayed on large touchscreens.
Resolution Requirements
Capture yearbook pages at minimum 300 DPI (dots per inch) resolution. This standard produces clear, readable images when displayed or printed at original size or smaller. For photos you plan to display significantly larger than their original yearbook size, increase resolution to 400-600 DPI. Higher resolution provides more detail to work with during enlargement while keeping images sharp.
Calculate file sizes before starting large projects. A standard 8.5" x 11" yearbook page scanned at 300 DPI color produces approximately 25MB uncompressed TIFF files. A 200-page yearbook generates roughly 5GB of master files. Plan storage accordingly—external hard drives, network storage, or cloud backup systems must accommodate substantial data volumes.
Color vs. Grayscale Considerations
Even black-and-white yearbooks should be scanned in color. Many “black and white” publications actually contain subtle color variations—sepia tones, yellowed paper, colored ink for headers or accents. Color scanning captures these nuances. You can always convert to grayscale later if needed, but you cannot add color information to grayscale scans.
Color scanning also better handles aging effects. Yellowed pages scan more accurately in color mode. Age spots, discoloration, and other deterioration indicators become visible in ways that help with later restoration work.
File Format Selection
Save master scans in uncompressed TIFF format. TIFF files preserve all captured image data without quality loss. While TIFF files are large, storage is inexpensive compared to the cost and effort of re-scanning. Master TIFF files serve as your archival copies for future use.
Create JPEG derivatives from TIFF masters for actual display use. JPEG compression reduces file sizes by 90-95% with minimal visible quality loss when using high-quality settings (90-95% quality in most software). These smaller files load faster on display systems while retaining excellent visual quality for screen viewing.
Extracting Individual Photos from Scanned Pages
Once you’ve scanned complete yearbook pages, the next step involves extracting individual portraits and photos for use in hall of fame displays. This process requires patience but produces clean individual images ready for recognition purposes.
Manual Cropping Approach
Photo editing software (Adobe Photoshop, GIMP, Affinity Photo) allows manual selection and cropping of individual portraits from scanned yearbook pages. This method gives complete control over selection boundaries and produces high-quality results. Draw a selection box around each photo, crop to that selection, and save as a new file. Name files systematically using person names, graduation years, or other identifiers.
Manual cropping takes time—expect 2-5 minutes per photo depending on complexity. For yearbooks with 200-400 senior portraits, manual extraction represents significant labor. Schools often assign this work to student volunteers, alumni volunteers, or office staff during slow periods.
Batch Detection Software
Software tools can detect and extract portrait photos from yearbook pages. Programs like Adobe Photoshop’s batch processing features, specialized yearbook processing software, or custom scripts can identify rectangular photos and extract them. This approach works best with formal portrait layouts where photos appear in regular grids with consistent spacing.
Batch extraction struggles with informal layouts—candid photos, various sizes, overlapping images, or creative page designs require manual review and adjustment. Plan for hybrid workflows: batch extraction followed by manual quality checking and corrections.
Image Improvement Considerations
Scanned yearbook photos often benefit from basic improvements before display use. Common adjustments include:
- Brightness and contrast adjustment: Compensate for aged, yellowed paper and faded photos
- Dust and scratch removal: Clean up artifacts from deteriorated originals
- Color correction: Restore more natural skin tones and remove color casts from aging
- Cropping and straightening: Ensure portraits appear level and properly framed
- Background cleanup: Remove page texture, adjacent photo edges, or layout elements
Apply improvements conservatively. The goal is better readability and display quality while maintaining the historical character of original photos. Over-processing makes images look artificial and disconnects them from their archival origins.
Organizing Digital Photo Collections
Proper organization of digitized yearbook photos ensures they remain accessible and usable for years to come. Establish systematic naming and filing structures from the beginning.
File Naming Conventions
Create consistent file naming standards before digitization begins. Effective naming schemes include key identifying information that makes files searchable without opening them. Common patterns include:
[LastName]_[FirstName]_[GradYear]_[Type].jpg(Example: Smith_John_1985_Portrait.jpg)[Year]_[GradYear]_[LastName]_[FirstName].jpg(Example: 1985_1985_Smith_John.jpg)[LastName][FirstName][Year].jpg(Example: SmithJohn1985.jpg)
Select a system that makes sense for your institution and apply it consistently. Avoid spaces in filenames (use underscores or hyphens instead). Keep names reasonably short while including essential identifiers. Never rely solely on folder structure for organization—filenames should be self-documenting.
Folder Structure Organization
Organize files into logical folder hierarchies. Common structures include:
Yearbook_Digital_Archive/
  ├── 1950s/
  │   ├── 1950/
  │   │   ├── Full_Pages/
  │   │   └── Individual_Photos/
  │   ├── 1951/
  │   └── 1959/
  ├── 1960s/
  ├── 1970s/
  └── Master_TIFFs/
This structure groups materials by decade and year, with subdivisions for different content types. Full page scans remain accessible while extracted individual photos live in separate folders. Master TIFF files occupy dedicated storage separate from display-ready derivatives.
Metadata and Documentation
Create spreadsheets or databases documenting digitized collections. Track information including:
- Photo filename
- Person name (last, first)
- Graduation year
- Original yearbook year and page number
- Notes on condition, improvements applied, or special considerations
- Copyright or permission information if applicable
This documentation connects digital files back to physical sources. Future staff can locate original yearbooks and specific pages when questions arise. Documentation also supports alumni recognition programs by making historical photos searchable by name, year, and other attributes.
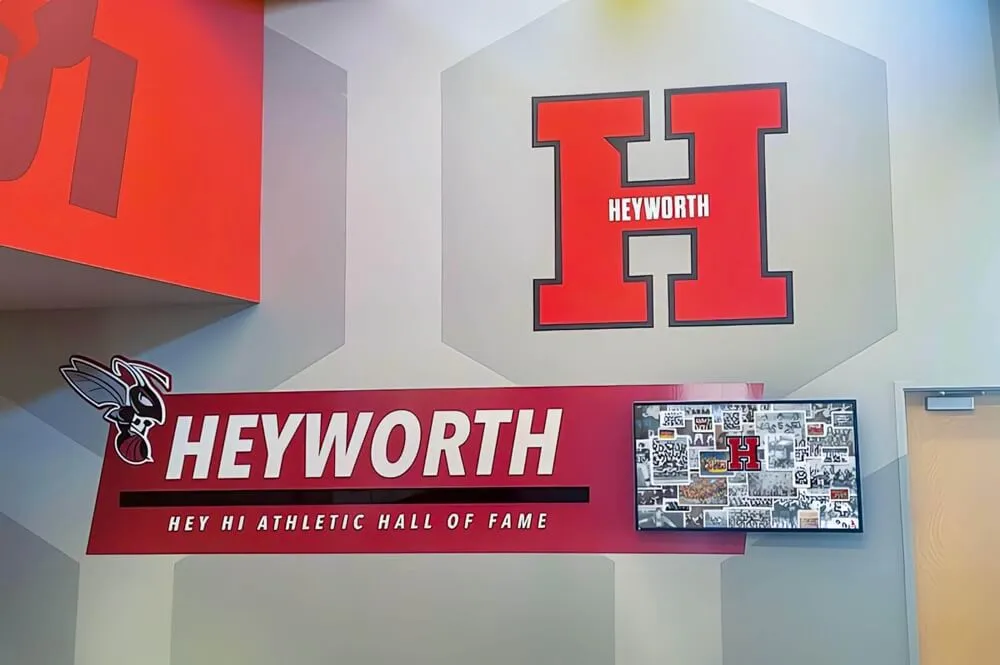
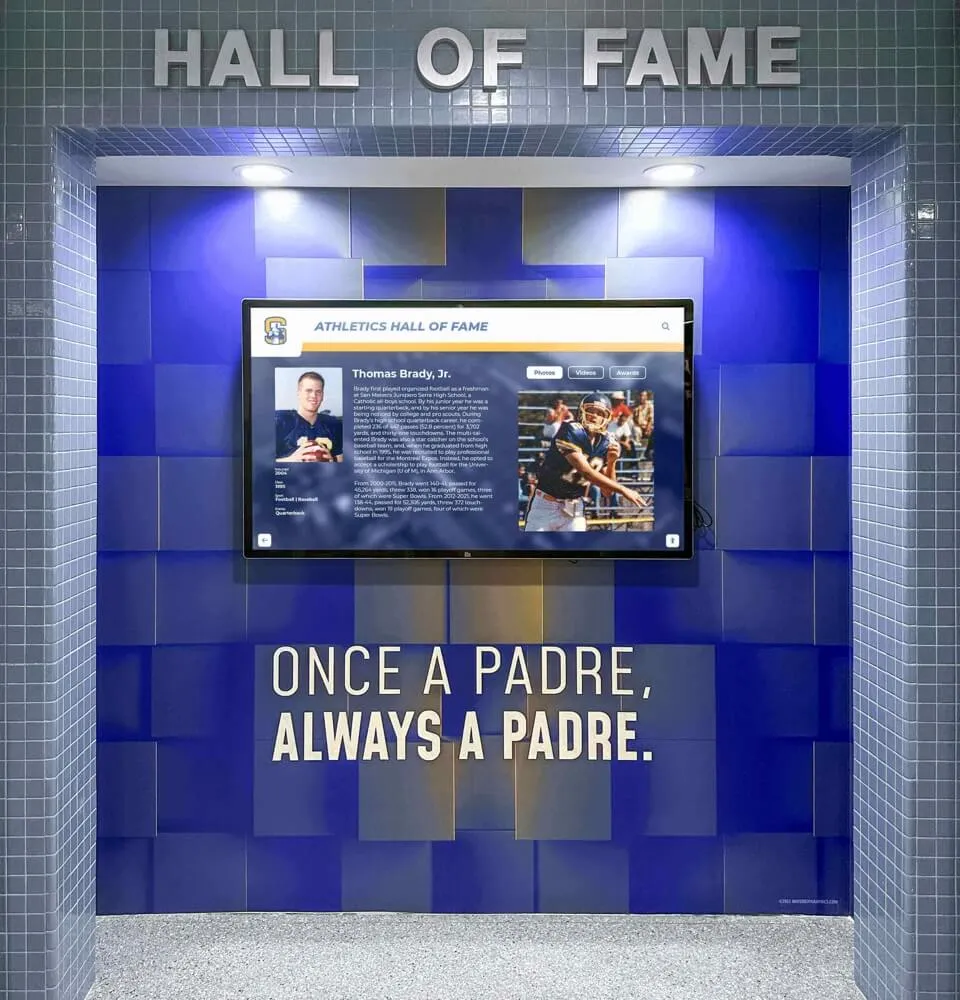
Creating Hall of Fame Displays from Digitized Photos
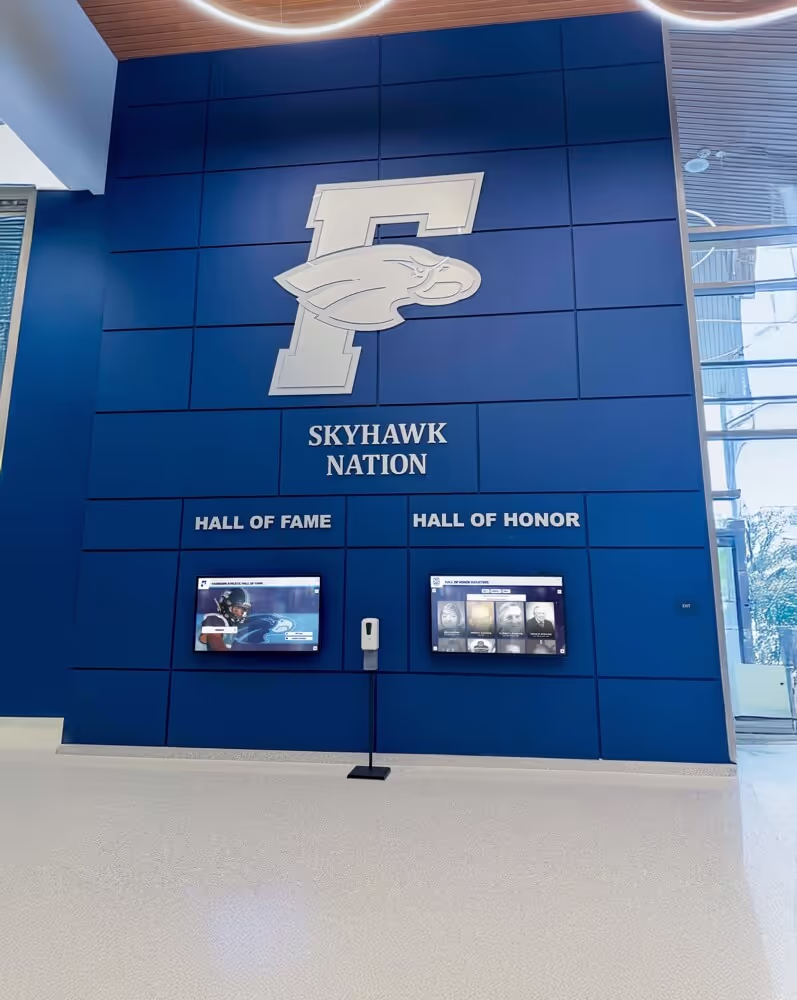
Once yearbook photos are digitized and organized, they’re ready for use in modern recognition displays. Digital display systems make historical photos accessible and engaging in ways traditional static displays cannot match.
Traditional vs. Digital Display Comparison
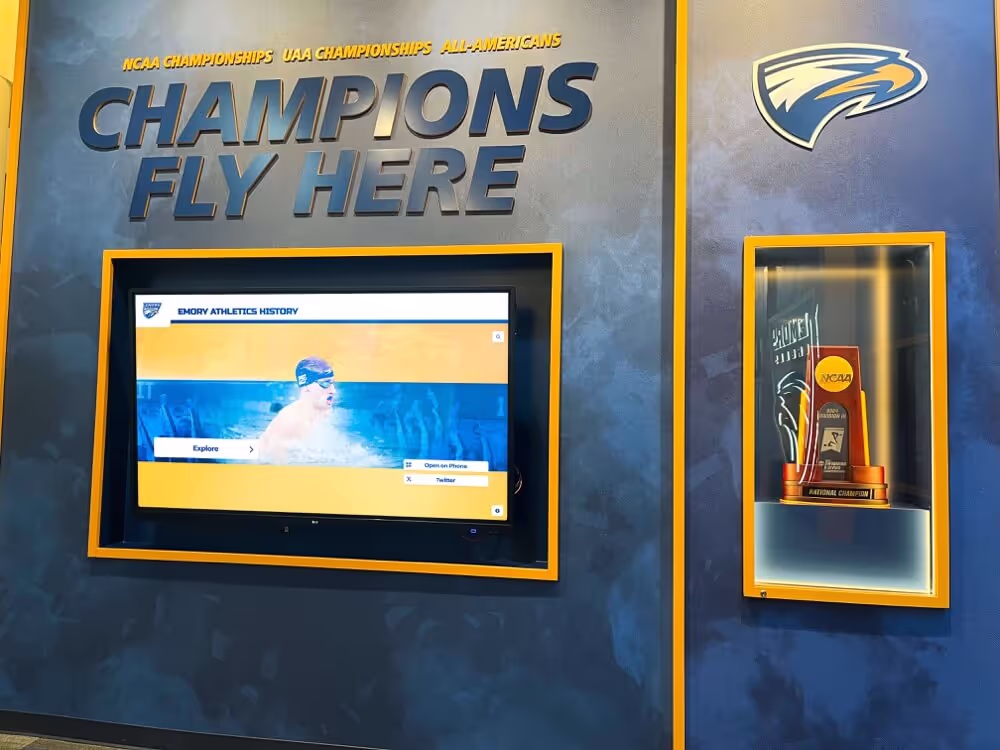
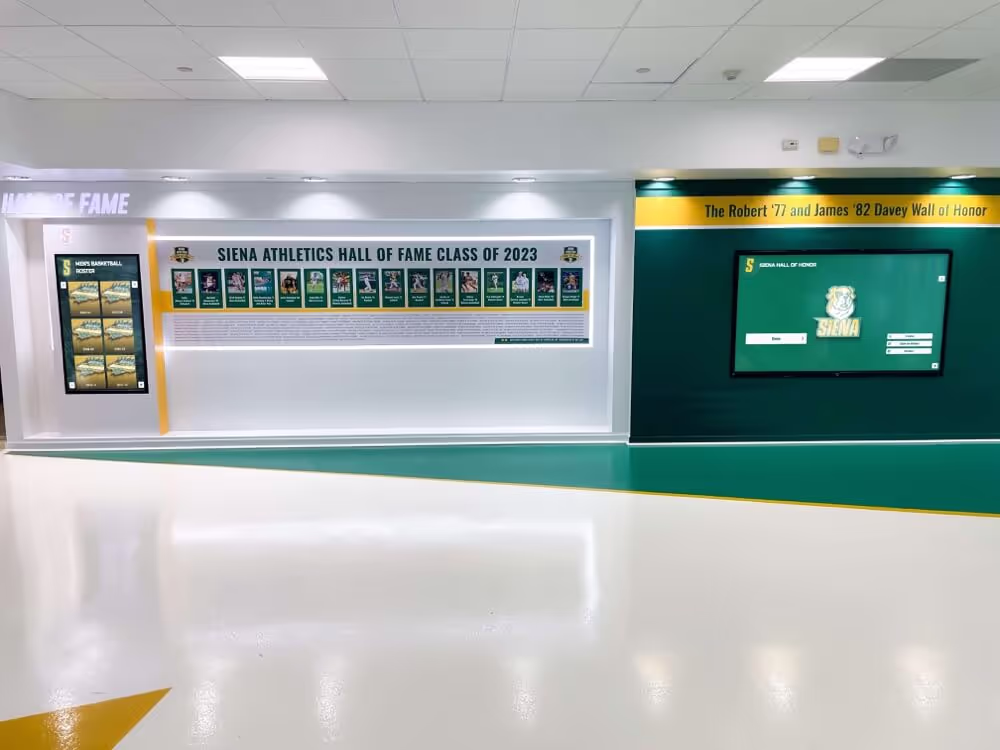
Traditional hall of fame displays use printed photos in frames or mounted behind acrylic. These installations face severe space constraints—wall space fills quickly, particularly in schools with decades or centuries of history. Adding new inductees requires expanding the display, often impossible when wall space is exhausted. Physical displays also can’t include comprehensive information beyond names and basic details.
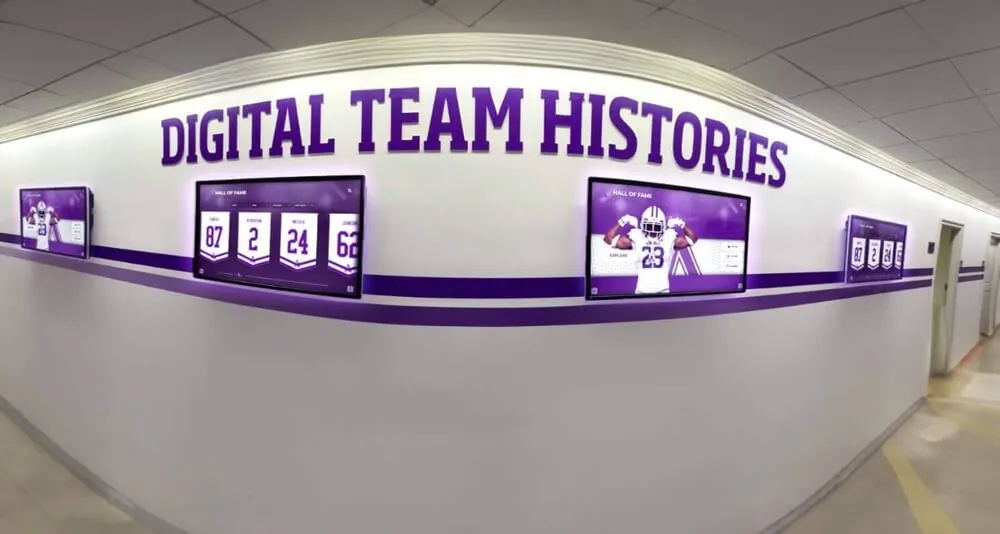
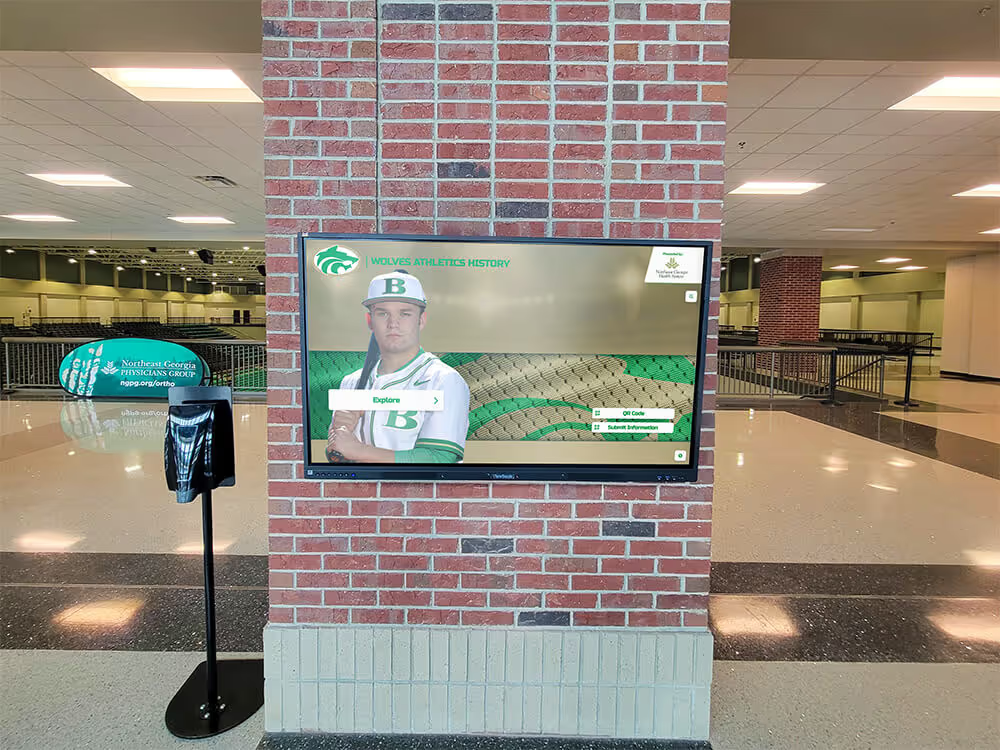
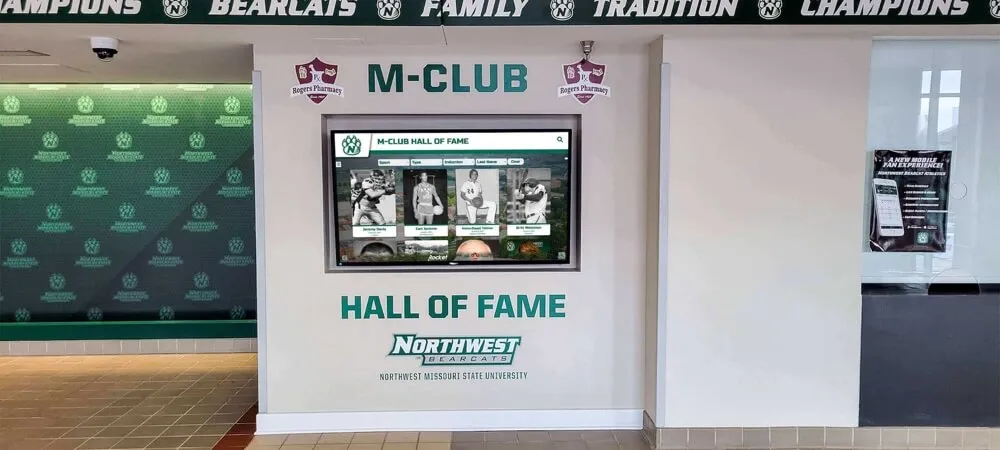
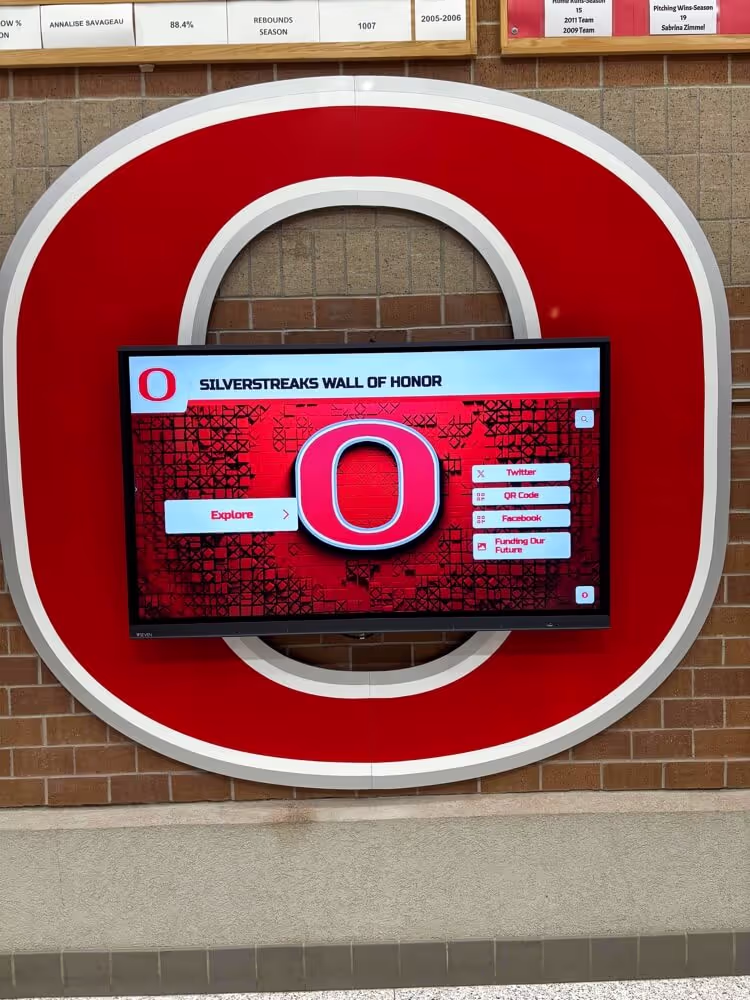
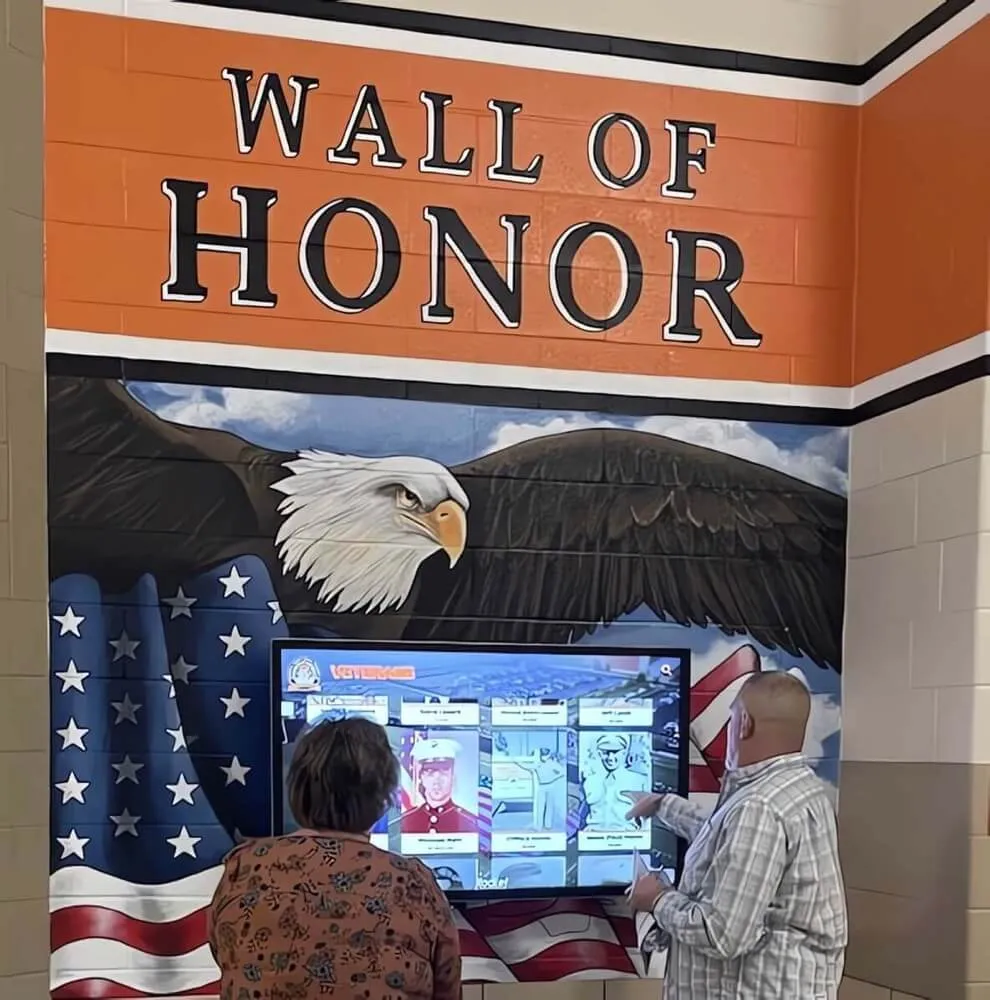
Digital displays eliminate these constraints. A single touchscreen can showcase thousands of historical photos organized by decade, sport, achievement type, or any other category. Interactive navigation lets visitors explore the entire collection rather than viewing only what fits on available wall space. Digital systems also allow including detailed biographies, statistics, video clips, and other content impossible in static displays.
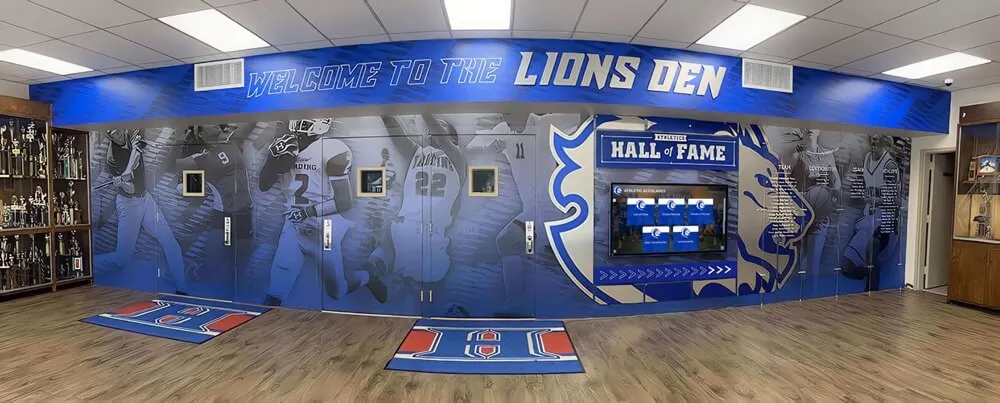
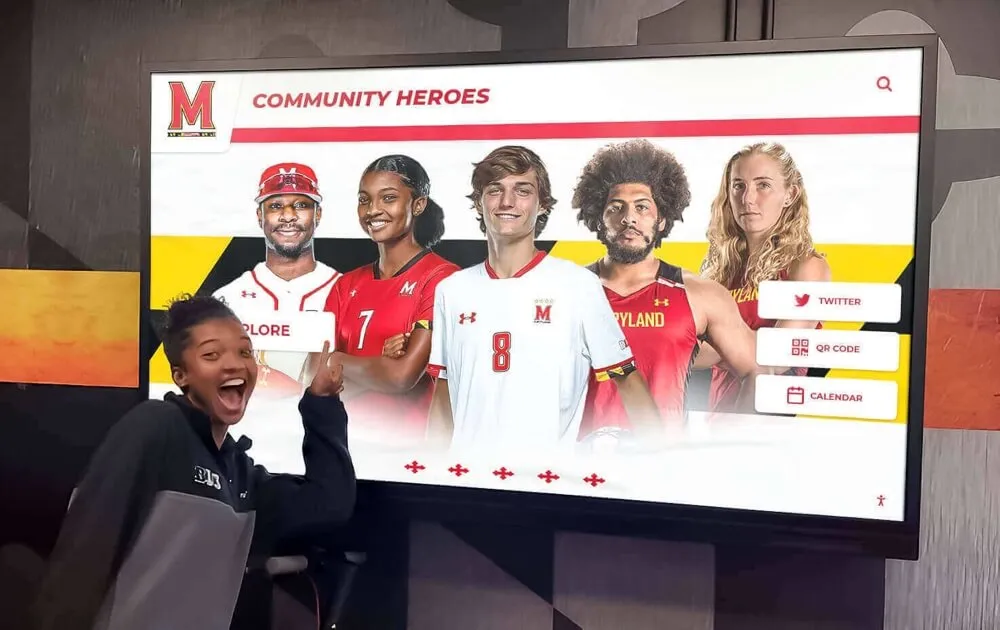
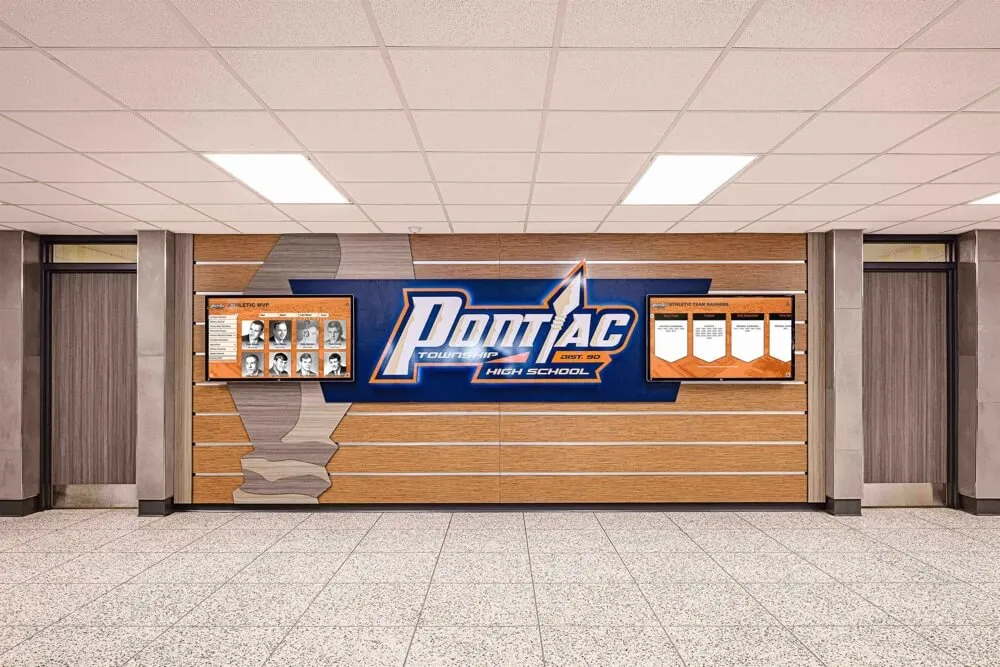
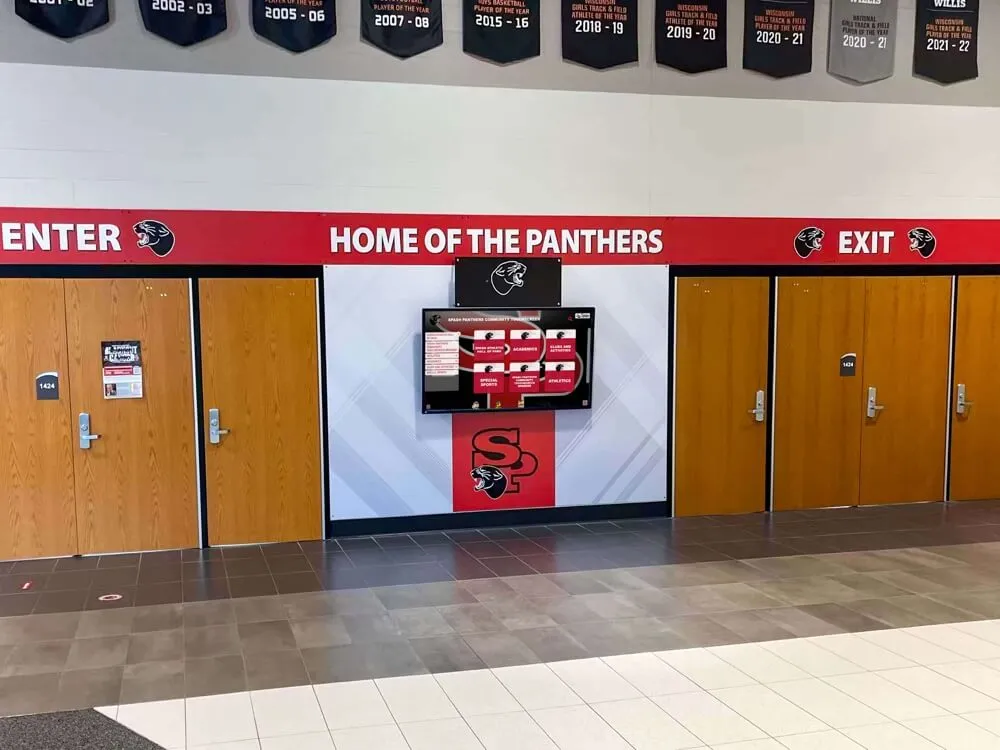
Touchscreen Display Integration
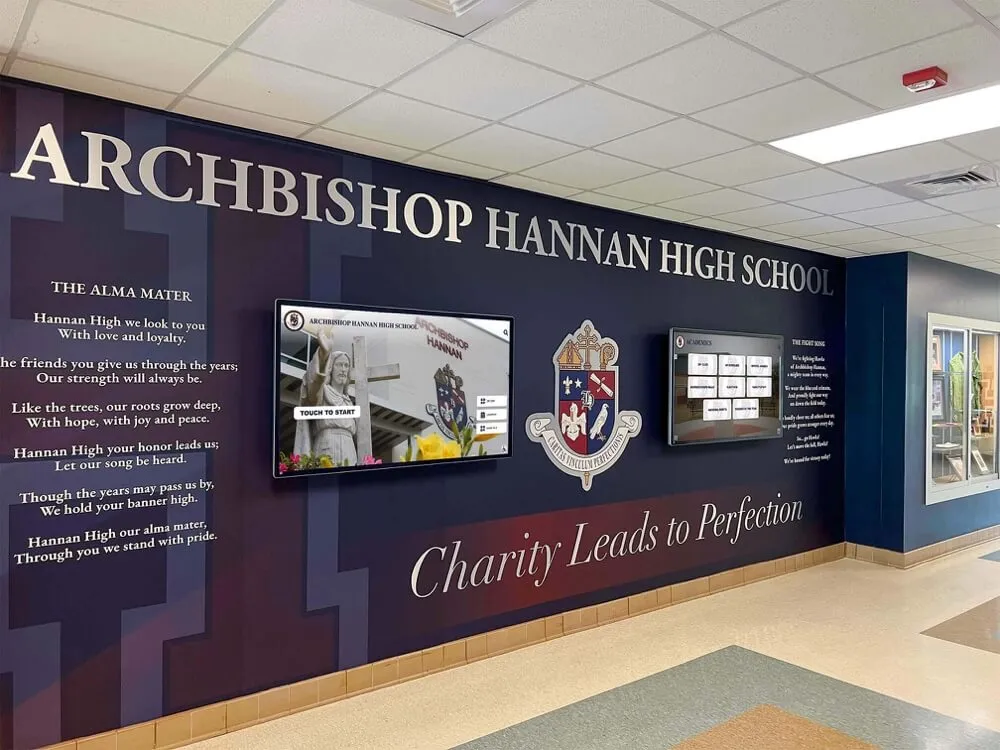
Modern touchscreen systems designed for school recognition programs make digitized yearbook photos immediately accessible. These systems typically feature:
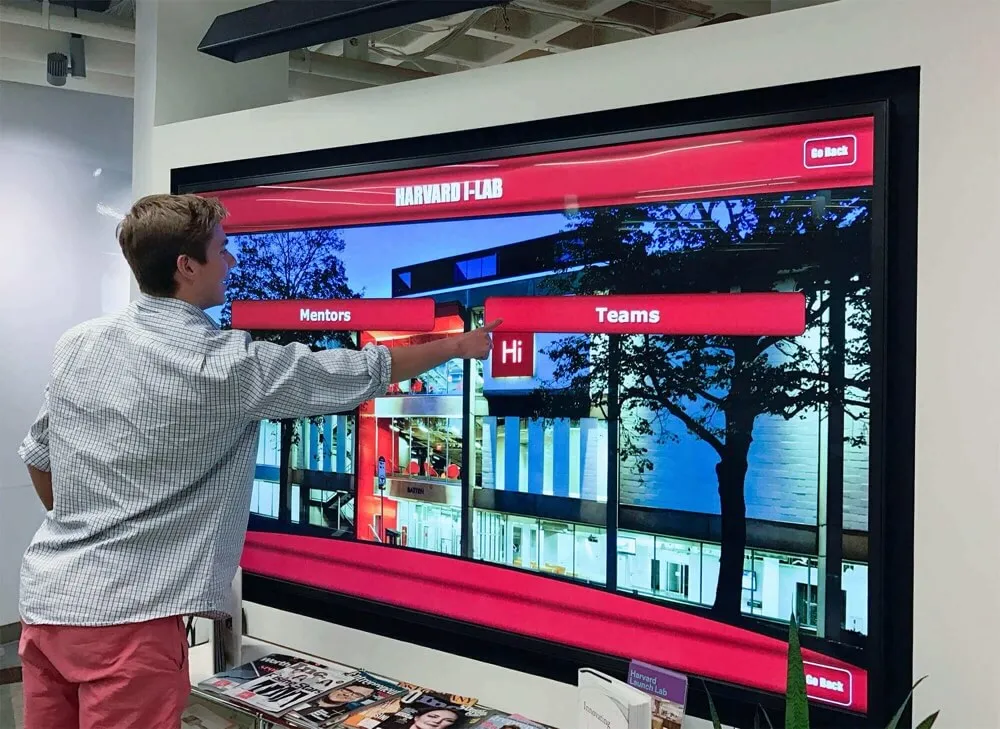
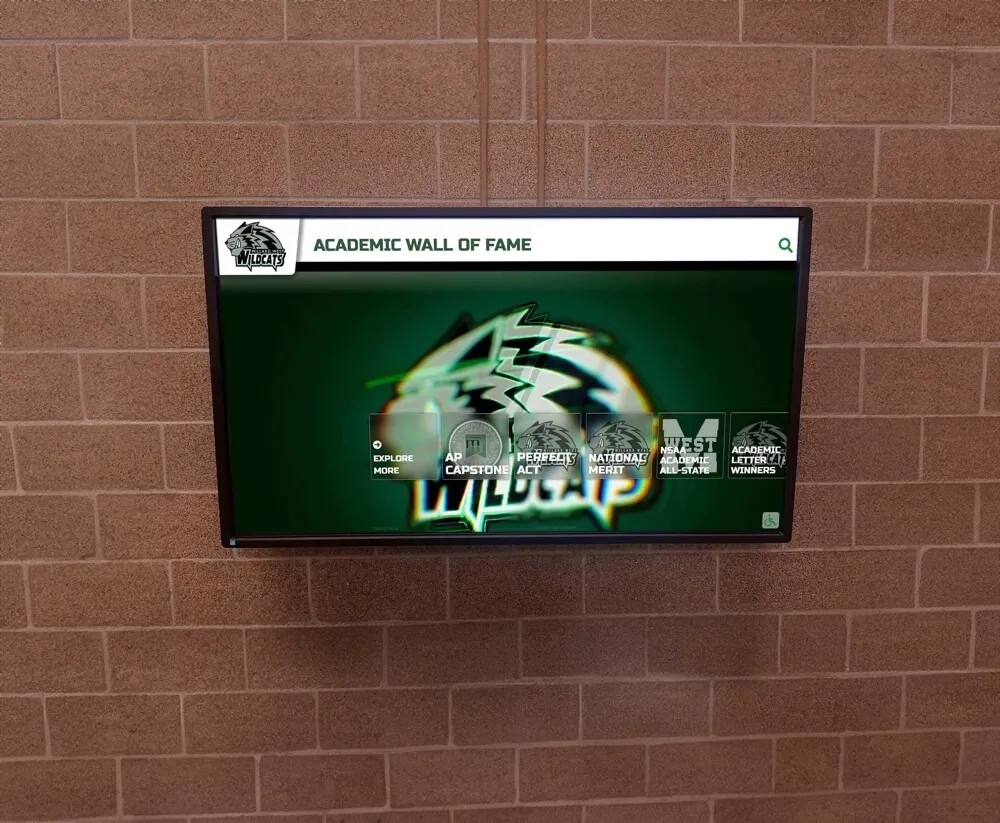
- Large-format displays: 43" to 75" touchscreens visible from across lobbies and hallways
- Simple interfaces: Touch-based navigation familiar to all age groups
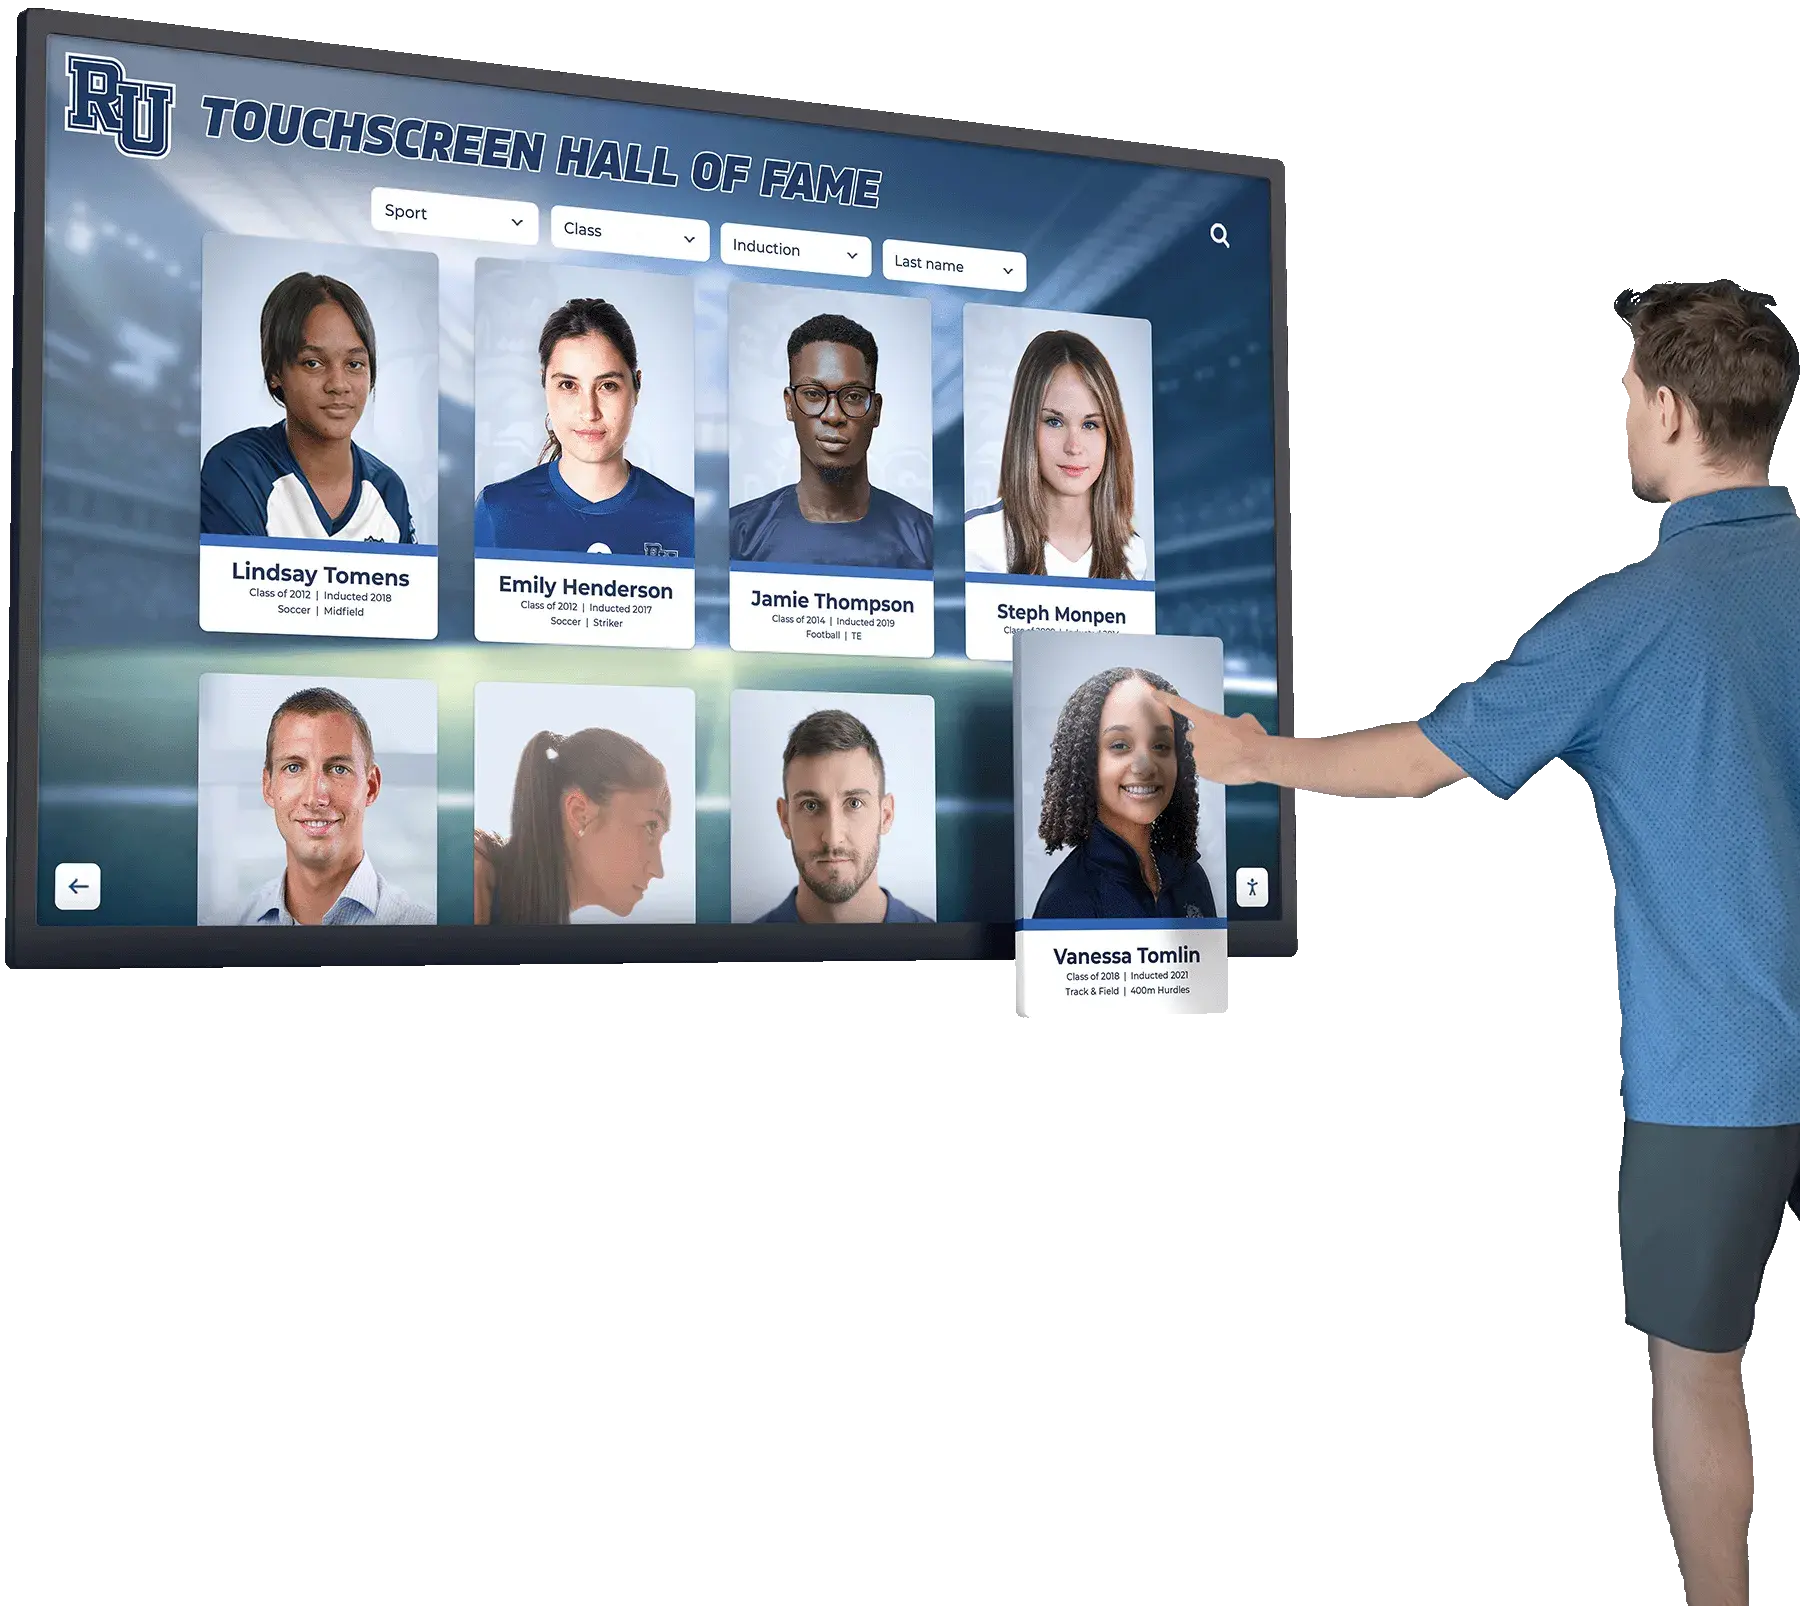
- Searchable databases: Find individuals by name, year, sport, or achievement
- Unlimited capacity: No space constraints on photo quantity
- Easy updates: Add new content remotely without physical display modifications
- Multi-format support: Combine photos, text, videos, and documents
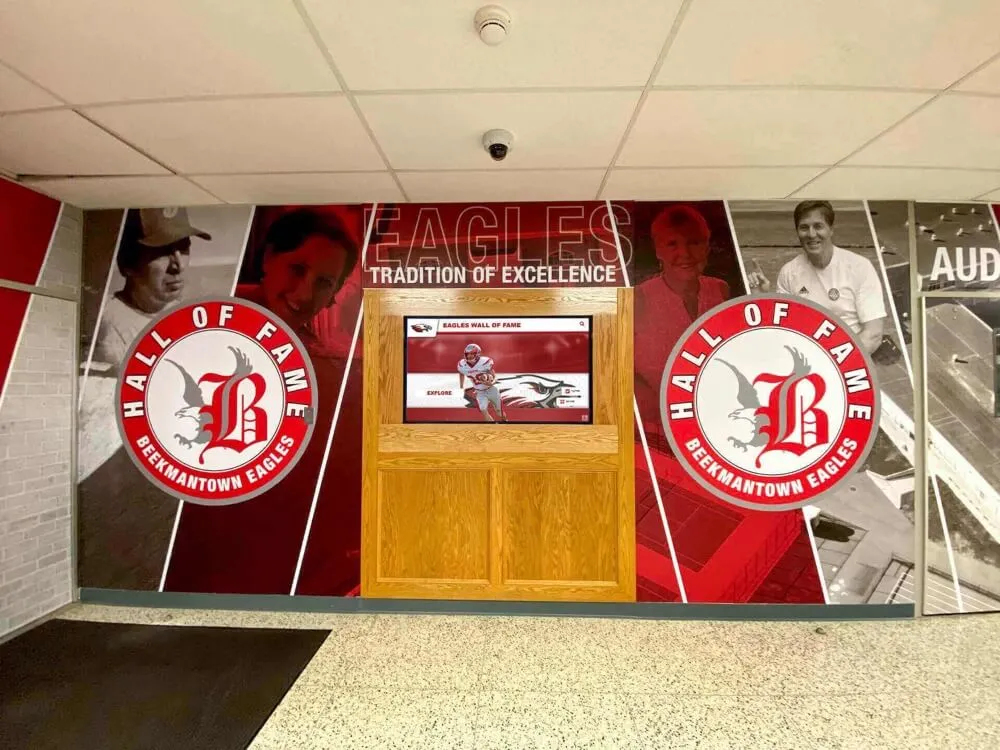
Solutions like Rocket Alumni Solutions provide specialized platforms that make uploading and organizing digitized yearbook photos straightforward. Cloud-based content management systems let administrators upload photo collections, add identifying information, and organize content into browsable categories—all without technical expertise.

Content Organization Strategies
Organize digitized yearbook photos in ways that support visitor engagement. Effective organizational approaches include:
Chronological Organization: Browse by decade or year, seeing how the school evolved over time. This approach works particularly well for institutions with long histories where visitors want to see changes across generations.
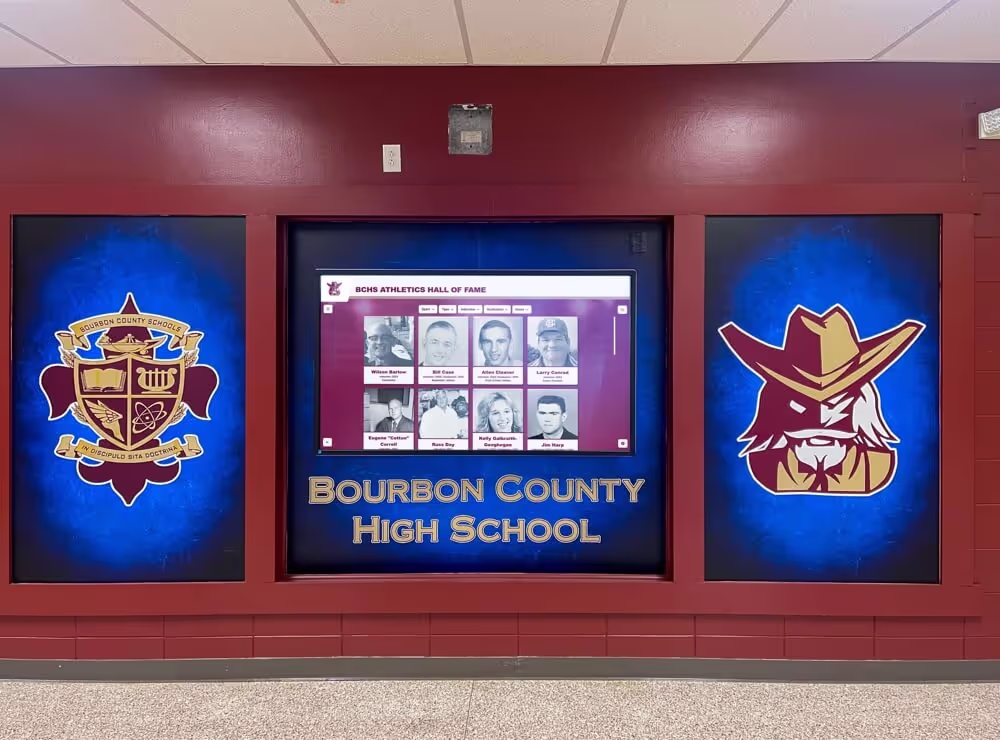
Alphabetical Directory: Search by last name to quickly locate specific individuals. Essential for alumni seeking their own photos or those of classmates, family members, or friends.
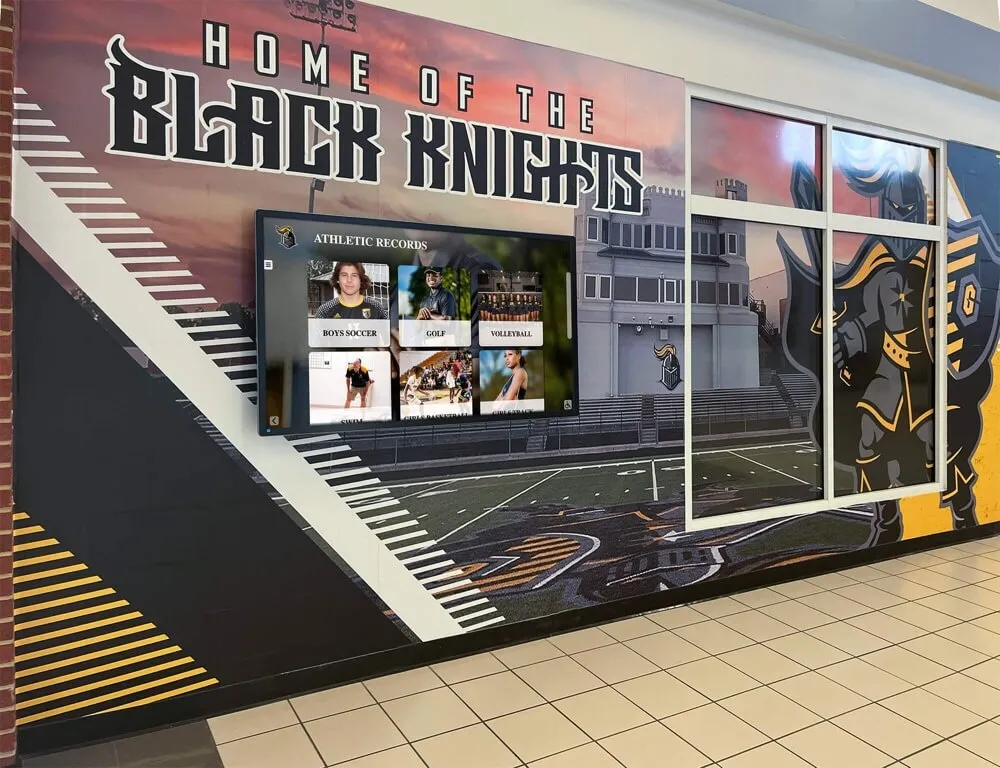
Achievement Categories: Group photos by athletic hall of fame inductees, academic honor roll members, distinguished alumni, or other recognition categories. This approach showcases accomplishments while maintaining connections to historical yearbook photos.
Team and Activity Groupings: Organize photos by sport, club, or activity. Basketball players from all eras appear together, showing program evolution and individual achievements within that context.
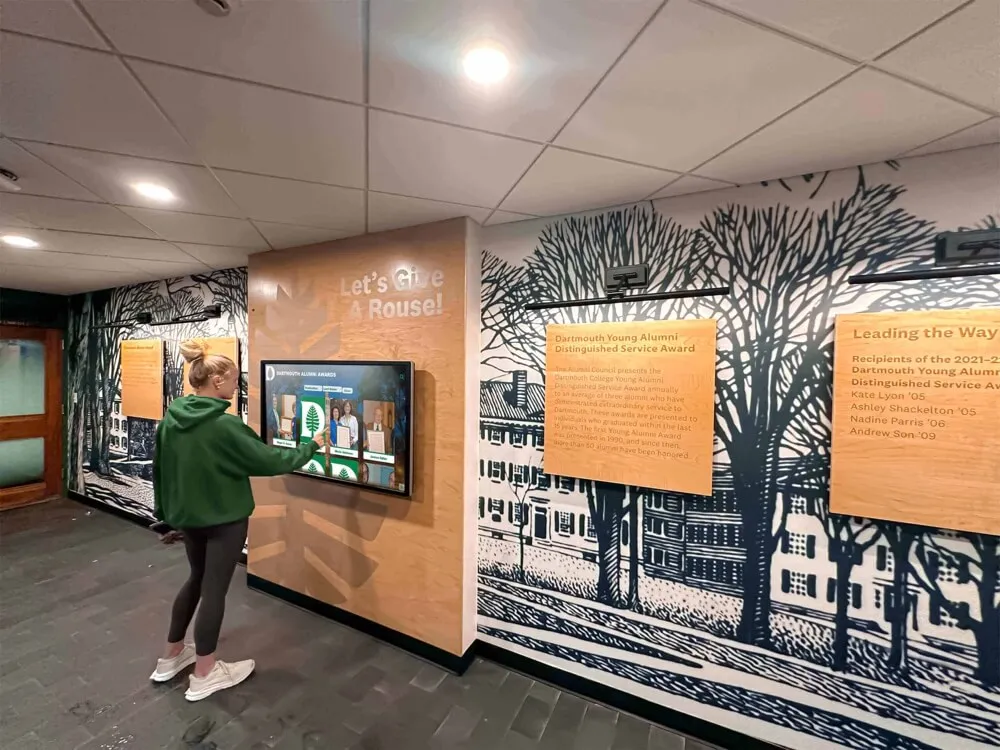
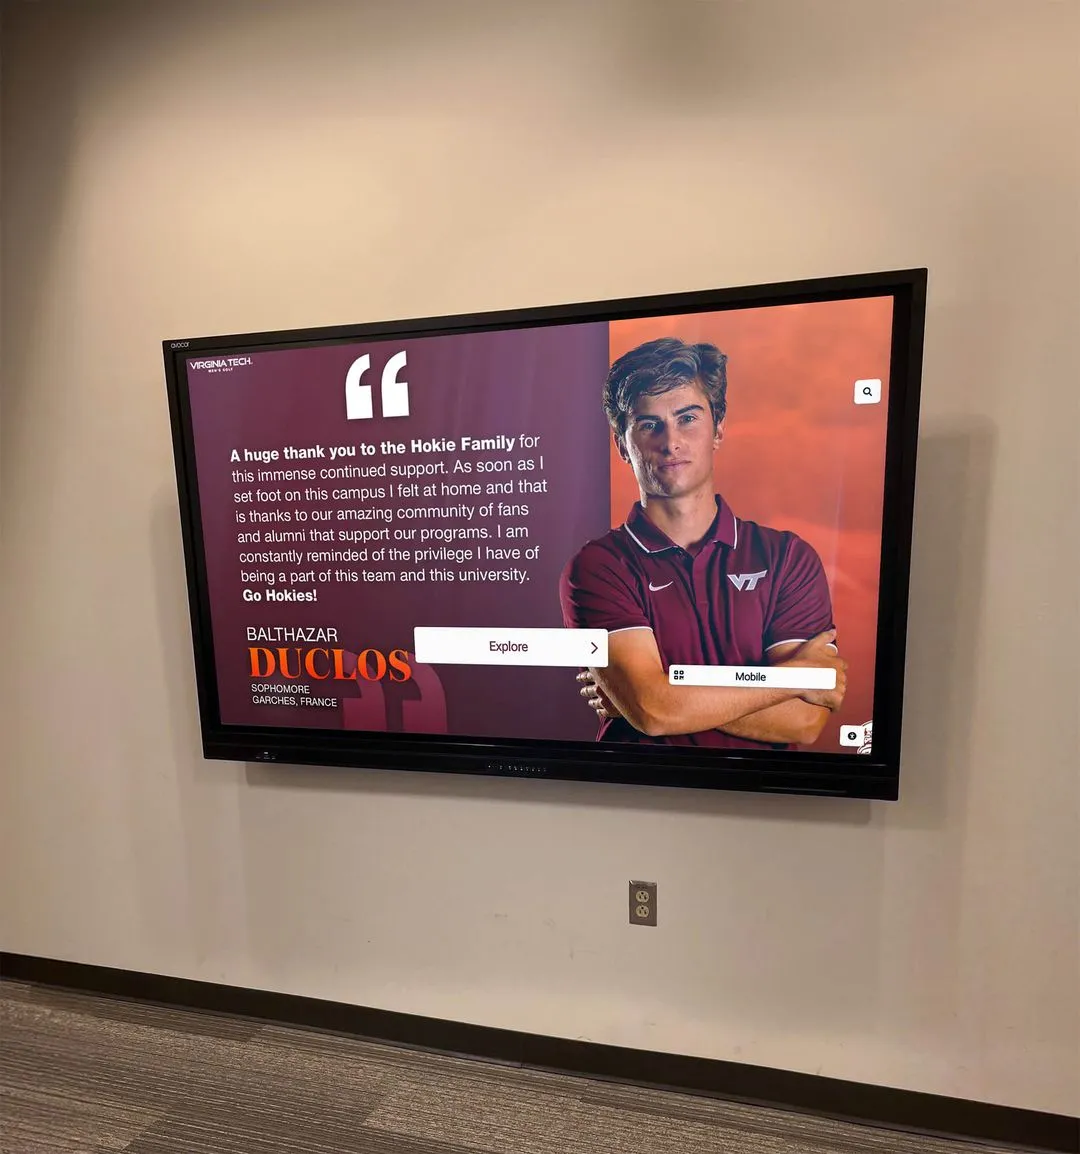
Featured Stories: Highlight notable individuals or classes through curated collections with detailed biographical information. Rotate featured content monthly or seasonally to keep displays fresh.
Most effective implementations use multiple organizational approaches simultaneously, letting visitors browse by whatever method makes sense for their interests.
Technical Infrastructure for Digital Displays
Successful digital hall of fame implementations require appropriate technical infrastructure. Consider these factors when planning installations.
Hardware Selection
Choose commercial-grade touchscreen displays rated for continuous operation rather than consumer TVs. Commercial displays include:
- Extended warranties (3-5 years typical vs. 1 year for consumer models)
- Higher brightness ratings for visibility in well-lit spaces
- Longer rated operating hours (50,000+ hours typical)
- Better build quality and heat management
- Professional mounting options and input configurations
Screen sizes typically range from 43" for smaller spaces to 75" for large lobbies and gathering areas. Consider viewing distances when sizing—visitors standing 6-10 feet from a display need 55" or larger screens for comfortable viewing.
Network Requirements
Cloud-based content management systems require reliable internet connectivity. Plan for:
- Minimum 10 Mbps download speeds for smooth content delivery
- Wired Ethernet connections preferred over WiFi for reliability
- Network security configurations allowing access to content servers
- Backup connectivity options if primary connections fail
Many systems can cache content locally, continuing to function even during internet outages. New content uploads require connectivity, but existing content remains accessible.
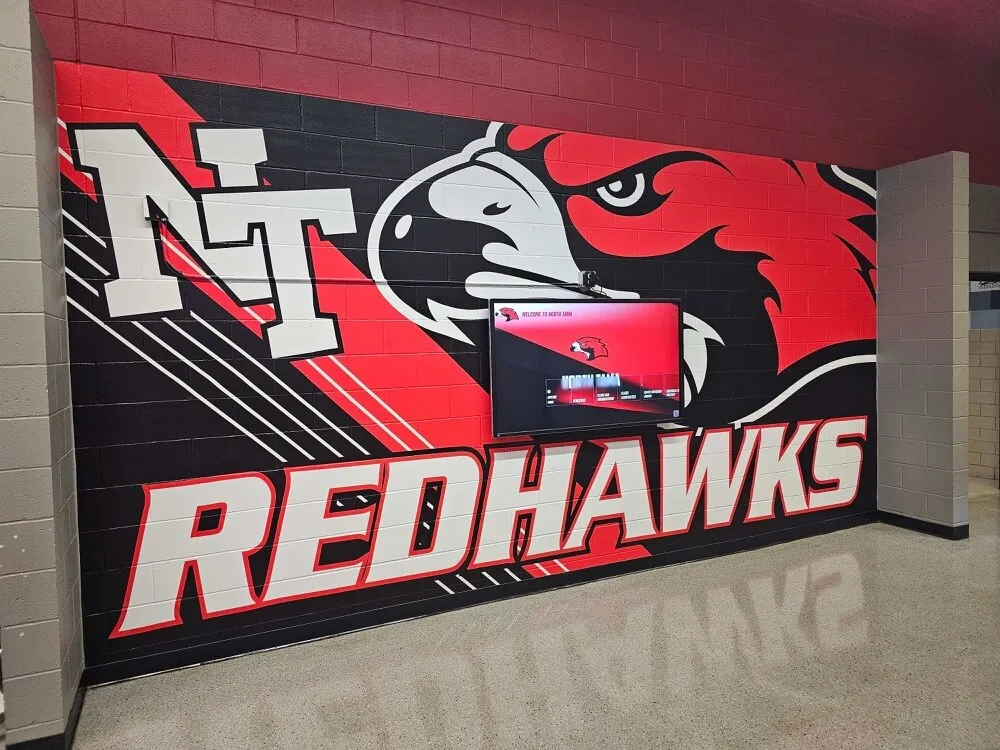
Installation Considerations
Professional installation ensures displays operate reliably and withstand heavy use. Work with installers experienced in commercial display mounting who understand:
- Proper mounting heights: Bottom of screen 36-42" from floor for wheelchair accessibility and comfortable viewing
- Stud location and reinforcement: Heavy displays require secure mounting to structural elements
- Cable management: Concealed wiring for professional appearance and damage prevention
- Power requirements: Dedicated circuits for large displays, backup power considerations
- ADA compliance: Accessible mounting heights and clear approach spaces
Include installation planning in project budgets. Professional mounting typically costs $500-1,500 depending on display size, mounting complexity, and local labor rates.

Ongoing Management and Content Updates
Digital display systems require ongoing management to remain current and engaging. Plan for these continuing activities.
Adding New Content
Establish processes for regularly adding new content. Sources include:
- Current yearbooks (digitize annually as published)
- Newly inducted hall of fame members
- Recently identified historical photos from other sources
- Updated information about existing entries
- Anniversary features or historical retrospectives
Assign responsibility for content management to specific staff members. Most systems allow multiple administrators with different permission levels. Schools often designate athletic directors, activities directors, or technology staff as primary content managers.
Quality Control Processes
Review uploaded content for accuracy and quality before publication. Check:
- Photo quality and proper orientation
- Spelling of names and biographical information
- Correct association between photos and identifying data
- Appropriate cropping and image improvements
- Consistency with established naming conventions and organizational structure
Establish workflows where content moves through draft and review stages before final publication. This process catches errors before visitors encounter them.
Backup and Preservation
Digital content requires the same preservation attention as physical archives. Maintain backup copies of all digitized photos and associated data:
- Local backups: External hard drives or network storage at your institution
- Cloud backups: Online storage through services like Google Drive, Dropbox, or institutional systems
- Geographic distribution: Keep backups at different physical locations to protect against disasters
- Regular backup schedules: Scheduled daily or weekly backups of new content
Test backup restoration procedures periodically to verify backups actually work. Many organizations maintain backups that fail when needed because they’ve never tested restoration processes.
Legal and Permissions Considerations
Publishing historical photos raises questions about rights and permissions. Address these considerations appropriately.
Copyright Status
Photos in school yearbooks typically belong to the school or the photographer under work-for-hire arrangements. Schools generally can use these images for institutional purposes including recognition displays. However, copyright laws are complex and vary by country, state, and circumstances.
For photos where copyright status is unclear, particularly in very old yearbooks, consider that:
- Works published before 1928 are in the public domain in the United States
- Works published 1928-1977 may be protected depending on renewal status
- Unpublished works (many yearbook photos weren’t separately “published”) have different terms
- School ownership of physical yearbooks doesn’t automatically convey copyright to photos
Consult with legal counsel if questions arise about specific photos or collections. Most schools find that institutional use of photos from their own yearbooks for recognition purposes falls within their rights or fair use provisions.
Privacy and Sensitivity
Even when copyright isn’t an issue, consider privacy and sensitivity. Some individuals prefer their historical photos not be displayed publicly. Establish procedures for handling requests to remove photos from digital displays. Document removal requests and maintain records showing who requested removal and when.
Be particularly sensitive about photos depicting minors in ways that could raise concerns. While yearbook publication originally indicated parental consent, decades-old consent doesn’t necessarily extend to new digital publication. Use judgment about what’s appropriate for public display.
Attribution and Credit
When known, credit photographers, yearbook editors, and other contributors to historical collections. This recognition honors those who created the original materials and provides historical context. Include information about which yearbook each photo originally appeared in, helping visitors understand historical context.
Preserving Original Yearbooks After Digitization
Digitization doesn’t eliminate the need to preserve physical yearbooks. Original volumes retain historical and archival value regardless of digital copies. Follow these preservation practices for physical collections.
Proper Storage Conditions
Store yearbooks in environmentally controlled conditions:
- Temperature: 65-70°F consistently (avoid fluctuations)
- Humidity: 40-50% relative humidity (avoid high humidity that promotes mold or low humidity that makes paper brittle)
- Light: Minimal light exposure (store in dark areas, use UV-filtering lighting when needed)
- Air quality: Clean air free of pollutants, dust, and mold spores
Avoid attics (too hot), basements (too humid), or areas near exterior walls where temperature and humidity fluctuate with weather. Climate-controlled interior spaces provide best conditions.
Physical Handling Protocols
Minimize handling of original yearbooks after digitization. When handling is necessary:
- Use clean hands or nitrile gloves
- Support books from beneath
- Use book cradles or pillows for viewing rather than laying books flat
- Never use adhesive notes, paper clips, or any fasteners on books
- Don’t eat, drink, or use pens near books
- Replace damaged storage containers or shelving
Create reference guides noting which yearbooks have been digitized and where digital copies reside. This documentation reduces need to access physical books when digital versions suffice.
Conservation Assessment
Periodically assess physical condition of stored yearbooks. Look for:
- Mold or mildew growth
- Insect damage
- Deteriorating bindings
- Acid damage to paper
- Metal fasteners rusting
- Adhesive failures
Address problems early before they become severe. Professional conservators can stabilize deteriorating volumes, though conservation costs may be substantial. Focus conservation resources on most valuable or damaged items.
Consider creating digital archives that serve as primary access copies while physical books receive careful preservation attention.
Cost Considerations and Budgeting
Understanding project costs helps schools plan digitization and display projects realistically.
Digitization Costs
Equipment-based approach:
- Entry-level overhead book scanner: $3,000-5,000
- Professional-grade scanner: $15,000-40,000
- Computer and software: $1,500-3,000
- Training and learning curve time: varies
Service-based approach:
- Professional scanning services: $0.15-0.50 per page
- 200-page yearbook: $30-100 per book
- Rush services or specialized handling: premium pricing
- Shipping, insurance, project management: additional costs
For small projects (under 20 yearbooks), services typically cost less than equipment purchases. For large ongoing projects (50+ yearbooks or continuous digitization), equipment purchases become cost-effective.
Display System Costs
Digital recognition displays include several cost components:
- Hardware: $3,000-8,000 for commercial display, mounting hardware, and necessary peripherals
- Software/Platform: $100-500/month for cloud-based content management systems (varies by features and school size)
- Installation: $500-1,500 for professional mounting and setup
- Initial content setup: $1,000-5,000 for uploading initial photo collections and configuration (often included in implementation packages)
Many schools find that display costs compare favorably to traditional physical recognition displays when considering capacity limitations of physical installations. A single digital display holding 1,000 photos costs less than frames and mounting for 100 physical photos.
Grant Funding Opportunities
Schools often fund digitization and display projects through:
- Alumni associations: Recognition displays directly benefit alumni engagement
- Booster organizations: Athletic hall of fame displays serve booster missions
- Community foundations: Local foundations support heritage preservation
- State humanities councils: Historical preservation grants
- Technology grants: Digital infrastructure improvements
- Capital campaigns: Include as components of building renovations or improvements
Frame projects as both preservation (protecting irreplaceable historical materials) and engagement (connecting current community with institutional heritage). This dual purpose appeals to diverse funding sources.
Common Challenges and Solutions
Schools encounter predictable challenges during yearbook digitization and display projects. Plan for these issues in advance.
Missing or Damaged Yearbooks
Many schools discover gaps in yearbook collections—certain years never preserved, lost, destroyed, or held by private collectors. Address gaps through:
- Appeals to alumni to loan missing yearbooks for digitization
- Searches of historical societies, public libraries, or local archives
- Networking with alumni associations and reunion organizers
- Social media campaigns requesting information about missing years
Some gaps may never be filled. Document known gaps clearly in displays so visitors understand which years are available.
Photo Identification Challenges
Older yearbooks sometimes lack complete identification for all photos, particularly in candid shots or team photos. Address identification gaps by:
- Sharing photos on school social media requesting identification help
- Reaching out to alumni from relevant years
- Cross-referencing with other yearbooks or records
- Including photos in displays marked as “help us identify” to crowdsource identification
Partial identifications (graduation year known but not full name) provide more search value than completely unidentified photos.
Technical Complexity
Staff members tasked with digitization and display management may lack technical background. Reduce complexity through:
- Choosing user-friendly equipment and software designed for non-technical users
- Professional training included with equipment or software purchases
- Clear written procedures documenting workflows
- Ongoing technical support from vendors
- Student or volunteer assistance with technical tasks
Many modern content management systems require no more technical skill than posting to social media. Prioritize ease of use when evaluating solutions.
Ensuring Accessibility
Digital displays must serve visitors with varying abilities. Address accessibility through:
- Physical accessibility: Mount displays at appropriate heights with clear approach spaces for wheelchairs
- Visual accessibility: High-contrast text, adjustable text sizes, screen readers compatible with digital signage platforms
- Cognitive accessibility: Clear navigation, consistent layouts, simple interaction patterns
- Alternative access: QR codes linking to online versions accessible from personal devices
Address accessibility requirements during planning stages rather than retrofitting after installation.
Advanced Features and Future Additions
Once basic digitization and display systems operate successfully, consider additional features that add value.
Searchable Text Through OCR
Optical Character Recognition (OCR) software can convert printed text in yearbook pages into searchable, selectable text. This allows full-text searching—visitors can find mentions of names, sports, activities, or events throughout digitized yearbooks rather than just browsing page images.
OCR accuracy depends on original print quality and text layout complexity. Formal yearbook text with clear fonts processes accurately. Handwritten annotations, artistic text, or poor print quality produces errors requiring manual correction.
Integration with Alumni Databases
Connect digitized yearbook photos with existing alumni databases. This integration allows:
- Automatically linking yearbook photos to alumni contact records
- Displaying current information alongside historical photos
- Supporting alumni outreach and fundraising efforts
- Tracking which alumni have been featured in recognition displays
- Coordinating alumni engagement strategies across departments
Database integration typically requires technical assistance but provides significant long-term value for advancement offices.
Social Sharing Capabilities
Allow visitors to share photos they discover on displays through email or social media. Social sharing:
- Increases visibility of recognition programs
- Drives alumni engagement
- Spreads awareness of digitization projects
- Creates touchpoints for fundraising and event promotion
- Generates user-generated content featuring your institution
Implement sharing features thoughtfully with appropriate privacy controls and watermarking to maintain appropriate use of historical photos.
Video and Audio Additions
Supplement historical photos with video interviews, audio recordings, or documentary footage when available. Oral histories from notable alumni, recordings of historic events, or video clips from past decades add dimension to photo-based displays. These multimedia elements create richer storytelling opportunities than photos alone provide.
Success Metrics and Impact Assessment
Measure the impact of digitization and display projects to justify continued investment and demonstrate value.
Quantitative Metrics
Track measurable data including:
- Number of yearbooks digitized
- Number of individual photos extracted and cataloged
- Display interaction frequency (touchscreen systems typically log usage)
- Website traffic to online versions of digitized collections
- Social media engagement with shared historical photos
- Alumni database connections resulting from photo identifications
These metrics document project scale and demonstrate usage levels.
Qualitative Feedback
Gather visitor and stakeholder impressions through:
- Visitor comment systems (physical or digital)
- Alumni survey questions about recognition displays
- Informal conversations during school events
- School newsletter or magazine stories
- Social media comments and reactions
- Reunion feedback from alumni
Qualitative feedback often reveals impact not captured in usage statistics—emotional connections, family stories, or unexpected discoveries visitors make while exploring historical photos.
Institutional Benefits
Assess broader institutional impacts:
- Increased alumni engagement metrics
- Fundraising results from donors engaged through historical connections
- Student pride and school culture improvements
- Media coverage and public relations value
- Preservation of at-risk historical materials
- Efficiency gains in managing recognition programs
These broader impacts justify the investment beyond just creating displays. Preservation of institutional history serves the school’s mission while donor recognition and alumni engagement support advancement goals.
Implementation Timeline and Project Planning
Realistic project planning requires understanding typical timelines for yearbook digitization and display implementation.
Phase 1: Assessment and Planning (2-4 weeks)
- Inventory existing yearbook collections
- Assess yearbook conditions
- Define project scope (which years, what content types)
- Research equipment, services, or vendor options
- Develop budget estimates
- Identify funding sources
- Secure administrative approval
Phase 2: Digitization (varies by collection size)
- Procure equipment or contract with services
- Establish workspace and procedures
- Train staff or volunteers
- Execute scanning operations
- Quality control review
- File organization and backup
Timeline depends heavily on collection size and resource availability. A dedicated full-time technician might digitize 2-3 yearbooks per day. Volunteer-based projects progress more slowly. Account for learning curves, equipment issues, and discovery of unexpected problems.
Phase 3: Photo Extraction and Organization (varies)
- Extract individual photos from page scans
- Improve images as needed
- Name files and organize folders
- Create metadata documentation
- Quality control review
- Backup completed work
Photo extraction represents the most labor-intensive phase. Budget 2-5 minutes per photo for manual extraction and basic improvements.
Phase 4: Display Implementation (4-8 weeks)
- Select display hardware and software platform
- Procure equipment
- Plan installation location and mounting
- Complete professional installation
- Configure display software
- Upload initial content
- Train administrators
- Launch display
Factor in lead times for commercial display equipment (often 2-4 weeks) and installation contractor availability.
Phase 5: Ongoing Operations
- Regular content additions
- Periodic quality reviews
- Respond to visitor feedback
- Maintain equipment and software
- Continue digitizing additional yearbooks
- Expand content and features
Ongoing operations become routine maintenance activities rather than intensive project work.
Bringing It All Together
Digitizing old yearbooks without damaging them requires proper equipment, careful procedures, and attention to preservation principles. Modern overhead scanning technology makes it possible to create high-quality digital copies while keeping physical books completely intact. Once digitized, these historical photos become engaging recognition content through interactive digital displays.
The investment in digitization and digital displays serves multiple institutional goals simultaneously. It preserves irreplaceable historical materials for future generations. It makes decades of yearbook content searchable and accessible rather than sitting unused in storage. It creates engaging recognition displays without the space limitations of physical installations. And it connects current students, alumni, and community members with institutional heritage in ways that strengthen engagement and pride.
Schools that undertake these projects find that the process itself generates valuable reconnections. Alumni respond to requests for missing yearbooks. Community members help identify photos. Families share stories sparked by seeing historical photos in school lobby displays. The digitization project becomes more than a technical preservation effort—it becomes a community heritage project that brings people together.
Start with a pilot project digitizing a few representative yearbooks. This limited scope lets you refine procedures, train staff, and demonstrate value before committing to larger-scale efforts. Success with initial years builds momentum and support for expanding the project across your entire collection.
The technology, tools, and platforms exist today to preserve yearbook collections while making them accessible through modern interactive displays. The question isn’t whether schools can digitize old yearbooks without damage—it’s when they’ll start the process before more irreplaceable history is lost.
Ready to transform your digitized yearbook photos into an interactive hall of fame display that brings school history to life? Book a demo to see how digital recognition displays make decades of yearbook photos accessible through simple touchscreen technology—no physical yearbooks damaged, no space constraints, unlimited capacity to honor your school’s complete history.