Every athletic director who has tried to order a replacement trophy case, fit a touchscreen into an existing display alcove, or justify a new award wall to facilities has run into the same problem: no one documented the dimensions. The old case is “somewhere around six feet,” the alcove depth “looks like about a foot,” and the wall the principal approved for renovation “should fit” a new display — until it doesn’t.
This guide gives you the exact measurements needed to plan school trophy cases, award walls, and touchscreen upgrades from the start. It covers standard display case dimensions for wall-mounted and freestanding cases, a complete measuring checklist for existing installations, and the specific clearances required when adding or retrofitting a digital touchscreen into a recognition space.
Before you order a case, schedule a contractor, or call a display vendor, document three things: the available opening width and height, the available depth, and the nearest power source. Those three numbers determine what is possible and eliminate weeks of back-and-forth with suppliers.

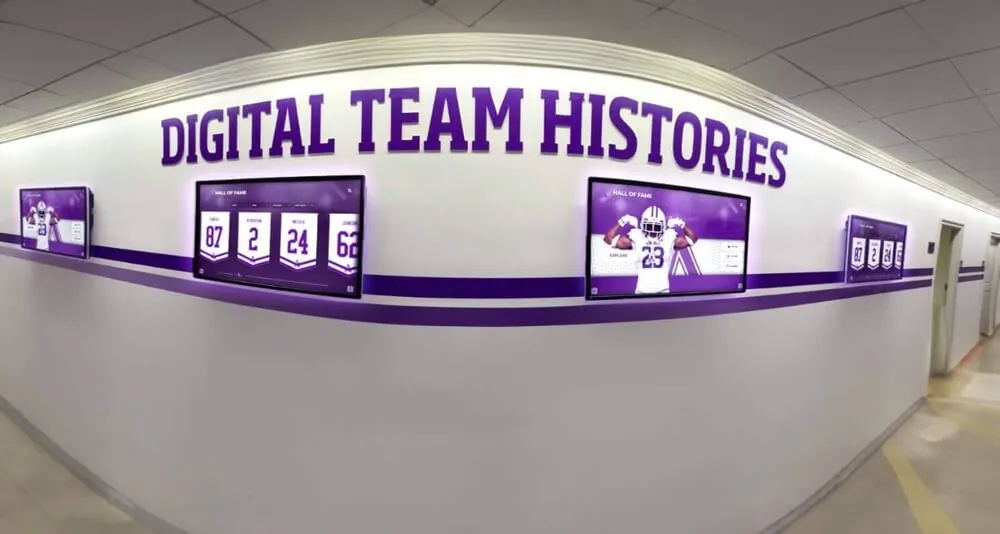
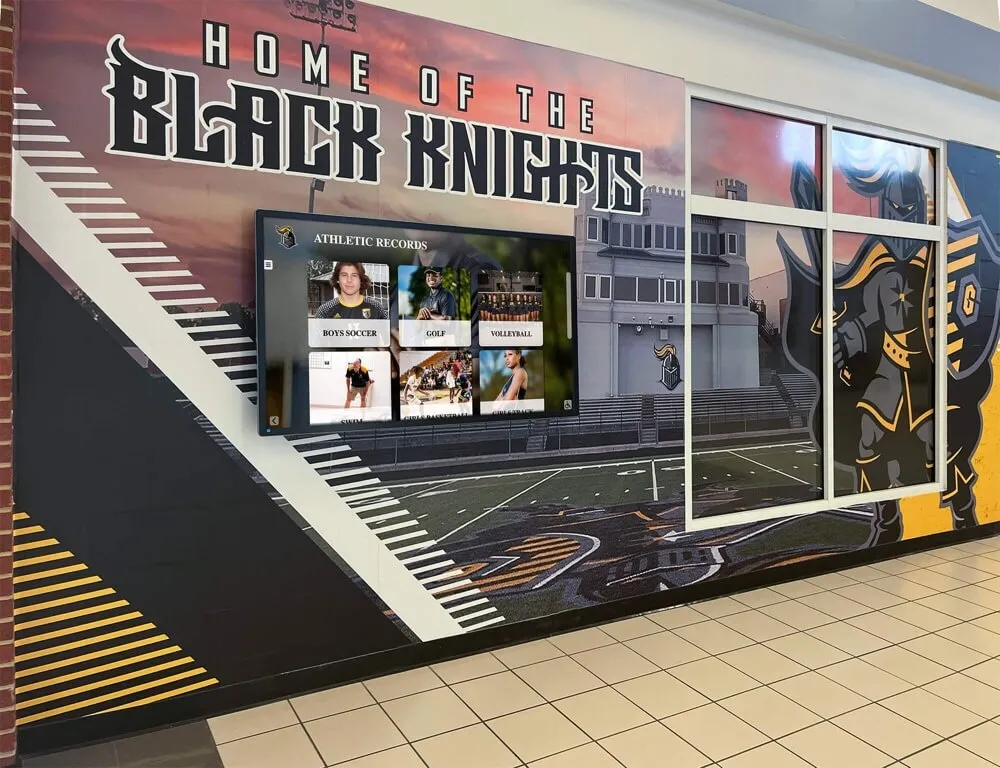
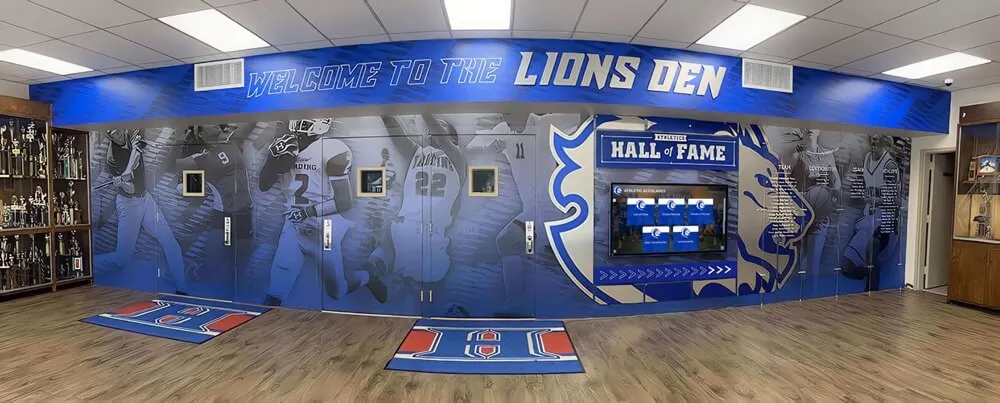
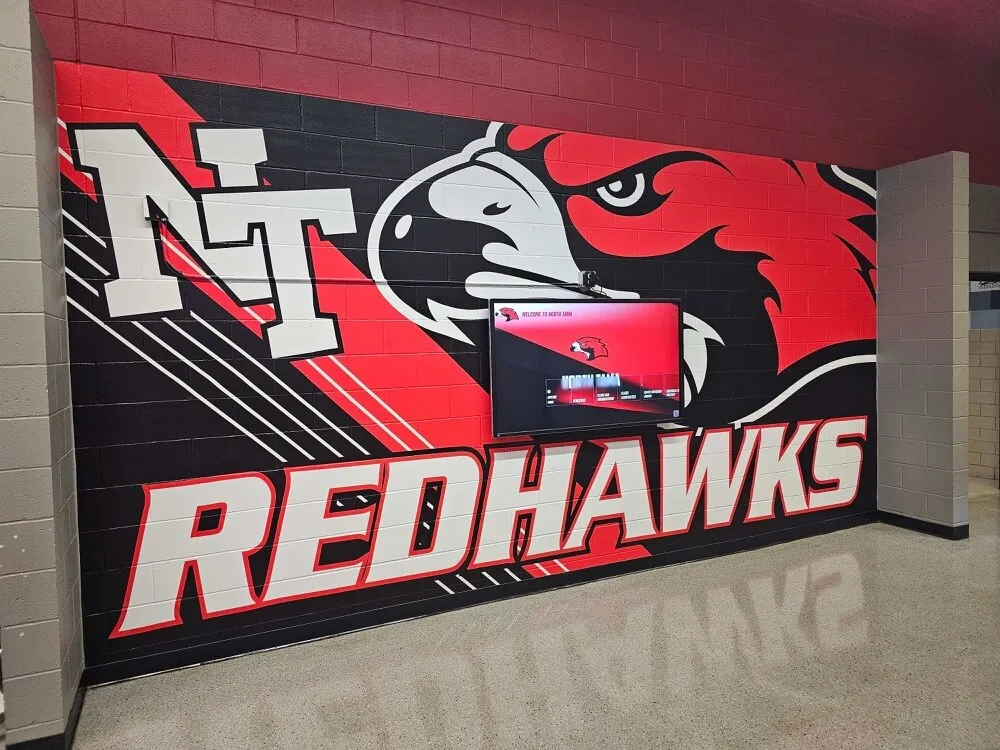
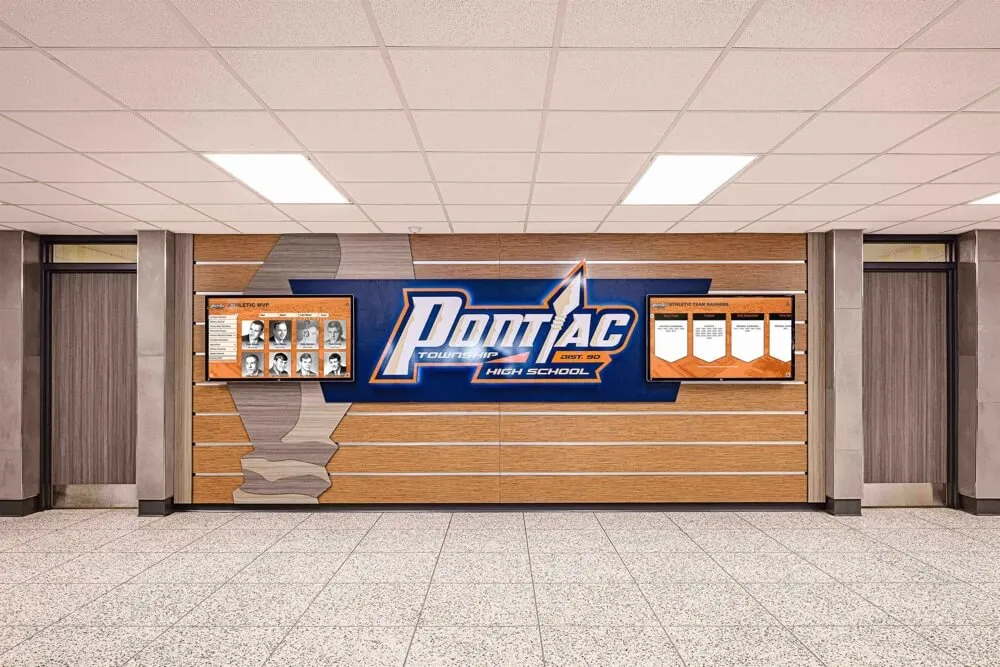
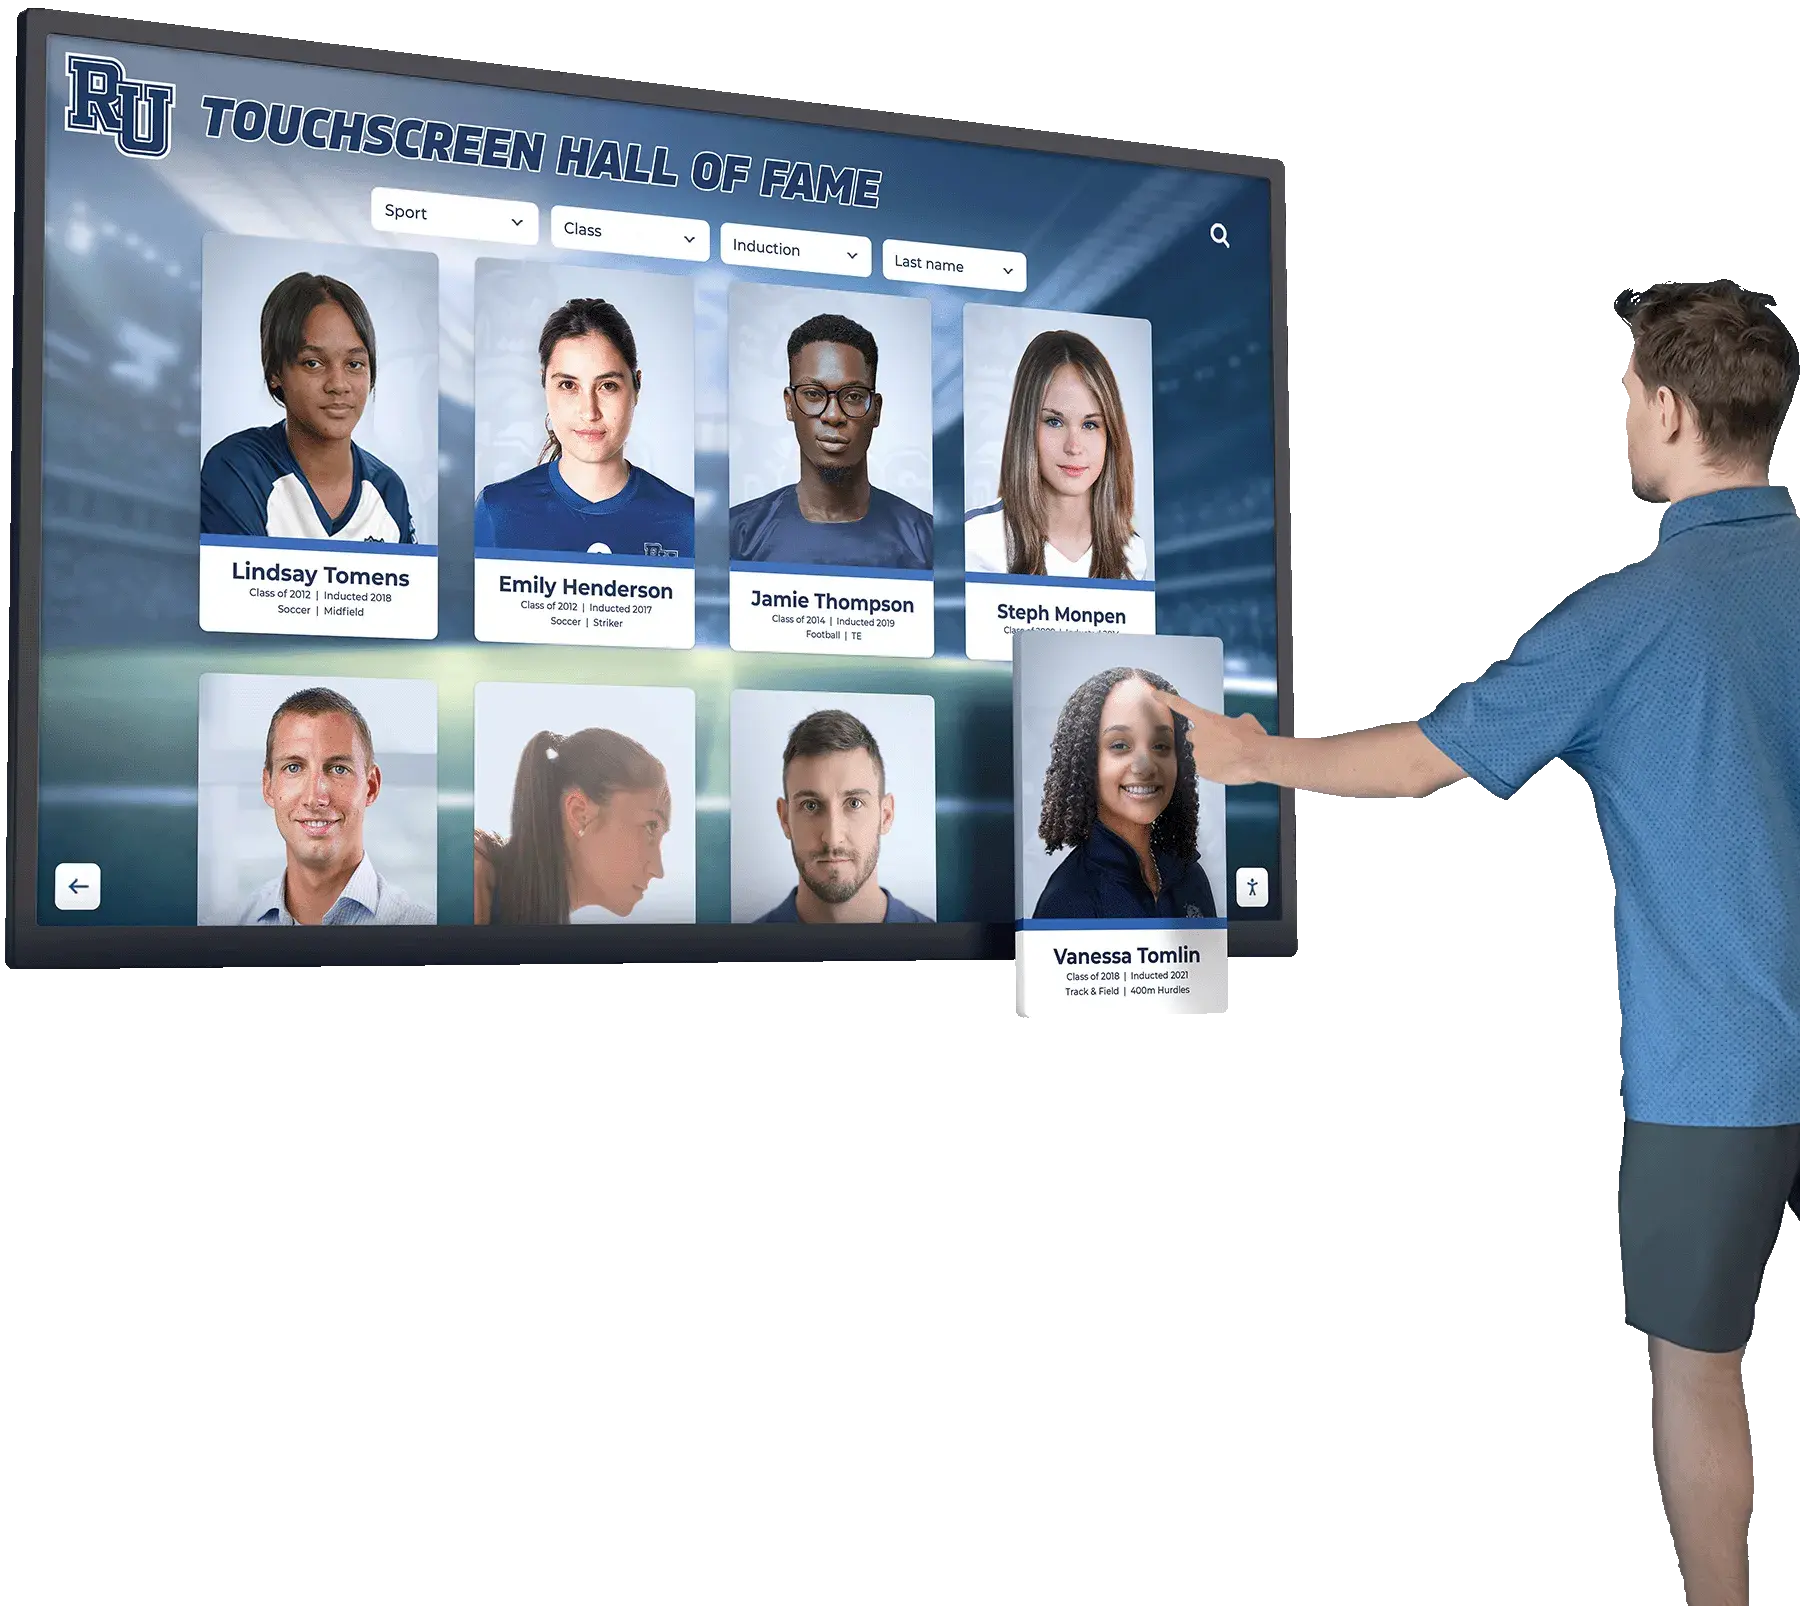
A touchscreen kiosk integrated within a trophy case zone creates a physical-digital recognition hub without requiring a full renovation
Standard Display Case Dimensions for Schools
Understanding industry-standard dimensions helps you evaluate what your space can realistically hold before committing to a vendor or design. The table below reflects common sizing for school-grade trophy and award display cases. Individual manufacturers vary, so always verify dimensions against the specific product spec sheet before ordering.
| Case Type | Typical Width | Typical Height | Typical Depth | Best For |
|---|---|---|---|---|
| Wall-Mounted — Small | 36″–48″ | 18″–24″ | 10″–12″ | Single-sport or seasonal awards |
| Wall-Mounted — Medium | 60″–72″ | 24″–36″ | 12″–14″ | Multi-sport corridor displays |
| Wall-Mounted — Large | 84″–120″ | 30″–42″ | 12″–16″ | Main lobby or central athletic hallway |
| Freestanding — Single Door | 18″–24″ | 72″–78″ | 15″–18″ | Standalone pedestal near gym entrance |
| Freestanding — Double Door | 36″–48″ | 72″–84″ | 15″–18″ | Lobby focal point or hall of fame corridor |
| Built-In Recessed — Standard Bay | 48″–96″ | 36″–60″ | 6″–16″ | Permanent alcoves in block or drywall walls |
| Custom Trophy Wall (floor to ceiling) | 96″–240″+ | 96″–120″ | 12″–18″ | Athletic lobby feature walls, major renovations |
Depth is the limiting factor in most school installations. Corridor walls are typically 6″–8″ of CMU block or 4″–6″ of drywall over studs. Recessing a case into a CMU wall requires demolition; recessing into a stud wall is more practical but still limits usable depth to 3.5″ between studs unless you fur out. Plan for surface-mounted or cabinet-style cases if your wall depth is under 6″.
Trophy Case Dimensions: What Fits on the Shelf
Knowing the case dimensions is only half the equation. You also need to know whether your actual trophies, plaques, and awards will fit inside. Use these standard trophy heights as planning benchmarks:
- Small participation trophies: 6″–10″ tall; fit on 10″–12″ clearance shelves
- Standard championship trophies: 12″–18″ tall; require 14″–20″ shelf clearance
- Large traveling trophies or perpetual awards: 18″–30″ tall; need 20″–32″ clearance or an open shelf
- Framed plaques and photos (8×10): 10″W × 12″H, depth of ½″–1″
- Framed plaques (12×15): 14″W × 17″H, depth of ¾″–1.5″
- Athletic shields: 9″W × 14″H, depth of 1″–2″
- Footballs or basketballs on display: approximately 11″ diameter; require 12″+ shelf depth and clearance
If you are planning a new case specifically for championship hardware, measure your largest existing trophies before finalizing the shelf configuration. Adjustable shelving is worth the added cost — programs accumulate different hardware over the years and fixed shelves quickly become a constraint.

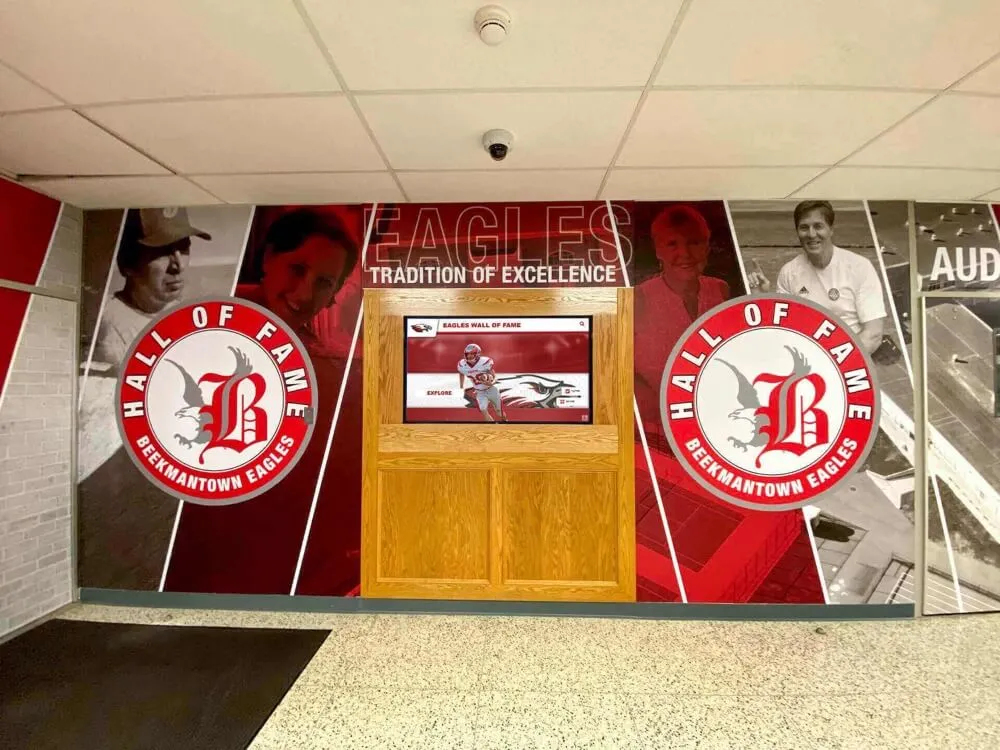
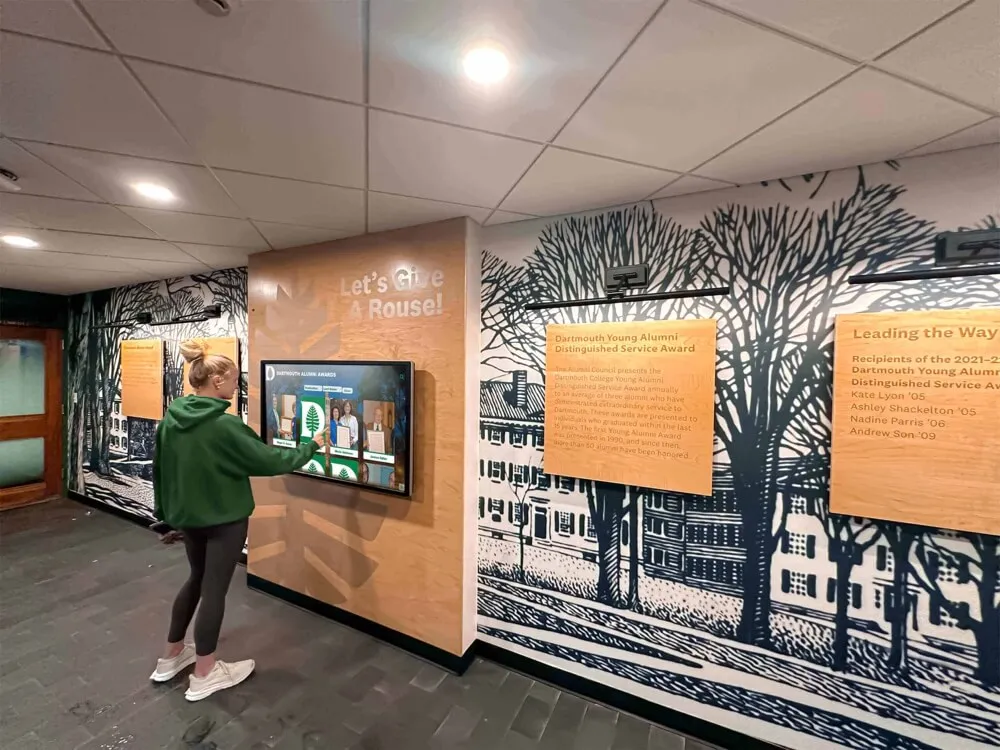
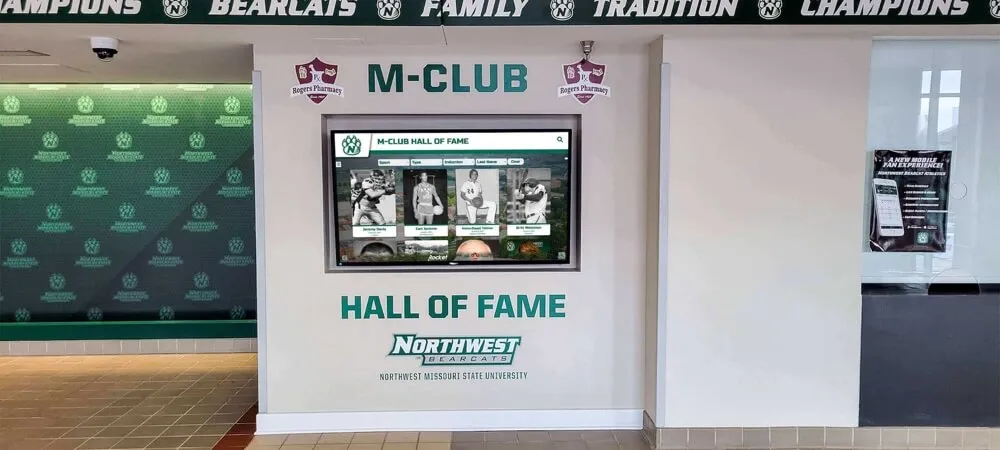
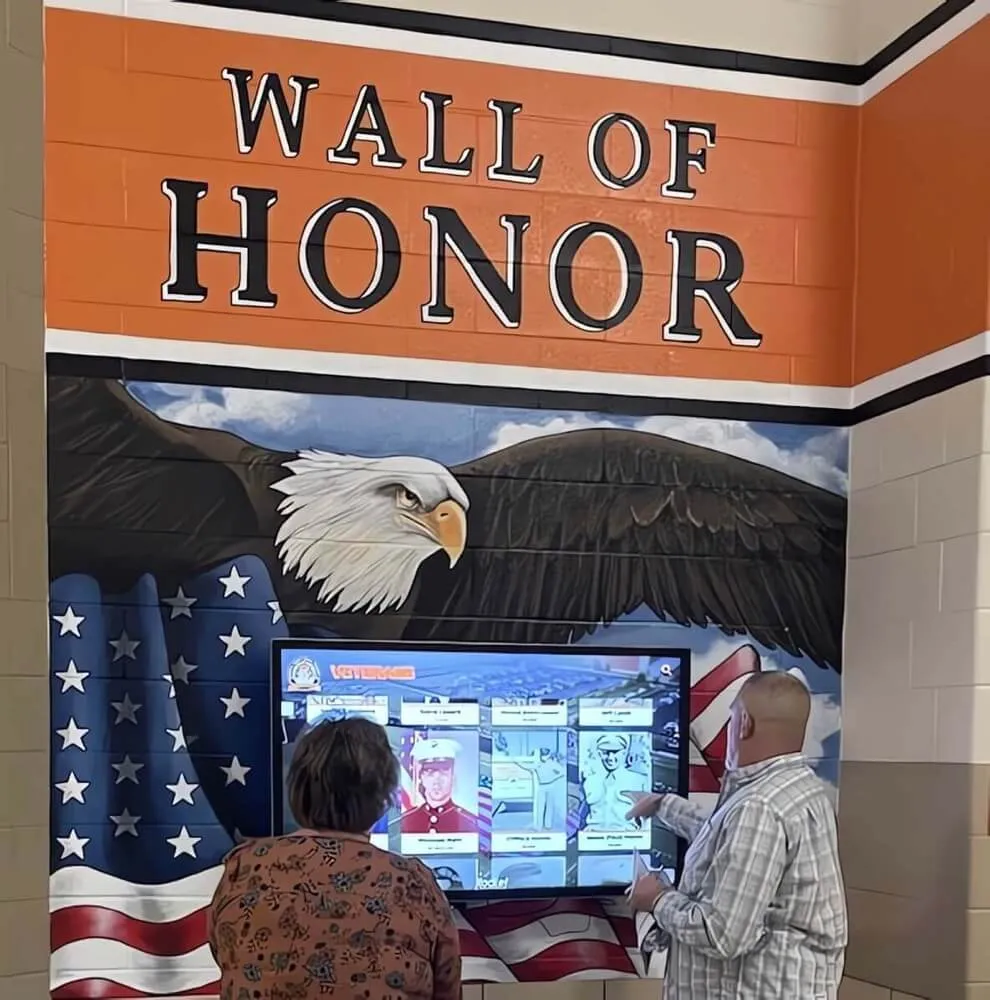
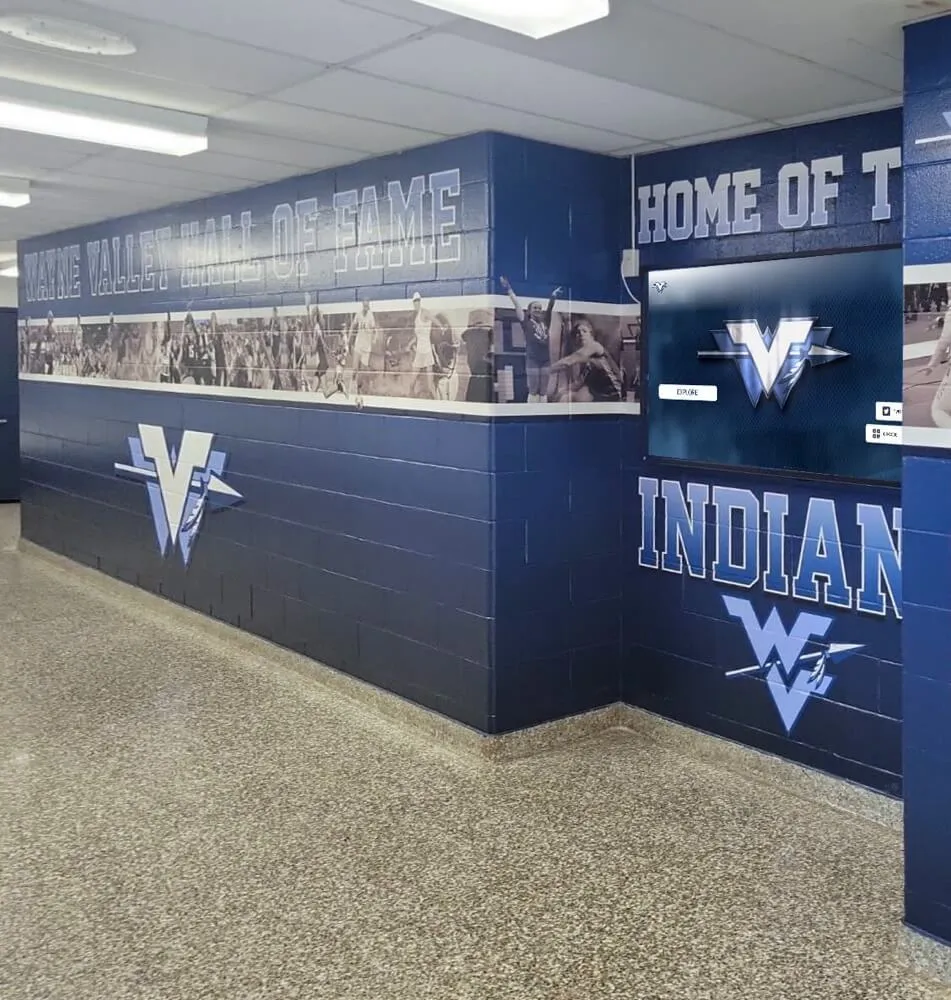
A dedicated hall of fame corridor combines mural artwork, framed recognition, and physical trophy cases into a cohesive recognition environment
Measuring Your Existing Trophy Case: A Complete Checklist
Before planning any upgrade — whether you are replacing an old case, adding a touchscreen, or expanding an award wall — document the existing space completely. Use this checklist before contacting any vendor.
Trophy Case Measurement Checklist
Opening and Case Dimensions
- Width of opening or wall surface available (measure to nearest ¼″)
- Height of opening or wall surface available (floor to ceiling, or top of alcove)
- Depth available (wall recess depth, or clearance from wall face to corridor path)
- Interior shelf height clearance (height of the tallest item you need to accommodate)
- Number of existing shelves and spacing between them
Wall and Structural Conditions
- Wall material (drywall over studs, CMU block, concrete, brick)
- Stud spacing if drywall wall (typically 16″ on center — locate before ordering)
- Load-bearing status (relevant for heavy built-in cases or large touchscreen mounts)
- Existing case anchor points or mounting hardware
Electrical and Technology
- Nearest electrical outlet (distance and outlet type — 15A or 20A circuit)
- Whether conduit is already present or must be added
- Nearest network or data port if touchscreen integration is planned
- Dimmer or lighting controls in the area
Traffic and ADA Clearance
- Minimum hallway clearance after case protrudes (ADA requires 36″ clear path; 44″ preferred in high-traffic corridors)
- Door swing clearance if freestanding cases with hinged doors are planned
- Viewing height for interactive touchscreens (ADA: interactive elements at 15″–48″ above finished floor)
- Glare sources — windows and overhead lighting that could affect case visibility or screen readability
Context and Surroundings
- Adjacent lockers, doors, or fixtures that constrain usable width
- HVAC vents or sprinkler heads that restrict vertical space
- Floor surface type (relevant for freestanding pedestal leveling)
- Condition of existing case: worth keeping, repairing, or replacing
Running this checklist before contacting any vendor saves multiple site visits and prevents costly specification errors. Send the completed measurements along with photos of the space — reputable vendors will confirm feasibility before quoting.
Award Wall Dimensions for Hallways and Lobbies
Award walls differ from enclosed cases: they use open or semi-open mounting systems for plaques, shields, banners, and framed recognition. Planning constraints shift from case depth to wall coverage and hallway traffic flow.
Standard Award Wall Layout Dimensions
A single athletic honor board panel — typically a plaque or shield mounting rail — runs 36″–48″ wide × 18″–24″ tall and holds 8–12 plaques. A complete award wall installation assembles multiple panels in a row.
Practical layout benchmarks for school hallways:
- Short recognition wall (newer program or limited history): 8–12 linear feet, mounting height 36″–60″ from floor
- Medium hall of fame wall (established program, 10–20 year history): 16–30 linear feet, mounting height 48″–72″
- Major trophy lobby or multi-sport athletic hall: 30–60+ linear feet, often wrapping multiple walls or anchoring a freestanding lobby feature
Mounting height matters. The center of a plaque display should land at roughly 57″ from the floor — eye level for an average adult. For schools with significant student traffic, dropping the center line to 54″ improves accessibility for younger students and visitors using wheelchairs.
Schools managing decades of award history quickly discover that wall space becomes the constraint, not the quality of hardware. When a physical award wall reaches capacity, the options are: remove older recognition, expand into adjacent space, or plan a digital overflow layer. A guide to migrating trophy cases to digital displays outlines exactly when the math tips toward digital and how to execute the transition without losing the physical character of the space.

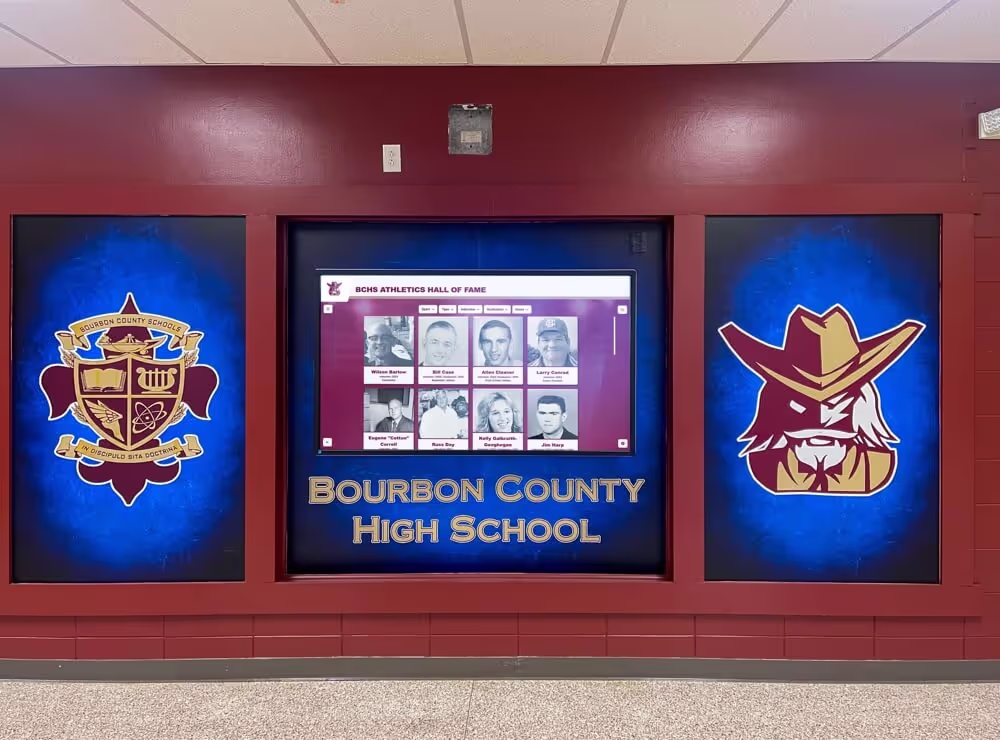
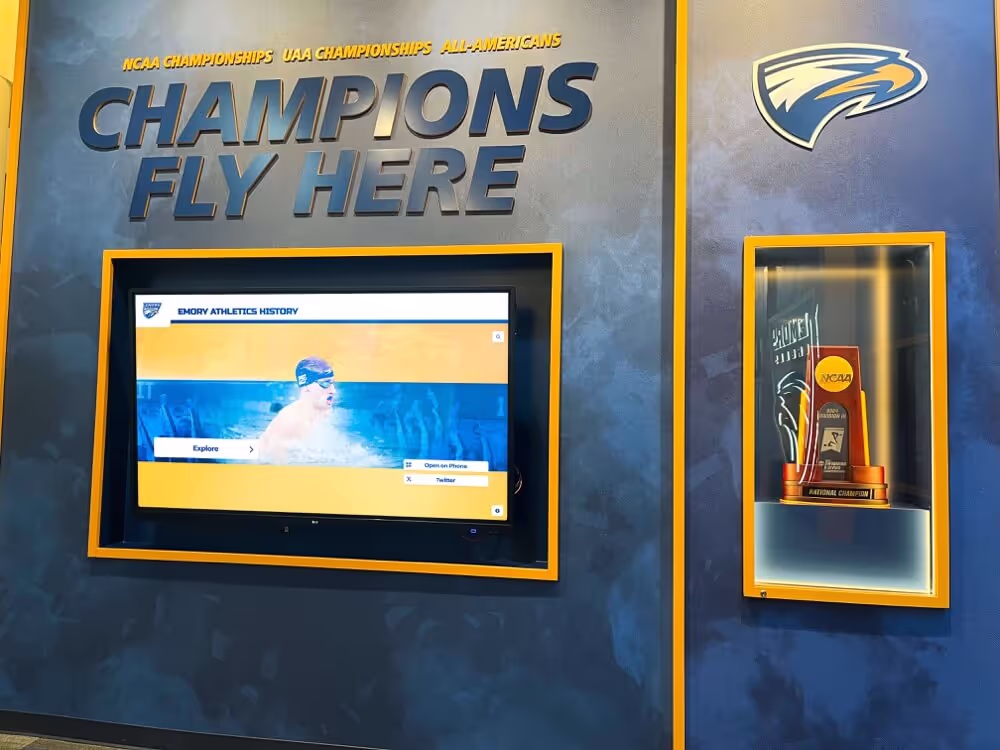
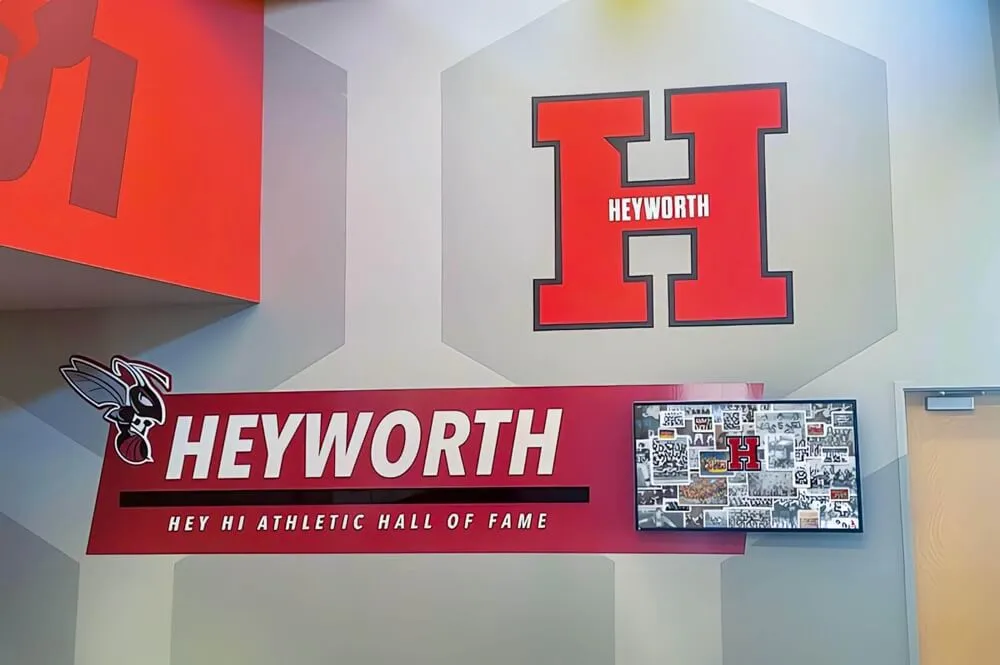
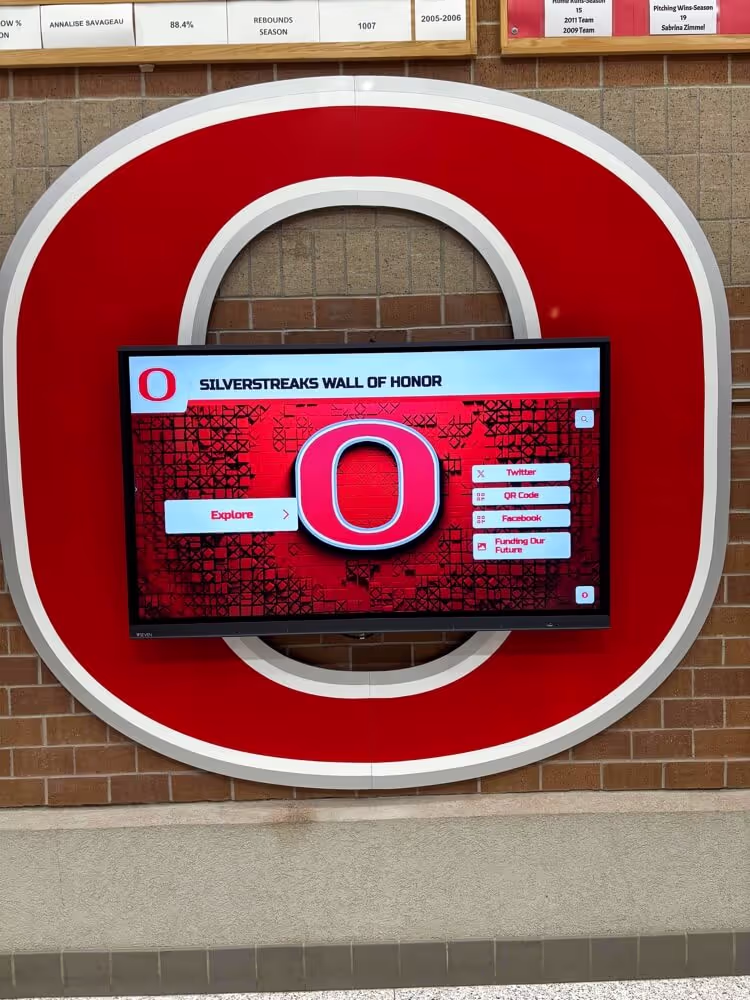
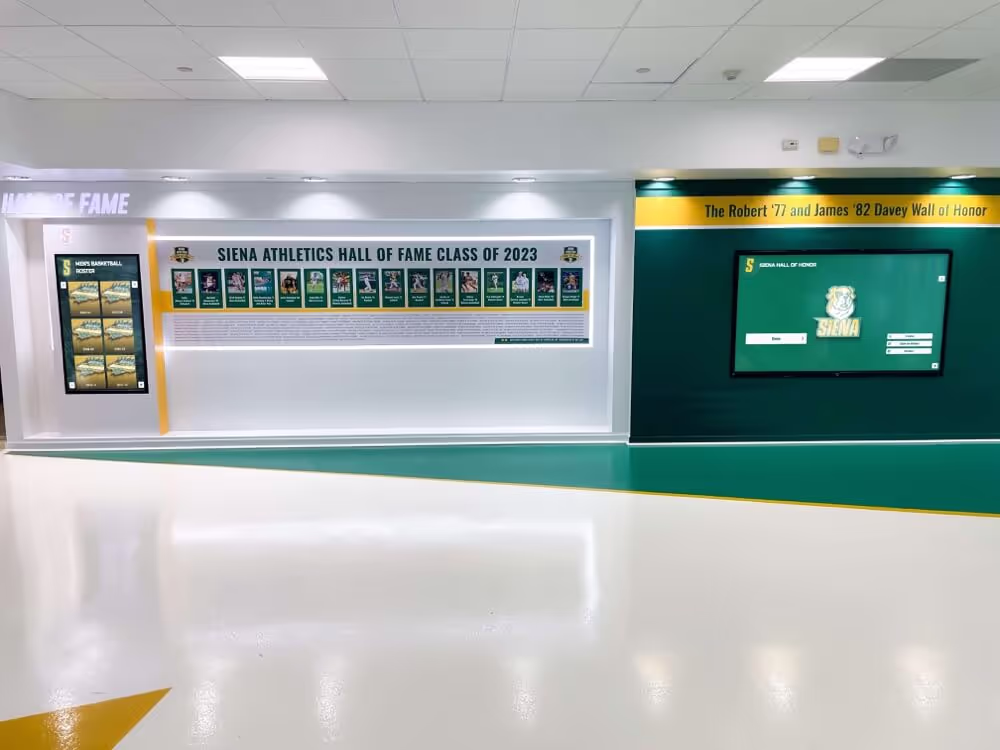
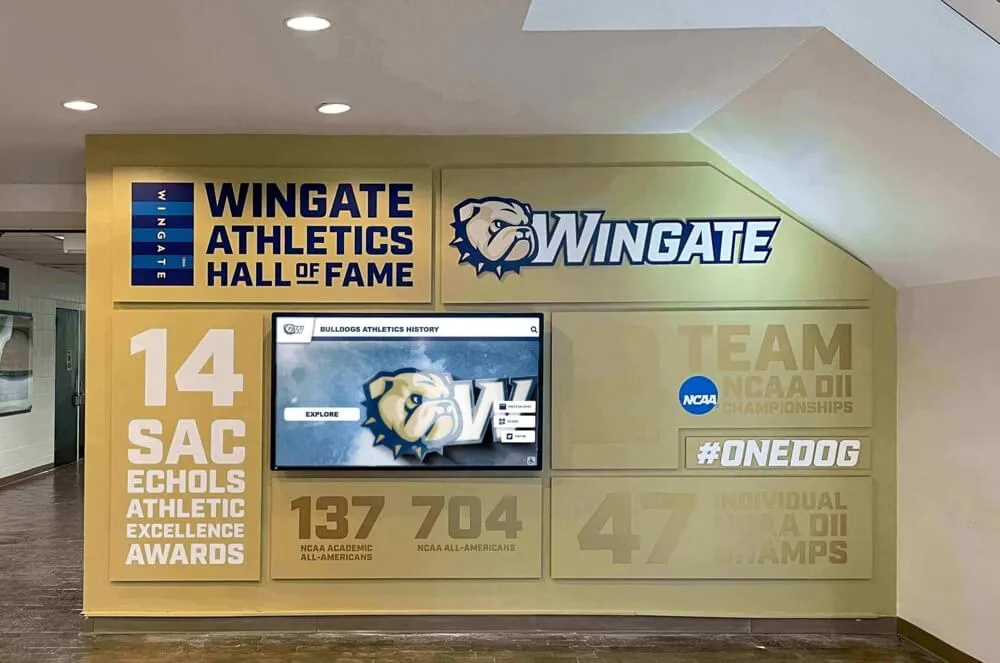
Trophy cases and digital displays coexist naturally in a well-planned hallway, with physical hardware anchoring the space and screens extending what is visible
School Display Case Ideas: Choosing the Right Format for Your Space
The right format depends on three variables: the size of your recognition catalog, the character of the space, and the maintenance capacity of your staff. Here is how those variables map to practical formats.
Small Collection, Limited Wall Space
Use wall-mounted cases in the 48″–72″ range positioned at the main entrance to the athletic wing. Prioritize quality over quantity — one well-lit, properly dimensioned case with current champions and most recent honorees communicates more than three neglected cases filled with outdated hardware.
Add a QR code placard directing visitors online for additional history. This costs nearly nothing and immediately extends the reach of a physical display that cannot grow further.
Medium Collection, Multi-Corridor Space
Use a combination of wall-mounted cases (72″–96″) for current trophies and shield or plaque rails for year-by-year athletic honor rolls. Organize corridors by sport or decade so the space functions as a browsable archive rather than a visual accumulation.
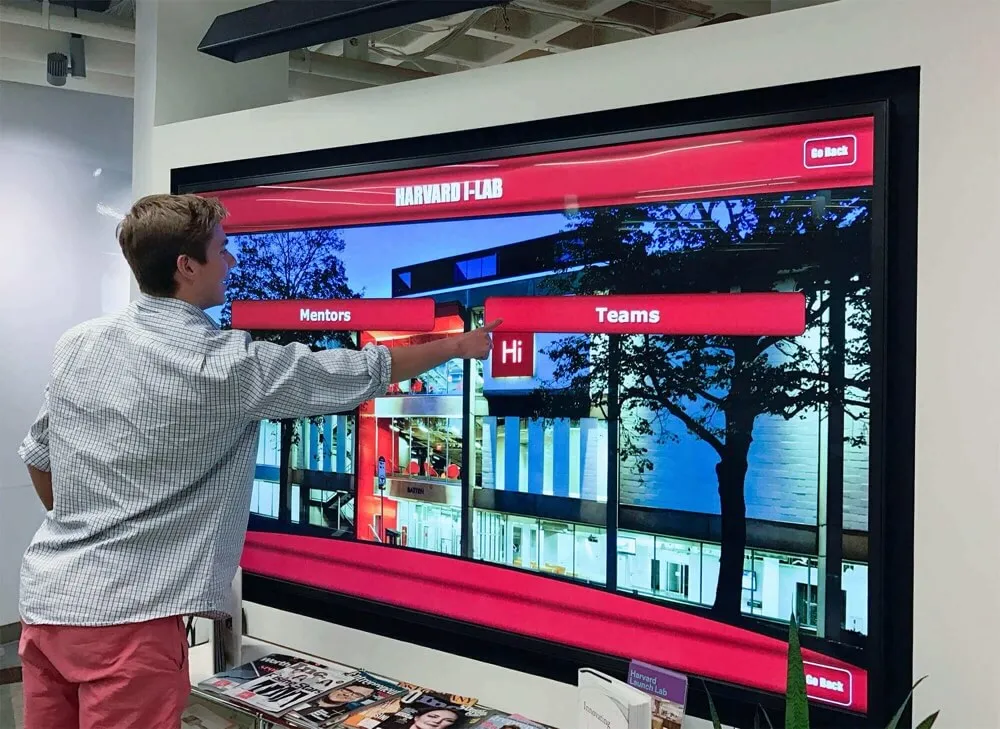
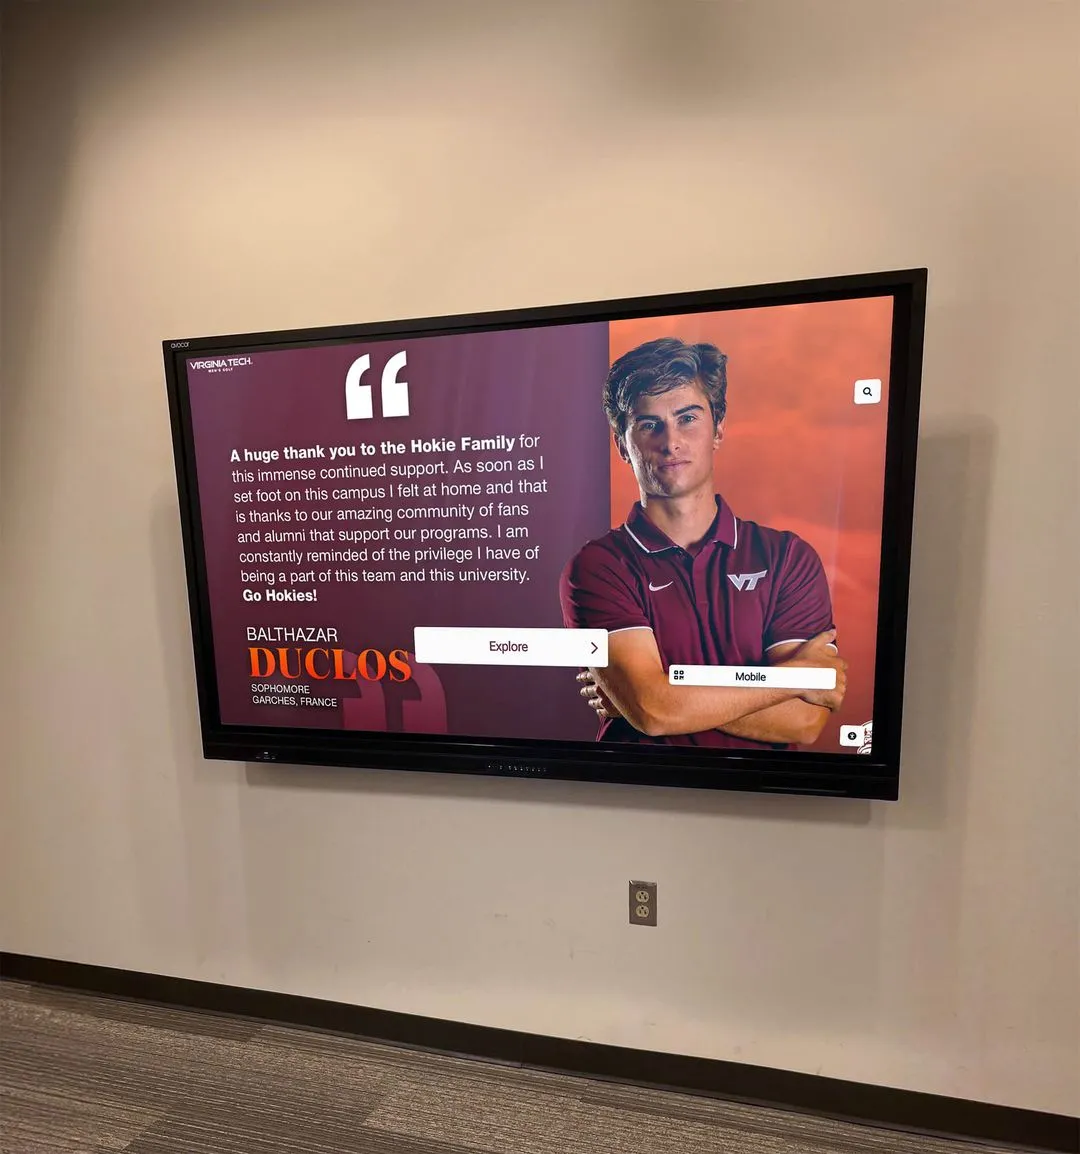
This scale often benefits from one central interactive touchscreen in the gym lobby that anchors navigation — visitors use the screen to find what they are looking for, then walk to the specific case for the physical object.
Large Collection, Athletic Lobby or Hall of Fame Corridor
At this scale, physical displays alone create maintenance problems. New recognition arrives faster than facilities can install it. Consider designing the lobby as a hybrid environment: physical cases for current hardware and championship artifacts, digital displays for complete historical records and searchable databases.
Interactive touchscreen displays in high school gym lobbies now routinely accommodate thousands of athlete profiles and decades of team history on a single screen that occupies the same footprint as one traditional wall-mounted case. Planning this combination from the start is far less costly than retrofitting later.
Touchscreen Upgrade Dimensions: Planning a Digital Overflow Display
When physical display cases reach capacity or a school is ready to extend recognition beyond what any physical format can hold, a touchscreen is the most space-efficient upgrade available. Before purchasing or specifying a screen, document the following dimensions.
Standard Commercial Touchscreen Sizes and Footprints
| Screen Size | Panel Width (approx.) | Panel Height (approx.) | Panel Depth | Minimum Clear Wall Required |
|---|---|---|---|---|
| 32″ | 28.6″ | 16.1″ | 2″–3″ | 30″W × 18″H |
| 43″ | 37.8″ | 21.9″ | 2″–3″ | 40″W × 24″H |
| 55″ | 47.9″ | 27.9″ | 2″–3.5″ | 50″W × 30″H |
| 65″ | 56.7″ | 32.7″ | 2.5″–4″ | 59″W × 35″H |
| 75″ | 65.5″ | 38.0″ | 2.5″–4″ | 68″W × 41″H |
| 86″ | 75.3″ | 43.6″ | 3″–4.5″ | 78″W × 46″H |
Recommended minimum for school trophy case digital upgrades: 43″ or larger. Smaller screens support individual kiosk lookups but do not create the visual presence that stops foot traffic and invites exploration. A 55″ screen in a main lobby functions as both a usable database and a visible statement about what the school values.
Clearance Requirements for Touchscreen Displays
- Viewing distance: Minimum 1.5× the screen diagonal for comfortable reading; a 55″ screen needs at least 7 feet of clear corridor in front of it
- ADA touch zone: Interactive elements must fall within 15″–48″ from finished floor level; for a portrait-orientation wall-mounted screen, this determines mounting height
- Electrical: Commercial touchscreens draw 150–400 watts; a dedicated 20-amp circuit within 6 feet is standard
- Ventilation: Allow 2″–4″ clearance around ventilation slots; built-in enclosures must account for heat dissipation
- Glare: North-facing or interior walls without direct window exposure provide the best visibility; if south- or west-facing, specify an anti-glare treatment
Mounting Options and Their Dimensional Impact
Flush wall mount — screen sits 2″–4″ from wall surface; minimal corridor intrusion; requires solid backing (blocking added to stud wall or direct mount to CMU/concrete).
Kiosk enclosure — freestanding pedestal 18″–24″ deep; allows repositioning; requires floor space equivalent to a small trophy case; best for lobbies with open floor plans.
Trophy case integration — screen mounted within or above an existing case alcove; 4″–6″ required beyond the screen panel for cable management and mount hardware; case depth must accommodate both screen and any remaining physical items.
Schools planning a case-to-touchscreen conversion should explore how one touchscreen can simultaneously run recognition, yearbook, and trophy case experiences — this approach maximizes what a single device delivers in the space a traditional case formerly occupied.

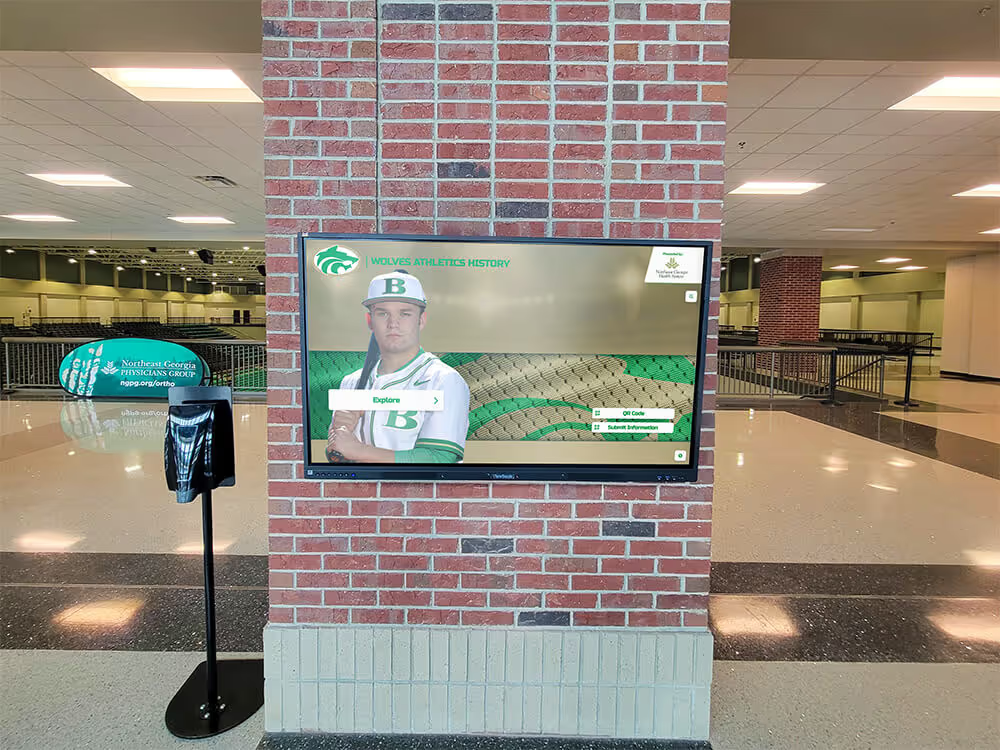
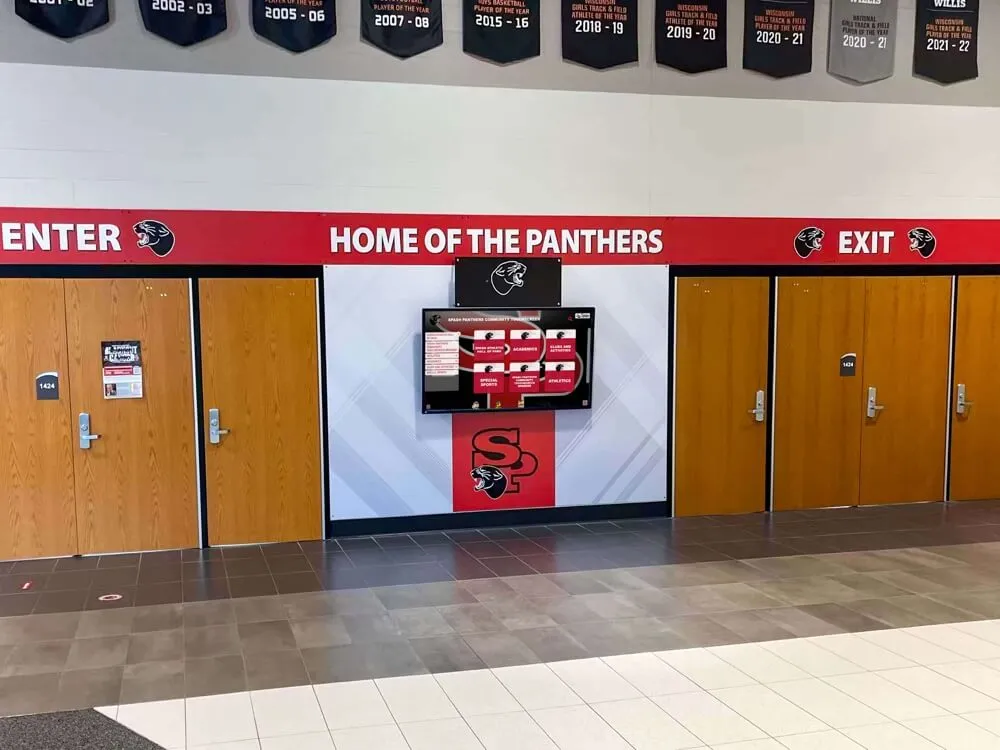
Large-scale trophy display areas benefit from planning both physical case dimensions and digital display integration before beginning any renovation
Special Case: Memorial and Veterans Display Dimensions
Some school display cases serve purposes beyond athletic recognition. Veteran tribute displays, memorial cases for fallen alumni, and community heroes walls follow similar physical dimensions but require additional content planning.
A standard memorial flag display case is 12″–18″ wide × 15″–20″ tall — sized to hold a folded American flag in a shadow box configuration. Schools incorporating these alongside trophy cases should plan a dedicated alcove section rather than mixing them with athletic hardware; the tone and presentation differ significantly.
For schools developing memorial flag display cases and veteran recognition walls, the physical dimensions are secondary to deliberate separation from other recognition content — wall placement, lighting, and context matter as much as the case size itself.
Planning for Digital Overflow: When Physical Dimensions Run Out
The math is straightforward. A school with 15 sports and 15 letterwinners per sport adds roughly 225 athletes annually to its recognition catalog. A 96-inch wall-mounted case holds approximately 40–60 framed photos or plaques. Within three years, physical cases overflow.
This is the moment most schools face a decision that feels like a renovation problem but is really a recognition philosophy question: what deserves permanent physical presence, and what should live digitally?
A practical framework:
Keep physical (case or wall):
- Championship hardware — trophies, banners, rings
- Hall of fame inductees with full name-plaque treatment
- Current-year award recipients until the season turns
- Unique artifacts — retired jerseys, historic programs, game balls
Move to digital (touchscreen or web platform):
- Complete letterwinner rolls going back more than five years
- Team photos and season records beyond the most recent three seasons
- Individual athletic statistics and career summaries
- Donor recognition for athletic facility contributors
- Alumni updates and career milestones post-graduation
Rocket Alumni Solutions builds interactive recognition systems that hold all of the digital content above — athlete profiles, championship archives, season records, and award histories — on a touchscreen that fits in the same footprint as a traditional case. For schools evaluating what a hybrid physical-plus-digital display looks like in a gym lobby or athletics corridor, scheduling a demo is the fastest way to see the format applied to your specific space.

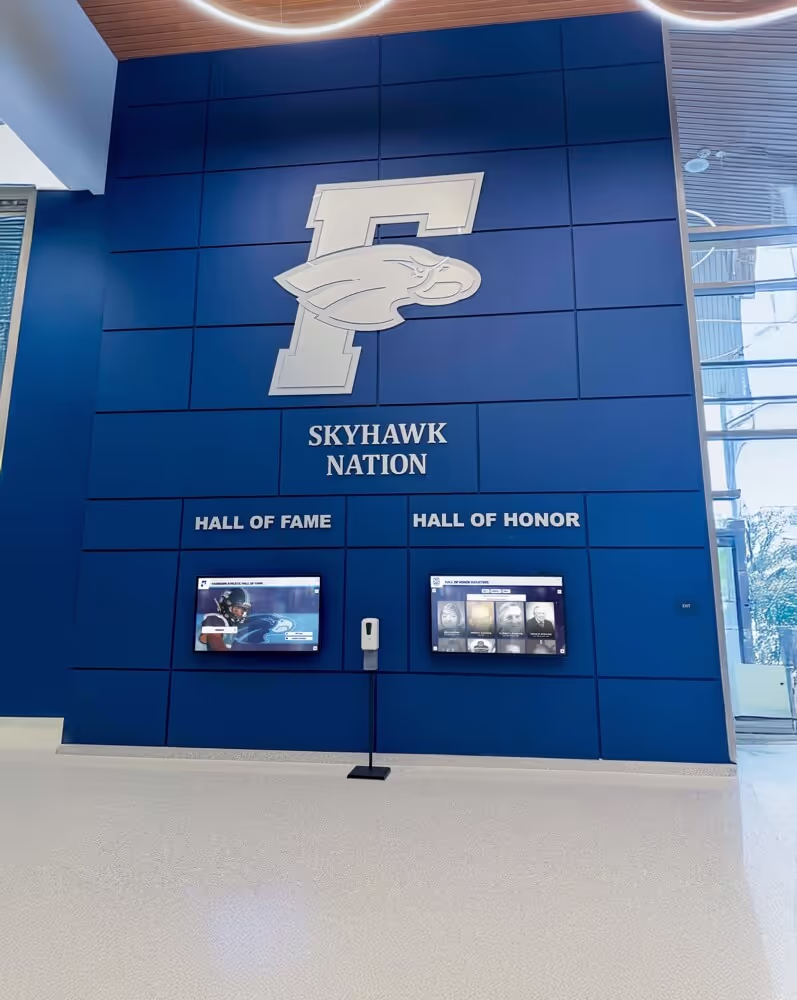
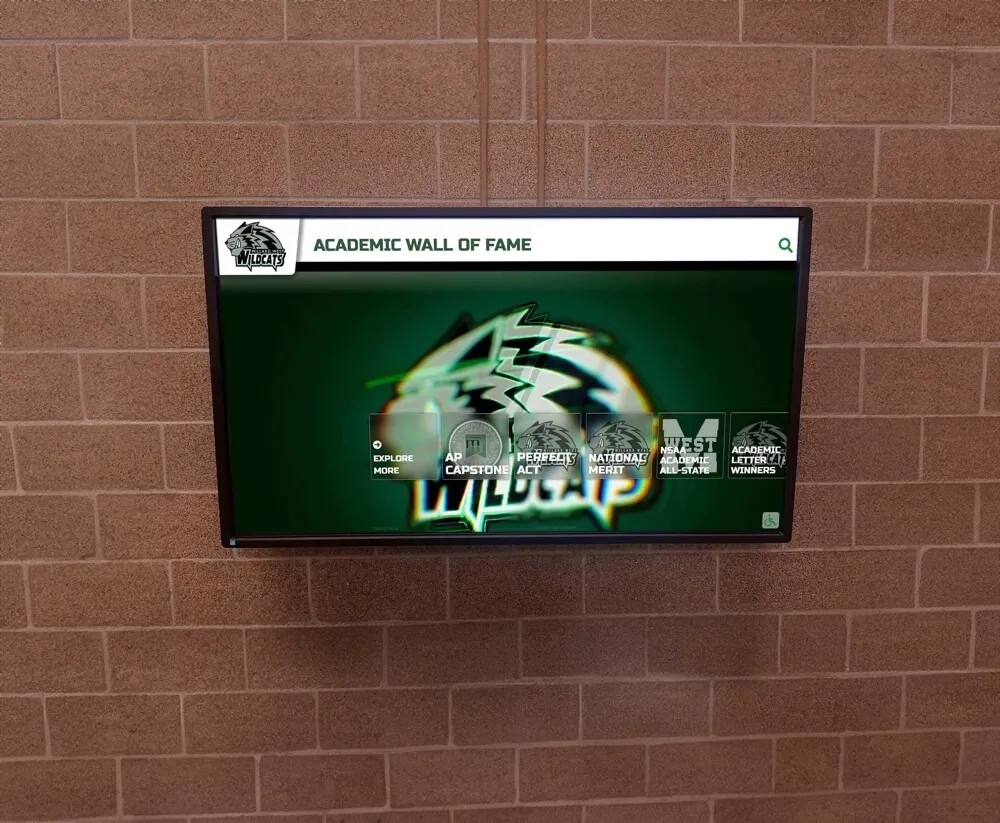
Combining physical shields with an integrated digital screen allows schools to preserve tangible recognition while extending searchable history beyond what wall space allows
Award Wall and Digital Display Integration: Design Principles
When planning a space that combines physical display cases with a touchscreen, the design relationship between the two matters. Screens that look bolted on as afterthoughts undermine both the digital and physical elements.
Practical integration principles:
- Visual hierarchy: Physical trophies should anchor the space; the screen should support and extend it. A screen positioned at the end of a trophy case wall works better than a screen flanked by cases on both sides, which makes the screen look compensatory rather than additive.
- Consistent illumination: Case lighting and screen brightness should be in the same visual range. A highly backlit case next to a dim screen, or a bright screen next to dark cases, creates visual dissonance.
- Content connection: If the touchscreen database includes the same trophies displayed in physical cases, create explicit connection — a note in the case directing visitors to the screen, and a featured section on the screen highlighting the most prominent physical hardware.
- Cabling and conduit: Plan conduit routes before any drywall or case installation. Running conduit after the fact is expensive and visually disruptive.
Schools that have successfully built hybrid trophy environments often extend the story started by physical hardware through highlight reel and recognition video content on touchscreen walls. For programs still defining what goes into a digital trophy archive, reviewing sports trophy names and award category frameworks helps scope the content before selecting hardware.

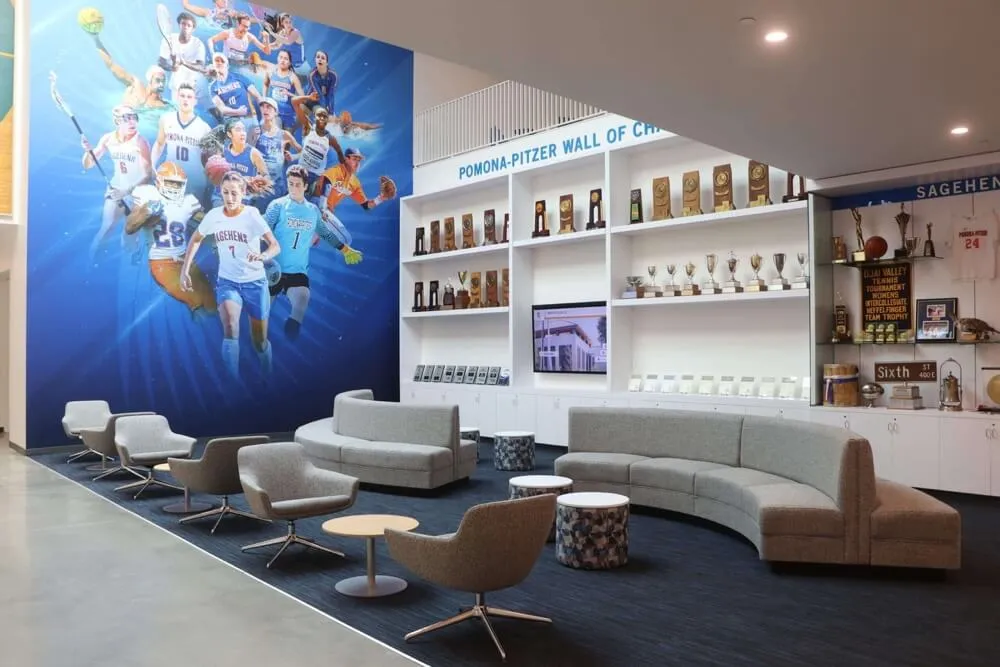
A dedicated trophy display lounge creates a destination space where alumni and visitors can engage with the full depth of program history
Getting a Display Case or Touchscreen Quote: What to Send
Once you have completed the measurement checklist above, you have everything a reputable vendor needs to provide an accurate quote. Send:
- Measured dimensions — width, height, depth of the available space
- Photos — current state of the wall or alcove from straight-on and both angles
- Wall type — drywall/stud, CMU, concrete (affects mounting method and cost)
- Electrical status — outlet location and distance; whether conduit is present
- Recognition scope — approximate number of items to be displayed; whether physical only, digital only, or hybrid
- Timeline — required installation date; whether the project coordinates with a renovation or can proceed independently
For schools planning a digital trophy case or touchscreen recognition wall, resources on digital trophy case planning for high school gym lobbies and touchscreen trophy solutions for school athletics programs provide additional context on what a full installation involves beyond the hardware dimensions. Schools focused on donor recognition alongside athletics will find digital donor trophy wall planning guides useful for budgeting a combined recognition environment.
Conclusion
Display case dimensions are the starting point for every school recognition project — physical or digital. Knowing available width, height, and depth before contacting vendors eliminates estimation errors and prevents costly surprises during installation.
The measuring checklist in this guide takes under 30 minutes with a tape measure and a phone camera. Run it before your next planning meeting, before your next vendor call, and before your next budget request. The information it produces makes every subsequent conversation faster and more productive.
When physical space reaches its limits — and for most established programs, it eventually does — a hybrid approach combining traditional trophy cases for championship hardware with a touchscreen for searchable history is the most space-efficient and sustainable solution. Schedule a demo with Rocket Alumni Solutions to see what that looks like in a school lobby similar to yours.