Bringing History to Life: The Evolution and Power of Timeline Touchscreen Displays
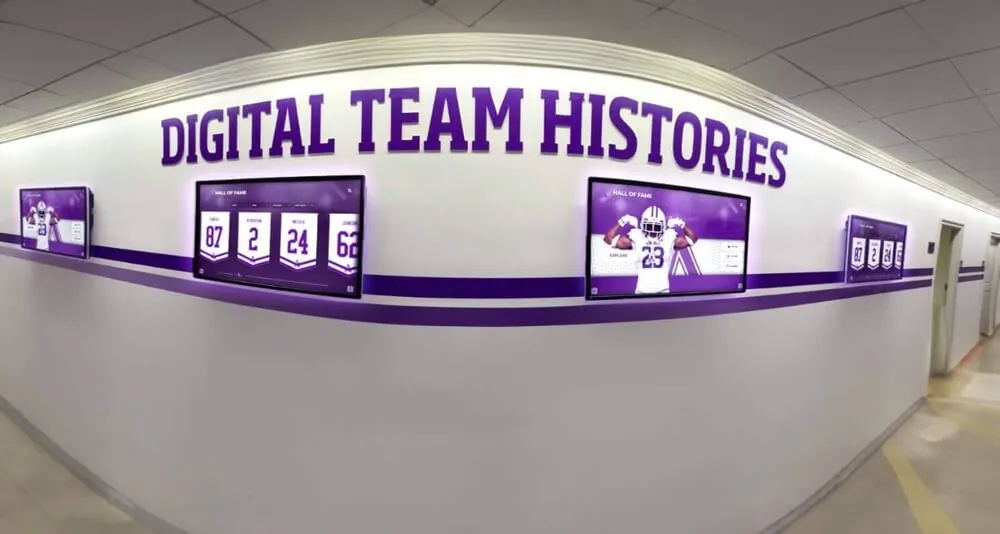
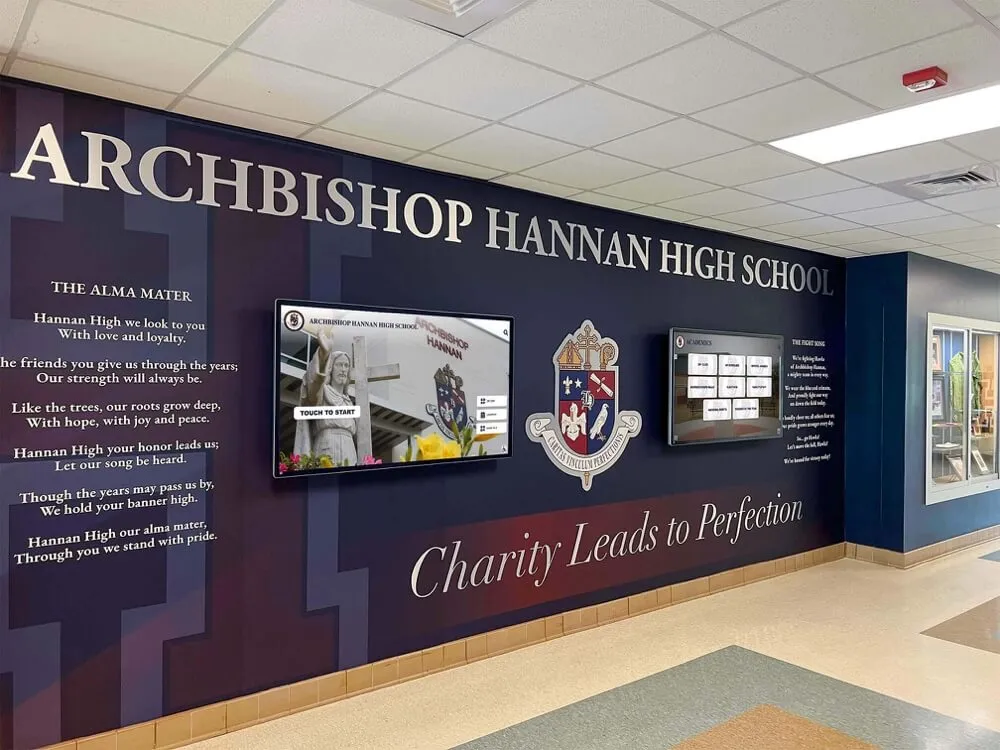
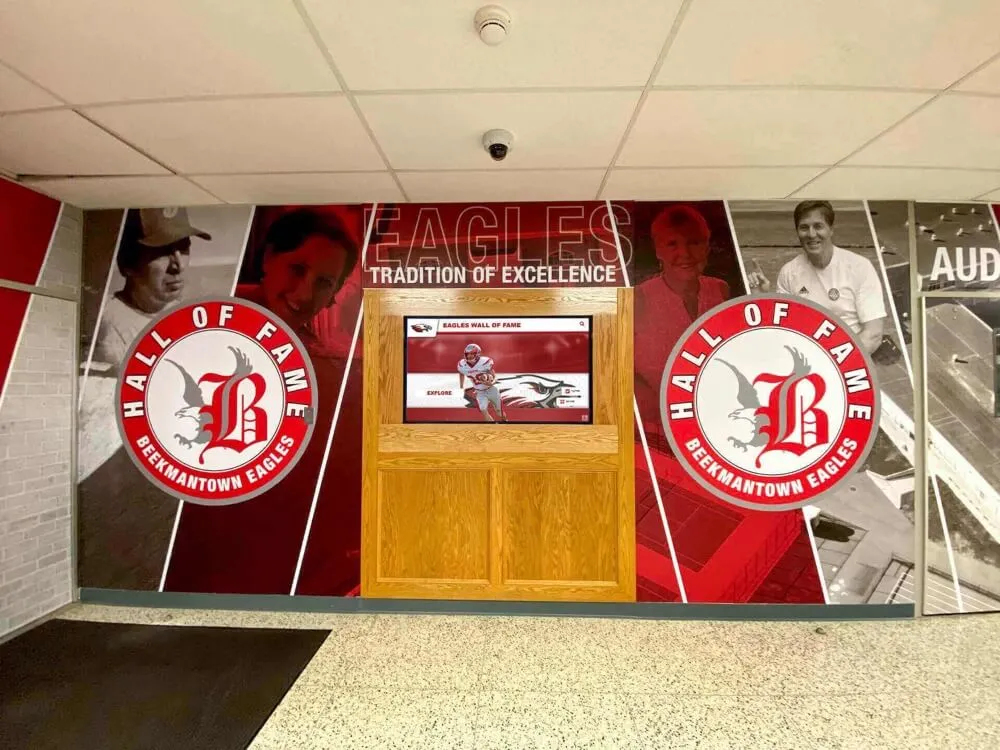
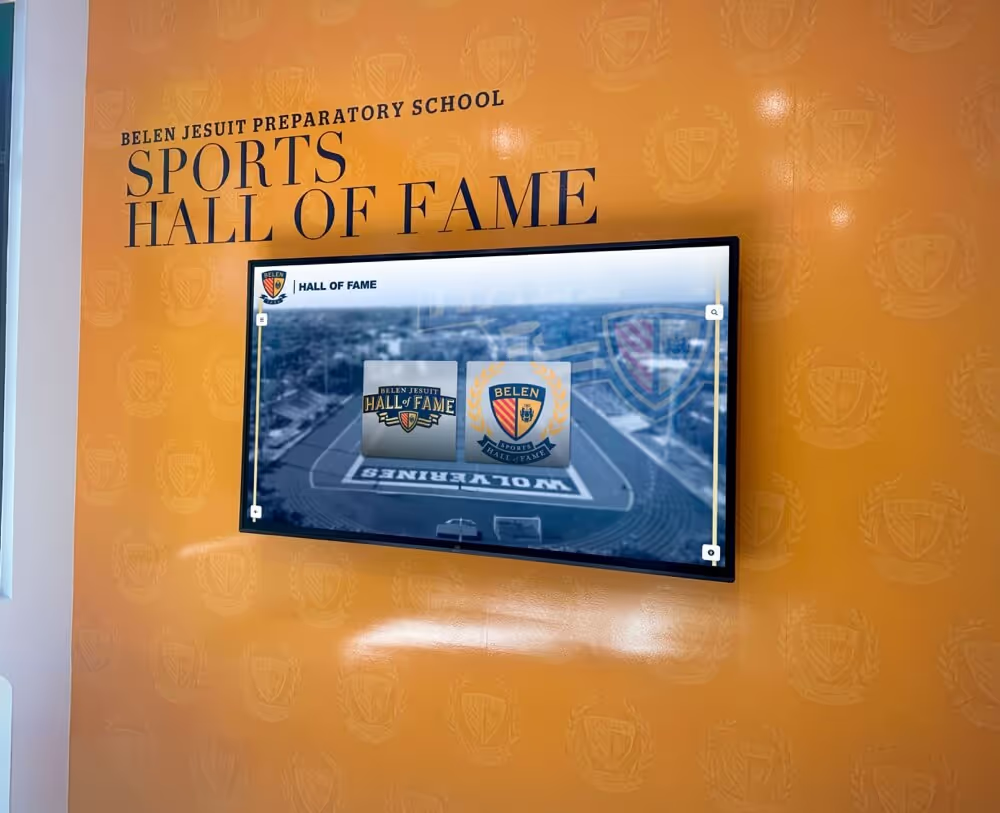
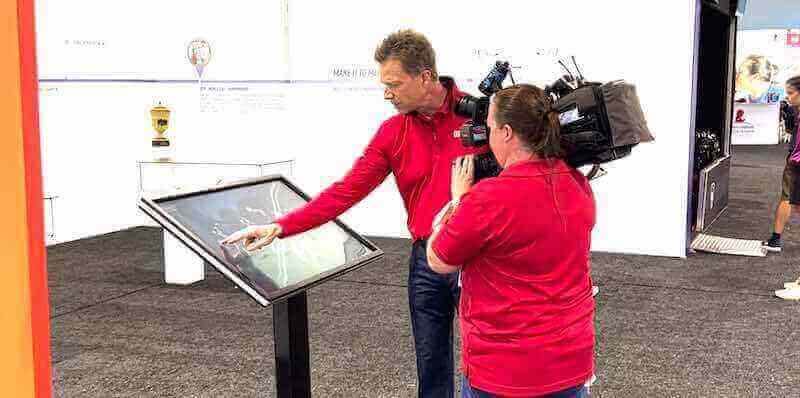
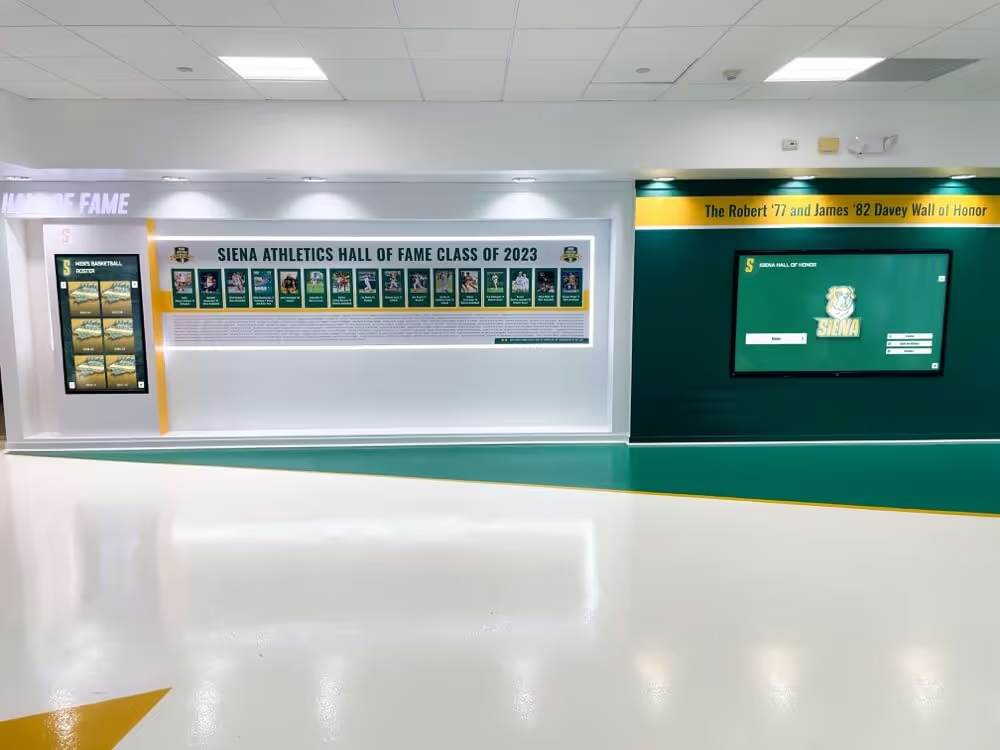
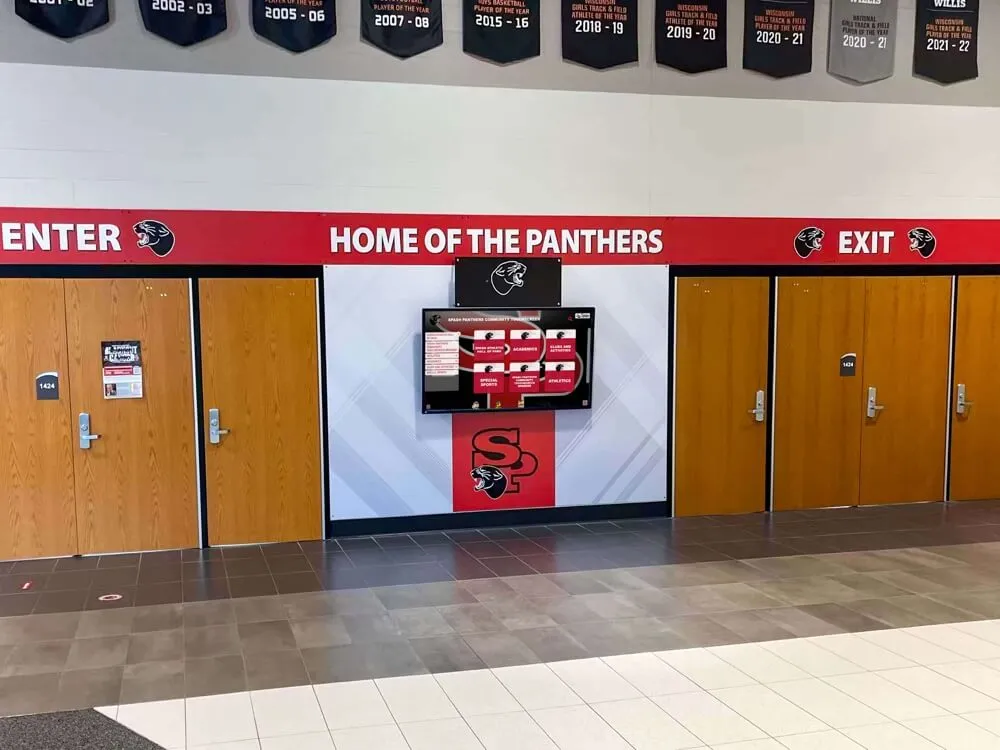
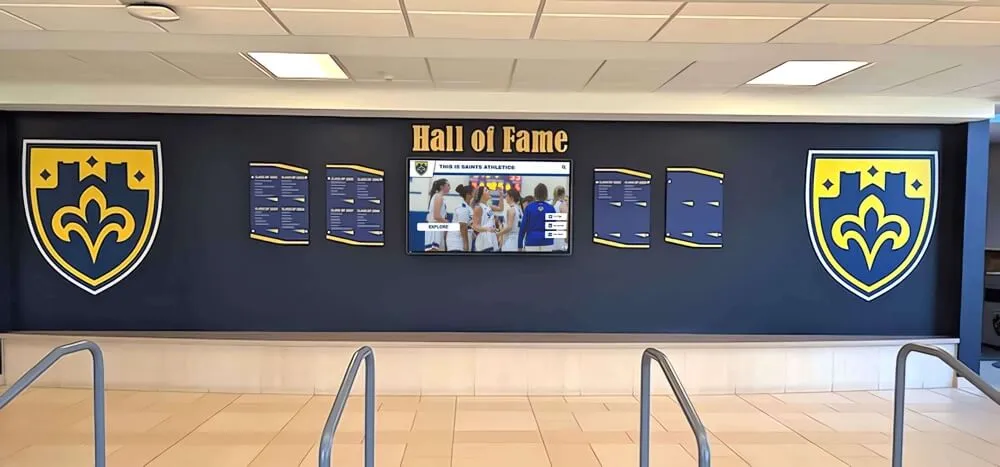
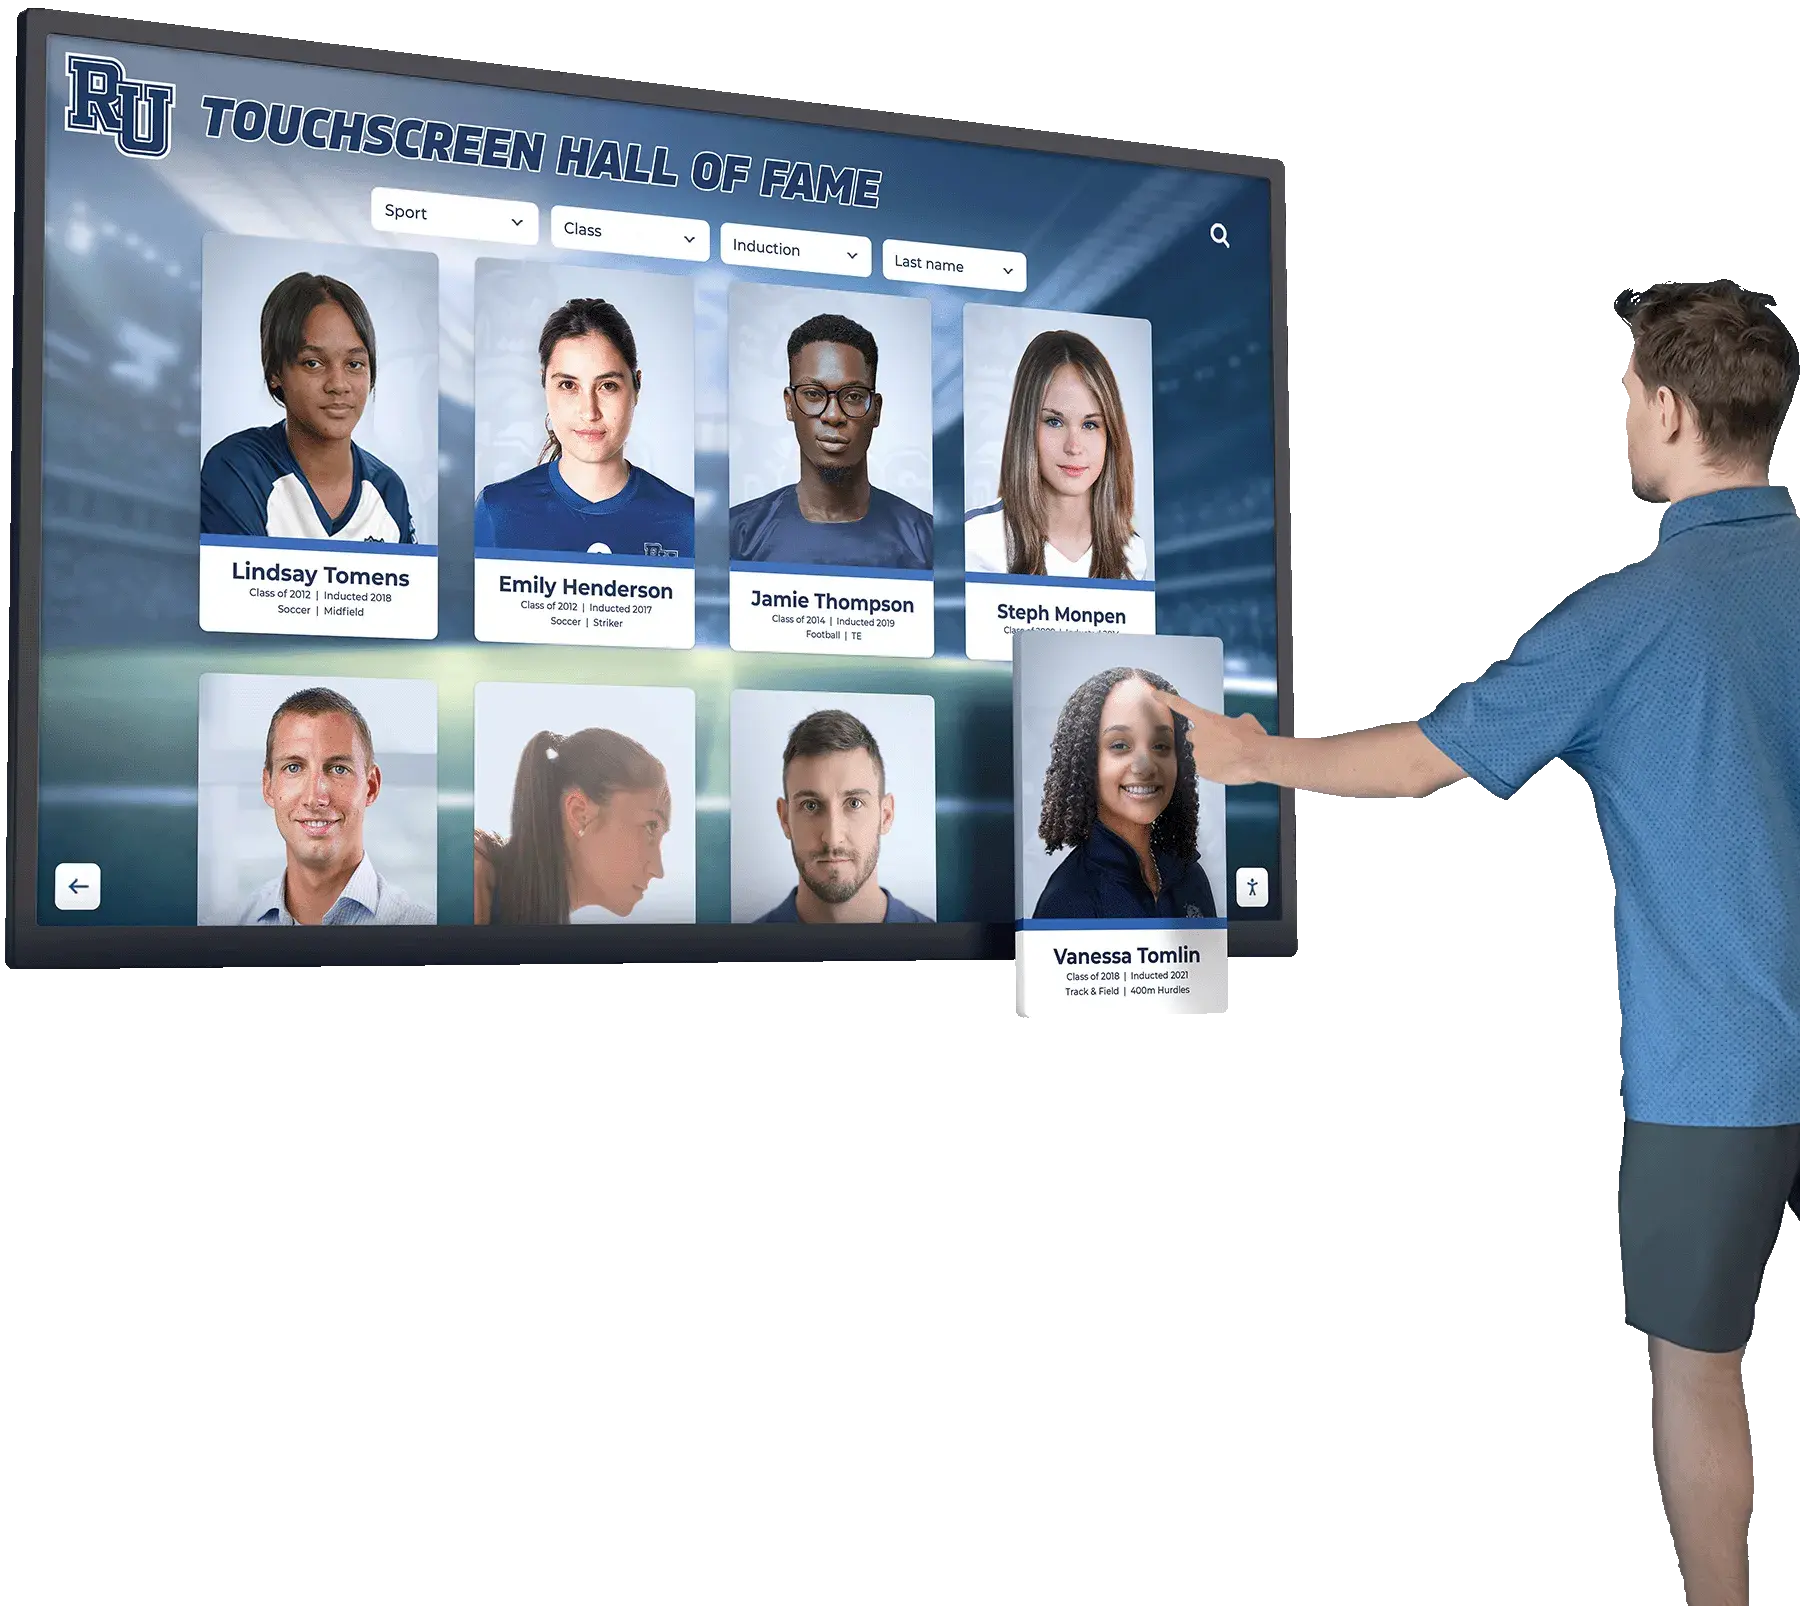
History has traditionally been preserved in static formats—printed books gathering dust on shelves, framed photographs fading on walls, commemorative plaques that visitors glance past without truly engaging. Historical timeline touchscreen displays revolutionize how institutions preserve and share their stories, transforming passive historical documentation into interactive journeys that invite exploration, discovery, and meaningful connection with the past.
Whether you’re a school administrator looking to showcase decades of institutional milestones, a museum curator seeking to engage visitors with historical narratives, or an organization preserving its legacy for future generations, understanding both the history of touchscreen technology and how to implement modern timeline displays provides the foundation for creating compelling interactive experiences.
This comprehensive guide explores two critical dimensions: the fascinating evolution of touchscreen technology itself—from 1965’s first finger-driven touchscreen to today’s sophisticated multi-touch displays—and the practical steps for creating historical timeline touchscreen displays that bring your institution’s story to life through interactive digital platforms.
The Remarkable History of Touchscreen Technology: 1965 to Today
Before exploring how to create historical timeline displays, understanding the evolution of touchscreen technology itself provides valuable context. The journey from early research prototypes to ubiquitous consumer devices spans nearly six decades of innovation, experimentation, and technological breakthroughs that transformed how humans interact with computers.
The Pioneering Era: 1965-1979
The story of touchscreen technology begins in the mid-1960s, when computers were room-sized machines operated through punch cards and command-line interfaces. The concept that humans might directly touch screens to control computers seemed revolutionary—or perhaps fanciful—to most technologists of that era.
1965: The First Finger-Driven Touchscreen
E.A. Johnson, an engineer at the Royal Radar Establishment in Malvern, England, developed what is widely considered the first finger-driven touchscreen to aid air traffic controllers. Working on the challenge of making radar control more intuitive, Johnson created a capacitive touchscreen that could detect finger touch through changes in electrical charge on the screen surface.
Johnson’s breakthrough, outlined in his 1965 article “Touch Display – A Novel Input/Output Device for Computers,” described a transparent touch-sensitive overlay that could be placed on cathode ray tube (CRT) displays. Air traffic controllers could point directly at aircraft representations on radar screens rather than using separate input devices—a seemingly simple innovation that represented a fundamental shift in human-computer interaction philosophy.
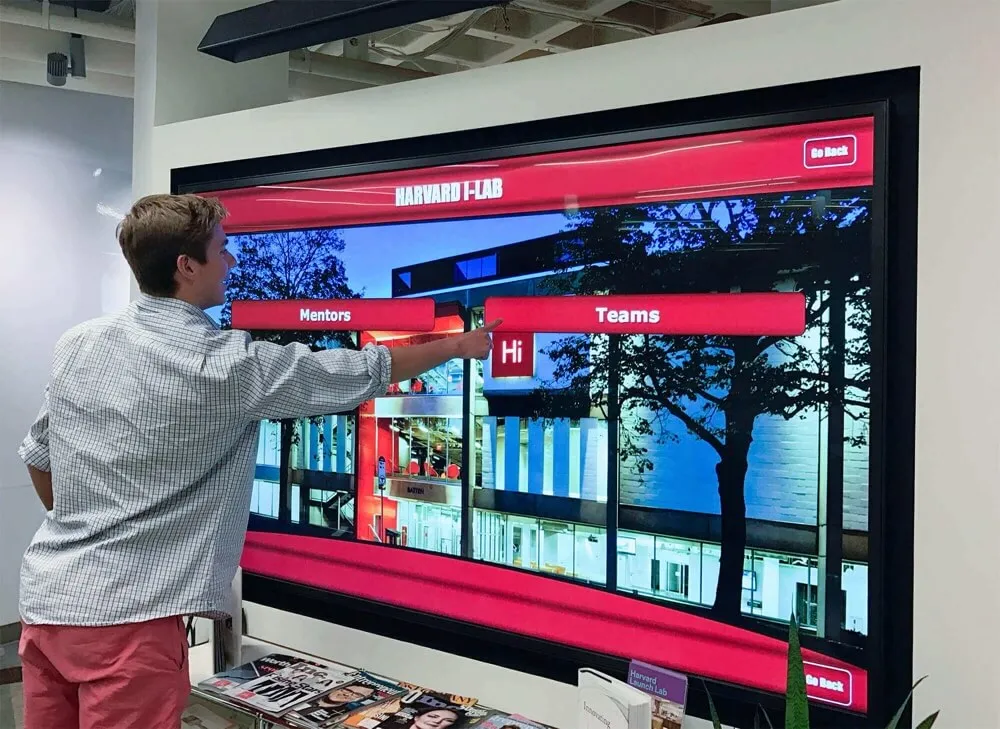
1969: Patent Recognition
Johnson received a patent for his capacitive touchscreen invention in 1969, formally recognizing the technological innovation that would eventually transform computing. However, the technology remained largely confined to specialized applications like air traffic control rather than entering mainstream computing markets.
1972: The PLATO IV Educational System
The University of Illinois’ PLATO IV terminal represented an important milestone in touchscreen adoption for educational purposes. The system incorporated an infrared touch panel allowing students to answer questions by touching the screen directly—making interactive computer-based learning more intuitive and accessible. This early educational application foreshadowed how touchscreens would eventually revolutionize learning environments across schools and universities.
1973-1975: CERN’s Capacitive Breakthrough
Frank Beck and Bent Stumpe, engineers at CERN (the European Organization for Nuclear Research), developed a transparent capacitive touchscreen between 1973 and 1975. Their work, published in 1973, advanced capacitive touch technology significantly. Meanwhile, Dr. Samuel Hurst created the first resistive touchscreen featuring a transparent surface, receiving a patent in 1975. Elographics’ Accutouch, developed in 1974, became the first transparent touchscreen using 5-wire resistive technology.
These parallel developments in both capacitive and resistive touchscreen technologies established two distinct technical approaches that would compete and coexist for decades. Resistive touchscreens detected pressure through physical contact between conductive layers, while capacitive screens sensed electrical field changes caused by conductive objects like human fingers.
Commercial Expansion: 1980-1999
The 1980s marked the transition from research laboratories to commercial applications as touchscreen technology matured and manufacturing costs decreased sufficiently for broader adoption.
1982: Multi-Touch Emerges
The University of Toronto’s Input Research Group developed the first human-input multi-touch system in 1982, using a frosted-glass panel with a camera placed behind the glass to track multiple touch points simultaneously. This breakthrough demonstrated that touchscreens need not be limited to single-point interaction—a capability that wouldn’t reach consumer devices for another two decades but represented crucial foundational research.
1983: The HP-150 Commercial Touchscreen Computer
The HP-150 became one of the world’s earliest commercial touchscreen computers, utilizing optical touchscreen technology. The system used infrared emitters and sensors around the screen perimeter to detect finger position. While innovative, the HP-150’s optical approach had limitations including calibration challenges and susceptibility to interference from ambient light or screen dirt.
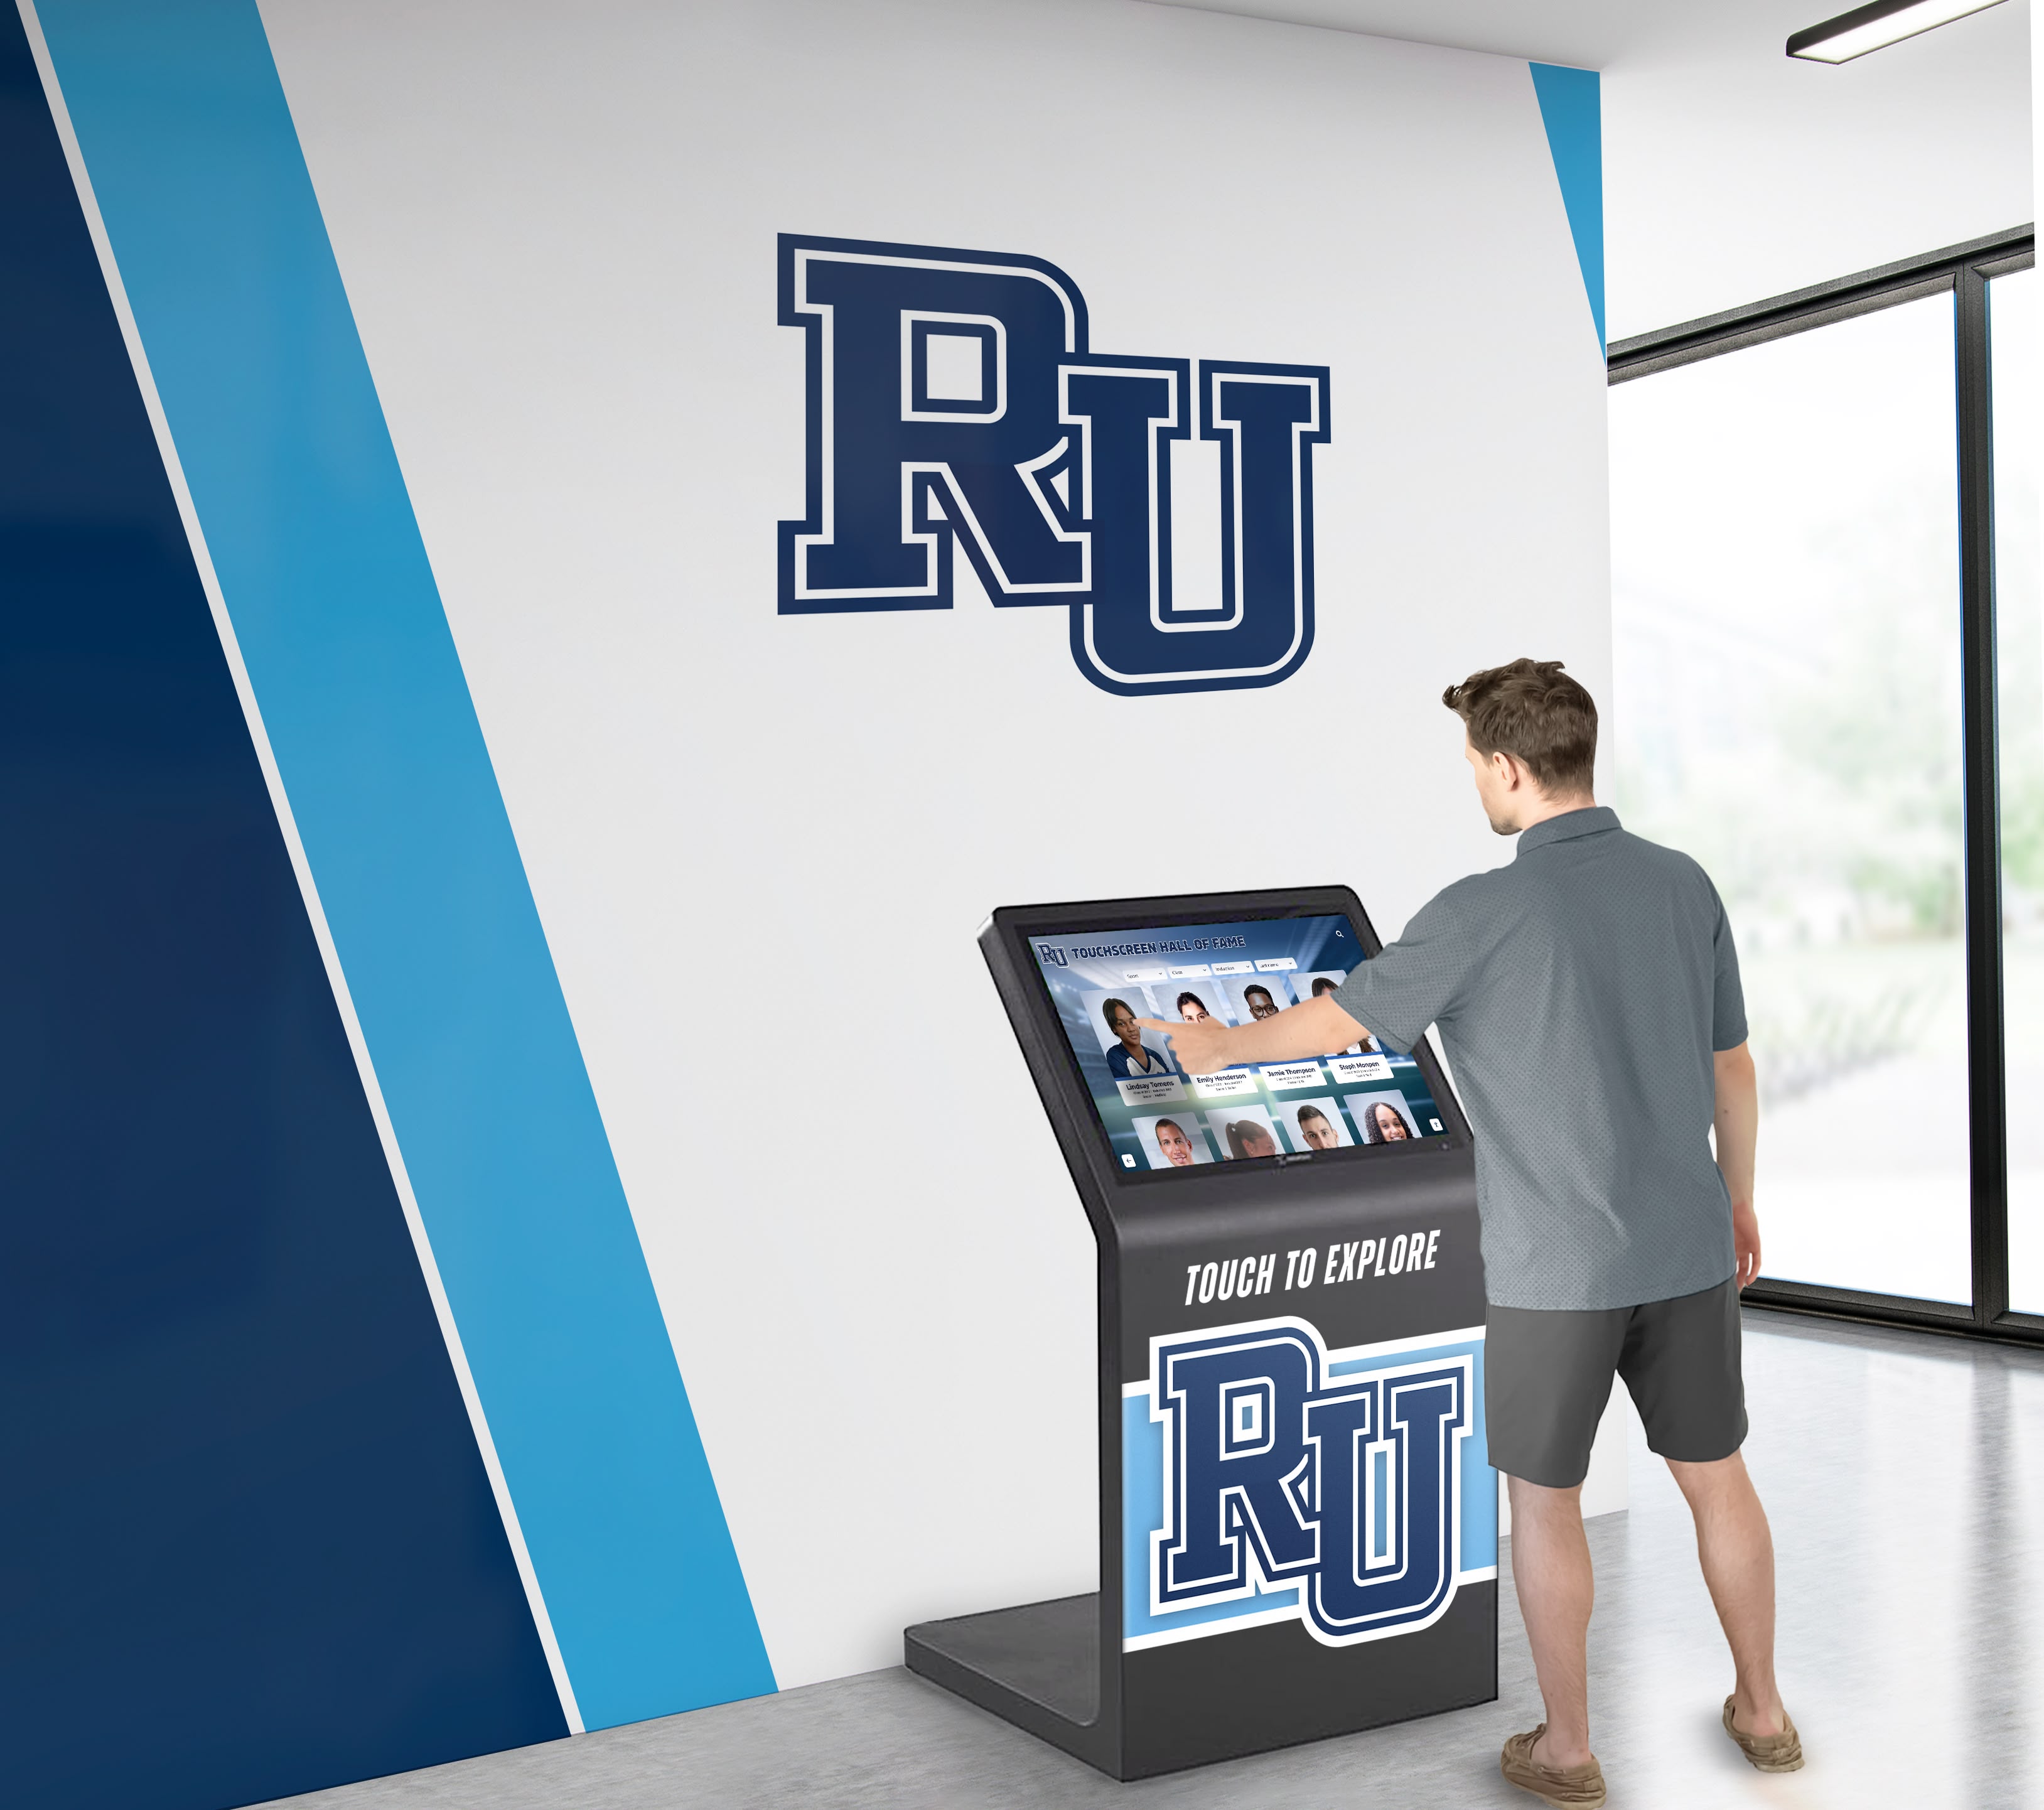
1993: The IBM Simon Smartphone
IBM introduced the Simon, widely recognized as the first smartphone and one of the earliest mobile devices with a touchscreen. The Simon used resistive touch technology operated with a stylus, featuring basic applications including email, calendar, calculator, and even a sketching program. While revolutionary for its time, the Simon’s resistive screen lacked the responsiveness and intuitive feel of later capacitive touchscreen smartphones.
1998: Gesture Recognition Foundations
John Elias and Wayne Westerman, academics at the University of Delaware, co-founded FingerWorks and began producing gesture-operated keyboards and trackpads. Their work on multi-touch gesture recognition laid crucial groundwork for the intuitive multi-touch interfaces that would later define modern smartphones and tablets. FingerWorks’ innovative technology attracted significant attention in the technology industry.
The Multi-Touch Revolution: 2000-Present
The 21st century brought touchscreen technology from niche applications to mainstream ubiquity, fundamentally transforming consumer electronics, business systems, and public interactive displays.
2005: Consumer Multi-Touch Arrives
JazzMutant released the Lemur music controller featuring a multi-touch screen interface, becoming the first product to make transparent multi-touch screen technology commercially available to consumers. The same year, Apple acquired FingerWorks, obtaining the gesture recognition patents and engineering talent that would prove crucial for its own touchscreen ambitions.
2006-2007: The Smartphone Revolution Begins
LG announced the LG KE850 Prada in 2006—the first mobile phone with a capacitive touchscreen. However, Apple’s iPhone, launched in 2007, truly revolutionized the industry by introducing multi-touch capacitive touchscreens to mainstream consumers combined with an intuitive user interface that made touchscreen interaction feel natural rather than frustrating.
The iPhone’s success established capacitive touchscreens as the standard for smartphones and tablets, demonstrating that consumers strongly preferred direct touch manipulation over physical keyboards and navigation buttons. This preference rapidly spread beyond mobile devices to influence interactive display design across industries.
2010s: Ubiquity and Refinement
Throughout the 2010s, capacitive touchscreens became standard in smartphones, tablets, interactive kiosks, automotive displays, and public information systems. Technology improvements included higher resolution touch sensing, better palm rejection, support for active styluses, and larger screen formats including wall-sized interactive displays.
Present Day: Advanced Capabilities
Modern touchscreen technology includes sophisticated capabilities unimaginable to early pioneers: multi-touch supporting ten or more simultaneous touch points, haptic feedback providing tactile sensation, ultra-responsive sensing with minimal latency, pressure sensitivity detecting touch force, and integration with artificial intelligence for predictive interfaces.
These technological advances enable the sophisticated interactive recognition displays that schools, museums, and organizations now use to create engaging historical timeline experiences.
Why Historical Timeline Touchscreen Displays Transform Institutional Storytelling
Understanding touchscreen history illuminates why these displays have become invaluable tools for institutions seeking to preserve and share their own stories. The same technology that revolutionized personal computing now enables schools, museums, and organizations to transform static historical documentation into dynamic, engaging experiences.
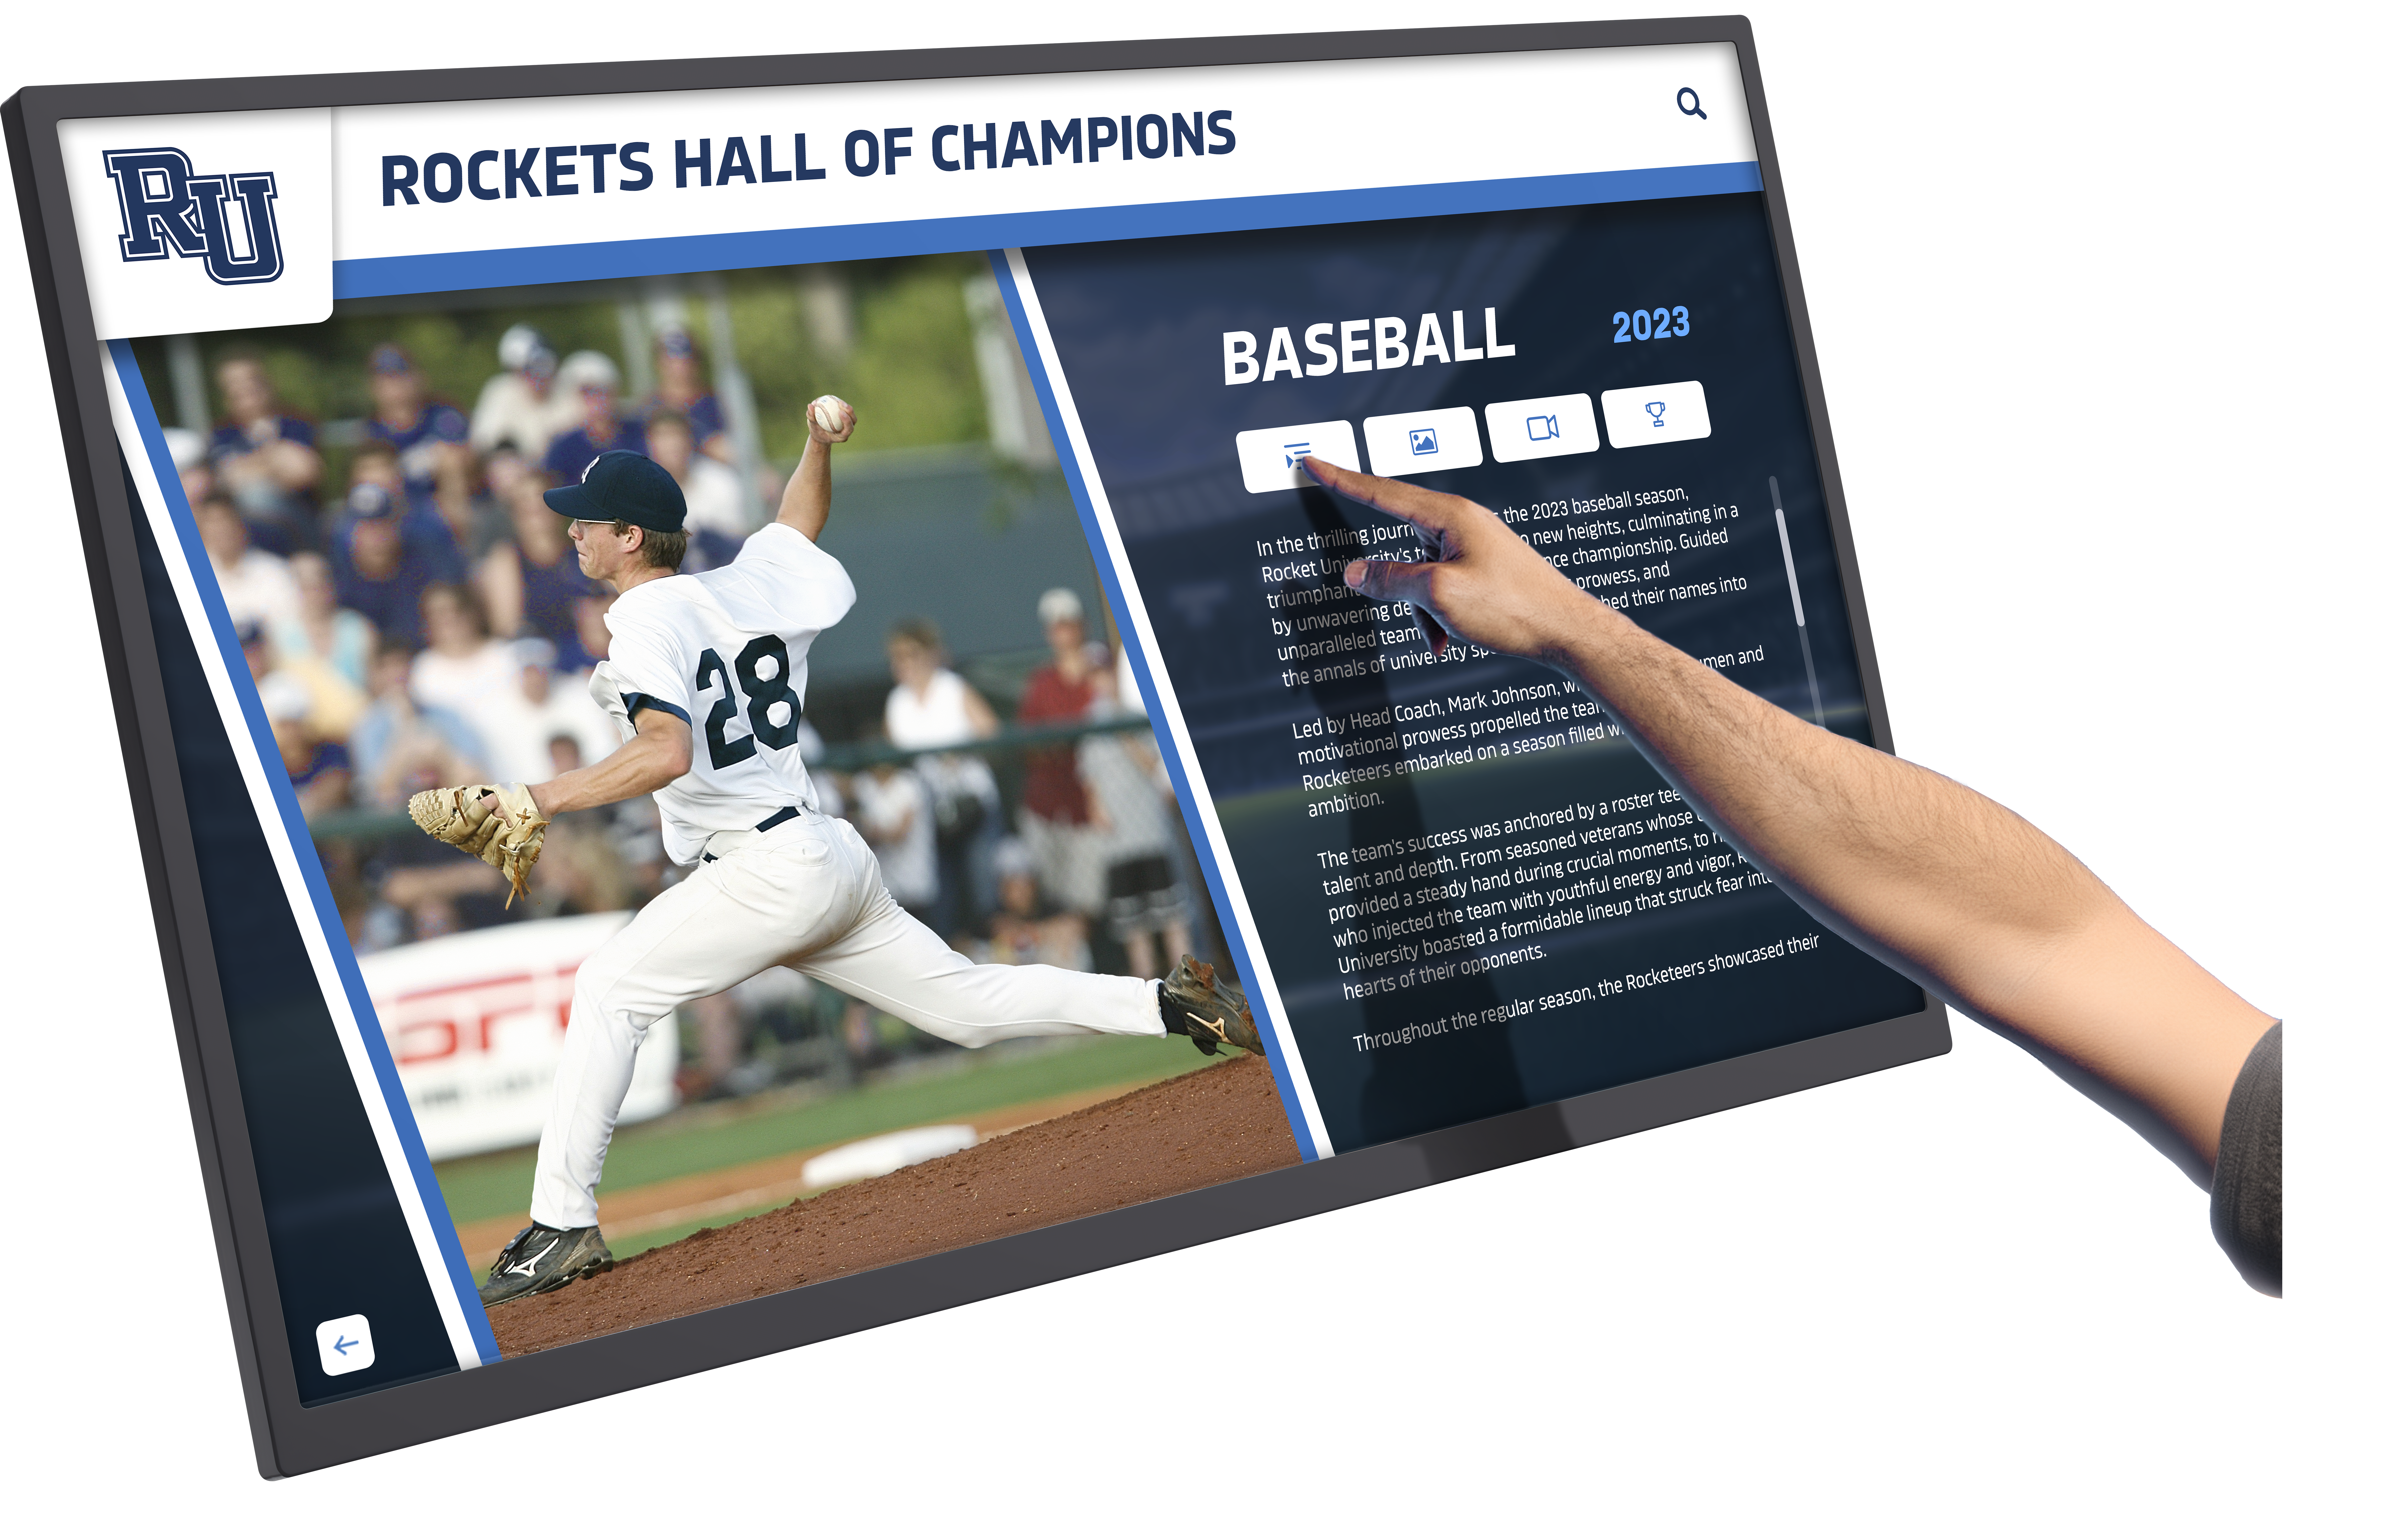
Engagement Through Interactive Exploration
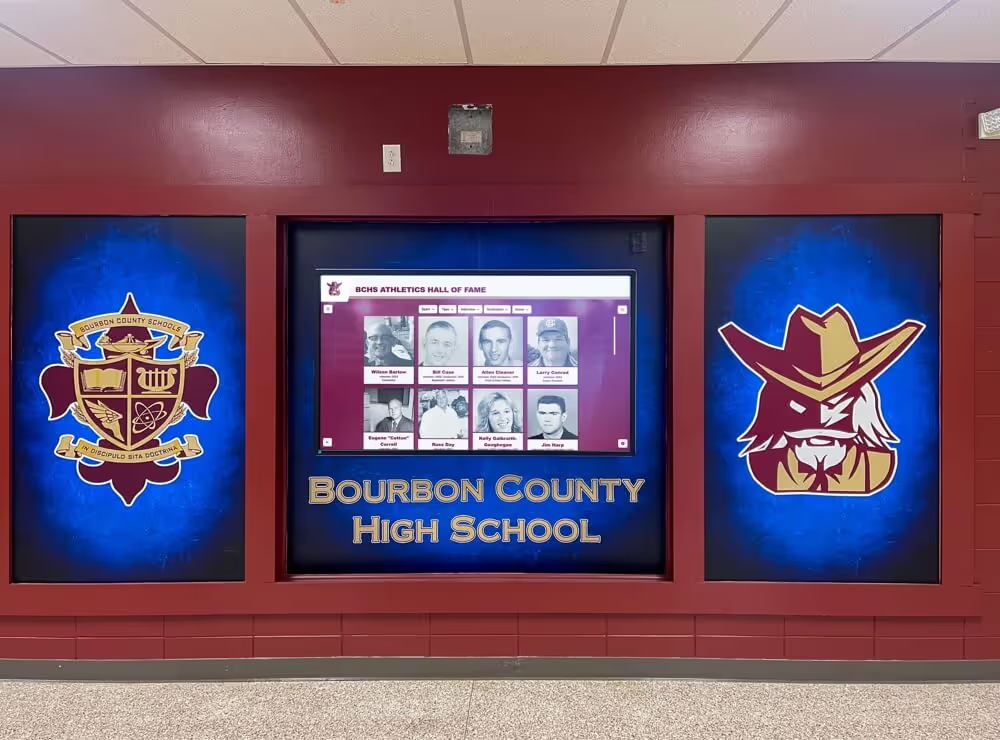
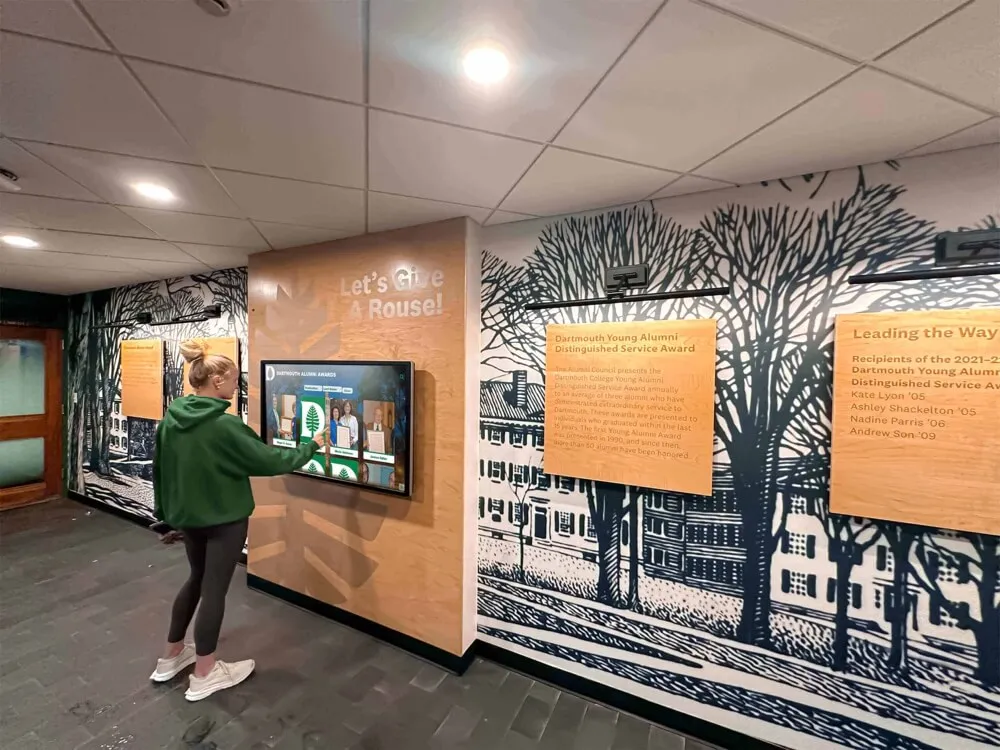
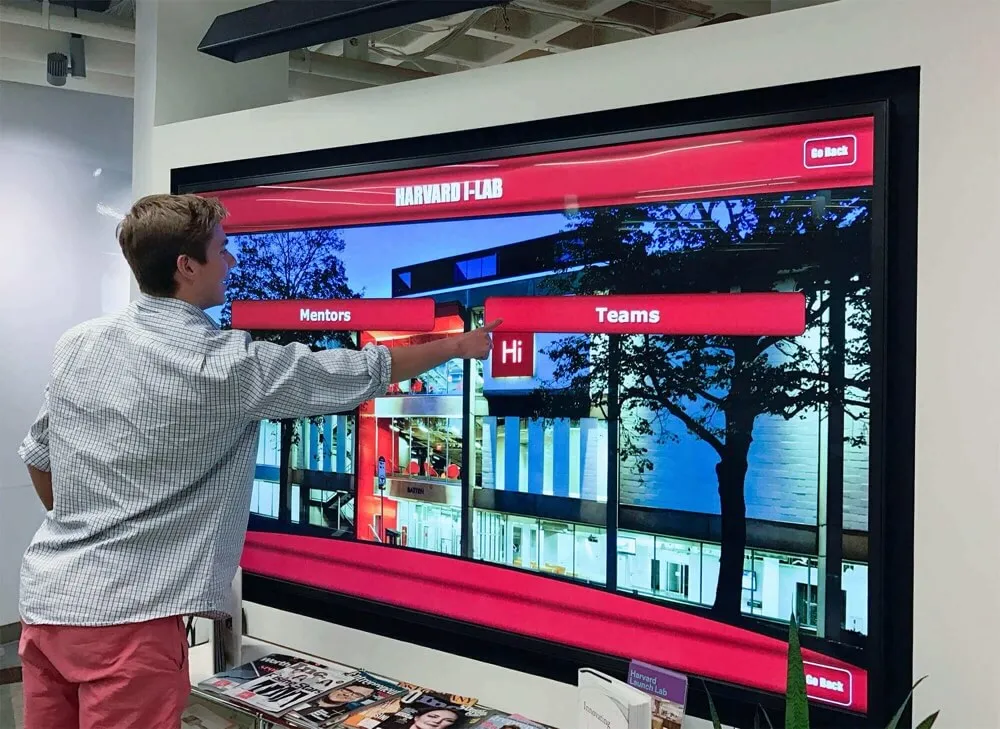
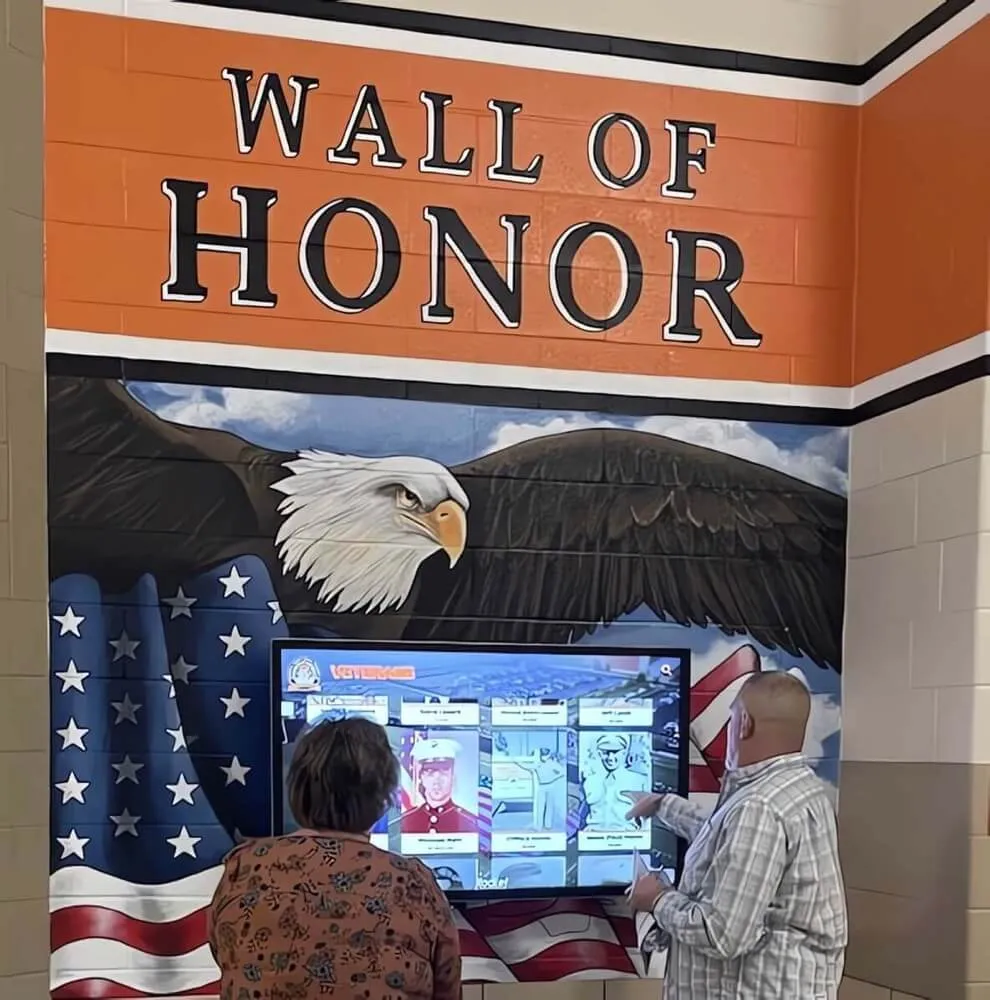
Traditional historical displays present predetermined narratives that visitors consume passively. Timeline touchscreen displays invert this relationship, empowering visitors to actively explore history based on their interests and curiosity. A high school student researching graduation traditions can easily browse decades of commencement ceremonies. An alumnus revisiting campus can quickly locate and explore their own graduation year. A prospective family can discover the school’s founding story and evolution over decades or centuries.
This self-directed exploration creates deeper engagement than static displays could achieve. Research on museum visitor behavior consistently demonstrates that interactive exhibits retain attention significantly longer than traditional displays—with visitors spending 5-10 times more time with interactive content than static presentations.
Unlimited Historical Capacity
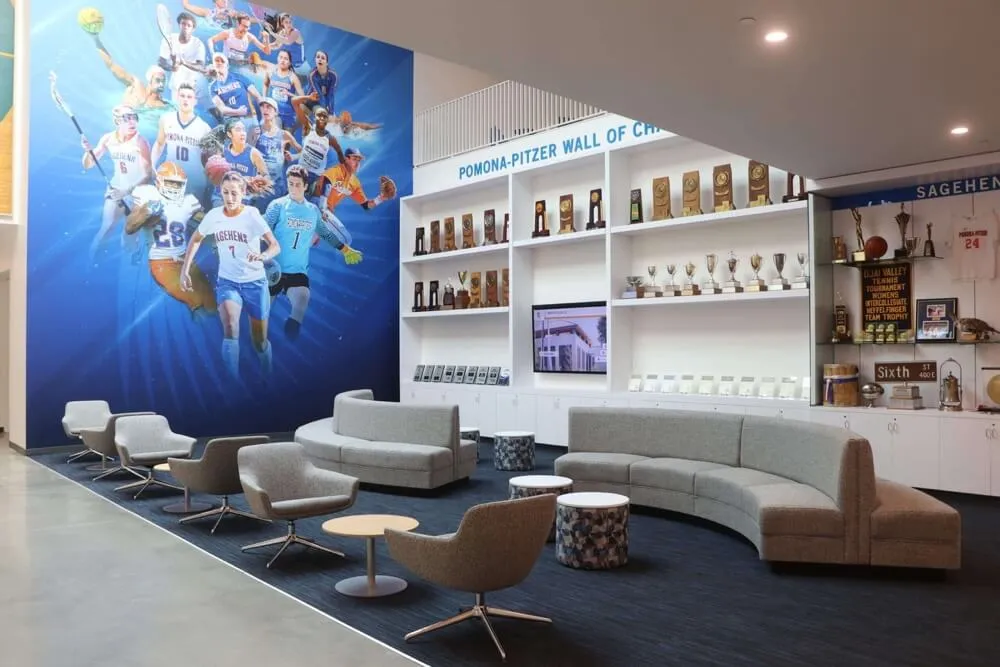
Physical space constraints force difficult decisions about what historical content deserves display space. Wall-mounted plaques, framed photographs, and trophy cases can showcase only limited selections from institutional histories, leaving vast archives unseen in storage.
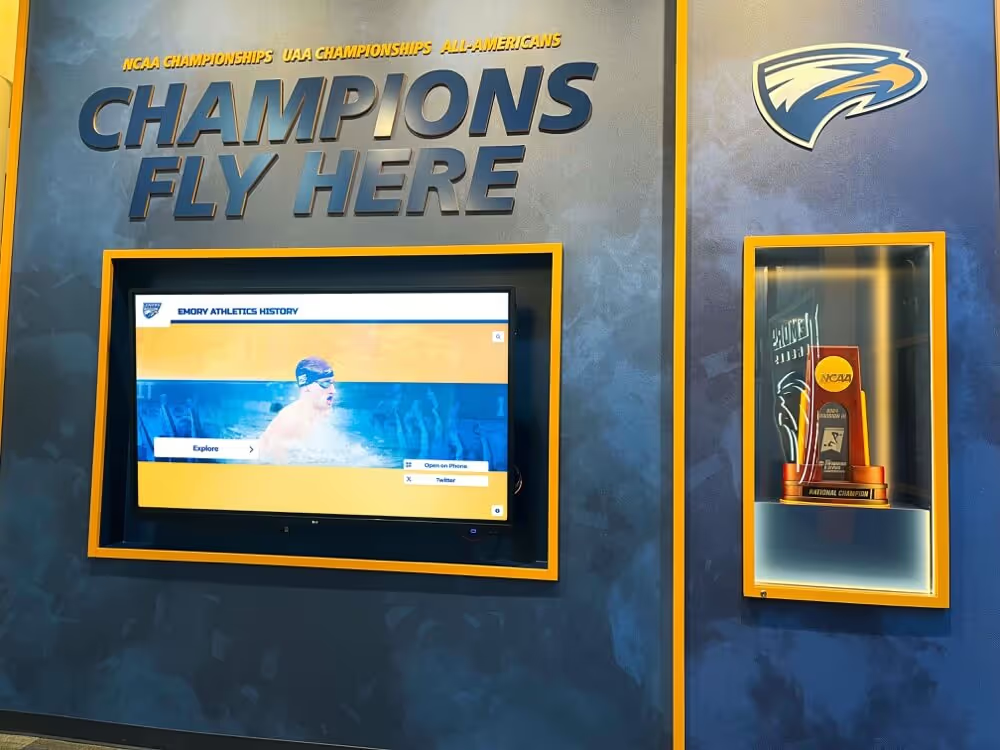
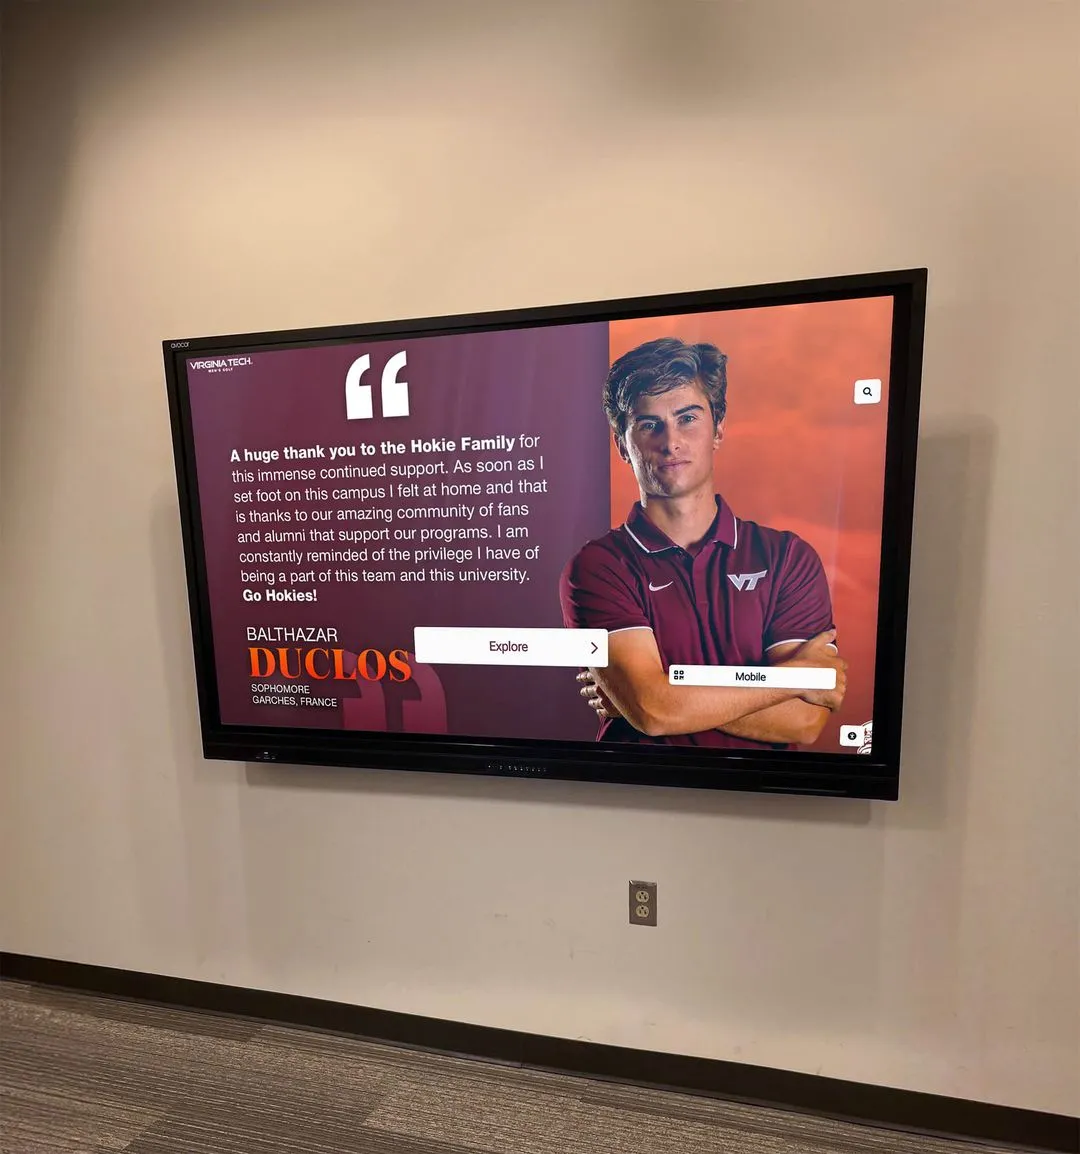
Digital timeline displays eliminate these capacity limitations entirely. A single 55-inch touchscreen can showcase hundreds or thousands of historical entries with comprehensive details, high-resolution images, video content, and supporting documentation that would require entire rooms to display physically. Schools can honor every graduating class since founding. Museums can provide detailed context for entire collections. Organizations can document their complete evolutionary journey from establishment through present day.
Multimedia Storytelling Capabilities
Historical narratives gain power through diverse content formats that static displays cannot accommodate effectively. Timeline touchscreen displays integrate multiple media types creating rich, layered stories:
- High-resolution photographs preserving visual history in detail impossible with small printed images
- Video content featuring oral histories, historical footage, or recorded ceremonies
- Audio recordings capturing voices, music, or ambient sounds from different eras
- Interactive maps showing geographic evolution, campus development, or community spread
- Detailed text narratives providing context, analysis, and storytelling depth
- Document archives making historical records accessible including newspapers, correspondence, and official documents
- Statistical visualizations presenting enrollment trends, achievement data, or organizational growth patterns
This multimedia approach transforms historical preservation from documentation into storytelling—creating emotional connections and understanding that facts alone cannot convey.
Easy Updates and Maintenance
Traditional historical displays require expensive, time-consuming updates. Adding new commemorative plaques involves ordering custom engraving, professional installation, and often wall modification. Updating framed photographs requires printing, framing, and physical placement. These barriers often result in historical displays that become outdated as maintaining them grows too burdensome.
Digital timeline displays simplify updates dramatically. Administrators add new historical entries through intuitive web interfaces in minutes rather than weeks. Corrections or enhancements require simple edits rather than expensive physical replacements. Annual events can be added immediately following their occurrence rather than waiting for budget cycles and vendor schedules.
This ease of maintenance ensures historical displays remain current, comprehensive, and accurate—truly living history rather than frozen snapshots that gradually become outdated.
Accessibility for All Visitors
Modern timeline touchscreen displays incorporate accessibility features ensuring historical content reaches all community members regardless of ability:
- Adjustable text sizing for visitors with visual impairments
- Screen reader compatibility for blind or low-vision users
- Closed captioning for video content serving deaf or hard-of-hearing visitors
- Multiple language support welcoming diverse communities
- Adjustable mounting heights accommodating wheelchair users
- Intuitive navigation serving users with varying technical comfort levels
These features demonstrate institutional commitment to inclusive historical preservation that welcomes all community members to engage with shared heritage.
How to Create Historical Timeline Touchscreen Displays: Step-by-Step Implementation Guide
Understanding the value of timeline displays raises the natural question: how do organizations actually implement these systems effectively? The following comprehensive guide walks through the complete implementation process using modern digital recognition platforms.
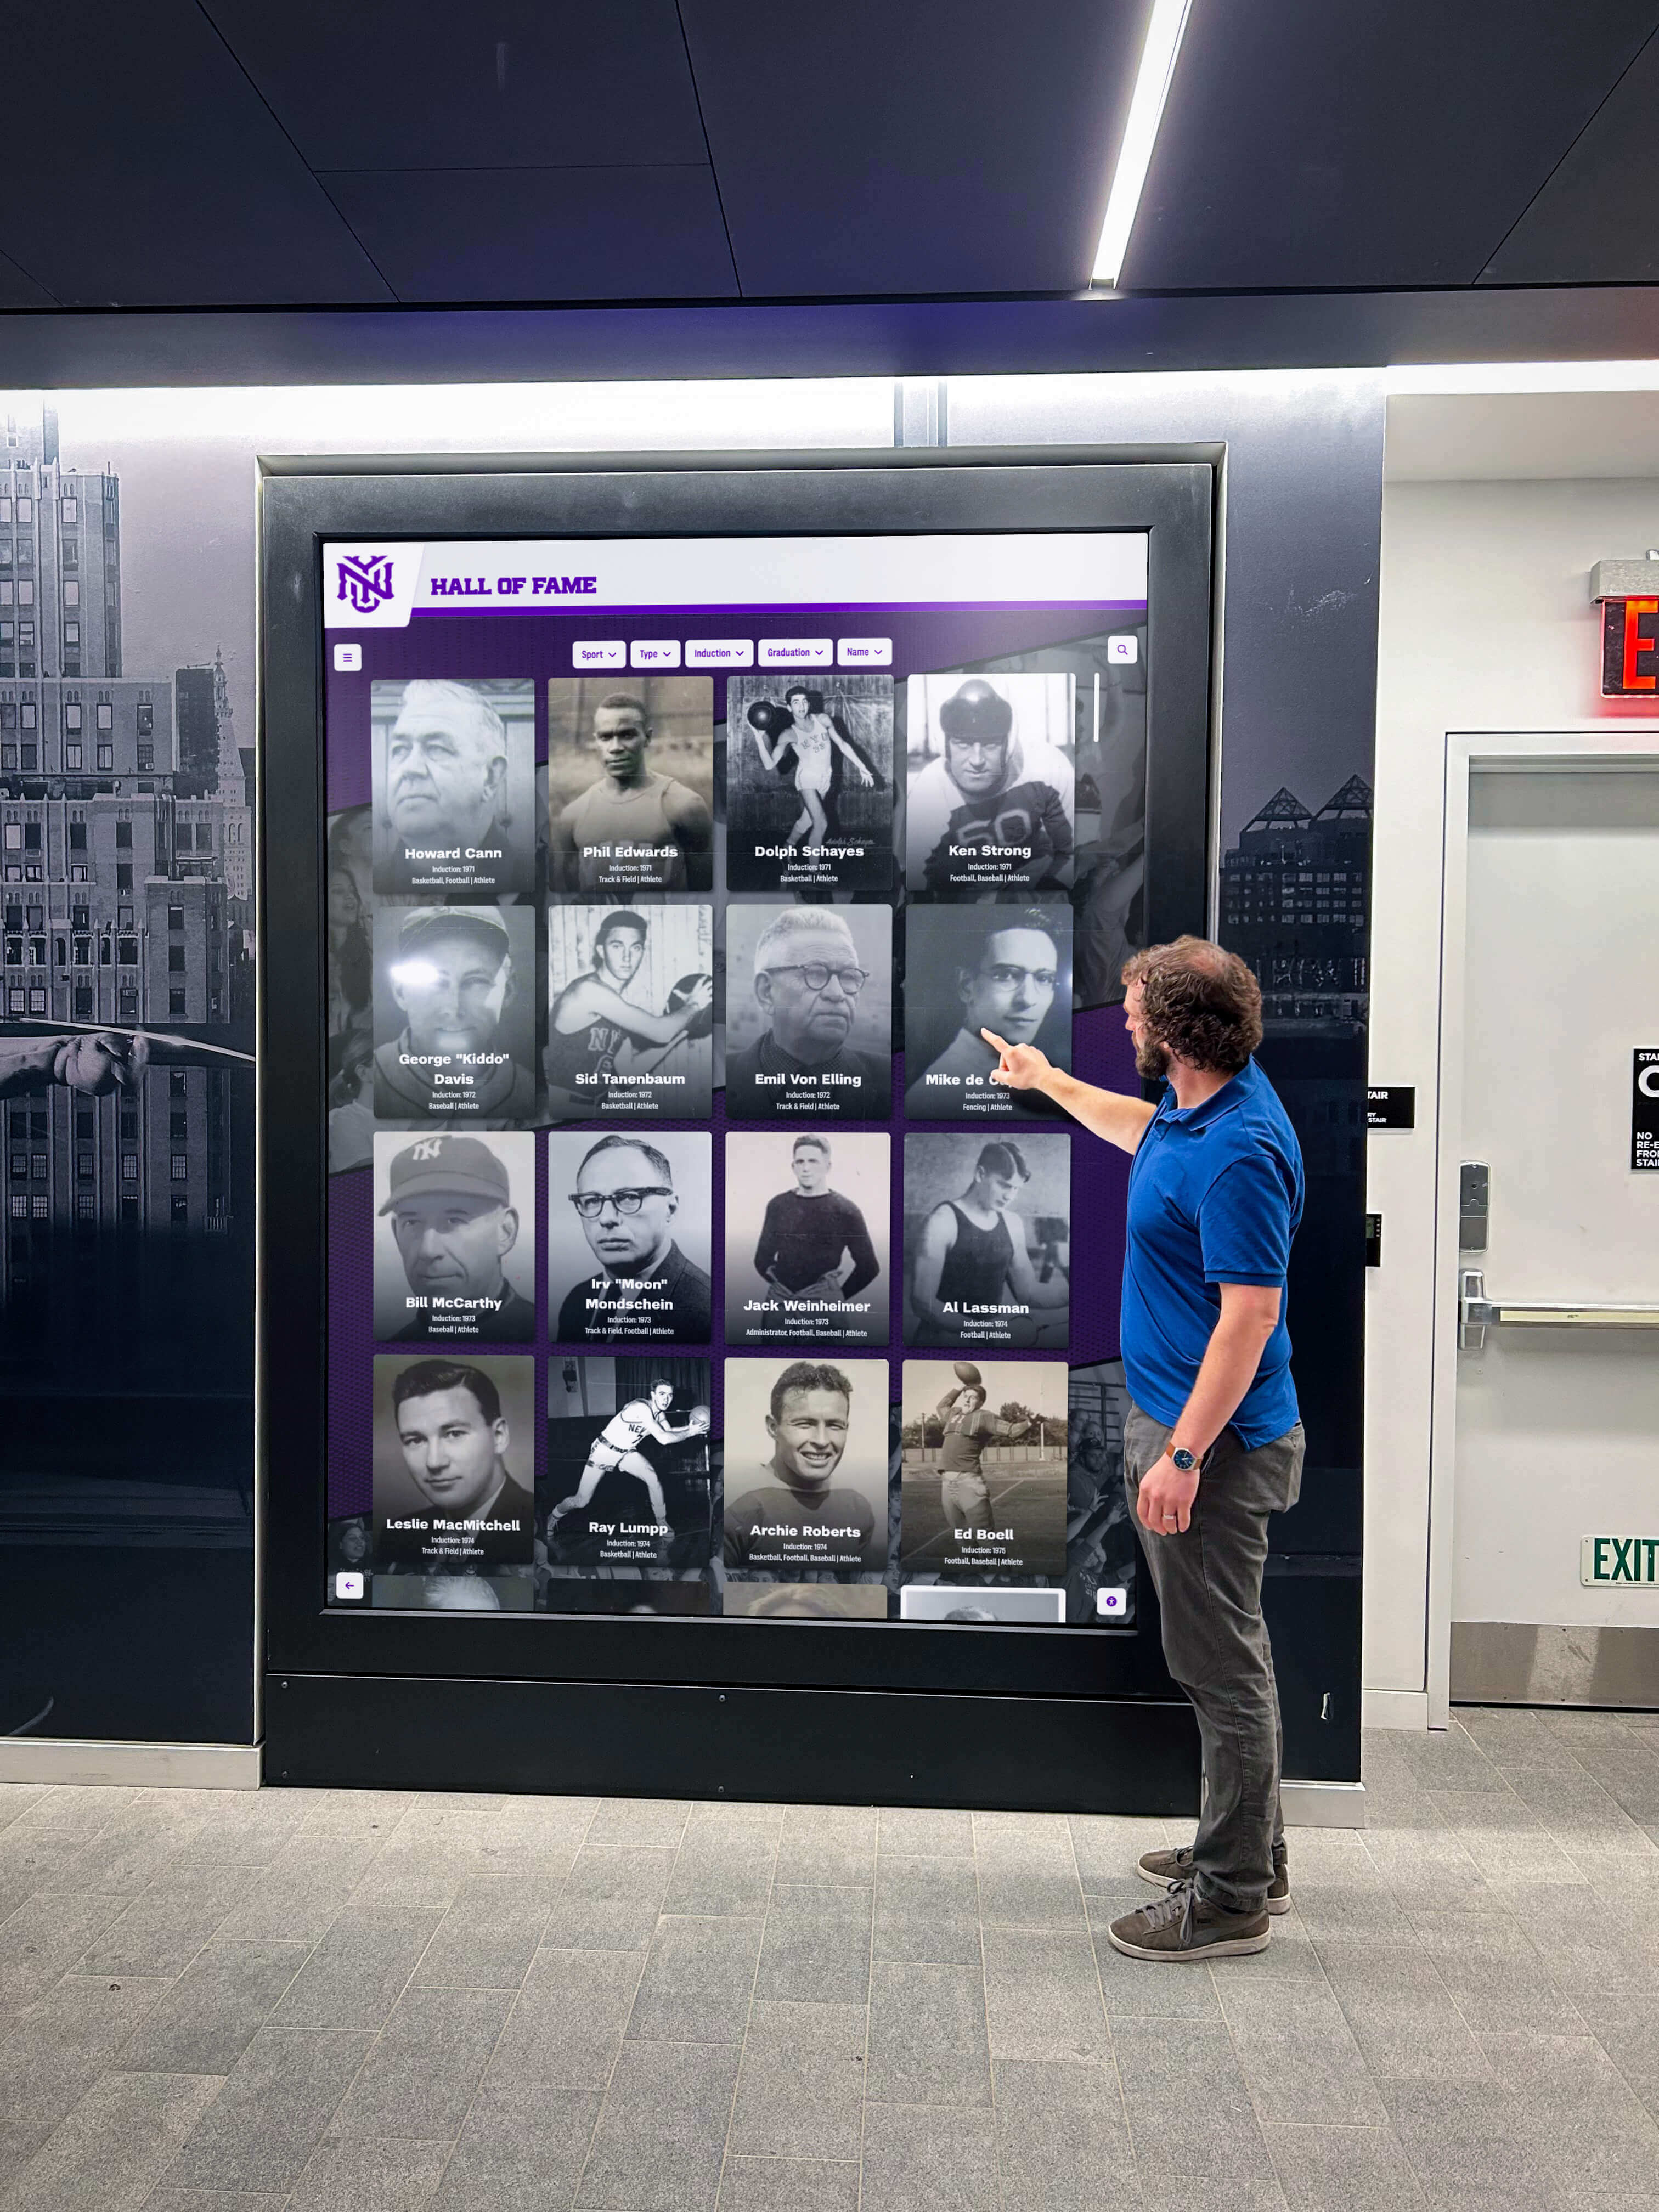
Step 1: Define Your Timeline Scope and Organization
Successful timeline displays begin with clear strategic planning defining what history you’ll preserve and how you’ll organize it.
Determine Timeline Boundaries
Decide your timeline’s temporal scope:
- Institutional founding to present: Comprehensive organizational history from establishment through current day
- Significant era focus: Concentration on particularly important periods like founding decades, growth eras, or transformation phases
- Living memory approach: Recent decades where photographs and personal accounts exist abundantly
- Thematic timelines: Focused narratives like athletic history, academic evolution, facility development, or leadership succession
Many institutions implement multiple complementary timelines rather than forcing entire institutional histories into single chronological presentations. An athletic department might create separate sport-specific timelines while maintaining an overall athletic history overview. A school might develop distinct timelines for academic programs, extracurricular activities, and campus development.
Establish Organizational Structure
Determine how visitors will navigate your historical content:
- Chronological organization: Traditional timeline approach with decades, years, or specific date entries
- Thematic categories: Organization by topic areas like athletics, academics, arts, leadership, facilities, or traditions
- People-focused structure: Highlighting individuals like alumni, faculty, administrators, or community members who shaped history
- Event-based presentation: Focusing on major milestones, ceremonies, competitions, or significant occasions
- Hybrid approaches: Combining chronological backbone with thematic filtering or searchable people databases
The organizational structure profoundly impacts user experience. Chronological approaches work well for visitors browsing institutional evolution, while thematic organization serves those with specific interest areas more effectively. Robust search functionality can bridge organizational approaches by allowing visitors to find content through multiple pathways.
Identify Key Content Types
Define what historical elements your timeline will include:
- Founding and establishment stories
- Leadership succession and administration history
- Facility construction and campus development
- Academic program evolution and curricular changes
- Athletic achievements, records, and championship teams
- Arts and performance milestones
- Student life and traditions evolution
- Community partnerships and external recognition
- Crisis response and resilience narratives
- Demographic and enrollment trends
- Notable alumni achievements and career accomplishments
Comprehensive content planning prevents gaps while ensuring balanced representation across your institution’s diverse historical dimensions.
Step 2: Gather and Organize Historical Content
Content quality determines timeline display value. Systematic approaches to content gathering ensure comprehensive, accurate historical preservation.
Conduct Archival Research
Locate existing historical documentation:
- Institutional archives: Official records, yearbooks, publications, photographs, and documents in school or organization archives
- Library collections: Local history resources, newspaper archives, and special collections
- Alumni records: Graduate databases, reunion programs, and alumni association materials
- Physical displays: Information from existing trophy cases, commemorative plaques, and framed photographs
- Digital repositories: Existing website content, social media archives, and digital photo collections
- Oral histories: Interviews with long-serving staff, alumni, or community members preserving institutional memory
Creating comprehensive digital archives requires systematic research identifying all available source materials before digitization begins.
Engage Stakeholder Communities
Distribute content gathering across your community:
- Alumni submissions: Request photographs, stories, memorabilia, and personal accounts from graduates
- Faculty and staff contributions: Engage long-serving employees preserving institutional memory
- Student research projects: Assign timeline content development as authentic learning experiences in history, journalism, or digital media courses
- Community volunteers: Recruit history enthusiasts, retired staff, or dedicated supporters for research assistance
- Family contributions: Gather materials from families of notable institutional figures
- Partner organization collaboration: Coordinate with booster clubs, foundations, or affiliated groups preserving complementary records
Crowdsourced approaches not only gather diverse content but also build community engagement and investment in historical preservation initiatives.
Digitize Physical Materials
Convert historical physical content to digital formats suitable for timeline displays:
- Photo scanning: Digitize photographs at minimum 300 DPI resolution, higher for archival preservation purposes
- Document scanning: Convert historical documents, newspapers, programs, and publications to searchable PDF or image formats
- Video digitization: Transfer film reels, VHS tapes, or other analog video formats to digital files
- Audio conversion: Digitize reel-to-reel recordings, cassette tapes, or other analog audio materials
- Artifact photography: Create high-quality photographs of three-dimensional objects, trophies, equipment, or memorabilia unsuitable for scanning
- Negative scanning: Digitize photo negatives that may offer better quality than available prints
Professional digitization services provide higher quality results than consumer equipment for irreplaceable historical materials, though basic content can be digitized using standard office scanners or smartphone cameras.
Organize and Catalog Content
Systematic organization prevents chaos as content collections grow:
- Consistent file naming: Implement standardized naming conventions encoding date, subject, type, and other metadata in filenames
- Folder hierarchies: Create logical directory structures organizing content by decade, category, content type, or other relevant criteria
- Metadata documentation: Record source information, dates, people depicted, locations, and context in spreadsheet or database catalogs
- Rights documentation: Track permissions, copyright status, and usage restrictions for content from various sources
- Quality assessment: Evaluate and note image resolution, audio quality, video condition, or content completeness guiding later enhancement decisions
- Backup protocols: Implement redundant storage protecting irreplaceable historical content from loss through hardware failure or disaster
Disciplined organization during gathering stages prevents overwhelming challenges when importing content into timeline display platforms.
Step 3: Select Your Timeline Display Platform
Multiple technology approaches support historical timeline displays, each offering different capabilities, costs, and implementation complexity. Understanding options helps select platforms matching your needs, budget, and technical capabilities.
Purpose-Built Recognition Platforms
Solutions like Rocket Alumni Solutions provide comprehensive timeline display capabilities specifically designed for schools and organizations preserving institutional history. These platforms offer significant advantages for timeline implementations:
Specialized Timeline Features: Purpose-built platforms include timeline-specific functionality like chronological navigation interfaces, decade or year-based browsing, historical milestone highlighting, and era-based content filtering designed specifically for historical storytelling rather than adapted from generic applications.
Intuitive Content Management: User-friendly web interfaces enable non-technical administrators to add historical entries, upload photos and videos, organize chronological content, and manage comprehensive timelines without programming skills or IT department dependency.
Integrated Display Systems: Complete solutions include both physical touchscreen hardware optimized for public installations and software platforms managing content, eliminating compatibility concerns and integration challenges from assembling separate components.
Mobile and Web Accessibility: Timeline content automatically becomes accessible through responsive web interfaces allowing alumni, community members, and researchers worldwide to explore institutional history from any device, extending reach far beyond physical installations.
Professional Implementation Support: Full-service approaches include content migration assistance, custom design matching institutional branding, comprehensive training for administrators, and ongoing technical support ensuring long-term success.
Proven Scalability: Cloud-based architecture accommodates unlimited timeline growth from founding through present day without performance degradation or storage limitations that constrain historical preservation.
For schools and organizations implementing comprehensive digital recognition systems, purpose-built platforms deliver professional results with minimal technical burden on institutional staff.
Custom Timeline Software Development
Organizations with unique requirements or substantial technical resources sometimes commission custom timeline software development. This approach provides maximum flexibility and control but requires significant investment, typically ranging from $25,000-$100,000+ for sophisticated systems.
Custom development makes sense when institutional requirements differ fundamentally from commercial platform capabilities, in-house technical teams can maintain and enhance custom systems long-term, or organizations want complete control over features, design, and functionality without vendor dependencies.
However, most schools and organizations find purpose-built commercial platforms deliver superior value through proven functionality, continuous improvement, shared development costs, and professional support infrastructure.
Generic Digital Signage Adapted for Timelines
Some organizations attempt repurposing generic digital signage platforms for timeline applications. While technically possible, this approach imposes significant limitations including lack of timeline-specific features, limited interactivity beyond basic navigation, absence of robust content organization for historical data, and user experiences designed for communication rather than historical exploration.
Generic signage works adequately for simple chronological slideshows but cannot support the sophisticated interactive exploration, powerful search capabilities, and comprehensive content management that effective timeline displays require.
Step 4: Design Your Timeline User Interface
Interface design determines whether visitors engage deeply with historical content or glance briefly and move on. Thoughtful design creates intuitive, compelling experiences.
Establish Visual Hierarchy
Effective timeline interfaces guide visitors’ attention through clear visual organization:
- Prominent timeline navigation: Large, obvious chronological navigation enabling intuitive temporal browsing
- Entry preview cards: Visual summaries showing dates, titles, and representative images attracting attention to interesting content
- Detailed entry views: Comprehensive presentations appearing when visitors select specific timeline entries for exploration
- Consistent visual language: Unified design elements, typography, color schemes, and layouts creating professional, cohesive experiences
- Strategic white space: Generous spacing preventing overwhelming density while focusing attention appropriately
Reference best practices for digital showcase layouts when designing timeline interface structures.
Optimize for Touch Interaction
Physical touchscreen displays require interface design considerations different from mouse-based computer interfaces:
- Large touch targets: Buttons and interactive elements minimum 44x44 pixels ensuring accurate selection without frustration
- Appropriate spacing: Adequate separation between interactive elements preventing accidental mis-taps
- Clear affordances: Visual indicators making interactive elements obviously tappable rather than decorative
- Gesture support: Intuitive swipe gestures for timeline navigation and pinch-to-zoom for photograph examination
- Responsive feedback: Immediate visual confirmation of touch registration preventing uncertainty about interaction success
Incorporate Institution Branding
Timeline displays should reflect institutional identity:
- Color palette alignment: Use school or organization colors throughout interface design
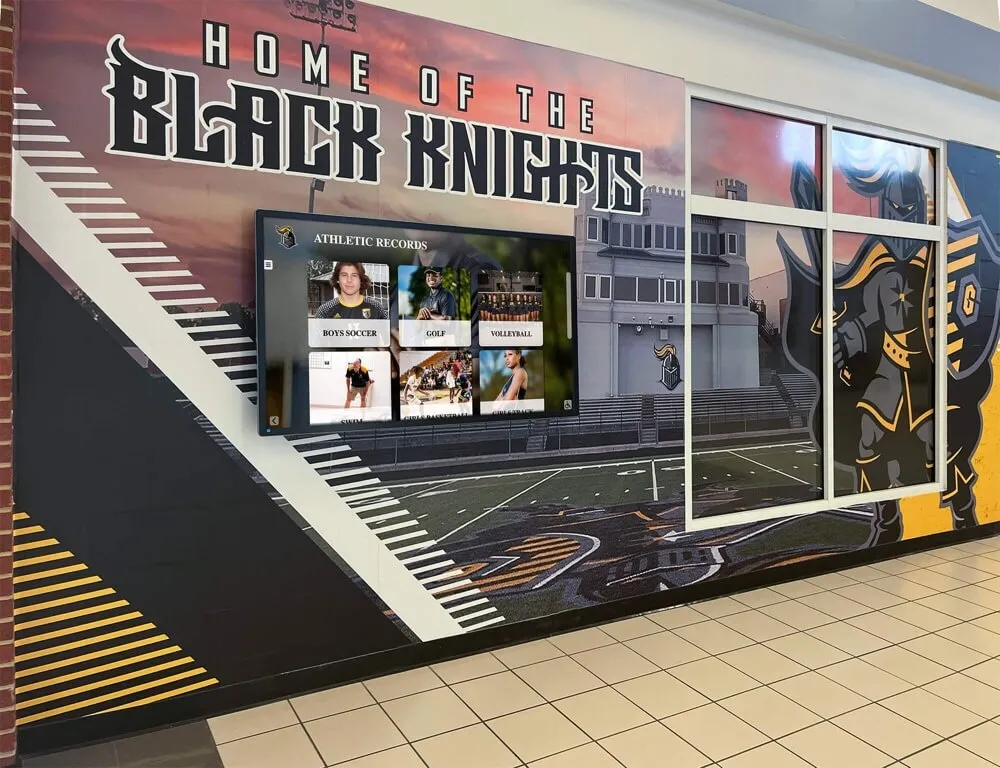
- Logo integration: Include institutional logos, mascots, or emblems appropriately
- Typography consistency: Select fonts matching broader institutional branding guidelines
- Photographic style: Establish consistent approach to image treatment, filters, borders, or framing
- Voice and tone: Write content in style consistent with institutional communications reflecting organizational personality
Strong branding creates cohesive experiences reinforcing institutional identity while celebrating history.
Step 5: Implement Timeline Content Using Rocket Alumni Solutions
For organizations selecting purpose-built platforms, implementation follows systematic processes ensuring quality results. This section outlines timeline creation using Rocket Alumni Solutions as the exemplar platform, though similar principles apply to other systems.
Initial Platform Configuration
Begin by establishing fundamental platform parameters:
- Create administrative account: Register for Rocket Alumni Solutions platform access with appropriate authorization levels
- Configure institution profile: Enter school or organization name, location, founding date, and basic information
- Establish content categories: Define timeline sections like decades, themes, or organizational units matching your structure
- Set visual theme: Select or customize display themes matching institutional branding with colors, fonts, and layouts
- Configure privacy settings: Determine what content is publicly accessible versus requiring authentication
Create Timeline Framework
Establish chronological or thematic structure organizing content:
- Define timeline sections: Create decade markers, era divisions, or thematic categories serving as primary organizational structure
- Add section descriptions: Provide contextual overviews for each timeline section summarizing historical significance or major themes
- Set section imagery: Select representative photographs or graphics for each timeline section creating visual interest
- Establish navigation paths: Configure how visitors move through timeline content chronologically, thematically, or through search
- Create filtered views: Enable visitors to view complete timeline or filtered subsets by category, tag, or other criteria
Add Historical Timeline Entries
Populate timeline with comprehensive historical content:
- Create entry templates: Establish standardized formats for different entry types ensuring consistent presentation
- Add individual entries: Input historical events, milestones, or stories including:
- Dates: Precise dates or approximate timeframes for historical accuracy
- Titles: Descriptive headlines capturing entry essence at a glance
- Descriptions: Detailed narratives providing context, significance, and storytelling depth
- Categories: Classifications enabling filtering and organization
- Tags: Keywords facilitating search and discovery across multiple dimensions
- Upload multimedia content:
- High-resolution photographs with captions and credits
- Video content featuring historical footage, oral histories, or documentary segments
- Audio recordings preserving voices, music, or ambient historical sounds
- Document scans of newspapers, programs, correspondence, or official records
- Create content relationships: Link related entries showing connections between people, events, or themes
- Preview before publishing: Review each entry’s appearance ensuring quality presentation before making public
Configure Search and Discovery
Enable visitors to find relevant historical content easily:
- Define searchable fields: Specify which content elements are searchable including titles, descriptions, names, dates, or custom fields
- Create filter options: Enable filtering by decade, category, person type, achievement area, or other relevant criteria
- Establish featured content: Highlight particularly significant historical entries on timeline home screens or in rotation
- Set up recommendations: Configure algorithms suggesting related content based on visitor viewing patterns
- Implement popular content tracking: Display most-viewed entries encouraging discovery of community favorites
Integrate Recognition and Timeline Features
For comprehensive institutional history, connect timeline displays with recognition systems:
- Link individual profiles: Connect people mentioned in timeline entries to detailed recognition profiles for seamless exploration
- Cross-reference achievements: Tie specific accomplishments to broader historical context showing individual contributions within institutional narrative
- Create achievement timelines: Generate automatic chronological views of specific people’s contributions across years
- Enable social features: Allow sharing of timeline content to social media or direct links for external access
- Coordinate multiple displays: Manage both general timeline displays and specialized recognition systems through unified platforms
This integration creates cohesive experiences where visitors can seamlessly move between exploring institutional history and discovering the people who shaped that history—connecting abstract narratives with personal stories.
Step 6: Select and Install Display Hardware
Timeline software requires physical display hardware creating touchscreen experiences. Hardware selection significantly impacts user experience quality, system reliability, and long-term satisfaction.
Choose Display Type and Size
Multiple hardware configurations support timeline displays:
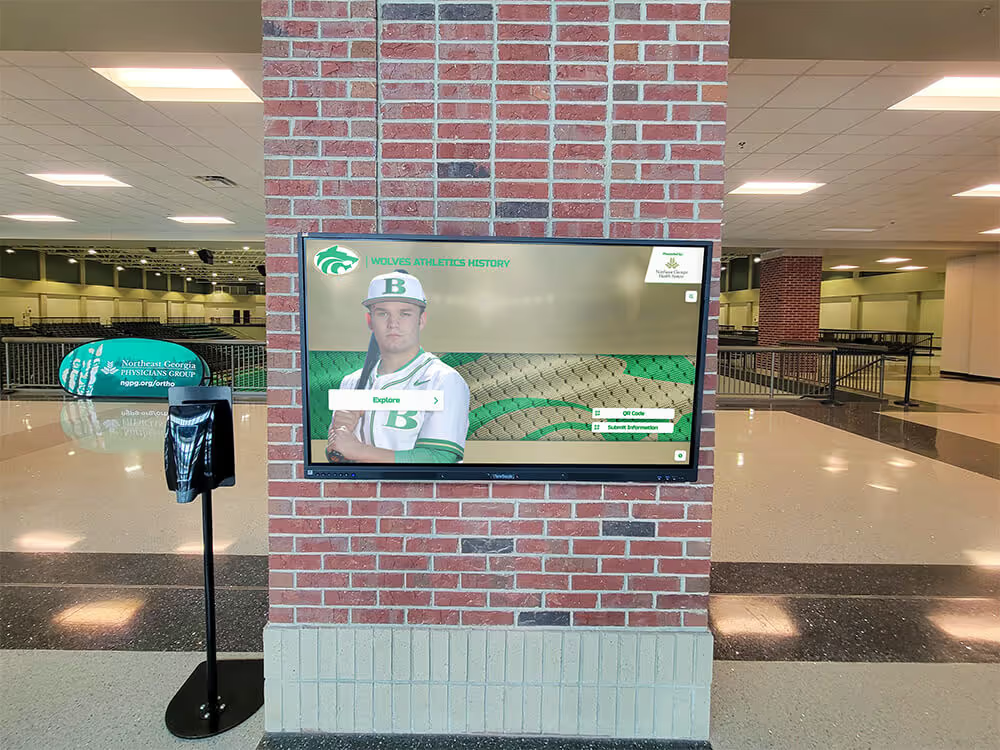
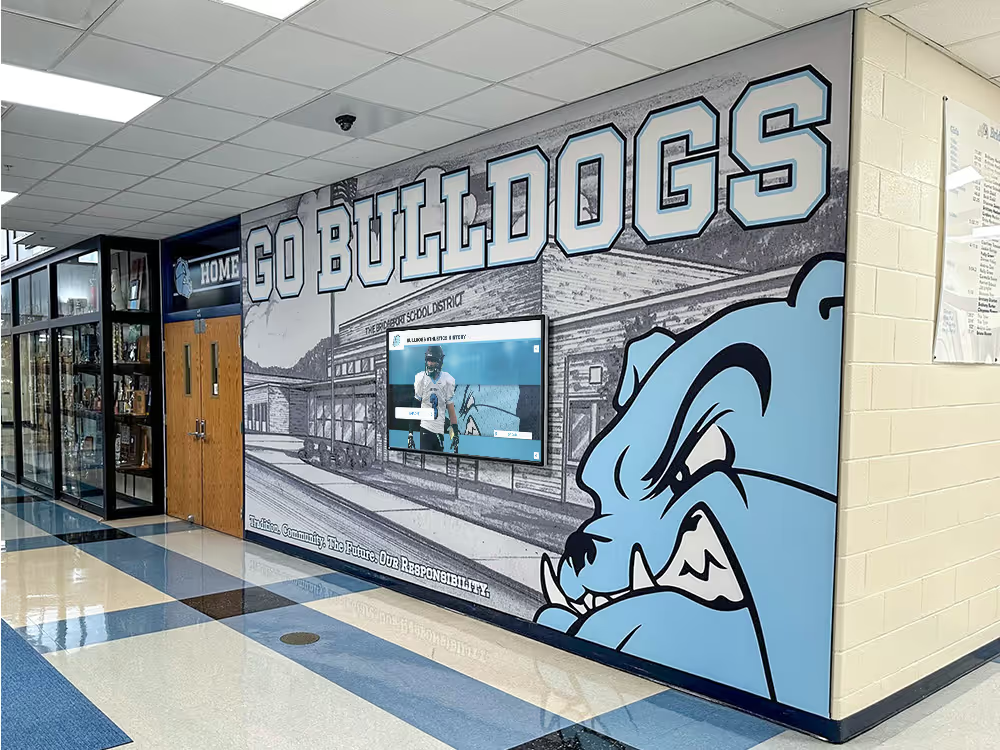
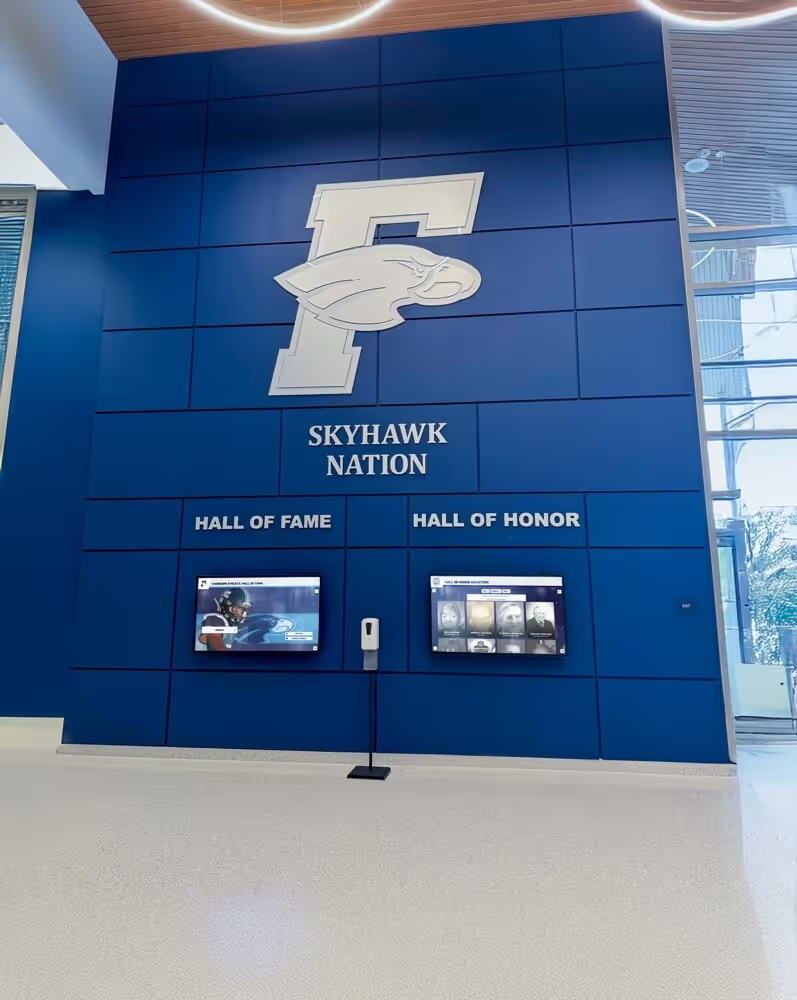
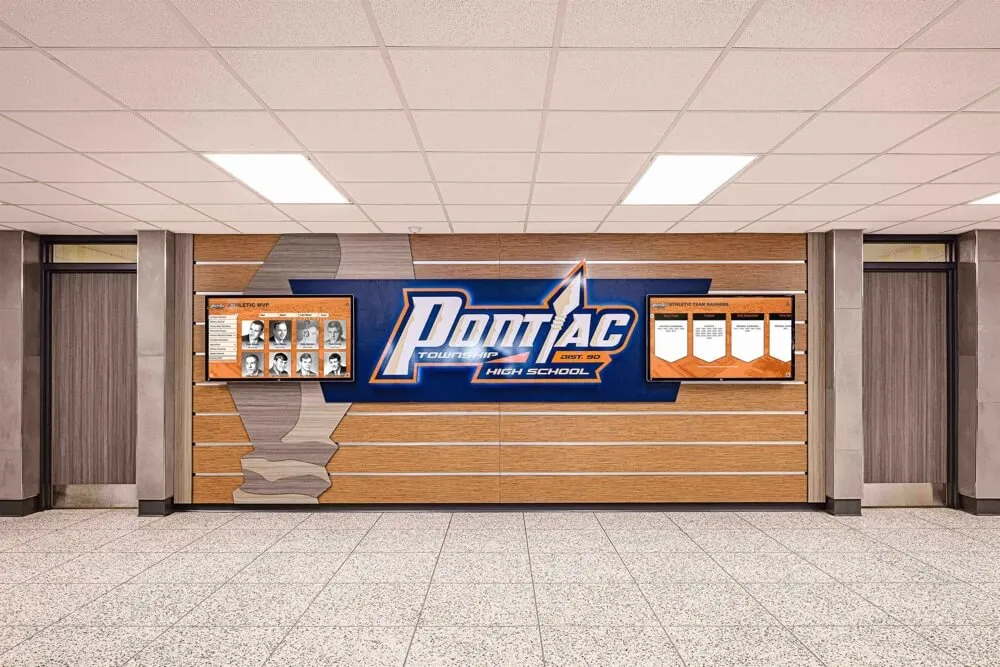
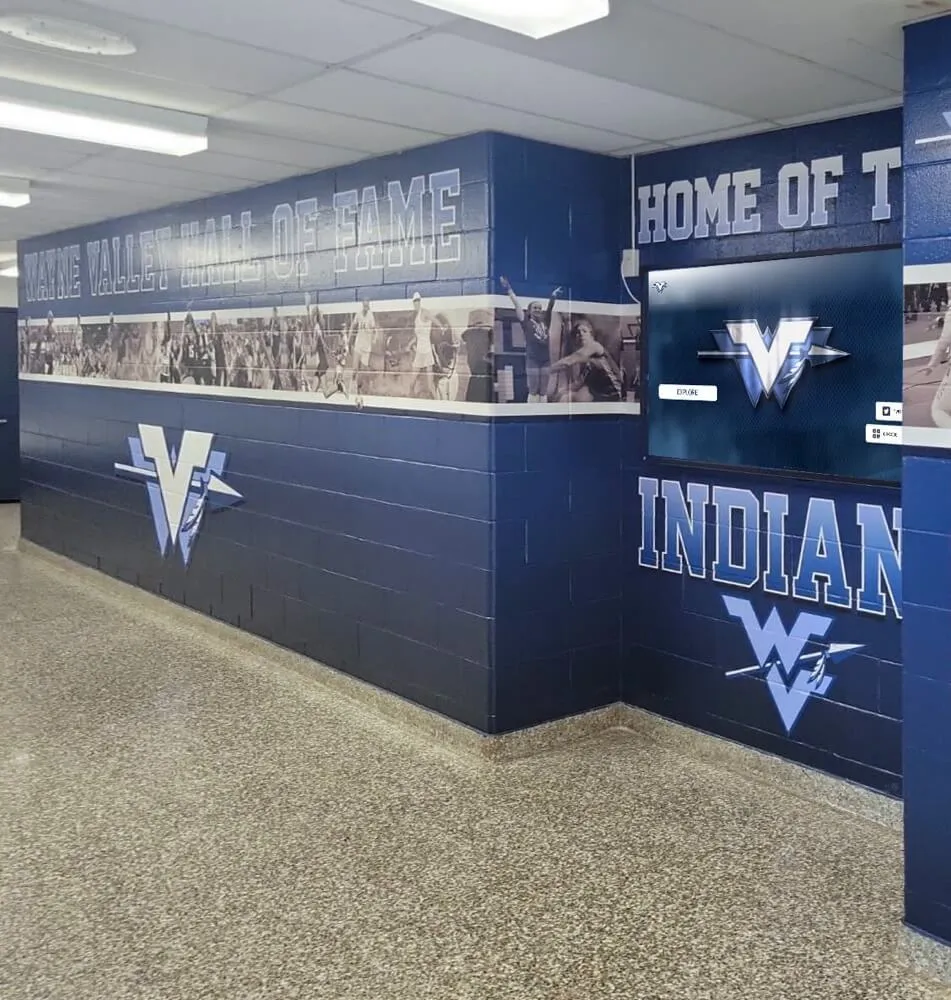
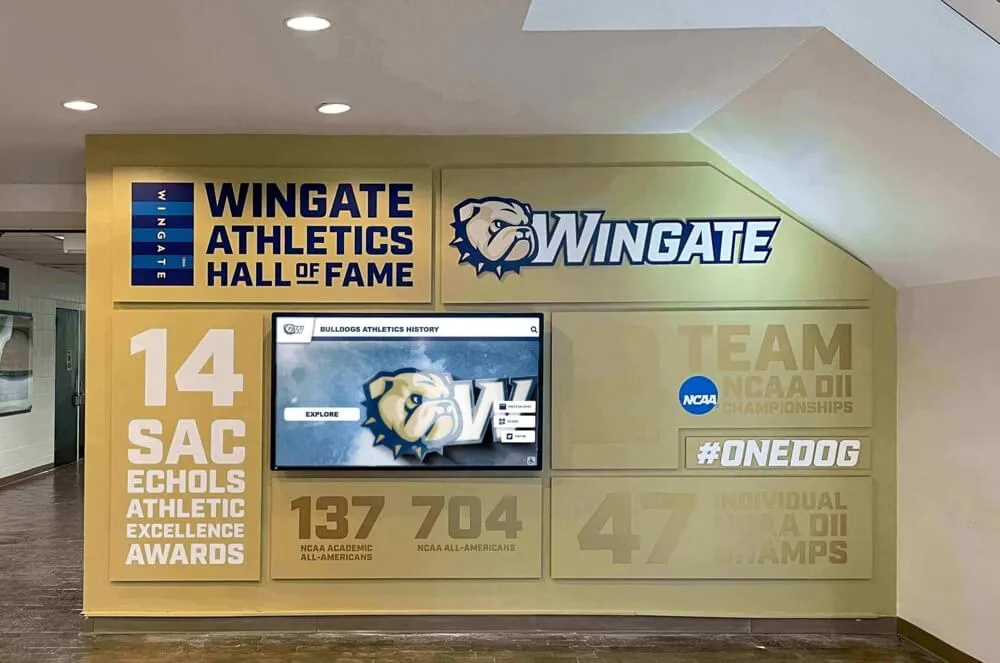
Wall-Mounted Touchscreen Displays: Commercial-grade touchscreen monitors mounted on walls provide space-efficient solutions for high-traffic corridors, lobbies, or dedicated history spaces. Common sizes include 55", 65", 75", and 86" diagonal screens. Larger displays accommodate more on-screen content while commanding attention, but must balance visibility distance with available wall space and budget constraints.
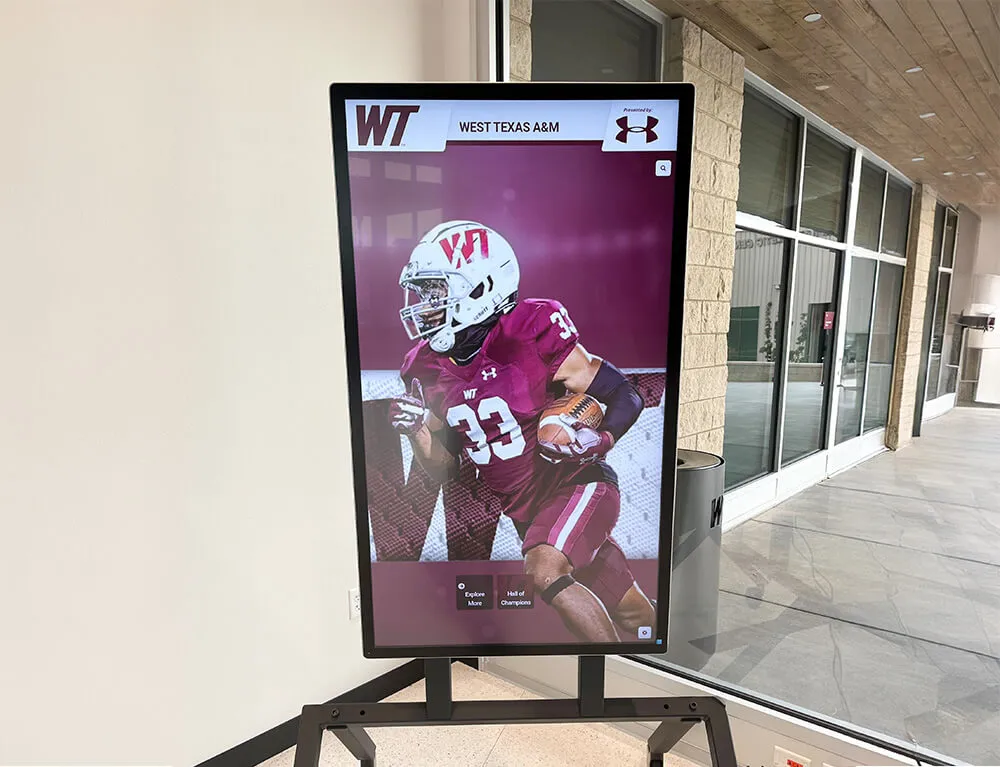
Freestanding Kiosk Systems: Self-contained kiosk enclosures combining touchscreen displays with protective housings, integrated computers, and stable bases work well for flexible placement or locations lacking suitable wall mounting surfaces. Kiosks provide professional presentation while protecting equipment from damage in busy public spaces.
Multi-Display Video Walls: Organizations with extensive historical content sometimes implement multiple coordinated displays creating immersive timeline experiences. Multi-screen installations can show simultaneous chronological views, thematic sections, or dramatic large-format presentations commanding attention in major gathering spaces.
Tablet-Based Displays: Smaller tablet devices mounted on pedestals or wall brackets offer budget-friendly timeline access in space-constrained locations or as complements to primary large-format displays, though limited screen size restricts content presentation and group viewing.
For most educational institutions, 55"-75" wall-mounted commercial touchscreen displays represent the optimal balance of visibility, cost, and space efficiency for primary timeline installations.
Specify Technical Requirements
Quality hardware ensures reliable long-term operation:
- Commercial-grade construction: Industrial displays designed for continuous operation outperform consumer televisions adapted for kiosk use
- Capacitive multi-touch sensing: Professional touch overlays supporting 10+ simultaneous touch points with responsive, accurate sensing
- High brightness: Minimum 400-500 nits brightness ensuring visibility in varied lighting conditions including locations with natural light
- Wide viewing angles: IPS or similar panel technologies maintaining color accuracy and contrast from off-axis viewing positions
- Durable screen surfaces: Anti-glare coatings, scratch-resistant glass, and impact protection suitable for public environments
- Appropriate resolution: Minimum 1920x1080 (Full HD) resolution, with 4K (3840x2160) providing superior detail for large screens
- Media player specifications: Computing devices with adequate processing power, memory, and storage for smooth performance
- Connectivity options: Network connections (wired Ethernet and/or WiFi), power, and peripheral support
Plan Installation Requirements
Successful installations consider physical requirements:
- Structural support: Verify walls can support display weight (55" commercial displays typically weigh 75-100+ pounds with mounting hardware)
- Mounting height: Position touchscreen surfaces 36"-48" from floor for optimal accessibility across diverse user heights including children and wheelchair users
- Electrical access: Ensure nearby electrical outlets or plan electrical work providing power to display locations
- Network connectivity: Provide wired Ethernet connections for reliable performance or ensure robust WiFi coverage
- Environmental conditions: Protect displays from direct sunlight causing glare, extreme temperatures, or high humidity
- Security considerations: Install in supervised locations or implement protective enclosures preventing theft or vandalism
- Maintenance access: Ensure displays can be serviced for cleaning, repair, or replacement without excessive facility disruption
Professional installation by qualified technicians ensures proper mounting, electrical connection, network configuration, and initial system setup preventing common problems affecting long-term reliability.
Step 7: Launch and Promote Your Timeline Display
Implementation completion marks the beginning rather than the end of timeline display success. Strategic launch and ongoing promotion drive adoption, engagement, and community value.
Create Launch Event
Ceremonial unveilings build excitement and awareness:
- Schedule strategically: Coordinate launches with homecoming weekends, anniversaries, reunions, or other high-attendance occasions maximizing visibility
- Invite key stakeholders: Include administrators, board members, alumni, donors, historical subjects featured in timeline, and community members
- Provide demonstrations: Walk attendees through timeline features, highlighting compelling historical content and interactive capabilities
- Generate media coverage: Invite local press, school publications, or community news outlets for coverage extending awareness beyond attendees
- Capture launch event: Document unveiling through photographs and video for historical record and promotional use
- Celebrate contributors: Recognize volunteers, researchers, donors, or committees who contributed to timeline development
Develop Promotional Campaign
Multi-channel communication builds awareness:
- Email announcements: Send dedicated messages to alumni, parents, faculty, staff, and community members highlighting new timeline availability
- Social media promotion: Share compelling historical content samples, demonstration videos, and launch announcements across institutional channels
- Website integration: Feature timeline prominently on homepage, history pages, and alumni sections with direct access links
- Newsletter coverage: Include timeline features in print or digital newsletters with human-interest stories from historical research
- Campus signage: Install wayfinding directing visitors to timeline display locations with explanatory placards providing context
- Tour incorporation: Include timeline demonstrations in campus tours, new student orientations, alumni events, and community open houses
Encourage Community Engagement
Active participation creates ongoing value:
- Invite content submissions: Establish processes for alumni and community members to contribute additional historical content, photos, or corrections
- Facilitate social sharing: Enable easy sharing of favorite timeline entries to personal social media accounts extending reach
- Create discovery campaigns: Run periodic challenges like “Find your graduation year photo” or “Identify this historical mystery” encouraging exploration
- Solicit feedback: Request user input on desired features, additional content areas, or improvements guiding enhancement priorities
- Recognize contributors: Publicly acknowledge alumni, volunteers, or community members who contribute valuable historical content or research
- Build volunteer research teams: Recruit ongoing volunteers filling historical gaps or researching specific eras, topics, or themes
Step 8: Maintain and Expand Timeline Content
Timeline displays require ongoing attention maintaining relevance, accuracy, and comprehensiveness. Sustainable maintenance practices ensure long-term value.
Establish Regular Update Schedules
Systematic approaches prevent content stagnation:
- Annual event additions: Add content from graduations, athletic championships, performances, or other significant annual events shortly after occurrence
- Quarterly content reviews: Periodically audit existing content for accuracy, completeness, and presentation quality
- Gap identification: Systematically identify underrepresented eras, themes, or categories prioritizing research and content development
- Technology updates: Stay current with platform improvements, new features, or enhanced capabilities through regular software updates
- Hardware maintenance: Clean touchscreens regularly, monitor system performance, and address technical issues promptly
Expand Content Breadth and Depth
Continuous improvement enhances timeline value:
- Deepen existing entries: Add additional photographs, video interviews, detailed narratives, or supporting documentation to previously-created entries
- Fill chronological gaps: Conduct focused research on underrepresented historical periods adding content for comprehensive coverage
- Add thematic dimensions: Develop new organizational lenses like facility evolution, leadership succession, or program development complementing chronological presentation
- Integrate contemporary additions: Add recent achievements, events, and milestones maintaining timeline currency through the present day
- Enhance multimedia content: Commission oral history interviews, create documentary video segments, or develop animated visualizations enriching storytelling
Measure and Optimize Engagement
Data-driven approaches maximize impact:
- Track usage metrics: Monitor how many visitors interact with timeline, which content receives most attention, and how long typical sessions last
- Analyze search patterns: Review what historical topics visitors search for guiding content development priorities
- Gather user feedback: Solicit comments, suggestions, and reactions through surveys, comment features, or direct conversations
- Compare engagement across locations: For multi-display installations, identify which placements generate most interaction informing future installation decisions
- Benchmark over time: Track metrics longitudinally assessing whether engagement increases, plateaus, or declines guiding promotional efforts
Common Timeline Display Implementation Challenges and Solutions
Organizations implementing historical timeline touchscreens frequently encounter predictable obstacles. Anticipating challenges enables proactive solutions preventing common pitfalls.
Challenge: Incomplete Historical Records
Many institutions discover significant gaps in historical documentation, missing photographs from certain decades, or conflicting information about dates and facts.
Solutions:
- Accept imperfection initially: Launch timelines with available reliable content rather than delaying indefinitely until hypothetically complete
- Transparently acknowledge gaps: Clearly label incomplete areas inviting community assistance filling historical blanks
- Implement phased approach: Release timeline sections as research completes them rather than attempting simultaneous comprehensive coverage
- Crowdsource historical content: Actively solicit community contributions, alumni memories, and family archives supplementing institutional records
- Engage student researchers: Assign historical research projects providing authentic learning experiences while building institutional content
- Partner with local historians: Collaborate with historical societies, libraries, or academic historians accessing broader resources and expertise
Challenge: Technical Complexity Concerns
Non-technical staff sometimes feel overwhelmed by presumed complexity of managing digital timeline systems, fearing they lack skills for ongoing content management.
Solutions:
- Select user-friendly platforms: Choose systems specifically designed for non-technical administrators with intuitive interfaces rather than IT-dependent solutions
- Provide comprehensive training: Invest in thorough initial training ensuring confidence before administrators assume independent responsibility
- Create documentation: Develop simple step-by-step guides with screenshots for common tasks administrators can reference when needed
- Establish support channels: Ensure reliable access to vendor technical support or internal IT assistance addressing questions promptly
- Start with simple implementations: Begin with basic timeline structures and gradually add complexity as comfort and competence increase
- Assign dedicated champions: Designate specific staff members as timeline administrators developing expertise and institutional knowledge
Challenge: Limited Budget Resources
Timeline implementation competes with numerous institutional priorities for limited budget resources, creating financial barriers for comprehensive systems.
Solutions:
- Implement phased approach: Start with single pilot display and expand as budget permits rather than attempting comprehensive implementation immediately
- Leverage existing hardware: Repurpose suitable existing displays or computers reducing upfront hardware investment
- Explore grant opportunities: Research grants from alumni associations, community foundations, historical preservation organizations, or education technology funds
- Engage donors: Identify alumni or supporters passionate about historical preservation who might sponsor timeline displays as named gifts
- Coordinate with facility projects: Time timeline installations alongside building renovations or construction projects incorporating costs into larger budgets
- Consider financing options: Explore leasing arrangements or extended payment plans distributing costs over multiple budget cycles
Challenge: Sustaining Long-Term Engagement
Initial launch excitement sometimes fades as timeline displays become familiar fixtures, with declining visitor engagement over time.
Solutions:
- Refresh featured content regularly: Rotate highlighted historical entries keeping returning visitors discovering new content
- Tie to current events: Create connections between historical content and contemporary occasions like anniversary milestones or current achievements echoing historical precedents
- Develop seasonal campaigns: Create themed explorations around homecoming, graduation, founders day, or other cyclical events
- Add new content continuously: Regular additions give visitors reasons to return discovering newly-added historical material
- Integrate with programming: Incorporate timeline exploration into educational curricula, tour itineraries, or event programming
- Promote rediscovery: Periodically remind communities about timeline availability and interesting historical content through newsletters and social media
Advanced Timeline Display Features and Capabilities
As institutions gain experience with basic timeline implementations, advanced features can enhance value and engagement further.
Integrated Alumni Recognition
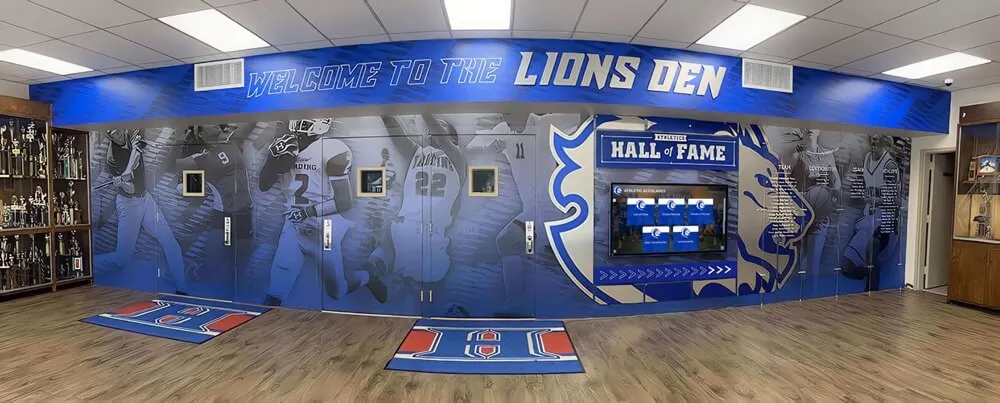
Connecting timeline displays with comprehensive alumni profile systems creates powerful synergies. When historical events mention specific individuals, visitors can tap names to view detailed alumni profiles showing complete career trajectories, professional achievements, and continued institutional connections.
This integration transforms abstract historical narratives into personal stories while honoring individuals who shaped institutional history. A 1975 state championship entry can link to profiles of all team members showing their subsequent life paths. A description of academic program founding can connect to the faculty pioneer who established it with their complete biography and legacy.
Comparative Timeline Views
Advanced interfaces enable simultaneous viewing of multiple timeline dimensions. Split-screen presentations might show athletic history alongside academic milestones, facility evolution alongside enrollment growth, or institutional history alongside broader societal context—helping visitors understand relationships and connections across different historical dimensions.
Interactive Timeline Authoring
Some institutions enable alumni or community members to contribute directly to timeline content through moderated submission processes. Graduates can add personal memories, photographs from their own collections, or details about historical events they participated in—enriching institutional timelines with diverse perspectives while deepening community engagement.
Virtual Reality Timeline Experiences
Emerging technologies enable immersive historical experiences. Virtual reality implementations allow visitors to step into historical photographs, virtually tour demolished or renovated facilities, or experience historical events through 360-degree video footage—creating emotional connections impossible through traditional presentation formats.
Data Visualization Integrations
Sophisticated timelines incorporate interactive data visualizations showing enrollment trends, demographic changes, athletic records progression, academic performance evolution, or financial growth over decades. These quantitative presentations complement narrative storytelling with objective historical data creating comprehensive understanding.
Conclusion: Preserving History Through Interactive Technology
Historical timeline touchscreen displays represent the convergence of technological innovation and institutional storytelling—leveraging decades of touchscreen evolution to create engaging, accessible, and comprehensive historical preservation that honors past achievements while inspiring future generations.
From E.A. Johnson’s pioneering 1965 capacitive touchscreen to today’s sophisticated multi-touch displays, touchscreen technology has fundamentally transformed human-computer interaction. Organizations now harness these same capabilities for a profound purpose: ensuring institutional histories remain living, engaging resources rather than forgotten archives gathering dust in storage rooms.
Effective timeline implementations require thoughtful planning, comprehensive content development, appropriate technology selection, and sustained commitment to maintenance and enhancement. But institutions making this investment discover profound returns: alumni reconnecting with their pasts, students discovering role models and inspiration, communities strengthening bonds through shared heritage, and organizational identities reinforced through visible celebration of distinctive histories and traditions.
Whether preserving school history through digital platforms, documenting organizational evolution, or creating engaging museum exhibits, historical timeline touchscreen displays offer powerful tools transforming how institutions honor their pasts while building their futures.
Ready to Bring Your History to Life?
Discover how Rocket Alumni Solutions can help you create engaging historical timeline touchscreen displays that preserve your institutional story and inspire your community. Our comprehensive platform combines intuitive content management, professional display systems, and responsive support to make historical preservation accessible and impactful.
Explore Timeline Display SolutionsThe history of touchscreen technology—spanning from 1960s research laboratories to ubiquitous modern devices—demonstrates how persistent innovation transforms abstract possibilities into practical tools serving genuine human needs. Your institution’s history deserves the same attention, preservation, and celebration that touchscreen pioneers devoted to their vision of more intuitive human-computer interaction.
Interactive timeline displays honor that legacy while creating new ones—ensuring your story remains accessible, engaging, and inspiring for generations to come. The technology that revolutionized personal computing now empowers you to revolutionize institutional storytelling, transforming forgotten archives into living history that connects communities across decades and inspires excellence for years ahead.