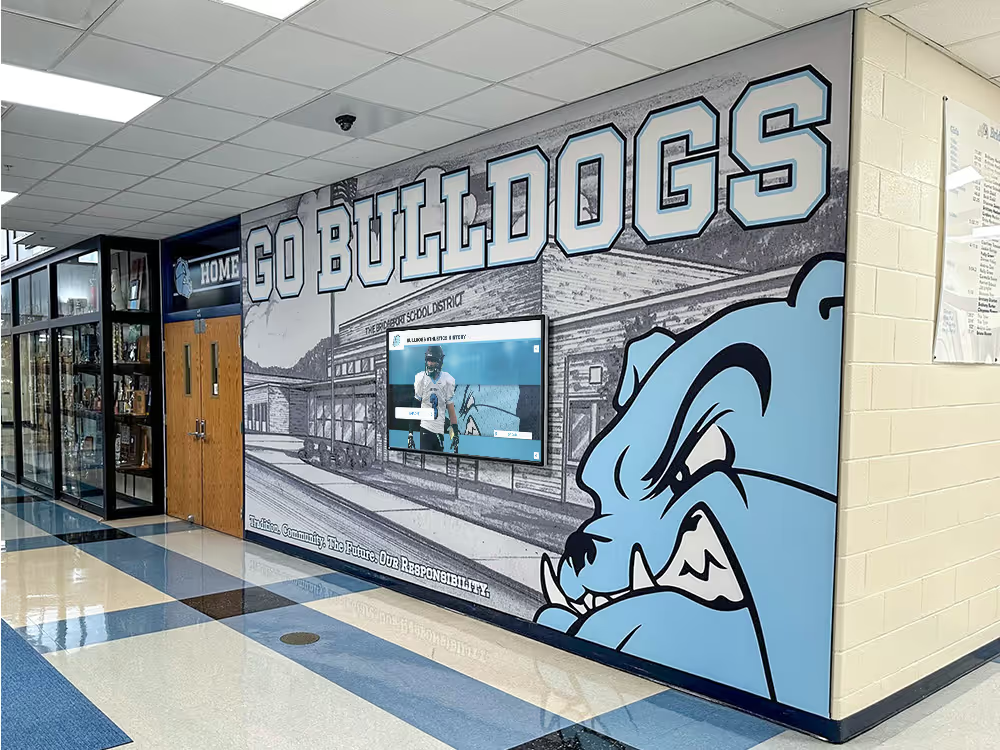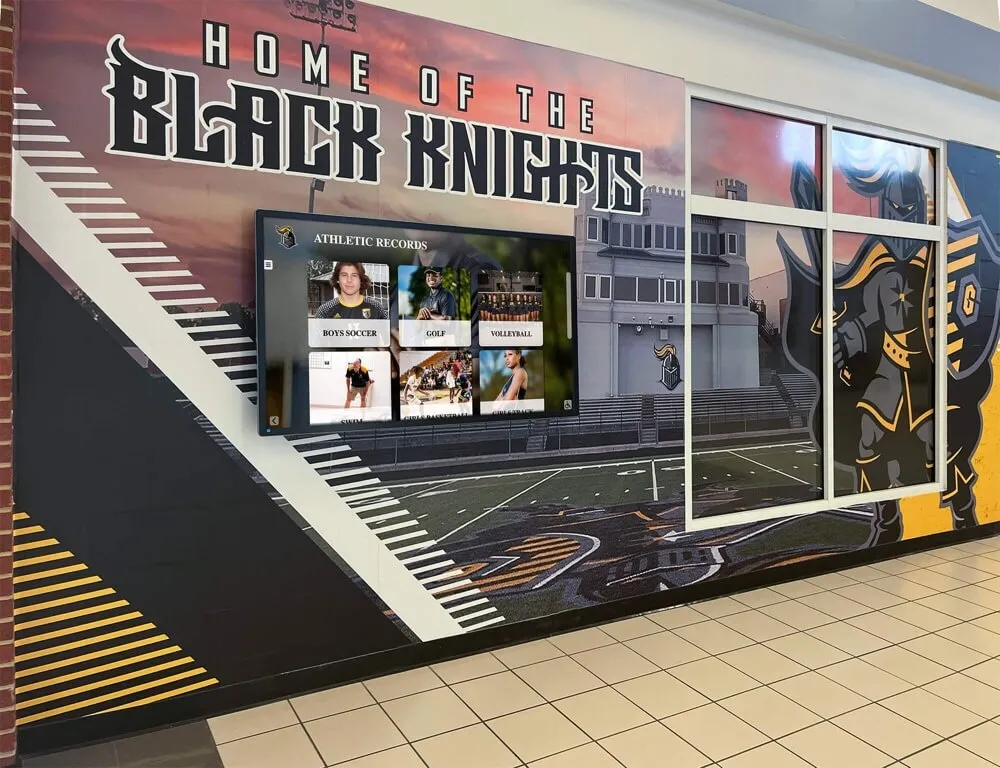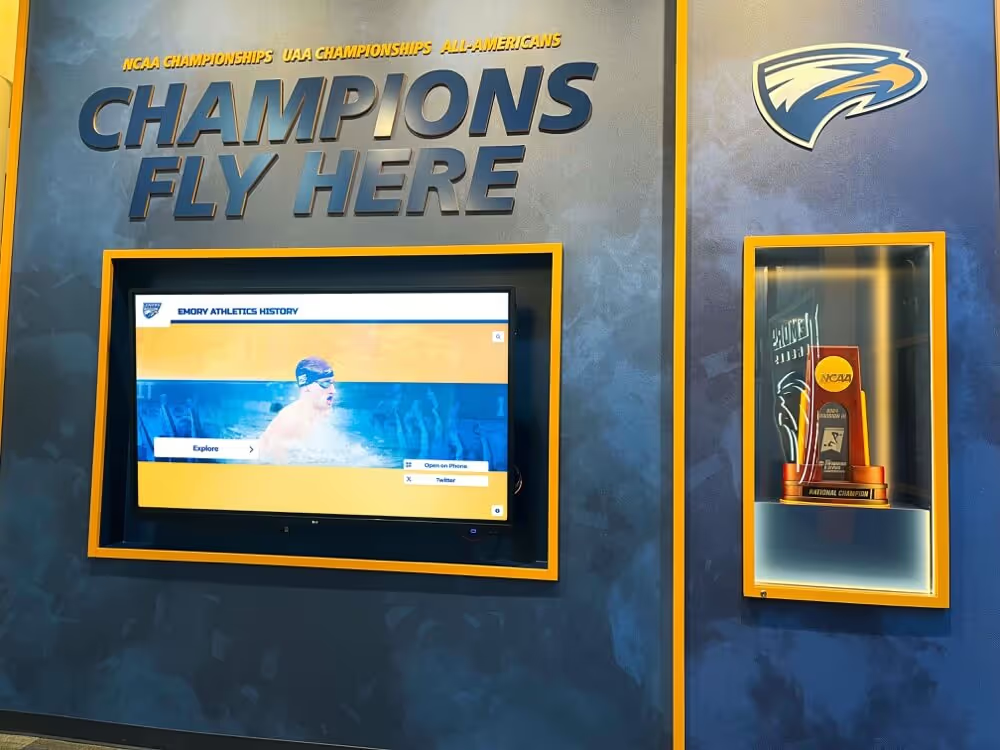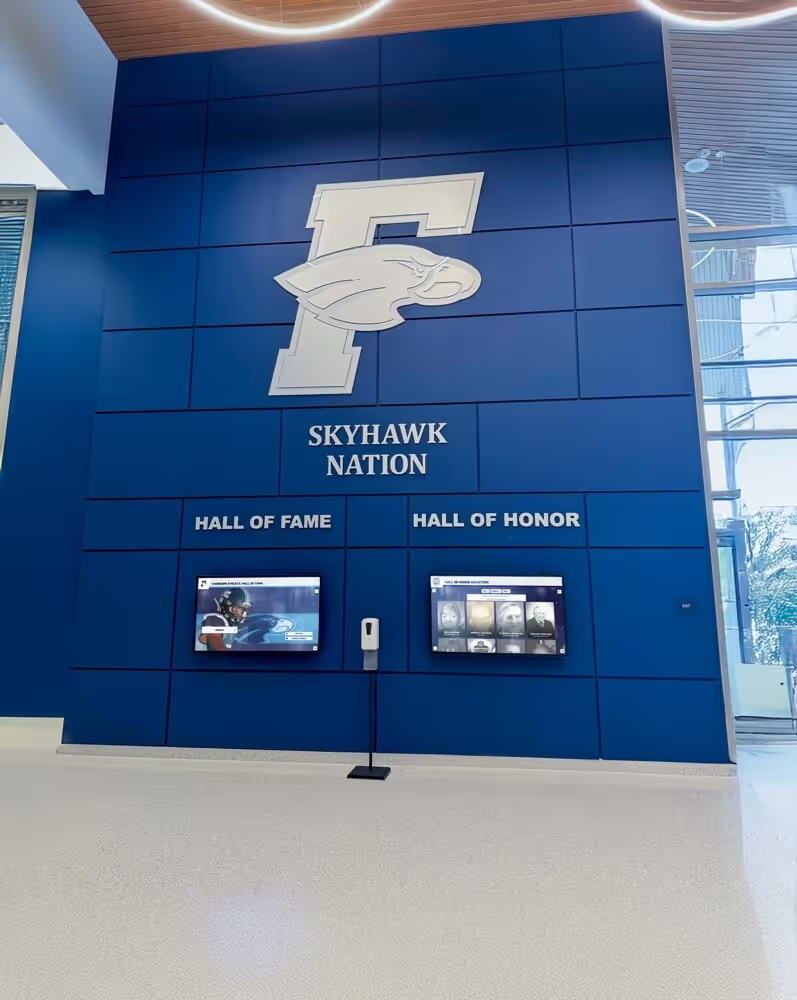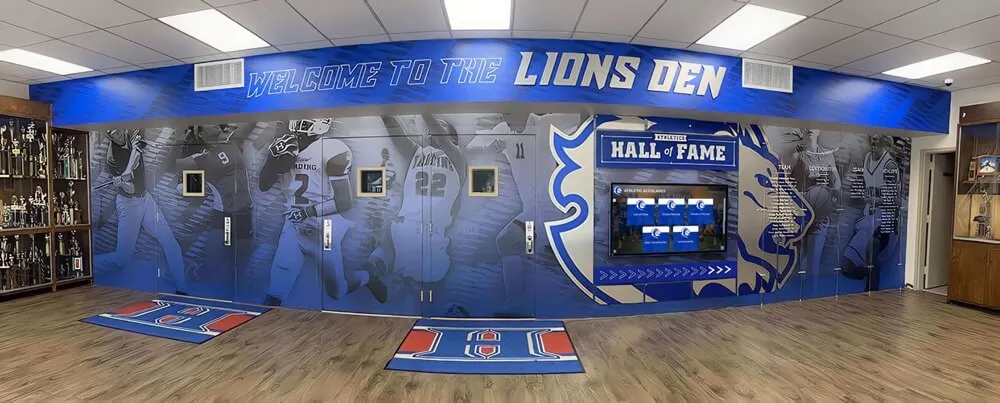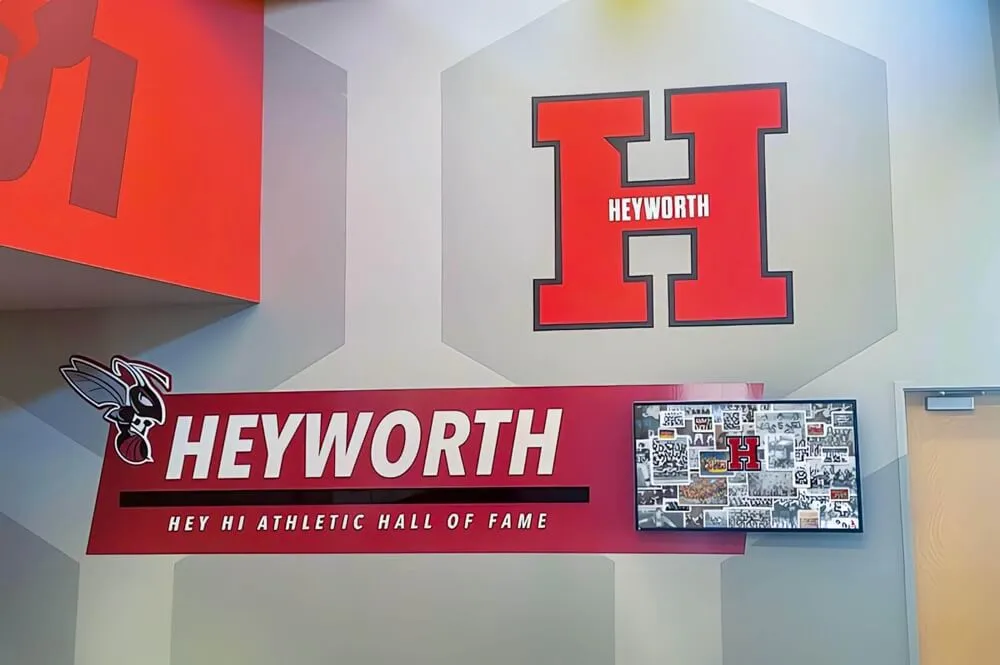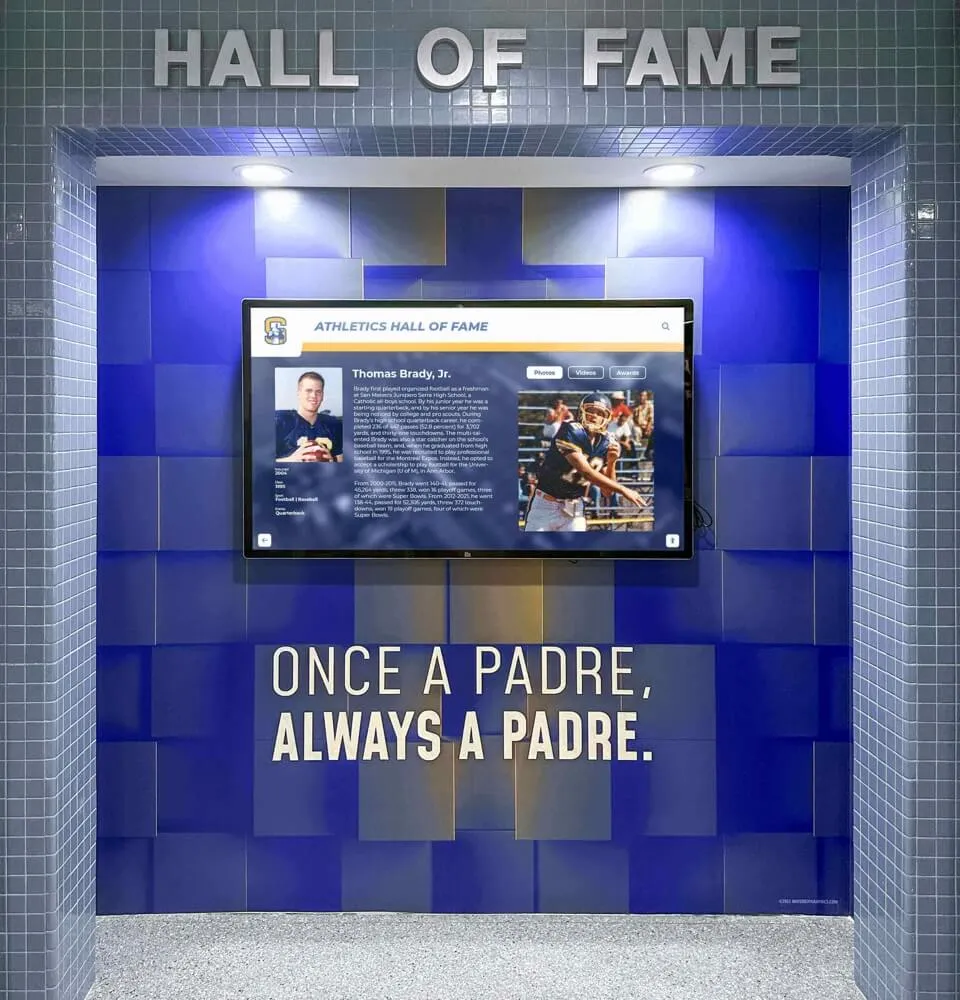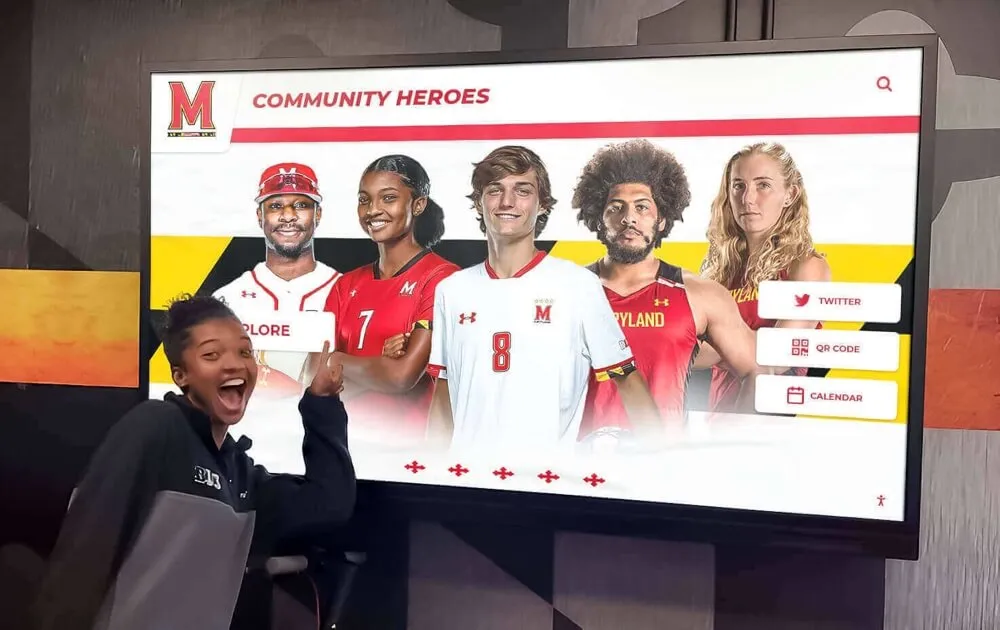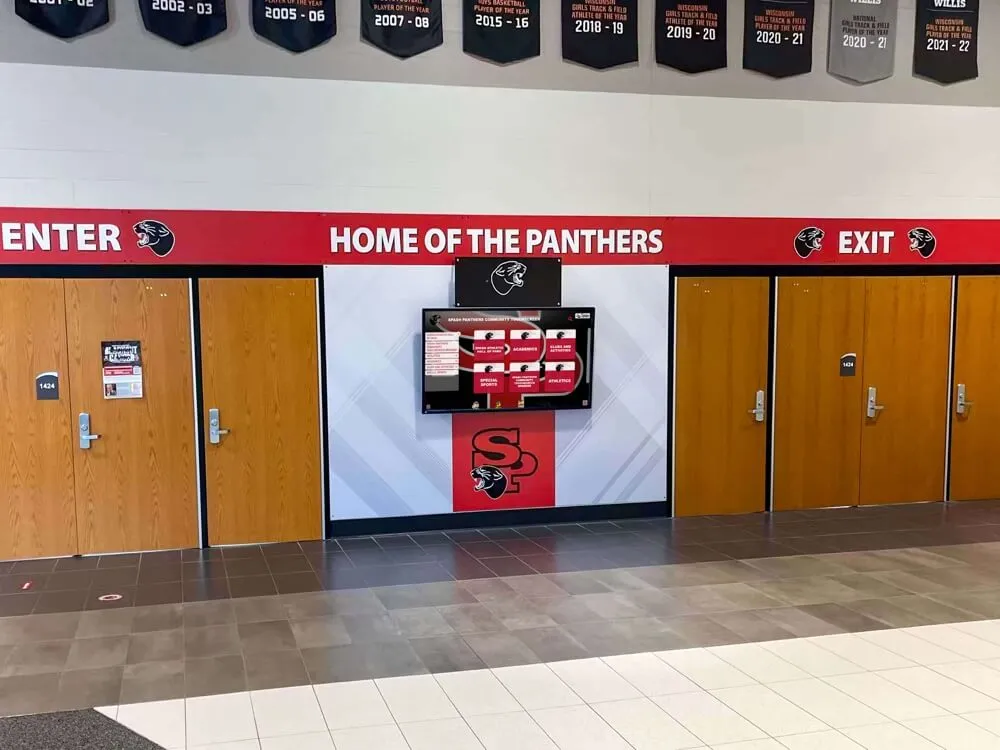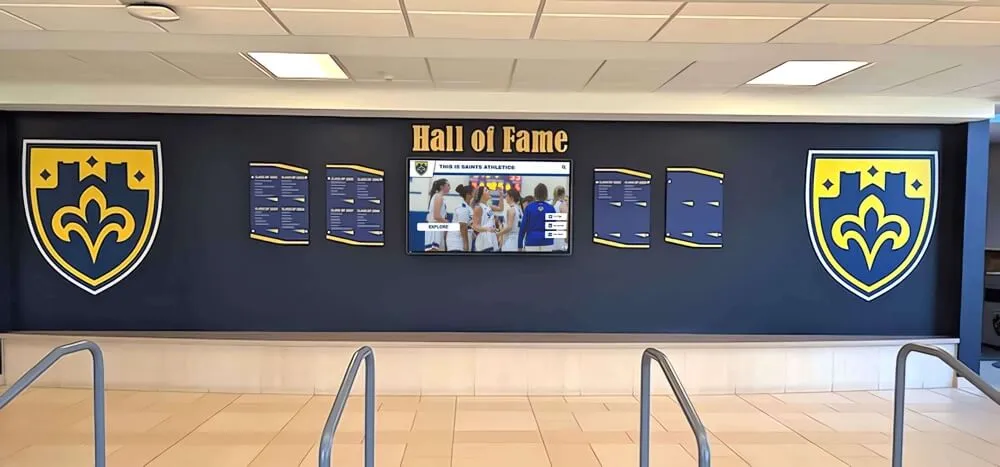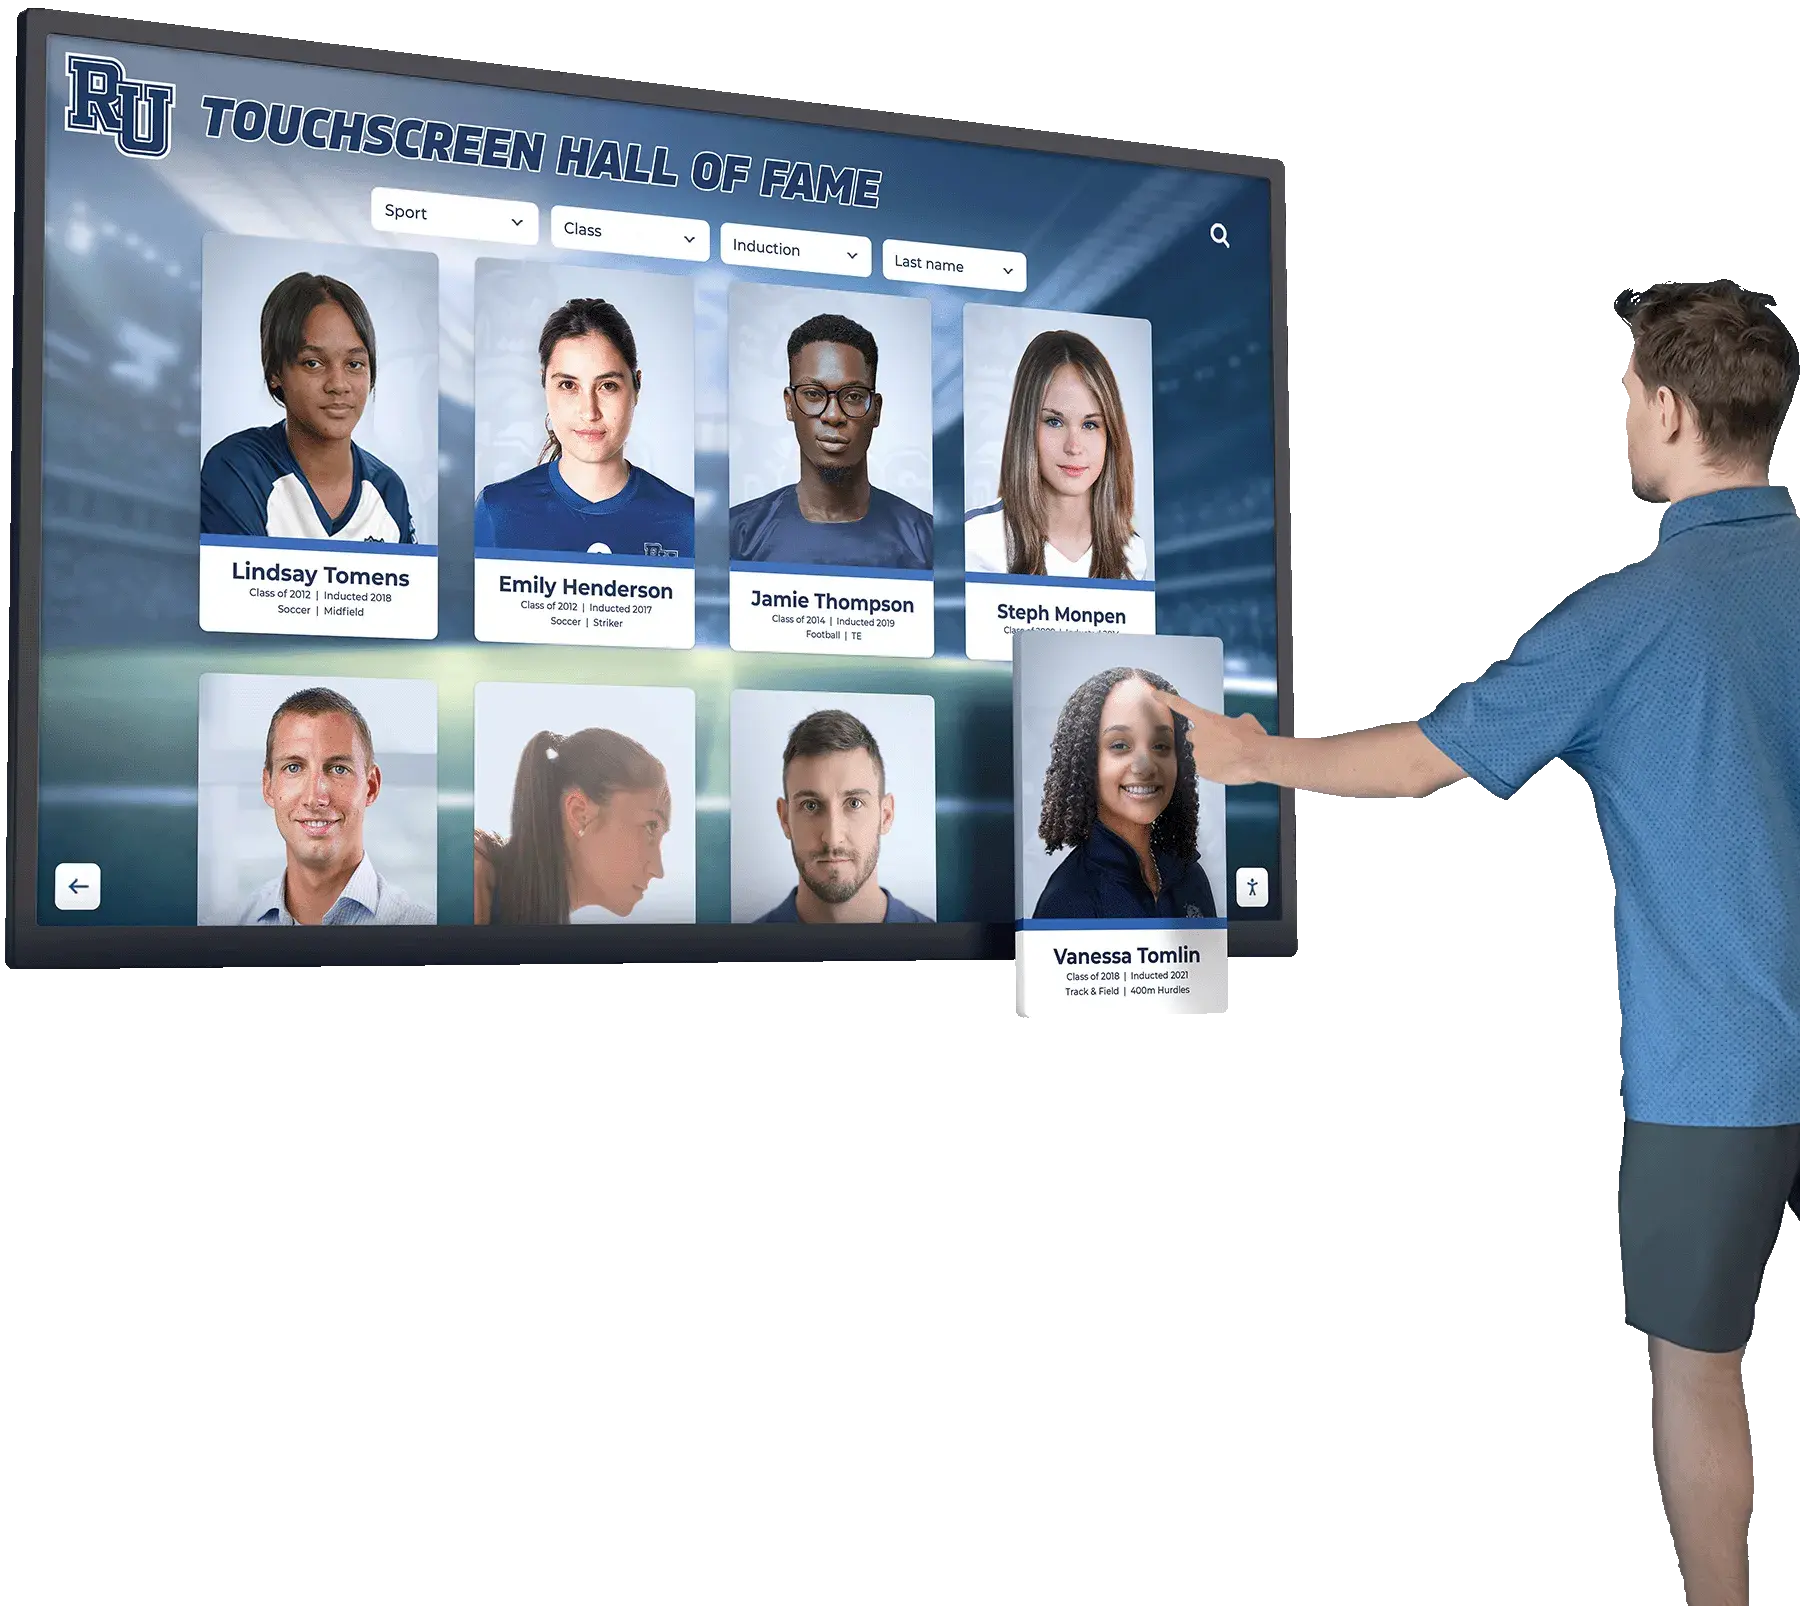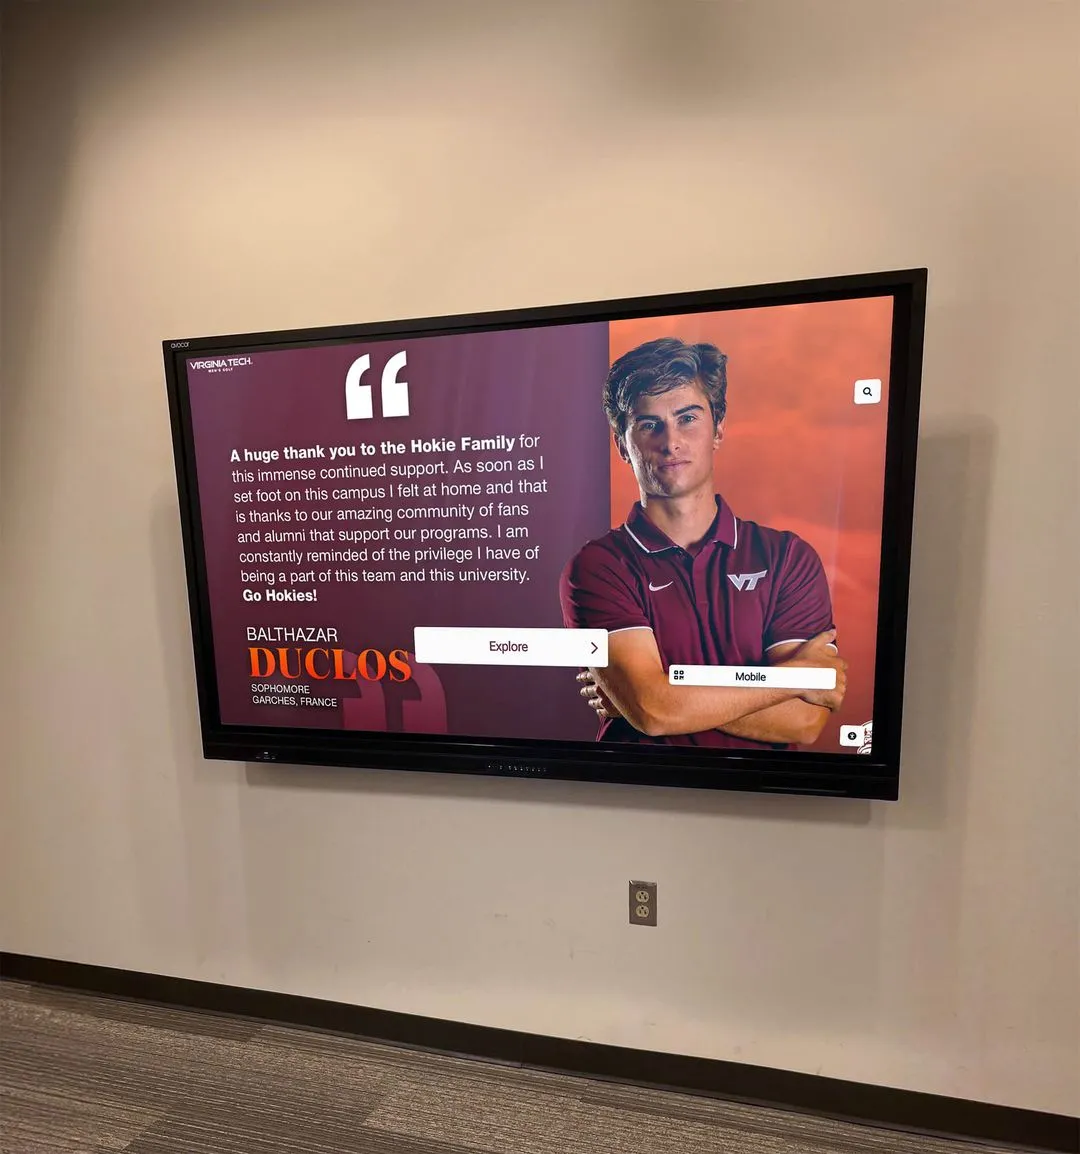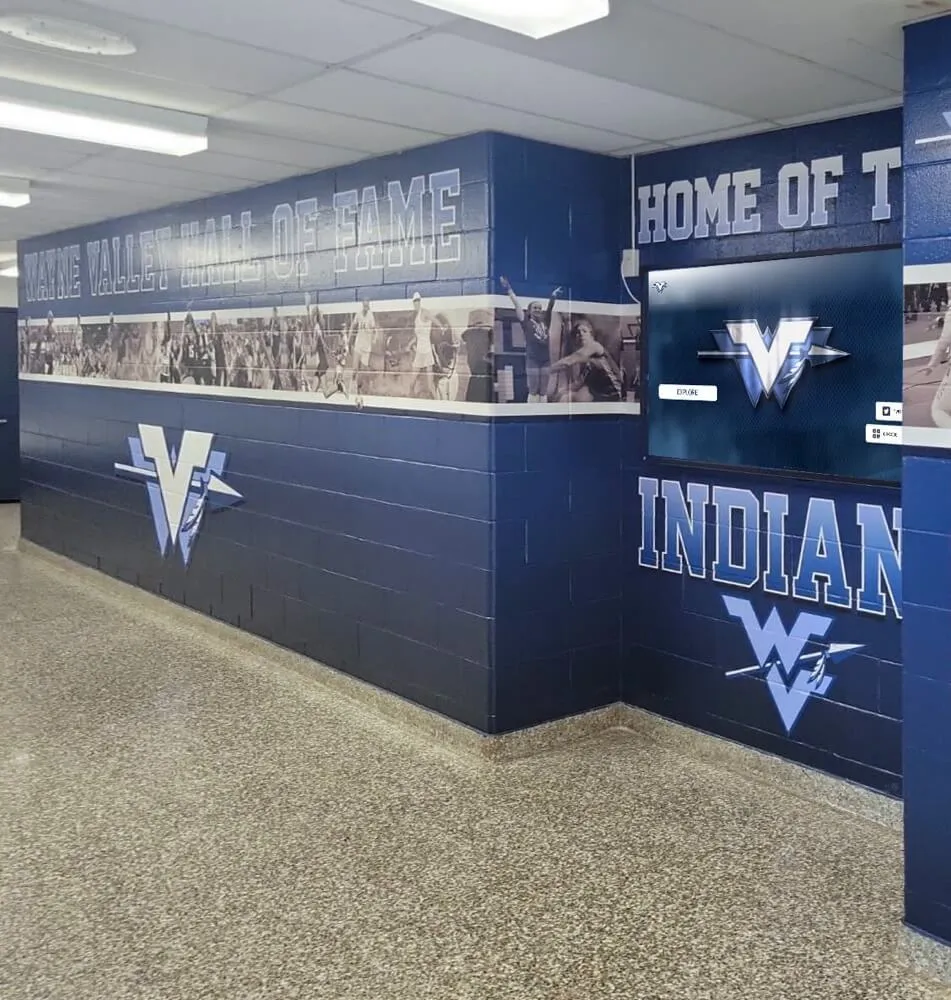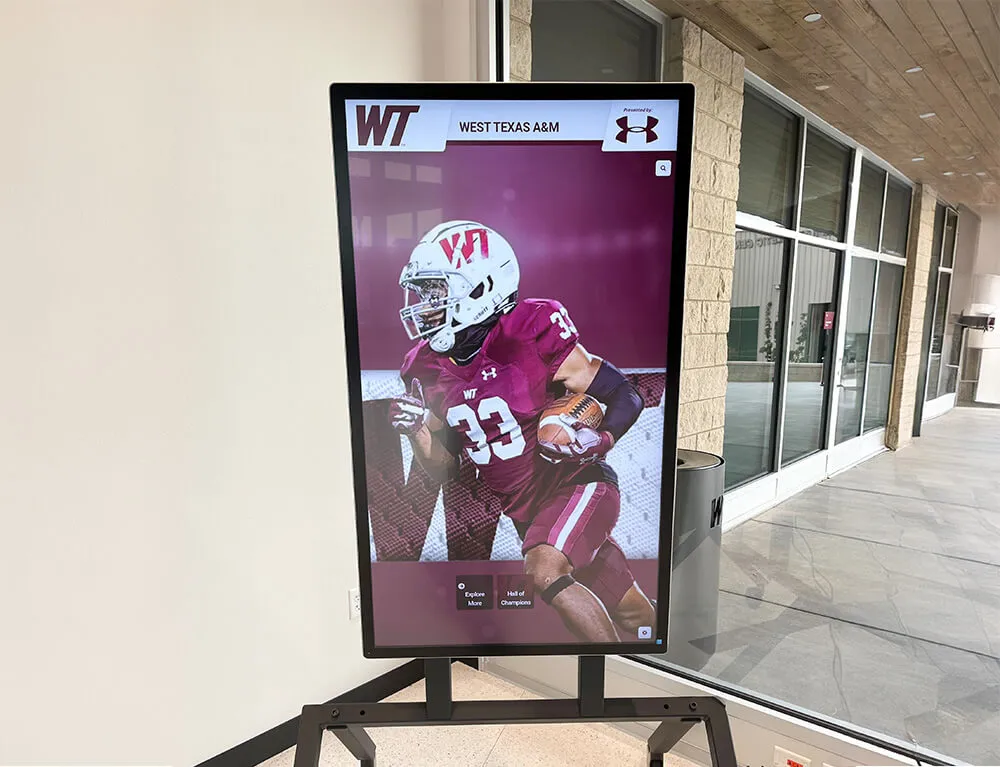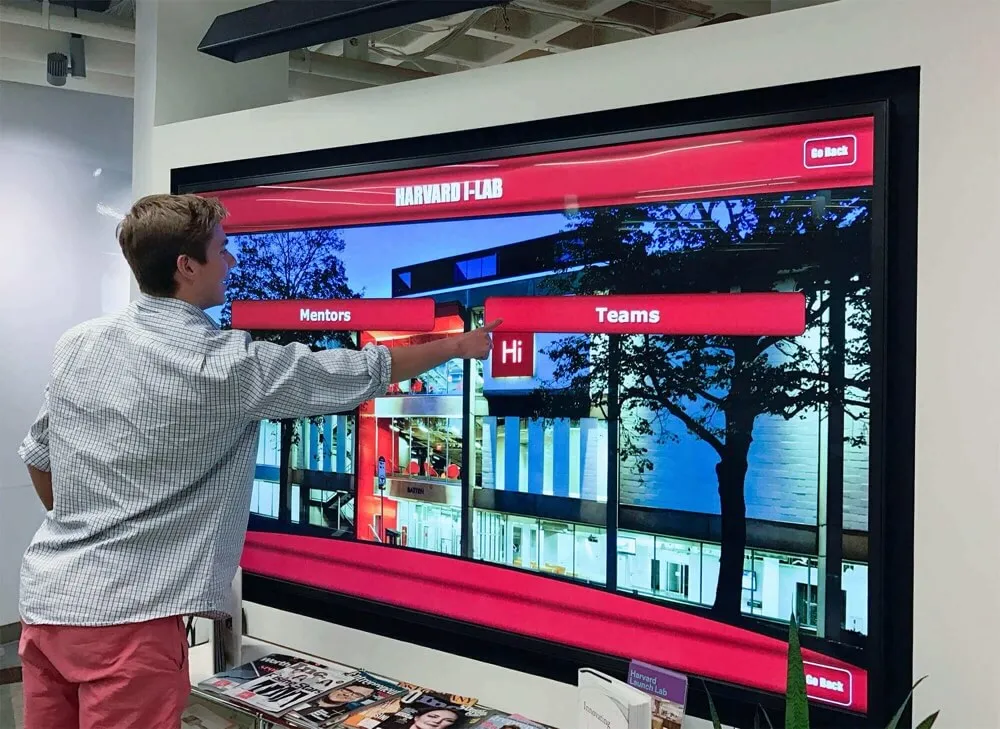
Selecting the right screen size for your digital hall of fame represents one of the most critical decisions in your implementation journey. Choose too small, and visitors strain to see content from comfortable viewing distances. Select too large, and you’ve overspent on unnecessary display real estate while potentially overwhelming your space. This comprehensive guide eliminates guesswork, providing data-driven frameworks for choosing the optimal screen size that maximizes engagement, fits your budget, and serves your space requirements.
Why Screen Size Selection Matters More Than You Think
Many schools approach screen size decisions with simple logic: “bigger is better.” This oversimplification leads to costly mistakes and suboptimal installations. Screen size directly impacts:
Viewer Experience
- Content readability from typical viewing distances
- Perceived quality and institutional investment
- Interaction comfort for touchscreen engagement
- Accessibility for users of varying heights and abilities
Implementation Success
- Installation costs and complexity
- Ongoing energy consumption
- Content creation requirements
- Space utilization efficiency
Getting screen size right the first time saves thousands of dollars compared to replacing undersized displays or managing oversized installations that consume excessive power and budget.
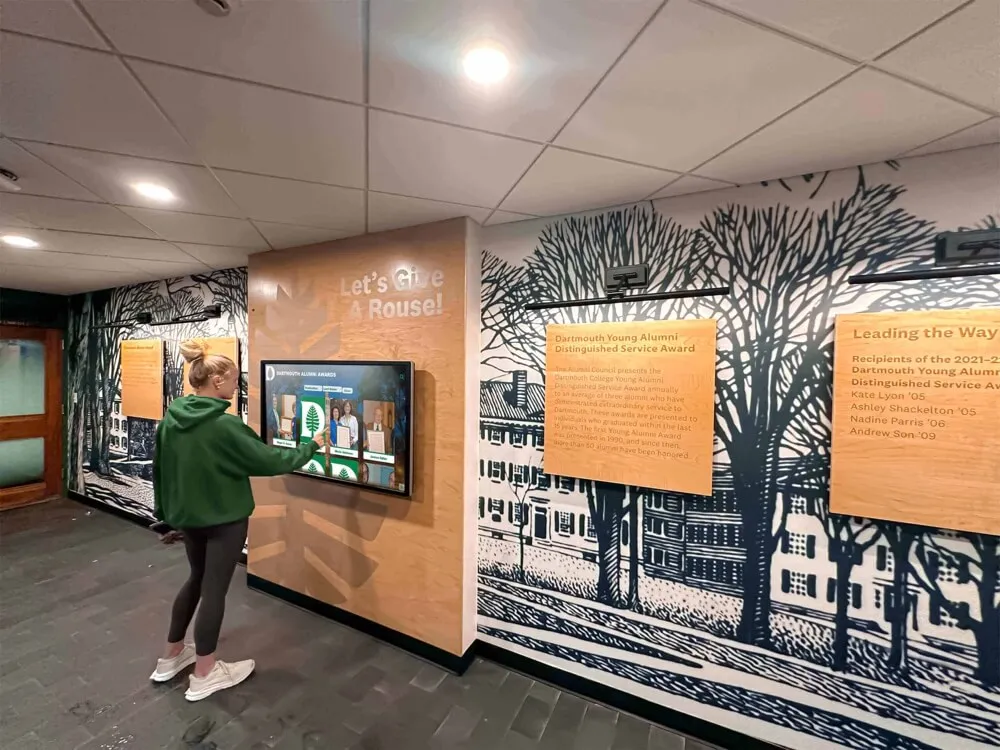
The Viewing Distance Formula: Your Starting Point
The relationship between screen size and viewing distance follows established principles from digital signage research. For interactive touchscreen displays, this calculation becomes your foundation:
Standard Viewing Distance Formula
Minimum Viewing Distance = Screen Height × 1.5 Maximum Viewing Distance = Screen Height × 6 Optimal Viewing Distance = Screen Height × 3
For touchscreen interaction, also consider: Comfortable Touch Distance = 18-24 inches from screen
Applying the Formula: Practical Examples
Let’s examine common screen sizes and their effective viewing ranges:
43" Display (Screen Height: 21 inches)
- Minimum distance: 32 inches (2.7 feet)
- Optimal distance: 63 inches (5.3 feet)
- Maximum distance: 126 inches (10.5 feet)
- Best for: Small alcoves, office entrances, narrow corridors
55" Display (Screen Height: 27 inches)
- Minimum distance: 41 inches (3.4 feet)
- Optimal distance: 81 inches (6.8 feet)
- Maximum distance: 162 inches (13.5 feet)
- Best for: Standard hallways, reception areas, small gathering spaces
65" Display (Screen Height: 32 inches)
- Minimum distance: 48 inches (4 feet)
- Optimal distance: 96 inches (8 feet)
- Maximum distance: 192 inches (16 feet)
- Best for: Large hallways, cafeterias, auditorium lobbies
75" Display (Screen Height: 37 inches)
- Minimum distance: 56 inches (4.7 feet)
- Optimal distance: 111 inches (9.3 feet)
- Maximum distance: 222 inches (18.5 feet)
- Best for: Large open spaces, gymnasiums, multi-purpose rooms
86" Display (Screen Height: 42 inches)
- Minimum distance: 63 inches (5.3 feet)
- Optimal distance: 126 inches (10.5 feet)
- Maximum distance: 252 inches (21 feet)
- Best for: Expansive lobbies, athletic facilities, large event spaces
For schools implementing digital recognition displays, understanding these viewing distance relationships ensures visitors can comfortably view content from wherever they naturally stand in your space.
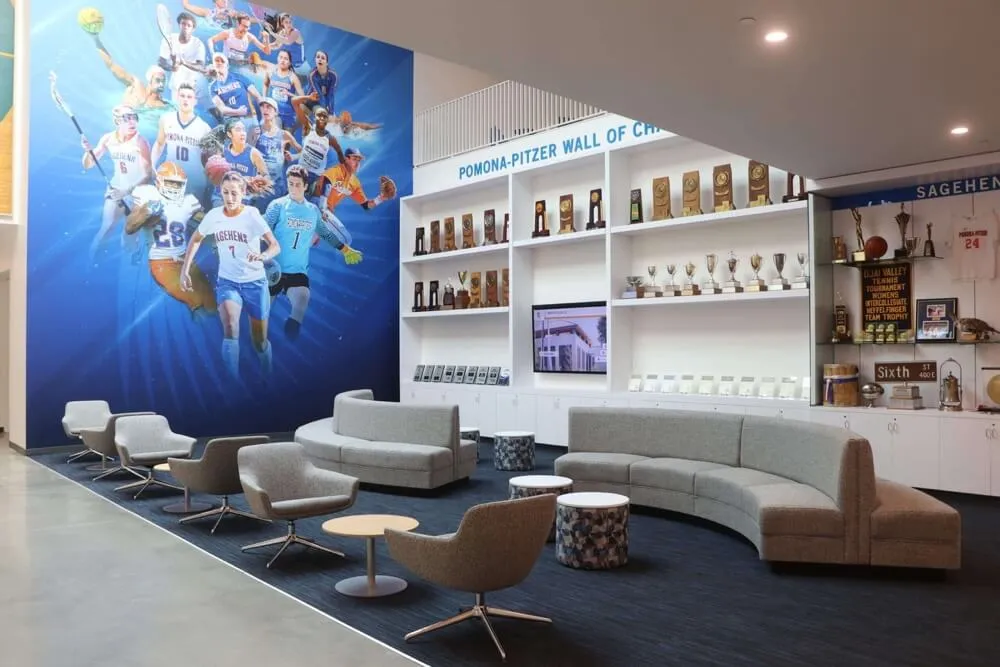
Space Assessment: Measuring Your Installation Environment
Before selecting screen size, thoroughly evaluate your installation location:
Critical Space Measurements
Viewing Zone Analysis
- Measure the distance from the wall where the display will mount to the nearest obstruction (opposite wall, furniture, railing)
- Identify natural stopping points where visitors typically pause
- Note traffic flow patterns—will viewers be moving or stationary?
- Consider ceiling height relative to mounting position
Sight Line Evaluation
- Measure from floor to the proposed center point of your screen
- Ideal center height: 48-60 inches for standing viewers
- For seated viewing areas: 36-42 inches
- Account for ADA accessibility requirements (controls within 48 inches of floor)
Environmental Factors
- Available wall space dimensions
- Proximity to windows or other light sources
- Clearance around the display for ventilation
- Electrical outlet and network connection locations
The Traffic Pattern Test
Understanding how visitors will encounter your display dramatically influences optimal size:
High-Traffic Corridors Visitors pass quickly Recommendation: Larger displays (65"+) with bold graphics visible from distance Interaction Style: Quick browsing, attention-grabbing content
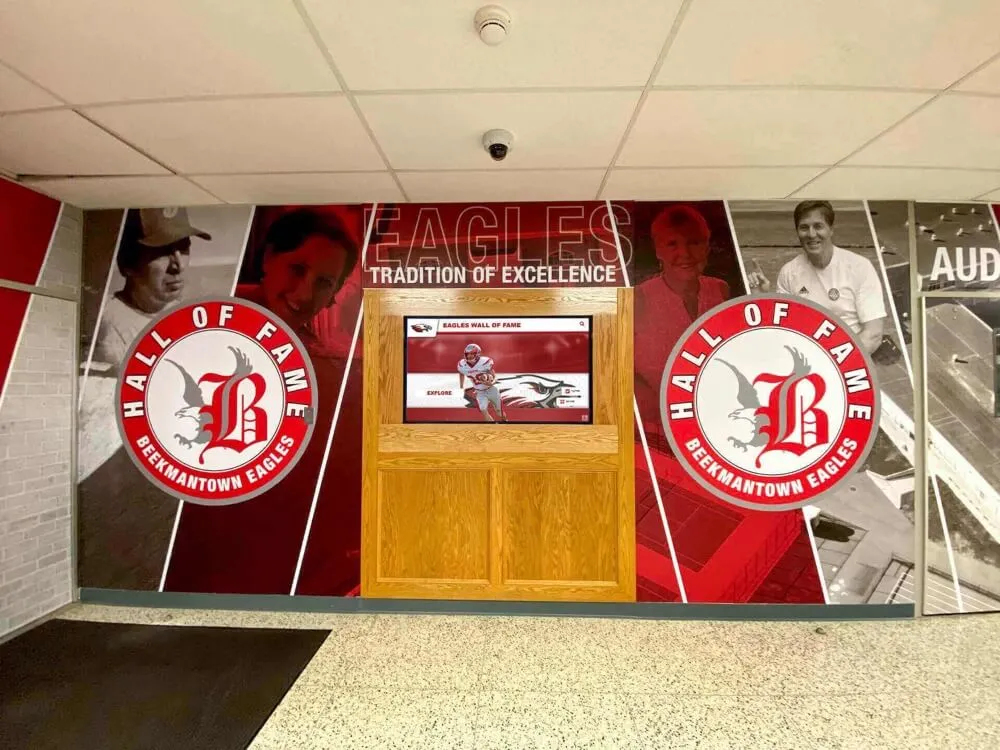
Destination Spaces Visitors intentionally approach Recommendation: Medium displays (55-65") optimized for detailed exploration Interaction Style: Extended engagement, detailed content
Waiting Areas Visitors have dwell time Recommendation: Any size based on viewing distance Interaction Style: Deep exploration, multimedia content consumption
Screen Size Options: Detailed Specifications and Use Cases
43-50" Displays: Intimate Recognition Spaces
Optimal Applications:
- Department offices and administrative areas
- Small meeting rooms or conference spaces
- Secondary displays in multi-screen installations
- Budget-conscious implementations in constrained spaces
Advantages:
- Lowest purchase and installation costs ($1,500-$3,500)
- Minimal energy consumption (50-80 watts)
- Easy installation with standard mounts
- Suitable for existing furniture integration
Limitations:
- Limited visibility in large spaces
- Small text may be difficult to read from distance
- Less impressive visual impact
- May appear undersized in prominent locations
Best Practice: Use 43-50" displays when your primary viewing distance will be 6-8 feet or less, or when implementing multiple smaller displays rather than one large unit.
55" Displays: The Versatile Standard
Optimal Applications:
- Main hallways and circulation spaces
- School office reception areas
- Alumni center entrances
- Classroom building lobbies
- Athletic department offices
Advantages:
- Excellent value for size ratio ($2,500-$5,000)
- Wide availability and accessory compatibility
- Sufficient size for most standard applications
- Reasonable energy consumption (80-120 watts)
Technical Considerations:
- Standard mounting hardware widely available
- Adequate for 4K content at typical viewing distances
- Manageable weight for most wall types (40-50 lbs)
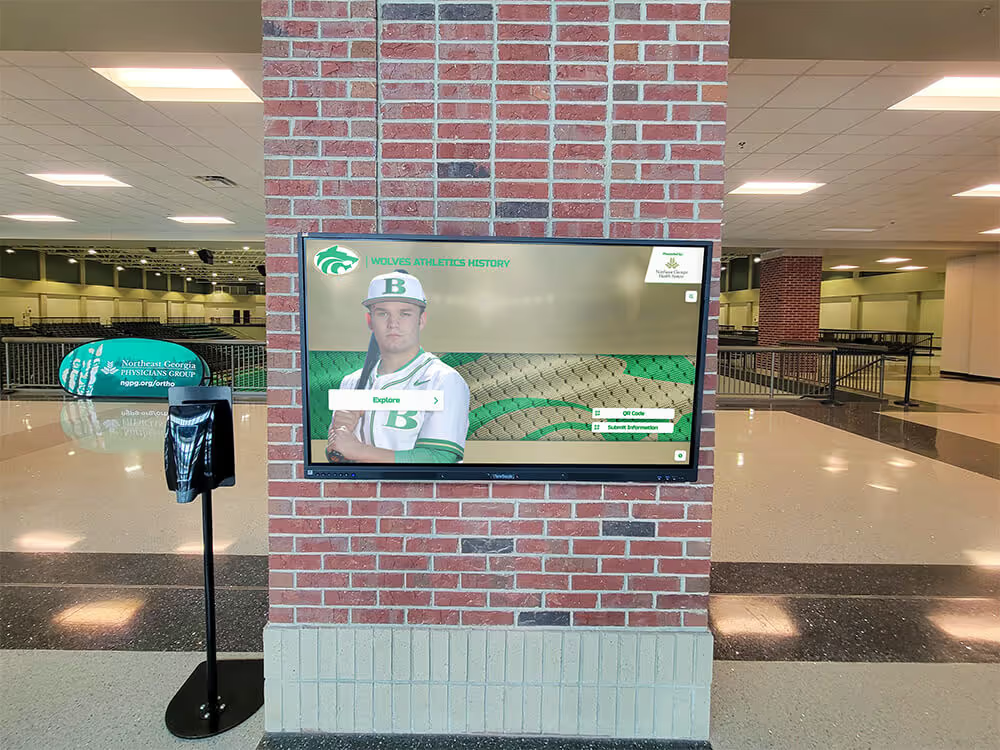
For many educational institutions implementing touchscreen hall of fame systems, 55" displays represent the optimal balance of cost, functionality, and visual impact.

65-75" Displays: Premium Impact Installations
Optimal Applications:
- Primary school entrances and lobbies
- Cafeteria and commons areas
- Auditorium lobbies
- Athletic facility entrances
- Development and advancement offices
- Conference center spaces
Advantages:
- Strong visual presence commanding attention
- Excellent readability from 10-15+ feet
- Premium institutional appearance
- Sufficient size for multimedia content
- Comfortable viewing for larger groups
Investment Considerations:
- Purchase costs: $3,500-$8,000
- May require reinforced mounting solutions
- Energy consumption: 120-200 watts
- Heavier units (60-90 lbs) may need professional installation
Content Optimization:
- Larger screens allow more detailed layouts
- Multi-column designs work effectively
- Video content displays with greater impact
- Text can be larger and more readable
These displays work particularly well for schools focused on creating digital donor recognition walls that make strong visual statements to visitors and supporters.
86-98" Displays: Statement Installations
Optimal Applications:
- Grand entrances and signature spaces
- Large gymnasiums and field houses
- Performing arts center lobbies
- Major donor recognition installations
- Multi-purpose facilities with expansive spaces
- University student union buildings
Advantages:
- Maximum visual impact and presence
- Legibility from 20+ feet away
- Ability to accommodate large group viewing
- Suitable for high-ceiling spaces
- Premium institutional impression
Implementation Requirements:
- Significant investment: $8,000-$20,000+
- Professional installation typically required
- Structural mounting analysis necessary
- Energy consumption: 200-400 watts
- Heavy units (100-180 lbs) requiring substantial support
Strategic Considerations:
- Best suited for institutions with substantial budgets
- Most effective in truly expansive spaces
- May overwhelm moderate-sized areas
- Consider whether size genuinely enhances visitor experience
Budget Considerations: Total Cost of Ownership
Screen size directly impacts both initial and ongoing costs:
Comprehensive Cost Comparison
| Screen Size | Display Cost | Installation | Annual Energy | 5-Year Total |
|---|---|---|---|---|
| 43-50" | $1,500-$3,500 | $300-$600 | $35-$55 | $2,275-$4,675 |
| 55" | $2,500-$5,000 | $400-$800 | $55-$85 | $3,475-$6,425 |
| 65" | $3,500-$7,000 | $600-$1,200 | $85-$125 | $4,925-$9,225 |
| 75" | $4,500-$9,000 | $800-$1,500 | $105-$145 | $6,425-$11,725 |
| 86-98" | $8,000-$20,000 | $1,500-$3,000 | $145-$285 | $10,725-$24,425 |
Costs include commercial-grade displays suitable for continuous operation. Consumer displays not recommended.
Hidden Costs to Consider
Installation Complexity:
- Larger displays may require:
- Structural reinforcement
- Upgraded electrical service
- Specialized mounting hardware
- Additional labor hours
Content Production:
- Larger screens demand:
- Higher resolution assets
- More detailed layouts
- Greater graphic design time
- Larger file storage requirements
Ongoing Operations:
- Replacement costs increase with size
- Larger displays generate more heat (cooling costs)
- Potential need for extended warranties
- Higher insurance valuations
For budget-conscious schools, solutions like Rocket Alumni Solutions offer flexible financing and leasing options that distribute costs over multiple budget cycles.
Content Considerations: Matching Screen Size to Content Strategy
Screen size should align with your planned content approach:
Text-Heavy Recognition Content
Primary Content Type: Biographical information, achievement descriptions, detailed histories
Optimal Screen Sizes: 55-65" Reasoning: Sufficient size for readable paragraphs at comfortable viewing distances without requiring excessive font sizes that limit content density
Design Implications:
- Standard two-column layouts work effectively
- Traditional font sizes (16-24pt) remain legible
- Balanced mix of text and images achievable
- Scrolling remains manageable for longer content
Visual-First Multimedia Presentations
Primary Content Type: Photos, videos, graphics, minimal text
Optimal Screen Sizes: 65-86" Reasoning: Larger displays showcase visual content more dramatically, creating emotional connections through immersive imagery
Design Implications:
- Full-screen images and videos maximize impact
- Large photo galleries display effectively
- Video testimonials play with cinema-like presence
- Minimal text overlays maintain visual focus
For schools creating engaging video content, larger displays significantly enhance the viewing experience and emotional impact.
Interactive Database Exploration
Primary Content Type: Searchable directories, filterable lists, detailed records
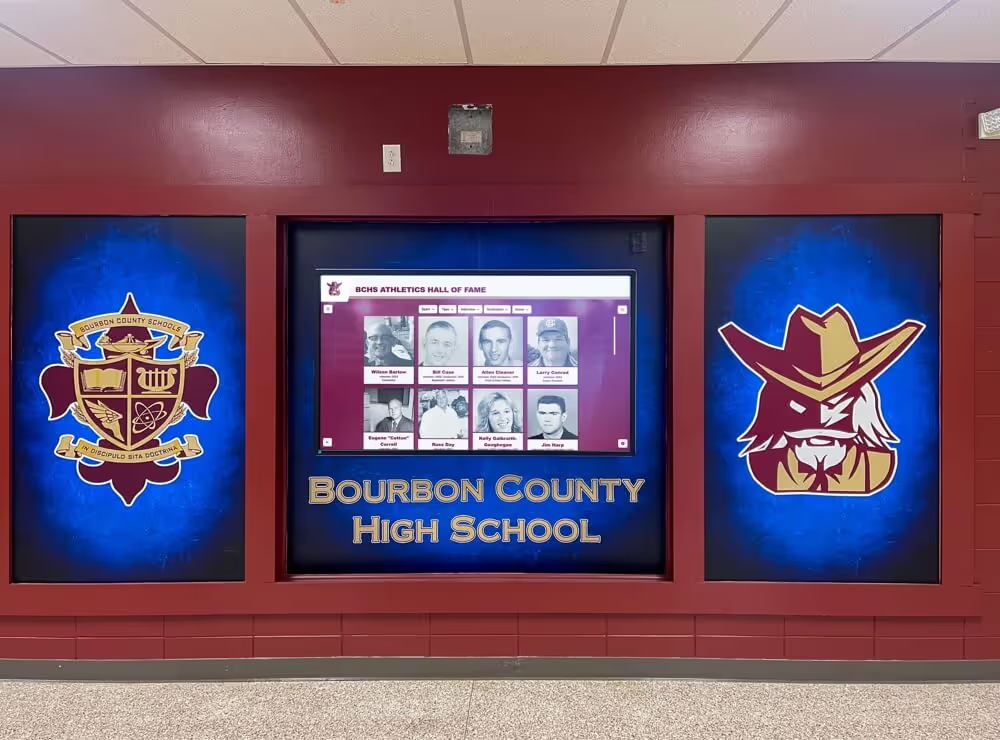
Optimal Screen Sizes: 55-75" Reasoning: Moderate sizes support detailed information architecture while maintaining touchscreen accessibility
Design Implications:
- Multi-level navigation systems work efficiently
- Search interfaces remain user-friendly
- Results lists display adequate detail
- Touch targets sized appropriately for comfortable interaction
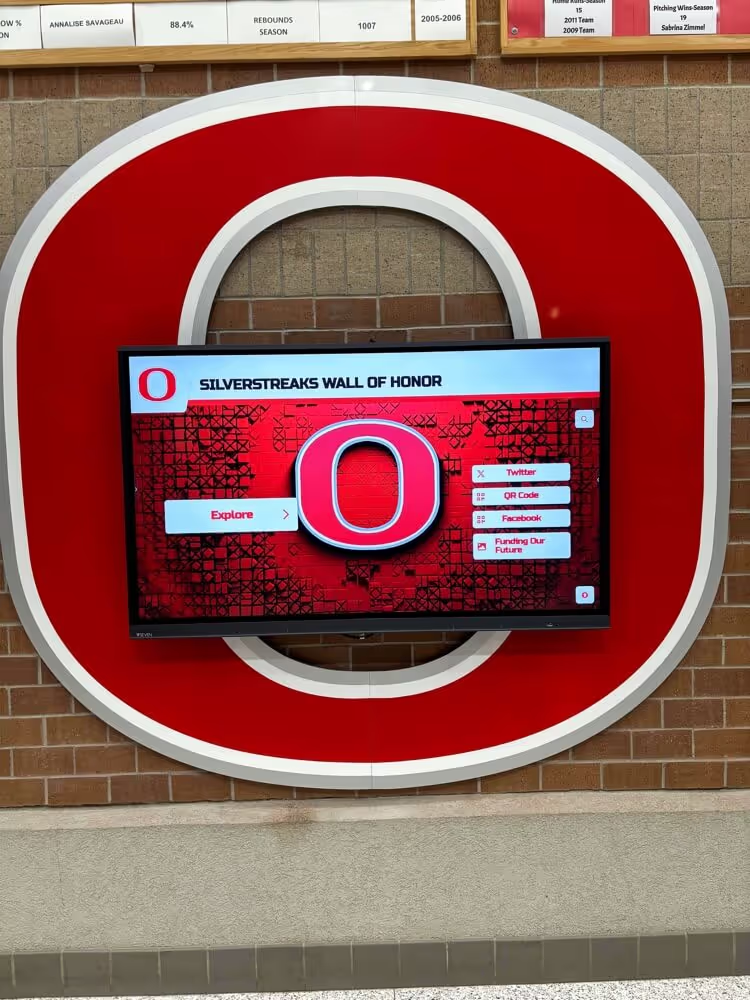
Multi-Display Configurations: When Bigger Isn’t Better
Sometimes multiple smaller displays outperform single large units:
Advantages of Multi-Display Approaches
Content Variety:
- Dedicate separate screens to different content types
- Rotate focus between sports, academics, arts, and service
- Update sections independently
- Create dynamic visual interest through varied content
Budget Flexibility:
- Implement in phases as funding allows
- Start with core content, expand over time
- Distribute costs across multiple budget years
Technical Benefits:
- Redundancy if one display requires service
- Simplified content management (smaller files)
- Flexible arrangement options
- Potential cost savings versus ultra-large displays
Space Optimization:
- Work with awkward wall configurations
- Fit into existing architectural features
- Create engaging multi-panel installations
- Address varied viewing angles and distances
Effective Multi-Display Configurations
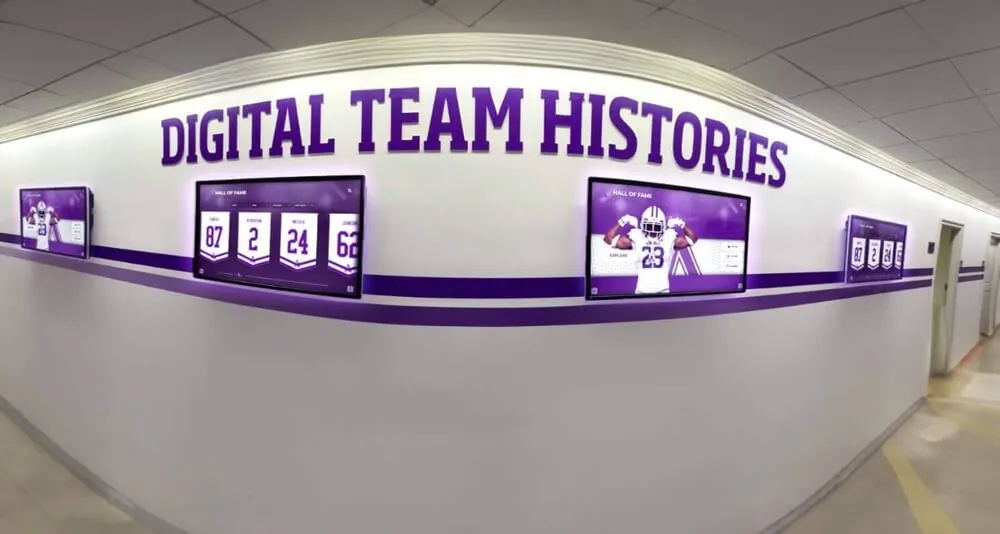
Horizontal Array 2-3 displays in horizontal sequence Best For: Long corridor walls, wide spaces Content Strategy: Timeline presentations, extended photo galleries, multi-category showcases
Vertical Stack 2 displays in vertical configuration Best For: Narrow spaces with height Content Strategy: Top screen for eye-catching visuals, bottom for interactive exploration
Corner Configuration Displays on adjacent walls Best For: Corner locations, junction points Content Strategy: Related but distinct content categories
Schools implementing hardware selection strategies should evaluate multi-display options alongside single large displays for optimal results.
Special Considerations for Touchscreen Interactivity
If your display includes touchscreen functionality, additional size considerations apply:
Touchscreen Ergonomics
Height Placement:
- Bottom of screen: 24-30" from floor
- Top of screen: Maximum 72" from floor
- Optimal center point: 48-54" from floor
Size-Based Reach Considerations:
43-55" Displays:
- Entire screen comfortably reachable for most adults
- Works well for wall-mounted touchscreen applications
- Suitable for seated or standing interaction
65-75" Displays:
- Upper portions may be challenging for shorter users
- Consider slightly lower mounting for better accessibility
- Best when touch interaction focuses on lower 2/3 of screen
- May benefit from kiosk-style installation with angled top
86"+ Displays:
- Upper 25-30% of screen often out of comfortable reach
- Design interfaces with primary interactions in lower portions
- Consider as “lean-back” displays with limited touch interaction
- Alternative: Kiosk-mounted tablets for detailed navigation
For maximum accessibility, ADA-compliant installations typically perform best with 55-65" displays mounted at appropriate heights.
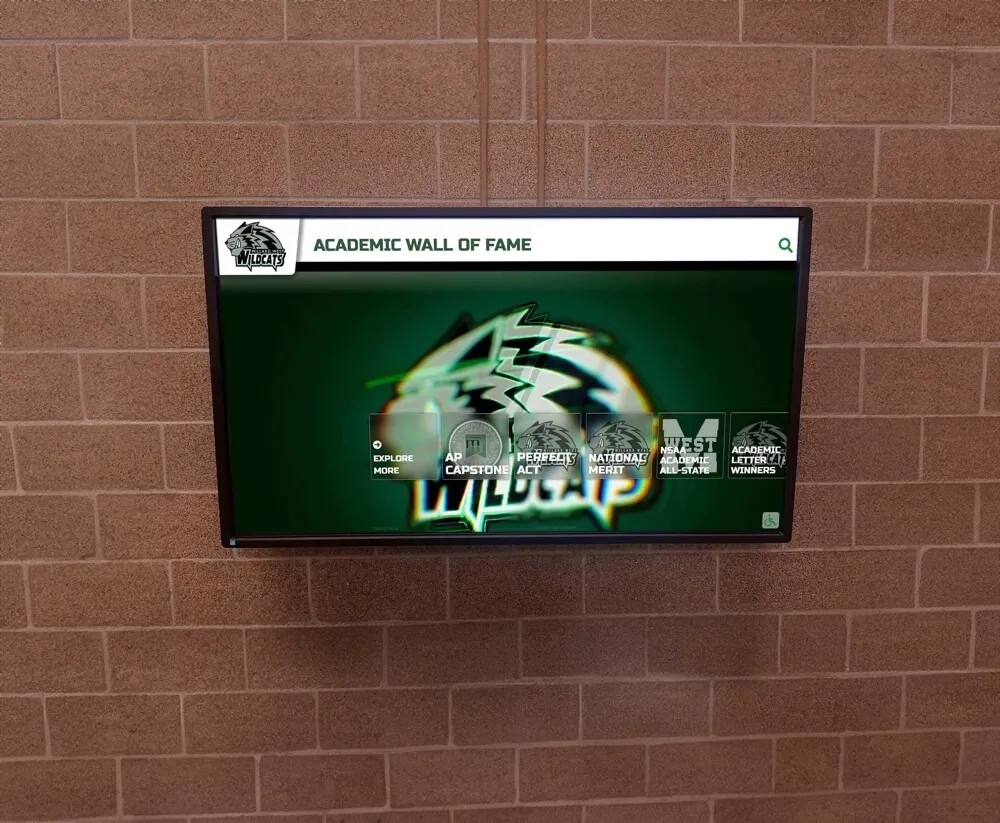
Portrait vs. Landscape Orientation Impact
Screen size effectiveness varies with orientation:
Landscape Orientation (Horizontal)
Advantages:
- Natural viewing experience (matches human field of vision)
- Ideal for video content (16:9 aspect ratio)
- Familiar interface paradigm from computers and TVs
- Efficient use of horizontal wall space
Optimal Content:
- Photo galleries and slideshows
- Video testimonials and stories
- Timeline presentations
- Multi-column layouts
Size Recommendations:
- 55-86" sizes work well in landscape
- Smaller screens (under 50") may feel constrained
- Larger screens maximize horizontal format advantages
Portrait Orientation (Vertical)
Advantages:
- More natural reading orientation for text-heavy content
- Efficient vertical space utilization
- Distinctive appearance that attracts attention
- Allows for longer lists and scrolling content
Optimal Content:
- Text-heavy biographical content
- Vertically scrolling lists and directories
- Social media-style feeds
- Full-body portrait photographs
Size Recommendations:
- 43-65" sizes typically most effective
- Very large portrait displays (75"+) can feel overwhelming
- Consider dual smaller portraits versus single large unit
Environmental Factors Affecting Size Selection
Lighting Conditions
High Natural Light Environments:
- Larger displays with higher brightness (500+ nits) more effective
- Smaller displays may wash out in direct sunlight
- Consider 65"+ displays for windows and skylights
- Anti-glare treatments more critical for smaller screens
Controlled Lighting Spaces:
- Screen size flexibility greater
- Standard brightness (300-400 nits) sufficient
- Smaller displays perform adequately
- Can optimize for energy efficiency
Architectural Context
Modern, Open Spaces:
- Larger displays (65-86") match contemporary aesthetic
- Clean lines and minimalist installations
- Screens as architectural focal points
Traditional, Detailed Spaces:
- Moderate displays (55-65") integrate more naturally
- Avoid overwhelming classical architectural elements
- Blend with existing décor and materials
Historic Buildings:
- Smaller to moderate displays (43-55") often more appropriate
- Minimize visual impact on historic character
- Consider recessed or integrated mounting approaches
For schools navigating installation in various environments, matching screen size to architectural context ensures aesthetic success.
The Decision Framework: Step-by-Step Selection Process
Follow this systematic approach to determine your ideal screen size:
Step 1: Measure Your Space
- Primary viewing distance: _____ feet
- Available wall dimensions: _____ (W) × _____ (H)
- Ceiling height: _____ feet
- Traffic pattern: ☐ Pass-through ☐ Destination ☐ Waiting area
Step 2: Calculate Size Range
- Minimum size: Primary distance ÷ 6 = _____ inches
- Maximum size: Primary distance ÷ 1.5 = _____ inches
- Optimal size: Primary distance ÷ 3 = _____ inches
Step 3: Consider Your Content Strategy
- Primary content type: ☐ Text ☐ Visual ☐ Interactive
- Screen orientation: ☐ Landscape ☐ Portrait
- Multimedia requirements: ☐ Minimal ☐ Moderate ☐ Extensive
Step 4: Evaluate Your Budget
- Available initial budget: $_____
- Annual operating budget: $_____
- Financing options: ☐ Upfront ☐ Lease ☐ Phased
Step 5: Assess Special Requirements
- Touchscreen needed: ☐ Yes ☐ No
- ADA compliance critical: ☐ Yes ☐ No
- Multi-display option: ☐ Consider ☐ Not applicable
- Environmental challenges: ☐ Bright light ☐ Historic space ☐ Other
Step 6: Make Your Selection
Based on the above factors, recommended size range: _____ to _____ inches
Common Screen Size Selection Mistakes to Avoid
Learning from others’ errors saves money and disappointment:
Mistake #1: Ignoring Viewing Distance Problem: Selecting screen size based on budget or wall space alone Solution: Always start with viewing distance calculations
Mistake #2: Oversizing for Impact Problem: Assuming bigger is always more impressive Solution: Match size to space—appropriately sized displays look professional; oversized displays look awkward
Mistake #3: Undersizing to Save Money Problem: Choosing smaller display to reduce costs, resulting in poor readability Solution: Better to implement smaller project correctly than compromise on a larger project
Mistake #4: Ignoring Content Requirements Problem: Selecting size before planning content strategy Solution: Develop content approach first, then choose size supporting that strategy
Mistake #5: Neglecting Future Expansion Problem: Optimizing for current needs without considering growth Solution: Build in 20-30% additional capacity for content and feature expansion
Mistake #6: Overlooking Installation Requirements Problem: Selecting size without verifying wall can support it Solution: Conduct structural assessment before finalizing size decision
Mistake #7: Focusing Only on Screen Size Problem: Ignoring brightness, resolution, and other display specifications Solution: Evaluate complete display specifications, not just diagonal measurement
For schools implementing comprehensive digital hall of fame solutions, working with experienced providers helps avoid these common pitfalls.
Working with Professional Providers
Expert guidance streamlines the selection process:
What to Expect from Quality Providers
Site Assessment Services:
- Professional measurement of your space
- Viewing distance analysis
- Lighting condition evaluation
- Structural capacity verification
- Traffic pattern observation
Recommendation Process:
- Multiple size options with rationale
- Visual mockups showing displays in your space
- Detailed cost comparisons
- Content strategy alignment
- Installation approach planning
Support Throughout Implementation:
- Mounting and installation services
- Content management system training
- Optimization of display settings
- Ongoing technical support
Providers like Rocket Alumni Solutions offer comprehensive consultation services, ensuring your screen size decision aligns with your space, content, budget, and institutional goals.
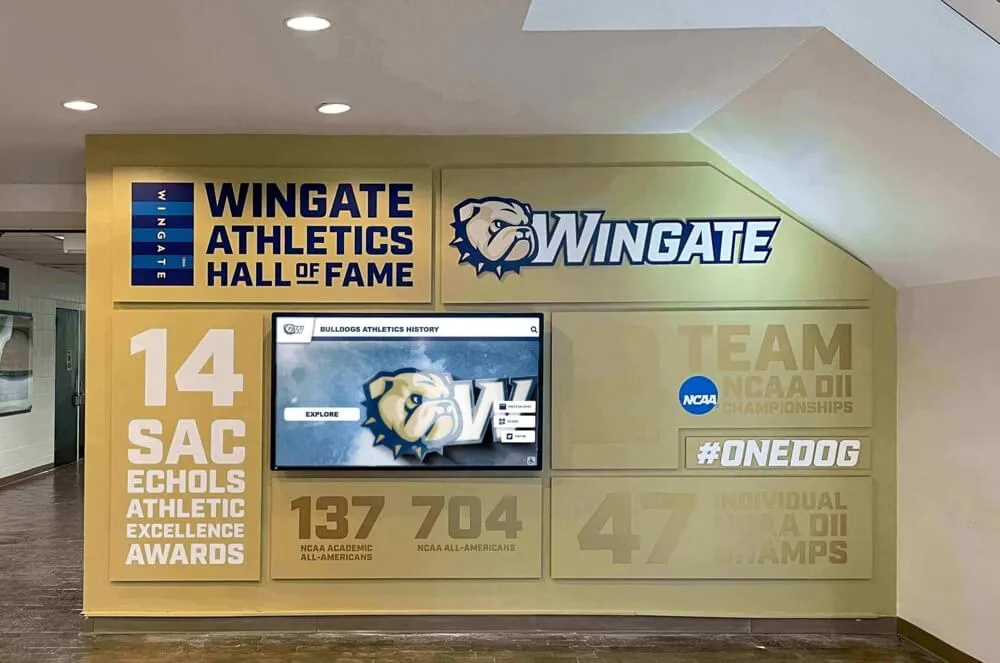
Testing Your Decision: Virtual Visualization
Before committing to a purchase, visualize your choice:
Simple Visualization Technique
- Cut cardboard or paper to your proposed screen dimensions
- Tape it to the wall at planned mounting height
- View from typical visitor positions
- Walk the space observing from various angles and distances
- Have colleagues of varying heights provide feedback
Digital Visualization Tools
Many touchscreen kiosk providers offer augmented reality apps or digital mockup services allowing you to “see” displays in your space before installation.
Key Questions to Answer During Testing
- Does the size feel proportional to the space?
- Can you comfortably read text from typical viewing positions?
- Does the display command appropriate attention without overwhelming?
- Are all interactive elements within comfortable reach?
- Does the size align with your institutional image goals?
Making Your Final Decision
After working through this comprehensive framework, you should have clarity on your optimal screen size. Remember these final principles:
Right-Size for Your Specific Context: Every institution’s needs differ based on space, content, budget, and goals. What works perfectly for one school may be wrong for another—even in seemingly similar situations.
Invest in Quality Over Size: A smaller, commercial-grade display with excellent brightness, resolution, and durability outperforms a larger, consumer-grade screen that lacks the specifications for public space deployment.
Plan for Evolution: Your initial content strategy will evolve. Select a size that accommodates growth in content complexity and multimedia richness while serving current needs effectively.
Seek Expert Input: When uncertainty remains, consult with experienced digital recognition display providers who’ve implemented hundreds of successful installations.
Ready to Find Your Perfect Screen Size?
Rocket Alumni Solutions provides complimentary site assessments and screen size recommendations tailored to your specific space, content strategy, and budget. Our expert team has implemented over 1,000 digital recognition displays, ensuring you get the size right the first time.
Schedule Your Free ConsultationConclusion
Choosing the right screen size for your digital hall of fame requires balancing multiple factors—viewing distance, space constraints, content strategy, budget, and institutional goals. By following the systematic framework outlined in this guide, you’ll make an informed decision that serves your recognition program effectively for years to come.
The optimal screen size isn’t about choosing the biggest display you can afford or the smallest that fits your budget. It’s about selecting the size that creates the most engaging, accessible, and impactful visitor experience in your specific context. Take time to measure, calculate, visualize, and consult before making your final decision. The investment in careful planning pays dividends in visitor satisfaction and long-term success.
Begin your screen size evaluation today, and transform your institution’s recognition program with a display that’s sized perfectly for maximum impact and engagement.