Installing a digital display kiosk transforms how schools communicate, recognize achievement, and engage their communities. These interactive touchscreens serve as dynamic hubs for showcasing athletic accomplishments, academic honors, event information, and institutional pride in high-traffic areas where students, staff, and visitors naturally congregate. However, successful implementation requires careful planning across site selection, infrastructure preparation, hardware installation, network configuration, and content deployment.
This comprehensive guide walks school administrators, facilities managers, and technology coordinators through every stage of digital display kiosk installation. Whether you’re installing a single lobby display or deploying multiple kiosks across campus, these step-by-step instructions ensure professional results that maximize engagement while avoiding common pitfalls that undermine installations.
Schools investing in digital recognition technology deserve installations that function flawlessly from day one. The difference between displays that become community focal points and those that languish unused often comes down to thoughtful installation planning addressing practical considerations before hardware arrives.
The installation process involves coordination across multiple departments—facilities, IT, administration, and sometimes external contractors—making clear communication and systematic planning essential. Following a structured approach prevents costly delays, reduces rework, and ensures your display system performs optimally for years.
Phase 1: Pre-Installation Planning and Site Assessment
Successful installations begin weeks before any equipment arrives on campus. This planning phase determines whether your kiosk delivers maximum impact or faces ongoing challenges.
Selecting the Optimal Installation Location
Location determines visibility, traffic, accessibility, and ultimately engagement with your digital display kiosk. The right spot maximizes exposure while meeting practical requirements.
High-Traffic Assessment
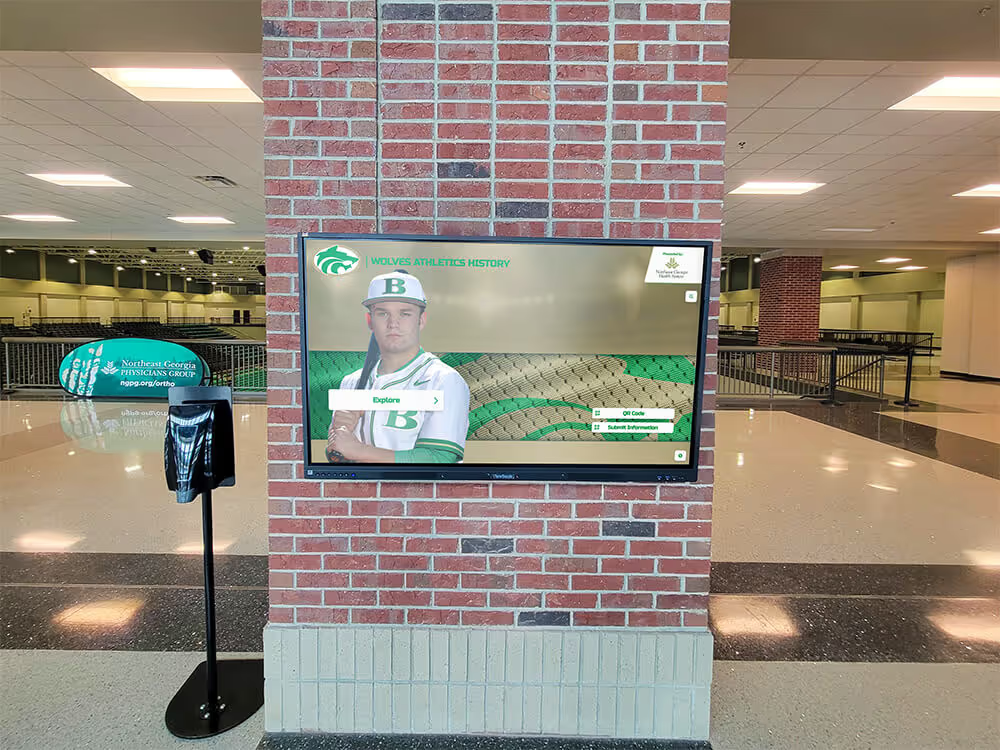
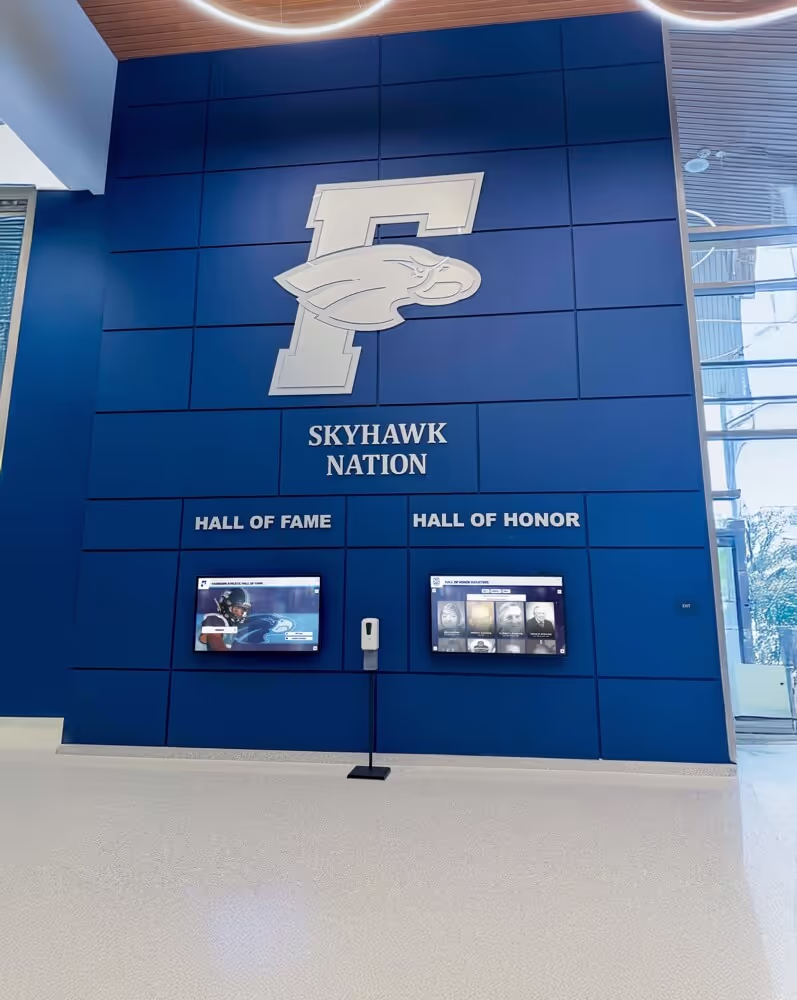
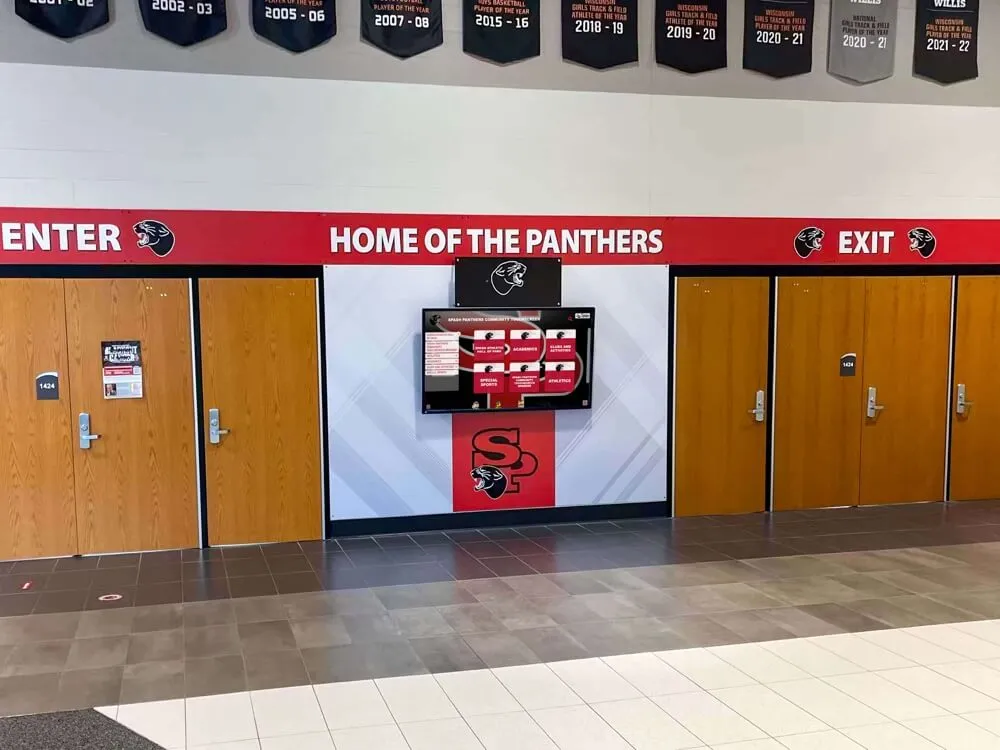
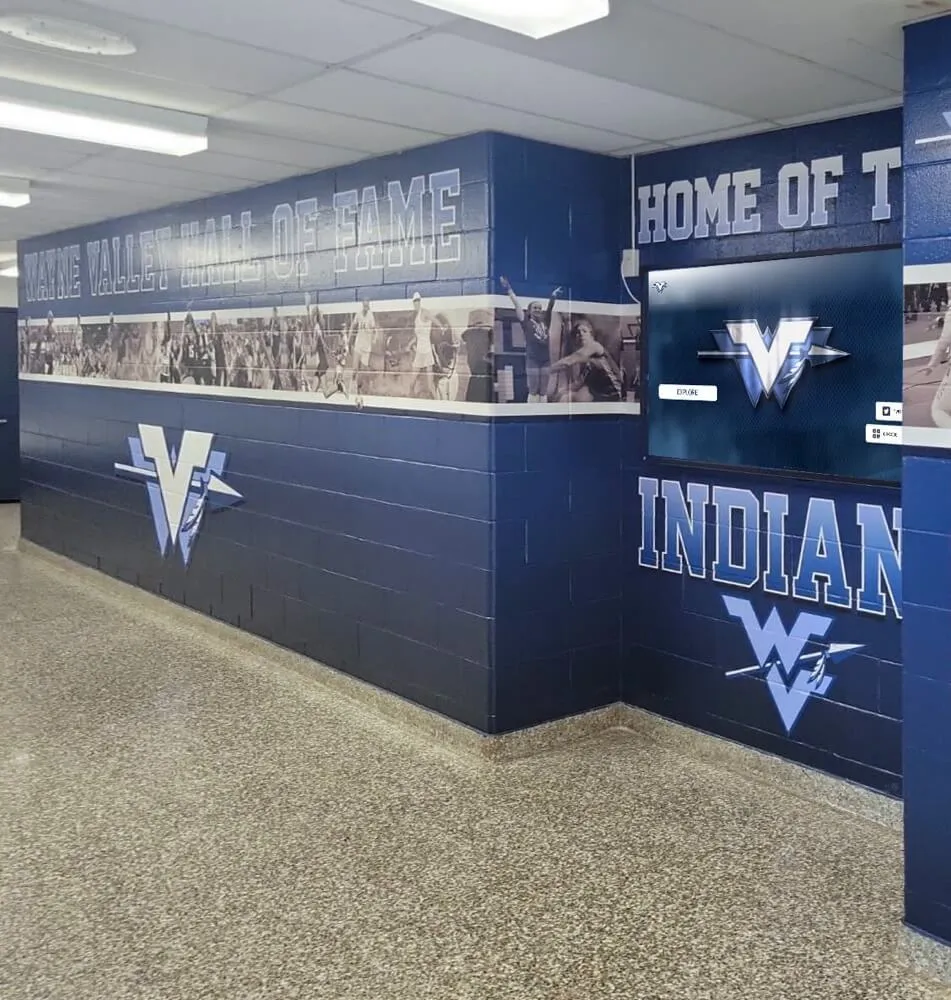
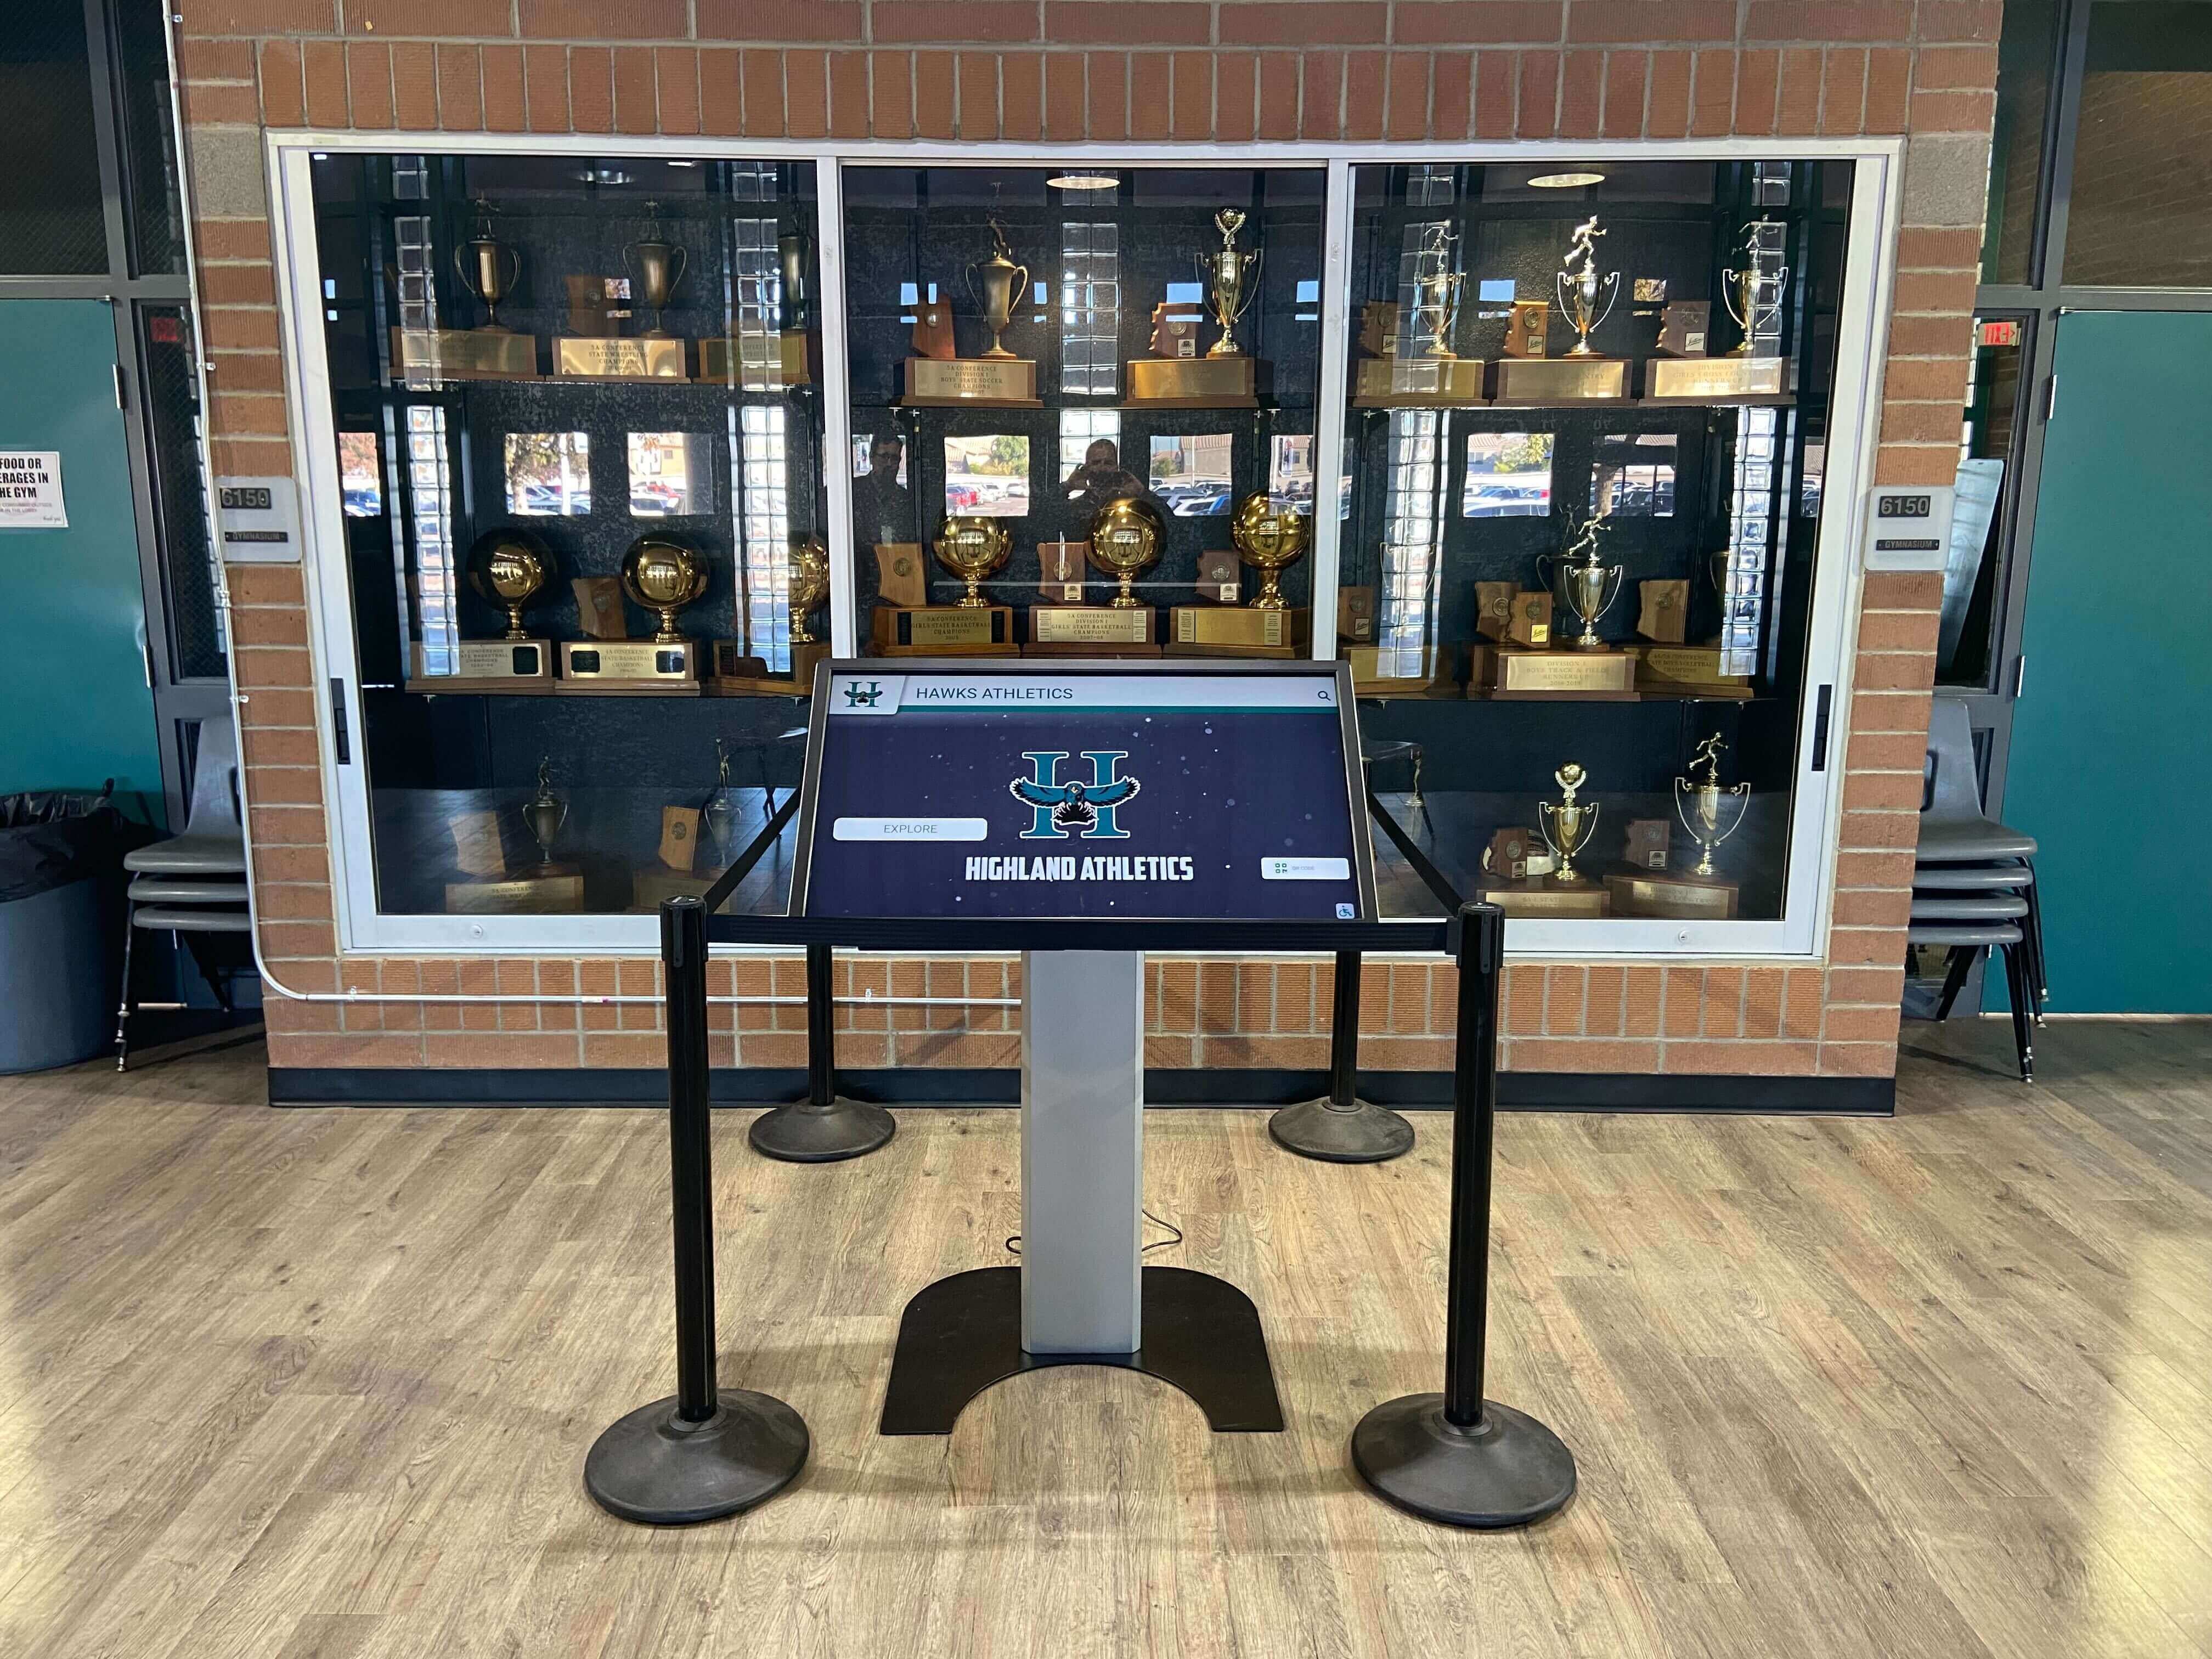
Observe foot traffic patterns throughout typical school days. Prime locations include main entrance lobbies where all visitors enter, gymnasium foyers serving athletic events and assemblies, cafeteria entrances where students pass daily, administrative office areas for parent and visitor access, and hallway intersections connecting major building zones.
Count actual traffic during different periods—morning arrival, class changes, lunch periods, after-school activities, and evening events. The best locations see hundreds or thousands of daily passersby from diverse audiences.
Viewing Angle and Approach
Consider how people approach and view the display. Installation locations should allow comfortable viewing from 3-10 feet away, avoid direct sunlight causing screen glare, provide clear sightlines from multiple approach angles, and offer space for small groups to gather without blocking traffic flow. Hallways should accommodate viewing without creating congestion bottlenecks during class changes.
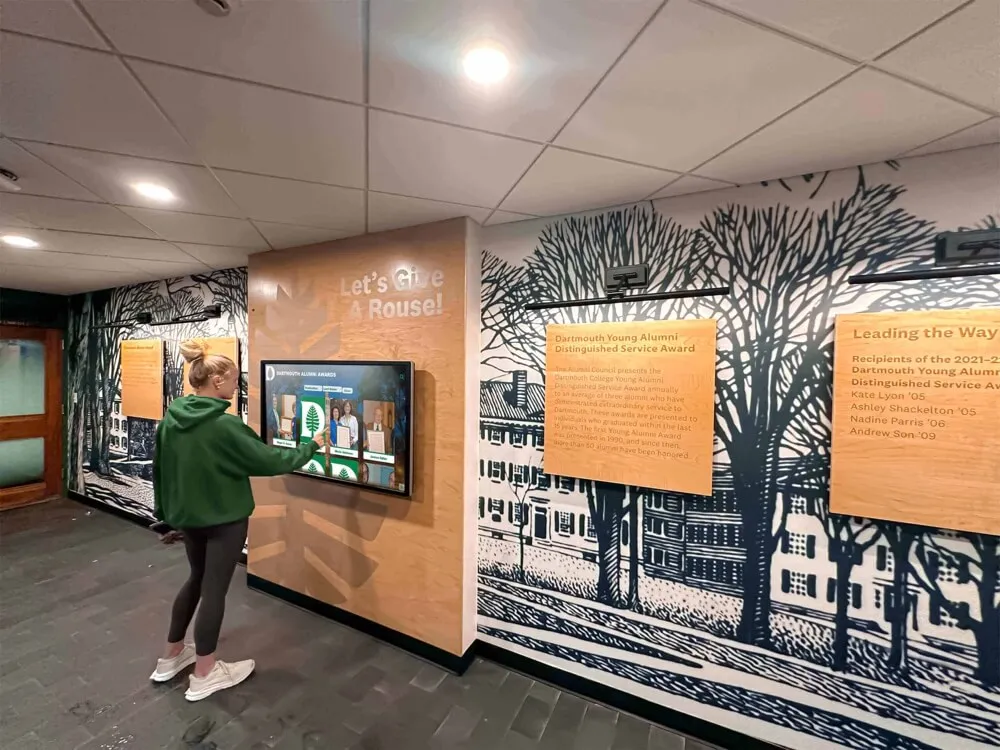
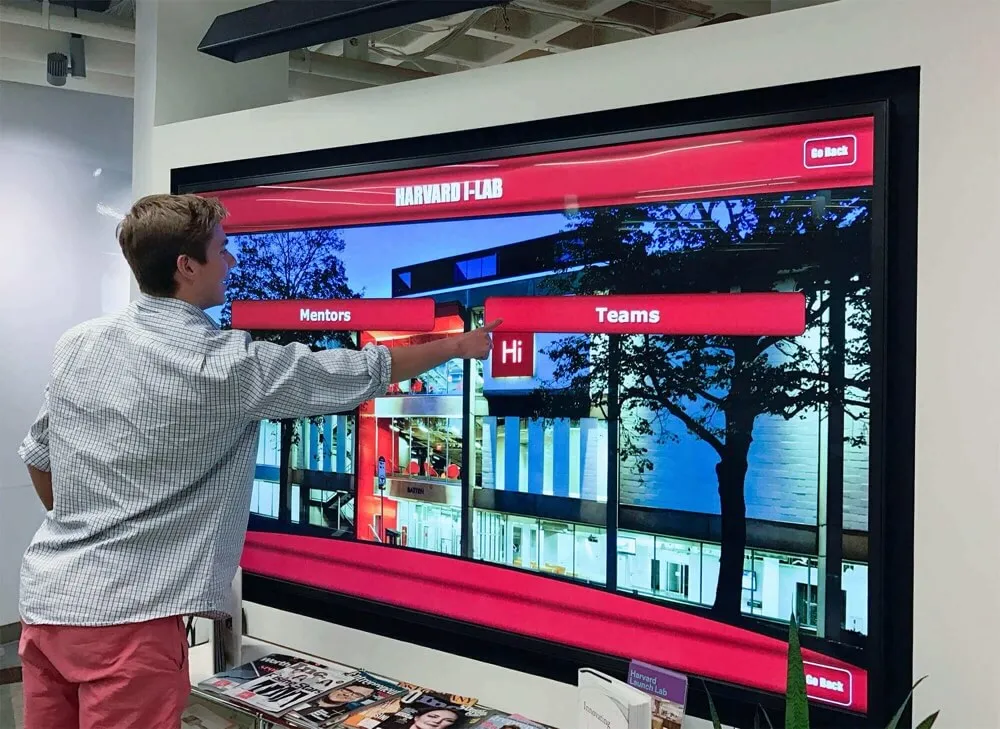
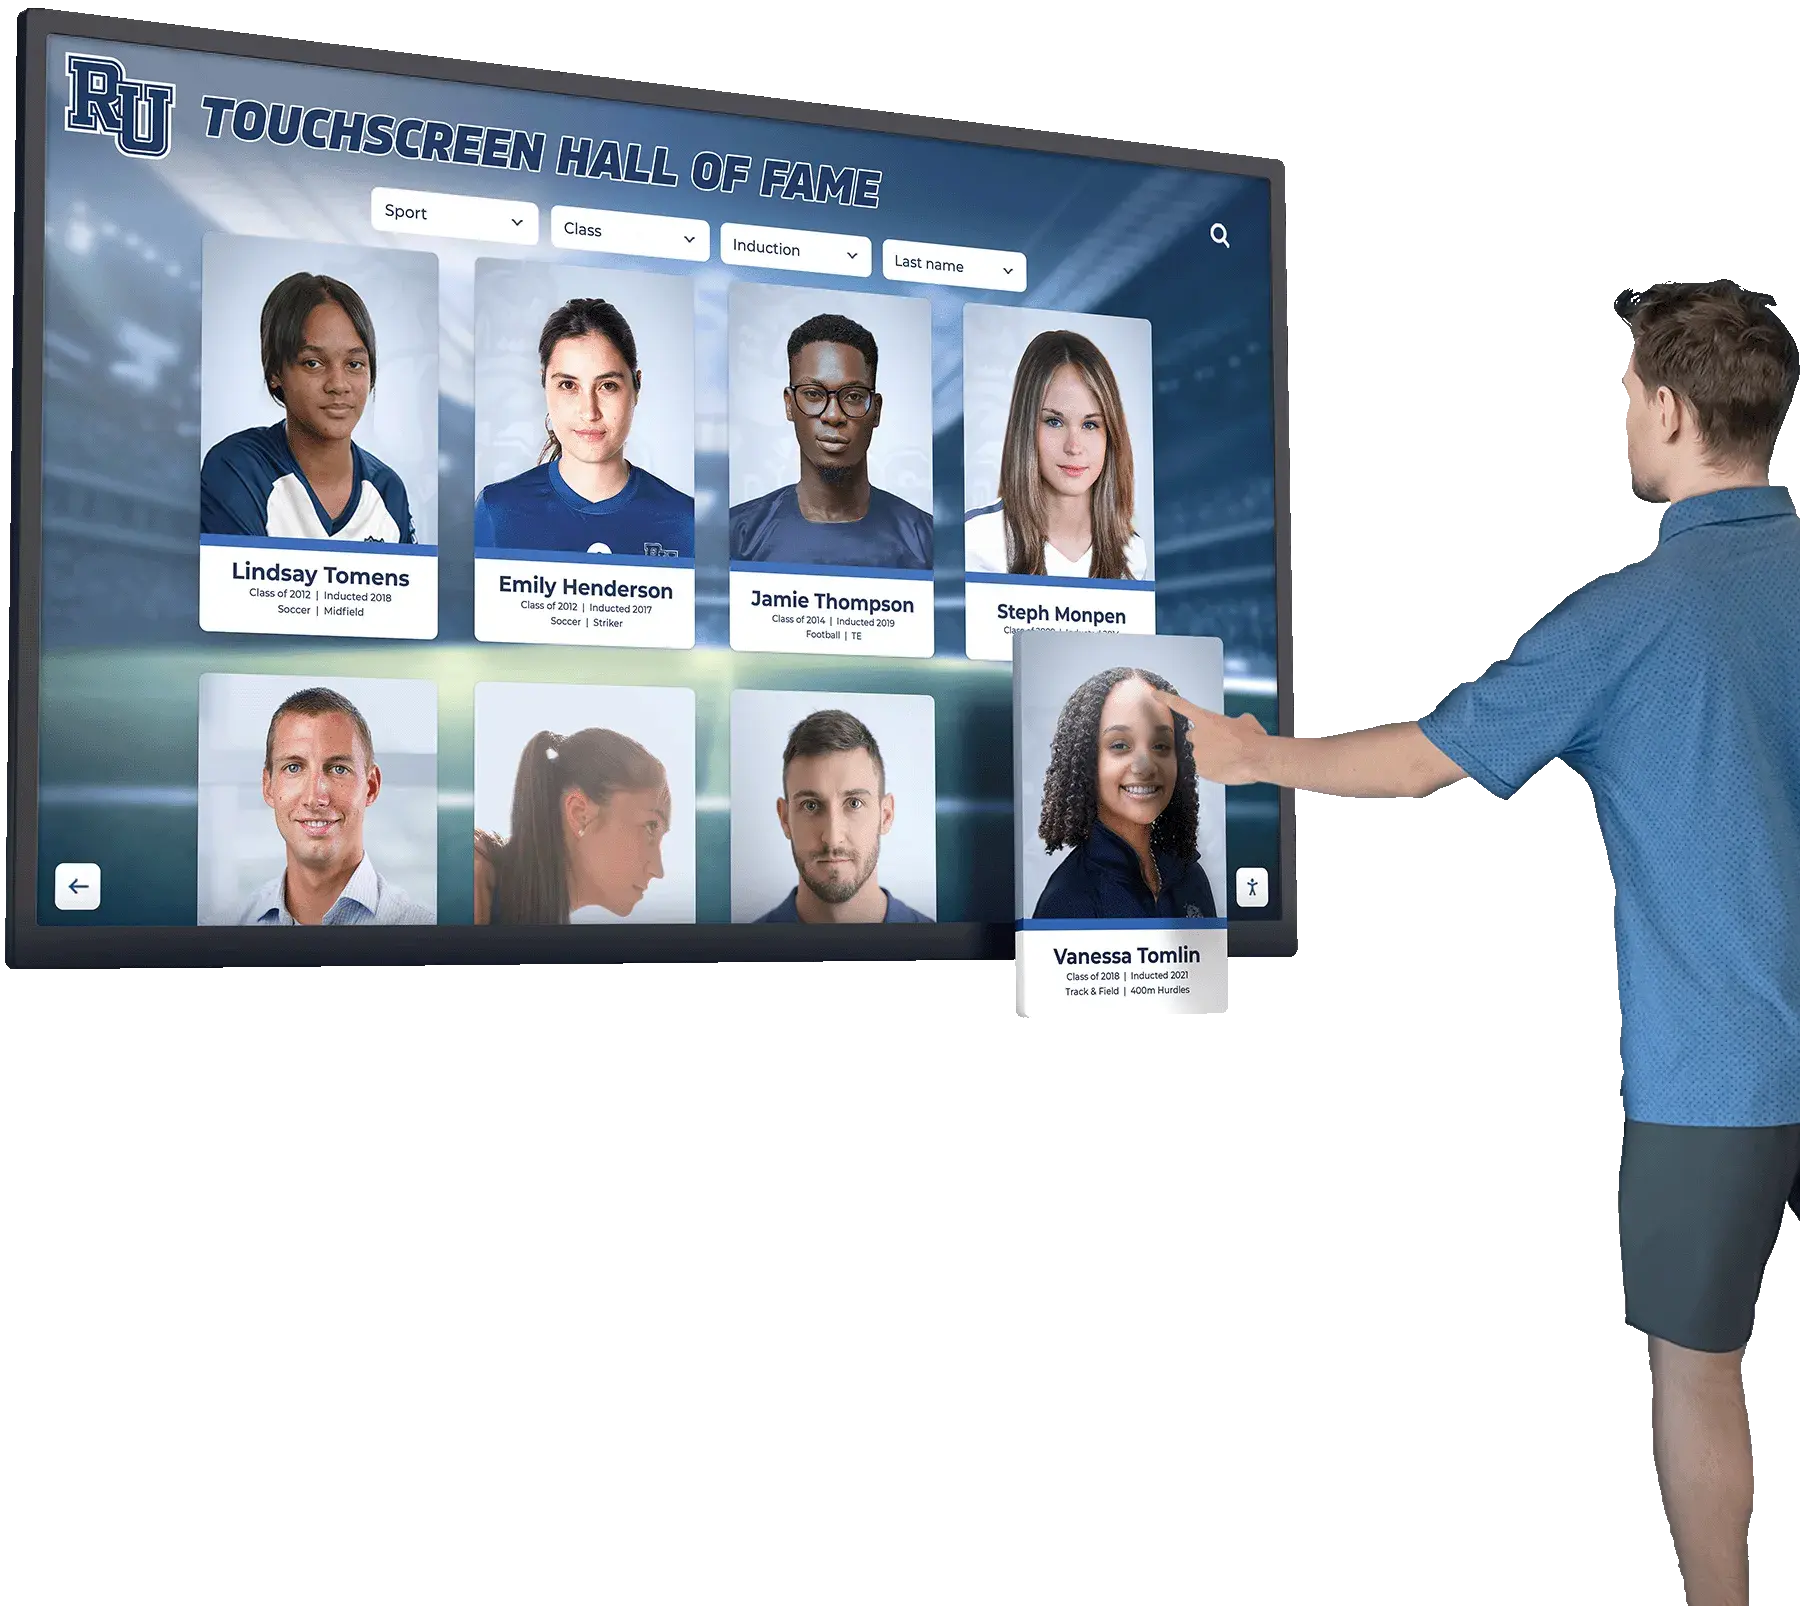
For interactive touchscreen displays, ensure adequate clear space directly in front enabling comfortable interaction without users feeling uncomfortably exposed or blocking circulation.
Environmental Considerations
Assess environmental factors affecting equipment longevity. Avoid locations near exterior doors where temperature fluctuations and humidity occur, areas exposed to direct HVAC vents blowing directly on screens, spaces with excessive moisture like near pool facilities, and zones subject to vandalism or accidental physical impact.
Temperature-controlled interior spaces with consistent environmental conditions extend hardware life and reduce maintenance issues.
Infrastructure Requirements Assessment
Before finalizing location selection, verify necessary infrastructure exists or can be reasonably added.
Electrical Power Requirements
Digital display kiosks typically require dedicated 110V electrical circuits. Assess whether adequate power exists at proposed locations:
- Check for available outlets within 6 feet of installation site
- Verify circuit capacity to handle display power draw (typically 300-800 watts depending on screen size)
- Determine if dedicated circuits are necessary or existing circuits suffice
- Plan conduit routing if new electrical must be installed
- Budget for licensed electrician work if infrastructure upgrades needed
Many installations require running new electrical drops, particularly in hallway locations lacking convenient outlets. Plan electrical work early as this often requires longest lead times and greatest expense.
Network Connectivity Assessment
Most digital display kiosks require network connectivity for content updates, remote management, and interactive features. Evaluate network infrastructure:
- Confirm strong WiFi signal at installation location (if using wireless)
- Assess whether hardwired ethernet drops are available or needed
- Test network bandwidth and stability for content delivery
- Verify network security policies allow display communication
- Coordinate with IT department on network configuration requirements
- Determine if separate network segment or VLAN is required for displays
Hardwired ethernet connections provide superior reliability compared to WiFi, particularly for displays that auto-update content or stream video. Budget for network drops if reliable WiFi doesn’t exist at installation sites.
Structural Support Verification
Digital display kiosks vary considerably in mounting requirements depending on form factor:
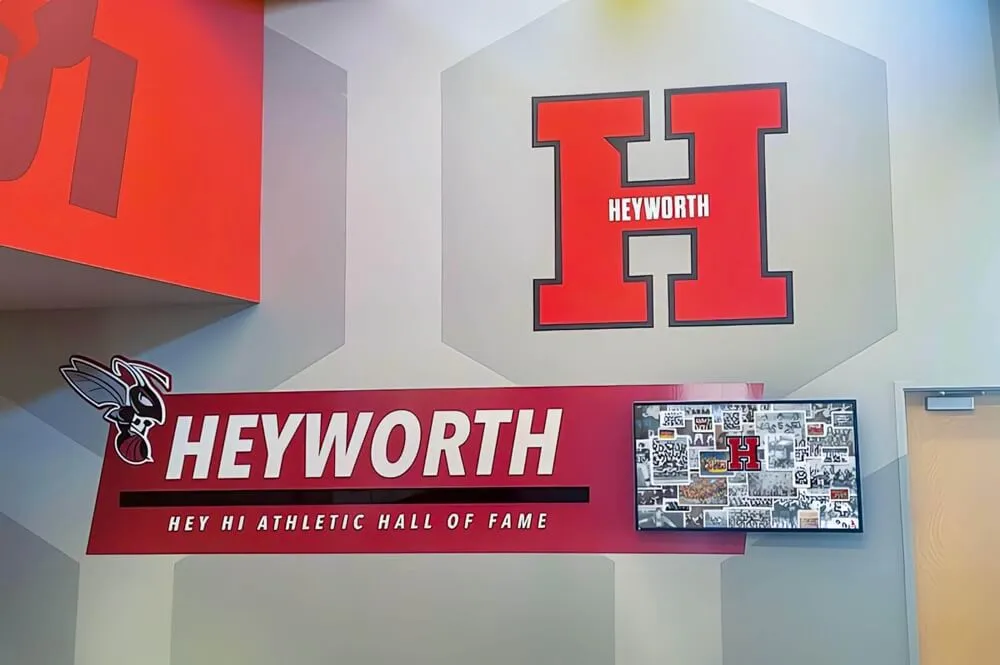
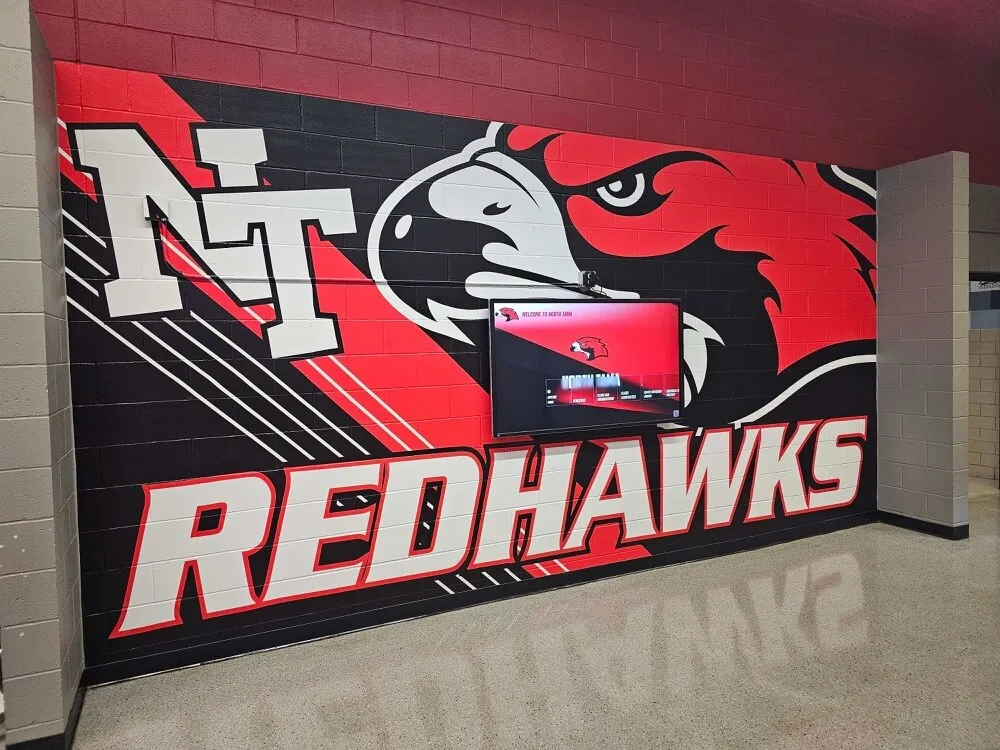
Wall-Mounted Displays: Require locating wall studs or installing backing support, typically weigh 50-200 pounds requiring robust mounting, need wall surfaces capable of supporting distributed weight loads, and benefit from installation by experienced technicians familiar with heavy display mounting.
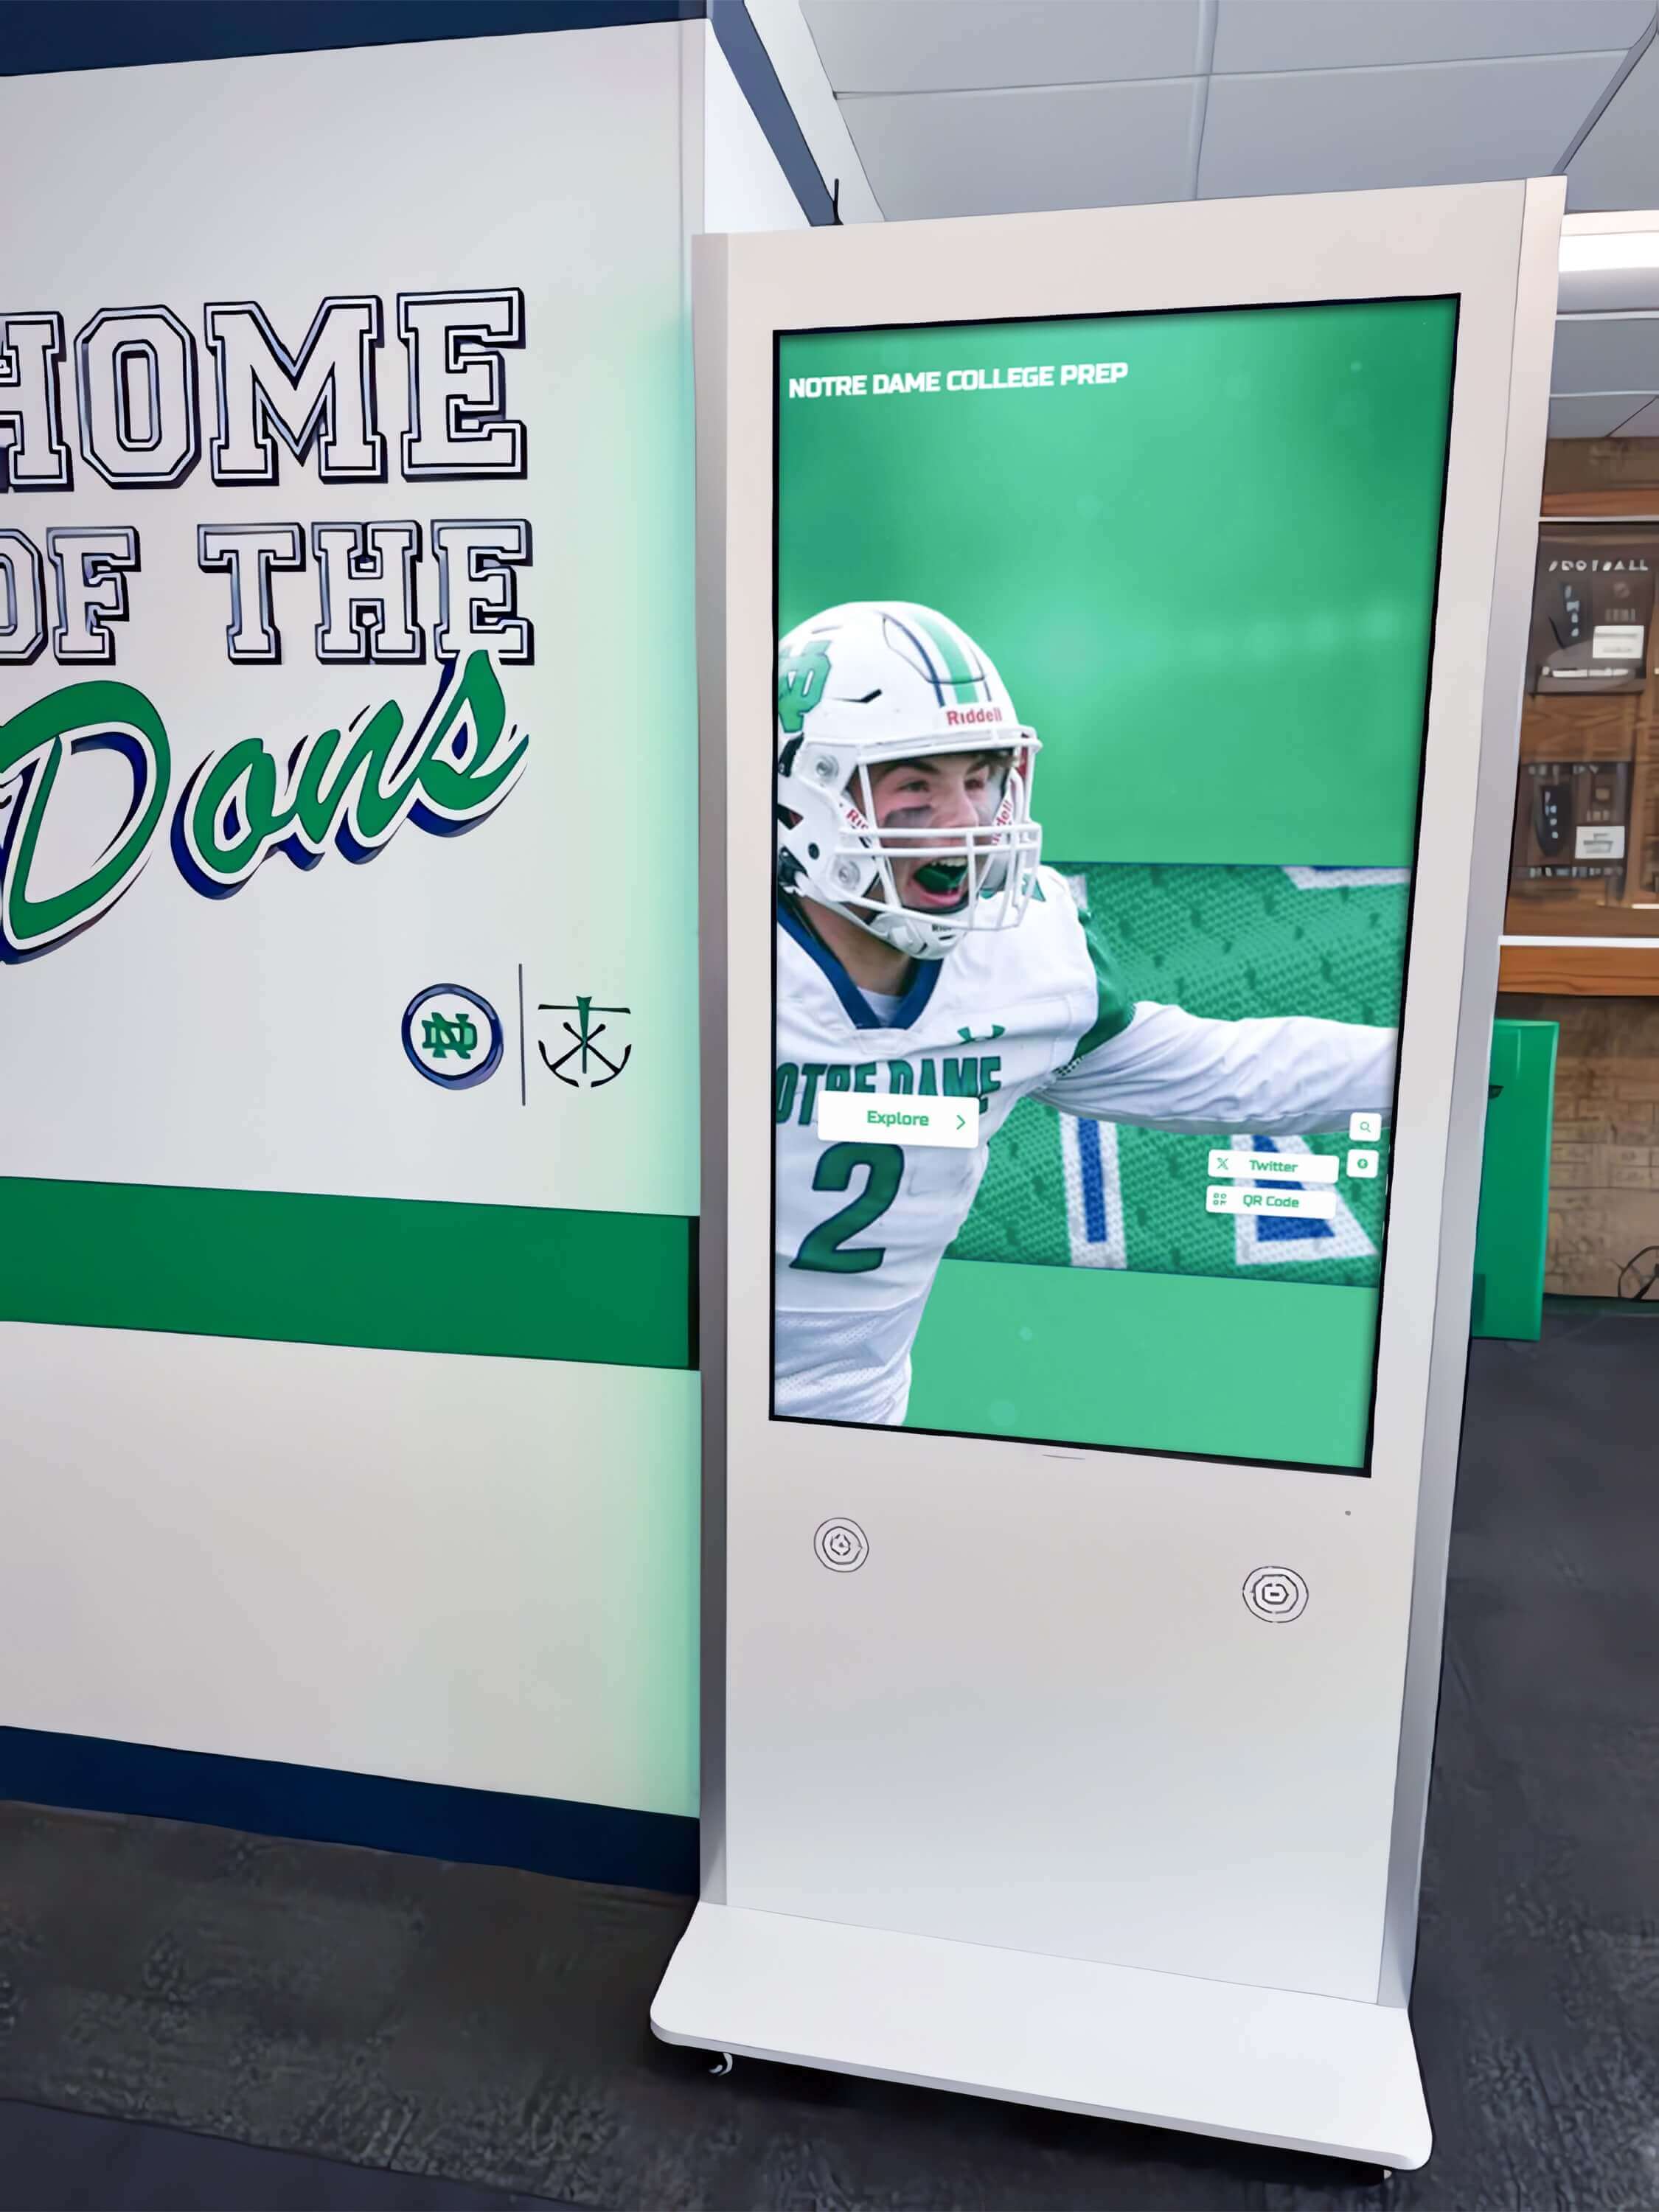
Floor-Standing Kiosks: Require level, stable floor surfaces for free-standing installations, need base plate anchoring to prevent tipping in high-traffic areas, must accommodate power and network cable routing through floor or base, and should be positioned away from areas where physical impact is likely.
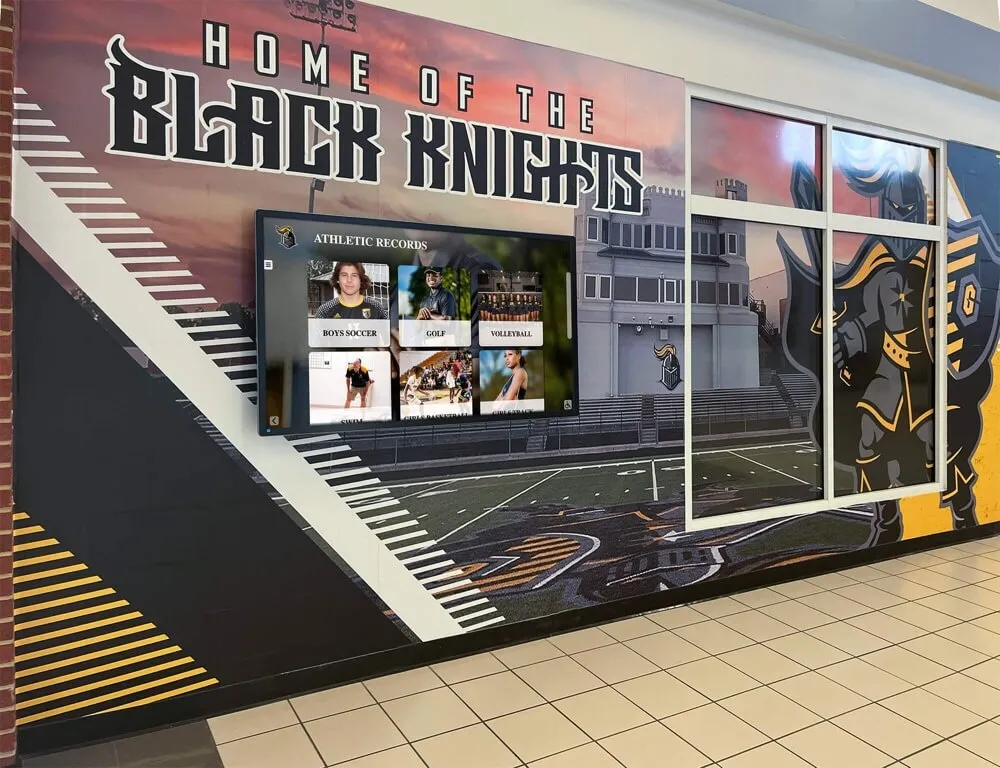
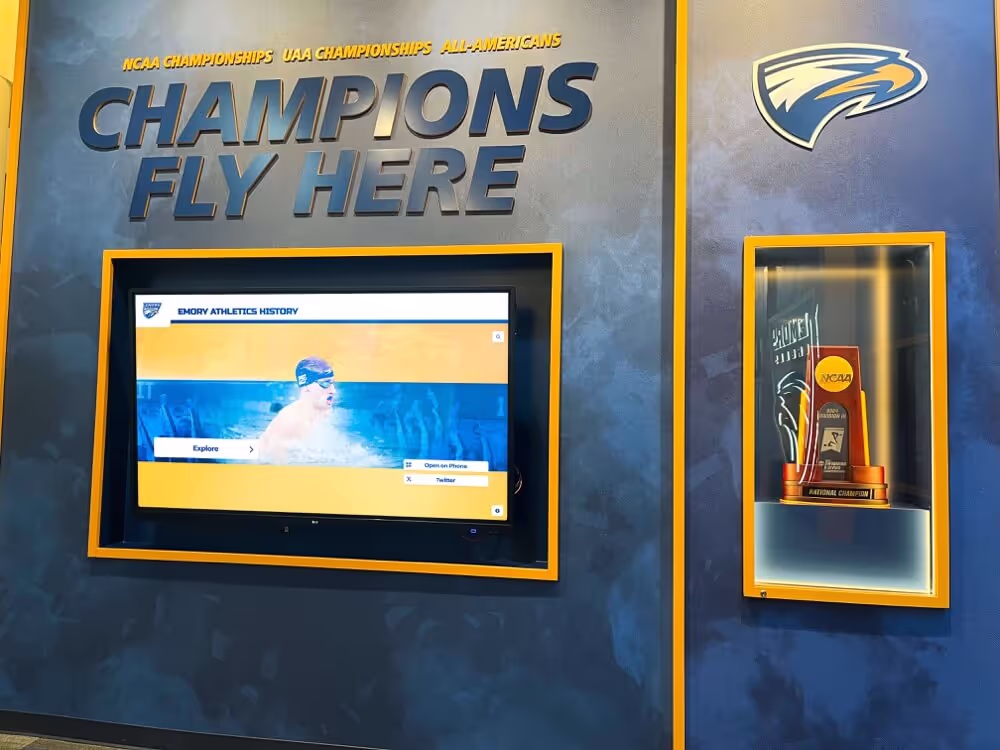
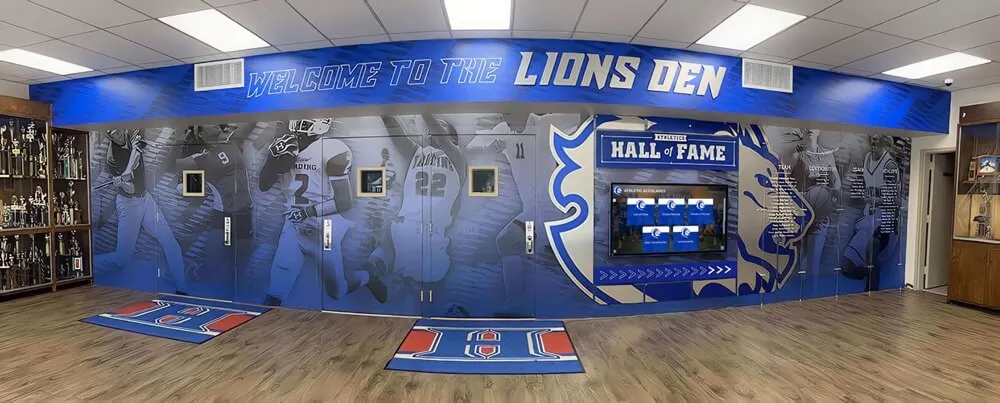
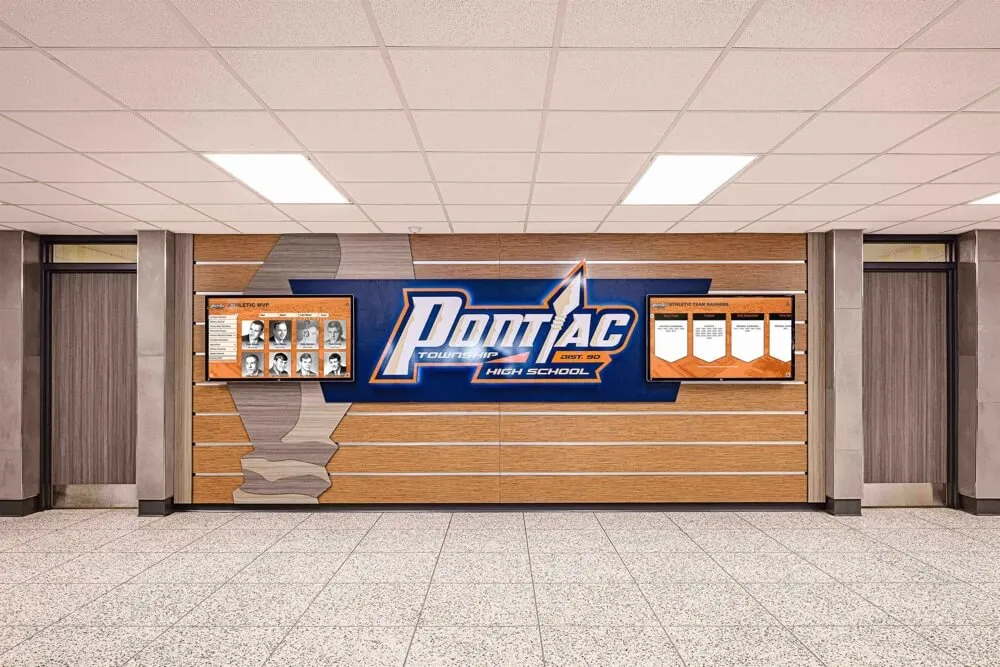
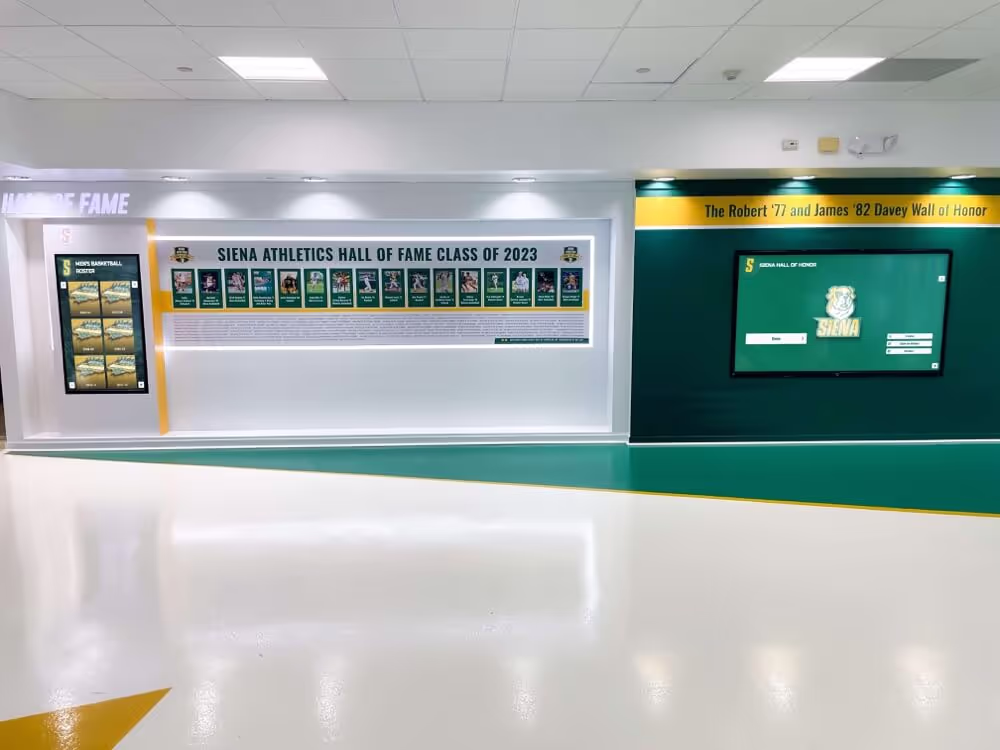
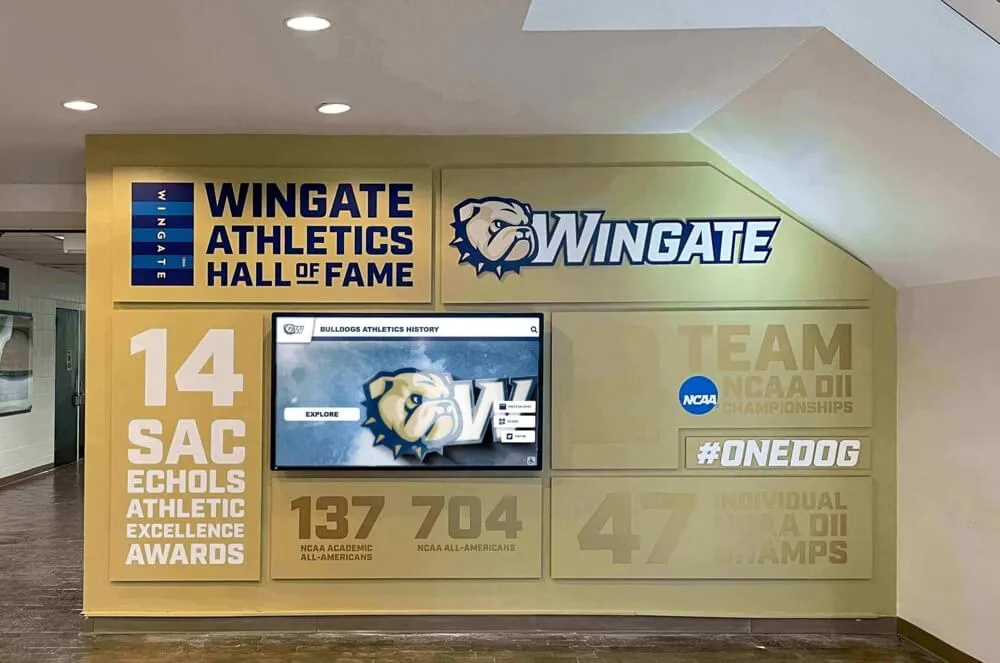
Integrated Installations: Some schools integrate displays into custom millwork, trophy cases, or architectural features requiring coordination with contractors, may need structural reinforcement to support weight, and often involve extended planning timelines.
For schools implementing digital recognition systems as centerpiece installations, architectural integration creates polished, professional presentations worth the additional planning investment.
Gathering Stakeholder Input and Approval
Installation plans benefit from input across departments and stakeholder groups before final decisions.
Facilities Department Coordination
Engage facilities managers early regarding structural modifications, electrical and network infrastructure work, mounting procedures and structural support, ongoing maintenance access requirements, and cleaning procedures for touchscreens and enclosures.
Facilities staff often identify practical considerations that prevent future headaches, from maintenance access to cleaning logistics to seasonal environmental factors affecting specific locations.
IT Department Requirements
Technology coordinators must approve network integration, content management systems, security and access policies, remote management capabilities, ongoing technical support responsibilities, and integration with existing school systems.
Early IT involvement prevents network conflicts, security policy violations, and support gaps after installation.
Administrative Approval and Budget
Formalize installation plans through administrative channels including detailed installation scope and timeline, complete budget including infrastructure upgrades, content development plans and ongoing costs, maintenance and support agreements, and success metrics for evaluating ROI.
Written approval prevents scope creep and ensures adequate resources throughout implementation.
Phase 2: Infrastructure Preparation and Pre-Installation Work
With planning complete and stakeholders aligned, infrastructure preparation creates the foundation for smooth installation.
Electrical System Preparation
Coordinate licensed electrical work well before installation day to avoid delays.
Circuit Installation and Testing
Professional electricians should install dedicated circuits at each kiosk location, mount outlets at heights specified by display manufacturer (typically 12-24 inches above floor), install conduit protecting exposed wiring in public spaces, ensure proper grounding for sensitive electronics, and test circuits verifying proper voltage and polarity.
Coordinate electrical work during low-traffic periods to minimize disruption. Schedule electrical inspection if required by local codes before proceeding with display installation.
Surge Protection and Power Conditioning
Protect expensive display hardware with appropriate surge suppression through commercial-grade surge protectors rated for display power requirements, consideration of whole-building surge protection if frequent power events occur, UPS (uninterruptible power supply) for critical displays requiring guaranteed uptime, and documentation of protection devices for insurance and warranty purposes.
Power quality issues cause premature display failures and component damage, making protection devices worthwhile insurance.
Network Infrastructure Implementation
Network connectivity enables the content management and remote administration features that make digital displays valuable.
Hardwired Network Installation
For optimal reliability, run dedicated ethernet drops to each display location by installing Category 6 or better cabling meeting current standards, routing cables through walls, ceilings, or conduit protecting from damage, terminating at accessible locations for display connection, testing connectivity and throughput before installation day, and documenting cable routing for future troubleshooting.

WiFi Network Optimization
If using wireless connectivity, ensure robust performance through access point placement providing strong signal at display locations (-65 dBm or better), dedicated SSIDs for display devices separate from general users, quality of service (QoS) settings prioritizing display traffic, WPA2 or WPA3 security appropriate for institutional environments, and regular testing confirming stable connectivity under normal network loads.
Poor WiFi connectivity creates frustrating content update failures and sluggish interactive response, undermining user experience.
Network Security Configuration
Work with IT security to configure appropriate network access by creating separate VLAN for display devices isolating from sensitive systems, configuring firewall rules allowing necessary cloud service access, establishing VPN connections if managing displays remotely, implementing device authentication preventing unauthorized access, and documenting security configuration for ongoing management.
Security policies must balance protection with functionality enabling displays to receive content updates and performance monitoring.
Physical Site Preparation
Prepare installation sites to receive equipment efficiently.
Mounting Surface Preparation
For wall-mounted installations, locate and mark wall studs for secure mounting, install additional backing support if wall construction requires it, verify walls are plumb and surfaces level, patch and paint walls to finished condition before installation, and protect finished surfaces during installation with appropriate covering.
For floor-standing kiosks, verify floors are level and structurally sound, mark floor anchor locations if securing kiosks to prevent tipping, plan cable routing paths from floor to kiosk base, and coordinate with flooring contractors if running conduit beneath floors.
Staging and Storage Areas
Designate secure areas for receiving and staging equipment before installation including climate-controlled space protecting electronics from temperature extremes, secure storage preventing theft or damage, adequate space for uncrating and inspection, proximity to installation locations minimizing transport distances, and loading dock or entrance access for delivery trucks.
Digital display kiosks arrive in large, heavy crates requiring careful handling and adequate staging space.
Phase 3: Hardware Installation and Physical Mounting
Installation day brings together preparation work as equipment is positioned, mounted, and connected.
Receiving and Inspecting Equipment
Careful receiving procedures prevent accepting damaged equipment and identify issues early.
Delivery Coordination
Coordinate delivery timing with school schedules to minimize disruption, ensure adequate personnel available for receiving and moving equipment, verify delivery access routes to installation locations, arrange freight elevators or equipment for multi-story installations, and confirm staging area readiness before delivery arrives.
Many digital display kiosks ship on freight pallets requiring forklift or pallet jack offloading.
Inspection and Documentation
Before signing delivery receipts, inspect shipping containers for obvious damage or crushing, photograph any exterior damage before uncrating, uncrate equipment carefully preserving packaging materials, inspect all components against packing lists confirming complete shipment, and document any damage or missing items immediately.
Digital displays are fragile and expensive—thorough inspection protects against accepting damaged equipment and strengthens damage claims if needed.
Acclimation Period
Allow displays to acclimate to installation environment temperature before powering on, particularly if delivered in temperature extremes. Electronics shipped in cold weather should warm to room temperature over several hours before powering to prevent condensation damage.
Professional Mounting and Installation
While experienced facilities staff can install some display types, professional installation ensures optimal results and preserves warranties.
Wall-Mount Installation Procedures
For wall-mounted displays, professional installers will locate studs and verify structural support adequacy, mount heavy-duty brackets using appropriate fasteners for wall type, level brackets ensuring display hangs properly, mount display to brackets following manufacturer torque specifications, secure all mounting hardware with thread-locking compound, and verify mount stability before proceeding with connections.
Wall-mount failures can destroy expensive equipment and create safety hazards—professional installation provides essential quality assurance.

Floor-Standing Kiosk Installation
Floor kiosks typically involve positioning kiosk at marked location verifying alignment, routing power and network cables through kiosk base, connecting internal wiring per manufacturer specifications, securing kiosk to floor using appropriate anchors if required, installing any decorative trim or cable management features, and verifying stability and proper leveling.
Many floor kiosks include integrated cable management routing power and network connections cleanly from floor level through kiosk structure.
Integrated Installation Coordination
For displays integrated into architectural millwork or custom installations, coordinate between display installers, carpentry contractors, electrical contractors, and network technicians ensuring proper sequencing, verify all rough-in work completed before display installation, protect finished surfaces during display installation work, and conduct final fit verification before permanent fastening.
Integrated installations create beautiful results but require careful coordination across trades.
Phase 4: System Configuration and Network Integration
With hardware physically installed, configuration transforms the kiosk into a functional system.
Initial Power-Up and Display Configuration
First power-up requires methodical procedures ensuring proper configuration.
Initial Boot and Setup
Following manufacturer procedures, power displays through surge-protected connections, complete initial setup wizards configuring language, time zone, and basic settings, update firmware to latest versions before deploying content, and verify display functionality including touchscreen calibration if applicable.
Many displays ship with factory default settings inappropriate for institutional deployments—proper configuration prevents future issues.
Display Calibration and Optimization
Optimize display performance through brightness adjustment appropriate for ambient lighting conditions (typically 250-350 nits for indoor installations), color temperature settings creating natural appearance (6500K standard), viewing angle optimization for primary approach directions, touchscreen calibration ensuring accurate touch response across entire screen, and on-screen display (OSD) settings locking out user adjustment of critical settings.
Proper calibration significantly improves viewing experience and user interaction quality.
Network Connection and Remote Management
Network integration enables content delivery and remote administration.
Network Connection Establishment
Configure network connectivity using settings coordinated with IT department through wired ethernet connection providing MAC address to IT for network registration, or WiFi connection using institutional SSID and credentials, verify internet connectivity testing cloud service access, configure static IP addresses if required by network policies, and document network configuration for future reference.
Work closely with IT support during initial network configuration as display devices may require specific firewall rules or network permissions.
Content Management System Integration
Connect displays to content management systems following provider documentation by registering devices with cloud-based management platforms, configuring device groups and display schedules, assigning content playlists or interactive applications, testing remote content updates verifying reliable delivery, and establishing monitoring confirming displays are online and functioning.
Many digital signage solutions for schools offer cloud-based management enabling content updates across multiple displays simultaneously.
Remote Management and Monitoring
Configure remote administration capabilities enabling ongoing management through remote desktop access for troubleshooting (if security policies allow), automated health monitoring reporting display status, scheduled content updates without manual intervention, usage analytics tracking engagement metrics, and alert notifications for offline displays or system errors.
Remote management dramatically reduces ongoing administration burden, particularly for multi-display deployments.
Phase 5: Content Deployment and Launch Preparation
Technical infrastructure means nothing without compelling content that engages your community.
Initial Content Development and Loading
Plan launch content showcasing display capabilities while delivering immediate value.
Content Strategy for Launch
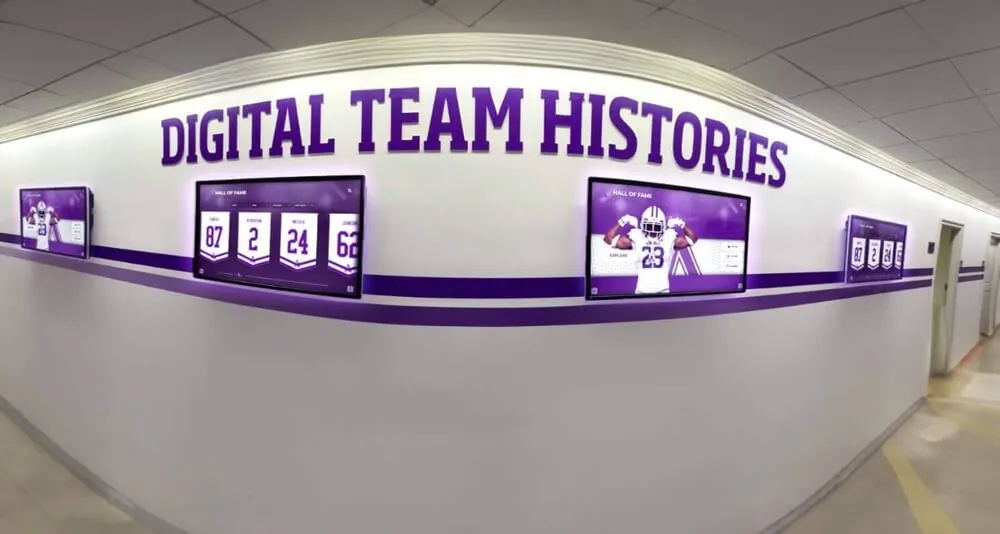
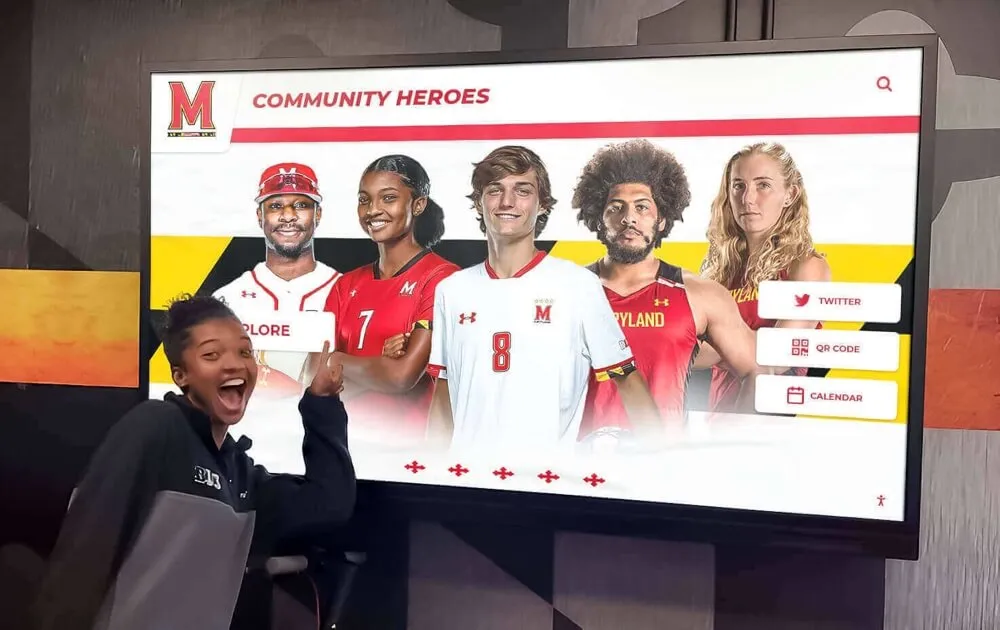
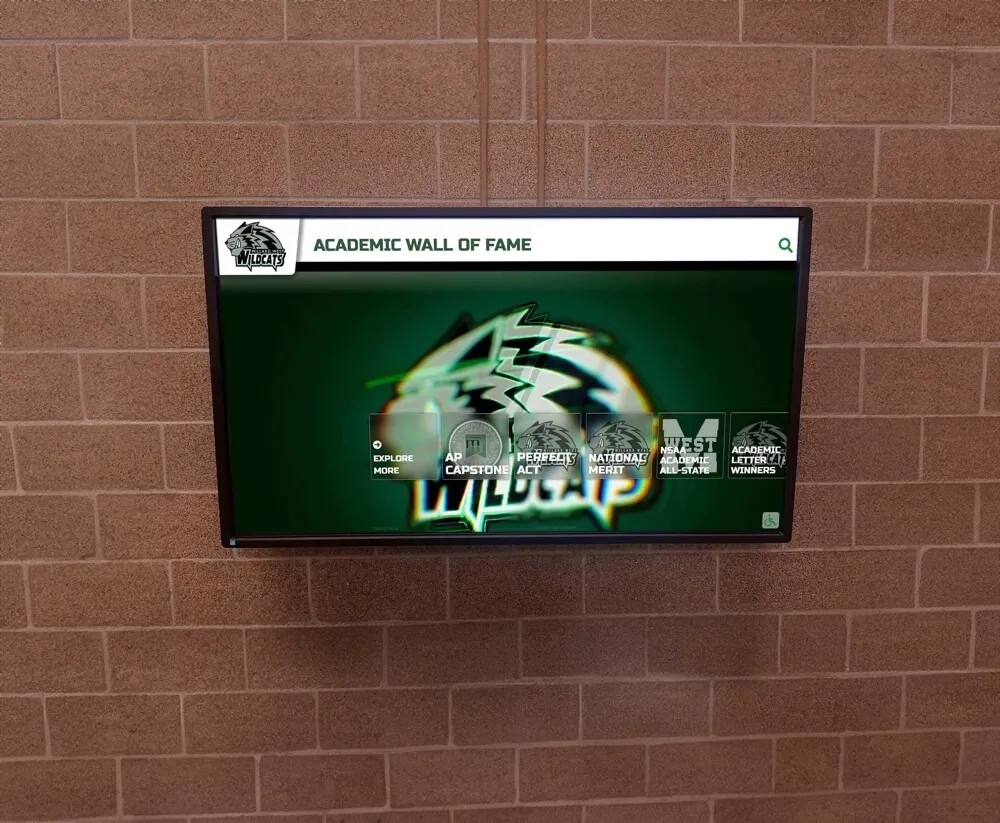
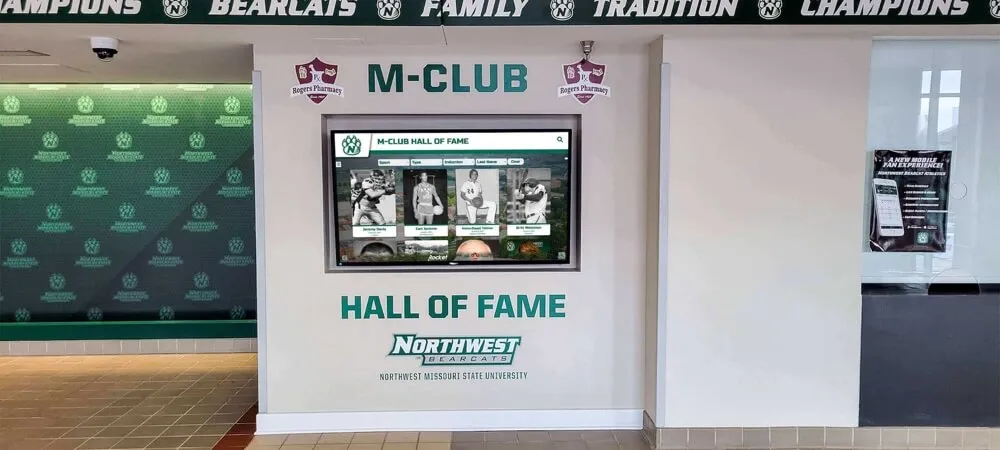
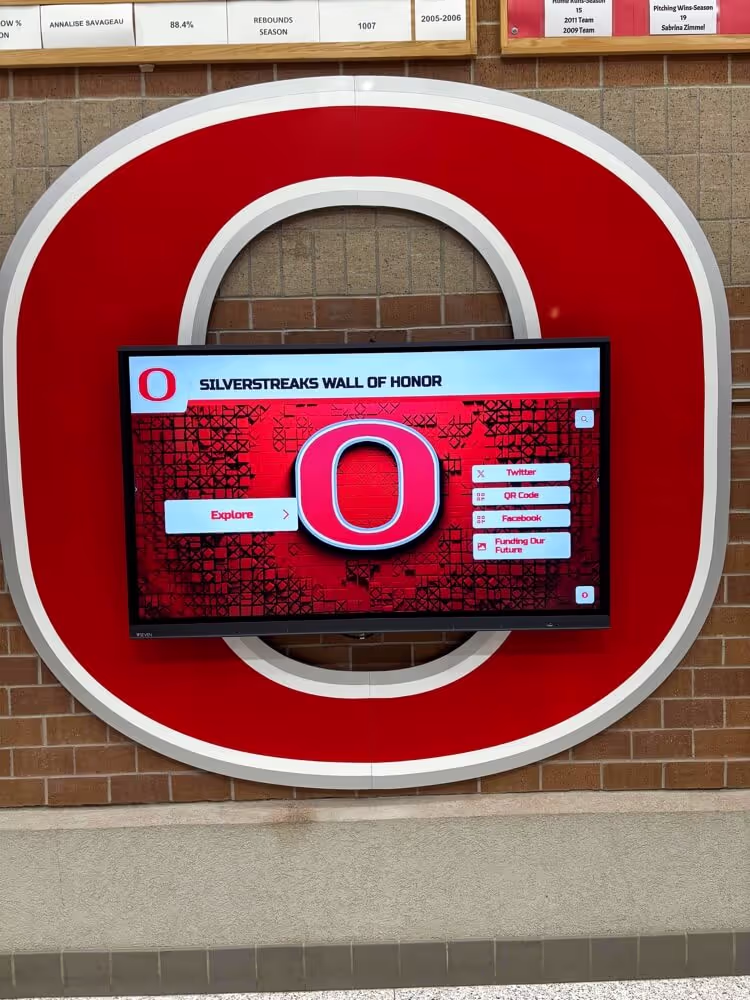
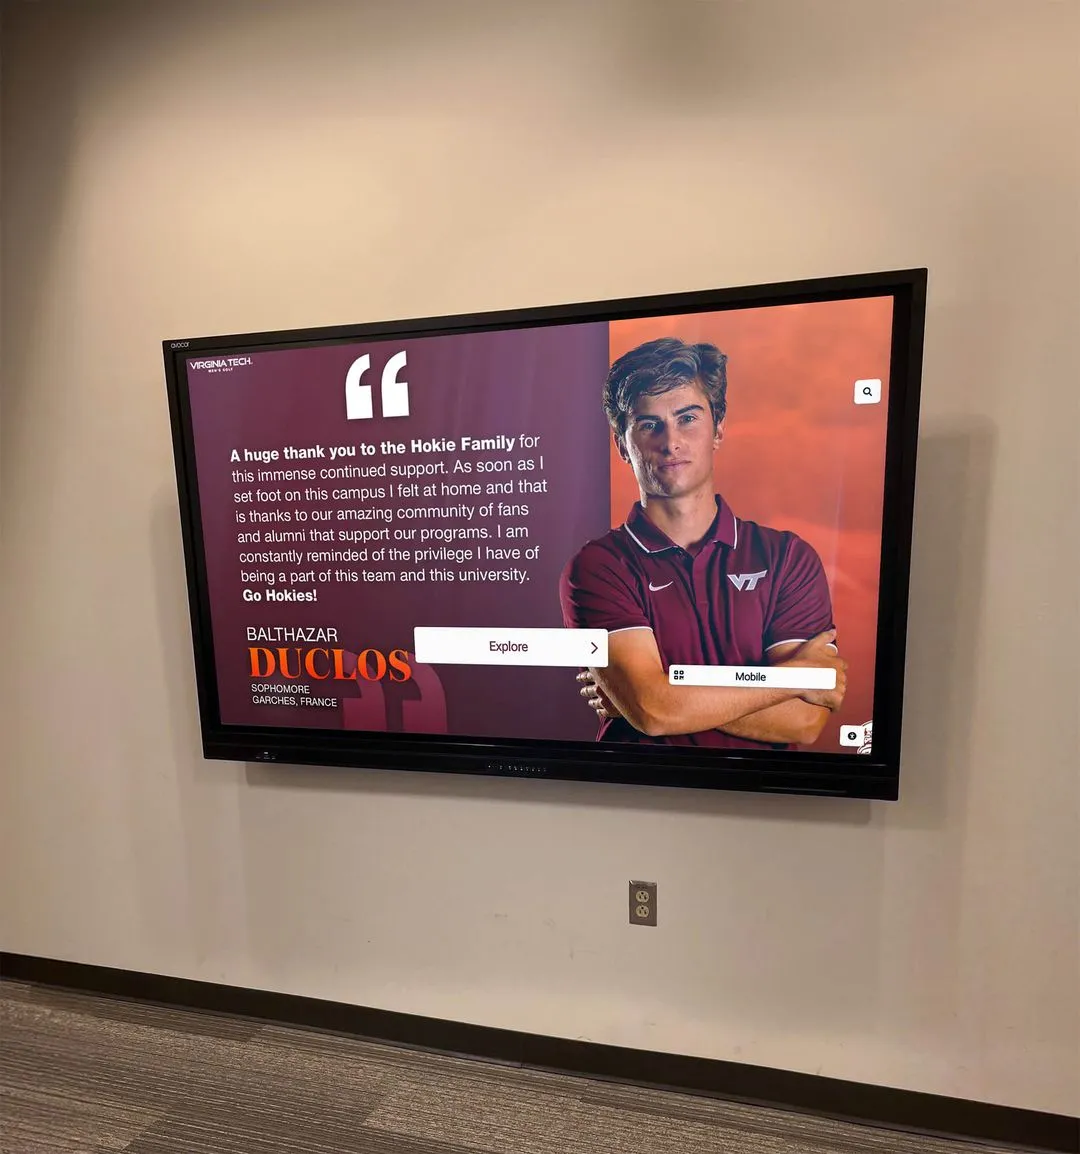
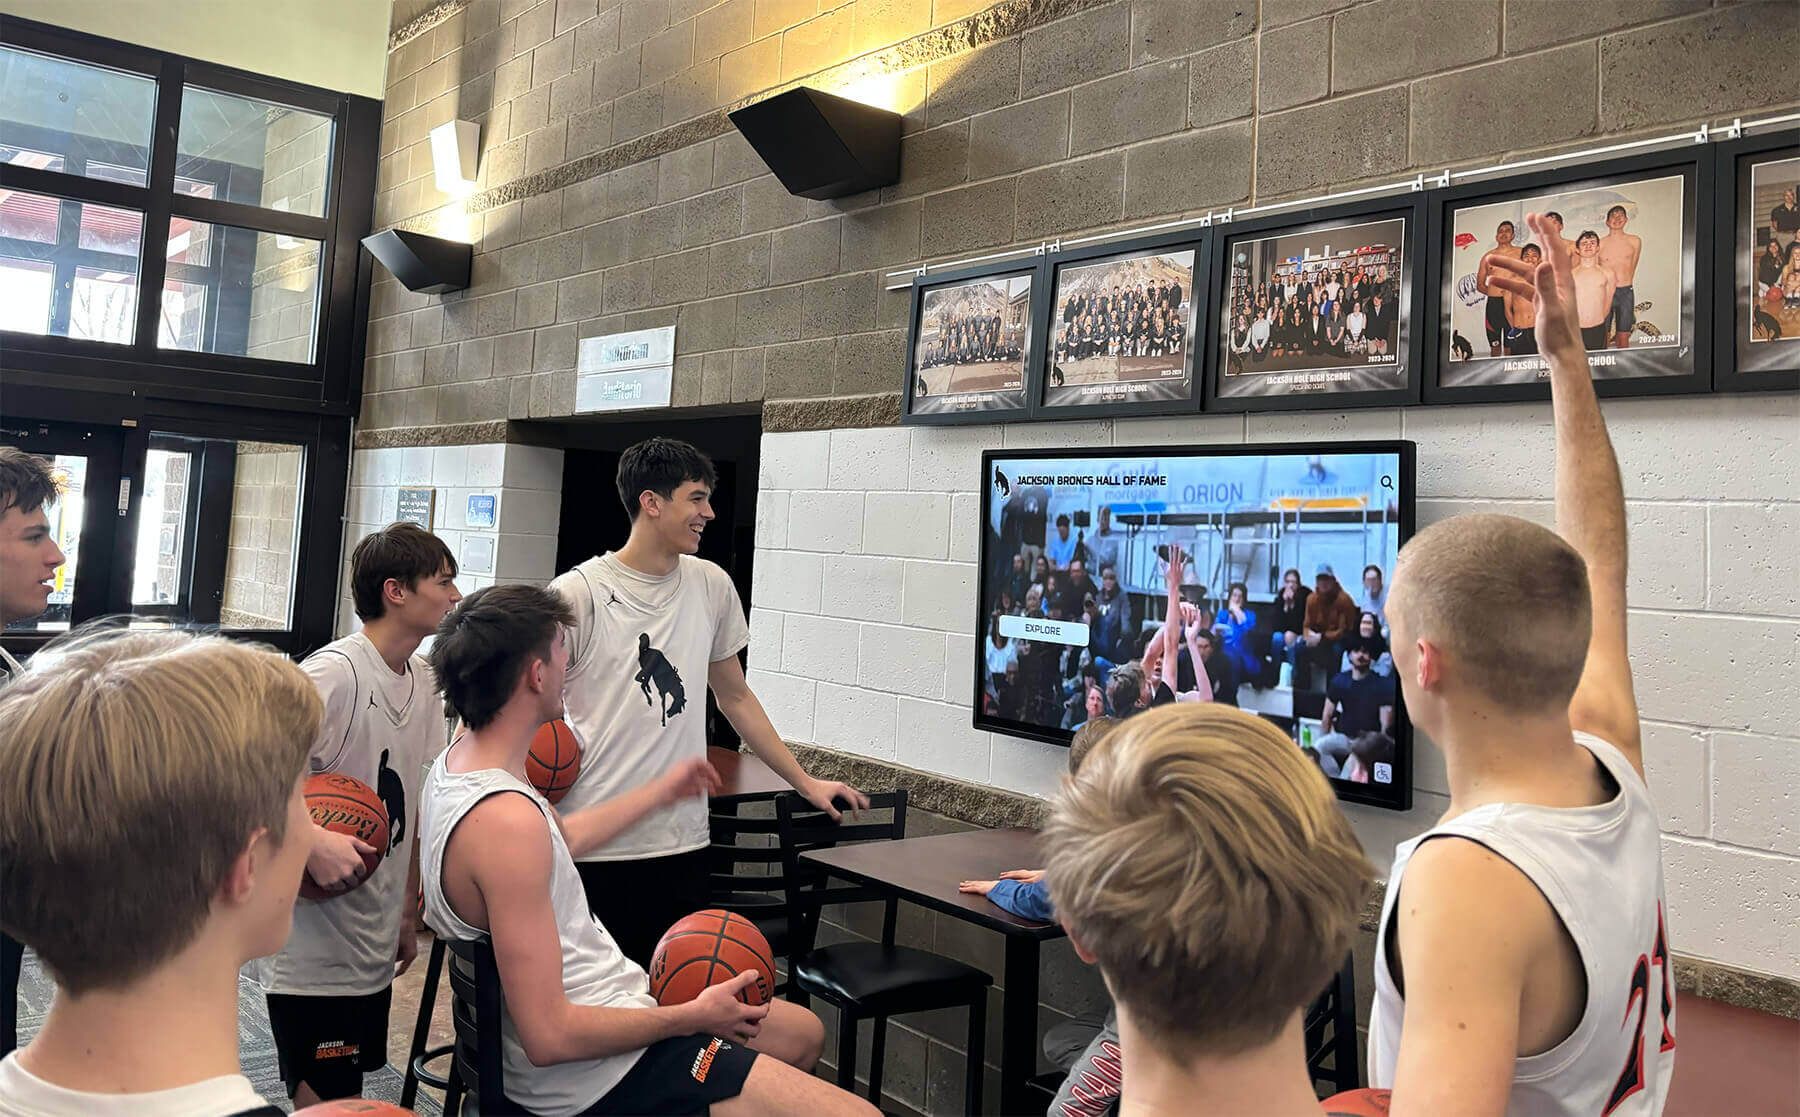
Develop diverse initial content demonstrating display versatility including athletic recognition featuring recent accomplishments and hall of fame inductees, academic honors celebrating scholars and achievement, event calendars and announcements showcasing information utility, school history and traditions building institutional pride, and interactive features encouraging user exploration.
Varied content demonstrates the kiosk’s range while appealing to diverse audience interests.
Content Quality Standards
Ensure all launch content meets professional quality standards through high-resolution images (minimum 1920x1080 for HD displays, 4K for larger screens), accurate information verified before publication, consistent branding and visual design aligned with school identity, proper spelling, grammar, and fact-checking, and appropriate permissions for any photos, videos, or copyrighted materials.
Low-quality content undermines expensive hardware investments and damages credibility.
Content Loading and Testing
Upload initial content and thoroughly test functionality by verifying all media displays correctly without artifacts or formatting issues, testing interactive features confirming touch response and navigation, checking content rotation schedules if using playlist features, confirming text readability from various viewing distances, and testing on actual hardware at installation location (not just on computers).
What looks perfect on a computer screen may reveal issues when viewed on a large display from across a room.
Staff Training and Documentation
Successful long-term operation requires staff capability to manage content and basic troubleshooting.
Administrator Training
Provide comprehensive training for content administrators on content management system access and navigation, uploading and scheduling content, creating and editing playlists, managing user permissions and access controls, basic troubleshooting for common issues, and accessing vendor support when needed.
Hands-on training is far more effective than written documentation alone—schedule practice sessions where administrators perform actual content updates.
Documentation Development
Create clear documentation including quick-start guides for common tasks, step-by-step procedures for content uploads and edits, troubleshooting flowcharts for common problems, vendor contact information and support procedures, network and system configuration details, and maintenance schedules and procedures.
Well-organized documentation prevents knowledge loss when trained staff leave and enables broader staff participation in content management.
Support and Maintenance Planning
Establish ongoing support structures including designated point people responsible for content and technical management, regular content update schedules preventing stale content, maintenance procedures for cleaning screens and checking connections, vendor support agreements and escalation procedures, and budget allocation for ongoing costs including content development and technical support.
Many installations fail not from technical problems but from lack of ongoing content management and maintenance planning.
Phase 6: Testing, Soft Launch, and Official Debut
Thorough testing and phased launch prevent embarrassing failures and enable optimization before official announcement.
Comprehensive System Testing
Test all system aspects before publicizing the installation to your community.
Functional Testing Checklist
Verify every system component performs correctly by testing display power-up and shutdown sequences, confirming touchscreen response across entire screen surface, verifying content updates deliver reliably, checking network connectivity stability over extended periods, testing interactive features and navigation flows, confirming audio output if displays include sound, and measuring performance under various network and power conditions.
Create testing checklists ensuring nothing is overlooked before launch.
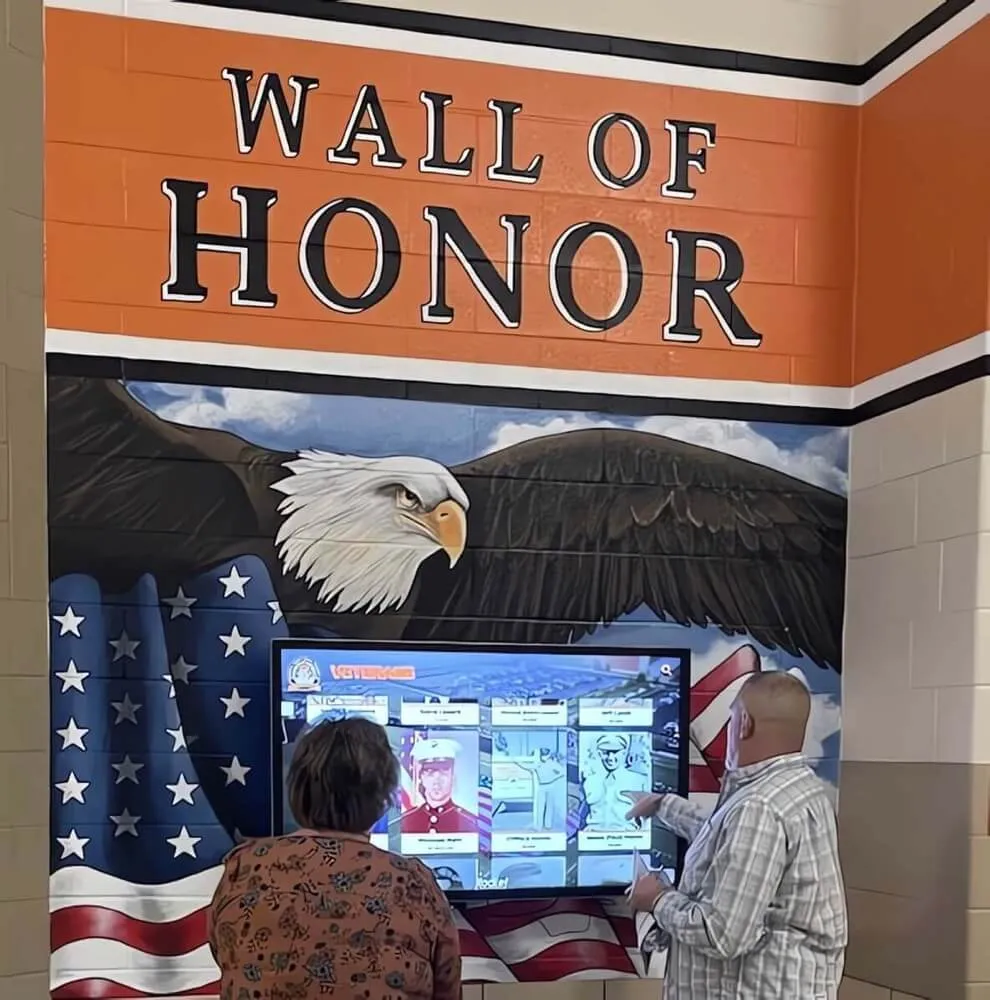
User Experience Testing
Observe actual users interacting with displays during soft launch period including students using interactive features, staff navigating content, visitors finding information, and users of various heights reaching touchscreen interfaces comfortably.
Watching real users often reveals interface issues and navigation confusion that formal testing misses.
Load and Reliability Testing
Verify system stability under realistic conditions by running displays continuously for extended periods (72+ hours), testing during peak network usage times, confirming reliable content updates, monitoring for memory leaks or performance degradation, and verifying displays recover properly after power interruptions.
Reliability problems often emerge only after extended operation—soft launch periods expose these issues before official debut.
Soft Launch and Refinement
Quiet deployment periods enable refinement without public scrutiny.
Limited Announcement Phase
Activate displays without major announcement, allowing organic discovery, observing user behavior and engagement patterns, gathering informal feedback from early users, identifying navigation confusion or content issues, and making adjustments before official launch.
Soft launches provide valuable learning without the pressure of formal unveiling events.
Content and Interface Refinement
Based on soft launch observations, refine content and interfaces by adjusting content rotation timing based on viewing patterns, simplifying navigation reducing steps to reach popular content, enhancing visibility of interactive features if users miss them, adding wayfinding or instructions if user confusion occurs, and optimizing content placement based on actual sightlines and viewing distances.
User behavior often surprises even careful planners—soft launch observation enables evidence-based refinement.
Official Launch and Promotion
With systems optimized and proven reliable, announce the installation to your community.
Launch Event Planning
Consider formal unveiling ceremonies including ribbon-cutting or dedication ceremonies particularly for major installations, demonstrations showcasing interactive features and content variety, recognition of donors, planning committees, or individuals who made installation possible, media coverage through local press, school newsletters, and social media, and student involvement through student government speakers or student-produced content features.
Launch events build excitement and communicate institutional investment in recognition and communication.
Ongoing Promotion and Engagement
Sustain interest after initial launch through regular feature highlights showcasing new content, social media posts directing audiences to explore specific displays, newsletter coverage celebrating recognized individuals, QR codes linking to web versions of display content, and contests or engagement campaigns encouraging interaction.
Initial excitement fades quickly without ongoing promotion maintaining awareness and encouraging regular engagement.

Ongoing Maintenance and Content Management
Installation completion marks the beginning of ongoing operation requiring sustained attention.
Regular Maintenance Procedures
Establish systematic maintenance preventing minor issues from becoming major problems.
Routine Cleaning and Inspection
Schedule regular maintenance including weekly touchscreen cleaning with appropriate cleaning solutions (typically alcohol-free, anti-static cleaners), monthly physical inspection of mounting hardware checking for loosening, quarterly deep cleaning including vents and air intakes, semi-annual professional inspection of electrical and network connections, and immediate attention to any physical damage, screen issues, or performance degradation.
Clean, well-maintained displays remain engaging and functional far longer than neglected installations.
Performance Monitoring and Optimization
Monitor system performance through automated monitoring tools tracking uptime and connectivity, usage analytics identifying popular content and navigation patterns, periodic user surveys gathering feedback, regular review of content effectiveness, and performance benchmarking against initial installation metrics.
Data-driven management produces better results than assumption-based decisions.
Content Strategy for Sustained Engagement
Fresh, relevant content is essential for maintaining long-term engagement.
Content Calendar Development
Plan content systematically through annual content calendars aligning with school calendar events, seasonal themes rotating throughout the year, recognition cycles matching athletic seasons and academic terms, milestone celebrations and anniversaries, and archived content rotation bringing historical material forward periodically.
Planned content calendars prevent last-minute scrambling and ensure displays remain current and relevant.
Community Contribution Strategies
Expand content sources beyond administrators by establishing submission processes for departments to contribute content, training coaches and activity sponsors to submit recognition content, involving student groups in content creation, creating digital yearbook connections repurposing yearbook content, and soliciting alumni contributions for historical content.
Distributed content creation reduces bottlenecks and brings diverse perspectives to displays.
Content Refresh Best Practices
Keep displays engaging through regular content rotation (weekly minimum for high-traffic locations), balance of new content and evergreen material, seasonal relevance connecting to current school activities, timeliness in recognizing recent accomplishments, and periodic content audits removing outdated or irrelevant material.
Stale content kills engagement faster than almost any other factor—prioritize freshness even if content isn’t perfect.
Measuring Success and ROI
Evaluate installation success through both quantitative and qualitative measures.
Engagement Metrics and Analytics
Track measurable indicators of display effectiveness including interaction counts on touchscreen kiosks, session duration and depth showing engagement quality, peak usage times informing content scheduling, popular content categories guiding future development, and traffic patterns showing which locations perform best.
Most professional digital display platforms include analytics dashboards providing insights into user behavior and engagement.
Stakeholder Feedback and Community Response
Gather qualitative feedback through informal observation of user interactions, periodic surveys of students, staff, and visitors, focus groups exploring user experience and content preferences, social media mentions and commentary, and anecdotal feedback from administrators and community members.
Numbers tell part of the story, but qualitative feedback provides essential context and improvement insights.
Institutional Impact Assessment
Evaluate broader institutional benefits including enhanced school pride and community identity, improved communication effectiveness, increased recognition program participation, positive visitor impressions of modern facilities, fundraising or development benefits from donor recognition features, and recruitment advantages showcasing institutional investment.
Digital display kiosks deliver value beyond immediate metrics—comprehensive assessment captures full return on investment.
Conclusion: From Installation to Institution
Installing a digital display kiosk represents significant investment in your school’s communication infrastructure and community recognition capabilities. Following systematic installation procedures transforms hardware into institutional assets that engage communities, celebrate achievement, and strengthen school culture for years.
The difference between installations that thrive and those that disappoint almost always traces to planning and preparation rather than hardware quality. Schools that invest time in proper site selection, infrastructure preparation, stakeholder coordination, content development, and ongoing management create digital displays that become community touchstones.
The technical aspects of installation—mounting displays, running power and network, configuring systems—are straightforward with proper expertise. The strategic aspects—choosing locations, developing compelling content, training administrators, sustaining fresh content—require sustained institutional commitment producing long-term value.
Digital display technology continues evolving with enhanced interactive capabilities, improved display quality, more sophisticated content management, and expanded integration with school systems. Schools installing systems today position themselves to leverage these advances while building the organizational capabilities and content assets that maximize technology investments.
For schools ready to implement professional digital recognition and communication systems, Rocket Alumni Solutions provides turnkey solutions including hardware, installation, content management platforms, and ongoing support eliminating the complexity of multi-vendor coordination. From initial planning through installation and long-term operation, comprehensive solutions ensure successful implementations that engage communities and deliver measurable value.
Your digital display kiosk installation begins not with unpacking equipment but with clear vision for how technology will serve your community. Invest the planning time, coordinate stakeholders, prepare infrastructure properly, develop quality content, and establish ongoing management practices. The result transforms lobbies and hallways into dynamic spaces celebrating your school’s achievements, communicating essential information, and building the pride and connection that define thriving educational communities.