Installing a touchscreen display in your school transforms how you celebrate student achievement, communicate with families, and showcase institutional pride. Yet the difference between a professional installation that serves your community for decades and a problematic one requiring expensive corrections often comes down to attention to detail during the mounting process.
When facilities directors and IT teams approach touchscreen installation for the first time, they face critical decisions about mounting locations, electrical requirements, network connectivity, accessibility compliance, and structural considerations that fundamentally impact both immediate installation success and long-term performance. Making informed choices at each step prevents costly mistakes while ensuring your investment delivers maximum value.
This comprehensive guide walks you through every phase of mounting a touchscreen display in a school environment—from initial site assessment through final testing—providing the technical specifications, practical insights, and proven procedures that ensure successful installation regardless of your facility’s unique characteristics.
School technology installations require balancing educational goals with practical constraints including limited budgets, occupied buildings, diverse user needs, and strict safety requirements. Proper planning transforms potentially complex projects into straightforward implementations that enhance your school environment professionally.

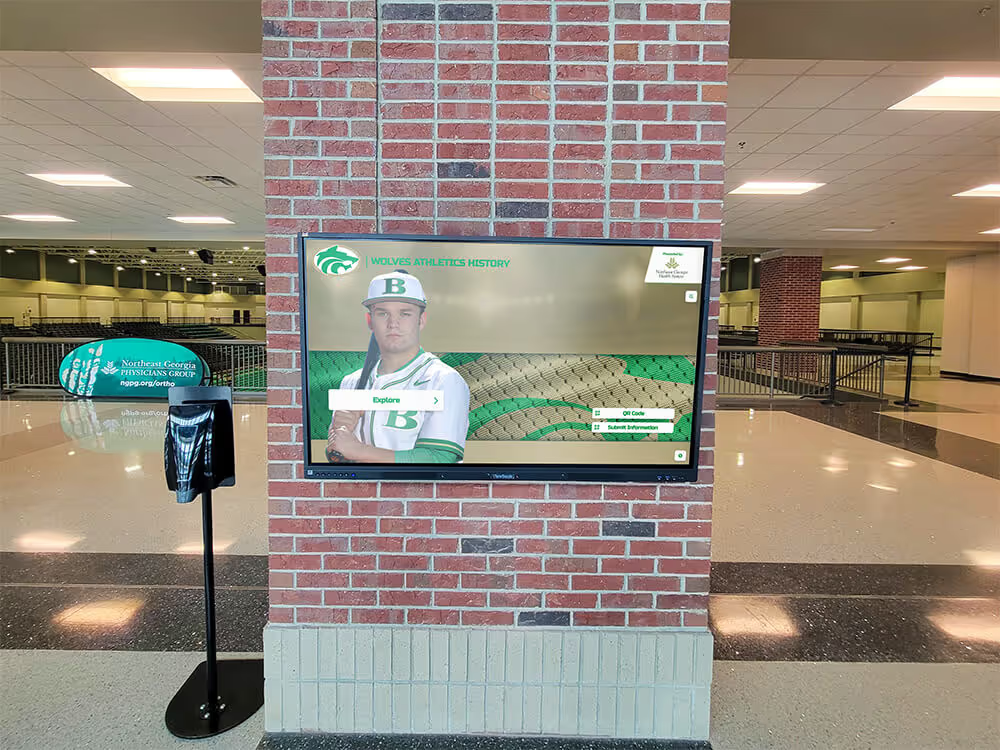
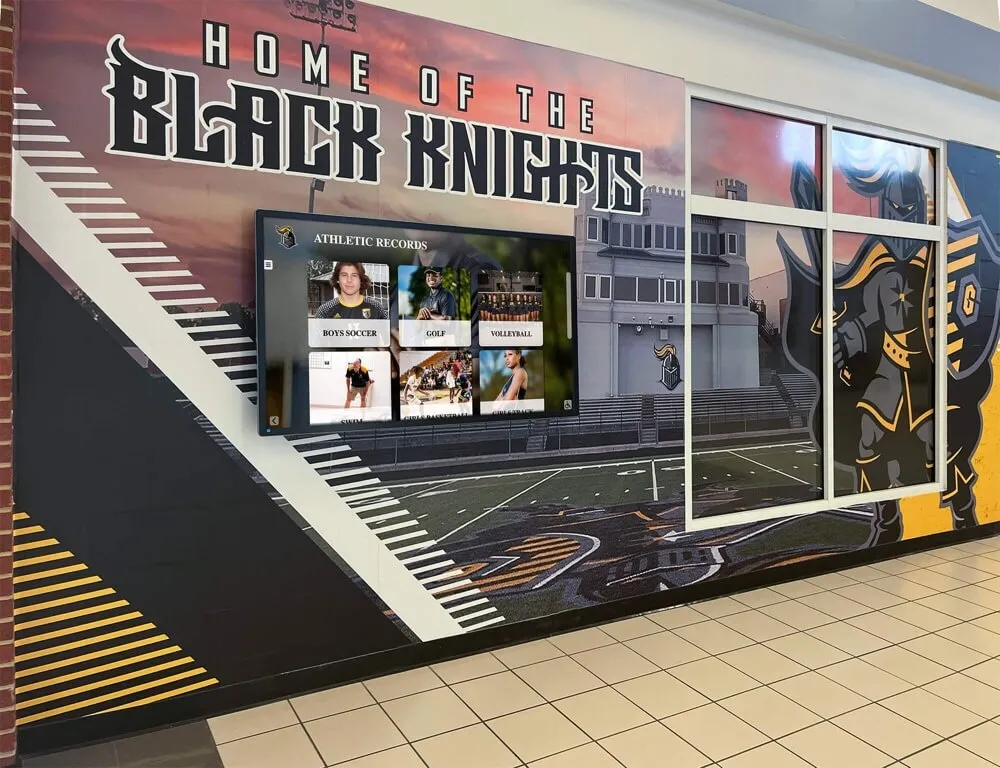
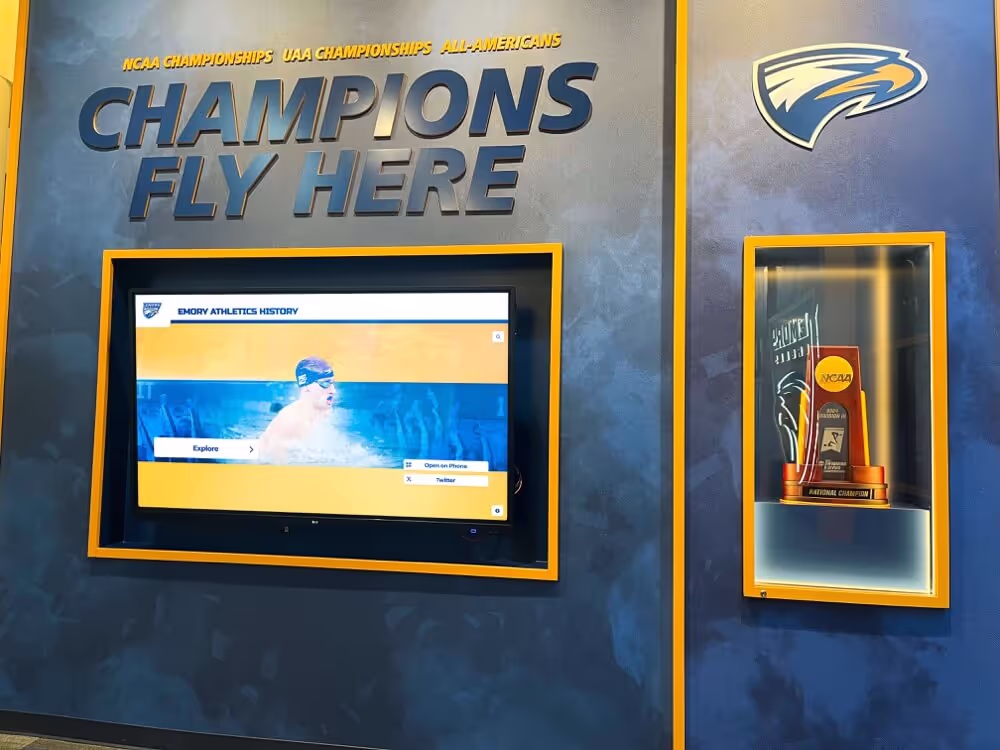
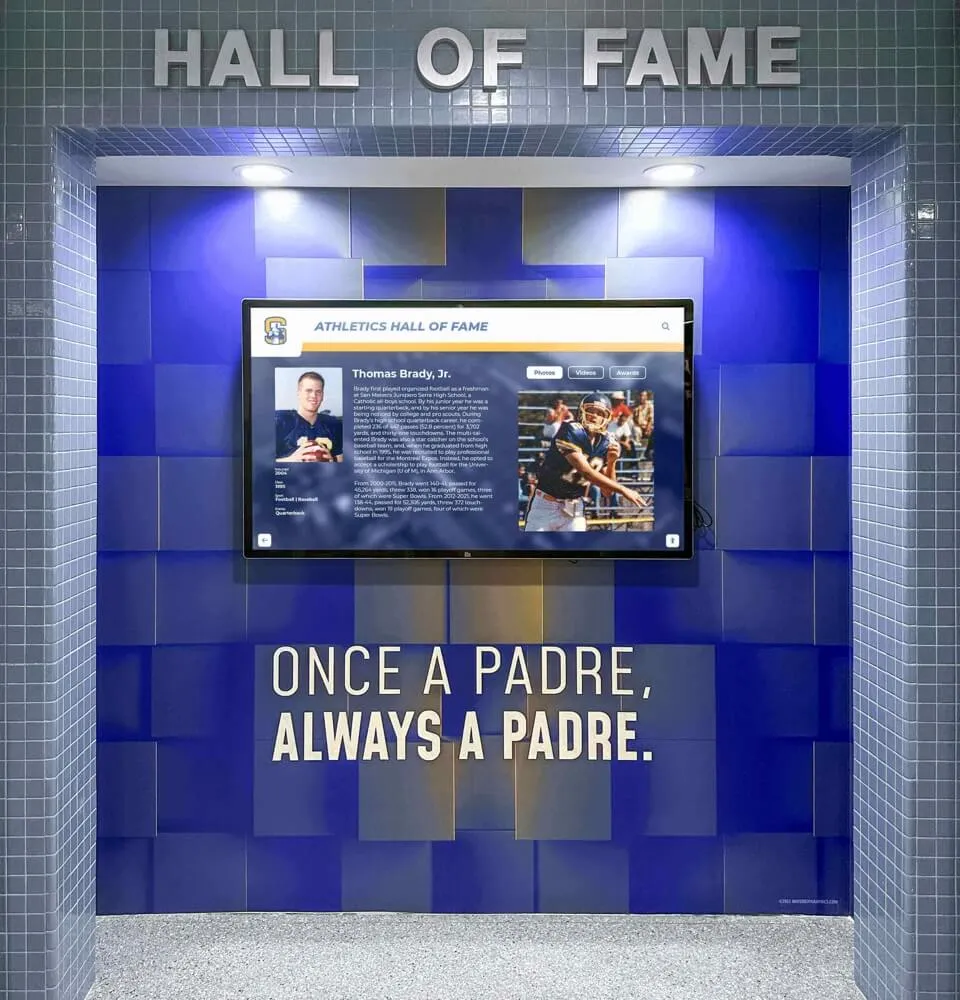
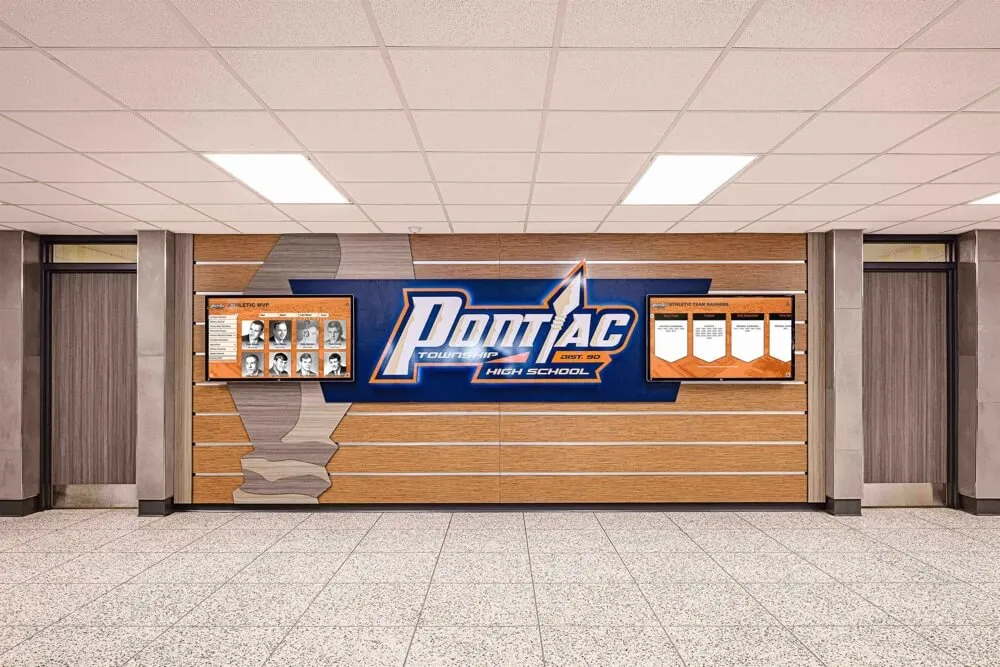
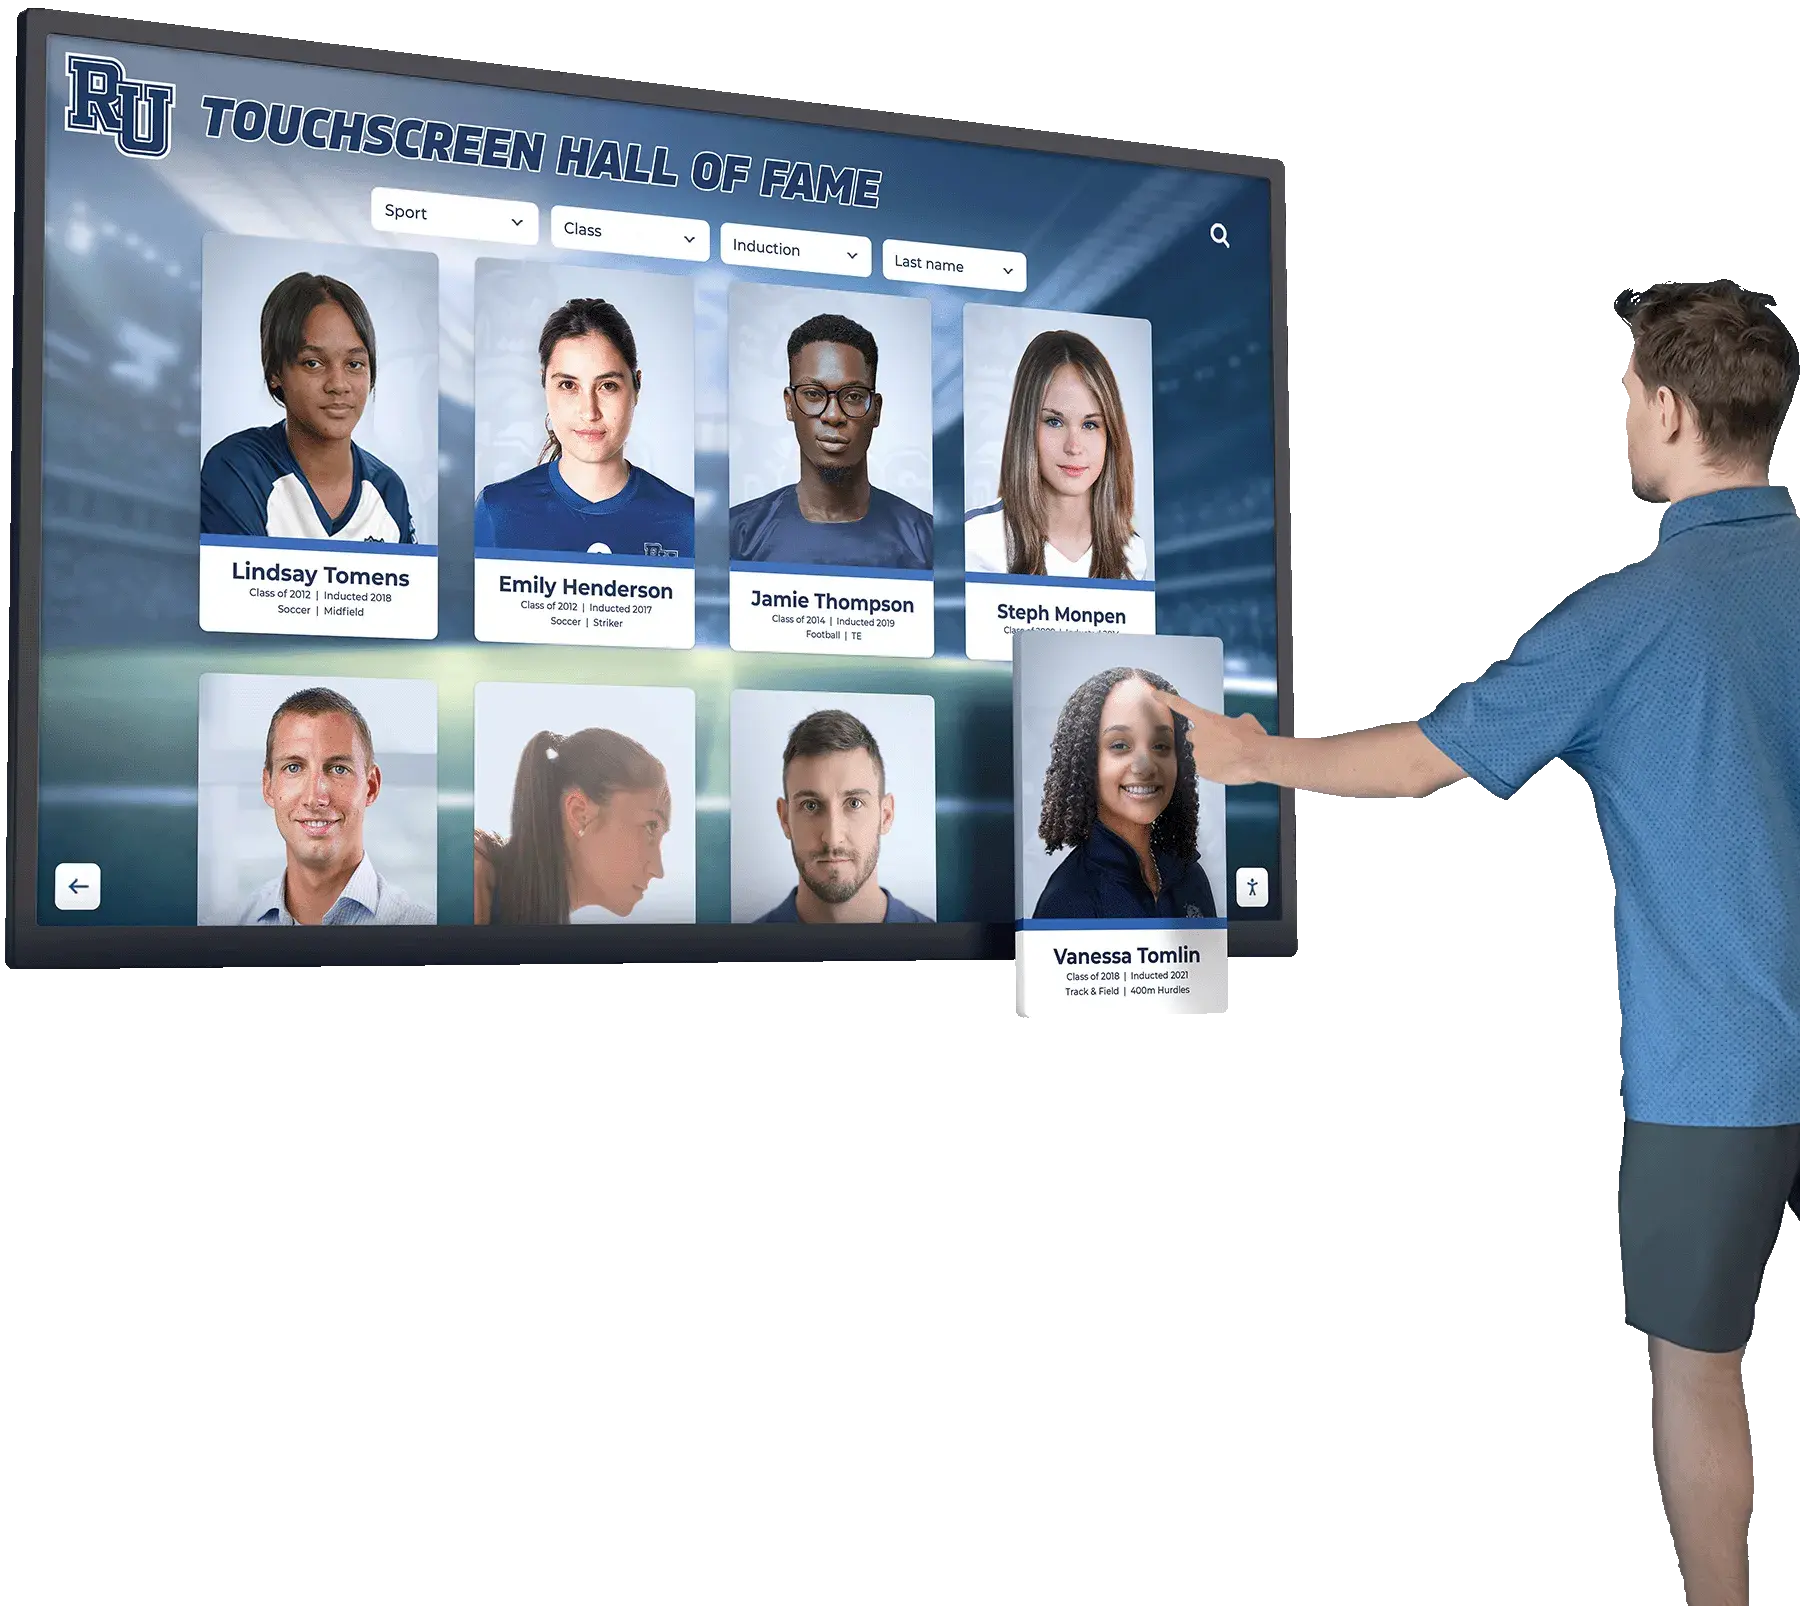
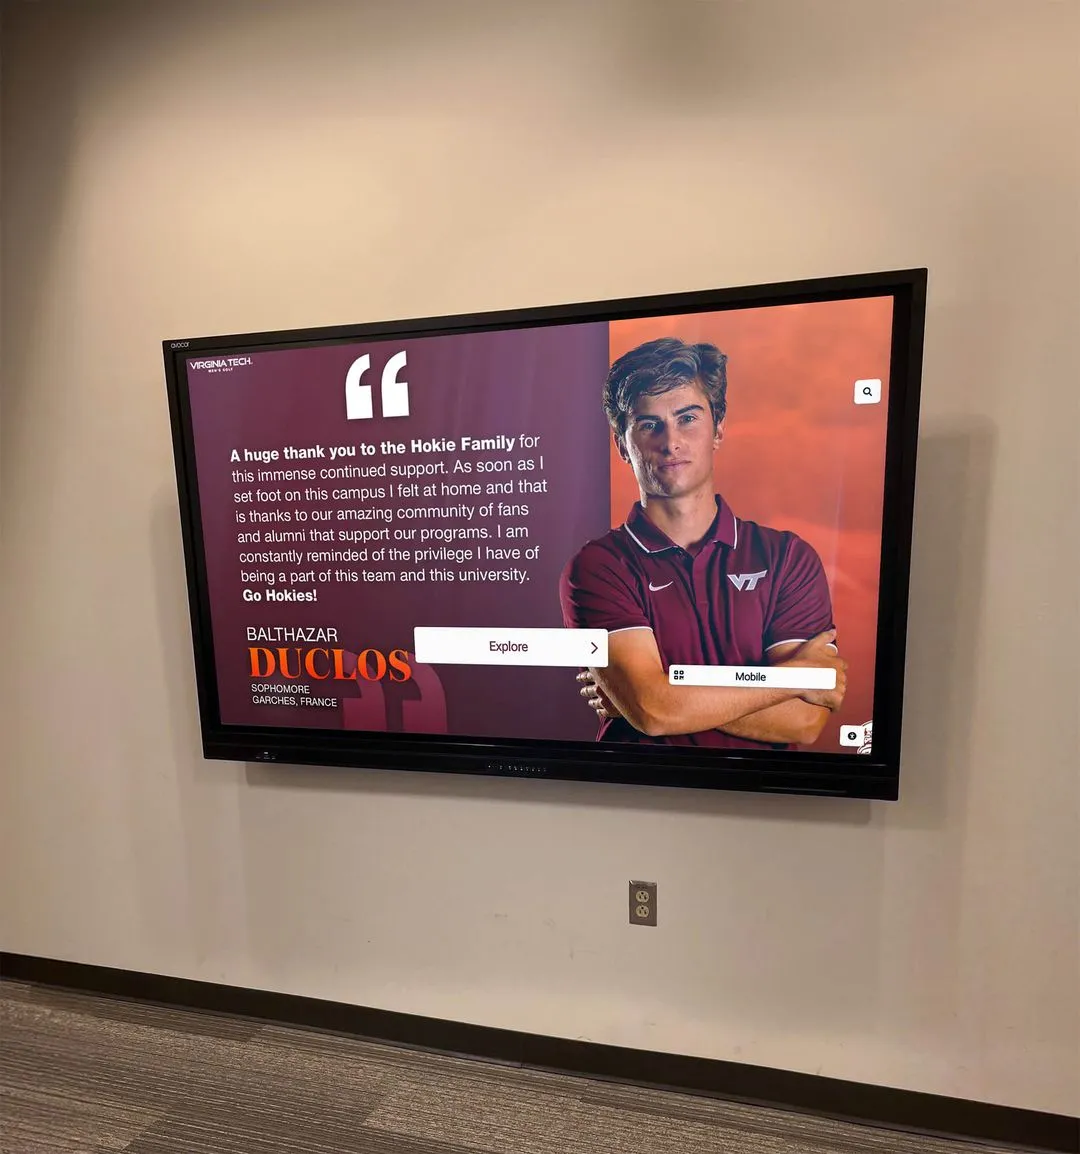
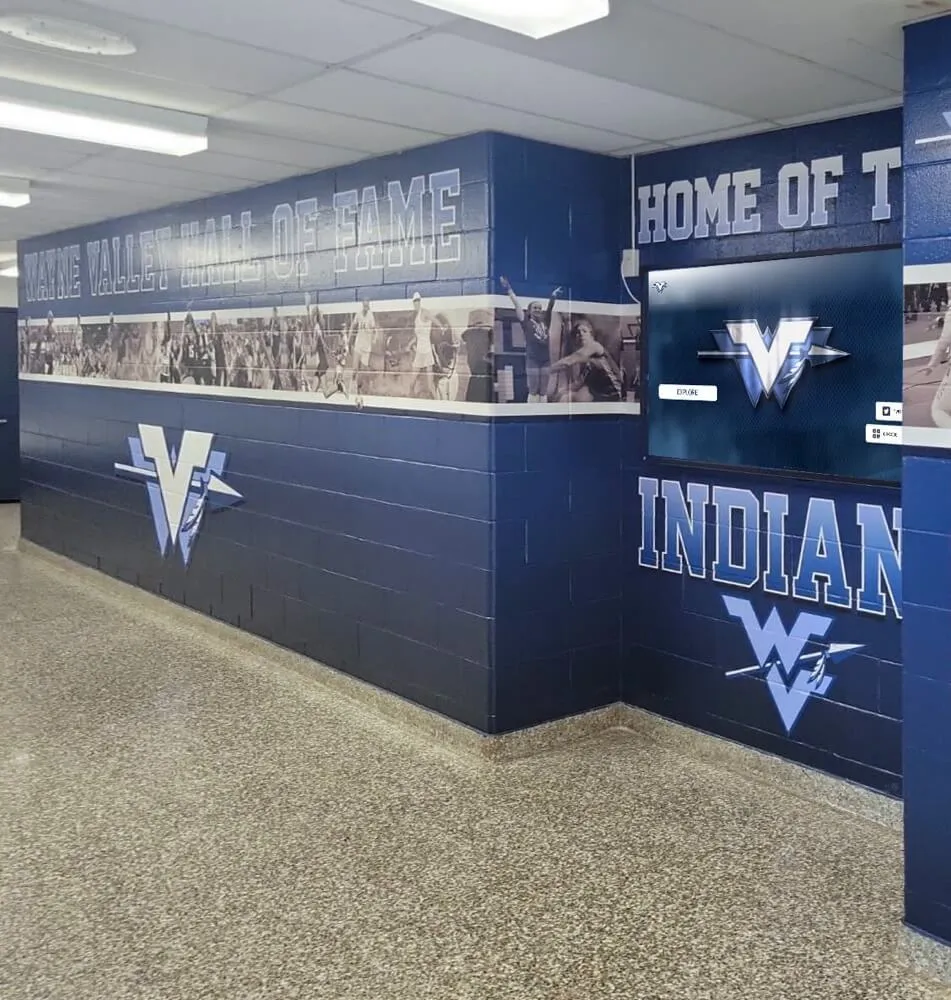
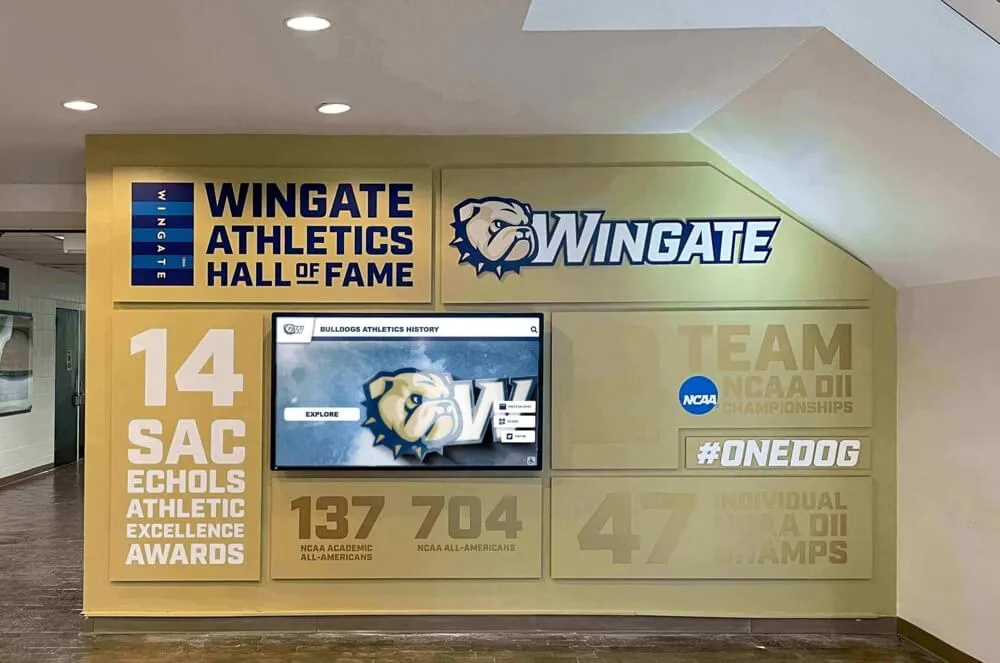
Proper mounting techniques ensure touchscreen displays integrate seamlessly into school environments while maintaining professional appearance and accessibility
Before You Start: Pre-Installation Planning Checklist
Successful touchscreen installations begin long before mounting brackets touch walls. Thorough pre-installation planning identifies potential obstacles, secures necessary approvals, and ensures you have all required resources when installation day arrives.
Site Assessment and Location Selection
Choosing the optimal mounting location determines both installation complexity and long-term effectiveness. Several critical factors influence location decisions:
High-Traffic Visibility Requirements
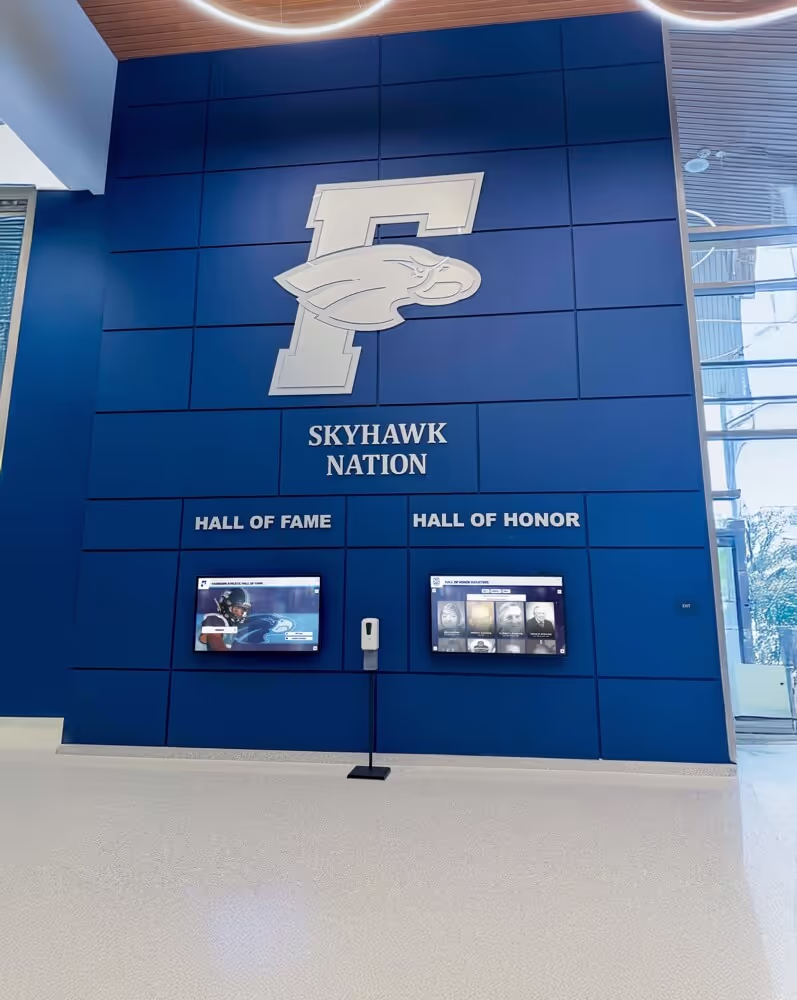
Position touchscreen displays where students, staff, and visitors naturally congregate. Main entrance lobbies, primary hallways connecting multiple wings, cafeteria approaches, and areas adjacent to administrative offices provide consistent visibility maximizing engagement. Avoid isolated corridors or areas with limited foot traffic where displays become invisible through lack of exposure.
Electrical Infrastructure Proximity
Each touchscreen requires reliable power through dedicated circuits. Locations within 15 feet of existing electrical outlets or panels simplify installation significantly. Distances exceeding 20 feet often require conduit runs through walls or ceilings, substantially increasing complexity and cost.
Network Connectivity Access
Cloud-based content management systems require reliable network connectivity for real-time updates. Locations near existing network drops, within Wi-Fi range providing strong signal strength, or accessible to network infrastructure rooms reduce installation complexity. Test wireless signal strength during site assessment using your device’s Wi-Fi analyzer to verify adequate connectivity before committing to locations.
Structural Wall Capacity
Touchscreen displays with mounting hardware typically weigh 75-150 pounds depending on screen size. Wall structures must support this weight safely with appropriate safety margins. Solid concrete or concrete block walls provide ideal mounting surfaces. Drywall installations require locating studs and using heavy-duty mounting systems distributing weight across multiple attachment points.
ADA Accessibility Compliance
Americans with Disabilities Act guidelines require specific mounting heights and approach clearances ensuring accessibility for wheelchair users and individuals with mobility limitations. We’ll cover precise specifications shortly, but location selection must accommodate these requirements from the outset.

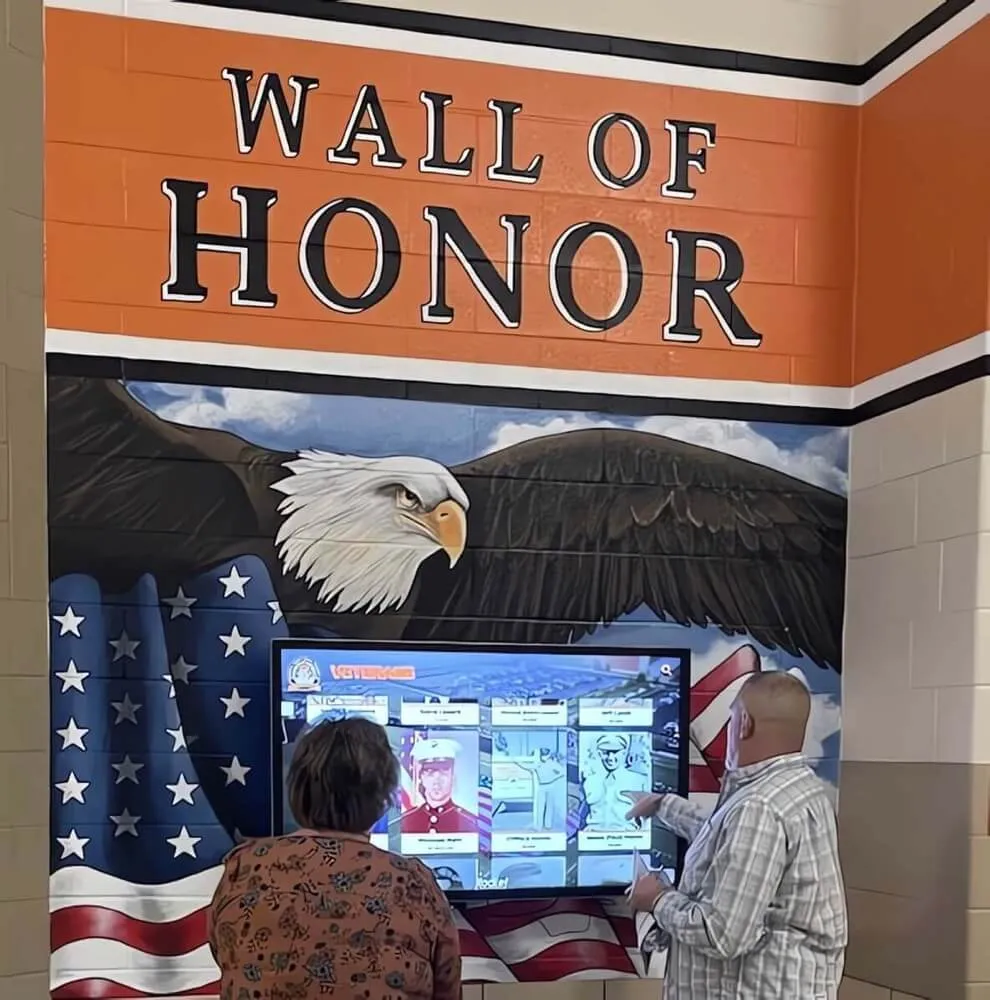
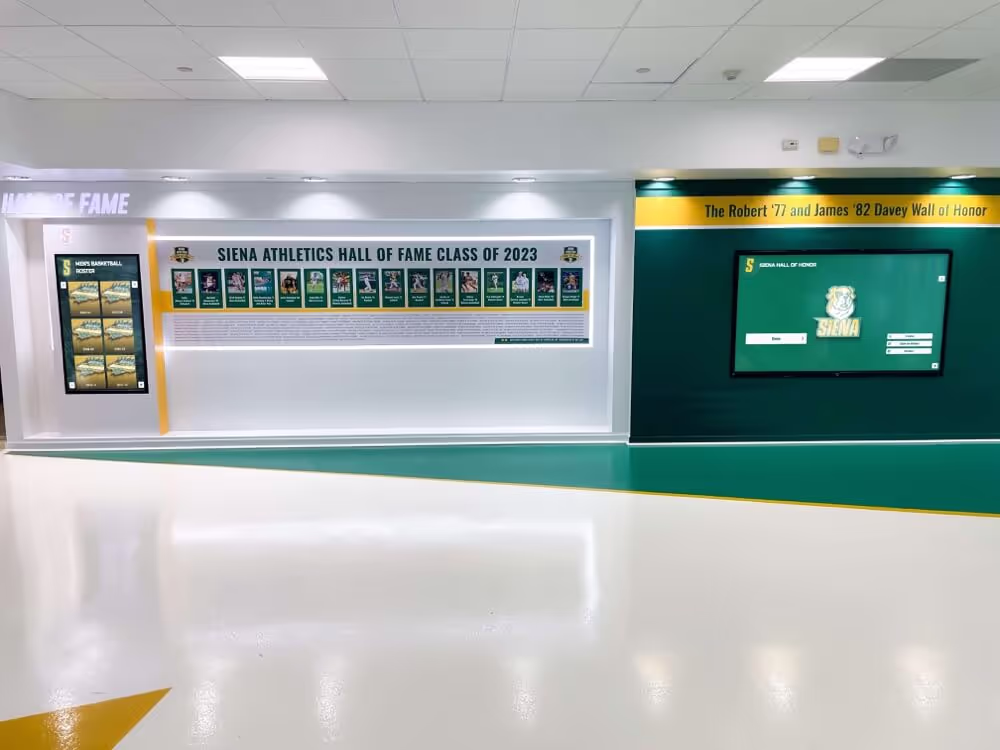
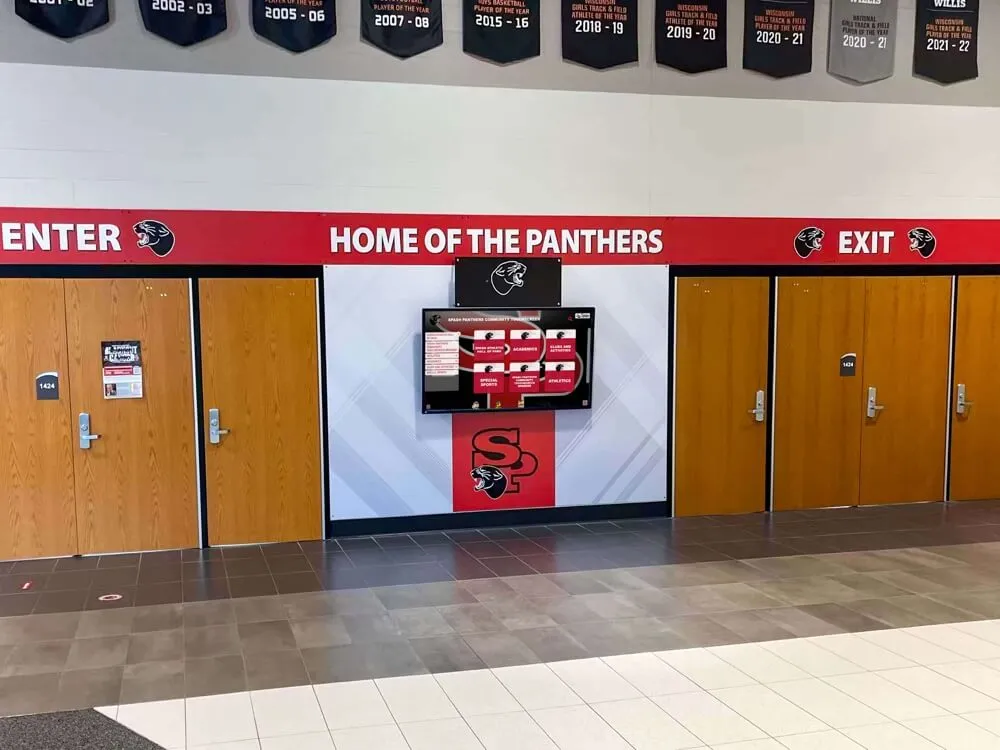
Location selection should prioritize high-traffic areas while maintaining accessibility compliance and professional integration
Required Approvals and Stakeholder Coordination
School installations typically require multiple approvals before proceeding:
Facilities and Maintenance Department
Obtain formal approval from facilities management covering structural modifications, electrical work, and wall penetrations. Facilities teams provide critical insights about wall construction, hidden infrastructure like plumbing or HVAC, and building systems that might complicate installation.
IT Department Coordination
Network connectivity, content management access, security policies, and ongoing technical support require IT department involvement. Early coordination ensures your display integrates smoothly with existing network infrastructure and security protocols while establishing clear support responsibilities.
Fire Marshal and Safety Compliance
Some jurisdictions require fire marshal approval for permanent installations, especially those involving electrical work. Verify local requirements and schedule inspections appropriately to avoid project delays.
Principal and Administrative Leadership
Secure administrative approval for location selection, installation timing, and any instructional disruption occurring during installation. Coordinate installation scheduling during breaks, weekends, or low-activity periods minimizing impact on school operations.
Schools implementing digital signage for important announcements benefit from coordinating with communications teams early in the planning process.
Essential Measurements and Documentation
Before installation day, document critical measurements preventing delays and ensuring proper equipment ordering:
Wall Dimensions and Mounting Surface
- Total wall width and height at installation location
- Horizontal distance between structural supports (studs or mounting points)
- Wall material composition (concrete, concrete block, drywall thickness, stud spacing)
- Obstacles within 4 feet of proposed mounting location (light switches, outlets, fixtures)
Ceiling Height and Vertical Clearances
- Floor-to-ceiling measurement at installation point
- HVAC registers, sprinkler heads, or lighting fixtures above installation area
- Minimum clearance requirements for top-mounted cable management
Approach and Viewing Distances
- Distance from opposite wall or nearest obstruction determining minimum approach clearance
- Primary viewing distance influencing optimal screen height and size selection
Electrical Specifications
- Distance to nearest dedicated circuit
- Available circuit capacity and existing loads
- Panel location for potential new circuit installation
Network Infrastructure
- Distance to nearest network drop
- Wi-Fi signal strength measurements (if wireless connectivity planned)
- Conduit pathways between installation location and network infrastructure
Comprehensive documentation enables accurate equipment specification, realistic timeline estimation, and efficient installation execution without on-site surprises.
Understanding ADA Accessibility Requirements
Touchscreen displays in schools must comply with Americans with Disabilities Act guidelines ensuring usability by individuals with disabilities. Non-compliance creates legal liability while excluding community members from engaging with recognition content.
Mounting Height Specifications
ADA guidelines specify precise mounting heights based on installation type:
Forward Approach Installations
When users approach the touchscreen straight-on with no obstruction below the display, operable controls must be positioned:
- Minimum height: 15 inches above floor
- Maximum height: 48 inches above floor for forward reach
- Measurement taken to the center of the touch-sensitive area
Parallel Approach Installations
When obstructions prevent forward approach (displays recessed in alcoves or above ledges):
- Maximum height: 48 inches where reach depth is 10 inches or less
- Maximum height: Reduces to 46 inches when reach depth exceeds 10 inches
- Height measured to highest operable control element
Most touchscreen recognition displays in schools work best with bottom edges positioned 36-40 inches above finished floor, placing touch-sensitive content within compliant reach ranges while maintaining comfortable viewing for standing users.
Practical Application
For a typical 55-inch touchscreen measuring approximately 48 inches tall:
- Mount bottom edge 38 inches above floor
- Screen center sits at 62 inches (slightly above average eye height for standing adults)
- Touch-sensitive controls within 38-86 inch range
- Lower portion remains accessible to wheelchair users (compliant with 48-inch maximum)
Schools honoring student achievements through digital displays should design interfaces placing primary interactive elements within the lower two-thirds of screens ensuring accessibility.
Approach and Clearance Requirements
ADA standards require clear floor space enabling wheelchair users to approach and operate touchscreen displays:
Clear Floor Space Dimensions
- Minimum 30 inches wide by 48 inches deep
- Positioned centered on the display
- Level surface with maximum slope of 1:48
- Free from obstructions including furniture, displays, or equipment
Knee and Toe Clearance
For installations requiring parallel approach where users cannot face the display directly:
- Toe clearance: 9 inches high minimum, extending 6 inches maximum beyond obstruction
- Knee clearance: 27 inches high minimum, 8 inches deep minimum at 9 inches above floor
Protruding Object Considerations
Wall-mounted displays must not create hazardous protrusions:
- Objects projecting more than 4 inches from walls at heights between 27-80 inches above floor create hazards for individuals with vision impairments
- Recessed mounting or protective barriers may be required for installations exceeding 4-inch projection
![]()
Proper clearances ensure touchscreen displays remain accessible to all community members regardless of mobility limitations
Software Interface Accessibility
Physical mounting compliance represents only one accessibility dimension. Content design must also accommodate users with various disabilities:
Touch Target Sizing
- Minimum 44-pixel touch targets for all interactive elements
- Adequate spacing between adjacent controls preventing accidental activation
Visual Contrast Requirements
- Text contrast ratio of 4.5:1 minimum for standard text
- 3:1 minimum for large text (18pt+ or 14pt+ bold)
- High-contrast mode options for users with vision impairments
Alternative Access Methods
- QR codes enabling mobile device access to content for users unable to reach touchscreen
- Accessible web interfaces providing equivalent content access through screen readers
Organizations implementing digital recognition programs should design with accessibility as a core requirement rather than afterthought addition.
Electrical Requirements and Safety Considerations
Proper electrical installation ensures reliable operation while meeting code requirements protecting students, staff, and property.
Power Supply Specifications
Touchscreen displays require dedicated electrical circuits with specific characteristics:
Circuit Capacity Requirements
Most commercial touchscreen displays rated 55-65 inches consume 150-300 watts during typical operation:
- Standard 15-amp, 120-volt circuit provides 1,800 watts capacity
- Single dedicated circuit handles one display with comfortable safety margin
- Avoid sharing circuits with other equipment creating voltage fluctuations
Dedicated Circuit Recommendation
While code may permit multiple devices on circuits below total capacity, dedicated circuits for touchscreen displays provide significant advantages:
- Eliminates interference from other equipment
- Prevents unexpected shutdowns when other devices activate
- Simplifies troubleshooting electrical issues
- Supports future upgrades without circuit capacity concerns
Outlet Positioning
Position electrical outlets to minimize visible cable runs while maintaining code compliance:
- Locate outlets directly behind display mounting location when possible
- Recess outlets allowing displays to mount flush against walls
- Verify outlet placement doesn’t interfere with mounting bracket attachment points
Conduit and Cable Management
Professional installations require proper cable routing preventing safety hazards and maintaining aesthetic quality:
In-Wall Conduit Installation
When outlets require installation or relocation:
- Use NM-rated cable or conduit meeting local electrical code
- Route cables through wall cavities between studs
- Avoid running electrical cables parallel to data cables preventing electromagnetic interference
- Maintain required separation distances from plumbing and HVAC
Surface-Mount Cable Management
Where in-wall routing proves impractical:
- Use UL-listed surface raceways matching wall color
- Route raceways along wall edges or architectural features minimizing visibility
- Secure raceways every 18-24 inches preventing sagging
- Paint raceways to match surrounding walls for professional appearance
Wireless Cable Concealment
For wireless-connected displays requiring only power:
- Mount outlets directly behind display at center point
- Use short 6-12 inch power cables completely hidden behind screen
- Recess outlet boxes in drywall allowing flush display mounting
Schools updating facilities often coordinate touchscreen installation with broader recognition program initiatives creating comprehensive celebration spaces.
Grounding and Surge Protection
Protect expensive equipment from electrical damage through proper grounding and surge suppression:
Grounding Requirements
- Verify outlet grounding using three-light tester
- All metal mounting components must connect to building ground
- Confirm panel grounding at electrical service entrance
Surge Protection
Power surges from lightning or utility grid fluctuations damage sensitive electronics:
- Install whole-building surge suppression at electrical panel
- Use quality surge-protecting power strips rated for computer equipment (minimum 1000 joules)
- Replace surge protectors every 3-5 years as protective components degrade

Professional cable management maintains clean aesthetic while meeting electrical code requirements
Network Connectivity Options and Configuration
Modern touchscreen displays running cloud-based content management require reliable network connectivity for real-time updates and remote administration.
Wired vs. Wireless Connection Decision
Network connectivity choice significantly impacts installation complexity and long-term reliability:
Wired Ethernet Advantages
- Guaranteed bandwidth without wireless interference
- Superior reliability for mission-critical displays
- Better security through physical connection isolation
- No wireless credential management or encryption complexity
Wired Ethernet Considerations
- Requires cable routing from network infrastructure to display location
- Involves running Cat6 cable through walls, ceilings, or conduit
- Adds complexity requiring network technician involvement
- Increases installation costs particularly for distant locations
Wireless Connectivity Advantages
- Eliminates physical cable installation
- Reduces installation complexity and cost
- Enables flexible display positioning
- Simplifies relocations or temporary installations
Wireless Connectivity Considerations
- Requires strong, consistent Wi-Fi signal at installation location
- Signal interference from building materials or other devices
- Network security credential management
- Potential bandwidth limitations with multiple wireless devices
General Recommendation: Use wired Ethernet for permanent installations in locations within 50 feet of network infrastructure. Wireless connections work well for locations with verified strong signal where running cables proves impractical.
Network Signal Verification and Testing
Before committing to wireless installation, verify signal adequacy:
Site Survey Procedure
- Use laptop or tablet at exact installation height and location
- Connect to school Wi-Fi network
- Run speed tests measuring download/upload speeds and latency
- Test at various times including high-usage periods
- Document signal strength and performance metrics
Minimum Performance Thresholds
- Signal strength: -67 dBm or stronger (3+ bars on most devices)
- Download speed: 10 Mbps minimum, 25+ Mbps preferred
- Upload speed: 5 Mbps minimum, 10+ Mbps preferred
- Latency: Under 50ms to content servers
Inadequate wireless performance creates frustrating user experiences with slow content loading and intermittent connectivity.
IT Security and Network Integration
Coordinate with IT departments ensuring touchscreen displays integrate properly with network security policies:
Network Segmentation
- Place displays on appropriate network segments (guest network, administrative, or dedicated IoT network)
- Configure firewall rules allowing content server communication while restricting unnecessary access
Device Authentication
- Obtain MAC addresses from displays for network authentication
- Configure network access through certificates rather than password-based WPA2 when possible
- Document network credentials in secure location accessible to support personnel
Content Management Access
- Determine if content management requires specific network access or can function through standard internet connection
- Configure any VPN or proxy requirements for administrative access
- Test content updates from both on-site and remote locations confirming access policies
Schools implementing comprehensive athletic recognition systems should coordinate network planning with IT early in project timelines.
Step-by-Step Mounting Process
With planning complete and resources gathered, follow this systematic procedure for professional touchscreen installation.
Tools and Materials Checklist
Assemble required tools before starting:
Hand Tools
- Stud finder (magnetic or electronic)
- Laser level or 4-foot level
- Drill with assorted bits (masonry, wood, metal as needed)
- Socket set or adjustable wrenches
- Screwdrivers (Phillips and flathead)
- Wire strippers and cutters
- Voltage tester or multimeter
- Measuring tape (25-foot minimum)
- Pencil for marking
Installation Materials
- Display-specific mounting bracket system
- Appropriate fasteners for wall type (lag bolts for wood studs, concrete anchors for masonry)
- Cable management system (raceways, conduit, or in-wall routing kit)
- Velcro cable ties or cable management clips
- Appropriate network cables (Cat6 for wired installations)
Safety Equipment
- Stepladder or platform ladder reaching installation height safely
- Safety glasses
- Dust masks for drilling operations
- Work gloves
Wall Preparation and Mounting Bracket Installation
Step 1: Mark Mounting Height
Using your predetermined ADA-compliant mounting height:
- Measure and mark bottom edge of display location using level
- Mark center point of installation location horizontally
- Use laser level to create reference lines if available
Step 2: Locate Structural Supports
For drywall installations:
- Use stud finder to locate studs within mounting area
- Mark stud centers clearly
- Verify stud locations by probing with small finish nail
- Ensure mounting bracket will attach to minimum of 2 studs
For concrete/masonry walls:
- Mark mounting hole locations per bracket specifications
- Verify no hidden conduit or infrastructure using electrical detector
- Confirm wall thickness adequate for specified fastener depth
Step 3: Install Mounting Bracket
Following manufacturer specifications:
- Position bracket aligned with marked reference points
- Verify level placement before drilling
- Drill pilot holes appropriate for fastener type
- Install lag bolts (drywall) or concrete anchors (masonry)
- Torque fasteners to manufacturer specifications
- Verify secure attachment by applying firm pressure testing movement
Critical: Wall anchors must support 3-4 times the combined weight of display and mounting hardware. Err on the side of over-engineering—touchscreen displays represent significant investments requiring absolute mounting security.

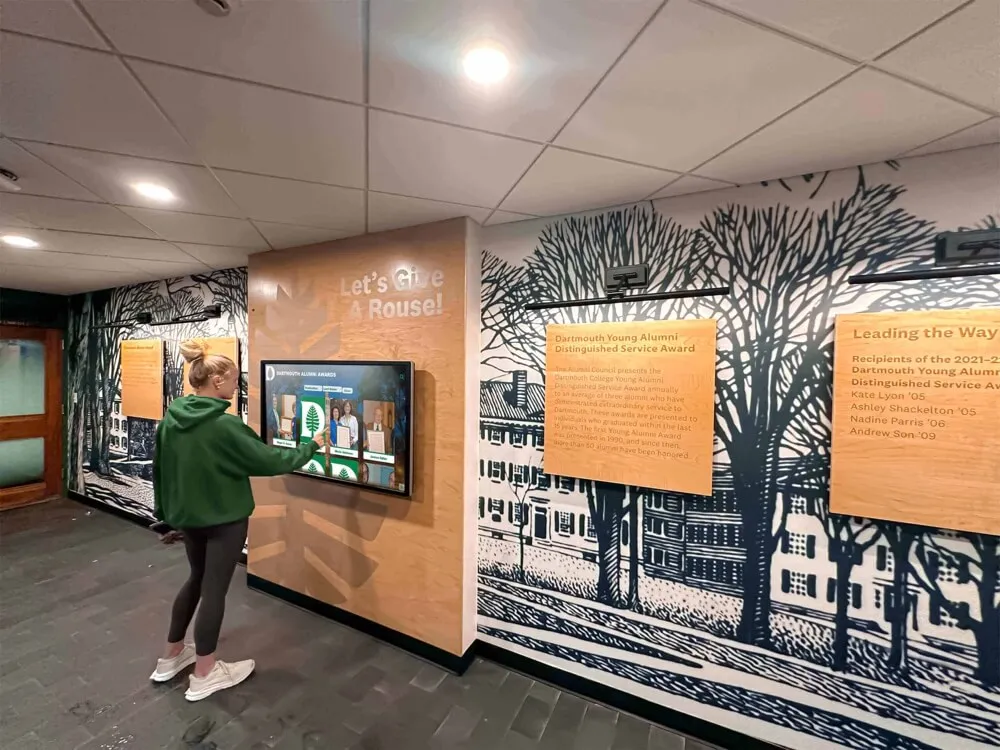
Secure mounting enables confident user interaction without concerning movement or instability
Display Mounting and Leveling
Step 4: Attach Display to Mounting System
Most commercial mounting systems use one of two approaches:
Fixed Mount Installation:
- Attach mounting plate to display back per manufacturer instructions
- Lift display (minimum 2 people for screens 55+ inches)
- Hook display mounting plate onto wall bracket
- Secure locking mechanism preventing accidental removal
- Verify display sits level and flush against wall
Articulating/Tilting Mount Installation:
- Attach VESA mounting plate to display back
- Lift display and attach to bracket arms
- Secure locking bolts through VESA mounting holes
- Adjust tilt angle if desired (typically 0-15 degrees)
- Tighten all adjustment points preventing movement
Step 5: Level Verification and Adjustment
- Place level along top edge of display
- Verify perfect level placement
- Make micro-adjustments using bracket adjustment screws if needed
- Recheck level after tightening all connections
- Verify display sits at correct height above floor using tape measure
Even slight unlevel mounting becomes obvious and unprofessional. Take time to achieve perfect level placement.
Cable Connection and Management
Step 6: Connect Power
- Verify power is OFF at circuit breaker
- Plug display power cable into outlet or hardwired connection
- Route power cable using cable management system
- Secure cables preventing tension on connections
- Restore power and verify display receives power
Step 7: Network Connection
For wired networks:
- Run Cat6 cable from network drop to display location
- Terminate cable ends with RJ45 connectors or patch to existing network drop
- Connect cable to display network port
- Test connectivity using display network settings
For wireless networks:
- Access display settings menu
- Select school wireless network
- Enter network credentials
- Verify connection and test internet access
Step 8: Cable Concealment
- Route all cables through cable management raceways or in-wall conduit
- Secure cables every 18-24 inches preventing sagging
- Use cable ties organizing multiple cables neatly
- Conceal connection points behind display where possible
- Paint surface-mount raceways matching wall color
Professional cable management distinguishes permanent quality installations from temporary setups.

Clean cable management and proper mounting create professional installations serving schools for decades
Content Management System Setup and Testing
With hardware installed, configure and test the content management system ensuring reliable operation.
Initial System Configuration
Display Settings Optimization:
- Adjust brightness levels appropriate for ambient lighting (typically 60-80% for indoor installations)
- Configure sleep/wake schedules matching school operating hours
- Set appropriate color temperature (6500K standard for indoor displays)
- Disable consumer features like motion smoothing or dynamic contrast
- Configure volume levels if audio features included
Content Management Platform Access:
- Create administrative credentials for content management
- Configure user permissions for staff who will manage content
- Link display to content management account
- Verify real-time communication between display and cloud platform
- Test remote updates from office computers confirming access
Network and Connectivity Verification:
- Confirm consistent network connection without dropouts
- Test content loading speeds with full-resolution media
- Verify firewall settings permit necessary communication
- Document IP addresses and network configuration for support reference
Schools showcasing academic excellence and student recognition should test content displays with representative sample profiles ensuring optimal presentation.
Touchscreen Calibration and Testing
Touch Response Calibration:
- Access display calibration settings
- Complete touch calibration process following manufacturer instructions
- Test touch accuracy at all corners and center points
- Verify multi-touch gestures function properly if supported
- Adjust sensitivity settings if touches require excessive pressure
User Interface Testing:
- Navigate through all menus and screens
- Test search functionality with various queries
- Verify scrolling operates smoothly without stuttering
- Check photo loading speeds with high-resolution images
- Test all interactive elements confirming proper response
Content Display Verification:
- Upload representative content (photos, text, videos)
- Verify proper formatting and scaling across screen
- Check text readability from typical viewing distances
- Confirm photos display at appropriate resolution without pixelation
- Test video playback if multimedia features included
Accessibility Features Verification
Physical Accessibility Testing:
- Verify mounting height meets ADA requirements
- Confirm approach clearances remain unobstructed
- Test touch interaction from wheelchair-seated position
- Ensure primary controls fall within reach ranges
- Verify no protruding hazards exist around installation
Interface Accessibility Testing:
- Verify text contrast meets WCAG 2.1 AA standards (4.5:1 minimum)
- Test touch target sizing ensuring adequate size and spacing
- Confirm QR code access if implemented for alternative access
- Test interface with high-contrast modes if available
- Verify text sizing remains readable from approach distances
Organizations honoring diverse recognition needs should test content accessibility with representative users ensuring inclusive experiences.
Post-Installation Maintenance and Support
Proper maintenance ensures your touchscreen display continues delivering value for decades.
Regular Cleaning and Care
Screen Cleaning Procedure:
- Power off display before cleaning
- Use microfiber cloths specifically designed for displays
- Spray screen cleaner on cloth, never directly on screen
- Wipe gently using circular motions
- Clean weekly or as needed to remove fingerprints and smudges
Avoid Damage:
- Never use paper towels (cause micro-scratches)
- Avoid household cleaners containing ammonia or alcohol
- Don’t apply excessive pressure while cleaning
- Keep liquids away from electrical connections
Hardware Inspection Schedule:
- Monthly: Check mounting security and cable connections
- Quarterly: Verify level placement hasn’t shifted
- Annually: Inspect for any corrosion on metal components
Content Management Best Practices
Regular Content Updates:
- Establish consistent update schedules (weekly, monthly, quarterly)
- Assign clear responsibility for content management
- Create approval workflows preventing errors
- Test new content before publishing to live display
- Archive historical content systematically
Performance Monitoring:
- Monitor network connectivity reliability
- Track content loading times identifying degradation
- Review usage analytics understanding engagement patterns
- Document any errors or unexpected behavior
Backup and Security:
- Maintain backups of custom content and configurations
- Document network credentials in secure locations
- Keep software and firmware updated to latest versions
- Monitor for and promptly address security updates
Schools implementing memorial and recognition programs require documented content management procedures ensuring consistency and accuracy.
Troubleshooting Common Issues
Display Won’t Power On:
- Verify circuit breaker hasn’t tripped
- Check power cable connections at both ends
- Test outlet with known-working device
- Verify display power button hasn’t been disabled
Network Connectivity Problems:
- Verify wireless signal strength hasn’t degraded
- Check network credentials remain valid
- Restart display and network equipment
- Contact IT department for network-side diagnostics
Touch Response Issues:
- Clean screen thoroughly removing residue
- Recalibrate touch interface
- Test with different touch pressures and positions
- Check for physical damage to touch overlay
Content Not Updating:
- Verify network connectivity active
- Check content management platform shows display online
- Manually refresh content from management interface
- Review firewall settings ensuring access
Advanced Installation Considerations
Certain installation contexts require additional planning and specialized approaches.
Multiple Display Installations
Schools installing multiple touchscreen displays across facilities should coordinate installations systematically:
Consistent Standards:
- Maintain identical mounting heights across all locations
- Use consistent cable management approaches
- Standardize on same display models simplifying support
- Create installation documentation for future additions
Centralized Management:
- Configure all displays under unified content management account
- Create content templates shared across multiple displays
- Establish synchronized update schedules
- Monitor all displays from central dashboard
Scalable Infrastructure:
- Plan network capacity for multiple simultaneous displays
- Size electrical circuits supporting future expansion
- Document installation procedures enabling consistent quality
Outdoor or Semi-Outdoor Installations
Installations in covered outdoor areas require weatherproofing considerations:
Environmental Protection:
- Use outdoor-rated displays designed for temperature extremes
- Ensure NEMA 3 or higher enclosure ratings
- Install weather-resistant cable connections
- Provide overhead protection from direct precipitation
Temperature Management:
- Verify display operating temperature range matches local climate
- Consider cooling fans or heating elements for extreme climates
- Monitor operating temperatures during seasonal extremes
Brightness Requirements:
- Outdoor displays require 2,500+ nits brightness competing with daylight
- Verify brightness specifications match ambient light conditions
- Consider anti-glare coatings reducing reflection
High-Security Environments
Schools with heightened security concerns implement additional protections:
Physical Security:
- Install security cameras monitoring displays
- Use tamper-resistant mounting hardware
- Consider protective enclosures in vulnerable areas
- Implement asset tracking for expensive equipment
Network Security:
- Isolate displays on dedicated network segments
- Implement certificate-based authentication
- Enable encrypted communication channels
- Monitor network traffic for unusual patterns
Content Security:
- Implement multi-factor authentication for content management
- Establish approval workflows preventing unauthorized changes
- Maintain audit logs of all content modifications
- Restrict administrative access to authorized personnel
Schools honoring teacher recognition and retirement celebrations benefit from security features protecting sensitive information.
Working with Professional Installers vs. DIY
Deciding whether to self-install or hire professional installers requires evaluating capabilities, risks, and total costs.
When DIY Installation Makes Sense
School facilities teams can successfully complete touchscreen installations when these conditions exist:
Capabilities Present:
- Staff experienced with electrical work and code compliance
- Access to proper tools including levels, drills, and testing equipment
- Understanding of network infrastructure and configuration
- Ability to dedicate sufficient time without compromising other responsibilities
Installation Complexity Low:
- Simple wall construction (wood studs or accessible concrete)
- Electrical outlets already present near installation location
- Strong existing wireless network or easy wired network access
- Single display installation without complex synchronization needs
Cost Constraints Significant:
- Budget limitations make professional installation cost-prohibitive
- Labor costs represent substantial portion of total project budget
- Facilities staff have available capacity during slow periods
When Professional Installation Provides Value
Certain scenarios strongly favor professional installation:
Technical Complexity High:
- Complex electrical work requiring new circuits or panel modifications
- Challenging network infrastructure requiring cable routing through occupied spaces
- Difficult wall materials (reinforced concrete, metal studs, historic structures)
- Multiple synchronized displays requiring coordinated installation
Risk Mitigation Critical:
- Expensive displays where installation errors create costly consequences
- Liability concerns about in-house electrical or structural work
- ADA compliance requiring documented professional installation
- Warranty requirements specifying professional installation
Timeline Constraints Tight:
- Installation must complete during brief windows (weekends, breaks)
- Facilities staff fully occupied with existing responsibilities
- Coordinating multiple trades (electrical, network, mounting) simultaneously
Total Cost Analysis Favorable: Professional installation costs typically range $1,500-$3,500 depending on complexity. Consider whether this investment:
- Prevents costly mistakes requiring remediation
- Accelerates timeline enabling earlier recognition program launch
- Includes warranty protection for installation quality
- Provides ongoing support relationship for future questions
Many schools successfully partner with solutions like Rocket Alumni Solutions that coordinate complete installations—from mounting through content setup—ensuring proper execution while allowing facilities teams to focus on core responsibilities. Organizations implementing comprehensive digital recognition programs often find turnkey solutions provide superior value compared to fragmented self-installation approaches.
Cost Breakdown and Budgeting
Understanding comprehensive costs enables realistic budget planning and appropriate resource allocation.
Equipment Costs
Touchscreen Display Hardware: $3,000-$8,000
- 55-inch commercial displays: $3,000-$5,000
- 65-inch commercial displays: $5,000-$7,000
- 75+ inch commercial displays: $7,000-$12,000
- Prices reflect commercial-grade touchscreens with proper warranties and durability
Mounting Hardware: $200-$800
- Basic fixed mounts: $200-$400
- Articulating/tilting mounts: $400-$600
- Heavy-duty specialized mounts: $600-$800+
Content Management Software: $500-$2,000 annually
- Basic digital signage platforms: $500-$1,000/year
- Specialized recognition platforms like Rocket Alumni Solutions: $1,200-$2,000/year
- Includes cloud hosting, updates, support, and unlimited content capacity
Installation Costs
Professional Installation Labor: $1,500-$3,500
- Basic installation (existing power/network): $1,500-$2,000
- Standard installation (minor electrical/network work): $2,000-$2,800
- Complex installation (new circuits, extensive network routing): $2,800-$3,500+
Electrical Work: $300-$1,500
- Outlet relocation: $300-$500
- New dedicated circuit: $500-$1,000
- Panel upgrades or complex routing: $1,000-$1,500+
Network Infrastructure: $200-$1,200
- Wireless configuration: $200-$400
- Single Cat6 cable run under 50 feet: $400-$600
- Complex network routing or switch upgrades: $800-$1,200+
Ongoing Costs
Annual Expenses:
- Content management platform subscription: $500-$2,000
- Electricity (minimal, approximately $50-100 annually)
- Cleaning supplies and maintenance: $50-100
Periodic Expenses:
- Surge protector replacement (every 3-5 years): $50-100
- Display replacement (10-15 year lifespan): Plan for future replacement
Total First-Year Investment: $5,750-$15,000 Comprehensive installations typically range $8,000-$12,000 including quality commercial displays, professional installation, and first-year content management.
Funding Sources and Budget Justification
Schools successfully fund touchscreen installations through:
Operating Budgets:
- Allocate from existing technology or facilities budgets
- Phase installations across fiscal years if budget constraints exist
Booster Clubs and Foundations:
- Athletic boosters fund displays celebrating team achievements
- Alumni associations support recognition installations
- Parent organizations sponsor displays honoring student excellence
Grants and External Funding:
- Technology grants supporting interactive learning tools
- Facility improvement grants for building enhancements
- Corporate sponsorships providing naming opportunities
Budget Justification Talking Points:
- Unlimited recognition capacity versus ongoing plaque costs
- Instant updates eliminating labor costs for physical changes
- Enhanced engagement driving student motivation and achievement
- Professional impression for visitors and prospective families
- 10-15 year lifespan providing long-term value
Schools implementing athletic and academic recognition systems often demonstrate that comprehensive digital solutions deliver superior value compared to fragmented traditional approaches.
Conclusion
Successfully mounting a touchscreen display in your school requires attention to detail across multiple dimensions—from initial site assessment through final testing and ongoing maintenance. Yet when executed properly, these installations transform how schools celebrate achievement, engage communities, and preserve institutional legacy for generations.
The difference between installations that serve successfully for decades and those requiring expensive corrections comes down to systematic planning, proper technique, and attention to critical specifications including ADA compliance, electrical safety, network reliability, and structural integrity. By following the procedures outlined in this guide, facilities directors and technology teams can confidently execute professional installations that enhance school environments while honoring community members meaningfully.
Whether your school installs displays independently using qualified facilities staff or partners with professional installers, the knowledge and checklists provided here ensure informed decision-making, appropriate resource allocation, and successful outcomes that make recognition programs more accessible, engaging, and impactful than traditional approaches ever achieved.
Ready to Transform Your School's Recognition Program?
Rocket Alumni Solutions provides complete touchscreen installation services—from initial consultation through professional mounting, network configuration, and content management training. Our team coordinates every detail ensuring your display installation meets technical specifications, accessibility requirements, and quality standards while you focus on core educational responsibilities.
Schedule a free consultation to discuss your school's recognition goals and receive a detailed installation plan tailored to your facility's unique requirements.
Get Your Free TouchWall Installation Consultation