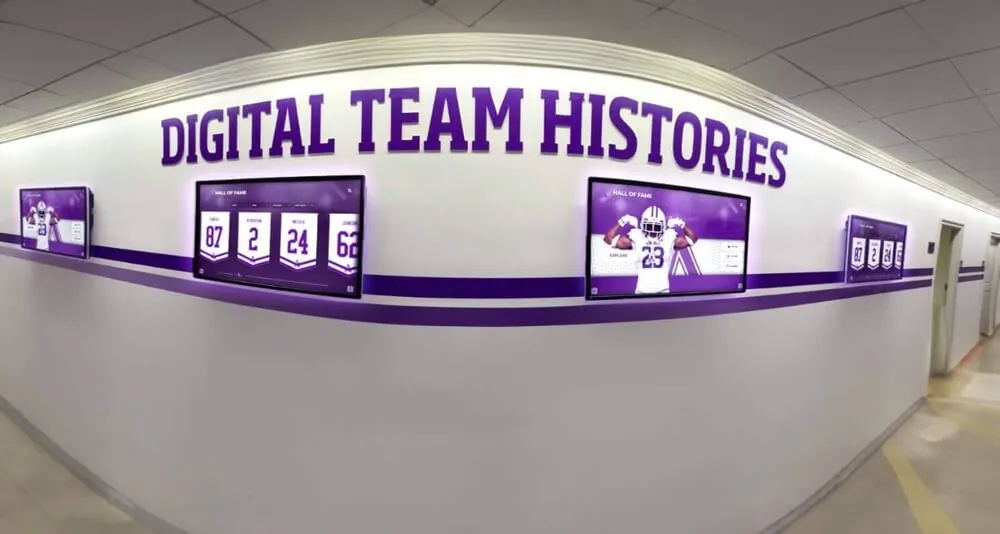
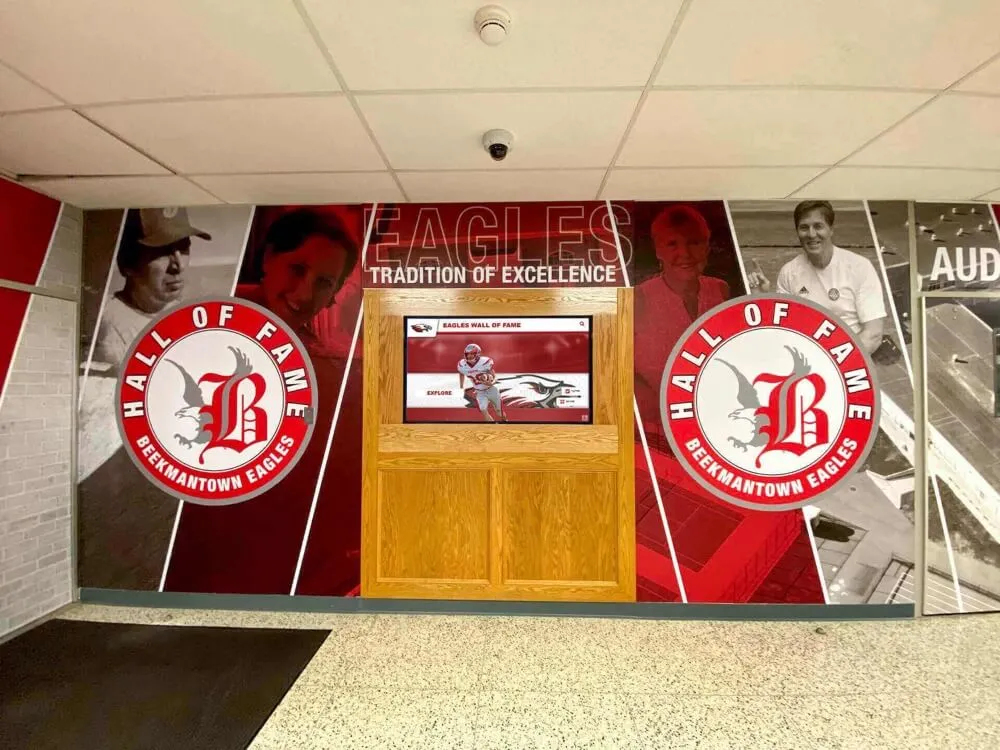
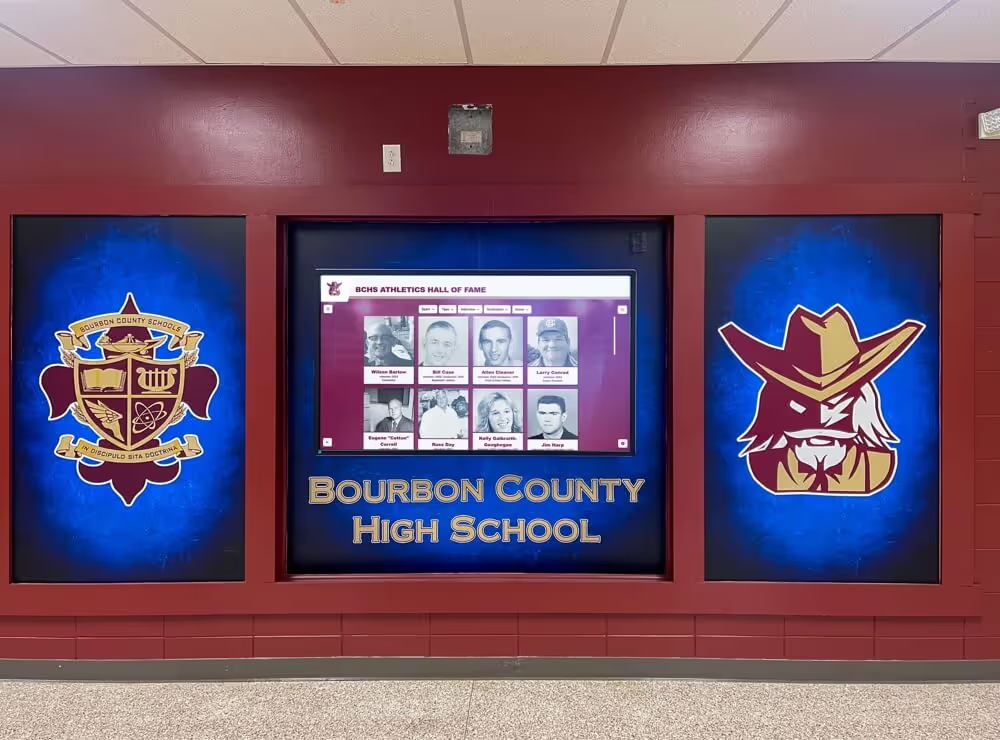
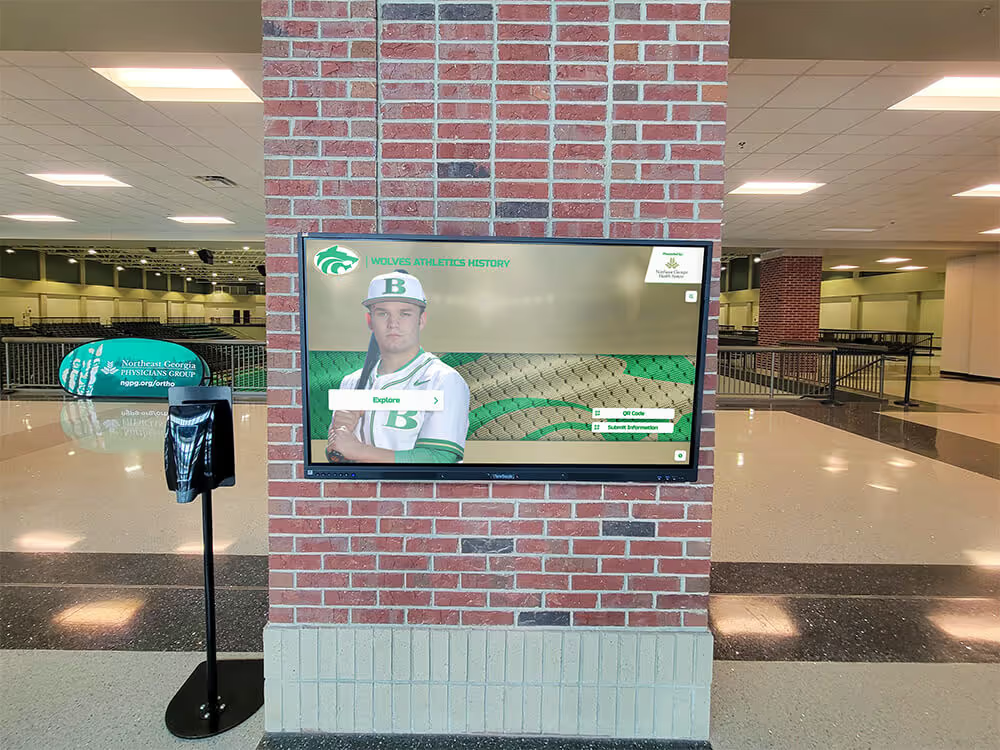
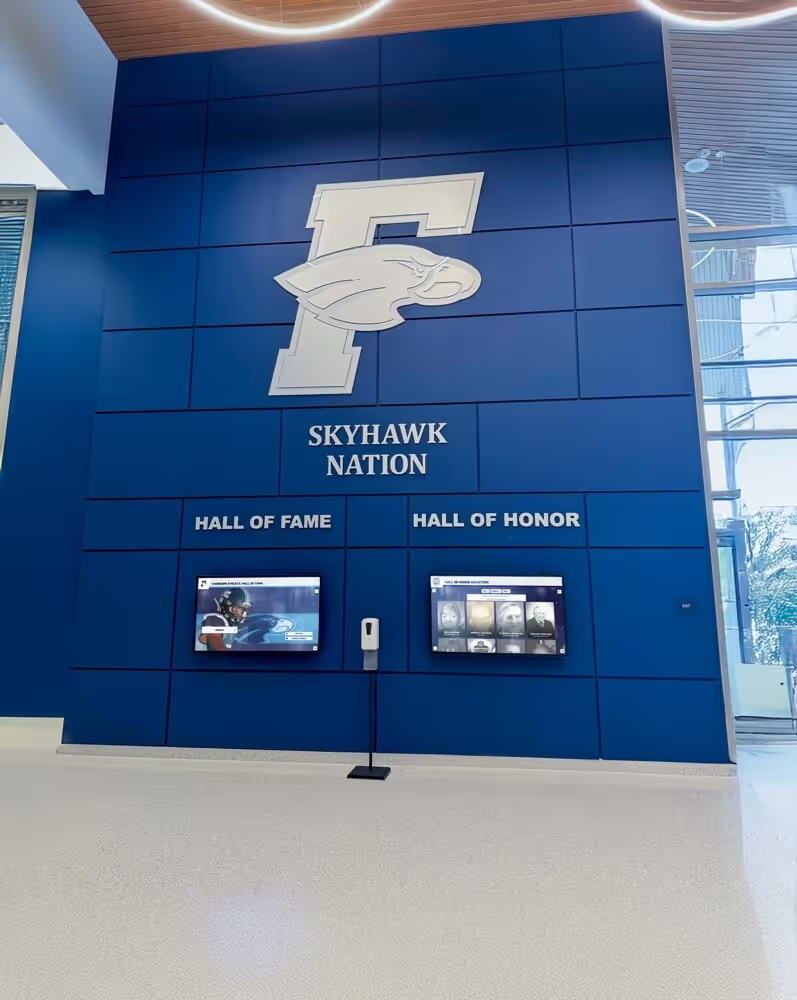
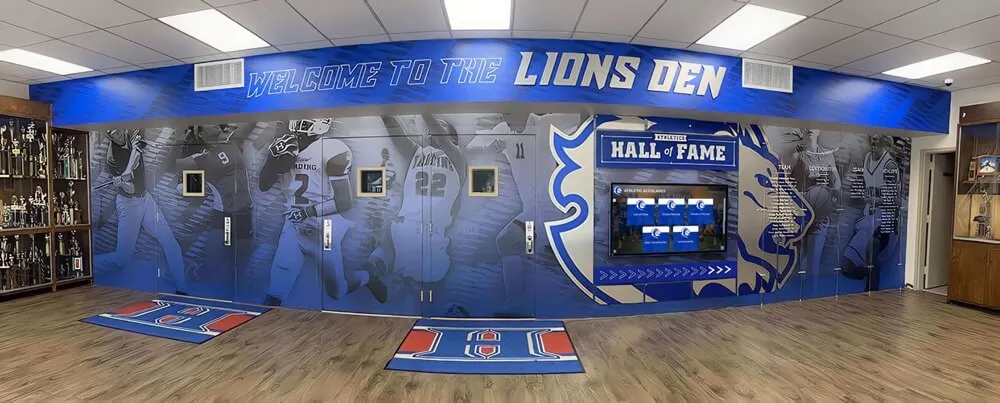
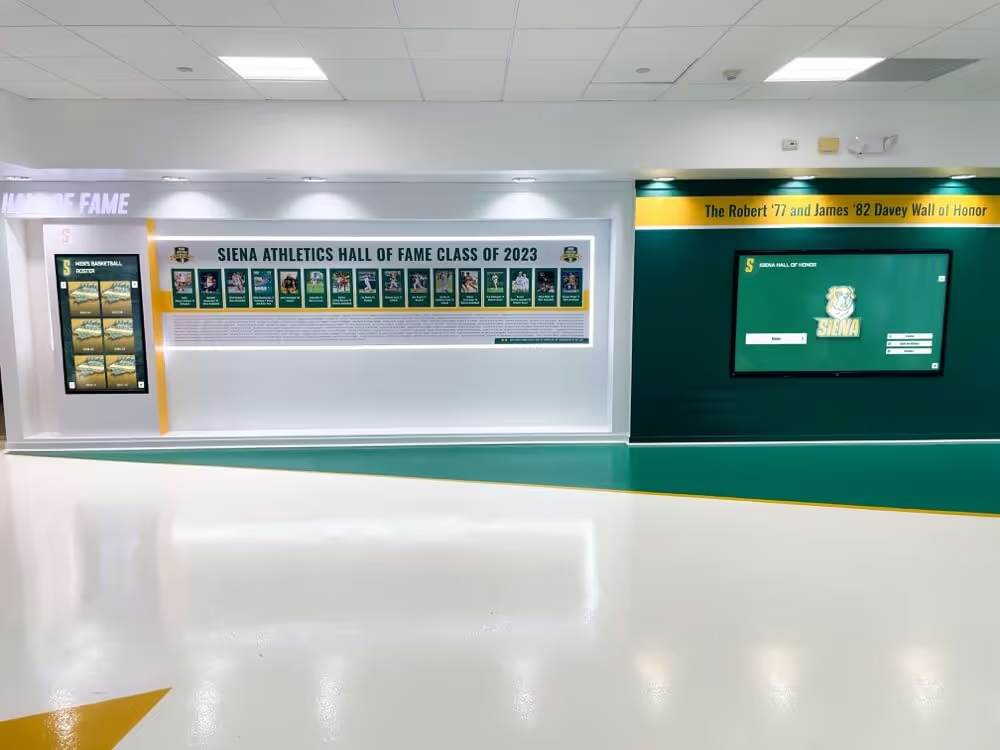
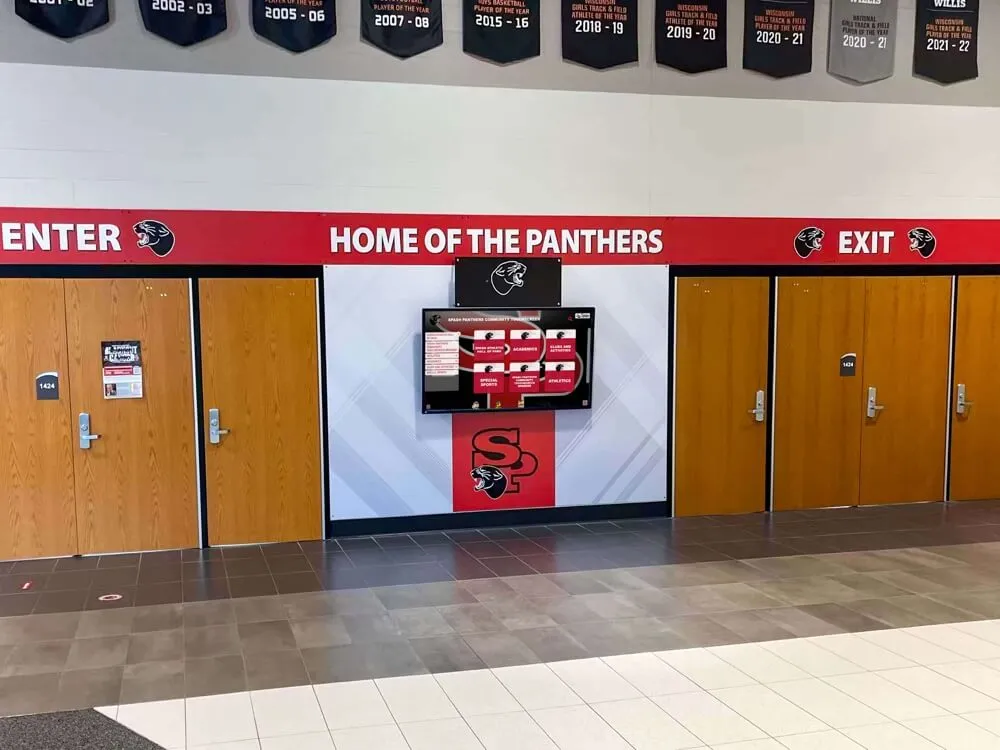
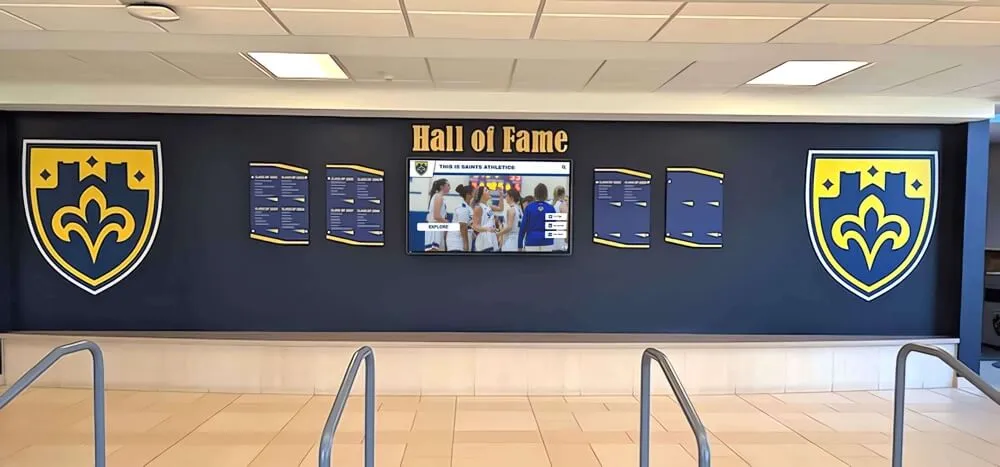
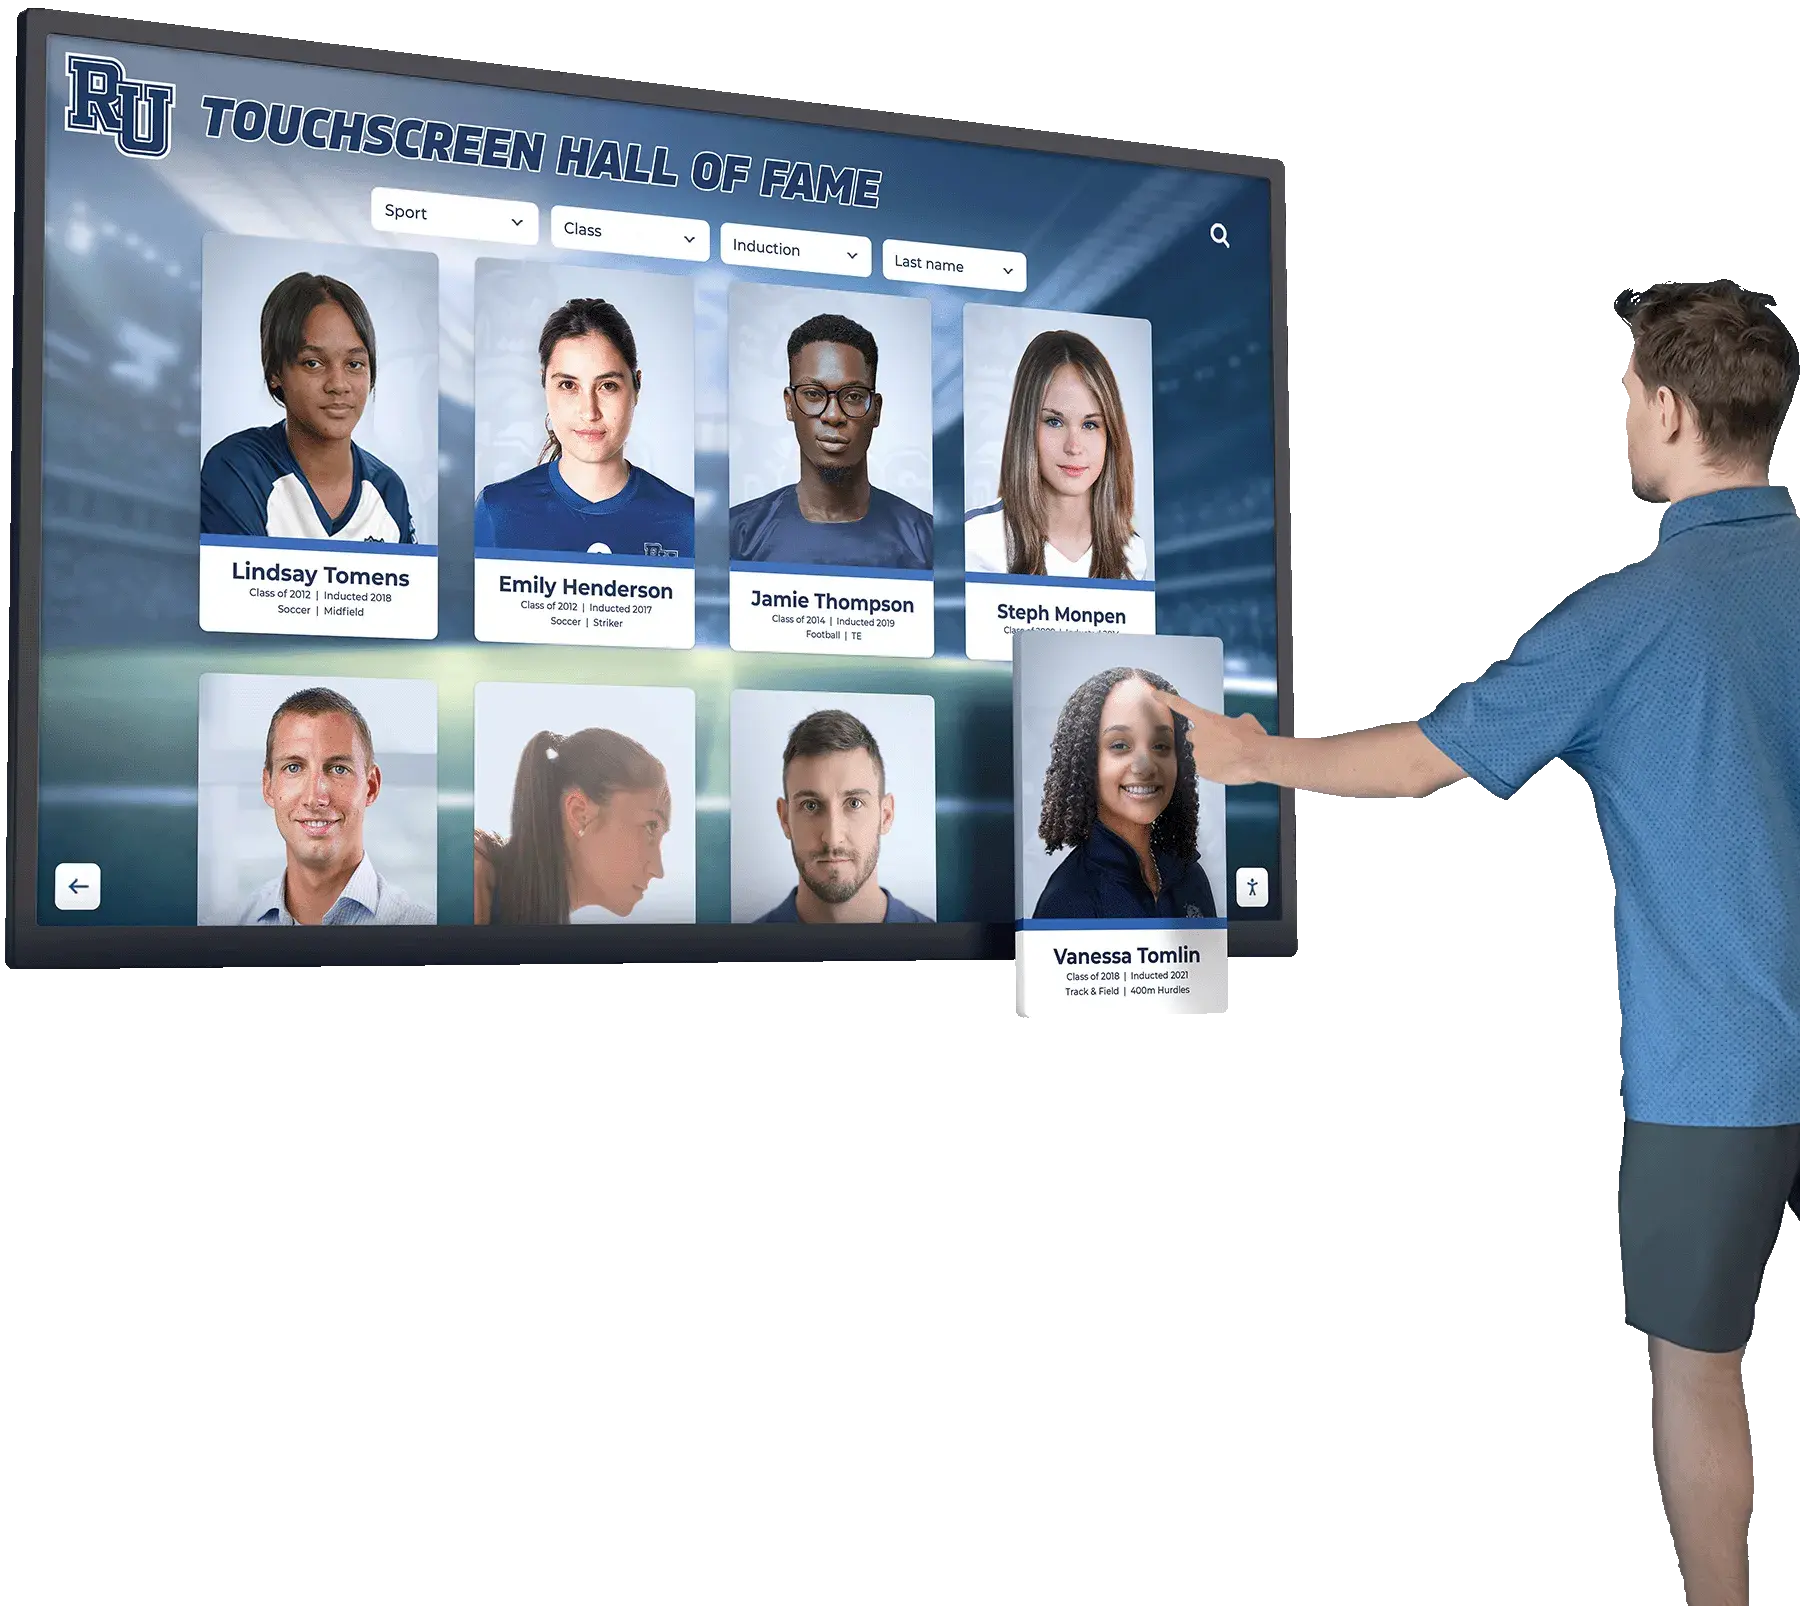
A school’s touchscreen recognition display is working perfectly on Monday. By Friday—before the athletic banquet—it is showing a scrambled resolution, a black screen, or a “No Signal” message that no cable swap seems to fix. The source device is on. The display is powered. The HDMI cable looks fine. The culprit in most of these cases is not hardware failure: it is an EDID handshake breakdown that happened silently during a routine power cycle, a firmware update, an AV extender restart, or a switch port change.
EDID—Extended Display Identification Data—is the small data block a display broadcasts to its source device at connection time, telling the graphics output what resolutions, refresh rates, and color formats the screen supports. When that handshake breaks, the source cannot agree on a signal format, and the display goes dark. For a school recognition wall, donor display, or interactive hall of fame kiosk, a broken EDID handshake is the difference between a functioning exhibit and an embarrassing black screen at the worst possible moment.
This recognition display EDID troubleshooting checklist gives school AV technicians, IT coordinators, and facilities leads a structured, phase-by-phase diagnostic sequence—from physical layer inspection through EDID override and documentation—so any team member can work through the problem systematically regardless of their AV background.
Nothing in this article constitutes legal or safety advice. Schools should follow district IT change management procedures and manufacturer guidance before modifying display firmware, GPU driver settings, or AV signal-path hardware.
The short answer: an EDID failure on a recognition display almost always traces to one of five causes—a degraded cable or adapter, an AV extender or matrix switch not forwarding the EDID correctly, a source device reverting to a default resolution after a power or sleep event, an outdated display firmware version, or a stale EDID entry cached in the GPU driver. Work through the seven phases below in order: physical layer first, then signal path, then source device settings, then display firmware, then EDID override if needed. Document every change and validate across a full power cycle before signing off. The master checklist table and phase walkthroughs follow.
EDID Troubleshooting Master Checklist
Use this table as your working document. Assign each item to a responsible team member before starting. Store the completed checklist in the display’s installation file alongside your cable map and network runbook.
| Checklist Item | Phase | Owner | Status | Review Trigger |
|---|---|---|---|---|
| Document the display make, model, and firmware version | Preparation | IT Coordinator | ☐ Pending | Before every troubleshooting session |
| Document the source device make, model, OS version, and GPU driver version | Preparation | IT Coordinator | ☐ Pending | Before every troubleshooting session |
| Record the cable type, length, and every intermediate device in the signal path | Preparation | AV Technician | ☐ Pending | Before every troubleshooting session |
| Photograph or screenshot the failure symptom for reference | Preparation | AV Technician | ☐ Pending | At symptom onset |
| Confirm the power sequence (source on before display, or display on before source) | Preparation | AV Technician | ☐ Pending | Before physical tests |
| Substitute a known-good short HDMI or DisplayPort cable (under 6 feet) | Physical Layer | AV Technician | ☐ Pending | Before any other change |
| Confirm signal returns with the short cable — if yes, the original cable or its length is the cause | Physical Layer | AV Technician | ☐ Pending | After short cable swap |
| Inspect all connectors for bent pins, debris, or loose retention clips | Physical Layer | AV Technician | ☐ Pending | During physical inspection |
| Check adapter integrity (HDMI-to-DP, mini-HDMI, USB-C adapters) — swap with known-good unit | Physical Layer | AV Technician | ☐ Pending | During physical inspection |
| Bypass all intermediate devices (extenders, splitters, matrix switches) with direct connection | Signal Path | AV Technician | ☐ Pending | After physical layer clears |
| Confirm whether direct connection resolves the symptom | Signal Path | AV Technician | ☐ Pending | After bypass test |
| Verify EDID management mode on the AV extender or matrix switch | Signal Path | AV Technician | ☐ Pending | If extender/switcher is in the path |
| Load the display’s native EDID into the extender or switch using its management interface | Signal Path | AV Technician | ☐ Pending | If EDID pass-through is failing |
| Confirm the extender firmware is current | Signal Path | AV Technician | ☐ Pending | During signal path audit |
| Open display detection in the source OS and force re-detection | Source Device | IT Coordinator | ☐ Pending | After signal path cleared |
| Set the output resolution to the display’s native resolution in GPU driver or OS settings | Source Device | IT Coordinator | ☐ Pending | If wrong resolution is detected |
| Disable display power management (sleep and hibernate) on the source device | Source Device | IT Coordinator | ☐ Pending | If symptom occurs after idle period |
| Update the GPU driver to the current stable release | Source Device | IT Coordinator | ☐ Pending | If driver version is outdated |
| Clear the cached display profile from the GPU driver or registry | Source Device | IT Coordinator | ☐ Pending | If GPU holds stale EDID data |
| Confirm the display firmware is current using the manufacturer’s support page | Display Firmware | IT Coordinator | ☐ Pending | Before firmware actions |
| Apply available firmware update following manufacturer procedure | Display Firmware | IT Coordinator | ☐ Pending | If firmware is outdated |
| Run a factory reset on the display and re-test EDID handshake | Display Firmware | IT Coordinator | ☐ Pending | If firmware update does not resolve |
| Read the raw EDID block from the display using a diagnostic tool | EDID Override | AV Technician | ☐ Pending | Before creating an override |
| Create a custom EDID profile specifying native resolution and preferred refresh rate | EDID Override | AV Technician | ☐ Pending | If override is required |
| Install an EDID emulator adapter on the source device output if hardware override is needed | EDID Override | AV Technician | ☐ Pending | If software override is insufficient |
| Reboot both source and display and confirm signal, resolution, and touch calibration are correct | Validation | AV Technician | ☐ Pending | After every configuration change |
| Power-cycle the display off at the wall and confirm handshake re-establishes correctly | Validation | AV Technician | ☐ Pending | Before sign-off |
| Induce a sleep-wake cycle on the source device and confirm display re-activates at correct resolution | Validation | AV Technician | ☐ Pending | Before sign-off |
| Confirm touch input calibration is accurate at all four screen corners | Validation | AV Technician | ☐ Pending | Before sign-off |
| Document the root cause, fix applied, and validated settings in the display’s installation record | Documentation | IT Coordinator | ☐ Pending | After validation passes |
| Schedule an annual review of EDID settings and cable infrastructure | Documentation | IT Coordinator | ☐ Pending | Annually |
What EDID Does — and Why Recognition Displays Are Particularly Vulnerable
EDID is a 128-byte or 256-byte data block stored in the display’s firmware. When a source device—a mini PC, a media player, or a kiosk controller—connects to the display via HDMI or DisplayPort, it reads this block through a dedicated signaling channel called the DDC (Display Data Channel) embedded in the cable. The EDID block tells the source the display’s native resolution, supported refresh rates, color depths, HDR capabilities, and audio formats. The source then selects the best matching output configuration.
When the DDC signal cannot be read—because the cable is too long, an extender is interrupting the I2C bus, or the display firmware has a corrupted EDID—the source falls back to a generic low resolution (typically 640×480 or 1024×768), outputs no signal, or reports “No Display Detected.” For a recognition display running hall of fame content, any of these outcomes produces a visible failure in a public space.
School recognition displays face several conditions that make EDID handshakes less reliable than typical desktop monitor setups:
Long cable runs. A passive HDMI cable reliably carries the DDC signal up to approximately 15 feet under typical conditions. Many school recognition wall installations route cable through walls or ceilings over distances well beyond that threshold. The longer the passive cable, the greater the signal attenuation on the DDC pair, and the more likely the EDID read will fail intermittently.
Scheduled power cycling. Athletic department displays, digital award presentation systems, and lobby recognition walls are often set to power off at night and on weekends using outlet timers or managed PDUs. Each power-on event triggers a fresh EDID handshake. If the source device boots faster than the display reaches its EDID-ready state, the source may give up and output a fallback resolution.
AV extenders and matrix switches. AV-over-IP and HDMI extender systems insert hardware between the source and display. Each device in that chain must forward the EDID correctly, often requiring an EDID management configuration step that is easy to miss during initial installation and easy to lose after a firmware update.
Touchscreen controller integration. A touchscreen overlay or integrated touch panel adds a USB HID layer to the display. When an EDID failure causes the source to output a different resolution than the touch controller expects, touch input calibration breaks—taps register in the wrong position even when the image eventually returns.
Recognizing these failure modes before they disrupt a championship ceremony, induction event, or open house is the purpose of a structured troubleshooting checklist.
Common EDID Failure Symptoms and Their Likely Causes
Use this table to identify the most likely starting point for your diagnosis before working through the full phase sequence.
| Symptom | Likely Cause | First Diagnostic Step |
|---|---|---|
| “No Signal” on power-on; resolves after source reboot | Source booted before display EDID was ready | Add a 10-second delay to source startup; test with shorter cable |
| Wrong resolution on first boot; correct after manual adjustment | GPU cached stale EDID or selected non-native mode | Force native resolution in GPU driver; clear display cache |
| Correct resolution on direct cable; wrong when extender is in path | Extender not forwarding EDID or using default EDID table | Configure EDID management on extender; update extender firmware |
| Display goes black after screen saver or sleep; does not recover | Display power management causing EDID renegotiation failure | Disable display power management; adjust sleep timeout |
| Touch calibration offset (taps register in wrong location) | Resolution mismatch between signal and touch controller expectation | Confirm output resolution matches display native resolution |
| Random black-screen events; cable swap does not help immediately | Intermittent DDC signal loss due to cable condition or length | Substitute known-good short cable; check for passive cable over 15 ft |
| Correct resolution in Windows; reverts to 1080p after GPU driver update | Driver update cleared custom EDID override or display profile | Re-apply GPU driver display override; recreate custom resolution |
| No signal on one port of a matrix switch; works on another port | Switch port EDID configuration not matching display | Apply EDID from display to the specific switch port via management interface |
Phase 1: Pre-Diagnosis Preparation
Before touching any cable or settings, document the current state. A clear symptom description and a complete list of devices in the signal path prevents duplicate work and makes it possible to compare before and after.
Step 1.1 — Document the Display and Source Device
Record the following for both the display and the source device:
- Display: manufacturer, model number, firmware version (available in the display’s on-screen menu under System Information), native resolution, and panel type
- Source device: manufacturer, model, operating system version, GPU model, and GPU driver version
- Connection: cable type (HDMI 2.0, HDMI 2.1, DisplayPort 1.4), cable length, and every intermediate device with its make, model, and firmware version
This information becomes the baseline entry in the display’s installation record and determines which diagnostic steps apply—a direct 6-foot HDMI cable requires a completely different investigation than an AV-over-IP system extending signal 200 feet to a lobby.
Step 1.2 — Reproduce the Symptom Deliberately
Do not begin swapping hardware until you can reproduce the symptom on demand. Power the display off and back on. Put the source device to sleep and wake it. Restart the source device. If the symptom appears during one of these events but not others, that timing is diagnostic—it tells you whether the problem is at initial handshake (power-on), at renegotiation (wake from sleep), or is entirely intermittent.
For recognition displays on a scheduled power cycle—common in athletic halls of fame and donor recognition walls that power off overnight—simulate the cycle manually before assuming the symptom is random.
Phase 2: Physical Layer Inspection
The physical layer check is the fastest way to eliminate the most common cause of EDID failures: a cable that cannot reliably carry the DDC signal.
Step 2.1 — Substitute a Short, Known-Good Cable
Connect the source device directly to the display using a short (under 6 feet) HDMI or DisplayPort cable you know is working correctly. If the symptom disappears, the original cable, its length, or an adapter in the original path is the cause. If the symptom persists on the short direct cable, the problem is in the source device settings, the display firmware, or both.
This single test eliminates or confirms the most common EDID problem in one step, so always run it first—even if the original cable looks undamaged.
Step 2.2 — Inspect Physical Connectors
Examine all connectors with adequate lighting:
- HDMI connectors: check for bent or missing pins in the 19-pin socket
- DisplayPort: check the clip retention mechanism; a loose latch causes intermittent signal loss
- Adapters: miniHDMI, HDMI-to-DP, USB-C-to-DP, and HDMI-to-VGA adapters each introduce a conversion that can degrade the DDC signal — swap every adapter with a known-good unit if the short-cable test did not fully resolve the symptom
Cable Length Reference Table
| Cable Type | Passive Reliable Length (DDC) | Active/Fiber Maximum |
|---|---|---|
| HDMI 2.0 passive | Up to ~15 ft (5 m) | Active HDMI to ~50 ft; fiber to 300+ ft |
| DisplayPort 1.4 passive | Up to ~6 ft (2 m) at 4K/60Hz | Active DP to ~50 ft; fiber to 100+ ft |
| HDMI 1.4 passive | Up to ~15 ft (5 m) | Active HDMI to ~50 ft |
Any run beyond the passive reliable length should use an active cable or a dedicated AV extender with EDID management. Passive cable runs beyond these limits are a leading cause of intermittent EDID failures in school recognition display installations.
Phase 3: AV Signal Path Audit
If the display works correctly with a direct short cable but fails with the production signal path in place, the extender, splitter, or matrix switch is the source of the EDID problem.
Step 3.1 — Identify Every Device in the Signal Path
Draw or describe the complete path from GPU output to display panel, including:
- Any HDMI or DisplayPort splitters
- AV-over-IP encoders and decoders
- HDMI matrix or switching hardware
- Signal boosters or amplifiers
- Wall plates with internal signal conditioning
Each device in this chain must forward the display’s EDID to the source. If any device substitutes its own EDID or fails to pass the display’s EDID upstream, the source receives incorrect information about the display’s capabilities.
Step 3.2 — Configure EDID Management on Extenders and Switchers
Most professional AV extenders and matrix switches have an EDID management mode. Common options include:
| EDID Mode | Behavior | Best Use |
|---|---|---|
| Pass-through | Reads display EDID and forwards it to source | Use when cable run is short enough for reliable DDC |
| Copy and store | Reads display EDID at setup and sends stored copy to source | Use for long runs where DDC signal is unreliable |
| Default/built-in | Sends a fixed EDID (often 1080p/60Hz) regardless of display | Use only if display EDID is corrupt or device lacks management |
| Custom | Operator programs EDID to match display native resolution | Use when display EDID contains non-standard entries causing source confusion |
For most school recognition display installations, “copy and store” is the most reliable mode. Connect the display directly to the extender’s output, trigger the EDID copy function via the extender’s management interface or button, then restore the full signal path. This stores the display’s actual EDID in the extender, which then presents it to the source regardless of DDC signal quality over the long cable run.
Schools managing campus wayfinding and hallway recognition systems across multiple buildings often have several extender models from different vendors in the same installation. Document the EDID management procedure for each extender model in the signal path—procedures vary significantly between manufacturers.
Phase 4: Source Device Settings
If the physical layer and signal path are confirmed functional, the problem is in the source device’s display configuration or driver.
Step 4.1 — Force Display Detection
On Windows: right-click the desktop, select Display Settings, scroll to Multiple Displays, and click Detect. This triggers a manual EDID re-read without rebooting the source.
On macOS: hold Option and click the Displays preference pane refresh icon to force re-detection.
If the display appears after forced detection but reverts on the next boot, the source is caching a stale display profile. Proceed to Step 4.3.
Step 4.2 — Set Native Resolution Manually
When the source detects the display but outputs the wrong resolution:
Windows (NVIDIA GPU):
- Open NVIDIA Control Panel → Display → Change Resolution
- Select the recognition display from the display list
- Set the resolution to the display’s native resolution (e.g., 3840×2160 for a 4K panel, 1920×1080 for 1080p)
- Set the refresh rate to 60 Hz or as specified by the display manufacturer
- Apply and confirm
Windows (AMD GPU):
- Open AMD Software → Display
- Select the display and set Custom Resolution if the native option is absent from the dropdown
Windows (Intel GPU):
- Open Intel Graphics Control Panel → Display
- Select the output and set resolution and refresh rate manually
Step 4.3 — Disable Display Power Management
For recognition displays on scheduled operating hours, display power management is the most common cause of EDID failures that appear intermittently rather than at every boot:
- Open Windows Power Options → Change Plan Settings → Change Advanced Power Settings
- Set “Turn off display” to Never for the active power plan
- Set “Sleep” to Never
- In the GPU control panel, set the power management mode to “Prefer Maximum Performance” for the display output
These settings prevent the source device from entering a state that requires EDID renegotiation after an idle period. Schools that do want energy savings should use a managed PDU or display outlet timer that powers everything off completely—a clean cold boot is more reliable than a sleep-wake EDID renegotiation.
Step 4.4 — Clear the Stale Display Profile
Windows caches display configuration profiles by EDID signature. If the display was previously connected with different settings, or if an EDID firmware update changed the display’s identifier, the old profile may conflict with the current EDID data:
- In Device Manager, expand Monitors and uninstall the current display driver
- Restart the source device and let Windows re-detect the display fresh
- On NVIDIA systems, you can also delete stale entries using the NVIDIA Display Container service reset
Phase 5: Display Firmware and EDID Data
If the source device configuration is correct and the signal path is verified, the display firmware may be generating a malformed or incomplete EDID block that confuses some source devices.
Step 5.1 — Check the Display Firmware Version
Access the display’s on-screen menu and navigate to System Information or About. Record the firmware version and compare it against the current version listed on the manufacturer’s support page. Firmware updates frequently include EDID corrections—especially for 4K panels that initially shipped with incomplete HDR or refresh rate descriptors.
Before applying a firmware update to a production recognition display, test the update on a spare unit or during a scheduled maintenance window—not the afternoon before an athletic banquet. Schools managing multi-year athletic recognition archives alongside live display systems should incorporate firmware version tracking into the same policy document that governs content and award data.
Step 5.2 — Read the Raw EDID Block
Reading the display’s EDID data reveals exactly what the source device sees and is the definitive diagnostic for a corrupted or non-standard EDID:
On Windows: Use a free utility such as Monitor Asset Manager (MonInfo) or the EDID Decode function in Custom Resolution Utility (CRU). Connect the display directly, launch the tool, and read the EDID block. Review the preferred timing entry to confirm it matches the display’s advertised native resolution.
On Linux/macOS: Run edid-decode against the EDID data from /sys/class/drm/card0-HDMI-A-1/edid (Linux) or from SwitchResX (macOS).
If the EDID preferred timing shows an unexpected resolution or refresh rate, or if the EDID checksum reports an error, the display firmware has a corrupted EDID. Apply the firmware update (Step 5.1) or perform a factory reset as described in Step 5.3.
Step 5.3 — Factory Reset the Display
A factory reset clears all firmware-level user settings, including any user-modified EDID or signal configuration:
- Access the display’s on-screen menu
- Navigate to System → Factory Reset (exact path varies by manufacturer)
- Confirm the reset
- Power-cycle the display completely (off at the mains, not just standby)
- Reconnect the source and test EDID handshake
Phase 6: EDID Override and Emulation
When software and firmware steps have not resolved the problem, hardware EDID override is the next tool. This phase is relevant when the source device and display cannot negotiate a compatible mode—even though both devices individually operate correctly with other hardware.
Step 6.1 — Create a Custom EDID Override in the GPU Driver
On Windows, Custom Resolution Utility (CRU) allows you to write a custom EDID entry that the GPU presents to itself, bypassing whatever EDID the display sends. This is effective when the display sends a malformed EDID that the GPU misinterprets:
- Download CRU from the developer’s site and run it as administrator
- Select the recognition display from the dropdown
- In the “Detailed Resolutions” section, add an entry matching the display’s native resolution and preferred refresh rate
- Run
restart64.exe(included with CRU) to restart the GPU driver without rebooting - Verify the display reports the correct resolution in Windows Display Settings
Document the CRU profile file and store it in the display’s installation record—the override must be re-applied after every GPU driver update.
Step 6.2 — Install an EDID Emulator Adapter
An EDID emulator (also called a display emulator or ghost adapter) is a small plug-in device that inserts between the source device’s video output and the cable or extender. It presents a stored EDID to the source, making the source behave as though a display is always connected and always reporting the correct capabilities.
EDID emulators are particularly effective for:
- Headless source devices (mini PCs with no monitor attached) that default to a low resolution when no display EDID is detected
- Long-run extender installations where DDC signal quality is too low for reliable real-time EDID pass-through
- Display walls in lobbies or athletics hallways where the display is powered off daily but the source device must remain ready to output at the correct resolution
Select an emulator that supports the cable standard (HDMI 2.0 or DisplayPort 1.4) and the native resolution of your display. Emulators that allow custom EDID programming provide the most control for non-standard panel configurations.
Schools operating hall of fame kiosks alongside all-conference recognition systems and all-state athlete displays often run multiple recognition screens across a campus. In these multi-screen environments, install an EDID emulator at the source output for each display, programmed to that display’s native EDID, rather than relying on extender EDID pass-through across varying cable lengths.
Phase 7: Post-Fix Validation
A fix that works in the moment is not complete until it survives the conditions that originally caused the failure. Run all three validation tests before closing the troubleshooting session.
Step 7.1 — Full Power Cycle Validation
Power the source device off completely. Power the display off at the mains (not standby). Wait 30 seconds. Power the display on first, then power the source on. Confirm:
- The display shows content at the correct native resolution
- No “No Signal” or “Detecting” state persists for more than 15 seconds after source boot
- Touch input registers correctly at all four screen corners
Step 7.2 — Sleep-Wake Validation
On the source device, set a 2-minute screen saver or manually trigger a sleep state. Wait for the display to go to standby. Wake the source device. Confirm the display returns to the correct resolution and content without requiring manual input. If the display returns at the wrong resolution, the power management settings in Phase 4 require additional adjustment.
Step 7.3 — Scheduled Power Cycle Simulation
If the display runs on a daily scheduled power cycle (outlet timer or managed PDU), simulate a full off/on cycle at the scheduled time and confirm the handshake re-establishes without manual intervention. Schools managing donor wall displays and recognition kiosks often schedule power cycles for overnight energy savings—validation must match the production power sequence to confirm the fix holds in real operating conditions.
EDID Quick-Reference Table for School AV Teams
| Scenario | Root Cause | Recommended Fix | Prevents Recurrence |
|---|---|---|---|
| Black screen at power-on; clears after source reboot | Source booted before display EDID ready | Power display on before source; add startup delay | EDID emulator on source output |
| Wrong resolution every cold boot | GPU using stale cached display profile | Clear display profile; reinstall GPU driver | Set native resolution as forced default in GPU driver |
| Correct on short cable; fails on long run | DDC signal too weak for EDID read over long passive cable | Replace passive cable with active or switch to AV extender | Configure extender EDID copy-and-store mode |
| Fails through extender; works on direct connection | Extender not forwarding EDID correctly | Configure extender EDID management; update extender firmware | Re-test EDID after every extender firmware update |
| Black screen after sleep | Display power management triggering EDID renegotiation | Disable display sleep in source power settings | Set source to never sleep; use scheduled PDU power instead |
| Touch calibration offset after resolution change | Resolution mismatch: touch controller expects different geometry | Match output resolution to display native; recalibrate touch | Lock output resolution via GPU override; document in baseline |
| Scrambled image (wrong color depth or refresh rate) | Source selected unsupported mode from EDID descriptor | Force correct color depth and refresh rate in GPU driver | CRU custom EDID override limiting available modes |
| Works at 1080p; fails at 4K | Display EDID missing 4K descriptor or cable bandwidth insufficient | Use HDMI 2.0 or DP 1.4 cable rated for 4K; check EDID for 4K entry | Verify cable bandwidth specification before installation |
People Also Ask
What is EDID and why does it matter for a school recognition display?
EDID (Extended Display Identification Data) is a data block stored in the display that tells the connected source device—the mini PC or media player running the recognition platform—what resolutions, refresh rates, and color formats the screen supports. The source reads this data every time it connects to the display and uses it to select the correct output configuration. When the EDID read fails or contains incorrect information, the source outputs a fallback signal the display cannot render correctly, producing a black screen, wrong resolution, or “No Signal” message. For a public-facing recognition display in a school hallway or lobby, this failure is immediately visible and affects every viewer until the problem is diagnosed and corrected.
Why does my recognition display show the wrong resolution after a reboot?
The most common cause is the source device caching a stale display profile from a previous connection. Windows stores display configuration by EDID signature; if the EDID changed (after a firmware update, for example) or if a different display was connected at some point, the cached profile may not match the current display. The fix is to clear the stale display profile in Device Manager (uninstall the monitor device and reboot), then manually set the native resolution in the GPU driver’s display settings and confirm it persists across reboots.
What is an EDID emulator and when do schools need one?
An EDID emulator is a small plug-in adapter that presents a stored EDID to the source device, making the source behave as if a fully operational display is always connected. Schools need one when the source device is headless (no display physically attached for part of its operation), when a long cable run prevents reliable real-time EDID reading, or when a scheduled power-off cycle causes the source to lose the display’s EDID each night and fail to recover at the correct resolution on startup. An EDID emulator eliminates these scenarios by ensuring the source always sees a consistent, correct display description regardless of whether the physical display is on or off.
How do I force a resolution on a school recognition display when the handshake fails?
On Windows, open the GPU control panel (NVIDIA Control Panel, AMD Software, or Intel Graphics Command Center) and set a custom resolution matching the display’s native specification—for example, 3840×2160 at 60 Hz for a 4K panel. If the standard control panel does not offer the native resolution, use Custom Resolution Utility (CRU) to write a custom EDID override that the GPU uses instead of the display’s EDID. Apply the change and restart the GPU driver. Document the custom resolution setting in the display’s installation record so it can be re-applied after GPU driver updates.
Why does my touchscreen recognition display go black after the source PC wakes from sleep?
When a source device exits sleep, it renegotiates the EDID handshake with the display. If the display has not fully resumed from standby before the source completes its renegotiation, the source may default to a fallback resolution or report no display. The display then cannot return to the correct operating mode without intervention. Disable all display and sleep power management settings on the source device for recognition display deployments. Use a scheduled PDU outlet timer to power the entire display system off and on at fixed times instead of relying on OS power management states.
What cable length causes EDID problems for school recognition displays?
Passive HDMI cables typically carry the DDC signal reliably up to approximately 15 feet (5 meters). DisplayPort passive cables are more limited at 4K resolutions—approximately 6 feet. Beyond these lengths, the DDC signal that carries EDID data attenuates below the threshold for reliable reading, even if the video signal itself passes through. The display may appear to work at lower resolutions because standard-definition TMDS signal has more margin than DDC. Schools running cable through walls or ceilings over distances longer than 15 feet should use active HDMI cables, fiber HDMI extenders, or AV-over-IP systems with dedicated EDID management.
Document the Fix and Prevent Recurrence
Every EDID troubleshooting session that ends without documentation sets up the same session again in six months. After validation passes, record in the display’s installation file:
- The root cause identified
- The specific change made (firmware version applied, CRU profile created, extender EDID mode configured, emulator installed)
- The cable configuration as of the fix date
- The GPU driver version current at fix time
- The validation results (power cycle, sleep-wake, scheduled cycle)
Trigger a review of the EDID documentation whenever the GPU driver is updated, the extender firmware is updated, the display firmware is updated, or any hardware in the signal path is replaced. Schools managing recognition programs for student council achievements alongside athletic halls of fame often have multiple display types from different manufacturers across the same campus—a per-display installation file prevents fixes discovered for one screen from being rediscovered for each subsequent one.
A completed recognition display EDID troubleshooting checklist means your AV team has a documented, repeatable diagnostic sequence that any technician can follow without waiting for the person who originally installed the system. The seven-phase process above—physical layer, signal path, source device, firmware, override, validation, documentation—covers every failure mode that affects school recognition displays in real K–12 and higher education operating conditions.
Want a recognition display platform that includes complete AV installation documentation before deployment?
Rocket Alumni Solutions deploys touchscreen hall of fame displays, donor recognition walls, and interactive athletic record boards for schools—with the signal path specifications, EDID documentation, and cable requirements your AV and IT teams need before installation day.