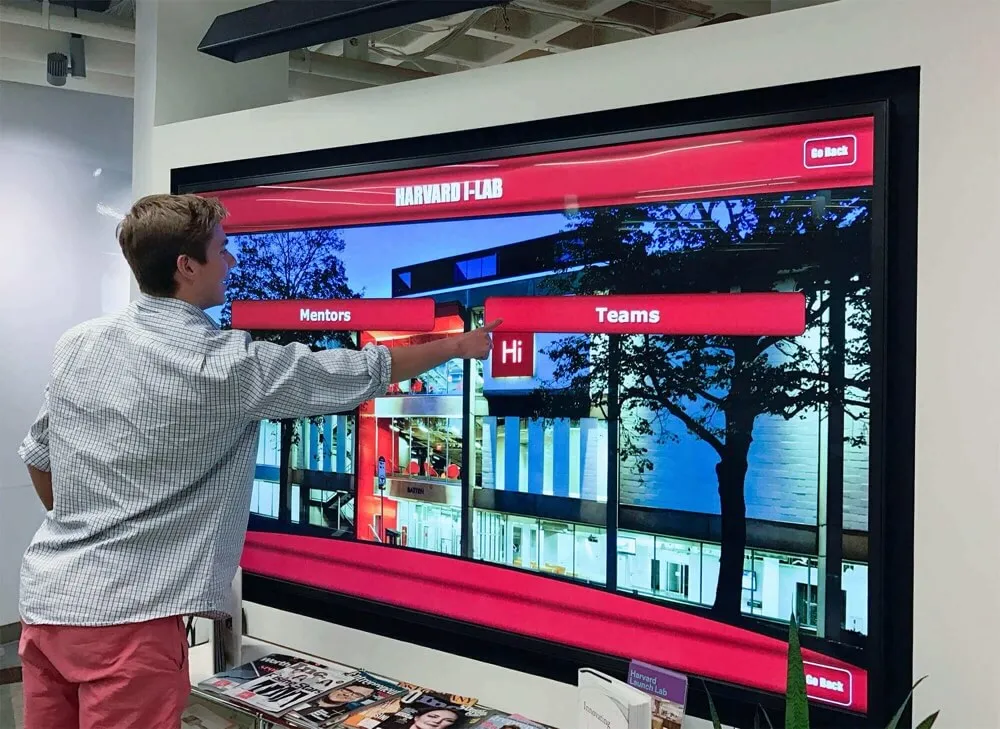
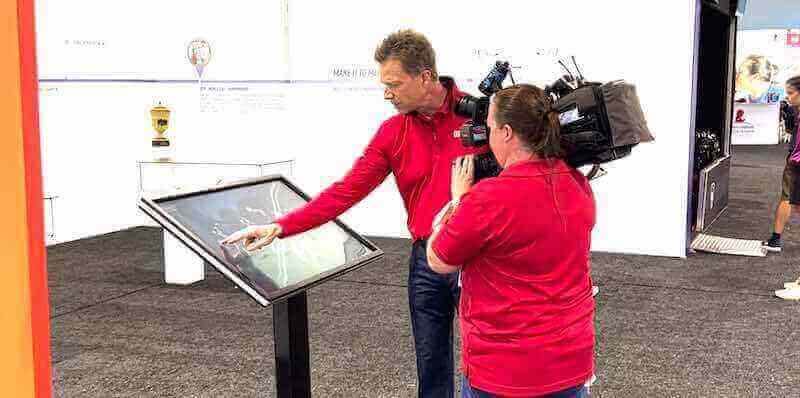
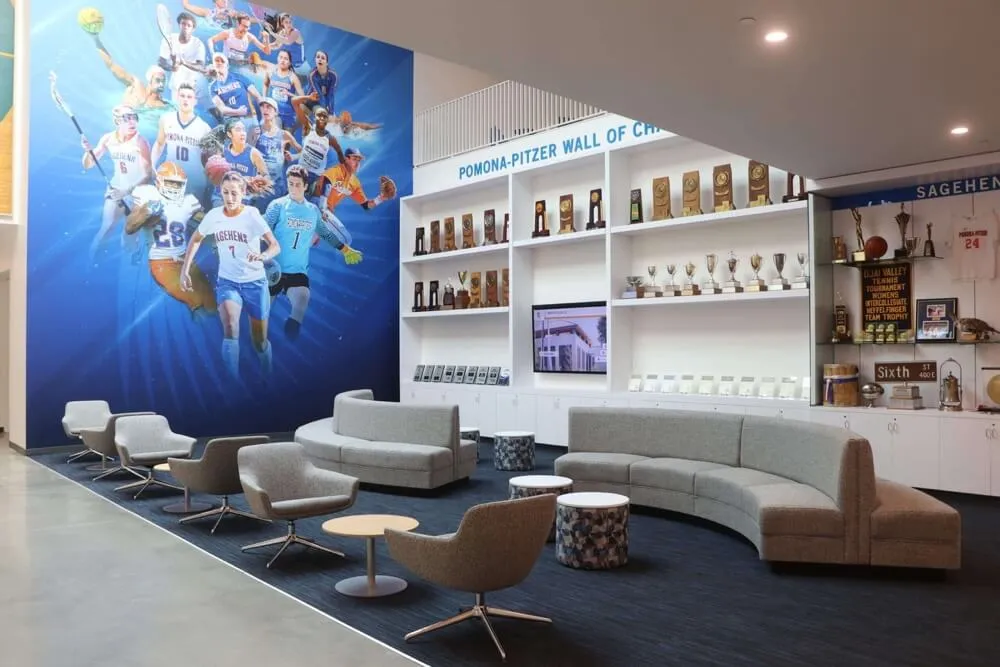
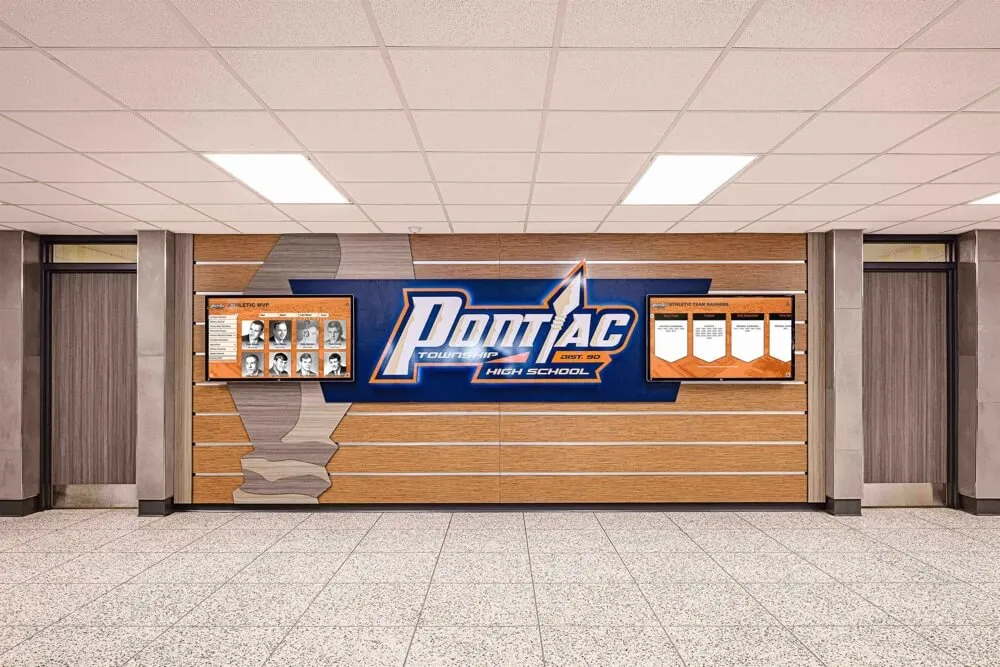
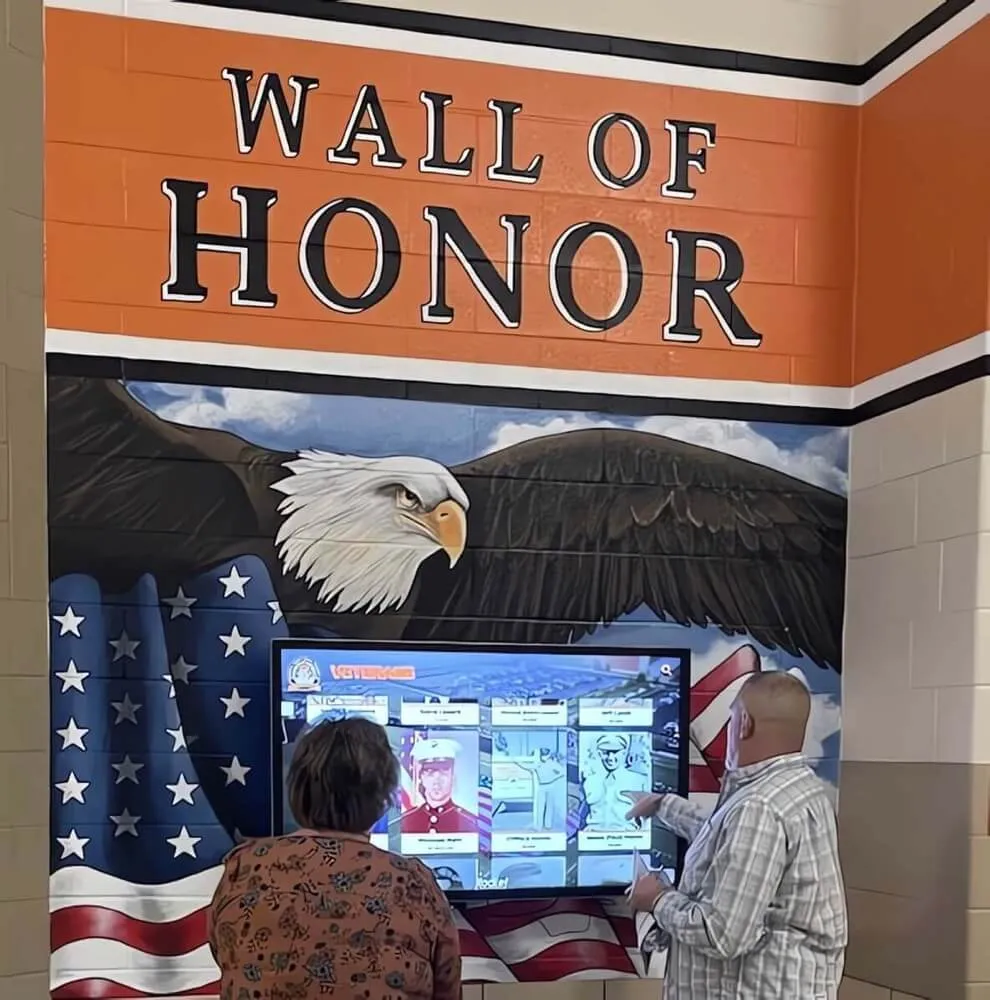
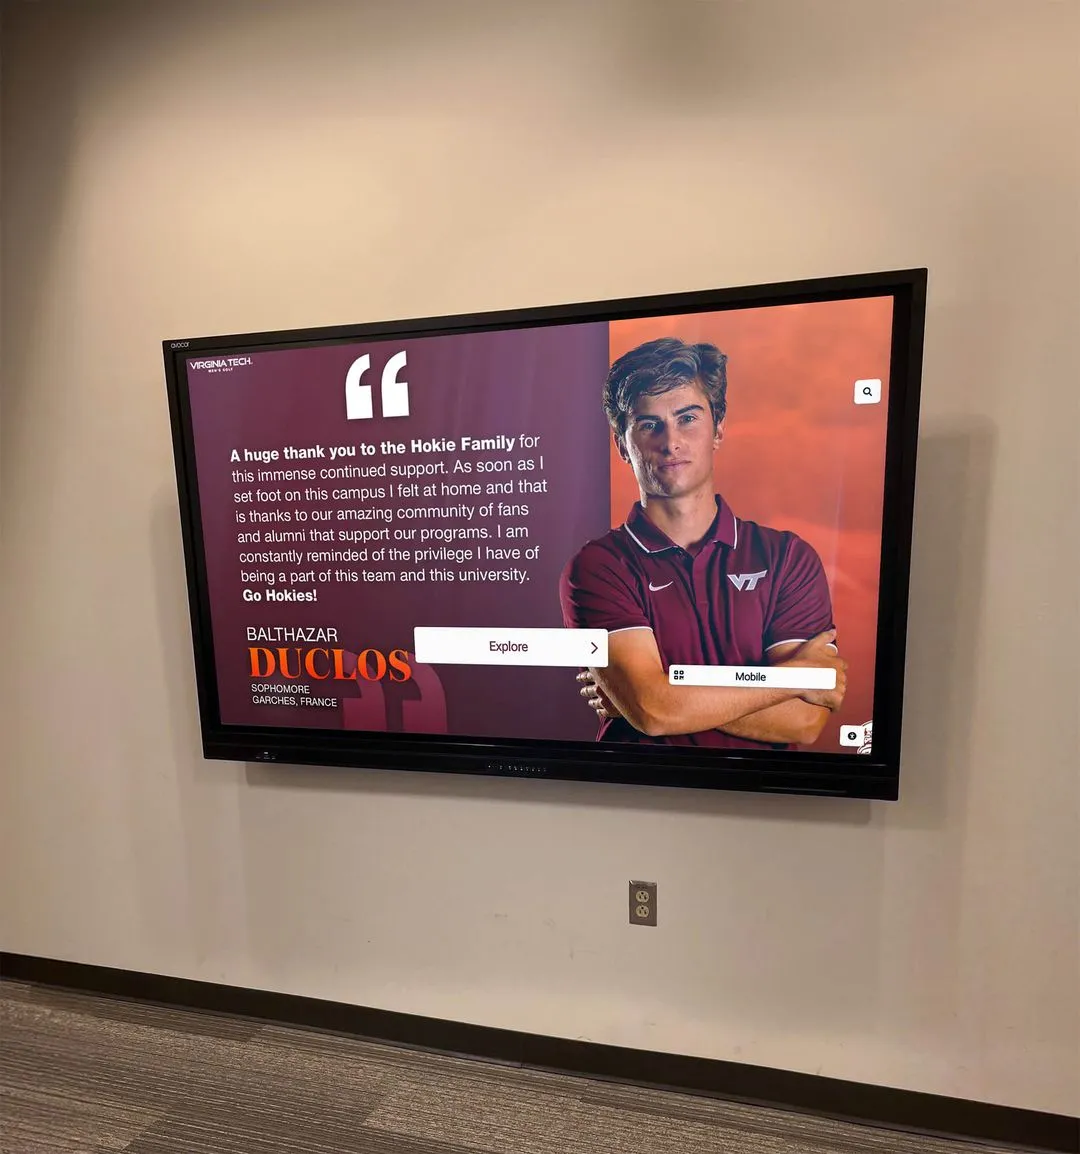
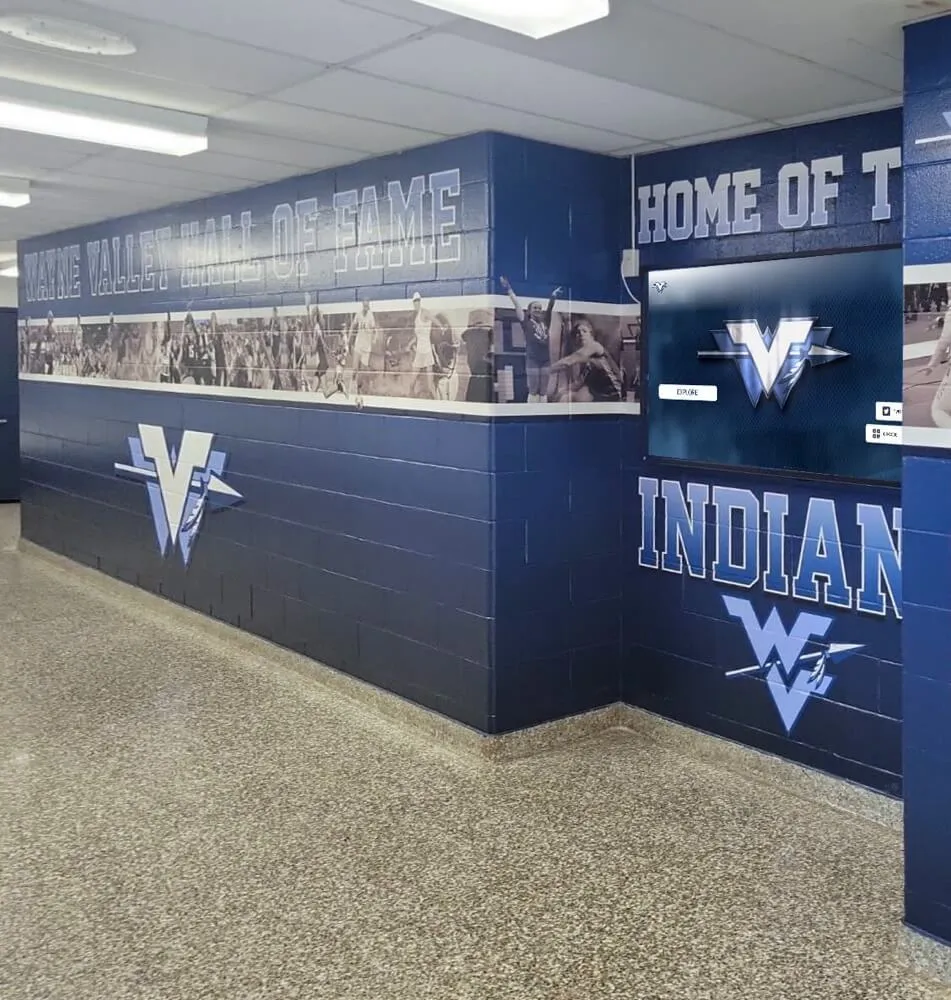
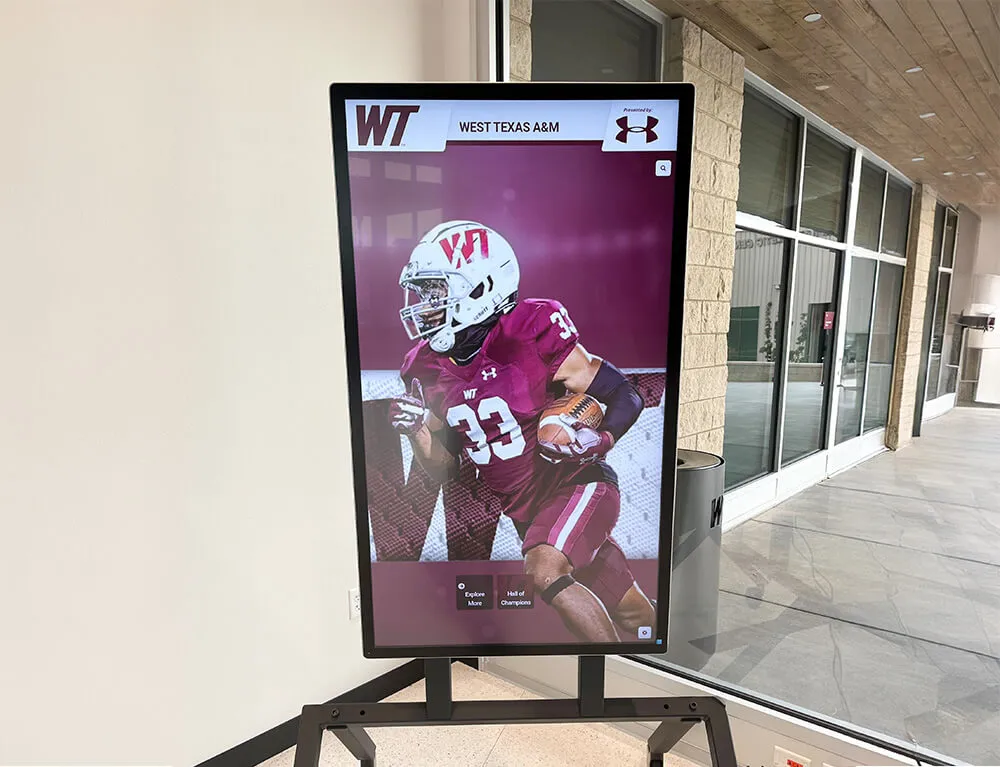
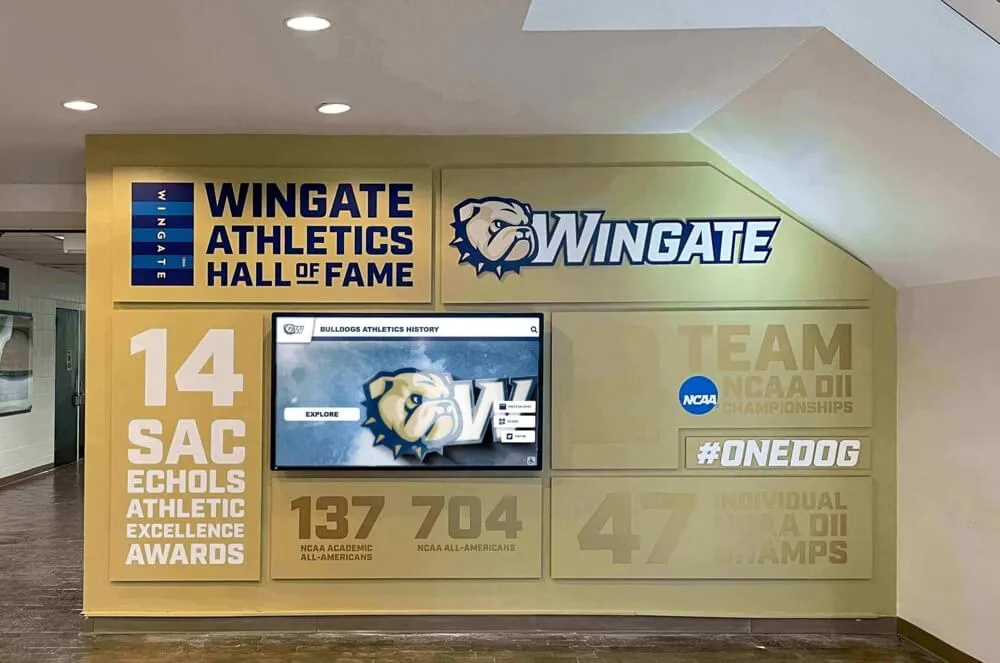
Recognition display orientation lock configuration is the process of permanently fixing the screen rotation of a wall-of-fame kiosk, digital trophy case, or awards touchscreen so that the display stays in its intended portrait or landscape layout after every restart, OS update, and power cycle — without requiring a technician to manually correct the rotation.
Without a locked orientation, a portrait-mounted recognition kiosk that restarts overnight can come up sideways in landscape mode the next morning, cutting off athlete profiles and award text at the edges. A landscape awards display that receives a Windows quality update and reboots during the night may return in portrait mode, scaling everything incorrectly until someone walks by and reports it. Either scenario creates the exact kind of visible failure that undermines a recognition program at the worst possible moment — right before a ceremony, a game, or a school tour.
This guide walks school IT coordinators, AV technicians, and facilities staff through recognition display orientation lock configuration from end to end: identifying the platform, applying OS-level rotation locks, enforcing them through Group Policy or MDM, setting orientation in the player or CMS software, and validating that the setting survives restarts and updates.
Nothing in this article constitutes legal advice. Schools subject to district technology policy, CIPA, or device management frameworks should involve qualified IT leadership when modifying system configuration.
The direct answer: set the display orientation in the OS display settings for each recognition kiosk, then enforce the setting via Group Policy (Windows), a managed configuration profile (Android), or an xorg configuration file (Linux) so the OS cannot revert to a different rotation after updates or reboots — and confirm that the recognition player or CMS software is set to match the same orientation at the application layer. The checklist and phases below walk through every step.
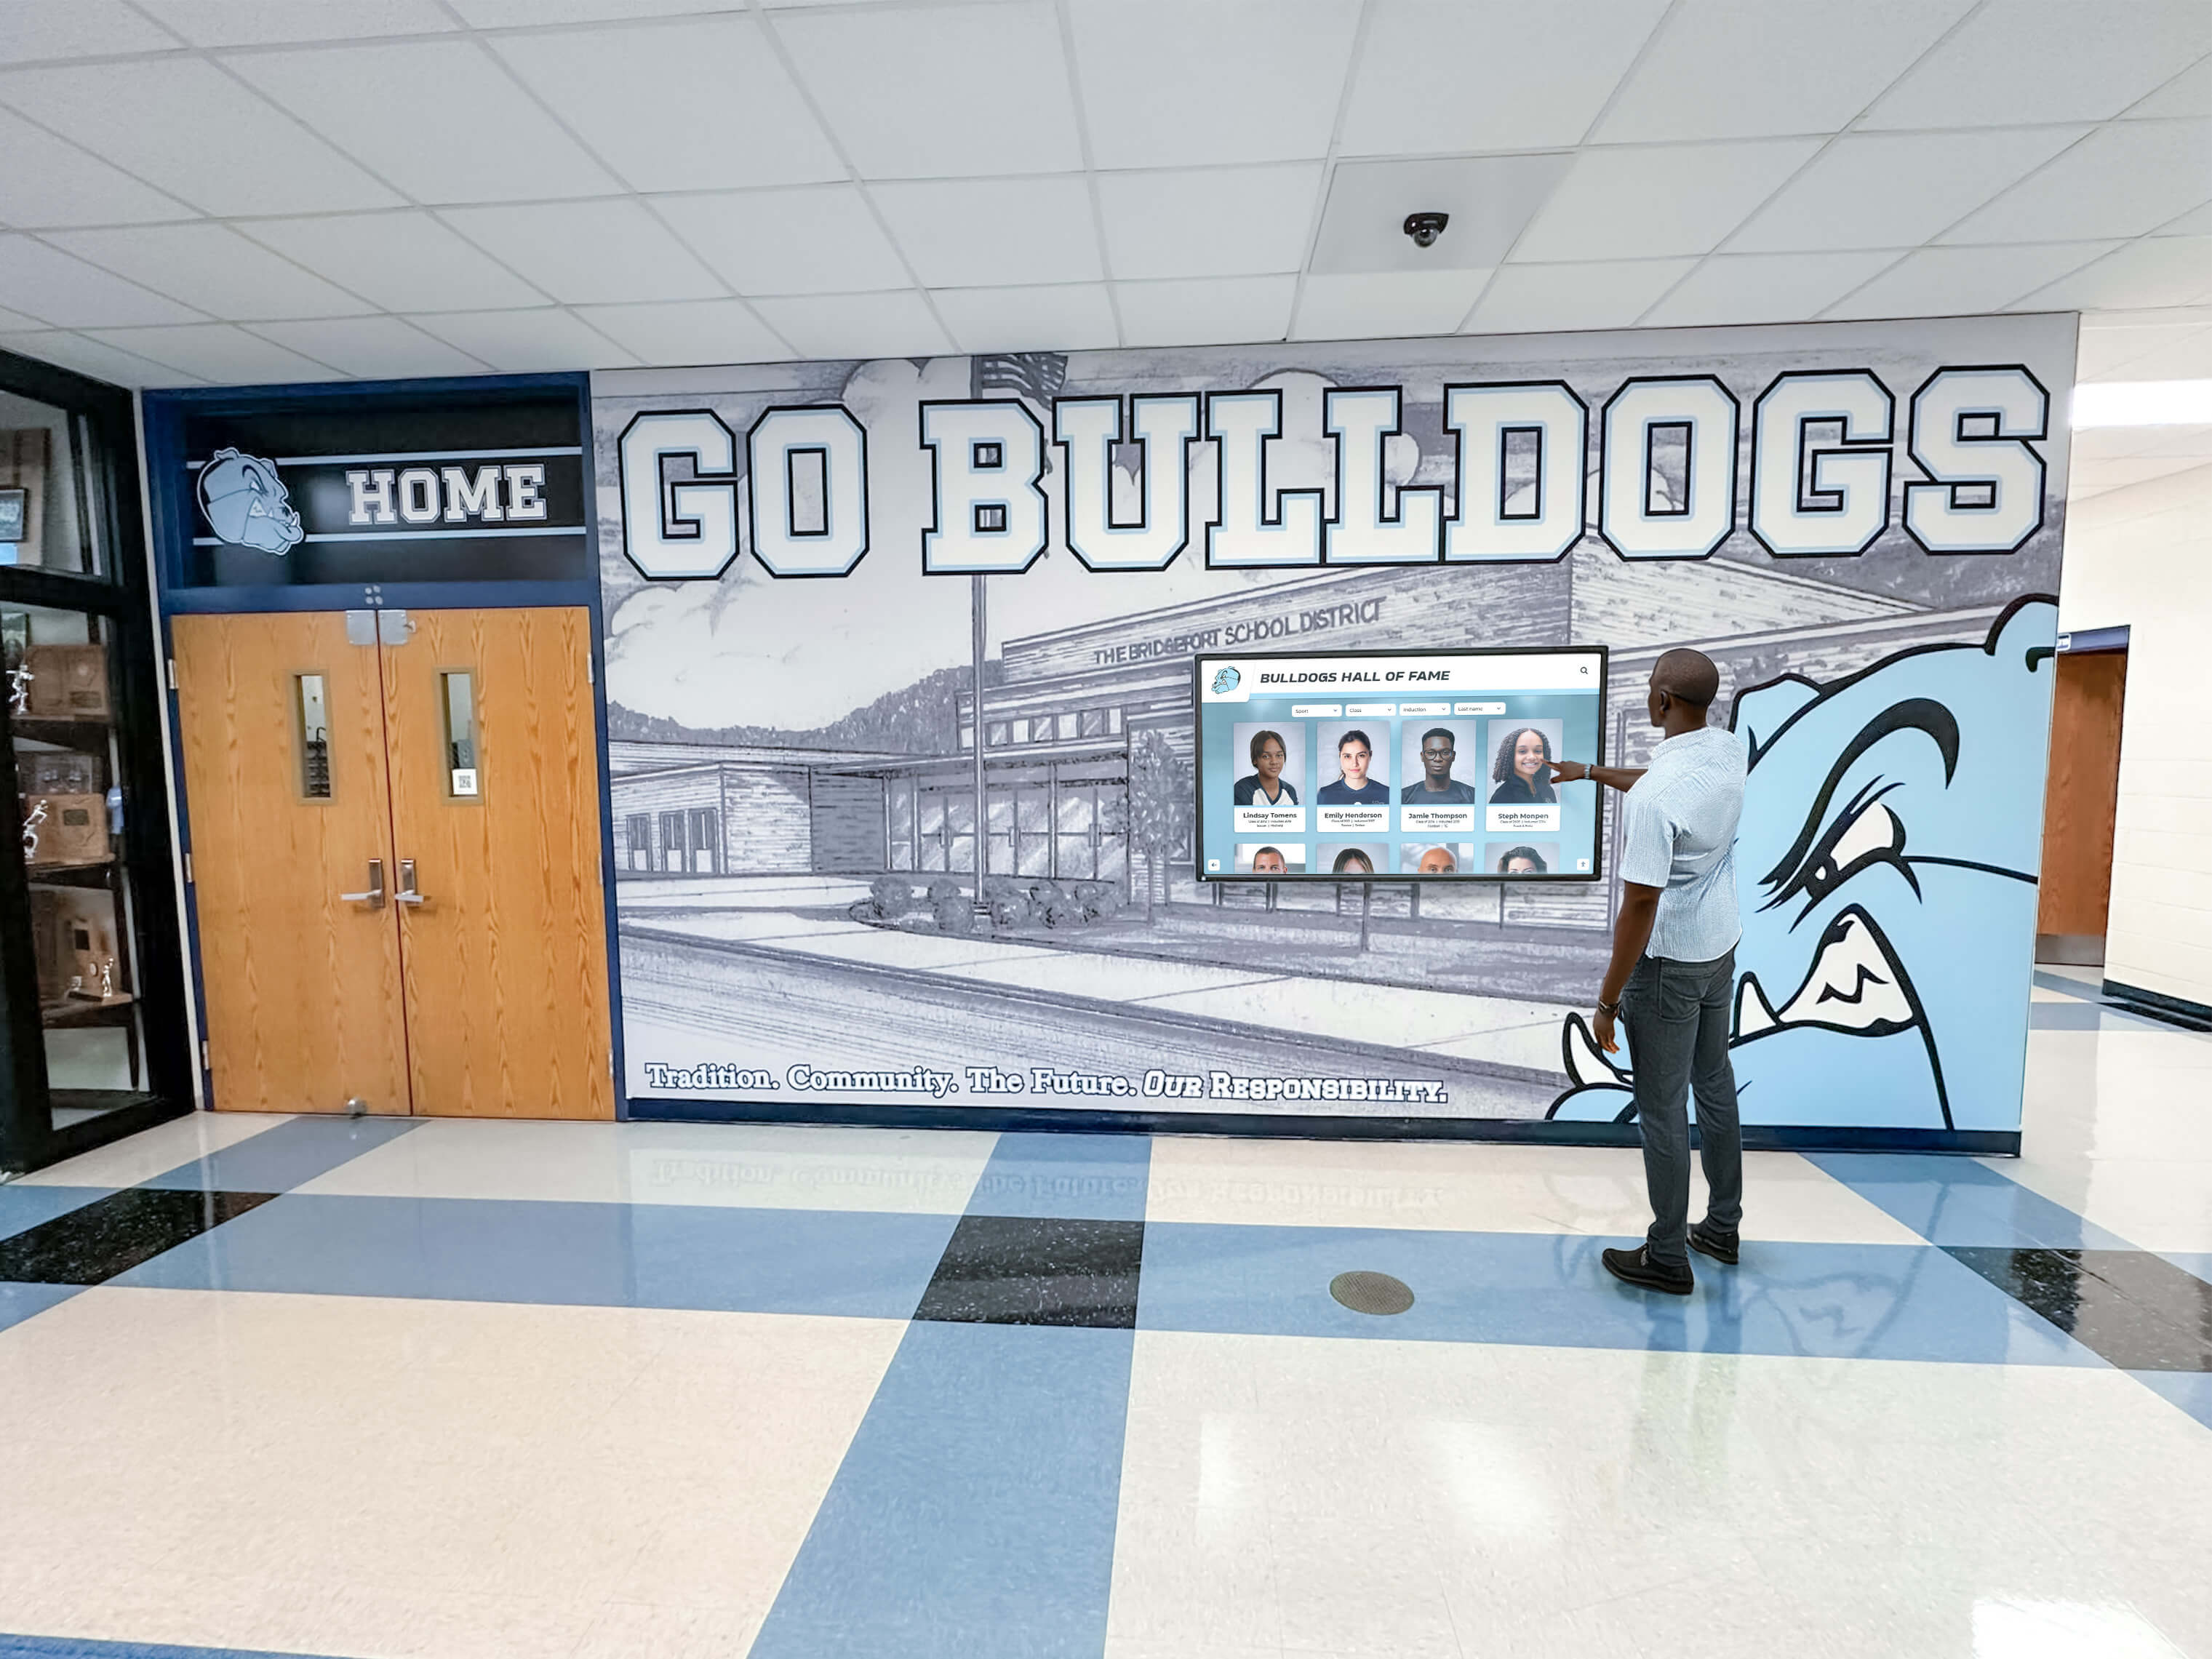
Why Orientation Lock Matters for Recognition Display Infrastructure
Recognition displays have physical installation constraints that make orientation reversion more consequential than on a standard classroom display.
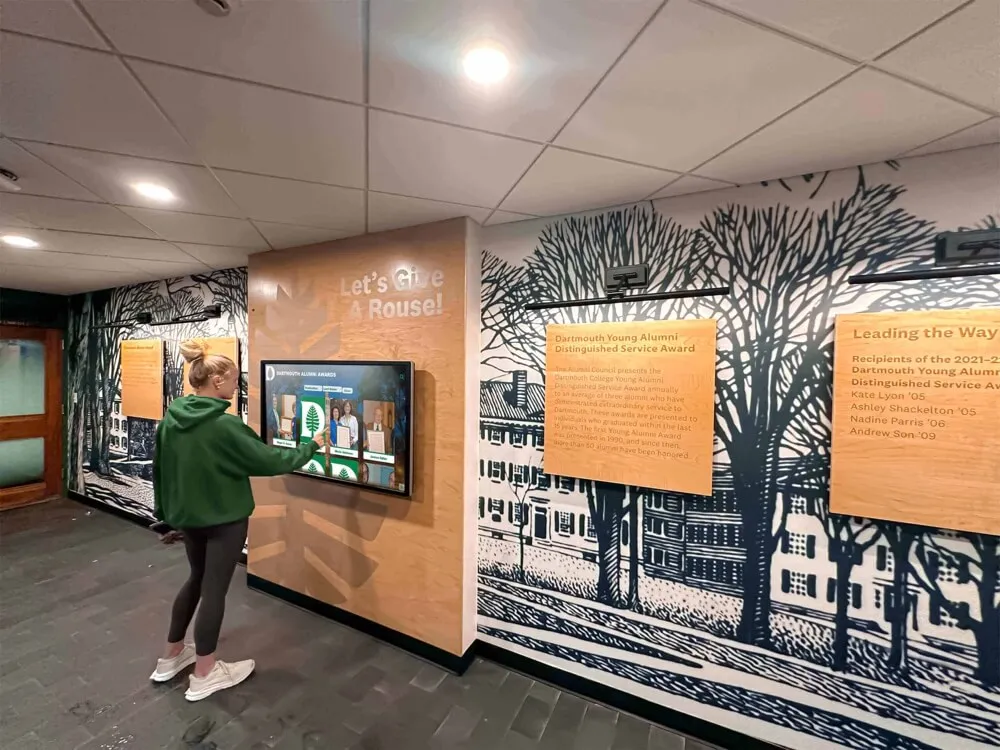
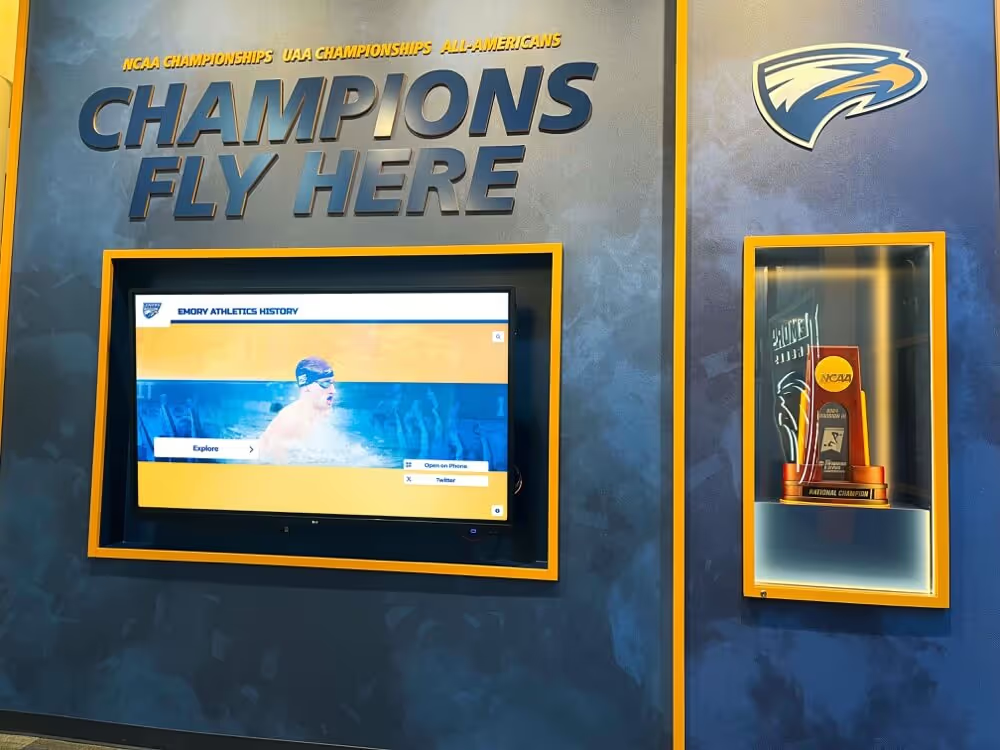
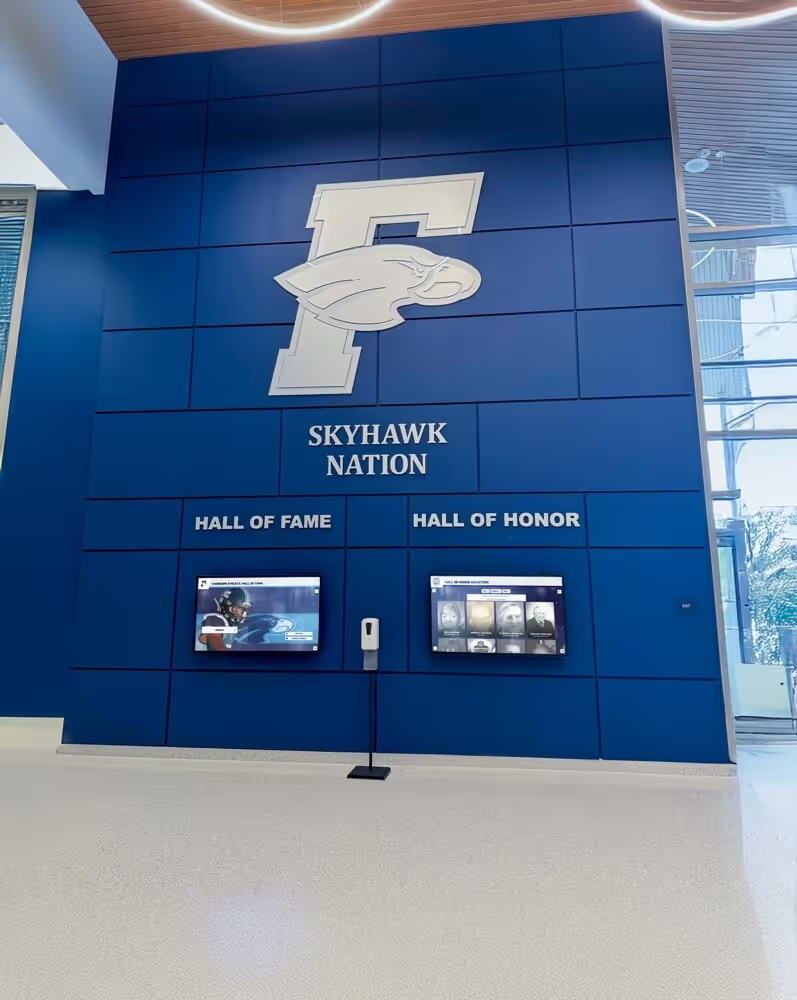
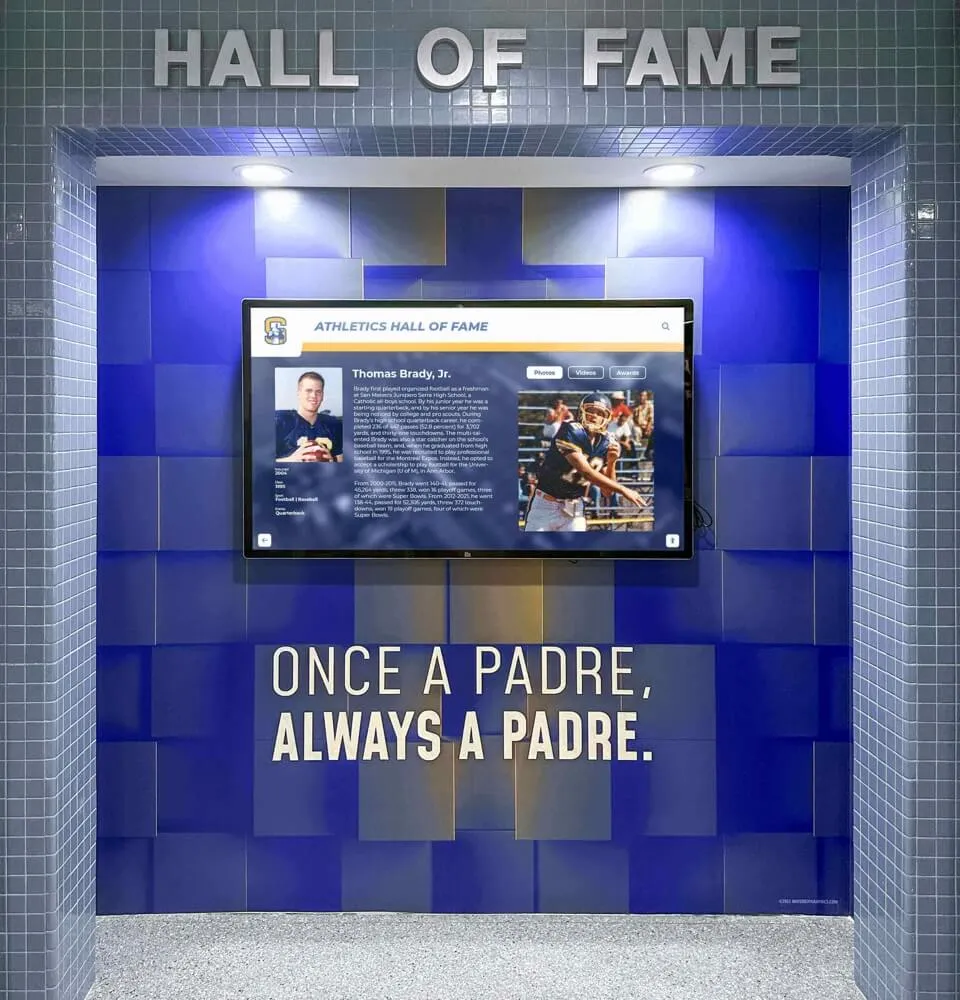
Portrait mounting is common and the OS default is landscape. Lobby kiosks and wall-of-fame displays are frequently mounted in portrait orientation — tall and narrow — to maximize the number of athlete profiles or donor plaques visible at one time. Every major operating system defaults to landscape orientation after a clean boot or driver reinstall. Without an explicit lock, any OS-level event that clears display configuration — an update, a driver reset, or a fresh image deployment — will revert the kiosk to landscape mode.
Kiosks run unattended. A recognition display in an athletics hallway or main lobby has no operator present to notice when the rotation resets at 3 a.m. By the time a student, coach, or donor reports the problem, the display may have been sideways for hours. Archival school memorabilia displays and hall-of-fame installations that carry your school’s history deserve the same operational discipline as any other always-on infrastructure.
Updates reset display driver state. Windows cumulative updates frequently include GPU driver updates. When a display driver reinstalls, Windows may drop any manually configured orientation and restore the default. Group Policy or registry enforcement prevents this regression from becoming visible.
Multi-screen deployments amplify the risk. Schools running recognition displays in multiple buildings — an athletics hallway kiosk, a main lobby donor wall, and a gymnasium foyer awards screen — cannot individually check each unit after every Patch Tuesday. A centrally enforced orientation policy ensures every display comes back correctly, regardless of which device happened to receive an update overnight. Well-designed display programs that maintain visual consistency across locations depend on reliable orientation configuration as a foundation.
Orientation Lock Configuration Master Checklist
Complete this checklist for each recognition display before moving to the phase-by-phase configuration steps. Store a completed copy with the device’s asset record.
| Item | Verification Method | Expected Result | Review Frequency |
|---|---|---|---|
| Target orientation documented | Physical mount inspection | Portrait or landscape recorded per device | At commissioning |
| Current OS orientation confirmed | Display Settings (Windows) or Settings → Display (Android/Linux) | Matches physical mount | At commissioning |
| OS-level orientation set | Display Settings on device | Correct rotation value saved | After any OS reinstall |
| Orientation locked (Windows GP) | Group Policy Editor → Display Settings policy | Policy applied; setting greyed out in UI | After any GP change |
| Orientation locked (Windows registry) | Registry entry present if GP not available | Orientation DWORD present in display config key | After any driver update |
| Auto-rotation disabled (Windows tablet mode) | Settings → System → Display → Rotation lock | Rotation lock enabled | After any OS update |
| Orientation locked (Android MDM) | MDM console policy confirmation | Screen orientation policy pushed and applied | After any MDM change |
| Orientation locked (Android developer options) | Developer Options → Disable automatic rotation | Auto-rotate off | After any Android update |
| Orientation locked (Linux xorg.conf) | /etc/X11/xorg.conf.d/ config file present | Rotate option matches mount | After any X11 or driver update |
| Player/CMS software orientation set | Player settings screen or CMS device configuration | Rotation matches OS and mount | After any player update |
| Device rebooted and orientation verified | Physical observation after reboot | Correct orientation on first boot | After each phase of configuration |
| OS update applied and orientation verified | Apply pending updates; reboot; observe | Correct orientation survives update | After each Patch Tuesday or OS update |
| Power cycle tested | Full power-off and power-on | Correct orientation on cold start | At commissioning |
| Configuration change documented | IT asset record updated | All settings recorded with date | After each configuration change |
Before You Start: Prerequisites
Physical Mount Documentation
Before touching any software setting, confirm the intended orientation for each device. This seems obvious, but a mismatch between the documented intended orientation and the physical mount is one of the most common sources of recurring misconfiguration.
For each recognition display in your inventory, record:
| Field | Example Values |
|---|---|
| Device name / asset tag | KIOSK-ATHLETICS-01 |
| Physical location | Athletics hallway, south wall |
| Mount orientation | Portrait (90° clockwise) |
| OS platform | Windows 11 Pro 23H2 |
| GPU / display driver version | Intel UHD 630, driver 31.0.101.5234 |
| Player software | [Your CMS platform name] |
| Player orientation setting | 90° CW |
Having this record on hand before you begin means you are not guessing the intended orientation mid-configuration, and it gives you a rollback reference if a setting has unintended consequences.
Platform Identification
The correct orientation lock method depends entirely on the operating system running on the recognition display controller.
| Platform | Lock Method | Enforced By |
|---|---|---|
| Windows 10 / 11 (domain-joined) | Group Policy + Display Settings | IT administrator via GPO |
| Windows 10 / 11 (non-domain, standalone) | Registry + Display Settings | IT administrator, local configuration |
| Android (managed via MDM) | Managed configuration profile | MDM platform (Intune, Workspace ONE, Jamf) |
| Android (unmanaged) | Developer Options + player software | Local configuration |
| Ubuntu / Debian Linux | xorg.conf.d rotate option | Local configuration or startup script |
| Purpose-built signage appliance | Vendor web console | Vendor management interface |
Stakeholder Alignment
| Decision | Owner |
|---|---|
| Documented intended orientation per device | IT Coordinator and AV/Facilities |
| Group Policy or MDM authority | Network/Systems Administrator |
| Player or CMS orientation setting authority | IT Coordinator or Recognition Program Owner |
| Reboot test scheduling | IT Coordinator and Facilities |
| Change documentation repository | IT Asset Manager |
Phase 1: Set the OS-Level Orientation on Windows
Step 1 — Confirm the Current Orientation
- Right-click the Windows desktop and choose Display settings.
- Scroll to Display orientation. Note the current value: Landscape, Portrait, Landscape (flipped), or Portrait (flipped).
- Set the orientation to match the physical mount:
- Physical portrait mount (rotated 90° clockwise): select Portrait
- Physical portrait mount (rotated 90° counter-clockwise): select Portrait (flipped)
- Physical landscape mount (standard): select Landscape
- Click Keep changes when prompted.
Step 2 — Disable Auto-Rotation (Devices with Accelerometers)
Some mini PCs and all-in-one touchscreen devices include accelerometers that allow Windows to auto-rotate based on physical orientation. For a wall-mounted display this feature causes unintended rotations during building vibration or when the mount is adjusted.
- Open Settings → System → Display.
- If a Rotation lock toggle appears, enable it (slide to On). This prevents the accelerometer from overriding the configured orientation.
- If no Rotation lock toggle appears, the device does not have an accelerometer sensor and this step is not required.
Step 3 — Lock the Orientation via Group Policy (Domain-Joined Devices)
Group Policy prevents users and processes from changing display orientation, and survives OS updates by re-applying at each startup and user logon.
- On a domain controller or management workstation, open Group Policy Management and create or edit a GPO linked to the OU containing your recognition display computer accounts.
- Navigate to: Computer Configuration → Administrative Templates → Control Panel → Display
- Open Prevent changing display settings and set it to Enabled.
- Apply the GPO. Force an immediate update on the target device with
gpupdate /forcefrom an elevated command prompt. - Verify: right-click the desktop → Display settings → confirm the orientation selector is greyed out and the policy setting is visible in the
rsop.mscreport.
This policy blocks any process — including Windows update components — from modifying the display orientation through the standard settings API. It does not prevent a GPU driver reinstall from resetting the underlying driver-level configuration, so Phase 1 Step 4 is required in addition to this step.
Step 4 — Lock the Orientation via Registry (Standalone or Non-Domain Devices)
For recognition display controllers that are not domain-joined, or as an additional layer on domain-joined devices, enforce the orientation through the registry.
- Open Registry Editor (
regedit.exe) as Administrator. - Navigate to:
HKEY_LOCAL_MACHINE\SYSTEM\CurrentControlSet\Control\GraphicsDrivers\Configuration - Under this key, locate the subkey corresponding to your display (typically named after the monitor EDID; there may be several — identify the correct one by examining the
PrimSurfSize.cxandPrimSurfSize.cyvalues that match your display’s native resolution). - Within the display configuration subkey, locate or create a DWORD value named Orientation:
0= Landscape (default)1= Portrait (90° CW — most common for portrait-mounted kiosks)2= Landscape (flipped)3= Portrait (flipped, 90° CCW)
- Set the value to match your target orientation.
- Export the key as a
.regfile and save it to your IT asset documentation so you can re-apply it after a driver reinstall without navigating the registry manually.
For multi-device deployments, convert the .reg file into a startup script deployed via GPO, MDM, or your imaging system to apply the registry setting automatically during device provisioning.
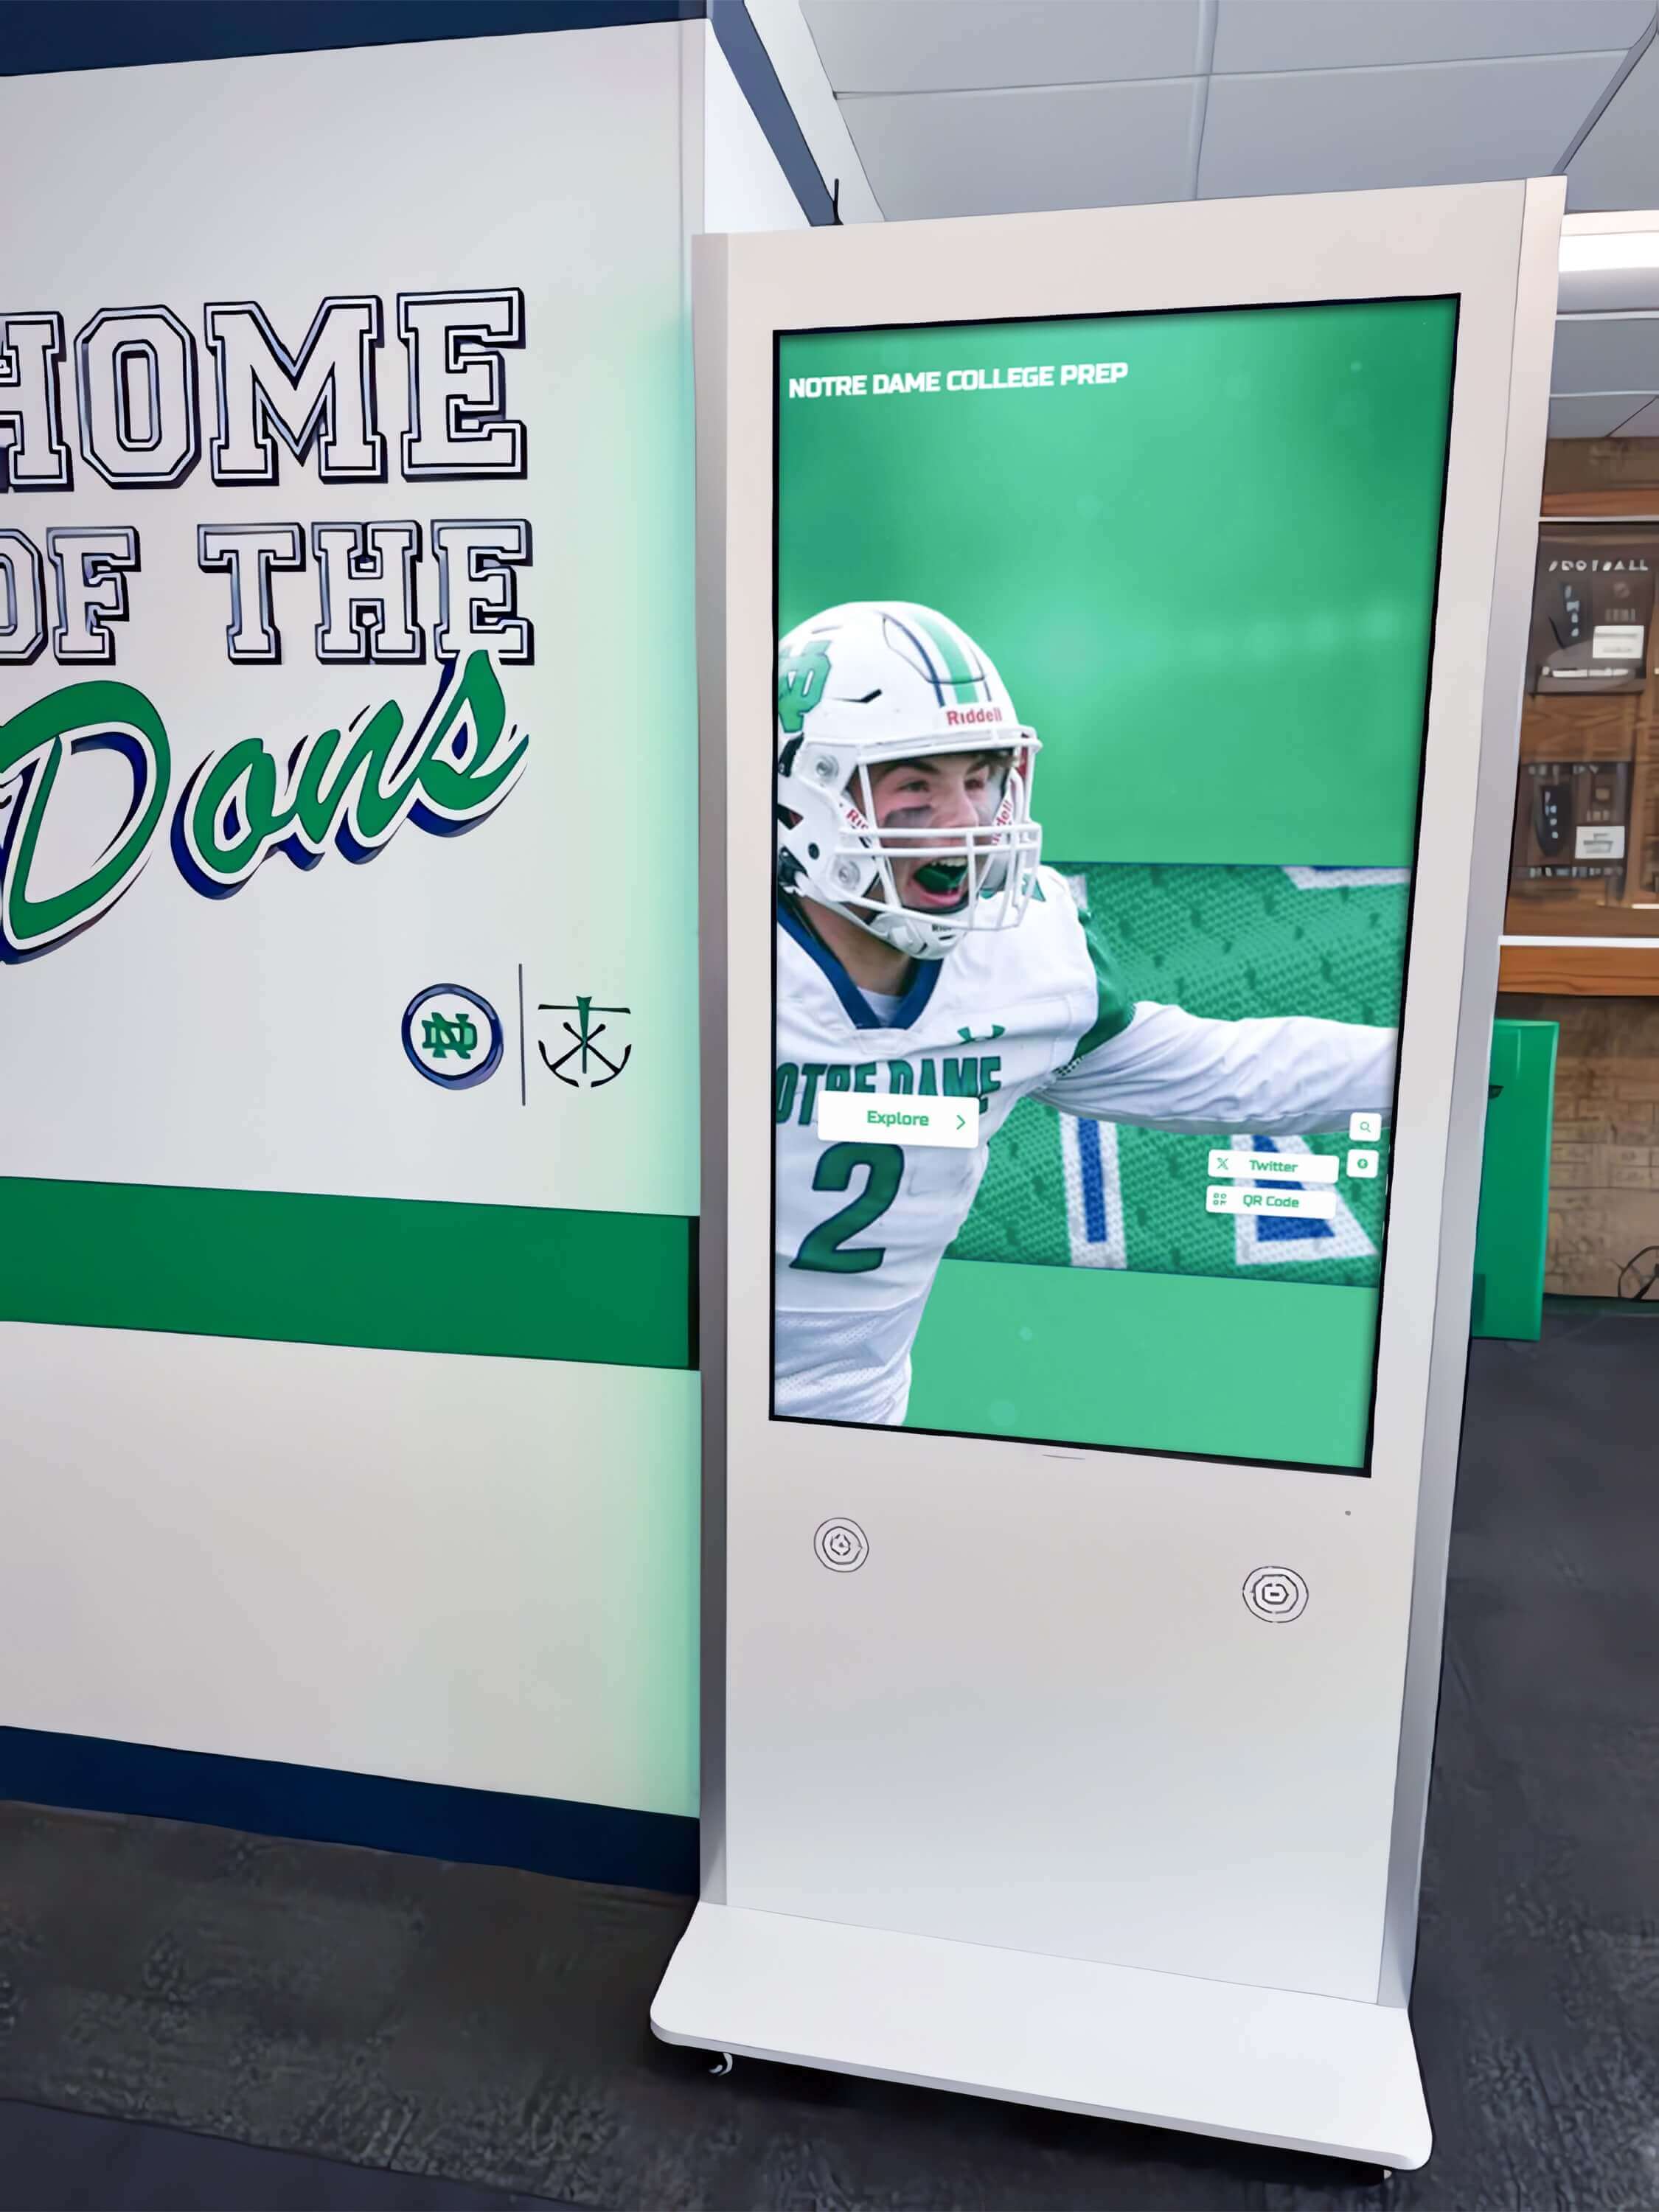
Phase 2: Configure Orientation Lock on Android Displays
Android-based recognition kiosks and digital signage players require a different approach because Android does not use Group Policy or the Windows registry.
Step 1 — Disable Auto-Rotate System-Wide
On unmanaged Android devices:
- Open Settings → Display.
- Locate Auto-rotate screen or Screen rotation and disable it.
- On Android 12 and later, the setting may appear as Adaptive brightness being separate from rotation — look specifically for a rotation toggle, not a brightness toggle.
- If the device is in a kiosk or restricted profile, verify the restriction does not prevent accessing this setting. You may need to exit kiosk mode temporarily to apply the system setting.
On Android devices with a Quick Settings panel:
- Pull down the notification shade.
- Tap the Auto Rotate tile to toggle it off. The tile should display Portrait or Landscape (fixed) rather than the rotation icon.
Step 2 — Lock Orientation via MDM Profile (Managed Devices)
For Android Enterprise managed devices (recommended for any multi-device school deployment):
- In your MDM console (Microsoft Intune, Workspace ONE, Jamf Pro, or similar), navigate to Device Restrictions or Managed Configurations for the device or device group containing your recognition displays.
- Locate the Screen Orientation or Display Rotation restriction. Most MDM platforms expose this as an Android Enterprise managed configuration key.
- Set the value to Portrait or Landscape as appropriate for each device’s physical mount.
- Push the profile to the device and verify it applies via the MDM device record or a direct inspection of Settings → Display on the device.
- Confirm the rotation setting is locked — the toggle in Settings should be greyed out or absent.
MDM-enforced orientation survives Android system updates and factory resets followed by enrollment, making it the preferred method for any managed school deployment. School technology programs that run awards displays and team gift recognition programs as permanent infrastructure should treat MDM-managed orientation configuration as standard device setup, not a one-time fix.
Step 3 — Set Orientation in the Android Player Application
Android player applications for digital signage frequently include their own rotation setting independent of the system orientation. An Android player set to “landscape” on a portrait-mounted device will rotate its output even if the system orientation is locked to portrait — the two settings compound. Confirm both:
- Open the player or CMS agent application settings.
- Locate the Screen Rotation, Orientation, or Display Rotation setting.
- Set it to match the OS-level orientation and the physical mount.
- Save and restart the player to confirm the setting takes effect.
Phase 3: Configure Orientation Lock on Linux-Based Controllers
Linux-based recognition display controllers — mini PCs running Ubuntu, Debian, or a derivative with an X11 display server — use xorg configuration or startup scripts to lock orientation.
Step 1 — Determine the Display Output Name
- Open a terminal or SSH into the device.
- Run
xrandrwith no arguments to list available outputs and their current state. Look for the output markedconnected, such asHDMI-1,DP-1, oreDP-1. - Note the output name and the current rotation value in the output (shown as
normal,left,right, orinverted).
Step 2 — Apply the Rotation via xrandr for Immediate Testing
# Portrait (90° clockwise) — most common for portrait-mounted kiosks
xrandr --output HDMI-1 --rotate right

# Portrait (90° counter-clockwise)
xrandr --output HDMI-1 --rotate left

# Landscape (standard)
xrandr --output HDMI-1 --rotate normal

# Landscape (flipped)
xrandr --output HDMI-1 --rotate inverted
Replace HDMI-1 with the actual output name from Step 1. Verify the display rotates correctly before proceeding to the persistent configuration step.
Step 3 — Persist the Rotation via xorg.conf.d
An xrandr command applied in a terminal session is not persistent. Create an Xorg configuration file to apply the rotation at every session start:
- Create a file at
/etc/X11/xorg.conf.d/10-monitor-rotation.conf:
Section "Monitor"
    Identifier "HDMI-1"
    Option "Rotate" "right"
EndSection
Replace HDMI-1 with your actual output identifier and right with the appropriate rotation value (right, left, normal, inverted).
- Save the file and reboot the device.
- Verify the rotation persists after reboot by checking the display orientation before the player application starts.
Step 4 — Add an Autostart Rule for Player-Level Rotation (Fallback)
If the xorg.conf.d method does not take effect due to a Wayland compositor or a display manager that overrides xrandr settings, add a startup script:
- Create
/etc/profile.d/display-rotation.sh:
#!/bin/bash
export DISPLAY=:0
xrandr --output HDMI-1 --rotate right
- Make it executable:
chmod +x /etc/profile.d/display-rotation.sh - For systems using a display manager (LightDM, GDM), also add the xrandr command to the display manager’s display setup script to apply the rotation before the greeter appears.
Phase 4: Set Orientation in the Recognition Player and CMS Software
OS-level orientation locking ensures the desktop and everything below the application layer displays correctly. The recognition player or CMS client application may independently control its own output rotation — particularly common in purpose-built digital signage players that render content through their own display pipeline rather than relying on the OS compositor.
Check Player-Level Rotation Settings
- Open the player or CMS agent settings on the device (or via the remote management console if the platform supports it).
- Look for settings labeled Screen Rotation, Display Orientation, Content Rotation, or Output Rotation.
- Confirm the player’s rotation setting matches the OS orientation and the physical mount.
- Save the setting and restart the player to verify the change takes effect.
CMS Remote Configuration
If your recognition platform includes a cloud CMS or remote management portal — as is the case with managed recognition solutions — check whether orientation is configurable per device from the CMS rather than requiring on-device access. Remote orientation configuration is particularly useful for multi-building deployments where physically accessing each kiosk to change a setting is operationally expensive.
Digital trophy case and recognition display deployments that serve athletics hallways, main lobbies, and donor recognition areas across multiple buildings benefit from centralized orientation management — a single console change that propagates to every enrolled device rather than a series of individual device visits.
Player Rotation vs. OS Rotation
Understanding which layer controls rotation prevents a common misconfiguration where OS and player rotate in opposite directions, resulting in a double-rotation (180°) that displays content upside down.
The general rule: set rotation at one layer only — either the OS or the player, not both. OS-layer rotation is preferred because it applies to all processes including the player, the system clock overlay, and any on-screen error messages. If you set OS rotation to “right” (portrait), leave the player’s rotation setting at “none” or “normal.”
Player-layer rotation is appropriate only on platforms where OS-layer rotation is not possible (some locked-down appliances) or when the player renders directly to a framebuffer that bypasses the OS compositor.
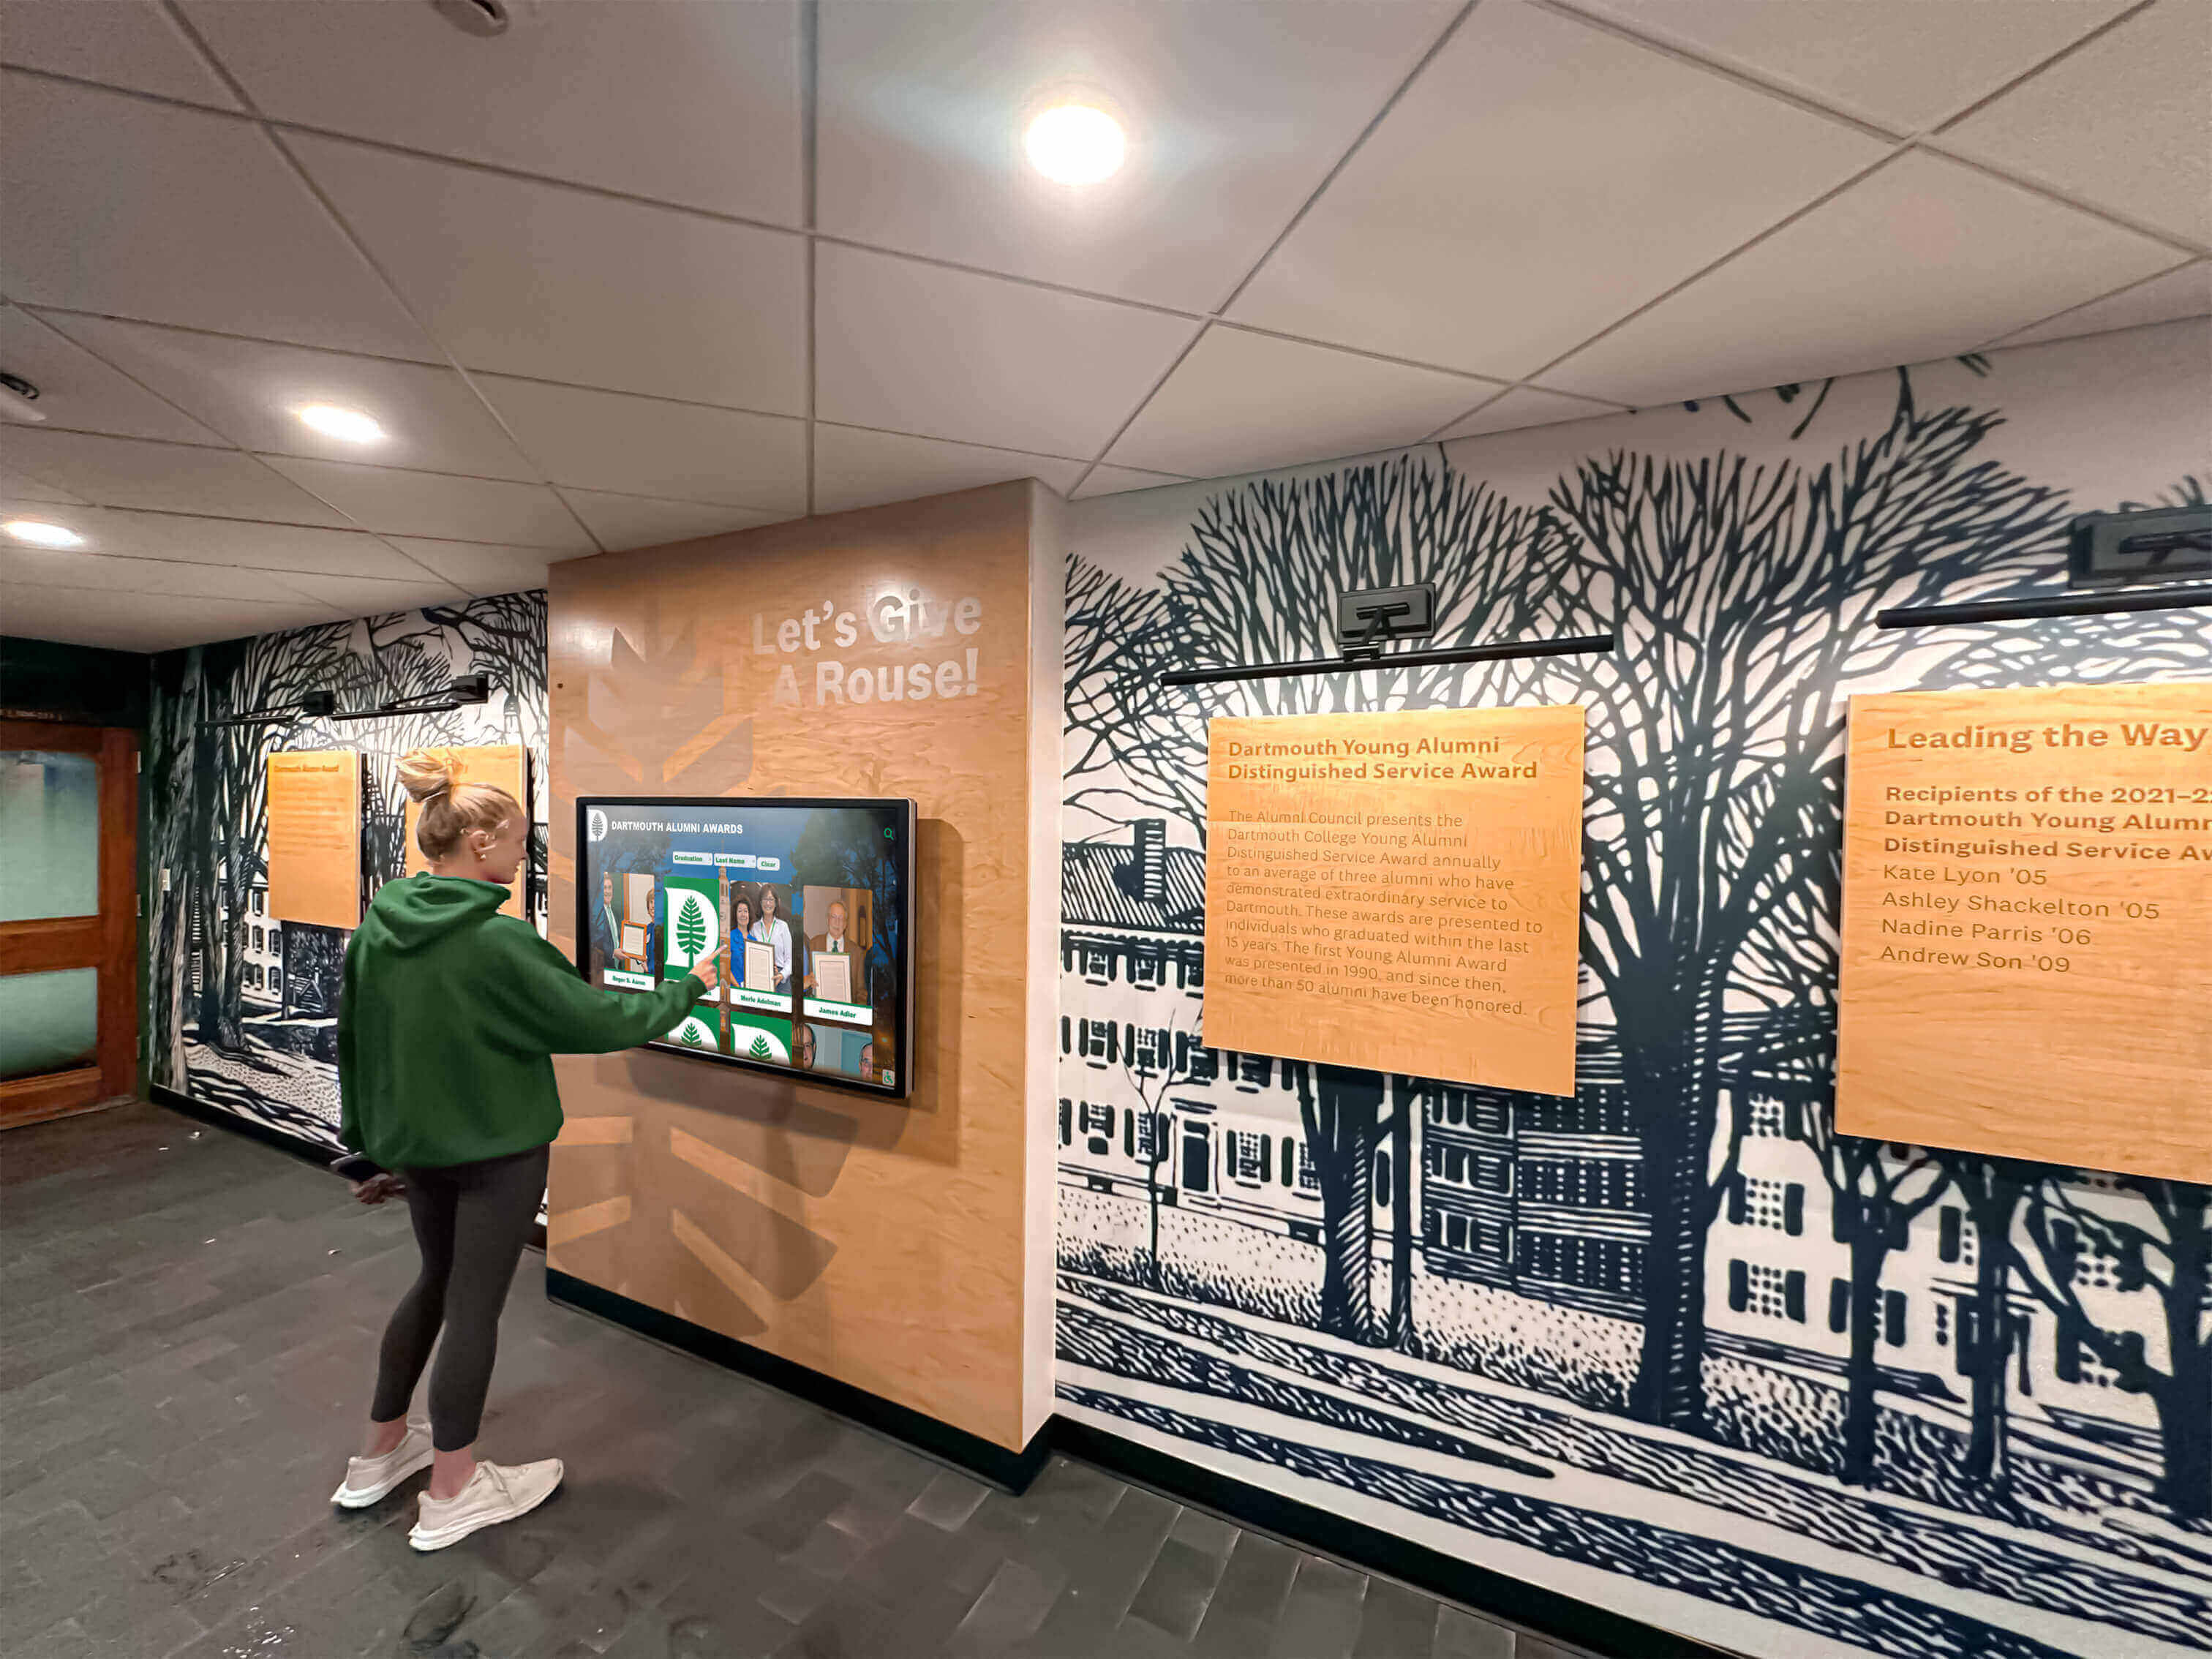
Phase 5: Touch Input Calibration After Rotation
On touchscreen recognition kiosks, rotating the display also requires rotating the touch input layer so that touching a point on the screen registers at the correct coordinate. Without touch rotation, a portrait-mounted screen with landscape touch input causes the touch cursor to appear offset — tapping the top of the screen registers at the left side.
Windows Touch Calibration After Rotation
- After setting the display orientation, open Control Panel → Tablet PC Settings → Display → Calibrate.
- Run the full touch calibration sequence with the screen in its final installed orientation.
- Windows stores separate calibration data per orientation. If the orientation changes again, calibration must be re-run.
Android Touch Input
Android handles touch rotation automatically when screen rotation changes. No additional calibration step is required on standard Android devices. If a third-party touch overlay or external touch controller is in use, verify with the overlay manufacturer whether manual calibration is required after orientation changes.
Linux Touch Input Rotation (xinput)
X11 on Linux does not automatically rotate the touch input matrix when the display is rotated via xrandr. Apply the corresponding input rotation:
# Find the touch input device name
xinput list

# Apply a 90° clockwise rotation matrix (matches xrandr --rotate right)
xinput set-prop "Your Touch Device Name" "Coordinate Transformation Matrix" 0 1 0 -1 0 1 0 0 1
Add this command to the same autostart script used for xrandr rotation so both display and touch input rotate together on every boot.
Phase 6: Validate the Orientation Lock Configuration
Run this validation sequence after completing all configuration phases. Document the results in your IT asset record.
Reboot validation. Reboot the device normally (Start → Restart on Windows; standard reboot on Linux/Android). Observe the display before the player application launches to confirm the OS-level orientation is correct. Then confirm the player launches in the correct orientation.
Cold-start validation. Perform a full power-off (hold the power button until the device shuts down completely) followed by a power-on. Confirm the orientation is correct after cold start, which tests that the configuration is stored in non-volatile memory rather than RAM-only settings.
OS update simulation (Windows). Install any pending Windows updates and allow the device to reboot. After the update reboot, confirm the orientation has not reverted. If a GPU driver update was included, pay particular attention — driver updates are the most common cause of orientation regression.
Group Policy / MDM re-enrollment test (Windows domain / Android MDM). If the device is domain-joined or MDM-enrolled, confirm the orientation policy appears in the device’s applied policy report (
rsop.mscon Windows; MDM console policy status on Android). A policy that shows as applied but is not enforced indicates a GPO filter or MDM scope issue.Player restart test. Restart the recognition player application without rebooting the OS. Confirm the player comes up in the correct orientation with the correct rotation setting. This tests player-layer orientation in isolation from OS-layer orientation.
Touch input test. With the display in its final orientation, tap the four corners of the screen and the center. Confirm each touch registers at the correct visual location with no offset. If offset is observed, re-run touch calibration (Windows) or re-apply the xinput transformation matrix (Linux).
Recognition Display Orientation Lock Configuration: Frequently Asked Questions
Q: The display orientation is correct right after I set it, but reverts after the next Windows update. What is the most reliable fix?
The most reliable permanent fix is a combination of the Group Policy display settings lockout (Phase 1 Step 3) and the registry Orientation DWORD (Phase 1 Step 4). Group Policy prevents user-space changes; the registry value sets the orientation at the driver configuration layer, which persists through GPU driver updates better than the Display Settings API alone. If you have only applied one of these two methods and the setting is still reverting, apply both.
Q: Do I need to reconfigure orientation lock after reimaging a recognition display?
Yes. Orientation lock is device-level configuration, not stored in the OS image unless you capture the image after configuring orientation. The most efficient approach is to include the orientation registry key and Group Policy link as part of your post-image provisioning script so new and reimaged devices receive the correct orientation without a manual step.
Q: The display is portrait but the touch input registers sideways. The screen image is correct but the touch is wrong. What causes this?
This is the touch rotation mismatch described in Phase 5. The OS has rotated the display output correctly but the touch digitizer’s coordinate system has not been updated to match. On Windows, run the touch calibration in Control Panel. On Linux, apply the xinput transformation matrix. On Android, this is usually automatic — if it is not, check whether a third-party touch driver is installed.
Q: Our recognition kiosk has two screens — one portrait for athlete profiles and one landscape for video. Can we lock each independently?
Yes. Windows supports per-display orientation settings. In Display Settings, each connected display is represented separately, and each can be set to a different orientation and locked independently. In Group Policy, the display lockout policy applies to all displays on the device. If you need to lock one display while allowing the other to be configurable, that nuance requires a custom restriction rather than the standard display lockout policy — consult your GPO configuration baseline.
Q: Can the recognition CMS software override the OS orientation even after the OS-level lock is applied?
A well-written CMS player application should not override the OS display orientation — it renders within the OS-provided frame buffer which already reflects the OS rotation. However, some signage players use DirectX or OpenGL full-screen exclusive mode and implement their own rotation logic, which can conflict with the OS-level orientation. If your player is overriding the OS orientation, check the player’s rotation settings and set them to “none” or “0°” so the player inherits the OS rotation rather than applying its own. Recognition platforms and digital archival display systems that manage content for awards, yearbooks, and school archives work most reliably when the rotation is owned at the OS layer and the player layer is neutral.
Q: We have 12 recognition kiosks across three buildings. Is there a way to push orientation configuration to all of them at once?
For domain-joined Windows devices, a single GPO linked to the correct OU applies the display lockout policy to every device in scope automatically. Combine this with a startup script GPO that applies the registry orientation value, and every kiosk in the OU gets the correct configuration at next Group Policy refresh. For Android MDM-managed devices, a managed configuration profile pushed to the device group covers every enrolled kiosk. For a mixed environment, your IT asset documentation (from the prerequisite checklist) is the control point — each device’s intended orientation is recorded, and the configuration method appropriate to its platform is applied at provisioning.
Want a Recognition Display That Stays in the Right Orientation — Managed?
Rocket Alumni Solutions builds and supports touchscreen walls of fame, digital trophy cases, donor recognition displays, and awards experiences for schools. The platform includes remote device management so your recognition kiosks stay configured, oriented, and content-current without requiring IT staff to visit each unit after every update. Schedule a walkthrough to see how it works.
Schedule a Free TouchWall DemoConclusion
Recognition display orientation lock configuration is a one-time setup step with permanent operational value. A portrait kiosk that stays portrait after every OS update, GPU driver reinstall, and power cycle does not require a technician visit; one that is not locked will need attention after each of those events, often at the worst possible time. Apply the OS-level orientation setting, reinforce it with Group Policy or an MDM profile, confirm the player software inherits rather than overrides that setting, and validate the full configuration with a reboot and an update test. Complete the master checklist at the top of this article for each device in your recognition display inventory, document the settings in your asset records, and the configuration will hold across the full lifecycle of the hardware. The investment is one setup session per device; the return is a recognition program that presents correctly at every event, every morning, without intervention.