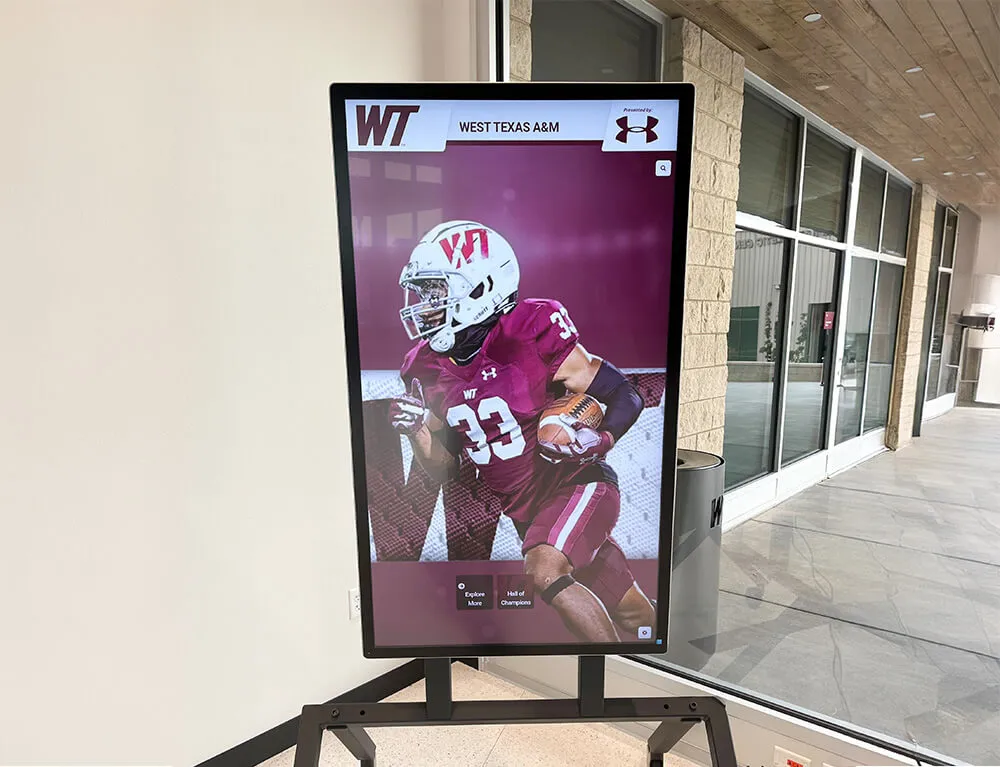
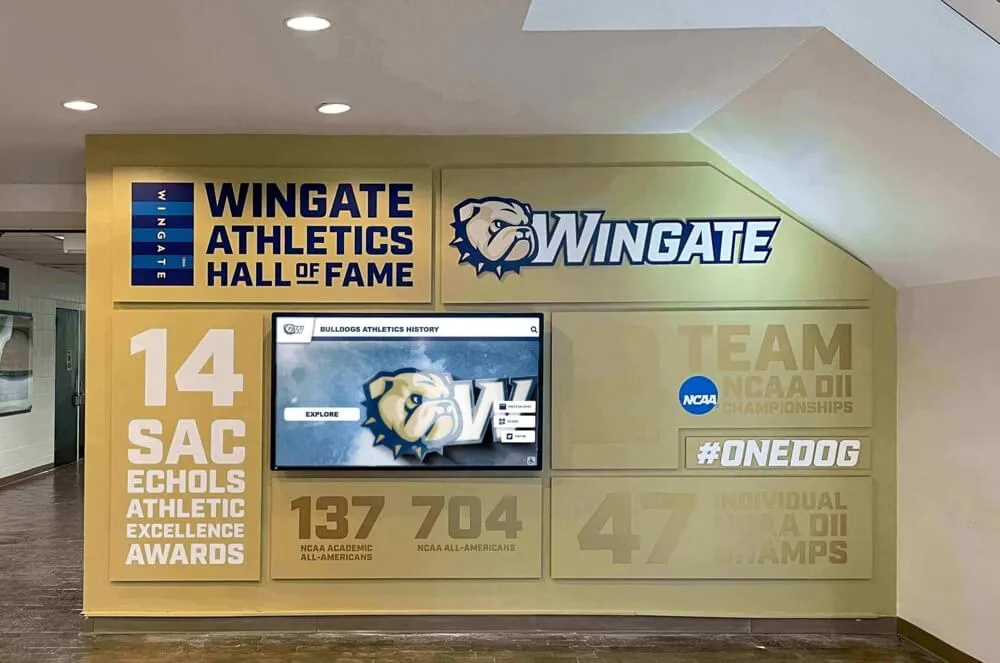
Walk any K-12 school and you will find the same scene: a stretch of hallway lined with bronze plaques installed in the 1980s, two newer acrylic panels bolted at awkward angles because the original layout ran out of room, and a 2019 donor plaque tucked behind a trophy case where almost no one sees it. The recognition is real. The display execution failed.
A thoughtfully planned school plaque display does three things a random arrangement cannot: it directs foot traffic toward the recognition, it scales as your program grows, and it tells a coherent visual story about the people your school honors. Whether you are planning a new K-12 hall of fame, a donor wall renovation, or a combined academic-and-athletic recognition corridor, the layout decision comes first.
Before You Start: Measure, Map, and Document
Commit these numbers to paper before you contact any fabricator or digital vendor.
Wall measurements to record
- Total linear footage available
- Height of usable display zone (between 24 in. and 84 in. for ADA-compliant viewing)
- Location of electrical conduit, fire pulls, and exit signs
- Distance from the nearest 20-amp circuit (required for any hybrid digital component)
Foot traffic and environment factors
- Primary direction of student travel (left-to-right vs. right-to-left)
- Peak dwell zones: lockers, corridor intersections, trophy cases
- Lighting type: natural vs. fluorescent, and glare angles at midday
Use this pre-planning checklist before finalizing any layout:
| Pre-Planning Item | Confirmed? | Notes |
|---|---|---|
| Wall linear footage measured | ☐ | |
| Electrical access within 10 ft | ☐ | |
| ADA mounting zone confirmed (24–84 in.) | ☐ | |
| Existing anchors and conduit documented | ☐ | |
| Maximum plaque load calculated (lbs/sq ft) | ☐ | |
| Network drop available (for digital components) | ☐ | |
| Budget range approved by administration | ☐ | |
| Content inventory complete (names, photos, years) | ☐ |
Good preparation here saves weeks of rework. A fabricator who receives complete wall dimensions and an anchor-point map can deliver a mounting template the first time. For schools pairing plaques with wayfinding signage, the touchscreen building directory and wayfinding guide covers network and power planning in detail.
8 Hallway Plaque Layout Ideas for K-12 Schools
1. Linear Gallery Row
Best for: Straight hallways with 20-plus linear feet and a single recognition category — all-time athletic honorees, academic scholars, or faculty service milestones.
Mount plaques in a single horizontal row at a consistent center height of 60 inches. Space plaques 4–6 inches apart. Add a header sign at the start of the row identifying the recognition program. This layout works for both bronze and acrylic recognition plaques and is the simplest to expand: when you reach the end of the wall, install a continuation header and continue on the adjacent corridor.
Capacity: Roughly 24 standard 8×10 plaques per 20 linear feet, depending on spacing.
Why it works: The human eye follows a horizontal line naturally. Visitors walking the corridor encounter every plaque in sequence without searching.
2. Symmetrical Grid Matrix
Best for: Entry lobbies, wide corridor walls, and multi-category recognition spanning athletic, academic, and faculty honorees.
Arrange plaques in equal rows and columns — for example, four columns of six rows on a 16-foot-wide wall. Use consistent spacing (3–4 inches horizontally and vertically). Add category divider strips or colored backing panels to separate athletic inductees from academic honorees within the same grid.
Why it works: The grid reads as intentional and prestigious. Visitors immediately understand the scale of recognition before reading a single name.
Tip: Reserve blank positions in the grid for future inductees. A grid with planned empty slots looks deliberate; one with random gaps looks neglected. Plan for at least 40% expansion capacity from day one.
3. Tiered Pyramid for Donor Recognition
Best for: Donor walls where giving levels need visual hierarchy without requiring a legend or key.
Place major donors — naming-level or title-level gifts — on larger plaques centered at eye level. Mid-tier donors flank them on slightly smaller plaques at the same height. Annual fund contributors appear on smaller plaques in the lower sections. The resulting shape reads as a pyramid, which reinforces giving-level hierarchy immediately.
For a complete framework on assigning giving tiers and naming each level in a way that motivates future gifts, the complete donor recognition guide is the most thorough resource available. For a focused look at how engraved donor wall plaques function within broader fundraising strategy, this donor recognition wall plaques overview covers the key design and messaging decisions.
Capacity: Scales from 20 to 200-plus names depending on plaque sizes selected per tier.
4. Hall of Fame Portrait Row
Best for: Athletic hall of fame or distinguished alumni recognition when you have consistent portrait photography for each honoree.
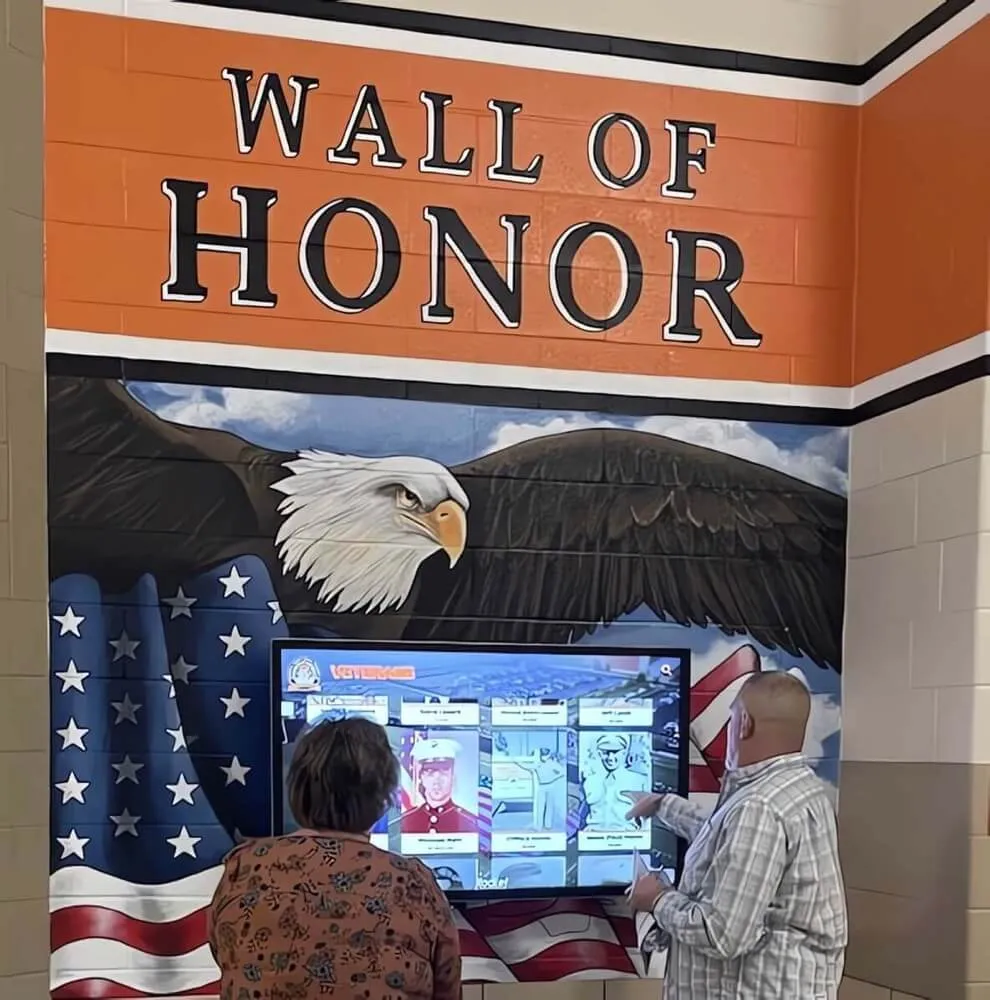
Mount portrait plaques — 12×15 or 12×18 inches — at a uniform center height of 60 inches. Each plaque carries a headshot, full name, graduation year, sport or field, and a two-line achievement summary. Add a hallway-spanning header sign at 84 inches (“Hall of Fame,” “Distinguished Alumni,” “Wall of Honor”) above the portrait row.
Why it works: Faces stop foot traffic. A portrait-based school plaque display creates immediate human connection that a name-only list cannot. Visitors slow down to look at faces in ways they do not for text alone.
Content checklist for each inductee:
- Portrait photograph (minimum 300 dpi for plaque engraving)
- Full name and graduation year
- Sport, academic field, or community category
- Signature achievement (championship, scholarship, career milestone)
- Induction year
For guidance on building the criteria governing who earns a spot on your display — including committee process and public-facing standards — the hall of fame induction criteria guide covers the full process.
5. Chronological Timeline Layout
Best for: History-focused recognition corridors, centennial or anniversary installations, and school heritage museum areas.
Mount plaques in strict date order from left to right, grouped by decade. Add decade markers at consistent intervals (large numerals at 84 inches, below a header band). The corridor becomes a walk through institutional history, with each recognition plaque anchored to a moment in time.
Tip: Include one contextual detail per decade — a school milestone, a championship season, a building dedication — on small interpretive panels interspersed with the plaques. This transforms a plaque wall into a narrative experience rather than a directory.
Expansion plan: Reserve the rightmost section of the wall for future decades. Leaving a labeled but empty decade bracket communicates that the story continues.
6. Medallion and Shield Cluster
Best for: Athletic departments with strong mascot identity or schools with a crest or seal program.
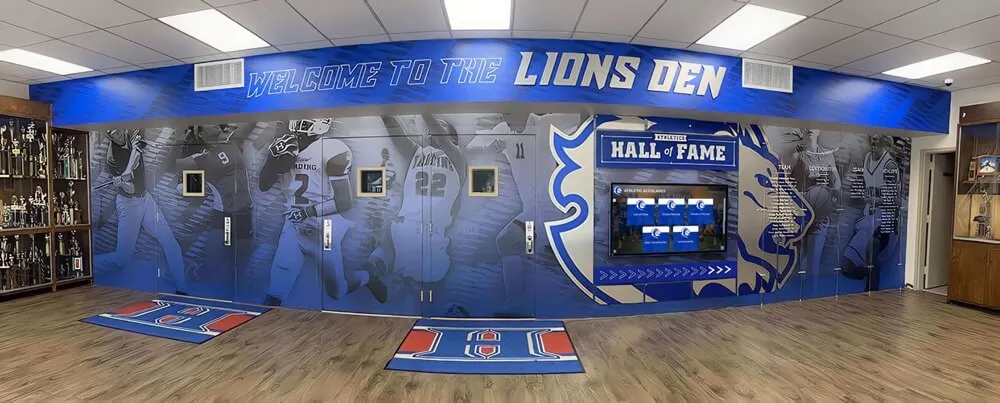
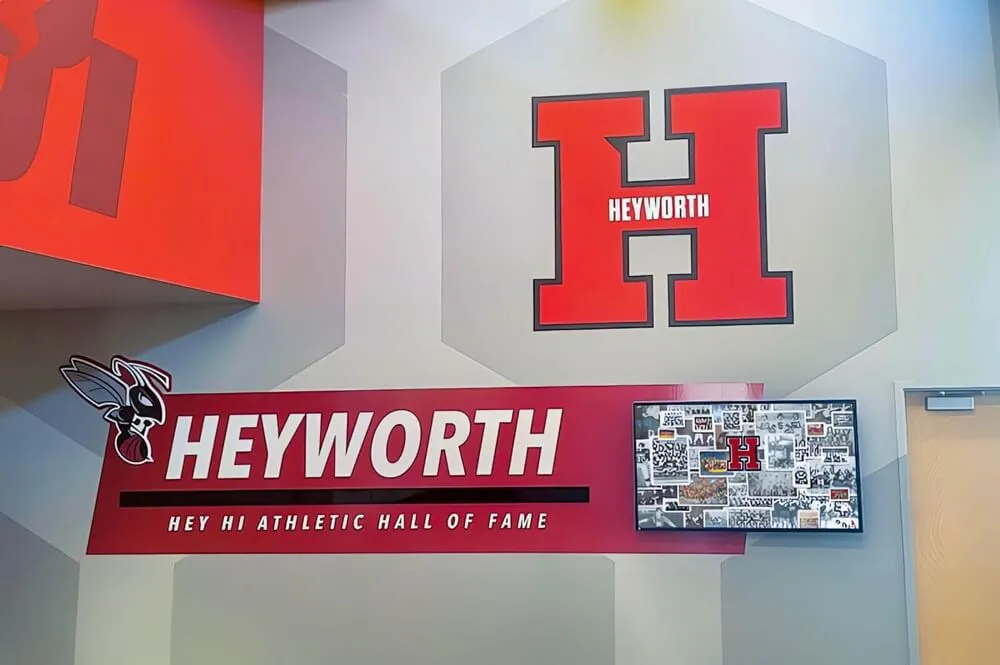
Use die-cut shield or medallion-shaped plaques rather than rectangular panels. Arrange them in overlapping or radiating clusters centered on a large mascot emblem painted or applied to the wall. This layout works exceptionally well on curved walls or in gymnasium lobbies where a trophy-room atmosphere is the goal.
For design consistency across an athletics corridor — color systems, typography hierarchies, and mascot integration — the sports hall of fame design guide is a practical starting point.
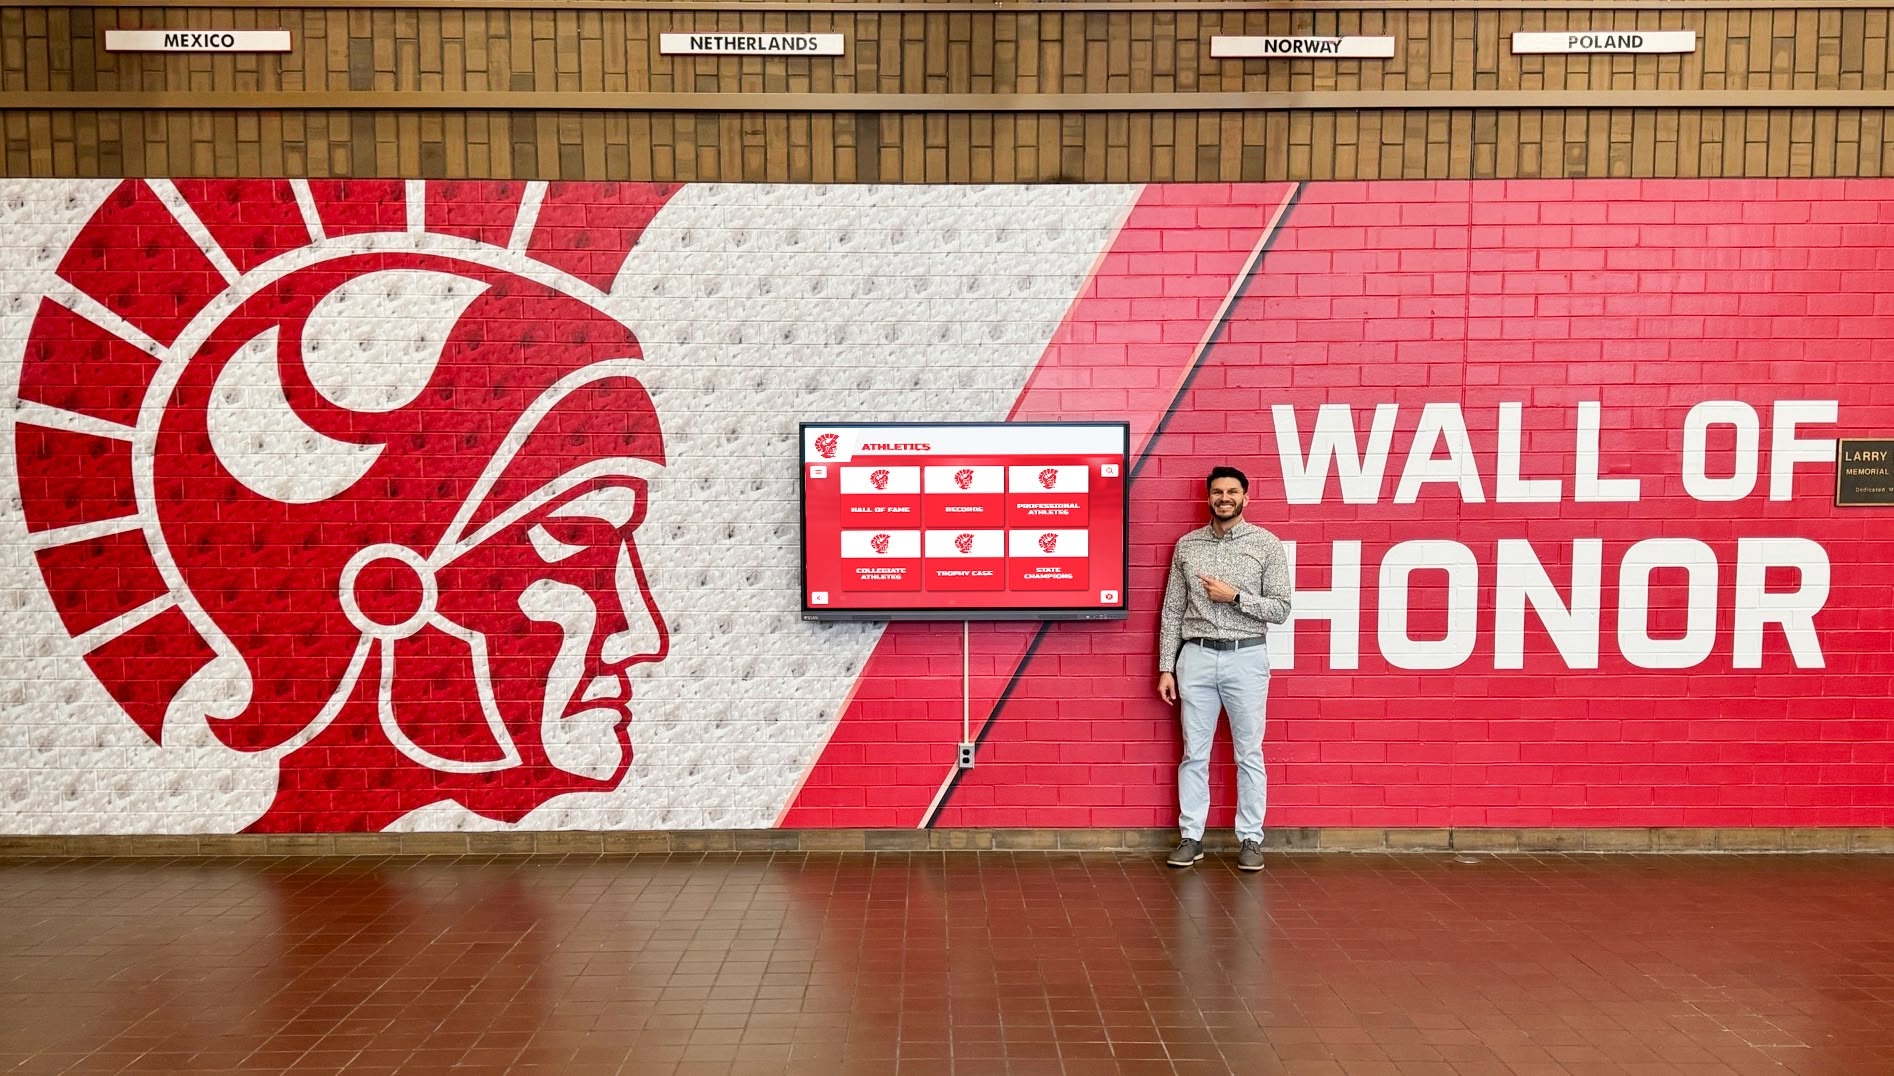
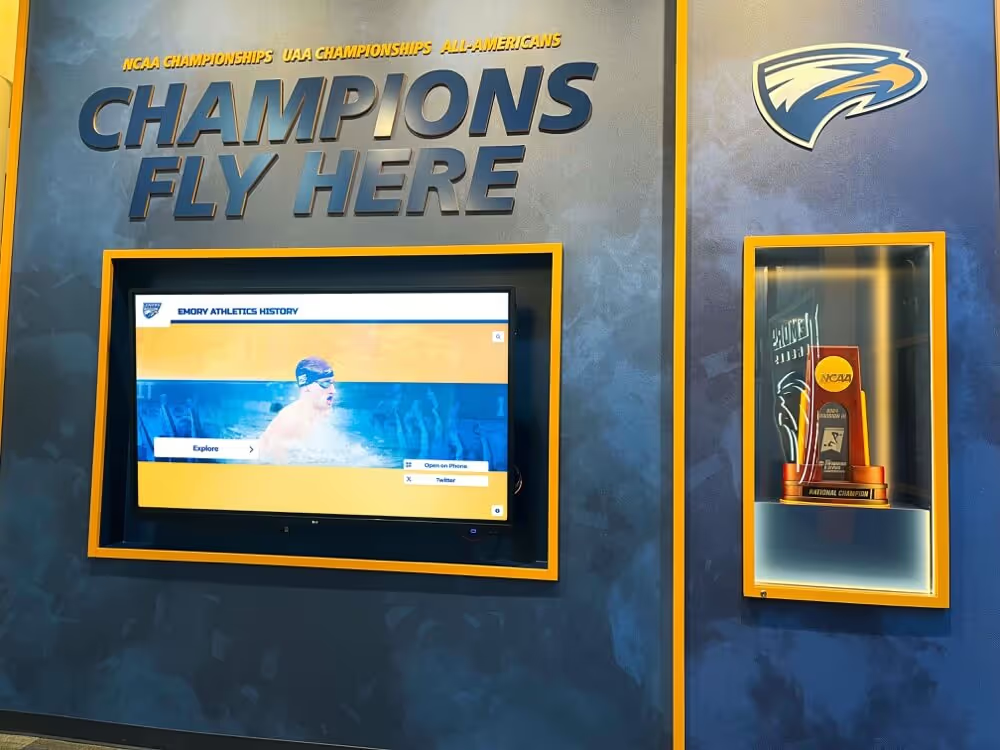
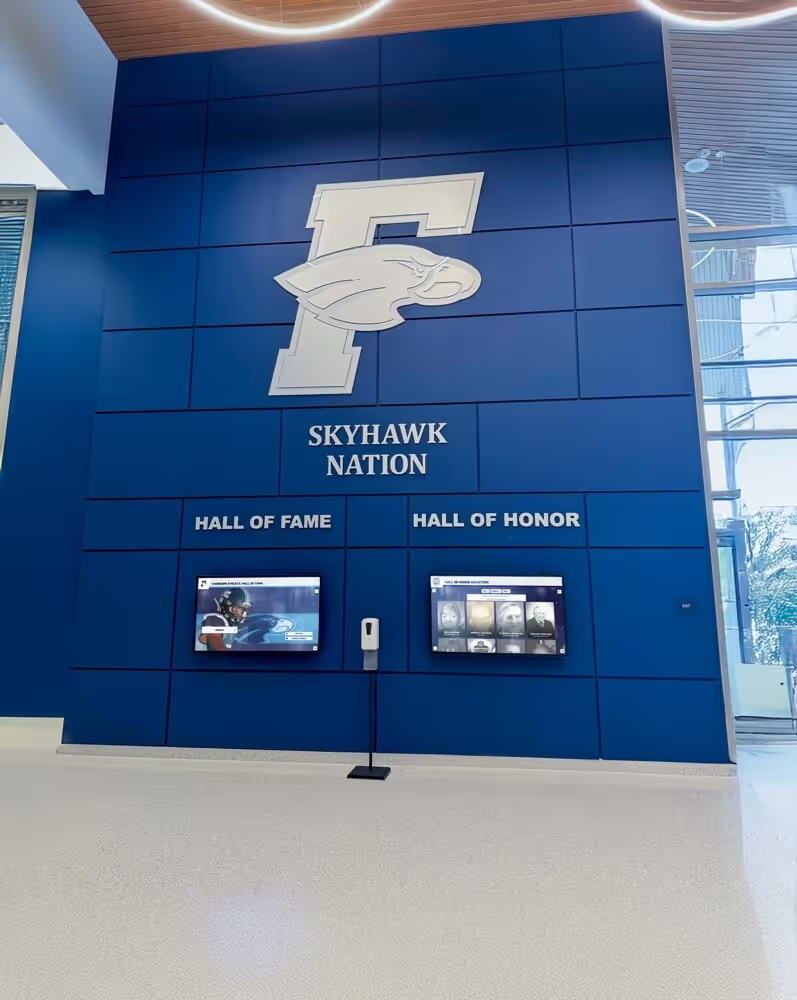
7. Hybrid Plaque and Digital Display Wall
Best for: Schools that need both permanence — for major donors and inductees — and flexibility for rotating athletic records, seasonal highlights, and event announcements.
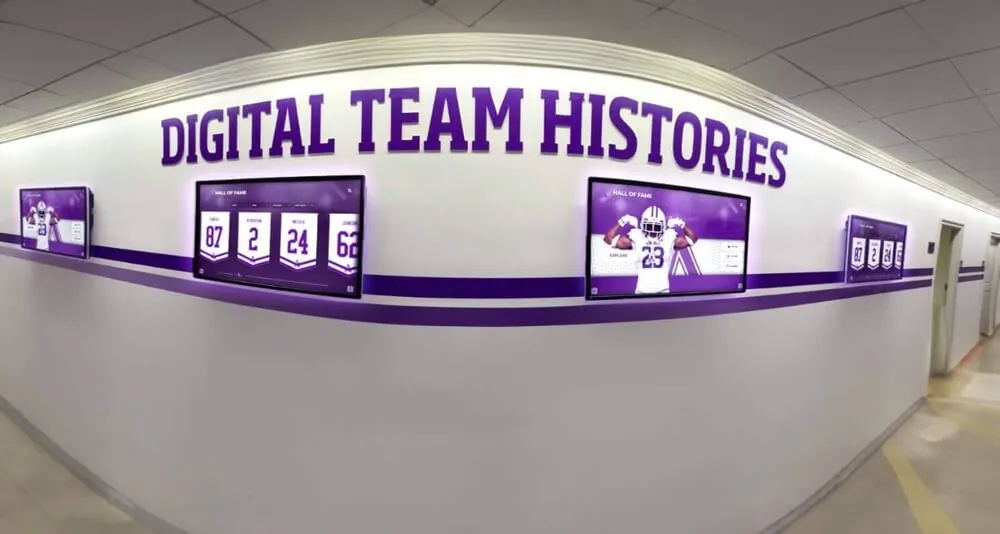
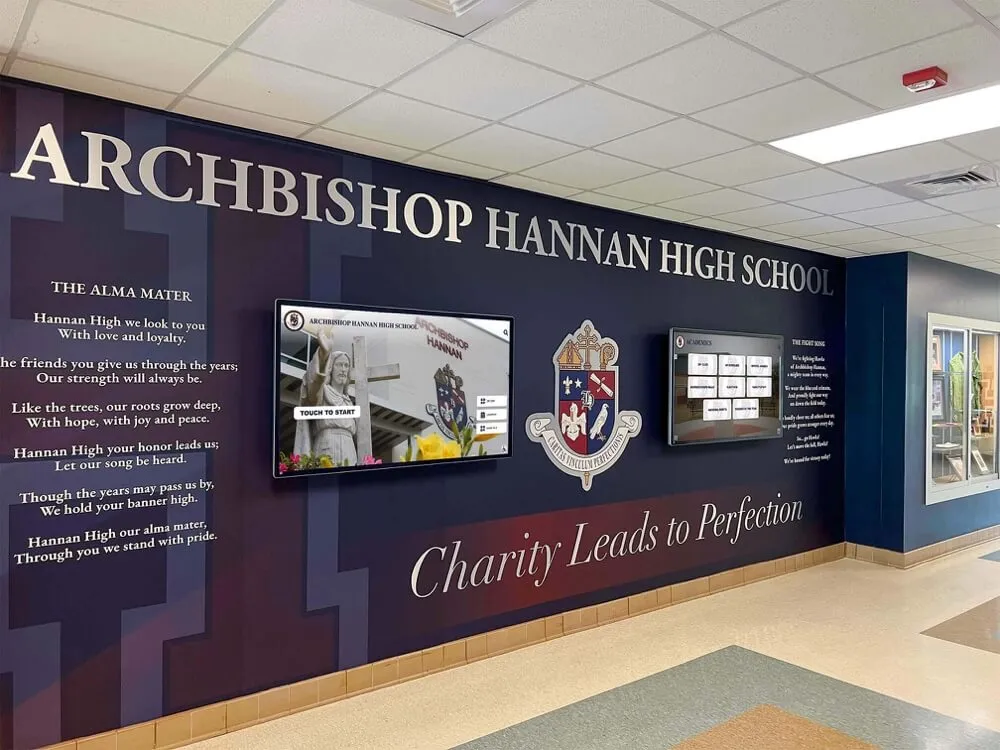
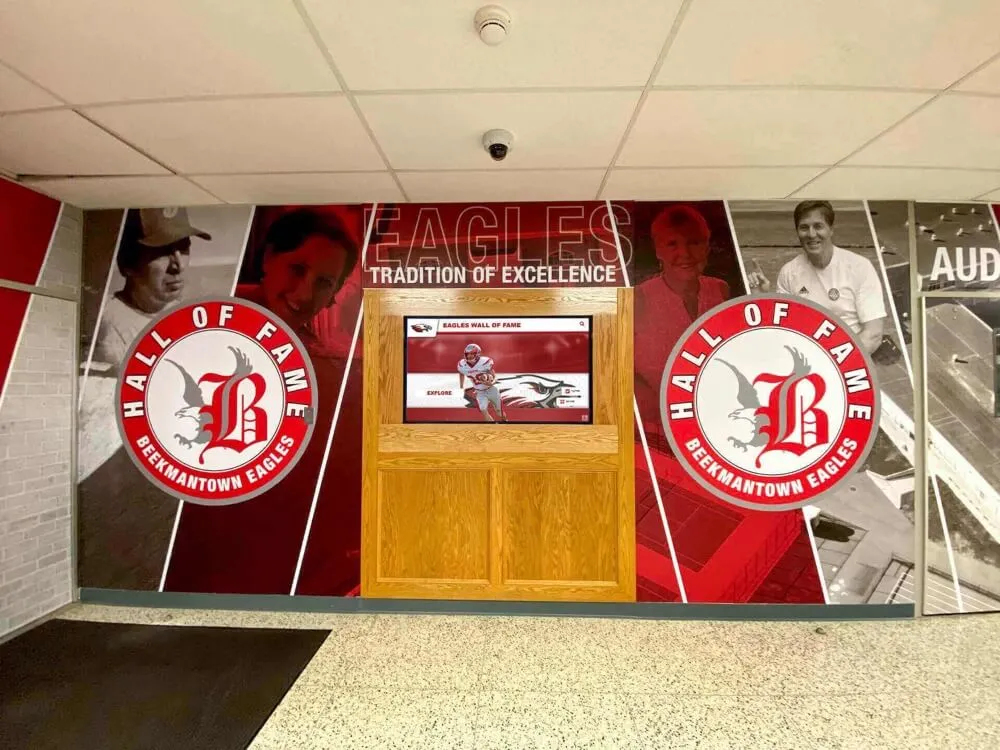
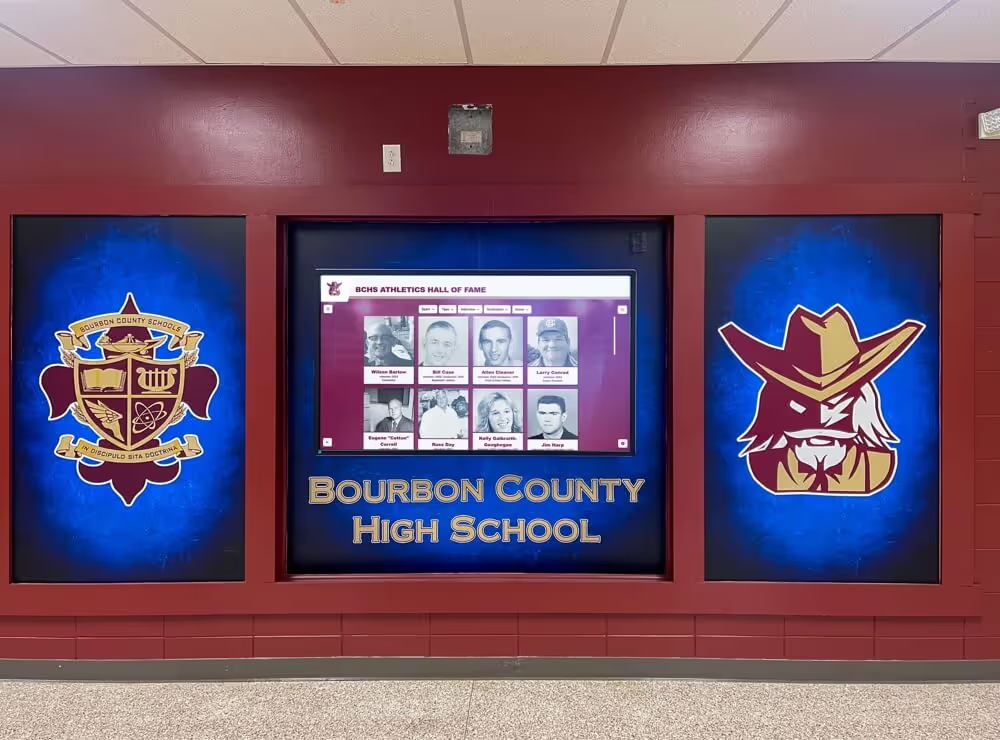
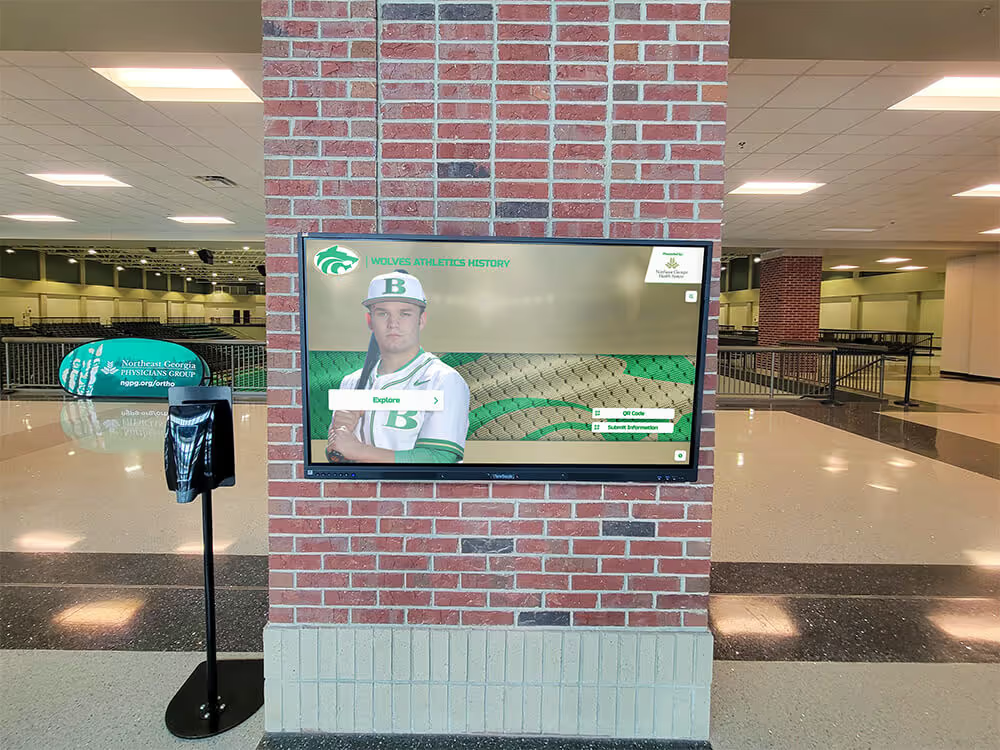
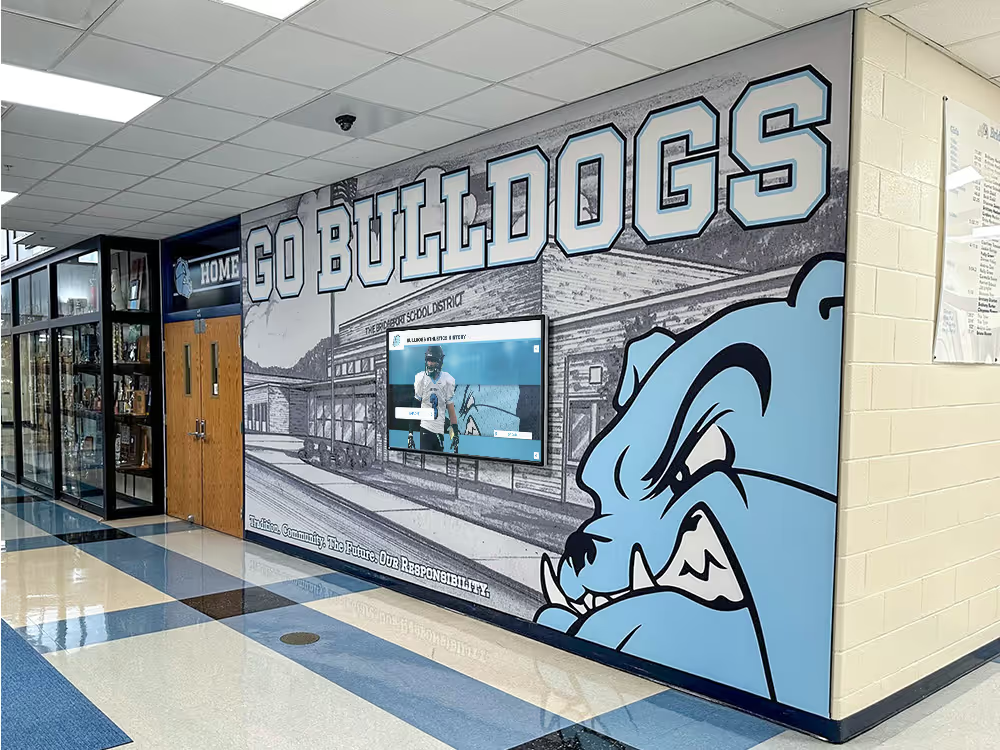
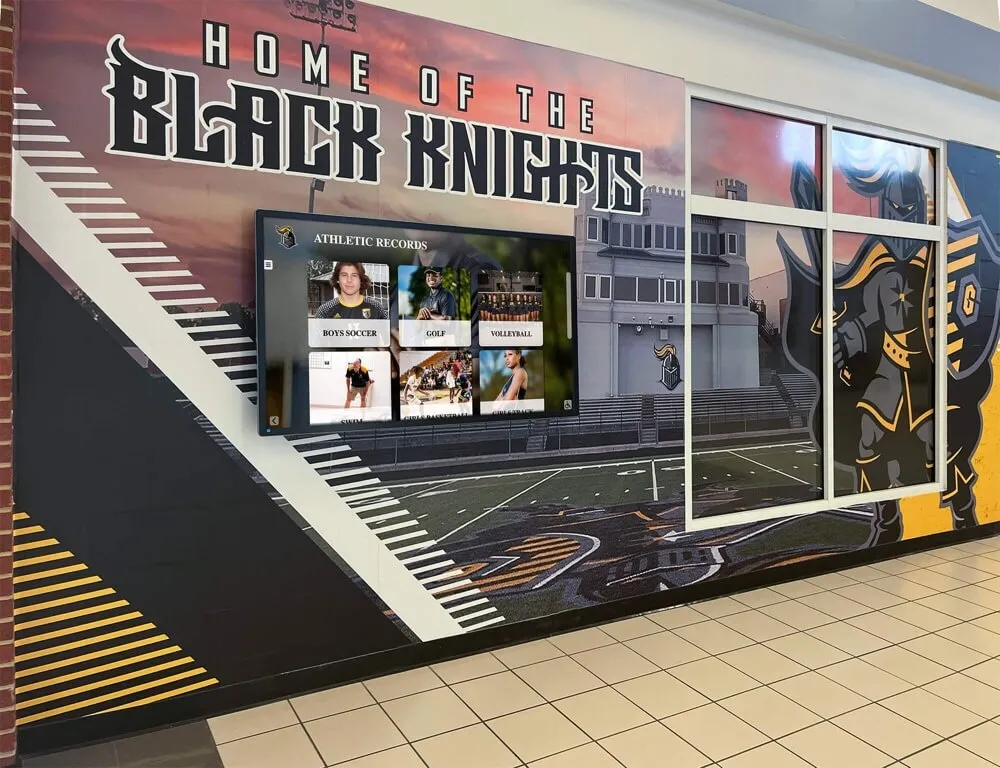
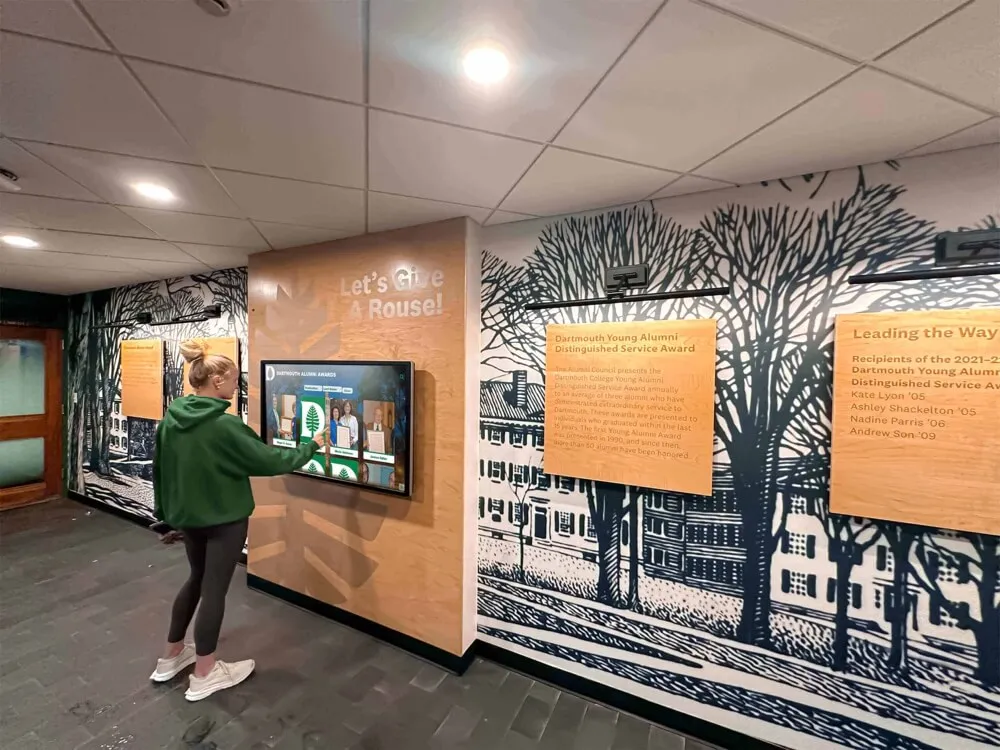
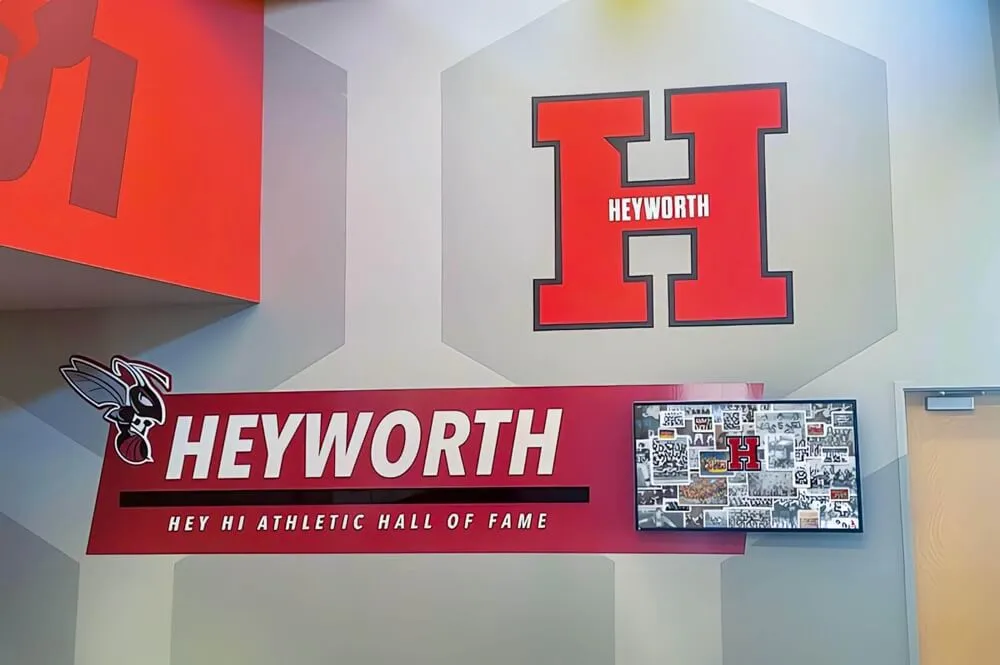
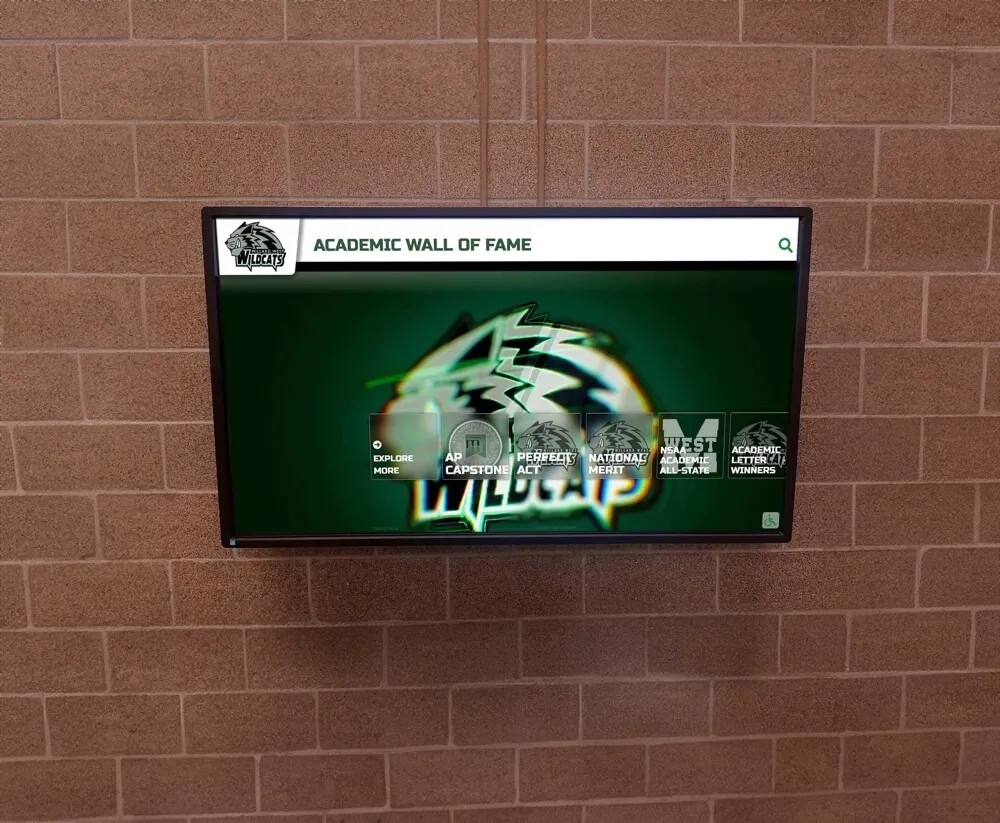
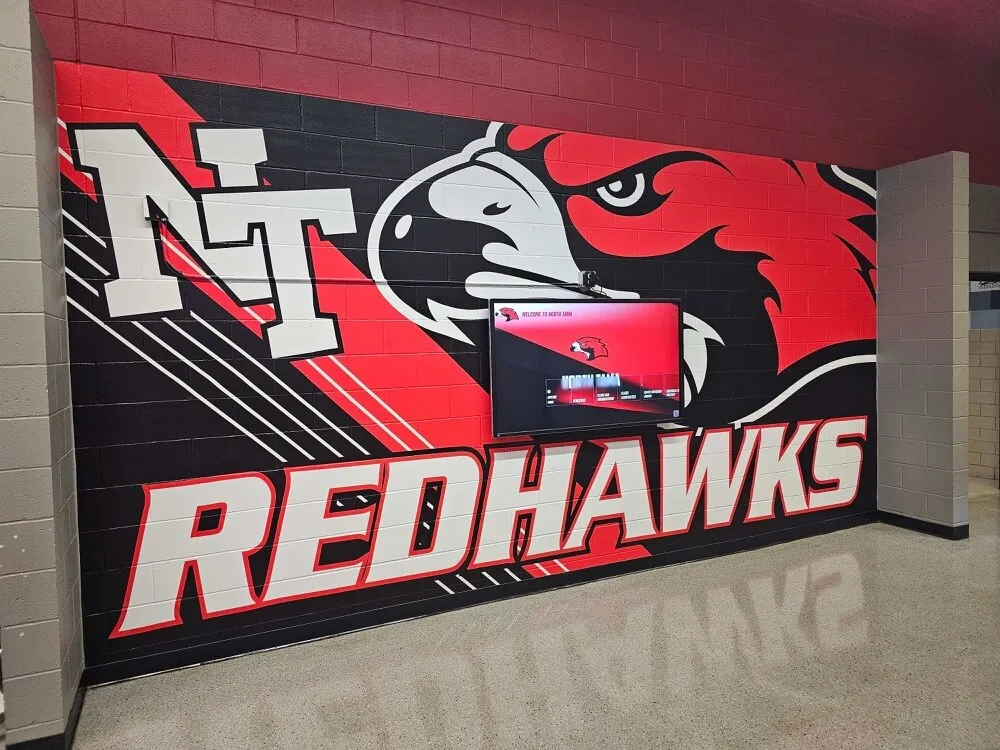
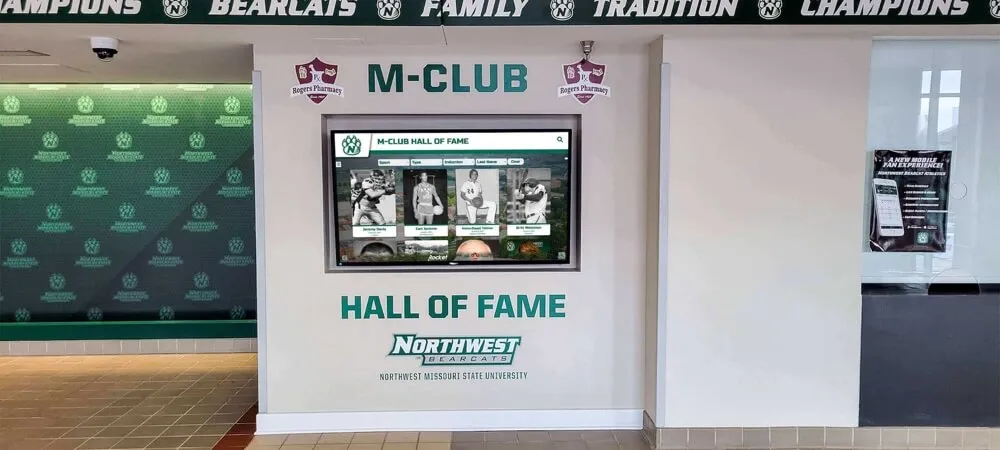
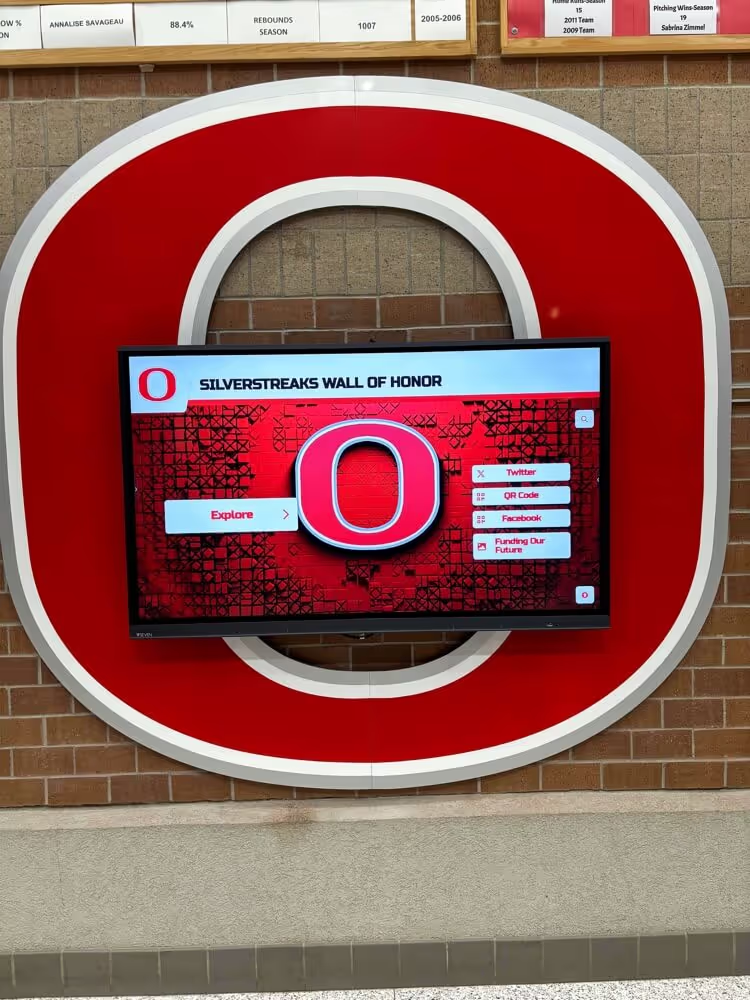
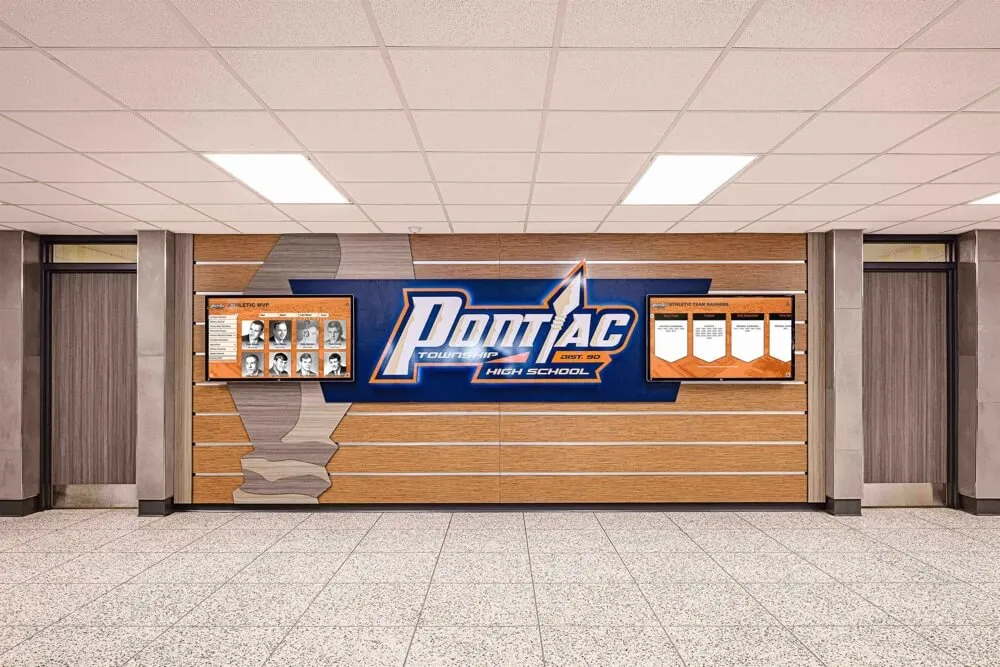
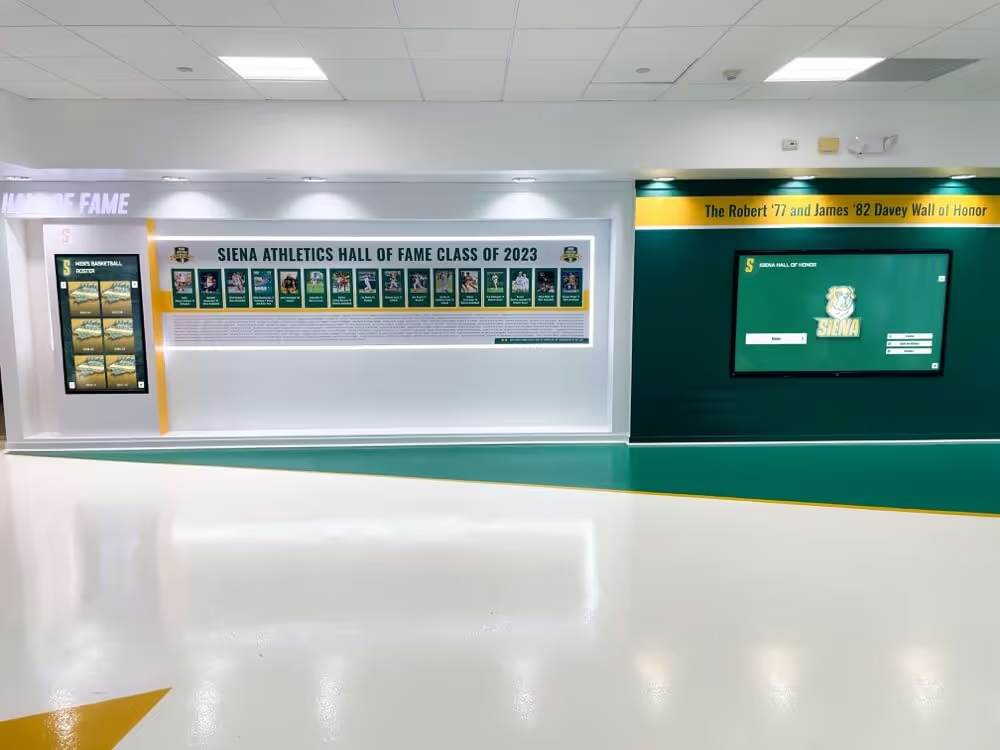
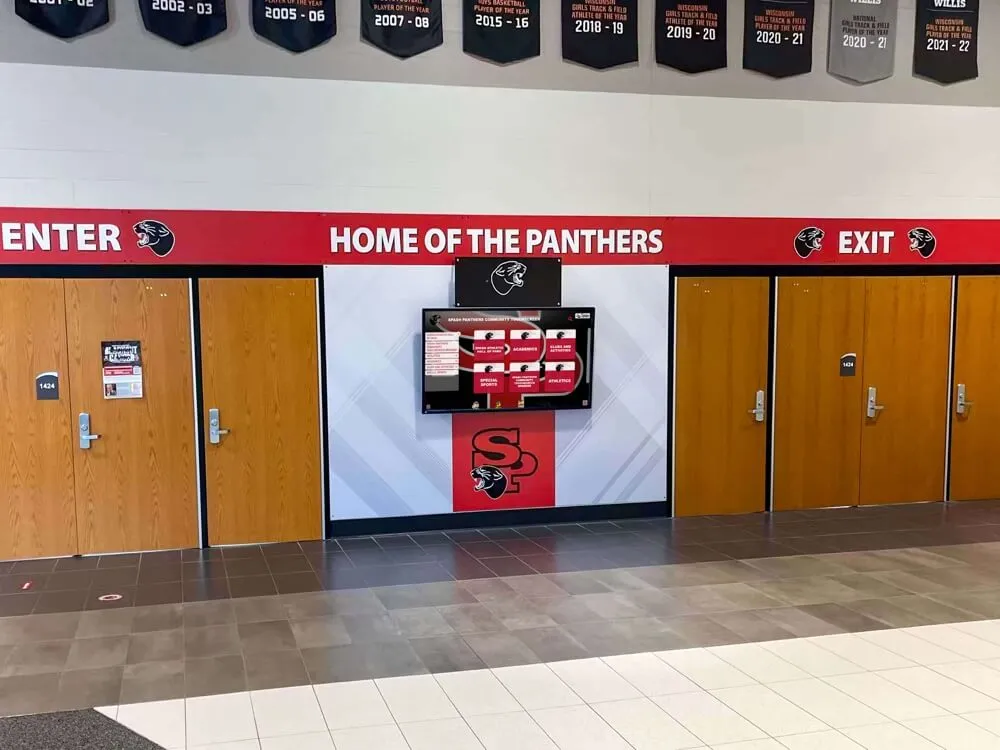
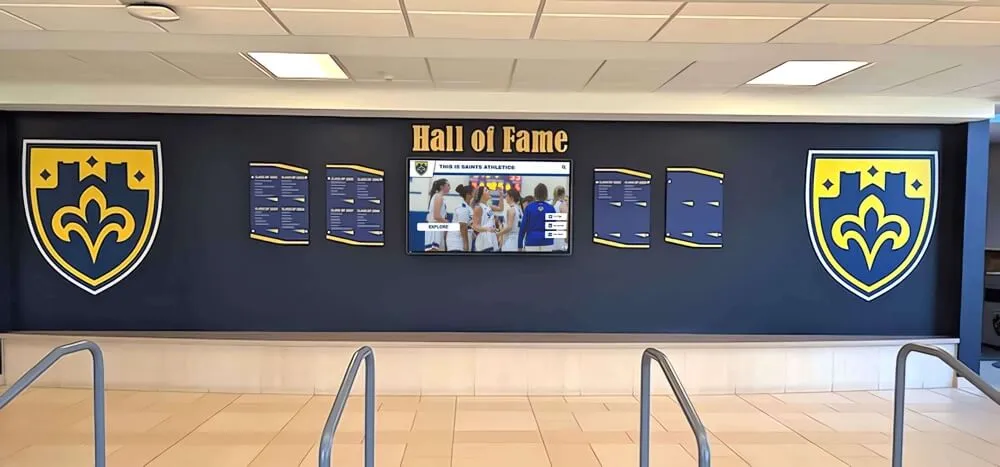
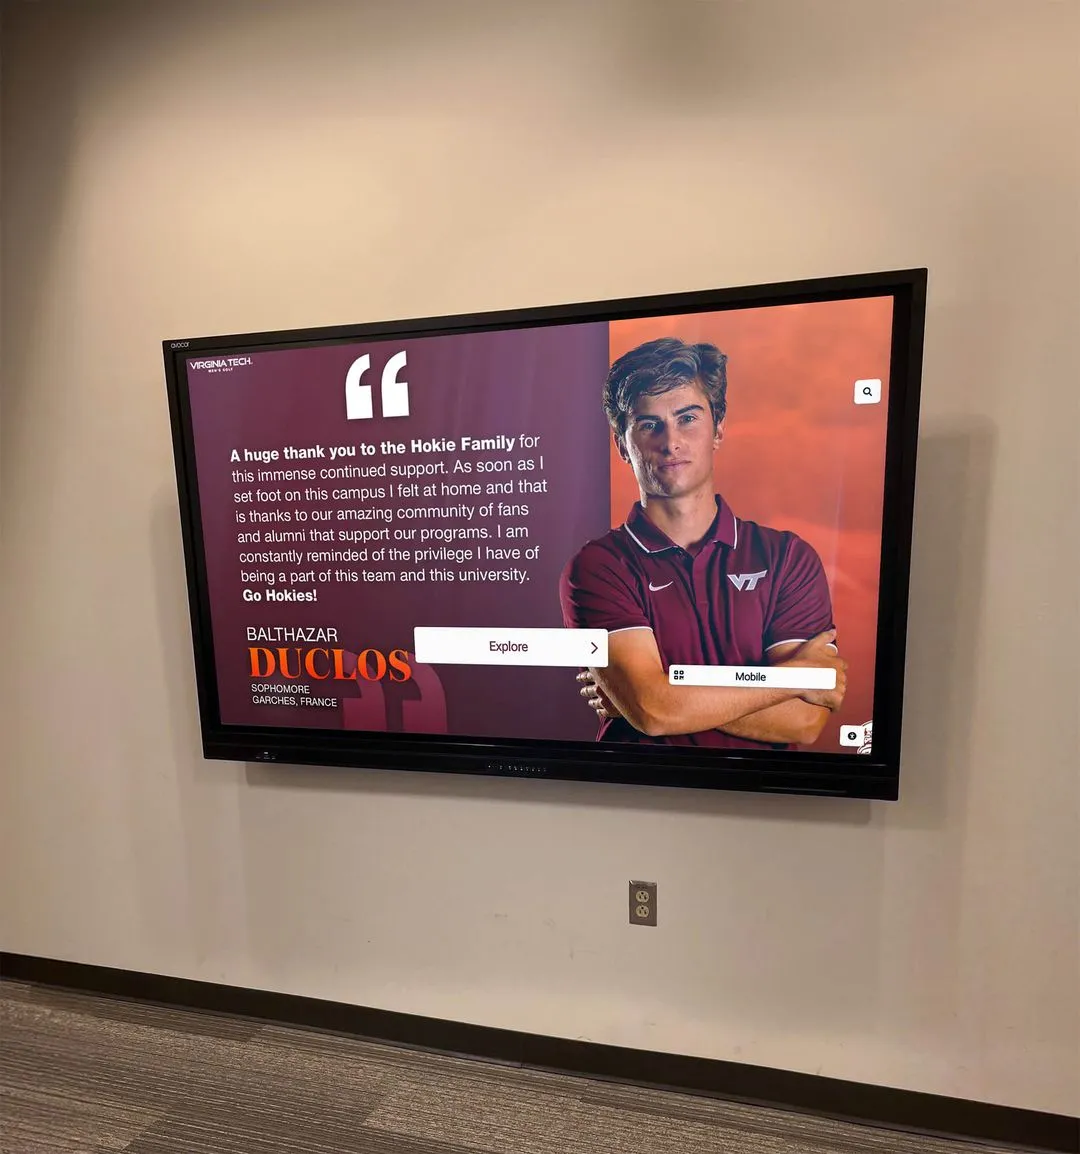
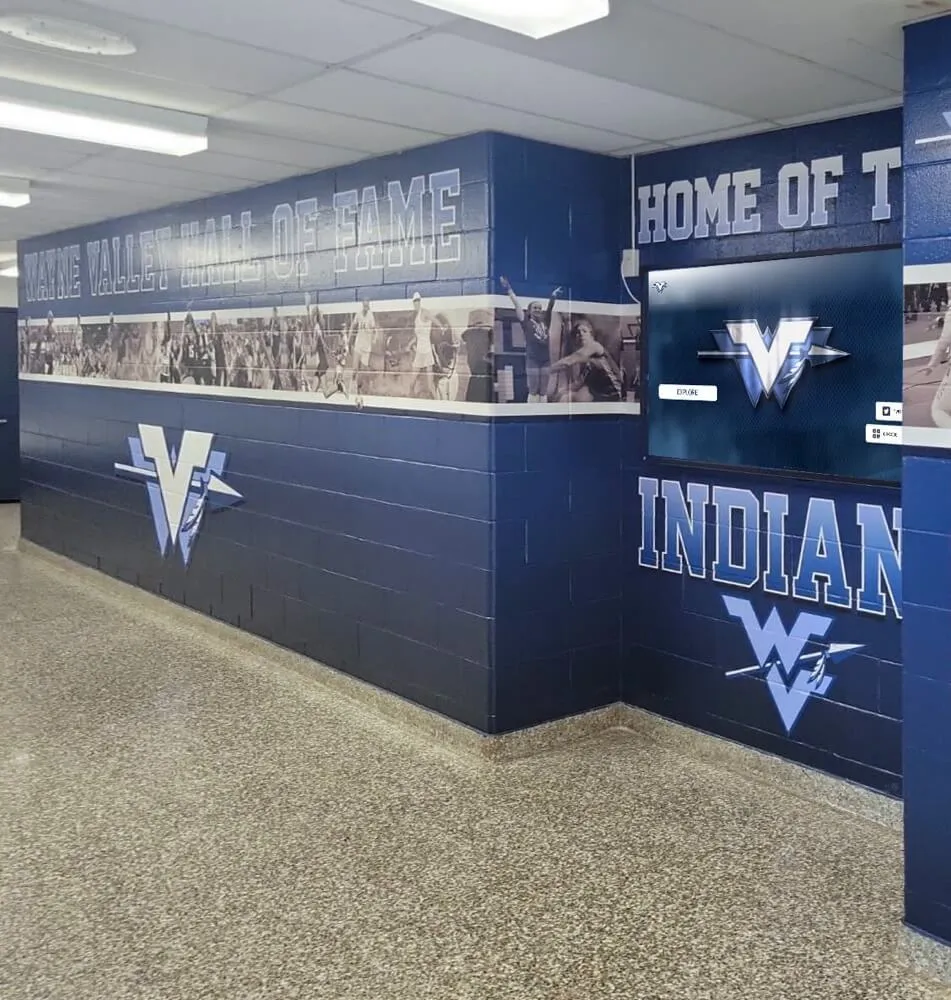
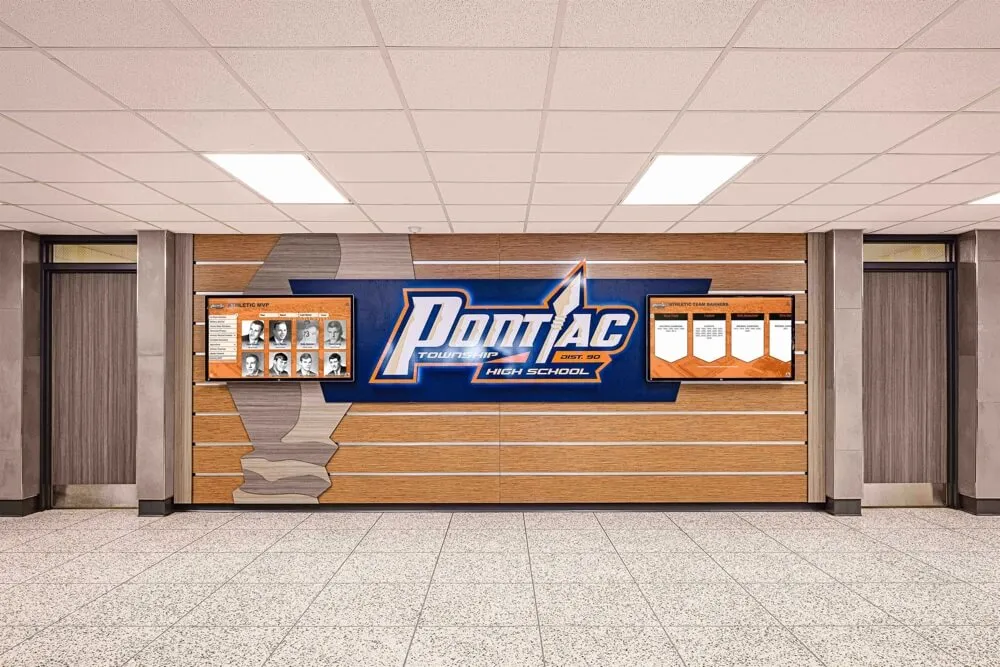
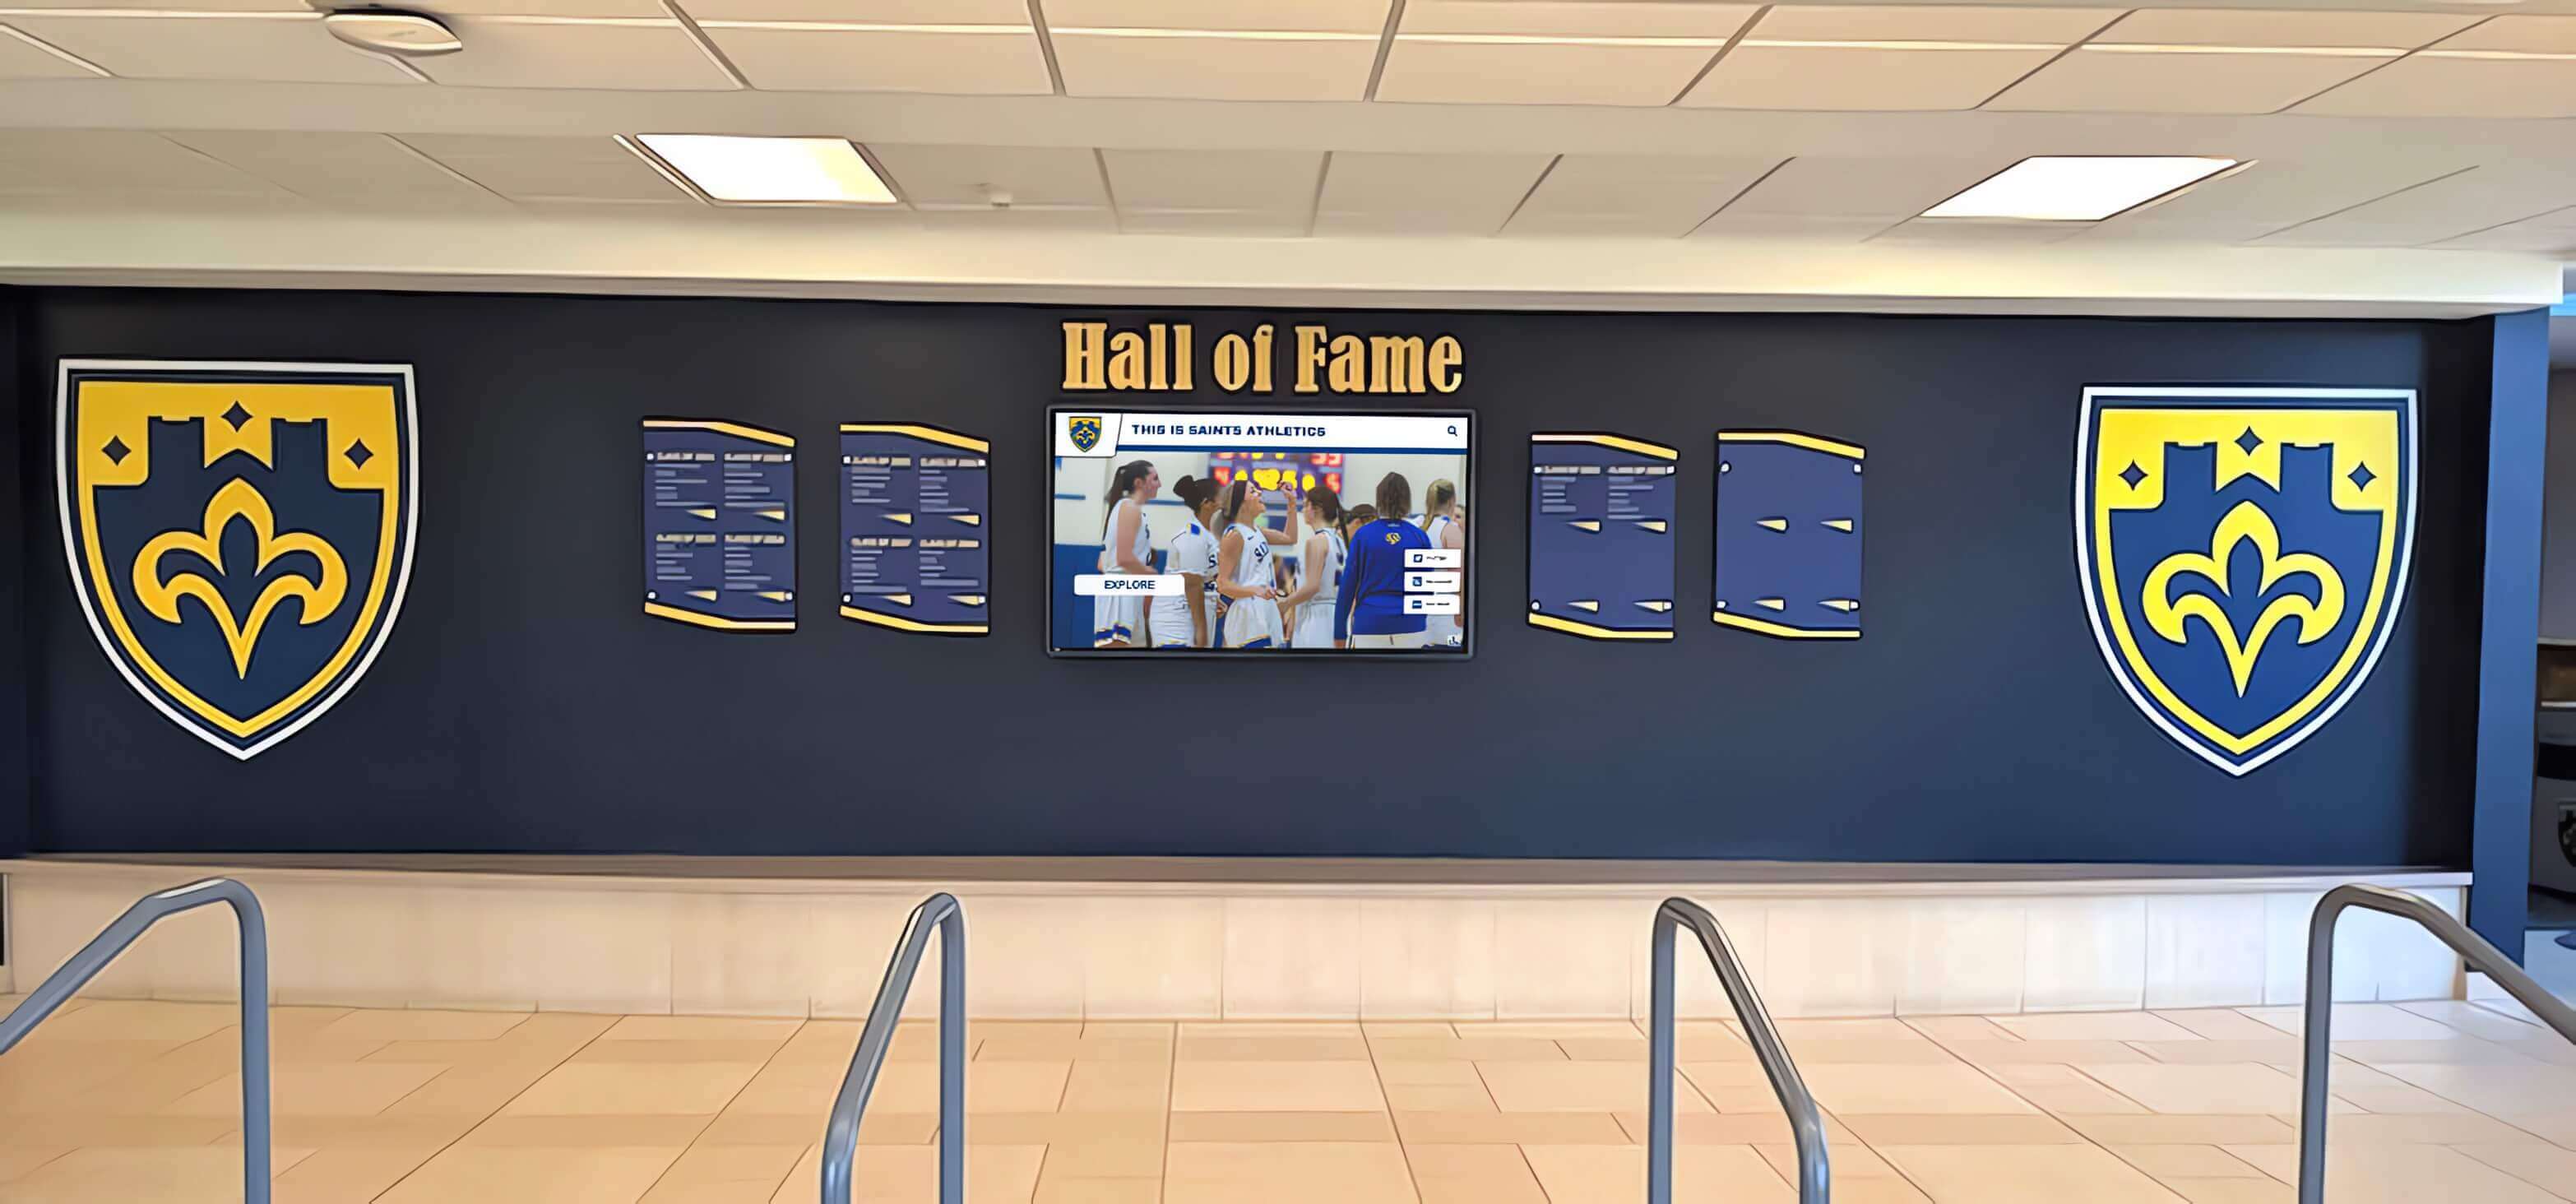
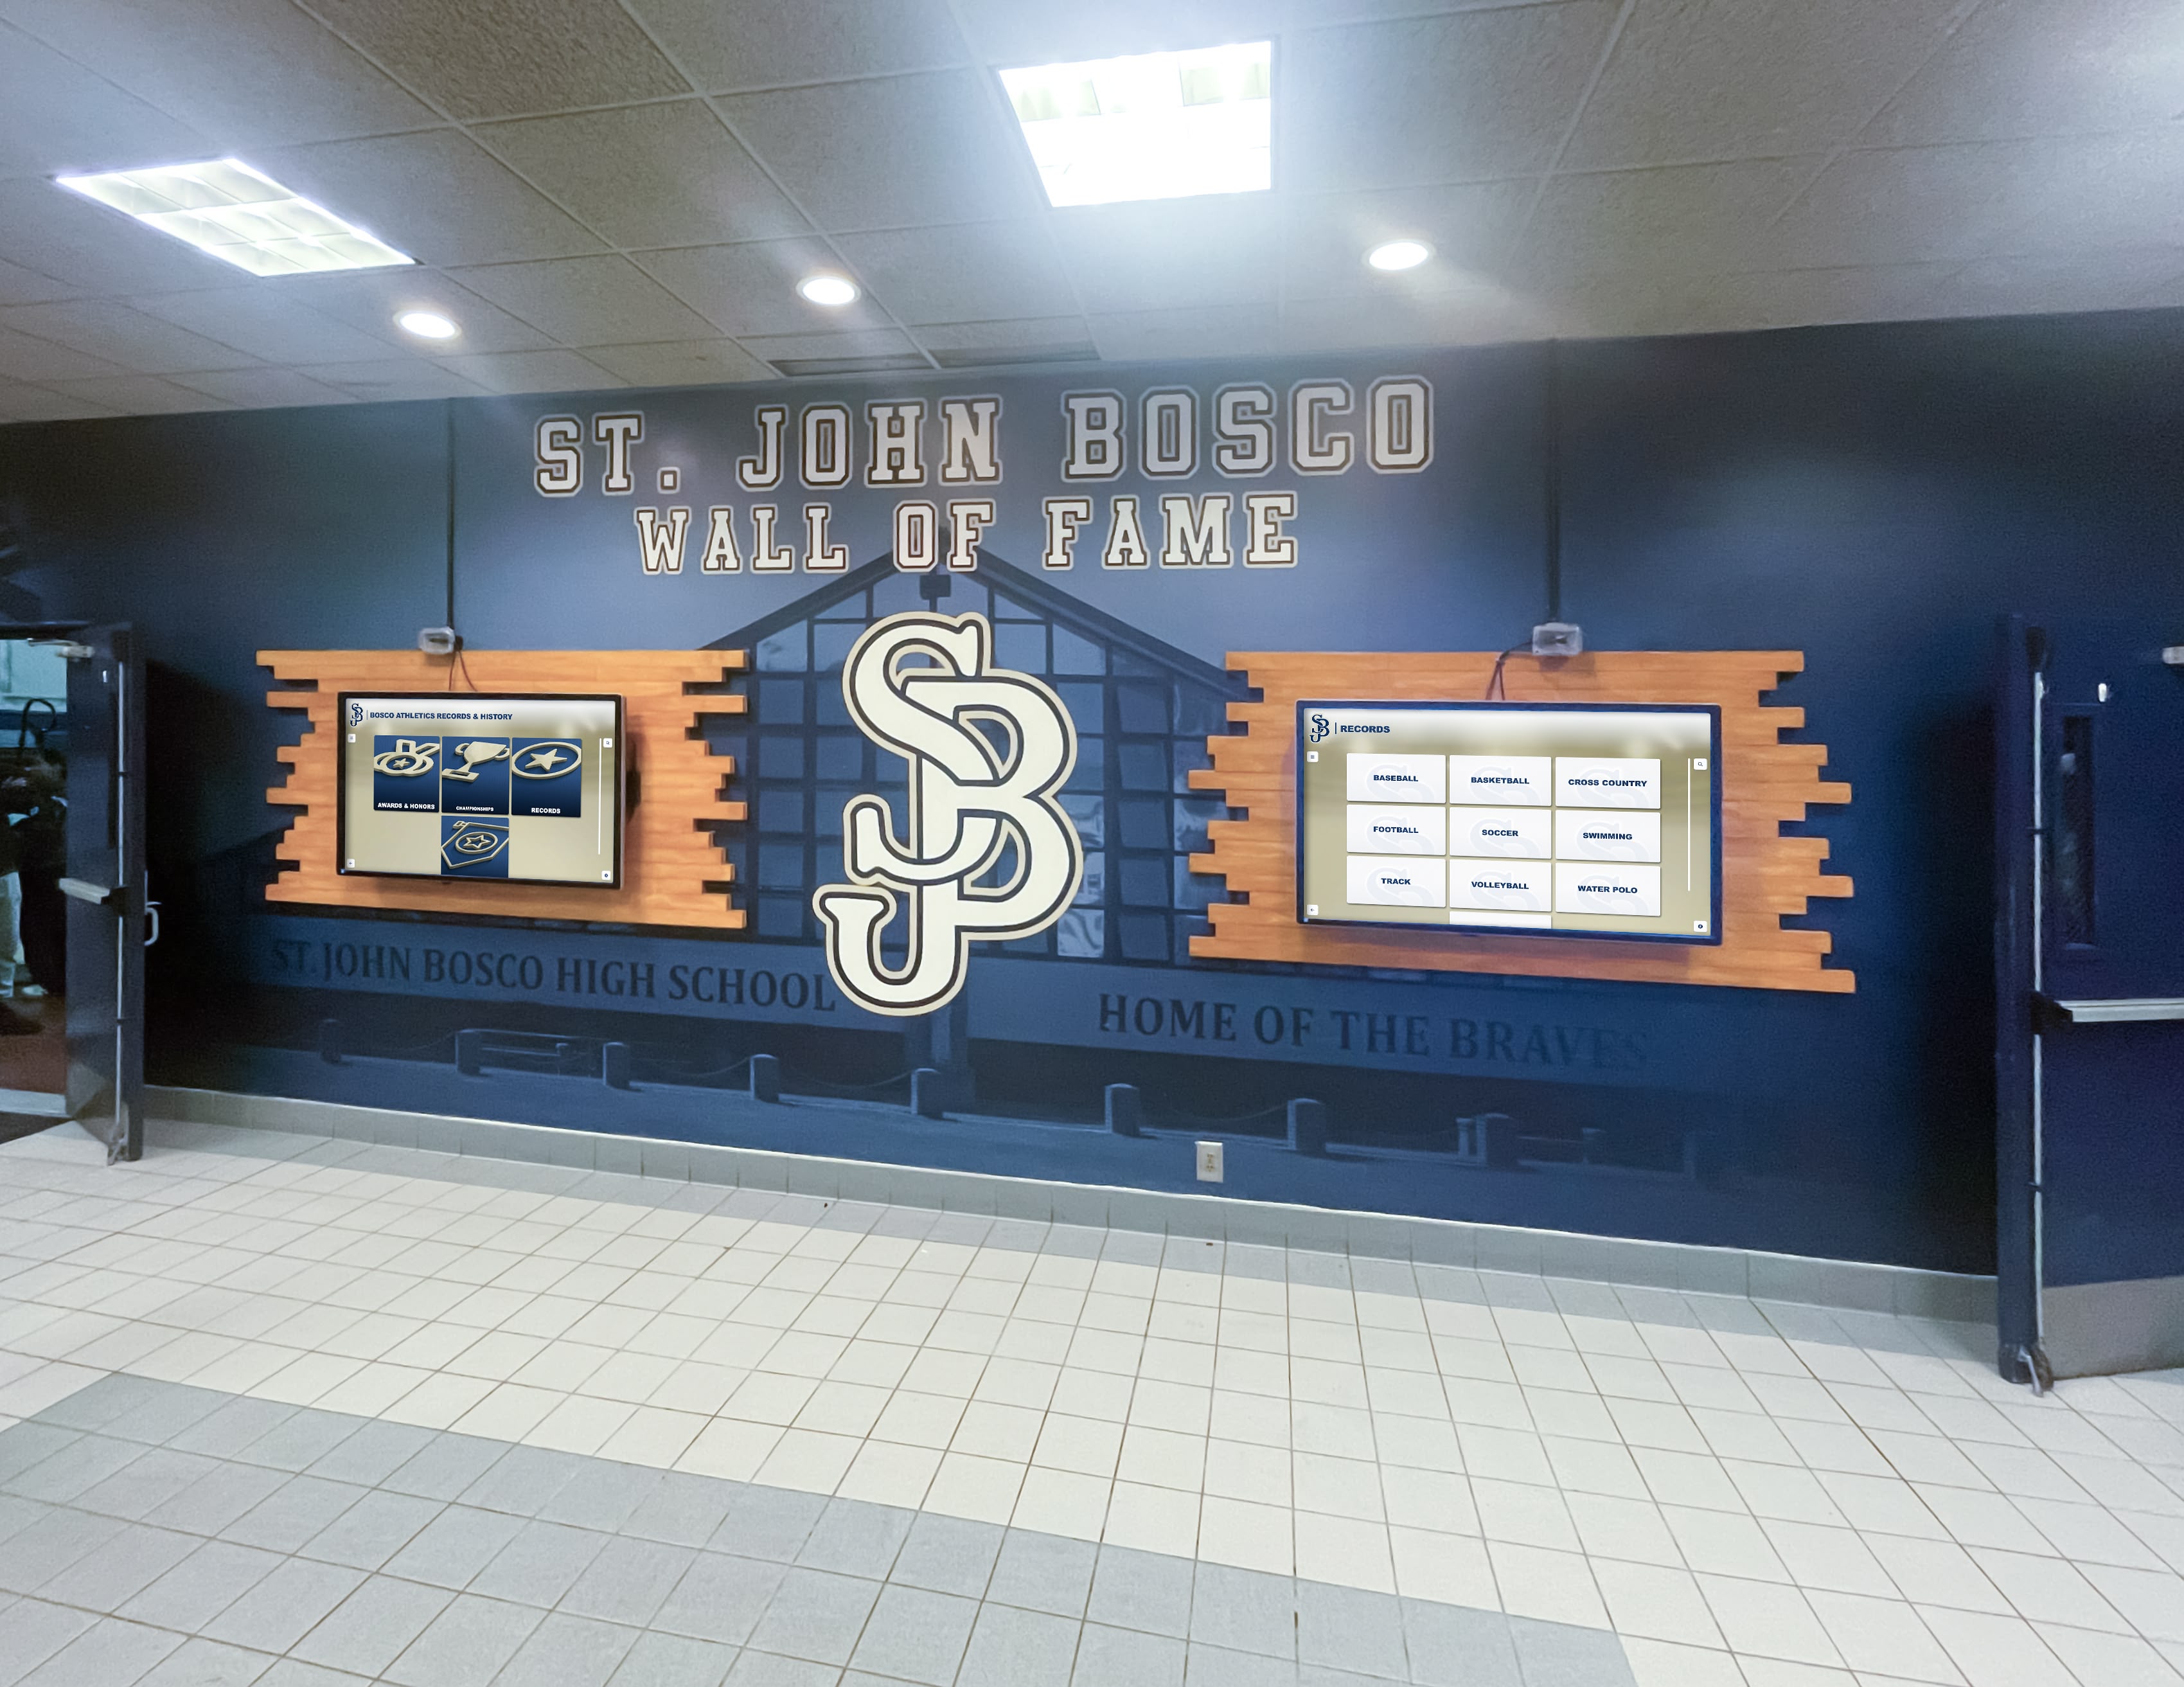
Install your permanent recognition plaques on one side of the corridor. Mount one or two 55-inch displays in the center of the plaque arrangement or on the opposite wall. The digital screens surface content that would exhaust any plaque budget if engraved: athletic records by sport, academic award recipients, honor roll cycles, and event programming.
Why hybrid layouts now outperform plaque-only walls
Traditional plaque displays lock content at the moment of engraving. A hybrid recognition wall gives you engraved permanence for milestone recognition and unlimited digital capacity for everything else — without tearing down and replacing plaques every time records or rosters change.
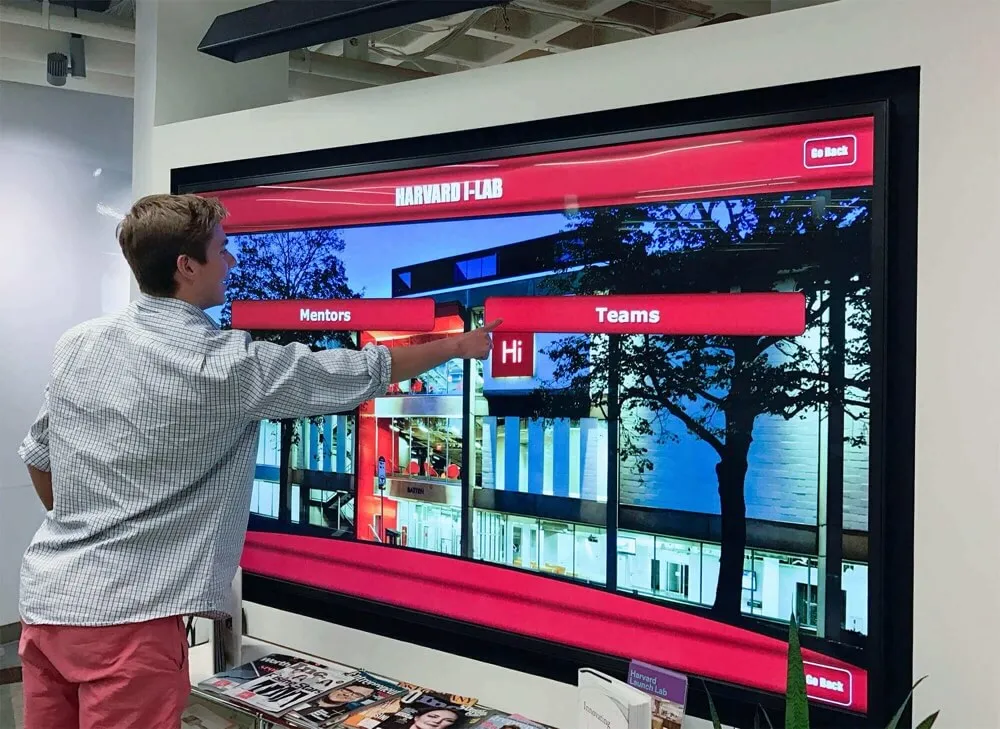
This approach is increasingly common in K-12 facilities because digital screens are updated remotely via a cloud CMS, while the permanent plaques handle the ceremonial, keepsake function donors and inductees expect. Schools building out this combination for the first time can explore Rocket Alumni Solutions as a touchscreen platform designed to sit alongside existing plaque installations.
For a full hardware and software comparison specific to education donor walls, the digital donor recognition display buyers guide for education walks through screen specs, CMS options, and ongoing maintenance costs.
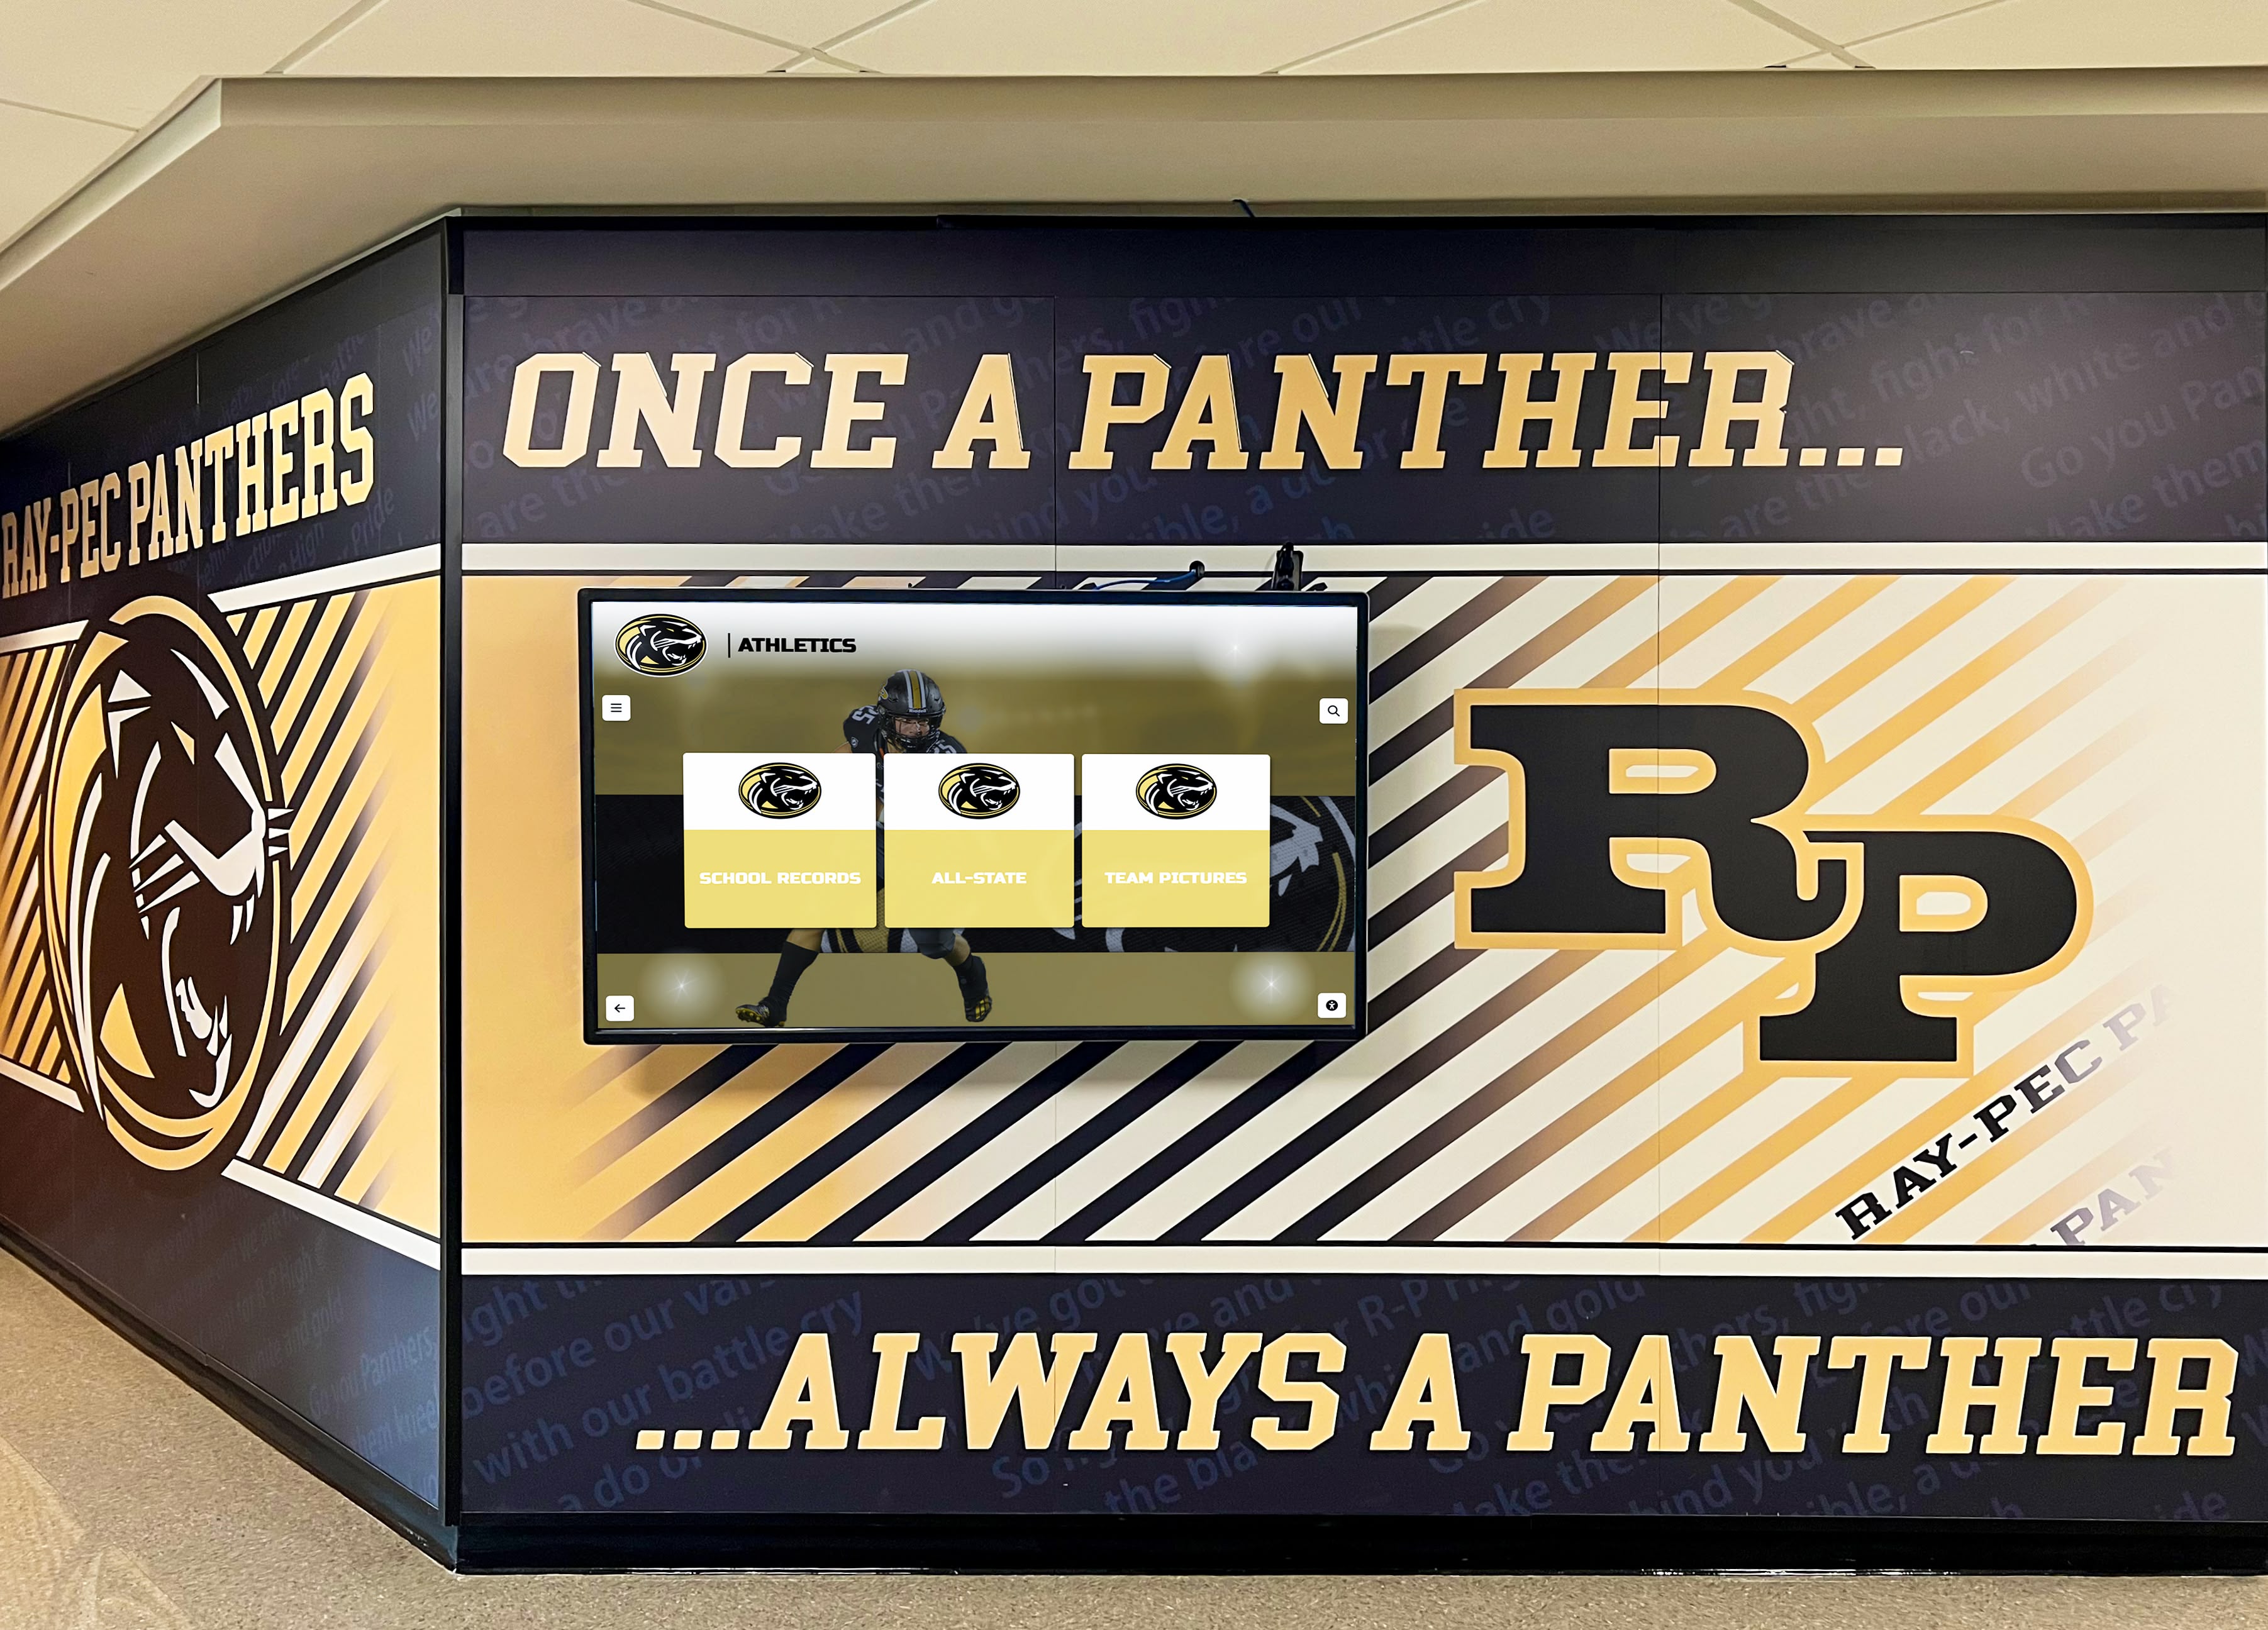
8. Modular Expandable System
Best for: Growing programs that add new inductees every year but cannot predict future volume.
Use a rail-and-insert mounting system rather than direct-wall anchors. Individual plaques slot into horizontal rails mounted on the wall. When new inductees are added, plaques slide in without drilling new holes. The layout expands by adding another row of rails below or above the existing display.
Why it works: Most plaque walls run out of space in 10–15 years if they use direct-mount anchors with no built-in expansion plan. A modular rail system solves the problem at install time rather than forcing a full renovation later.
Capacity planning rule: Design for 2× your current inductee count. If you have 40 honorees today, plan your rail system for 80.
Choosing Your Plaque Material
The material you choose affects durability, cost, legibility, and the aesthetic tone your recognition wall communicates.
| Material | Cost Per Plaque | Best Finish | Lifespan | Best Use Case |
|---|---|---|---|---|
| Cast bronze | $200–$600 | Patina or lacquered | 50+ years | Legacy donor walls, hall of fame |
| Aluminum (engraved) | $80–$200 | Brushed or anodized | 20–30 years | Athletic records, academic recognition |
| Cast aluminum | $150–$350 | Painted or raw | 30+ years | Outdoor and indoor installations |
| Acrylic (laser-engraved) | $40–$120 | Clear, frosted, or colored | 10–20 years | Annual awards, rotating recognition |
| Wood (routed) | $60–$180 | Stained or painted | 15–25 years | Academic departments, faculty walls |
| Sublimation metal | $30–$80 | Full-color photo | 10–15 years | Portrait plaques, event recognition |
Budget guidance: A complete 40-plaque hall of fame installation using cast aluminum ranges from $8,000 to $18,000 for materials and professional mounting. Add 20–30% for a fabricator-supplied mounting template and installation labor. Budget $1,500–$4,000 per year for ongoing inductee plaques and engraving.
ADA and Accessibility Considerations
Every school plaque display occupying a public corridor must account for ADA Standards for Accessible Design, Section 4.30 (Signage).
Mounting height: Plaques intended for close reading must have their identification face at or below 60 inches for forward approach and 54 inches for side approach. The lowest operable element must be at least 15 inches from the floor.
Legibility requirements:
- Minimum 5/8-inch character height for recognition text
- Non-glare finish required when plaques are under direct overhead lighting
- High contrast between engraved text and background panel
Clear floor space: Maintain 36 inches of unobstructed corridor width past the full display zone.
Tactile elements: If your plaque includes room identification text (e.g., “Hall of Fame Wing”), raised characters and Grade 2 Braille are required per ADA 4.30.4.
For a full lobby and hallway design walkthrough — including ADA compliance for any digital components you add — the school lobby design ideas guide covers proportions, lighting, and accessibility in parallel.
When Traditional Plaques Are Not Enough
Plaques are permanent and prestigious. But they have hard limits that schools hit faster than they expect.
- No photos from before the digital era unless you commission expensive portrait plaque engraving
- No video or audio — no coach interviews, game highlights, or acceptance speeches
- No corrections — a plaque with a wrong career stat stays wrong until you pay for re-engraving
- No search — a visitor looking for a specific inductee must read every plaque in sequence
- No expansion without construction — adding a 50th row means drilling new anchor points
Schools that hit these limits are choosing a digital alumni hall of fame experience as the primary recognition system, with plaques reserved for the highest tier of permanent honorees only.
The modern donor wall ideas guide shows how institutions are pairing traditional engraved naming with touchscreen browsing interfaces that let visitors explore every giving tier without crowding the physical wall.
Signs you are ready to add a digital component to your plaque wall
- Your plaque wall has fewer than 3 linear feet of available space remaining
- You add more than 8 new inductees or donors per year
- Visitors regularly ask staff to locate a specific name on the wall
- Your recognition program spans more than 3 categories: sports, academics, faculty, alumni, donors
- You want to surface multimedia content — photos, video, statistics — alongside permanent recognition
For schools planning memorial recognition alongside an active hall of fame display, the memorial display ideas guide for schools and community spaces covers how to handle long-term sensitive content adjacent to athletic and donor recognition without visual or tonal conflict.
Installation Validation Checklist
Before your installation crew arrives on-site, confirm every item on this list:
Physical installation
- Anchor points confirmed against structural drawing
- All plaques within 24–84 in. ADA viewing zone
- 36 in. clear corridor width maintained past display
- Non-glare finish or anti-glare film on plaques under direct lighting
- Level reference line snapped across full installation width
Content accuracy
- Every name proofread against original source documents
- Dates and statistics independently verified
- Graduation years confirmed with registrar
- Portrait photos approved by inductee or family
- Consistent capitalization and punctuation across all plaques
A single engraving error on a bronze plaque costs $150–$400 to correct. Content verification before fabrication is the highest-leverage quality step in the entire project.
Plan Your School Plaque Display
A well-designed recognition wall earns its place as one of the most visited spots in your building. Visitors stop. Alumni reconnect. Prospective students see what achievement looks like at your school. Current students understand that the institution keeps score on what matters.
The schools getting the most from their recognition programs are the ones that combine a permanent plaque display with an interactive digital layer — one that lets every visitor explore the full depth of the program’s history in seconds, without waiting for staff assistance.
Rocket Alumni Solutions builds touchscreen recognition systems specifically for K-12 and higher education, designed to work alongside your existing plaque wall or replace an outdated display entirely. The platform handles content management, photo archives, donor recognition tiers, and athletic records without IT overhead.