Mastering the tennis volley technique separates good players from great ones, especially in competitive high school and college tennis programs. While baseline rallies often dominate recreational play, the ability to approach the net and finish points with crisp, confident volleys defines championship-level tennis. Whether you’re playing singles or doubles, developing solid volley mechanics transforms your game and creates opportunities to control points rather than simply react to your opponent.
This comprehensive guide breaks down everything you need to know about tennis volley technique—from fundamental grips and ready positions to advanced tactics for singles and doubles play. You’ll discover how proper footwork, compact swings, and strategic positioning enable you to hit volleys with consistency and power, turning net approaches into winning opportunities.
The volley represents one of tennis’s most rewarding yet challenging skills. Unlike groundstrokes where you have time to prepare and adjust, volleys demand quick reactions, precise positioning, and abbreviated technique. High school tennis programs that emphasize net play often dominate conference championships, and college recruiters actively seek players who can finish points at the net—a skill that becomes even more critical in doubles competitions.

Championship-level net play earns recognition on digital displays that showcase athletic excellence
Understanding the Volley: Foundation of Net Play
Before diving into specific techniques, understanding what distinguishes a volley from other tennis shots establishes the foundation for proper execution.
What Makes a Volley Different
The volley occurs when you strike the ball before it bounces on your side of the court, typically while positioned near the net:
Defining Characteristics
Volleys differ fundamentally from groundstrokes:
- Abbreviated backswing: Minimal preparation time eliminates lengthy wind-ups
- Contact point: Ball is struck earlier in its flight path, often at shoulder height or above
- Forward positioning: Executed from inside the baseline, usually within the service boxes
- Reaction-based timing: Less preparation time requires instinctive responses
- Compact follow-through: Shortened swings prioritize control over power
- Offensive intent: Typically used to finish points rather than extend rallies
This combination demands different mechanics than baseline play, where longer swings and weight transfer generate power.
Strategic Value
Effective net play creates multiple advantages:
- Cuts down opponent’s reaction time by hitting from closer to the net
- Forces opponents to attempt difficult passing shots under pressure
- Opens up court angles impossible to achieve from the baseline
- Intimidates opponents who prefer rallying from the backcourt
- Creates opportunities for quick points in doubles matches
- Demonstrates complete game development that impresses college recruiters
Players who develop confident net games exponentially increase their tactical options and competitive advantage.
Types of Volleys
Different situations demand different volley approaches:
Forehand and Backhand Volleys
The two fundamental volleys based on which side of your body the ball approaches:
- Forehand volley: Ball comes to your dominant hand side
- Backhand volley: Ball approaches your non-dominant hand side
- Technique similarities: Both use abbreviated swings and forward positioning
- Common challenge: Backhand volleys often require more practice to match forehand confidence
- Development focus: Equal practice time on both sides prevents exploitable weaknesses

Top tennis programs document player development and championship moments
High, Low, and Half Volleys
Variations based on ball height at contact:
- High volley: Contact above shoulder level, allowing aggressive downward angles
- Mid volley: Contact between waist and shoulders, the most common and comfortable height
- Low volley: Contact below waist level, requiring excellent footwork and often defensive
- Half volley: Emergency shot hitting ball immediately after it bounces, technically not a true volley
Each height demands slightly different preparation and technique adjustments.
Punch, Drive, and Drop Volleys
Different tactical intentions:
- Punch volley: Standard volley using firm wrist and compact stroke to drive ball deep
- Drive volley: More aggressive swing taking ball on the rise for pace, often mid-court
- Drop volley: Soft touch shot using minimal pace to land ball just over net
- Stop volley: Similar to drop volley but with even less forward motion, absorbing opponent’s pace
Mastering these variations enables you to respond appropriately to different tactical situations.
The Continental Grip: Your Volley Foundation
Proper grip forms the foundation of effective volley technique, and the continental grip provides the versatility needed for quick net exchanges.
Why Continental Grip for Volleys
The continental grip offers distinct advantages for net play:
Versatility and Quick Transitions
A single grip handles both forehand and backhand volleys:
- No time-consuming grip changes between volleys during fast exchanges
- Enables rapid reaction to balls hit directly at your body
- Facilitates smooth transitions between high and low volleys
- Supports both offensive and defensive volley situations
- Allows quick adjustments for volleys at various heights
This versatility becomes critical in doubles where reaction time measures in fractions of a second.
Natural Racket Face Angle
The continental grip promotes ideal contact:
- Creates slightly open racket face that provides natural lift over the net
- Prevents excessive topspin or slice that can reduce control
- Enables firm wrist position that transfers energy efficiently
- Supports penetrating depth on volleys without excessive swing
- Facilitates touch shots like drop volleys when needed
These biomechanical advantages explain why virtually all professional and advanced players use continental grip for volleys.
How to Hold the Continental Grip
Proper grip mechanics ensure consistency:
Finding the Continental Grip
Use these methods to establish correct hand position:
Method 1: The Handshake
- Hold racket perpendicular to ground with edge facing up
- “Shake hands” with the racket handle
- Base knuckle of index finger should rest on bevel 2 (for right-handers)
- Heel pad of hand also on bevel 2
- Creates “V” between thumb and index finger pointing toward right shoulder
Method 2: The Hammer
- Imagine holding a hammer
- Place hand on racket as if hammering a nail
- This naturally creates continental grip position
- Check that base knuckle and heel pad align on same bevel
Method 3: Starting from Eastern Forehand
- Begin with eastern forehand grip (common baseline grip)
- Rotate hand counterclockwise one bevel (for right-handers)
- Results in continental position
- Practice switching between grips to develop muscle memory
Common Grip Mistakes
Avoid these errors that compromise volley effectiveness:
- Eastern forehand grip: Closes racket face too much, sending balls into net
- Western forehand grip: Extreme face closure makes high volleys nearly impossible
- Eastern backhand grip: Opens face too much on forehand volleys
- Grip changes mid-rally: Attempting grip changes during fast net exchanges causes errors
- Loose grip pressure: Insufficient firmness allows racket to twist on contact
Consistent continental grip eliminates these problems and accelerates volley development.

Conference championships often recognize programs with strong doubles teams and net play skills
Ready Position and Split Step: Preparation Fundamentals
Successful volleys begin before your opponent even strikes the ball, with proper ready position and timing your split step.
The Volley Ready Position
Your ready stance at net differs from baseline positioning:
Optimal Body Position
Position yourself for maximum coverage and quick reactions:
- Feet: Shoulder-width apart, weight on balls of feet
- Knees: Slightly bent, ready to move in any direction
- Torso: Slight forward lean, athletic and engaged
- Racket position: Held in front of body at chest height
- Head position: Up and focused on opponent
- Arms: Comfortably extended with slight bend in elbows
This athletic stance enables explosive movement in all directions.
Racket Positioning
Hold your racket ready for immediate response:
- Racket head above wrist level, roughly chest high
- Both hands on racket (non-dominant hand supporting throat)
- Racket centered in front of body, not to one side
- Face slightly open (pointing upward at 30-45 degree angle)
- Elbows slightly away from body for quick turns
This central positioning provides equal access to forehand and backhand volleys.
The Split Step: Critical Timing
The split step represents the single most important footwork element in successful volleys:
What Is the Split Step
A small hop that loads your muscles for explosive movement:
- Small jump landing with both feet simultaneously
- Occurs precisely as opponent makes contact with ball
- Creates loaded position allowing instant directional change
- Engages leg muscles for explosive first step
- Provides brief pause to read ball direction before moving
Without proper split step timing, even perfect technique fails because you’re caught moving in the wrong direction.
When to Split Step
Timing the split step correctly maximizes effectiveness:
Singles Net Approach
- Split step as opponent prepares to attempt passing shot
- Timing matches opponent’s forward swing
- Land in balanced position ready to move laterally
- Enables quick coverage of attempted passing shots
- Provides loaded position for sharp directional changes
Doubles at Net
- Split step on every opponent contact
- Creates rhythm with partner for coordinated positioning
- Enables reaction to balls hit down the middle
- Provides loaded position for quick poaches
- Maintains ready stance throughout rally
Split Step Mechanics
Execute split steps effectively:
- Small hop, just inches off ground—not a large jump
- Land with feet shoulder-width apart
- Weight distributed evenly on balls of both feet
- Knees bent and ready to push off explosively
- Upper body stable, racket maintained in ready position
- Eyes tracking ball throughout the movement
Proper split steps become automatic through consistent practice until they’re instinctive rather than conscious.
Forehand Volley Technique: Step-by-Step Breakdown
The forehand volley combines simplicity with effectiveness when executed with proper mechanics.
Preparation and Backswing
Minimal preparation separates volleys from groundstrokes:
Unit Turn
Quick shoulder rotation prepares for contact:
- Shoulders turn approximately 45 degrees (not 90 like groundstrokes)
- Racket moves back only 6-12 inches from ready position
- Non-dominant hand releases racket throat
- Weight begins shifting toward front foot
- Eyes track ball from opponent’s racket to your strings
This abbreviated turn provides necessary preparation without excess motion that creates timing difficulties.
Racket Preparation
Position racket for optimal contact:
- Racket head remains at or slightly above wrist level
- Face stays slightly open (10-15 degrees)
- Backswing stops when racket moves just outside your peripheral vision
- Elbow maintains moderate bend, not locked or excessively bent
- Wrist stays firm in continental grip position
Compact preparation enables quick adjustments if ball direction changes.
Contact Point and Swing Path
The forward motion and contact define volley quality:
Forward Movement
Drive through the ball with controlled compact swing:
- Step forward with opposite foot (left foot for right-handed forehand volley)
- Transfer weight from back foot to front foot through contact
- Racket moves forward in relatively straight line toward target
- Maintain racket head at or slightly above wrist level
- Firm wrist prevents racket face from opening or closing
This forward weight transfer generates pace without requiring large swing.
Optimal Contact Point
Strike the ball at the ideal position:
Vertical Position
- Ideally between waist and shoulder height
- High volleys contacted at shoulder level or above
- Low volleys require bending knees, not just dropping racket head
Horizontal Position
- Well in front of body, approximately 12-18 inches ahead
- Early contact prevents ball from jamming you
- Allows full extension through contact zone
Lateral Position
- Slightly to your forehand side
- Not directly in front of body centerline
- Enables natural forward swing path
Contact at this optimal point maximizes control and enables various shot directions.
Follow Through
Complete the volley with controlled finish:
- Short follow through, only 12-18 inches forward
- Racket finishes pointing toward target
- Face remains stable throughout swing
- Body weight settled on front foot
- Quick recovery to ready position for next shot
Abbreviated follow through distinguishes volleys from groundstrokes and maintains readiness for rapid exchanges.

Successful programs track player development in skills like net play through [digital record boards](https://digitalrecordboard.com/blog/all-time-goal-leaders-recognition-guide/?utm_source=organic&utm_medium=seo-auto&utm_content=touchwall&utm_campaign=tennis-volley-technique&utm_term=seo)
Backhand Volley Technique: Building Equal Confidence
Many players struggle more with backhand volleys than forehand, but proper technique creates equal effectiveness on both sides.
Backhand Preparation
Similar principles to forehand with slight adjustments:
Unit Turn Adjustment
Prepare your backhand side:
- Shoulders turn slightly more than forehand (approximately 60 degrees)
- Racket moves back with non-dominant hand still supporting throat
- Backswing remains compact, only 8-12 inches
- Turn engages core and shoulder muscles
- Weight loads onto back foot preparing for forward transfer
Larger shoulder turn compensates for biomechanical differences on backhand side.
Backhand-Specific Elements
Several elements differ from forehand volleys:
- Non-dominant hand stays on racket longer during preparation
- Racket head positioned slightly higher relative to wrist
- Shoulder turn engages more back and shoulder muscles
- Elbow stays closer to body than on forehand volley
- Wrist position feels slightly “behind” the racket more than forehand
These adjustments accommodate natural body mechanics on the backhand side.
Two-Handed vs. One-Handed Backhand Volley
Players must choose which backhand volley approach fits their game:
One-Handed Backhand Volley
Traditional approach offering certain advantages:
- Greater reach: Extended arm covers more court area
- Better for high volleys: One hand allows higher contact points
- Continental grip works perfectly: No grip change needed
- Professional standard: Virtually all pros use one-handed volley
- Requires more practice: Takes longer to develop confidence
Most coaches recommend one-handed backhand volleys even for players who use two-handed backhand groundstrokes.
Two-Handed Backhand Volley
Some players prefer two hands:
- Increased stability: Second hand provides additional support
- Familiar feel: Mirrors two-handed groundstroke grip
- Effective for lower volleys: Additional support helps on defensive volleys
- Limited reach: Second hand reduces extension
- Less versatility: Difficult to execute high volleys or extreme stretches
Players using two-handed approach should still develop one-handed technique for situations requiring maximum reach.
Common Backhand Volley Errors
Avoid these mistakes that plague many players:
Technical Mistakes
Frequent errors that reduce effectiveness:
- Excessive backswing: Taking racket too far back creates timing issues
- Wrist break: Allowing wrist to collapse on contact loses power and control
- Stepping with same-side foot: Right foot forward on right-handed backhand reduces power
- Dropping racket head: Letting head fall below wrist sends balls downward into net
- Opening racket face too much: Excessive face angle sends balls sailing long
Focus on compact preparation, firm wrist, and proper footwork to eliminate these errors.
Mental Obstacles
Psychological barriers affect backhand volley confidence:
- Anticipating difficulty: Expecting backhand volleys to be harder becomes self-fulfilling
- Avoiding practice: Spending less practice time on backhand creates skill gap
- Protective positioning: Standing slightly to forehand side leaves backhand exposed
- Tentative execution: Defensive mindset reduces commitment and effectiveness
- Comparison to forehand: Constantly comparing sides rather than developing each independently
Building backhand volley confidence requires equal practice time and positive mindset.
Low Volley Technique: Handling Difficult Heights
Low volleys represent one of tennis’s most challenging shots, requiring exceptional technique and footwork.
The Challenge of Low Volleys
Understanding why low volleys cause difficulty helps address the challenge:
Biomechanical Obstacles
Several factors make low volleys harder:
- Reduced margin over net: Lower contact point provides minimal clearance
- Difficult to generate pace: Upward trajectory requirement limits offensive options
- Awkward body position: Bending low while maintaining balance challenges stability
- Limited target area: Must clear net while avoiding hitting out
- Defensive situation: Often occurs when you’re out of position or opponent hits well
These factors combine to make low volleys the most technically demanding volley type.
Proper Low Volley Mechanics
Specific technique addresses low volley challenges:
Footwork Fundamentals
Get your body into proper position:
The Golden Rule: Bend Your Knees, Not Your Back
Proper approach:
- Split step as normal on opponent’s contact
- Identify ball will be low immediately
- Bend knees deeply to lower entire body
- Keep back relatively straight, chest up
- Maintain athletic posture rather than hunching over
- Weight on balls of feet, ready to recover
Common mistake:
- Bending at waist with straight legs
- Reaching down with racket while body stays upright
- Losing balance forward onto toes
- Unable to recover quickly for next shot
Proper knee bend positions your entire body correctly rather than just dropping your racket hand.
Racket Face and Contact
Adjust racket position for low balls:
- Open racket face slightly more than standard volley (20-25 degrees)
- Contact point still in front of body despite low height
- Racket head stays above wrist level even on lowest volleys
- Firm wrist prevents collapse under ball
- Brief upward component in swing path provides net clearance
- Follow through short and directed toward target
These adjustments generate sufficient loft to clear net while maintaining depth.
Strategic Approach
Low volleys often require defensive mindset:
- Primary goal: get ball back deep and high to reset point
- Secondary goal: direct ball toward opponent’s weaker side
- Avoid attempting winners from low volleys unless opponent is severely out of position
- Focus on depth over angle to minimize risk
- Maintain solid technique under pressure rather than attempting heroics
Understanding when to play percentage tennis versus going for winners demonstrates tactical maturity.

Tennis programs document both team championships and individual skill development through [senior night traditions](https://digitalwalloffame.com/blog/senior-night-traditions-sport-basketball-football-volleyball/?utm_source=organic&utm_medium=seo-auto&utm_content=touchwall&utm_campaign=tennis-volley-technique&utm_term=seo)
Volley Positioning: Where to Stand for Maximum Coverage
Perfect technique means nothing if you’re standing in the wrong position, making proper court positioning essential for effective net play.
Singles Net Positioning
In singles, approaching the net requires strategic positioning:
The Ideal Approach Position
Position yourself for maximum coverage:
- Stand approximately halfway between service line and net (split the difference)
- Center yourself based on opponent’s court position, not net center
- Bisect angle of possible passing shots
- Stay slightly to the side opponent can more easily hit passing shots
- Adjust position as opponent moves laterally
This positioning maximizes your ability to cover both down-the-line and crosscourt passing shots.
Approach Shot Quality Affects Position
Your positioning depends on approach shot effectiveness:
| Approach Shot Quality | Optimal Net Position | Primary Coverage |
|---|---|---|
| Deep, forcing approach | Closer to net (2-3 steps inside service line) | Aggressive volleys to finish point |
| Moderate approach | Standard position (on service line) | Balanced coverage of passing shots |
| Weak or short approach | Conservative (behind service line) | Defensive volleys and lobs |
Adjusting position based on approach quality demonstrates tactical awareness.
Reading and Reacting
Anticipate opponent’s likely shots:
- Watch opponent’s racket preparation and body position
- Identify whether they’re loaded for powerful passing shot or defensive lob
- Read their court position relative to ball
- Observe their preferred passing shot patterns
- Adjust position slightly based on these reads
Pattern recognition developed through experience enables better anticipation.
Doubles Net Positioning
Doubles positioning requires coordination with your partner:
Standard Formation
Both players at net (ideal offensive position):
- Both players stand approximately 8-10 feet from net
- Divide court equally, each covering one half
- Position slightly toward center to protect middle
- Maintain communication about who takes middle balls
- Stay active with split steps on every opponent contact
This formation provides maximum court coverage and offensive pressure.
Covering the Middle
The gap between partners creates vulnerability:
- Players with stronger forehand volleys often position slightly toward middle
- Call “mine” or “yours” clearly on balls hit between partners
- Generally, player to whom ball is coming has priority
- Forehand volleys typically take precedence over backhand volleys
- Quick communication prevents confusion and both players going for same ball
Many doubles points are won or lost based on middle ball coverage.
Poaching Strategy
Strategic movement to intercept partner’s side:
- Anticipate opponent’s likely return direction
- Move laterally to cut off ball hit toward partner’s side
- Communicate poach intention before executing
- Commit fully to poach rather than half-hearted movements
- Partner must shift to cover vacated area
Effective poaching disrupts opponent’s rhythm and creates winners, but requires excellent communication and timing.
Singles Volley Tactics: Approaching and Finishing
Understanding when and how to approach net in singles separates strategic players from those who stay back defensively.
When to Approach the Net
Identifying optimal approach opportunities:
High-Percentage Approach Situations
Approach when circumstances favor net play:
- Opponent hits short ball: Forces opponent to attempt passing shot from defensive position
- You hit forcing shot deep: Puts opponent under pressure and opens court
- Opponent is out of position: Reduces their ability to execute quality passing shots
- You’re inside baseline: Already forward, small additional movement reaches volley position
- Fast court surface: Grass or fast hard courts favor net play over slow clay
These situations create favorable risk-reward ratios for approaching.
Risky Approach Situations
Avoid approaching when circumstances favor opponent:
- Approaching off weak or short ball from you
- Opponent is well-positioned behind baseline
- You’re pulled wide and approaching from poor court position
- Playing on very slow surface where opponent has time to set up passing shots
- Opponent has demonstrated excellent passing shot ability
Pattern recognition helps identify favorable versus unfavorable approach scenarios.
Approach Shot Selection
Your approach shot determines net position success:
Effective Approach Shots
Build approaches that set up winning volleys:
Direction Strategy
- Down-the-line approach: Straightest path to net, bisects angles better
- Crosscourt approach: Longer distance to net, but keeps ball away from opponent’s strength
- To opponent’s weakness: Exploits backhand or other vulnerable shots
- Deep in court: Forces opponent back, reduces passing shot angles
Shot Selection
- Slice approach: Stays low, difficult to hit passing shot, gives time to close
- Topspin approach: Penetrating depth, pushes opponent back
- Drop shot approach: Brings opponent forward, creates lob opportunity
- Inside-out forehand: Uses strength, opens court
Each approach type creates different tactical situations.
Common Approach Errors
Avoid mistakes that undermine net approaches:
- Approaching off opponent’s strength (their forehand in ideal position)
- Hitting approach shot too short, allowing easy passing shot
- Approaching without purpose or plan for volley
- Poor court positioning after approach
- Approaching too frequently, becoming predictable
- Failing to follow approach all the way to net
Selective, well-executed approaches succeed far better than frequent, poorly planned ones.
Handling Passing Shots and Lobs
Defending against opponent’s responses:
Reading Passing Shots
Anticipate where opponent will attempt to pass:
- Most players default to crosscourt passing shots (safer angle)
- Down-the-line passes typically attempted when you’re positioned too far toward one side
- Watch opponent’s racket preparation and grip
- Identify their court position and body rotation
- Remember their previous patterns in similar situations
Anticipation enables earlier movement and better volley positioning.
Defending Against Lobs
Lobs represent the primary counter to net approaches:
- Overhead smash: Aggressive response to short defensive lobs
- Retreat and defensive lob: Response to deep lobs over your head
- Backpedal and high volley: For lobs that clear you but stay in reach
- Let ball bounce and play groundstroke: For very deep lobs when you can’t reach overhead
Programs that emphasize well-rounded skills often produce all-state athletes who excel in multiple aspects of the game.
Doubles Volley Tactics: Teamwork at the Net
Doubles transforms volley technique into collaborative strategy requiring coordination, communication, and tactical awareness.
Partner Communication and Positioning
Successful doubles teams function as coordinated units:
Verbal Communication
Clear communication prevents confusion:
- “Mine”: Claiming balls in your area
- “Yours”: Directing partner to take ball
- “Switch”: Calling for position change after crossed shots
- “Stay”: Instructing partner not to poach
- “Poach”: Signaling intention to cut off return
Brief, clear calls eliminate hesitation and ensure coordinated coverage.
Non-Verbal Signals
Teams develop hand signals for advanced tactics:
- Behind back signals before opponent’s serve return
- Indicating poach plans or stay-in-position
- Communicating target areas for returns
- Signaling formation changes between points
Advanced teams communicate constantly without opponents recognizing plans.
Poaching Strategy and Execution
Poaching creates offensive pressure and disrupts opponents:
When to Poach
Identify high-percentage poaching opportunities:
Ideal Poaching Situations
- Partner hits excellent serve or strong shot down middle
- Opponent appears locked into crosscourt return pattern
- You read opponent’s body position indicates crosscourt shot
- Score and match situation favor aggressive tactics
- Opponent has demonstrated weak down-the-line ability
Avoid Poaching When
- Partner hits weak serve or return
- Opponent frequently hits down the line
- Your team is serving at crucial points (40-30, game point)
- You haven’t established reads on opponent’s patterns
- Partner hasn’t signaled readiness to cover your area
Strategic poaching wins points; random movement creates holes.
Poaching Mechanics
Execute poaches effectively:
- Start with good split step as opponent makes contact
- Take quick lateral steps toward center
- Racket stays in ready position during movement
- Commit fully to poach rather than half-movements
- Aim volleys at angles or down the middle between opponents
- Recover quickly if opponent recognizes poach and hits behind you
Successful poaching requires commitment, timing, and confidence.
Formation Strategies
Different formations create tactical variety:
Standard: Both Up
Most common and effective formation:
- Both players start at net in offensive position
- Creates maximum pressure on returner
- Provides best coverage for most situations
- Requires solid net skills from both players
- Vulnerable only to excellent lobs
One Up, One Back
Defensive or transitional formation:
- Net player poaches and creates pressure
- Back player covers lobs and deep shots
- Effective when one player has significantly weaker net game
- Gives up offensive pressure for additional court coverage
- Common when receiving serve against strong server
Australian Formation
Specialized serving formation:
- Server and partner both start on same side
- Confuses opponents and changes return angles
- Effective against players locked into patterns
- Requires practice and coordination
- Particularly useful when opponents target one specific return location
Formation variety keeps opponents off balance and covers different tactical situations.
Many successful doubles programs celebrate achievements through championship ring ceremonies and other recognition events.
Practice Drills for Volley Development
Developing crisp, confident volleys requires targeted practice focusing on specific technical and tactical elements.
Solo Practice Drills
Build volley fundamentals independently:
Wall Volleys
Classic drill for developing touch and consistency:
- Stand 10-12 feet from wall
- Hit continuous volleys against wall
- Alternate forehand and backhand
- Gradually reduce distance to wall for quicker reactions
- Set time goals (1 minute, 2 minutes) or count consecutive volleys
- Add movement side-to-side while maintaining volley sequence
Wall volleys develop rapid reaction time and consistent contact.
Shadow Volleys
Mental and muscle memory development without ball:
- Practice volley motion in front of mirror
- Focus on compact backswing and firm wrist
- Rehearse split step and forward weight transfer
- Visualize different volley situations
- Practice rapid transitions between forehand and backhand sides
- Emphasize proper footwork patterns
Shadow practice ingrains technique without pressure of ball contact.
Partner Drills
Develop volleys with practice partner:
Volley-to-Volley Exchanges
Build reflexes and consistency:
- Both players stand at net
- Hit volleys back and forth cooperatively
- Start slowly, gradually increase pace
- Maintain rally as long as possible
- Progress to competitive points
- Add movement requirement (side-to-side or forward-back)
This drill develops quick reactions essential for net exchanges.
Groundstroke vs. Volley
Simulate match situations:
- One player at baseline hitting groundstrokes
- Other player at net hitting volleys
- Baseline player tries to pass, net player tries to volley winners
- Switch roles after set time or point total
- Baseline player can include lobs
- Net player practices reading and reacting to different shots
This drill combines technical and tactical volley development.
Approach and Volley Patterns
Practice complete approach sequences:
Drill Structure
- Baseline player feeds short ball to approaching player
- Approaching player hits approach shot and moves to net
- Baseline player attempts passing shot
- Approaching player hits volley
- Continue point until conclusion
- Rotate after 10-15 points
Variations
- Specify approach shot direction (down-line or crosscourt)
- Limit baseline player to specific passing shot types
- Award bonus points for successful net approaches
- Add second volleyer to practice doubles scenarios
This drill integrates approach shots, positioning, and volleys into complete tactical sequences.
Competitive Drills
Simulate match pressure:
King/Queen of the Court
Competition adds pressure:
- Winner stays at net (offensive position)
- Loser goes to baseline (defensive position)
- Play points with net player trying to hold position
- Winner stays, loser rotates out if multiple players
- Emphasizes importance of net position advantage
- Creates competitive intensity
Doubles Point Patterns
Practice specific doubles situations:
- Start points at specific score (e.g., 30-30)
- Assign formations for each team
- Play points emphasizing communication and positioning
- Rotate partners and opponents
- Focus on one tactic per session (poaching, return positioning, etc.)
Pattern practice develops tactical awareness and partnership skills.
Common Volley Mistakes and Corrections
Even experienced players fall into common volley errors that undermine effectiveness.
Technical Errors
Frequent mechanical mistakes:
Taking Too Large a Backswing
Problem and solution:
The Problem
- Large backswing creates timing difficulties
- Reduces reaction time for quick exchanges
- Makes it harder to adjust to unexpected ball directions
- Often results from groundstroke habits
- Particularly problematic in fast doubles exchanges
The Solution
- Practice with racket starting in ready position
- Take backswing of only 6-12 inches
- Think “block” rather than “swing”
- Use wall drills to groove compact preparation
- Film yourself to verify abbreviated backswing
Breaking Wrist at Contact
Critical stability error:
The Problem:
- Collapsed wrist loses power and control
- Ball direction becomes unpredictable
- Difficult to generate pace on volleys
- Often caused by weak grip or improper continental grip
The Solution:
- Firm up grip pressure at contact (6-7 on scale of 10)
- Verify continental grip position
- Practice volleys focusing solely on firm wrist
- Imagine pushing through ball rather than flicking at it
- Strengthen forearm and wrist with off-court exercises
Poor Split Step Timing
Fundamental footwork error:
The Problem:
- Split stepping too early or late reduces effectiveness
- Caught moving when ball arrives
- Unable to change direction explosively
- Leads to lunging and off-balance volleys
The Solution:
- Focus exclusively on split step timing in drills
- Video your footwork to identify timing errors
- Practice split step without hitting balls initially
- Time split step to opponent’s forward swing
- Make split step automatic through repetition
Tactical Errors
Strategic mistakes that reduce volley effectiveness:
Approaching at Wrong Time
Poor situation selection:
The Problem:
- Approaching off weak shots that allow easy passes
- Approaching when opponent is in excellent position
- Random approaches without strategic purpose
- Becoming predictable in approach timing
The Solution:
- Identify specific criteria for approaching (opponent short ball, you hit forcing shot, etc.)
- Study opponent weaknesses before approaching
- Approach more frequently off opponent’s weaker side
- Vary timing to maintain unpredictability
- Track success rate to identify effective patterns
Many championship programs document both victories and learning moments, helping athletes develop through student-athlete mental health support programs.
Poor Court Positioning
Position errors reduce coverage:
The Problem:
- Standing too far from net, reducing volley angles
- Standing too close, vulnerable to lobs
- Not bisecting opponent’s passing angles
- Failing to adjust position based on situation
The Solution:
- Study optimal positioning for different situations
- Practice positioning drills without ball
- Have coach call out situations and demonstrate correct positioning
- Review video of matches to identify positioning errors
- Develop position awareness through deliberate practice
Mental Approach: Confidence and Aggression at Net
Technical skills alone don’t create effective net play—mental approach and confidence distinguish aggressive, successful net players from tentative ones.
Building Volley Confidence
Confidence develops through preparation and success:
Progressive Exposure
Build confidence gradually:
- Start with cooperative volley drills
- Progress to semi-competitive situations
- Gradually increase ball speed and difficulty
- Experience success at each level before advancing
- Celebrate improvement and successful volleys
- Track progress to demonstrate development
Incremental challenge prevents overwhelming difficulty that destroys confidence.
Positive Self-Talk
Mental approach affects performance:
- Replace “don’t miss” with “hit through the target”
- Focus on process (“firm wrist, step forward”) rather than results
- Visualize successful volleys before executing
- Accept that errors occur even for professionals
- Learn from mistakes without dwelling on them
- Emphasize what you did correctly, not just errors
Mental skills separate players with equal technical ability.
Aggressive Mindset
Effective net play requires offensive mentality:
Taking Initiative
Control points rather than reacting:
- Approach with intention to finish points
- Hit volleys with purpose toward targets
- Don’t just get ball back—place it strategically
- Take calculated risks on short balls
- Force opponents to execute difficult shots
- Make opponents feel pressured when you’re at net
Aggressive mindset creates winners and forces errors.
Accepting Risk
Net play involves higher variance:
- Some approaches will result in passing shots
- Occasional volleys will be errors
- Accept these outcomes as cost of offensive tennis
- Track overall success rate rather than individual failures
- Remember that passive play also creates losses
- Professional players miss volleys too—it’s part of the game
Risk acceptance enables aggressive play without fear.
Physical Conditioning for Effective Net Play
Volley technique depends on physical capabilities that require specific conditioning:
Reaction Time and Agility
Net play demands explosive movement:
Lateral Quickness
Develop side-to-side movement:
- Ladder drills for footwork speed
- Lateral shuffle exercises
- Cone drills requiring direction changes
- Medicine ball side throws
- Shadow footwork patterns from tennis positions
Quick lateral movement enables coverage of passing shots.
First-Step Explosiveness
Develop initial movement speed:
- Plyometric exercises (box jumps, jump squats)
- Sprint starts from various positions
- Reaction drills responding to visual cues
- Split step practice with explosive first step
- Tennis-specific movement patterns
Explosive first step allows reaching balls that appear out of range.
Upper Body Strength and Stability
Strong, stable upper body supports volley technique:
Core Strength
Stable core enables consistent technique:
- Planks and side planks
- Rotational medicine ball throws
- Russian twists
- Cable woodchops
- Anti-rotation exercises
Core stability maintains body control during rapid movements.
Wrist and Forearm Strength
Firm wrist position requires strength:
- Wrist curls and reverse wrist curls
- Grip strengthening exercises
- Racket isolation holds
- Medicine ball grips and throws
- Forearm endurance exercises
Strong wrists prevent collapse at contact under pressure.
Schools that support complete athlete development often celebrate both physical and academic achievements through varsity letterman awards.
Celebrating Tennis Excellence: From Technique to Championship Recognition
As tennis programs develop players’ volley technique and complete game skills, recognizing achievements becomes essential for building program culture and inspiring future athletes.
Documenting Skill Development
Modern programs track player growth across multiple dimensions:
Individual Achievement Milestones
Tennis programs celebrate diverse accomplishments:
- Conference championships and tournament victories
- Singles and doubles rankings progression
- Match win totals and winning percentages
- Improvement in specific skill areas like net play
- All-Conference and All-State honors
- College recruitment commitments
Traditional trophy cases struggle to accommodate comprehensive recognition across entire programs and multiple seasons.
Team Success and Culture
Championship programs document collective achievements:
- Conference regular season and tournament titles
- State tournament appearances and championships
- Team winning streaks and historic seasons
- Coaching milestones and program development
- Doubles partnerships and their championship runs
These team accomplishments create lasting legacy that connects current players with program traditions.
Modern Recognition Solutions
Digital recognition platforms transform how programs celebrate tennis excellence:
Real-Time Updates
When players achieve milestones during season:
- Conference championship victories updated immediately
- Individual tournament results posted while event continues
- Season statistics and achievements current throughout year
- College commitment announcements shared instantly
- No waiting months for engraved plaques or updated displays
Immediate recognition capitalizes on excitement and demonstrates program values achievement.
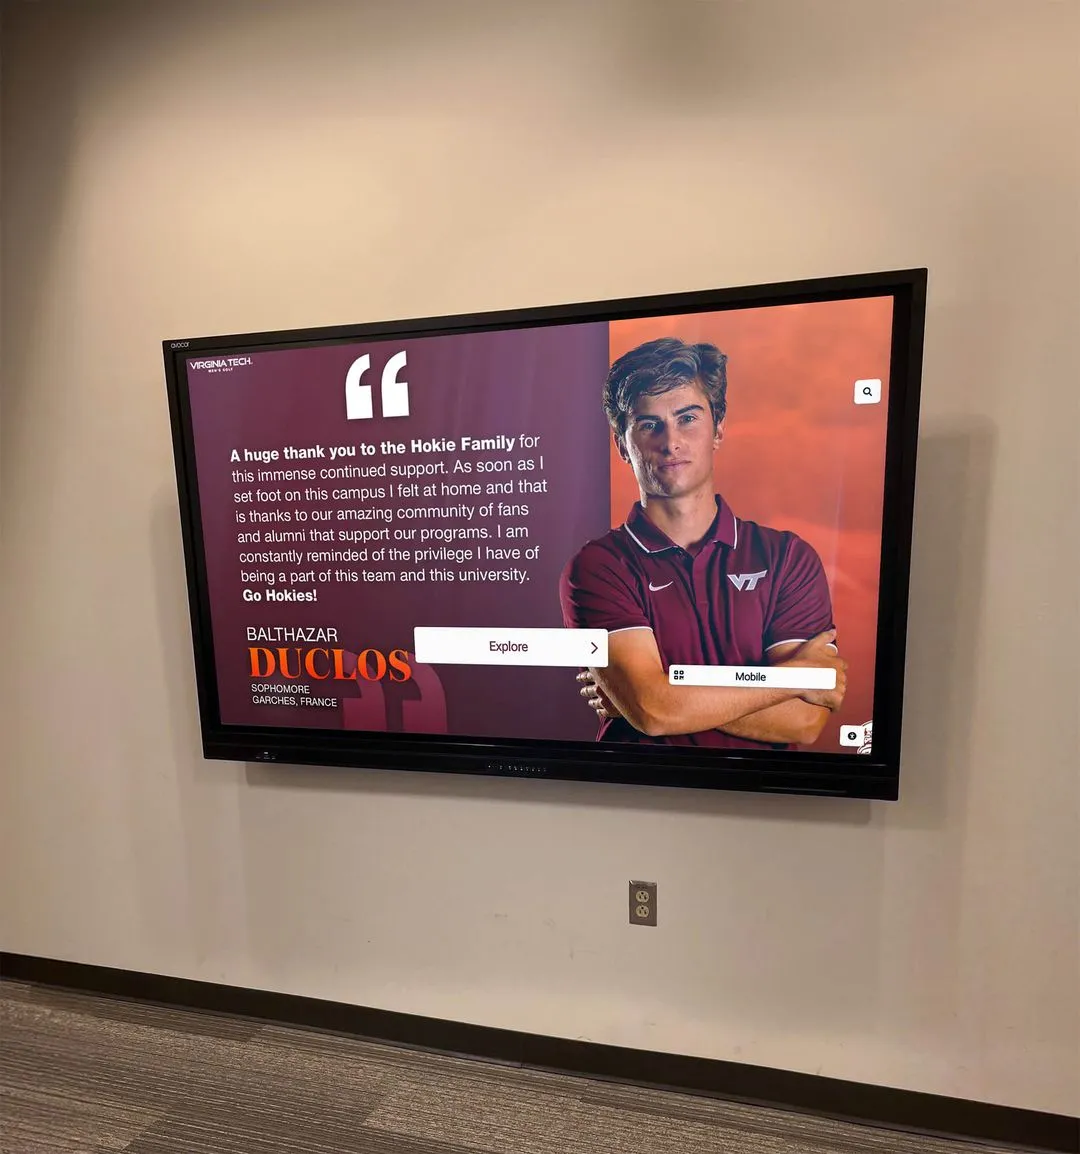
Comprehensive Player Profiles
Digital platforms enable complete athlete stories:
- Singles and doubles records with season-by-season progression
- Tournament results and championship victories
- Action photos from matches and team celebrations
- Video highlights of signature shots and match-winning points
- Personal reflections on development and memorable moments
- Post-graduation updates about college tennis careers
These rich profiles honor complete athletic journeys, not just final statistics.
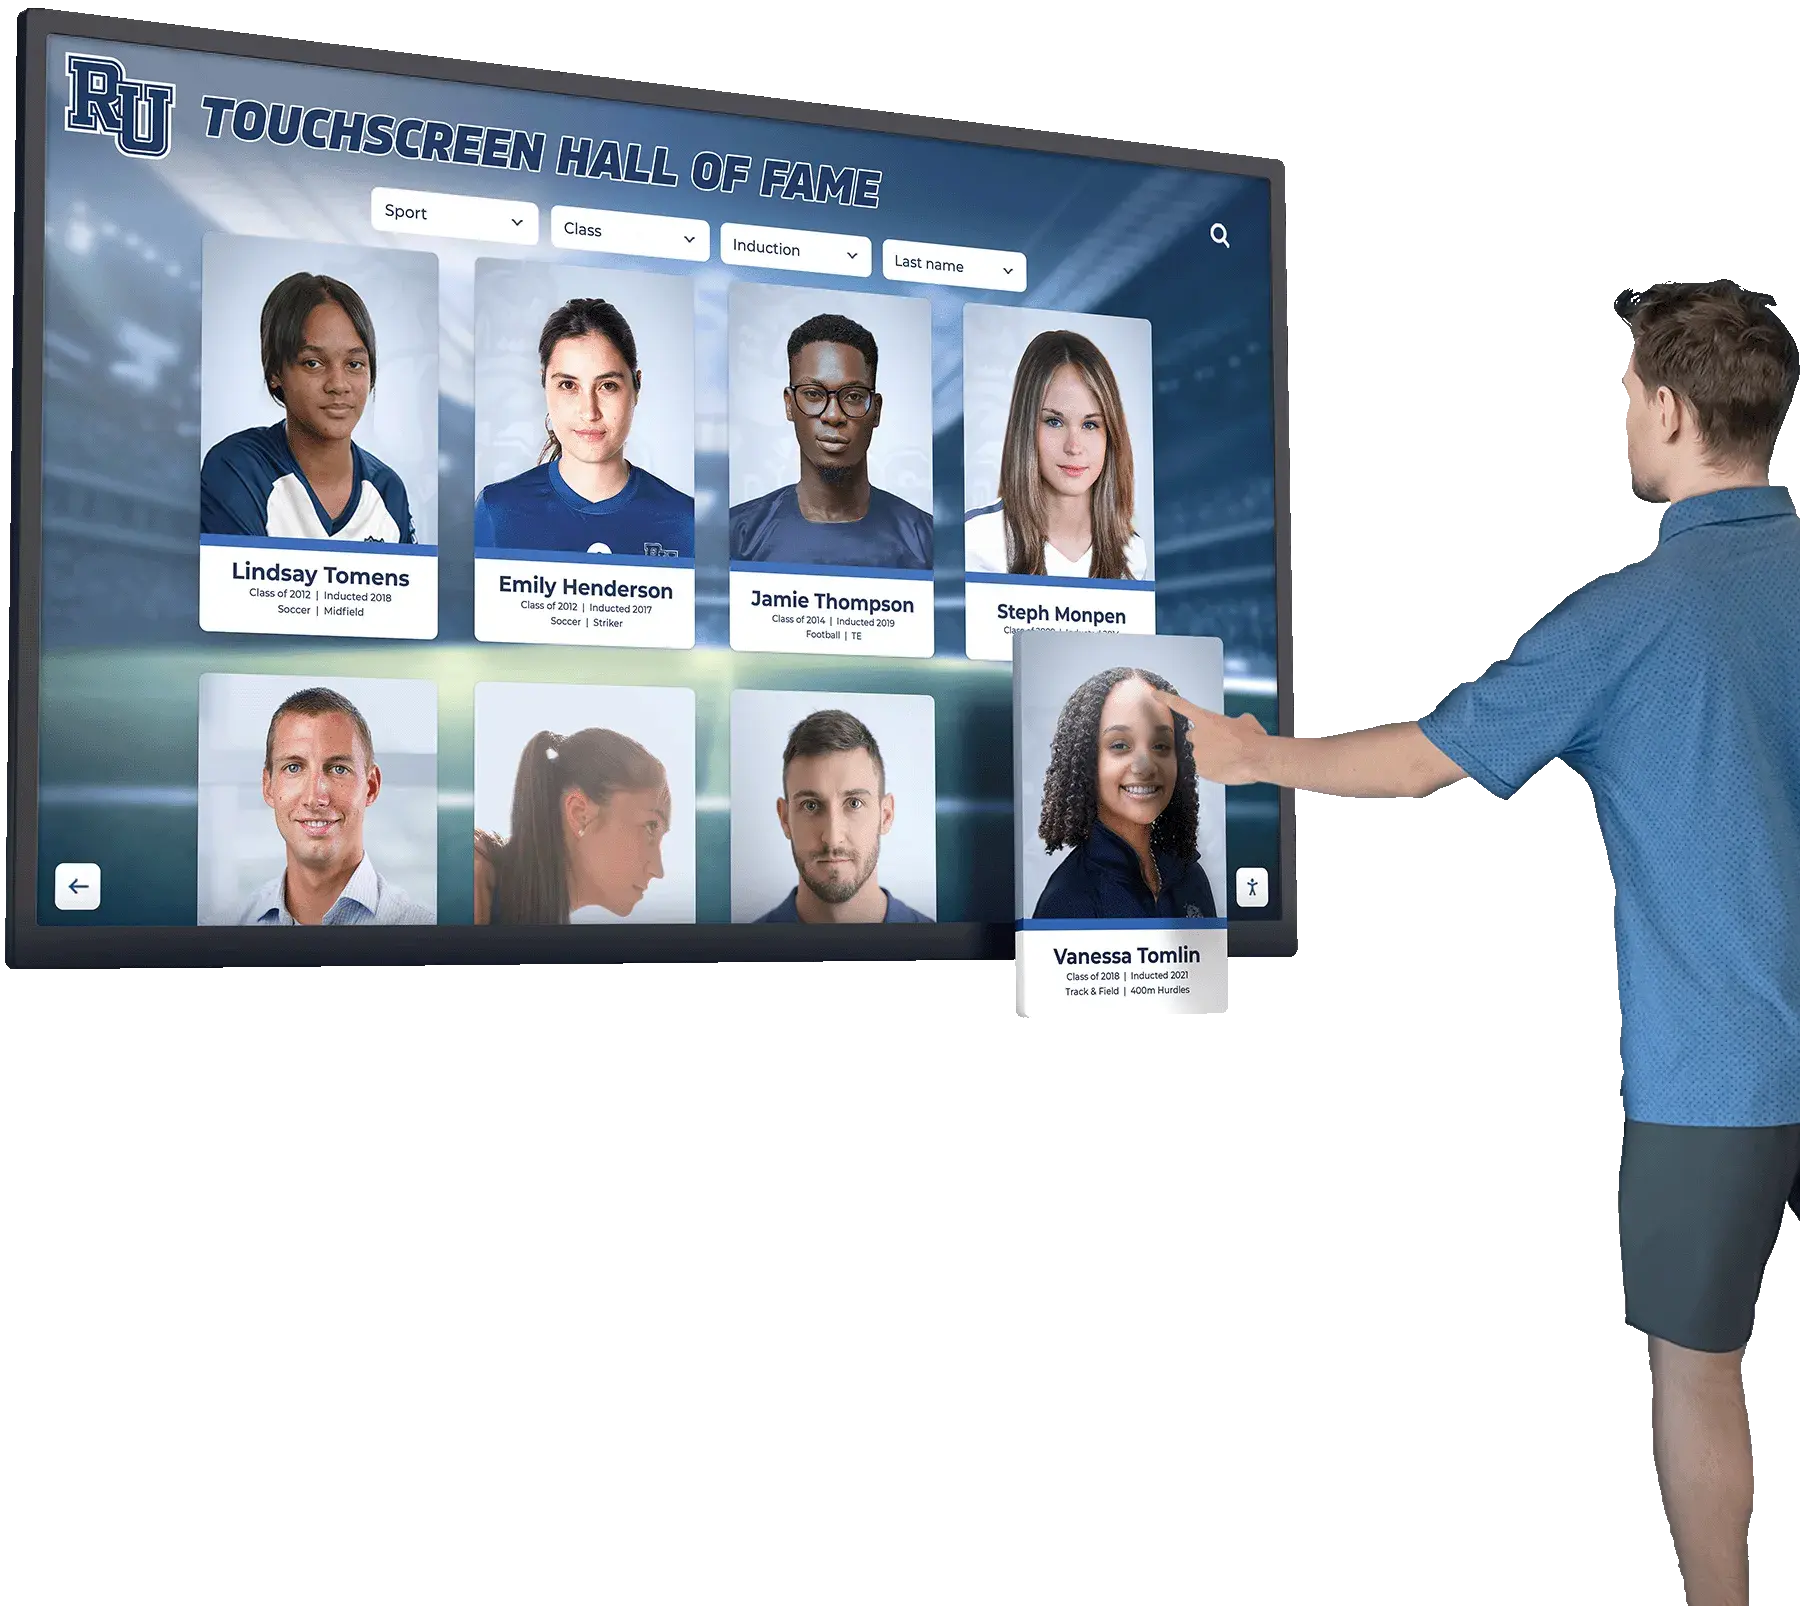
Interactive Exploration
Touchscreen displays invite engagement:
- Search functionality to find specific players or teams
- Filter by graduation year, championship seasons, or achievement type
- Browse doubles partnerships and their combined records
- Explore coaching eras and program evolution
- Compare statistics across different eras
This interactivity transforms passive recognition into active exploration that strengthens community connection.
Celebrate Tennis Excellence Year-Round
Discover how Rocket Alumni Solutions enables tennis programs to recognize achievements the moment they happen—from conference championships to individual milestones. Update instantly, engage your community, and build lasting program legacy.
Explore Digital Recognition SolutionsConclusion: From Fundamentals to Championship Net Play
Mastering tennis volley technique opens strategic dimensions that transform competent baseline players into complete, championship-caliber athletes. The journey from learning continental grip and split step timing to executing confident volleys in pressure situations requires dedicated practice, proper coaching, and commitment to fundamentals.
The technical elements—abbreviated backswing, firm wrist at contact, compact follow-through, and precise footwork—combine with tactical awareness about positioning, shot selection, and strategic aggression. Singles players who develop confident net approaches create additional pressure that forces opponent errors and creates finishing opportunities. Doubles teams that coordinate positioning, communicate effectively, and execute crisp volleys dominate at conference and state championship levels.
Physical conditioning supports technique through improved reaction time, lateral quickness, and upper body stability. Mental approach—building confidence through progressive challenge, maintaining aggressive mindset, and accepting appropriate risk—separates players who execute volleys in practice from those who confidently approach net in match pressure situations.
Whether you’re developing fundamental volley skills for the first time or refining advanced tactics for championship-level play, the principles remain consistent: proper grip, compact technique, strategic positioning, and confident execution. Programs that emphasize complete game development—baseline consistency combined with effective net play—produce well-rounded athletes who excel in both singles and doubles competition.
As your tennis program builds championship traditions through skill development and competitive success, modern digital recognition solutions ensure every achievement receives appropriate celebration. From conference championships to individual honors, touchscreen walls of fame enable instant updates that engage your community and inspire the next generation of athletes to master complete tennis skills—including crisp, confident volleys that win championships.
Ready to develop championship-level tennis programs while celebrating achievements in real-time? Contact Rocket Alumni Solutions to explore how digital recognition platforms honor every milestone, or discover how programs document athletic excellence through interactive athletic displays that strengthen program culture and community connection.