Installing a touchscreen display mounting height for schools incorrectly creates accessibility barriers, forces uncomfortable user postures, and can even violate ADA compliance requirements. Facilities directors and IT coordinators face a surprisingly complex decision: mount too high and wheelchair users cannot reach; mount too low and standing users must crouch awkwardly; ignore federal accessibility guidelines and risk compliance violations.
The stakes extend beyond user experience. Schools purchasing expensive interactive displays for wall of fame installations, lobby recognition systems, or academic achievement boards need these installations to serve every member of their community—students in wheelchairs, elementary-age visitors, tall athletes, and elderly alumni. A single incorrect mounting decision can render a six-figure investment unusable for significant portions of your intended audience.
This comprehensive installation guide provides exact touchscreen display mounting height specifications based on ADA requirements, use-case scenarios, and real-world school deployment data. From measuring center-point heights to understanding reach-range requirements, discover the precise installation measurements that ensure your interactive displays serve your entire school community while maintaining full regulatory compliance.
Mounting height decisions affect every interaction with your touchscreen system. The difference between a 42-inch and 48-inch centerline height fundamentally changes who can comfortably use the display and how effectively it serves your recognition program goals.

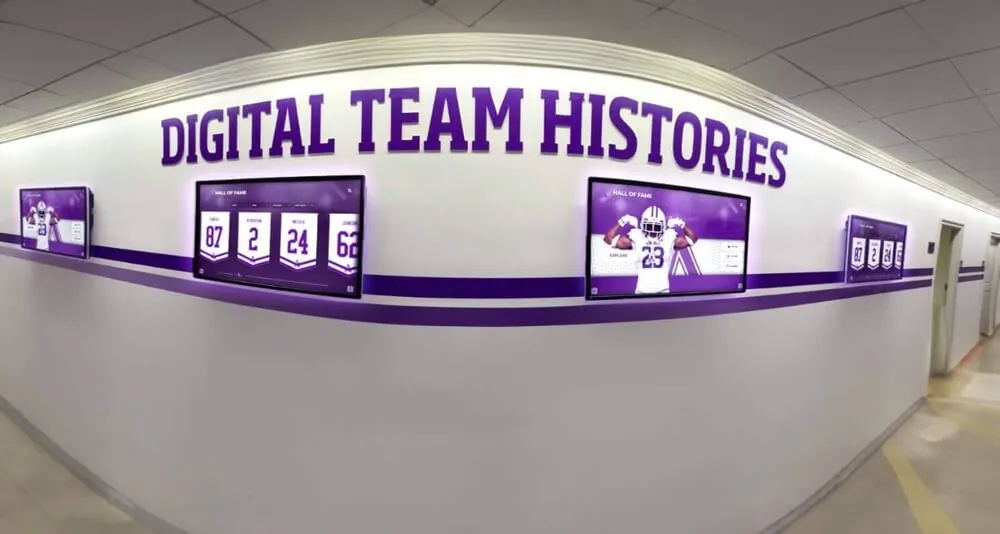
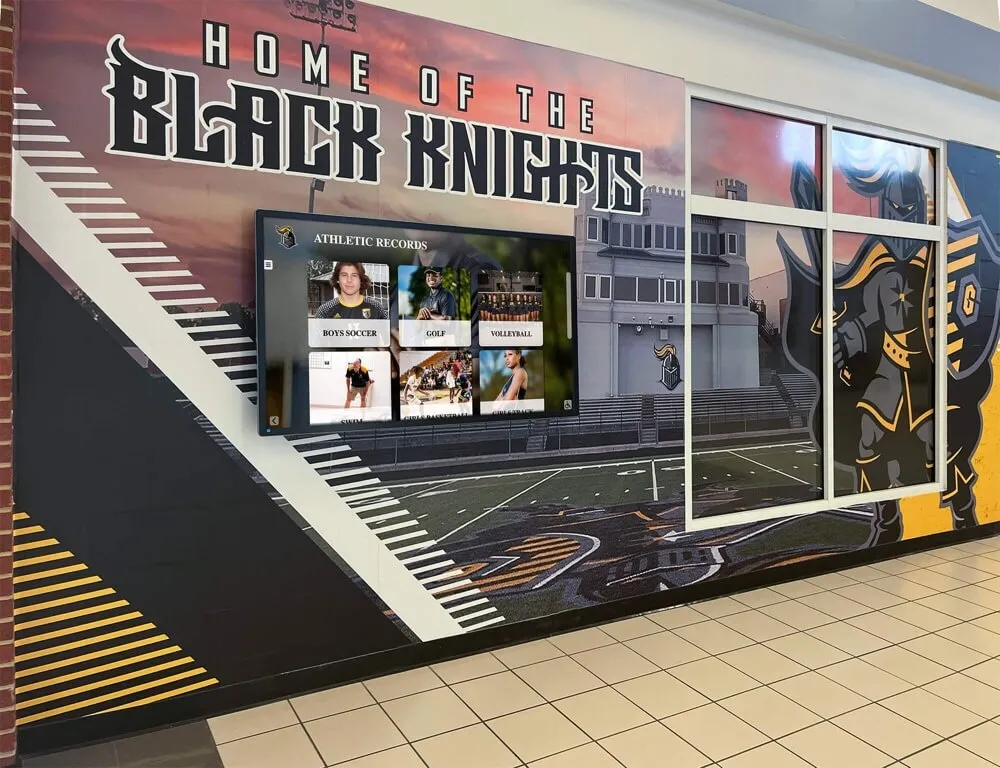
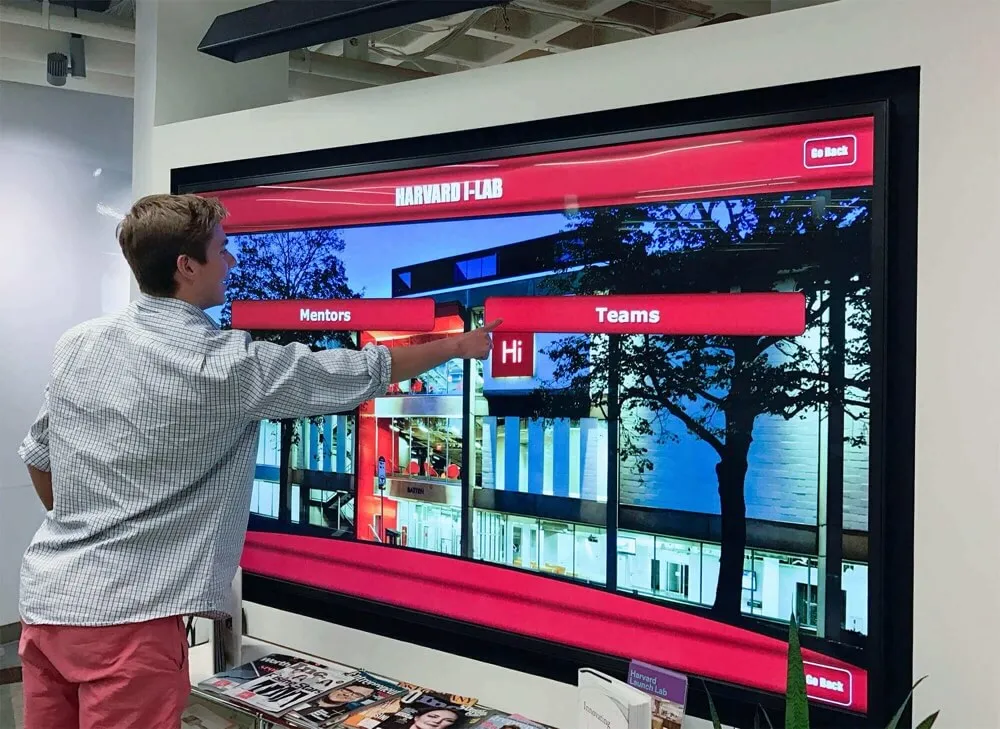
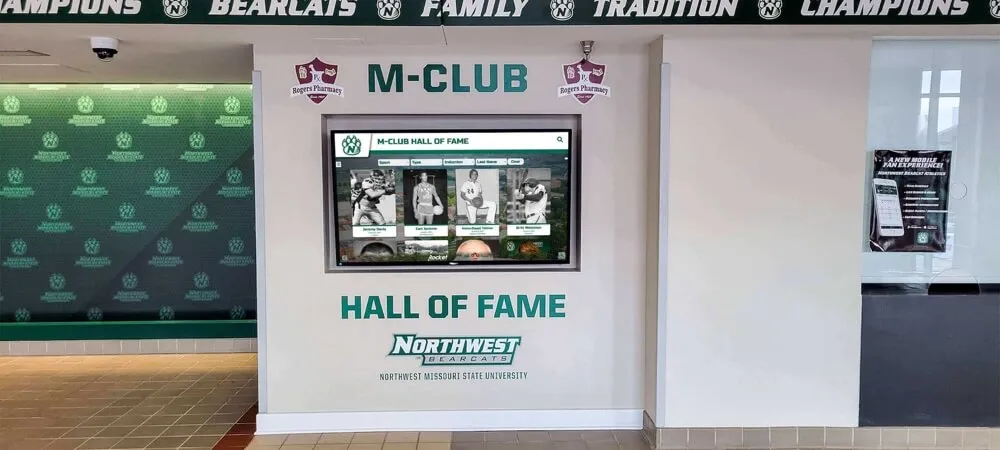
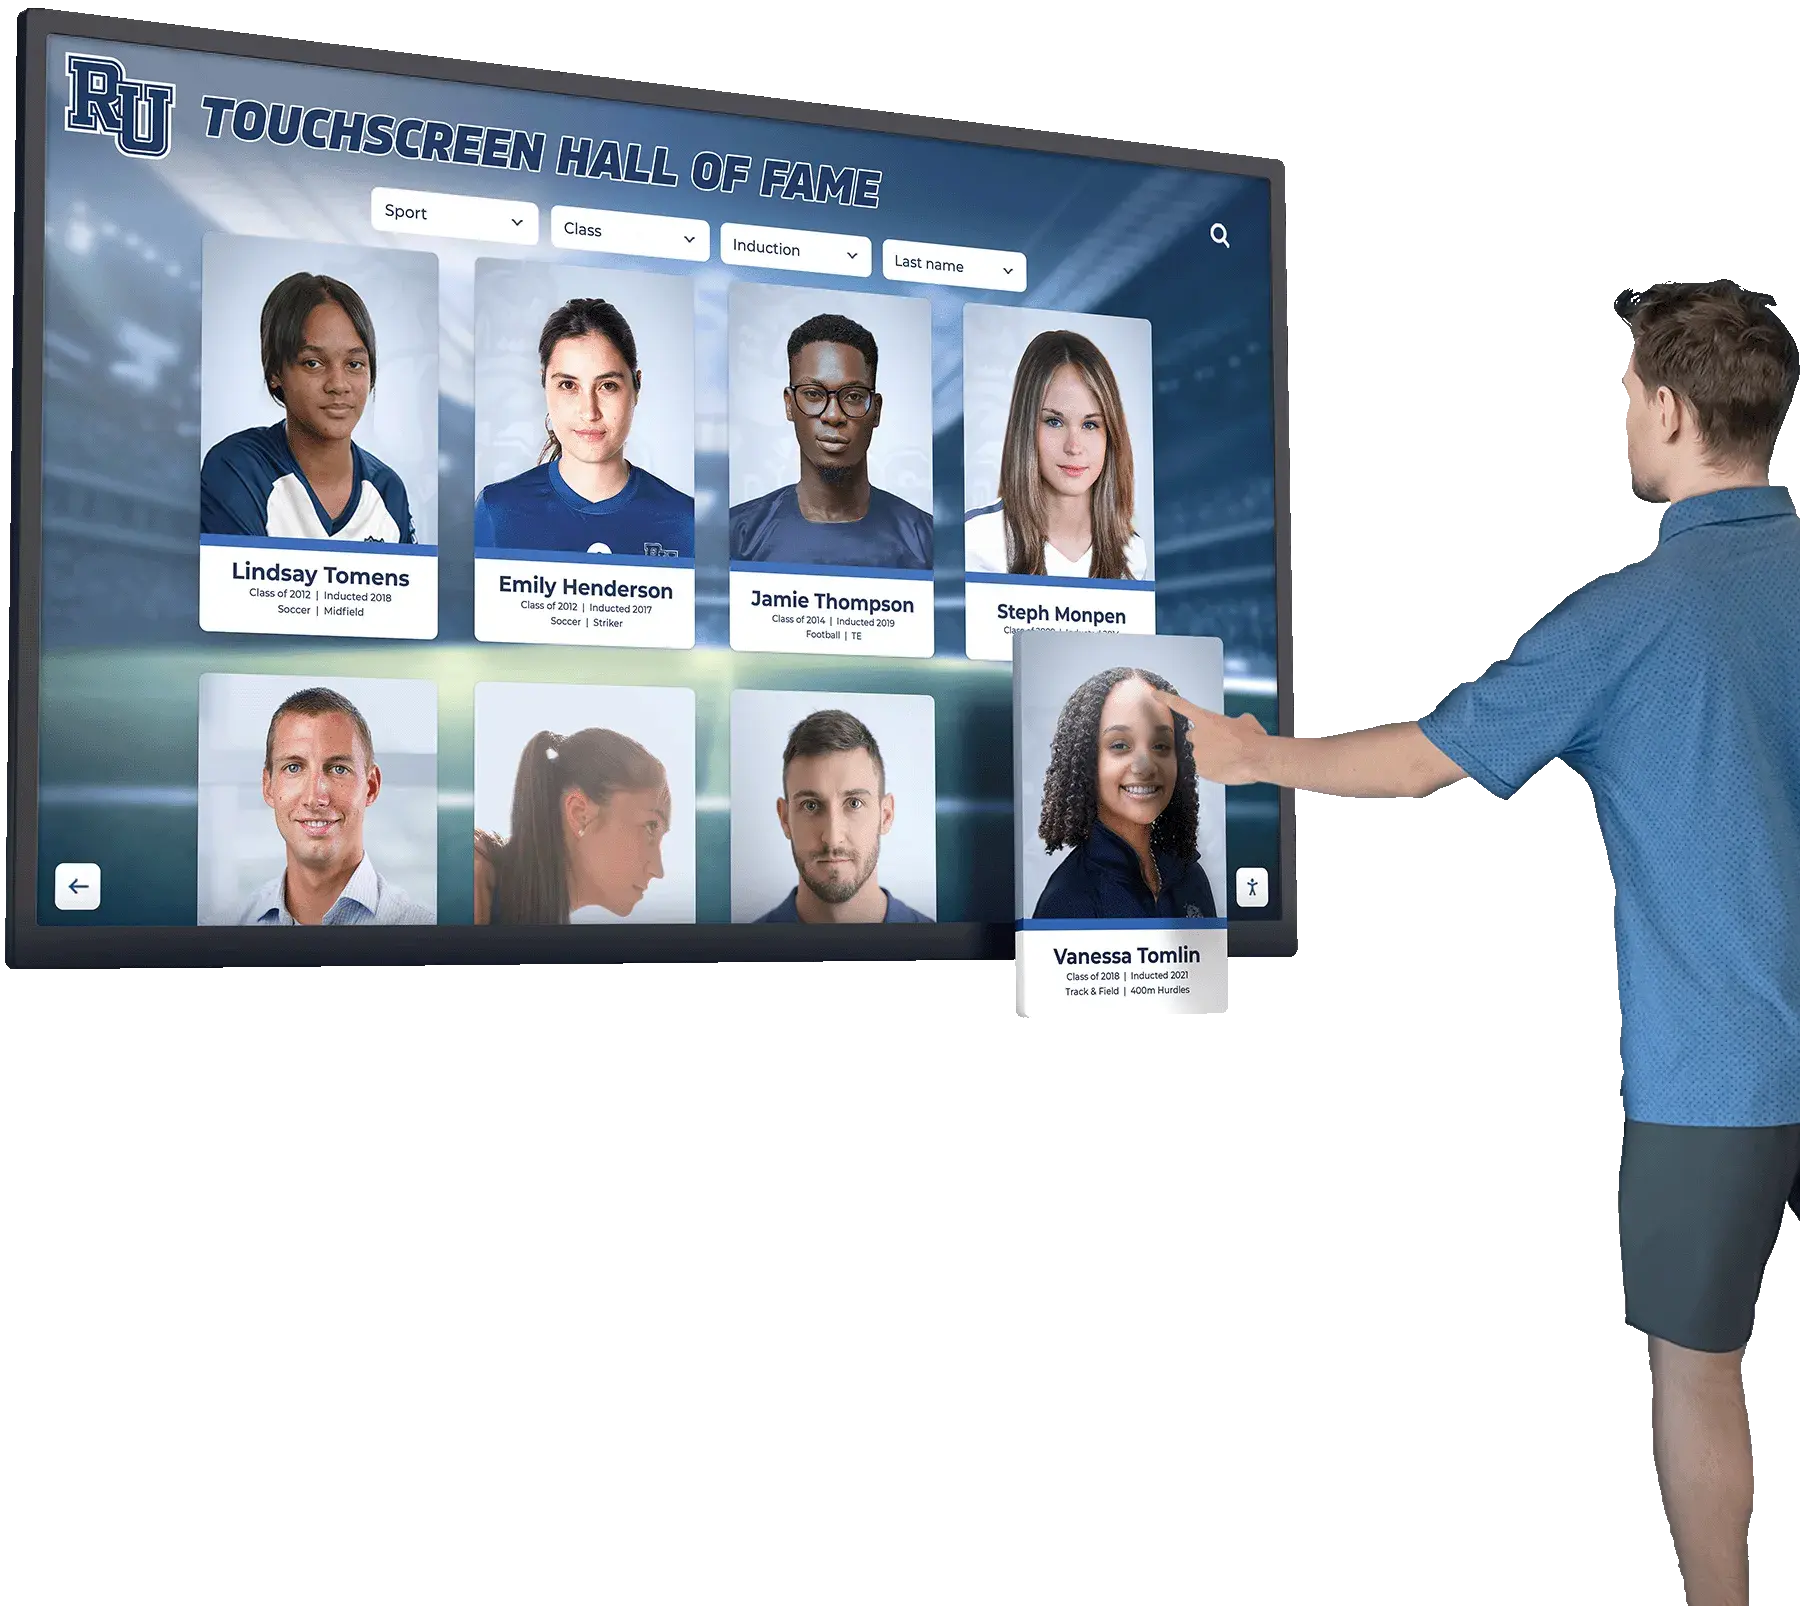
Proper mounting height ensures touchscreen displays remain accessible and comfortable for all users
ADA Compliance Requirements for Touchscreen Mounting Height
The Americans with Disabilities Act establishes clear requirements for interactive display installations in educational facilities. Understanding these regulations ensures your school maintains full compliance while creating genuinely accessible recognition systems.
Forward Reach Range Requirements
ADA Standards for Accessible Design Section 308.2.1 specifies maximum and minimum forward reach ranges for operable components when the approach is unobstructed:
Unobstructed Forward Reach Heights:
- Maximum height: 48 inches from the finished floor to the highest operable element
- Minimum height: 15 inches from the finished floor to the lowest operable element
- Measured to the operational component itself, not screen center
For touchscreen displays where the entire surface serves as an operable control, the maximum 48-inch requirement applies to the topmost interactive portion of the screen. This means a 55-inch display mounted with its top edge at 48 inches meets ADA requirements only if users need not interact with that top portion.
Obstructed Forward Reach Heights:
When reach is obstructed by a counter, cabinet, or other element 20-25 inches deep (common with recessed wall installations or protective barriers), maximum reach height reduces to 44 inches. Schools installing displays behind protective glass or within recessed alcoves must account for this reduced reach requirement.
Side Reach Range Requirements
ADA Section 308.3 addresses side reach requirements applicable when touchscreen displays are positioned for parallel approach:
Unobstructed Side Reach Heights:
- Maximum height: 48 inches from finished floor
- Minimum height: 15 inches from finished floor
Obstructed Side Reach (over an obstruction 10 inches maximum depth):
- Maximum height: 46 inches when reach is over obstruction
- Obstruction height cannot exceed 34 inches
Side approach scenarios occur less frequently with wall of fame displays typically designed for forward approach, but facilities placing touchscreens adjacent to trophy cases, donor walls, or architectural features must verify compliance with side reach requirements.
Clear Floor Space and Approach Requirements
Beyond mounting height, ADA Section 305 requires clear floor space for wheelchair approach:
Minimum Clear Floor Space:
- 30 inches wide minimum
- 48 inches deep minimum
- Positioned for forward or parallel approach to the display
- Level surface with maximum slope of 1:48 (2.08%)
Schools must ensure hallway furniture, trophy cases, display tables, and architectural elements do not encroach into this required clear floor space. A perfectly mounted display becomes non-compliant if hallway benches or temporary exhibits block wheelchair approach.

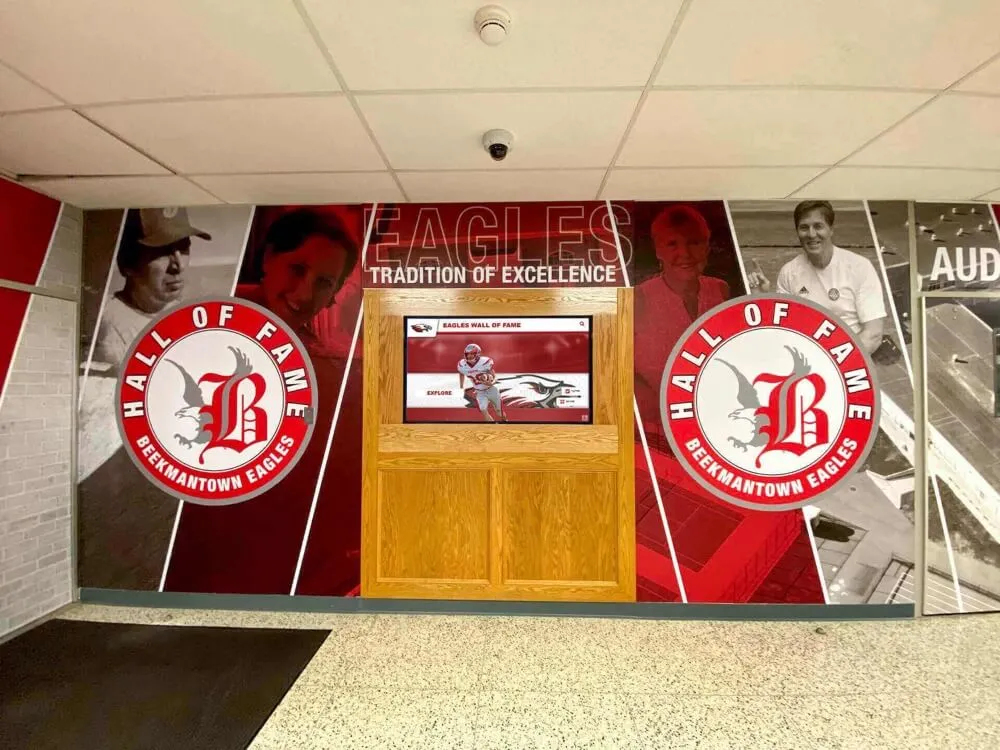
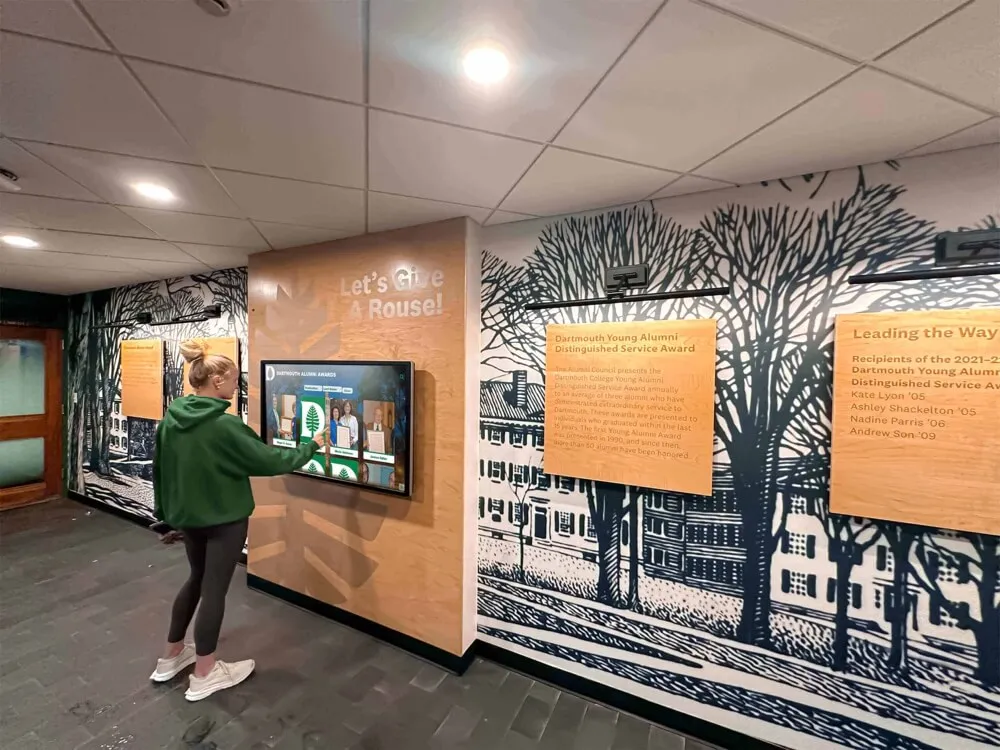
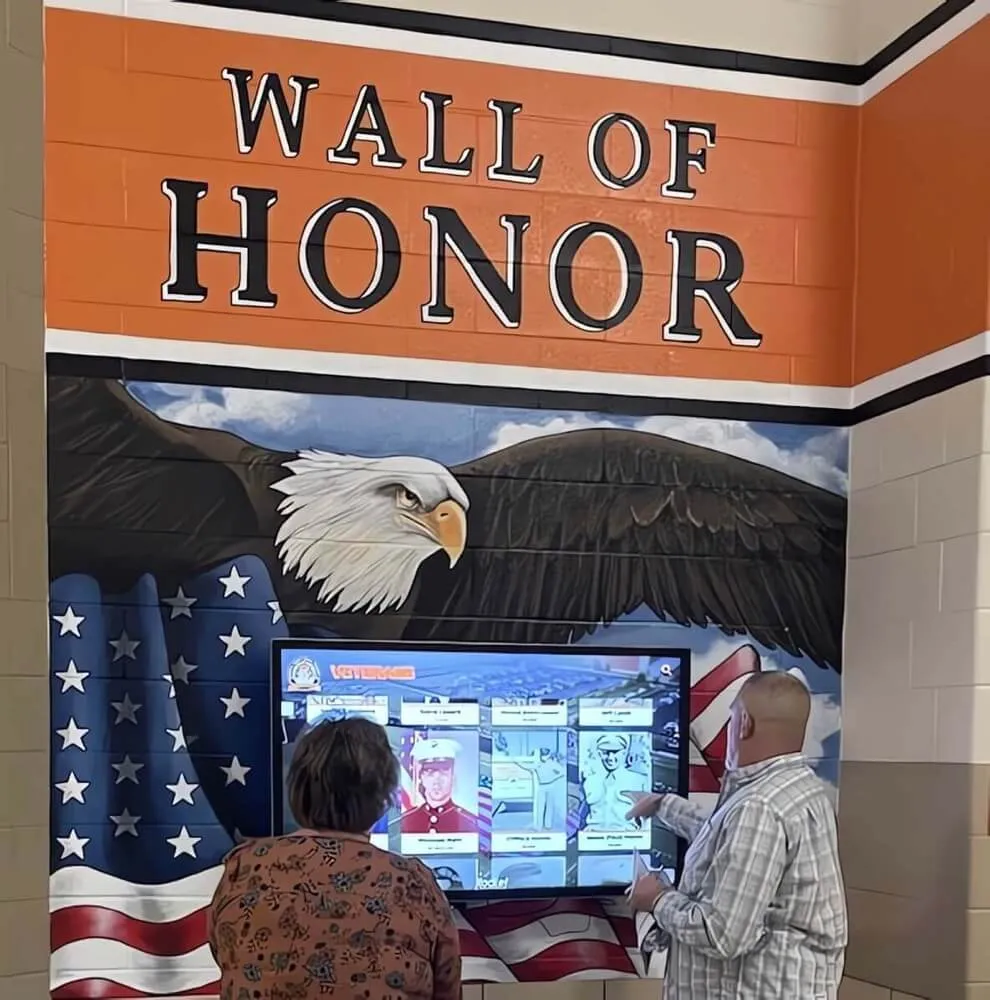
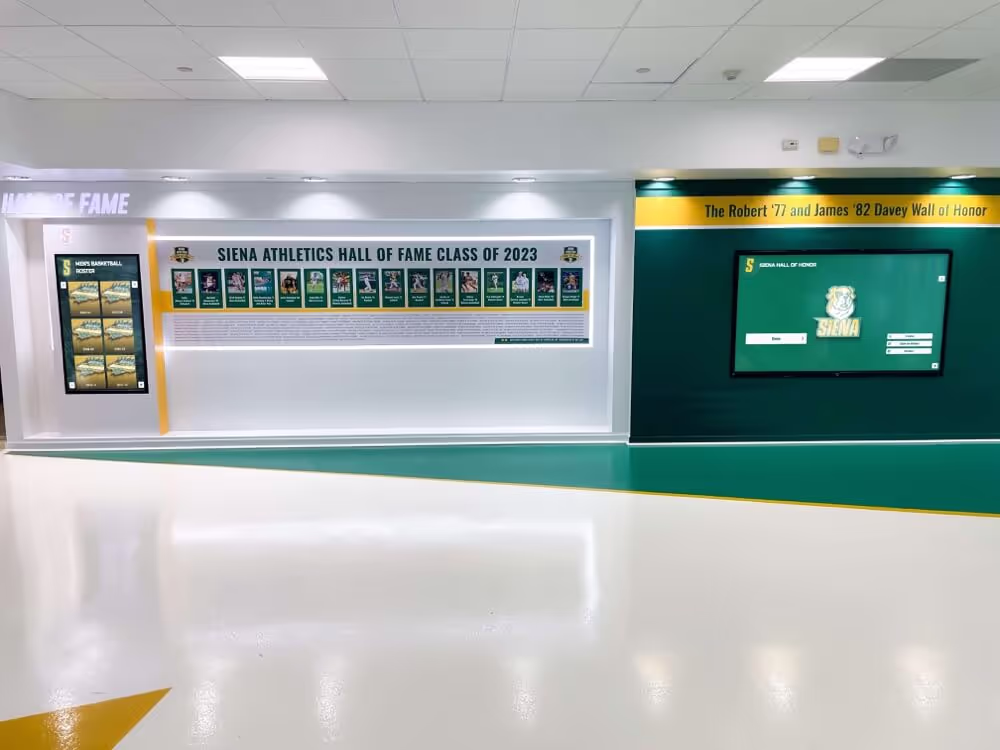
Wall of honor installations must maintain clear approach space and proper mounting heights for accessibility
Optimal Mounting Heights by Display Size and Use Case
While ADA compliance establishes legal maximum heights, optimal mounting varies based on display size, typical user demographics, and installation context. Strategic height decisions improve usability beyond minimum compliance.
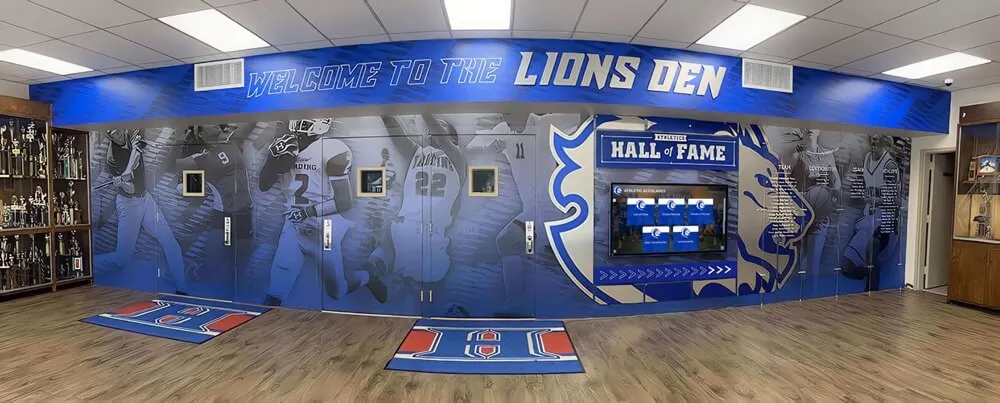
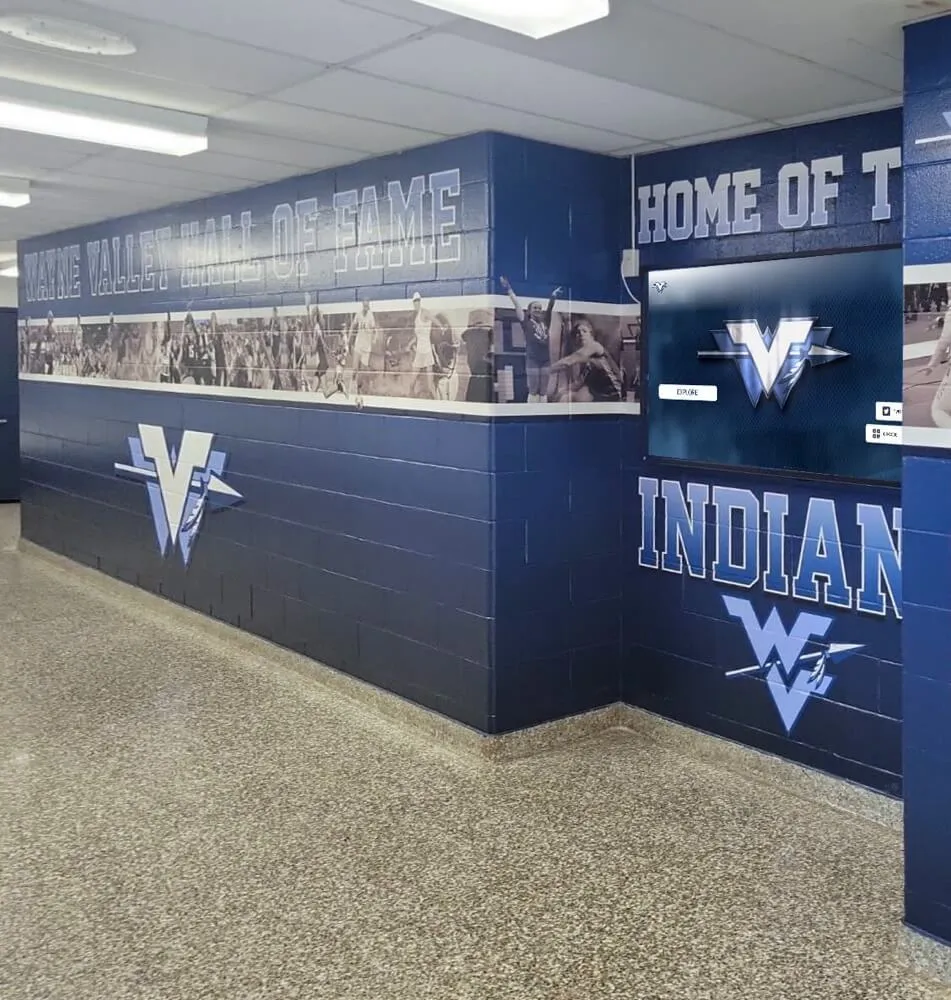
Wall of Fame Touchscreen Mounting Heights
Interactive hall of fame displays serve diverse users—from elementary students viewing athletic achievements to elderly alumni exploring historical records. Optimal mounting balances accessibility with viewing comfort for standing users who form the majority of interactions.
Recommended Mounting Heights for Common Display Sizes:
43-inch to 50-inch Displays (Diagonal):
- Center point height: 48-52 inches from finished floor
- Bottom edge: 24-27 inches from finished floor
- Top edge: 72-77 inches from finished floor
- Rationale: Places interactive elements within ADA reach range while maintaining comfortable standing viewing angle
55-inch to 65-inch Displays:
- Center point height: 50-55 inches from finished floor
- Bottom edge: 23-28 inches from finished floor
- Top edge: 77-82 inches from finished floor
- Rationale: Slightly higher mounting accommodates larger screen real estate while keeping lower half within 48-inch reach requirement
70-inch to 75-inch Displays:
- Center point height: 52-58 inches from finished floor
- Bottom edge: 17-23 inches from finished floor
- Top edge: 87-93 inches from finished floor
- Rationale: Large format requires careful interface design concentrating interactive elements in lower two-thirds of screen
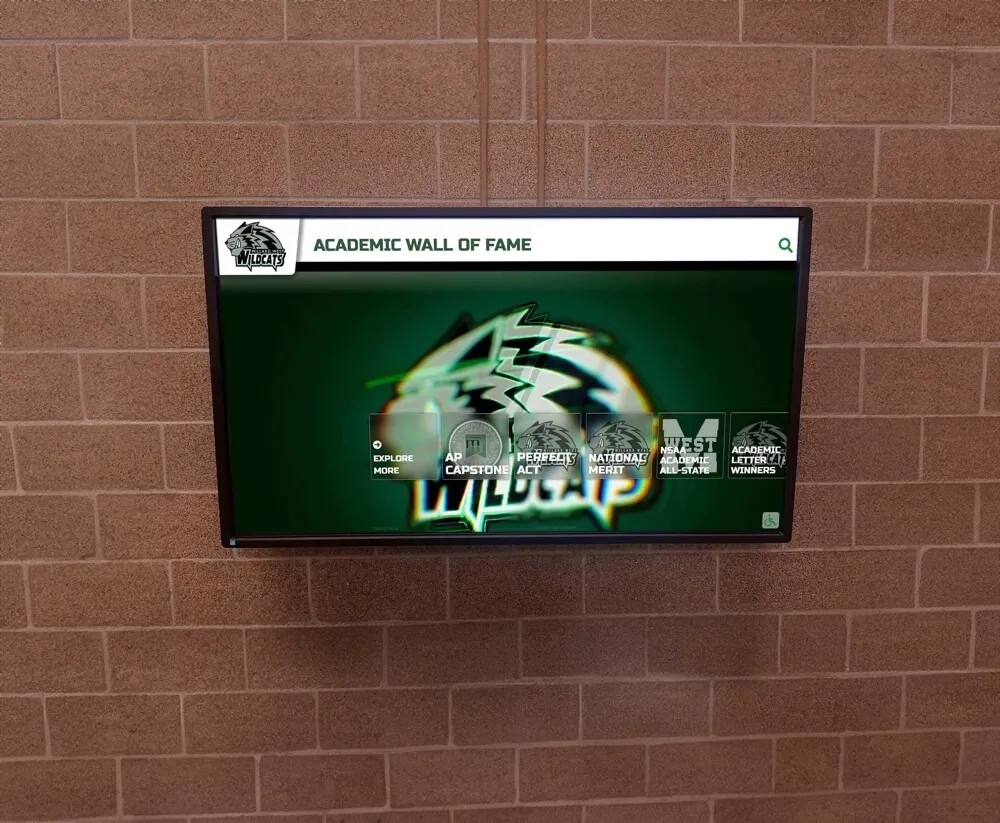
For displays featuring academic recognition programs or student achievement displays, interface design should place primary navigation and interactive elements in the lower 48 inches of screen space, reserving upper areas for static content, headers, or visual elements requiring no touch interaction.
Lobby Kiosk Mounting Heights
Lobby installations typically see higher traffic volumes and more diverse user groups than hallway displays. Mounting decisions should optimize for quick, comfortable interactions that don’t create bottlenecks during peak traffic periods.
Lobby-Specific Mounting Considerations:
High-Traffic Entry Areas:
- Lower mounting heights (center point 46-50 inches) accommodate broader user base
- Prioritize wheelchair accessibility given public-facing nature
- Consider dual-height installations for spaces serving elementary and secondary students
Alumni and Visitor Centers:
- Standard mounting (center point 48-52 inches) serves adult user base
- Higher percentages of elderly users may benefit from slightly lower mounting
- Account for users potentially standing for extended browsing sessions
Athletic Facility Lobbies:
- Consider taller user demographics when serving primarily athletic programs
- Center point 50-54 inches accommodates athlete height distributions
- Ensure compliance by concentrating interactive elements in lower screen area
Schools implementing digital leaderboards for academic achievement in lobby spaces must balance the prominence that comes with higher mounting against accessibility requirements mandating lower interactive elements.

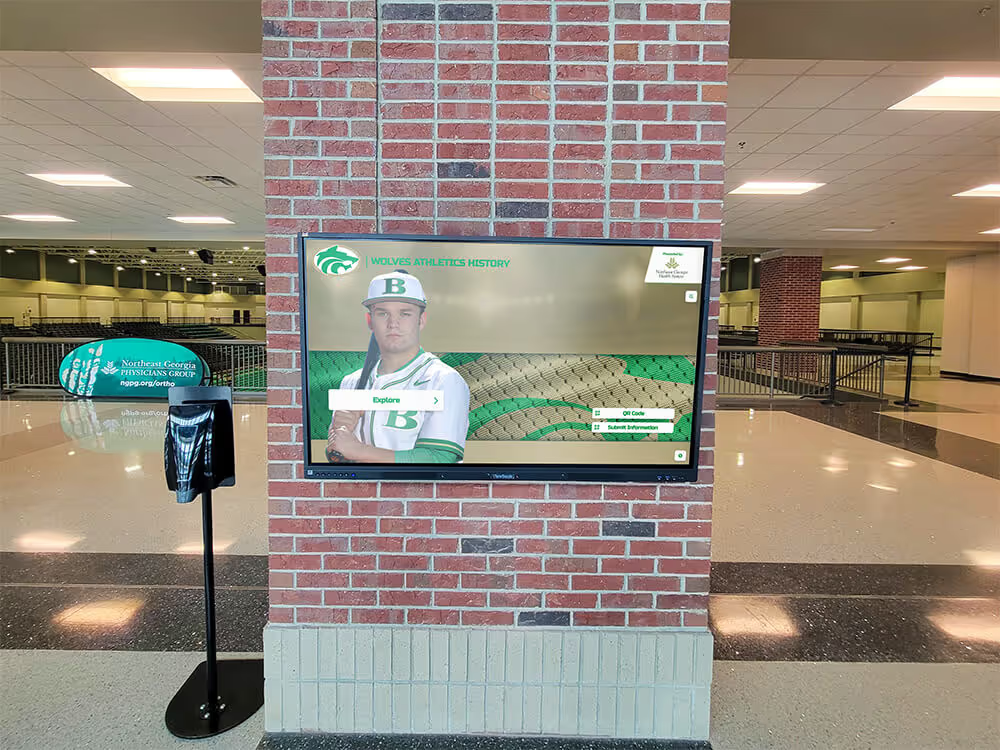
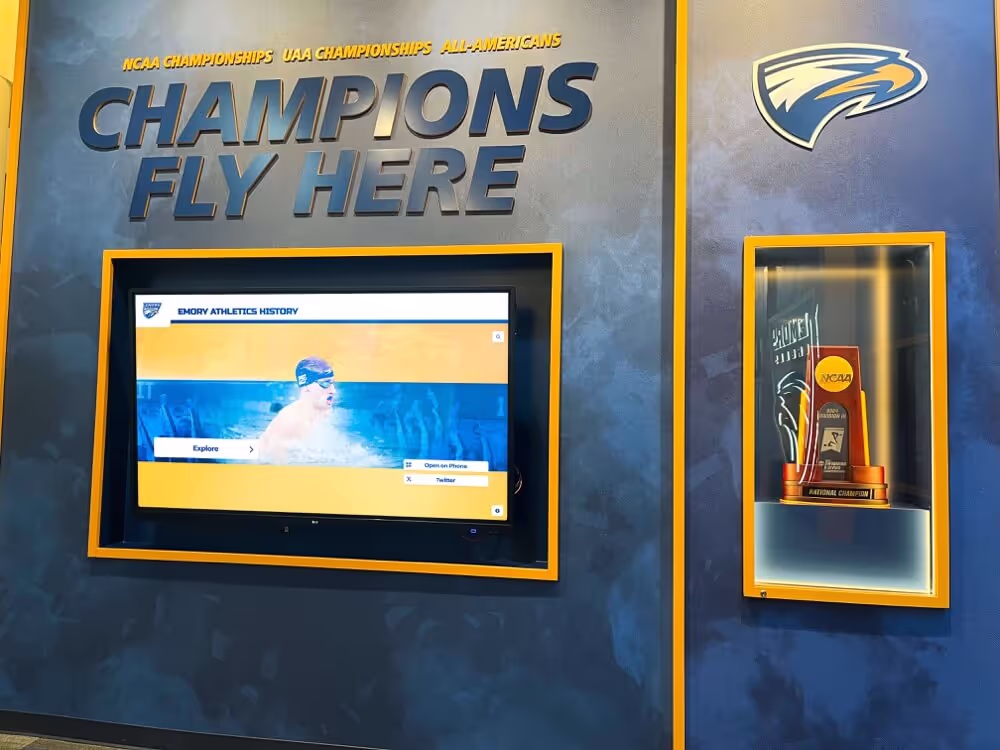
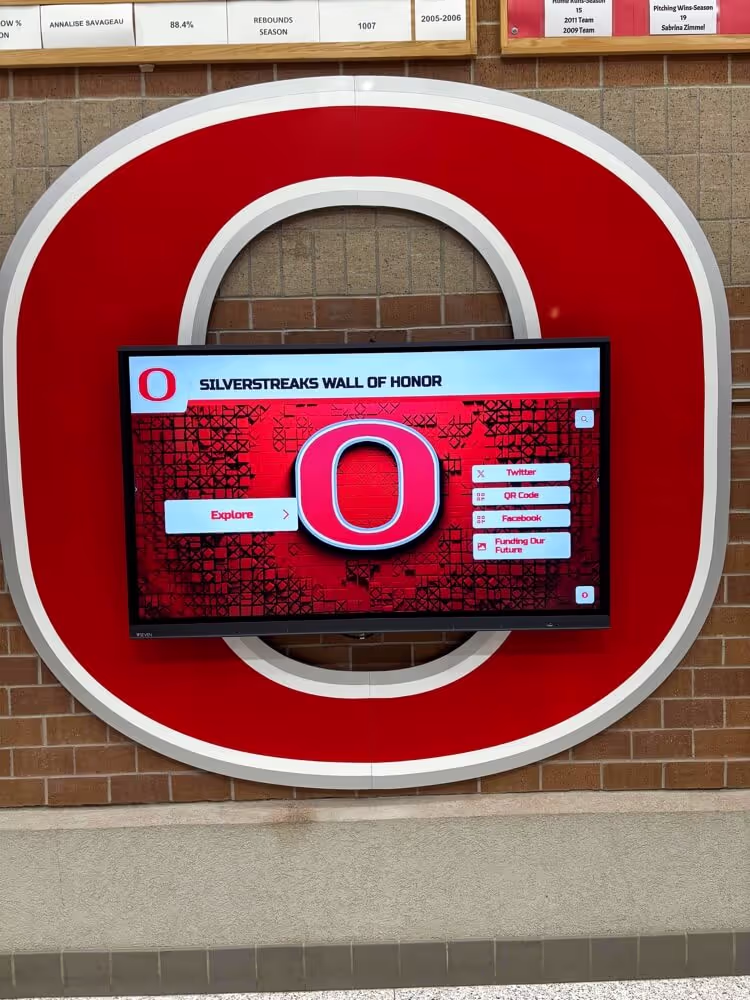
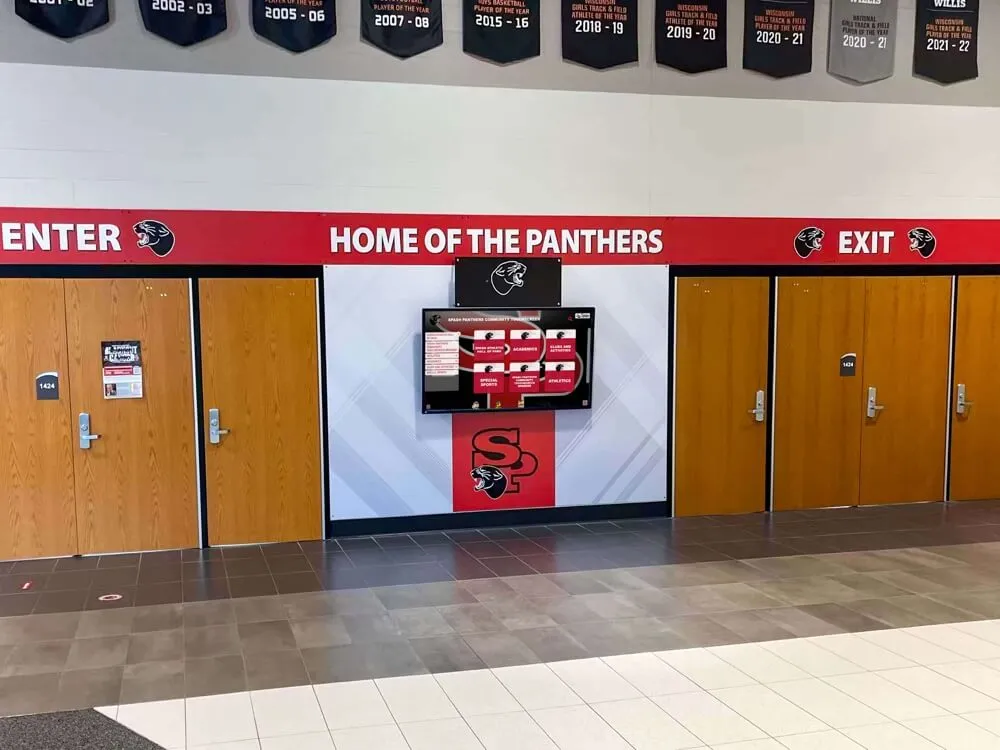
Kiosk installations integrate recognition systems while maintaining proper accessibility standards
Measuring and Marking Installation Heights
Precise measurement and marking prevent costly remounting and ensure compliance with specifications. Follow systematic measurement protocols to verify correct installation before permanent mounting.
Tools and Materials Required
Essential Measurement Tools:
- Laser level or 6-foot spirit level for establishing horizontal reference line
- Laser distance measurer or 25-foot tape measure for vertical measurements
- Pencil and painter’s tape for marking
- Stud finder if mounting to drywall over framing
- Cardboard template matching display dimensions (strongly recommended)
Step-by-Step Measurement Process
1. Establish Your Reference Point
Identify your target center-point height based on display size and use case recommendations above. For a 55-inch display in a wall of fame application, a 52-inch center point represents a balanced starting point.
2. Mark the Center Point
Measure exactly 52 inches (or your chosen height) from the finished floor surface to the wall and mark with pencil. Use a laser level to extend this horizontal line across the mounting width to verify level placement.
3. Calculate Edge Heights
For a 55-inch diagonal display with typical 16:9 aspect ratio:
- Screen height: approximately 27 inches (varies slightly by manufacturer and bezel)
- Top edge: 52 inches + 13.5 inches = 65.5 inches from floor
- Bottom edge: 52 inches - 13.5 inches = 38.5 inches from floor
Mark both top and bottom edge positions on the wall.
4. Verify ADA Compliance
Confirm that interactive elements fall within required reach ranges:
- Is the highest interactive element at or below 48 inches? ✓ (38.5 inches at bottom)
- Are primary navigation controls within 15-48 inch range? ✓ (centered around 52 inches)
5. Create Full-Size Template
Cut cardboard matching your display’s exact dimensions (width and height including bezels). Tape this template to the wall at your marked positions. This critical step reveals:
- Actual visual impact and proportion relative to space
- Potential conflicts with architectural features, light switches, or other wall elements
- Viewing angles from typical approach paths
- Whether installation height “feels” correct in context
6. Test with Actual Users
Before permanent installation, have representatives from your user population test the template position:
- Elementary student (if applicable to your audience)
- Adult of average height
- Wheelchair user approaching from typical path
- Taller individual (6'2" or above)
Make adjustments based on feedback before drilling mounting holes.
Common Measurement Mistakes to Avoid
Measuring to Screen Center Instead of Interactive Element Height: ADA compliance measures to the operable component, not screen center. A 55-inch display centered at 60 inches places the top edge above 73 inches—well above the 48-inch maximum reach requirement for the highest interactive element.
Ignoring Mounting Bracket Dimensions: Mounting brackets may shift final position 1-3 inches from intended height depending on bracket design. Account for bracket offset when marking mounting positions.
Forgetting Floor Surface Transitions: Measure from the actual finished floor surface at the installation location. Tile-to-carpet transitions, raised platforms, or recessed floor areas affect measurement baselines.
Neglecting Conduit and Power Requirements: Mark power outlet and data connection positions before finalizing mounting height. Repositioning displays to accommodate unanticipated conduit routing wastes time and leaves visible marks on walls.
Installation Best Practices for Different Mounting Scenarios
Mounting methods vary based on wall construction, display weight, and installation environment. Select appropriate mounting hardware and techniques for your specific scenario.
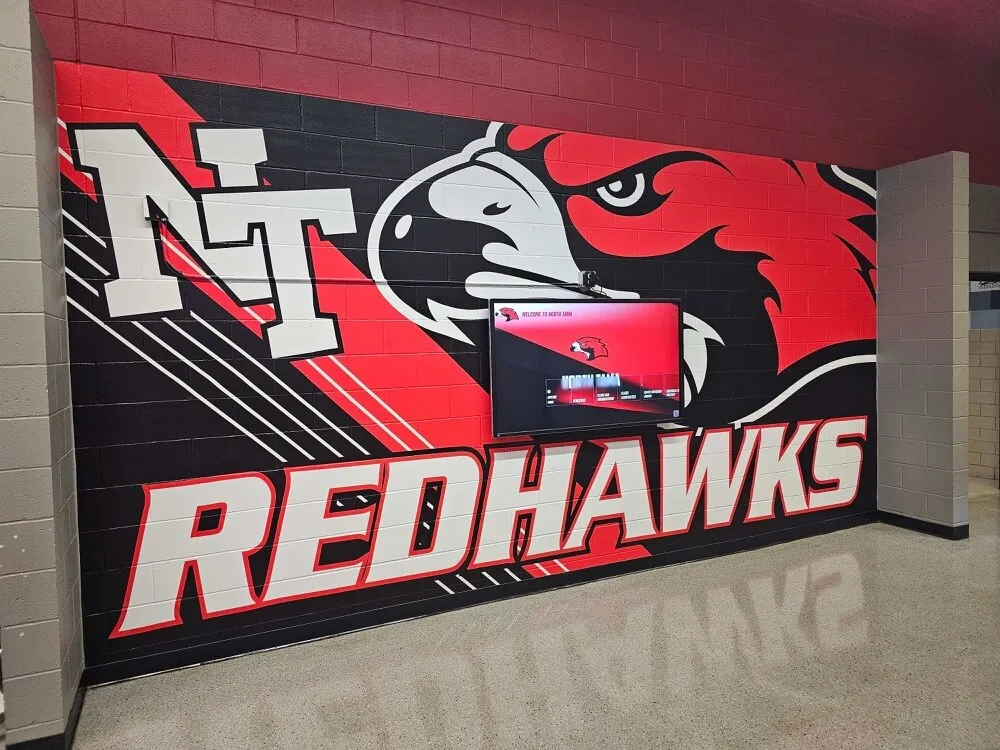
Mounting to Masonry or Concrete Block
Common in school hallways and gymnasiums, masonry walls require specialized mounting approaches:
Hardware Requirements:
- Masonry anchors rated for 3-4× display weight
- Hammer drill with masonry bits matching anchor size
- Level and measurement tools
- Safety glasses (masonry drilling creates significant dust)
Installation Process:
- Mark mounting hole positions using mounting bracket as template
- Drill pilot holes at marked positions using masonry bit at appropriate depth
- Clean dust from holes using compressed air or vacuum
- Insert masonry anchors and tap flush with wall surface
- Attach mounting bracket to anchors with appropriate hardware
- Verify bracket level before attaching display
- Mount display to bracket following manufacturer specifications
- Connect power and data cables through cable management channels
Masonry installations provide exceptional strength and stability ideal for heavy displays or high-traffic areas where accidental impacts may occur.

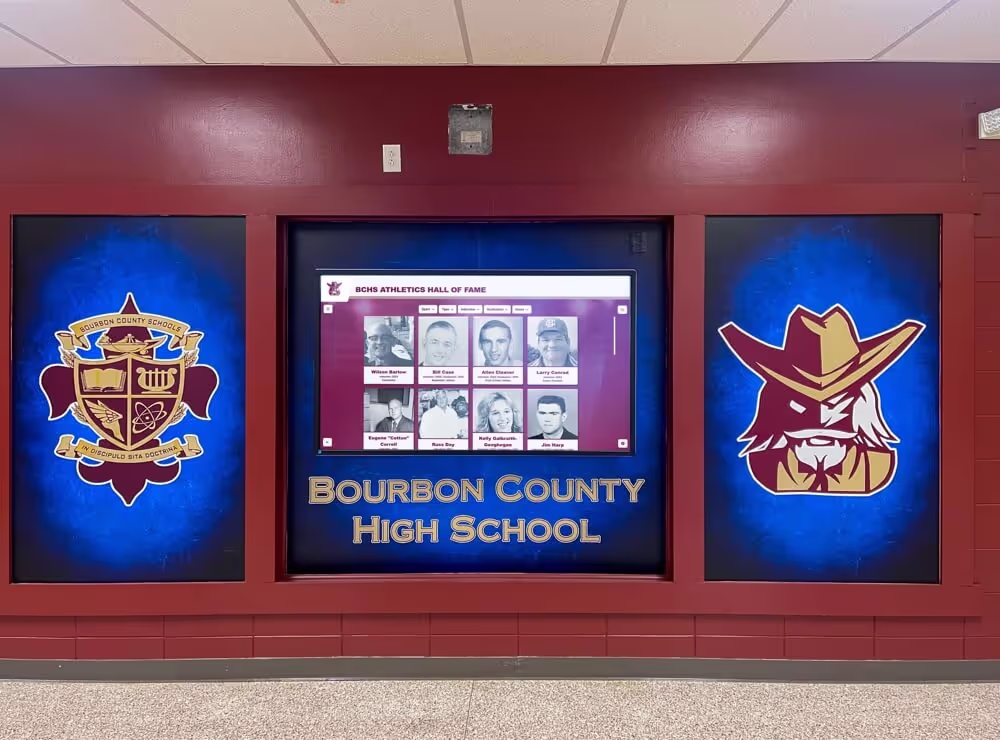
Proper masonry mounting ensures stable, secure installations for high-traffic school environments
Mounting to Drywall Over Metal or Wood Studs
Most modern school construction uses drywall over metal studs. This common scenario requires careful stud location and appropriate fasteners:
Locating Studs: Use a quality electronic stud finder to locate studs behind drywall. Verify findings by:
- Measuring 16 or 24 inches from confirmed stud (standard stud spacing)
- Probing with small finish nail to confirm solid backing
- Checking multiple heights along stud path to confirm vertical stud location
Metal Stud Mounting:
- Use self-tapping metal stud screws, not wood screws
- Ensure screws penetrate through stud face, not just engage edges
- Consider toggle bolts or snap toggles for additional mounting points between studs
- Distribute weight across minimum of 4 stud locations
Wood Stud Mounting:
- Use lag bolts with pilot holes for heavy displays
- 3-inch minimum penetration into solid wood
- Distribute weight across multiple studs
Recessed Wall Installation
Recessed installations create clean, protected displays but complicate mounting height decisions:
Depth Considerations: Recesses deeper than 6 inches may obstruct forward reach, triggering the 44-inch maximum height requirement (vs. 48 inches for unobstructed reach). Shallow recesses (3-4 inches) provide protection without significantly affecting reach requirements.
Mounting Approach:
- Build out structural backing flush with final recess dimensions
- Mount display to backing structure
- Ensure adequate ventilation preventing heat buildup
- Provide wire chase access for power and data cables
- Consider removable access panel for service and maintenance
Schools installing recessed displays should mockup the recess depth with cardboard before construction to verify users can comfortably reach all interactive elements without excessive forward lean.
Multi-Display Installations and Height Variations
Some schools implement multiple displays at different heights serving distinct user groups or purposes. Strategic height variations can optimize usability when deployed thoughtfully.
Dual-Height Installations
Schools serving broad age ranges (K-12 environments or facilities hosting both elementary and high school students) may benefit from dual-height configurations:
Implementation Approaches:
Side-by-Side Configuration:
- Primary display at standard height (48-52 inch center point)
- Secondary display at child-height (36-40 inch center point)
- Synchronized content or complementary information on each screen
- Clear signage directing users to appropriate display
Vertically Stacked Configuration:
- Lower display (36-42 inch center point) for young students and wheelchair users
- Upper display (60-72 inch center point) for viewing-only content
- Interactive elements only on lower display ensuring ADA compliance
- Upper display shows non-interactive content like video highlights or achievement galleries
Dual-height installations cost significantly more but eliminate compromise inherent in single-height solutions attempting to serve all users.
Hallway Display Arrays
Schools implementing multiple displays along hallways must consider cumulative visual impact and traffic flow:
Height Consistency Requirements: Maintain identical mounting heights for displays visible from single vantage points. Height variations between displays in visual proximity appear unprofessional and suggest poor planning.
Spacing and Placement:
- Minimum 6 feet between adjacent displays prevents crowding
- Stagger displays on opposite walls rather than aligning directly across hallways
- Maintain required clearances from intersections, fire equipment, and emergency exits
Interface Design Considerations for Mounted Height
Mounting height directly influences interface design decisions. Coordinate with your content management system provider or software developer to optimize interface layout for your chosen mounting height.
Touch Target Placement
Position primary navigation and interactive elements in the most accessible screen area:
Optimal Touch Zones by Mounting Configuration:
Standard Mounting (48-52 inch center point on 55-inch display):
- Primary interactive elements: 36-48 inches from floor (lower half to center of screen)
- Secondary navigation: 48-60 inches from floor (center to upper-center area)
- View-only content: 60+ inches from floor (upper screen area)
Lower Mounting (40-46 inch center point for inclusive access):
- Primary interactive elements: 28-42 inches from floor
- Secondary navigation: 42-54 inches from floor
- View-only content: 54+ inches from floor
Design interfaces with critical navigation elements—home buttons, search features, category filters—concentrated in the lower accessible zone. Reserve upper screen areas for headings, graphics, and content requiring no touch interaction.
Touch Target Size and Spacing
ADA does not mandate specific touch target sizes, but usability research establishes clear minimum sizes for comfortable interaction:
Recommended Touch Target Dimensions:
- Minimum target size: 44 × 44 pixels (approximately 0.44 inches square on typical displays)
- Preferred target size: 60 × 60 pixels or larger (approximately 0.6 inches square)
- Minimum spacing between targets: 8 pixels between adjacent interactive elements
- Preferred spacing: 16+ pixels preventing accidental activation
Larger touch targets with generous spacing particularly benefit wheelchair users who may interact from seated positions creating less precise touch angles compared to standing users at optimal viewing distance.

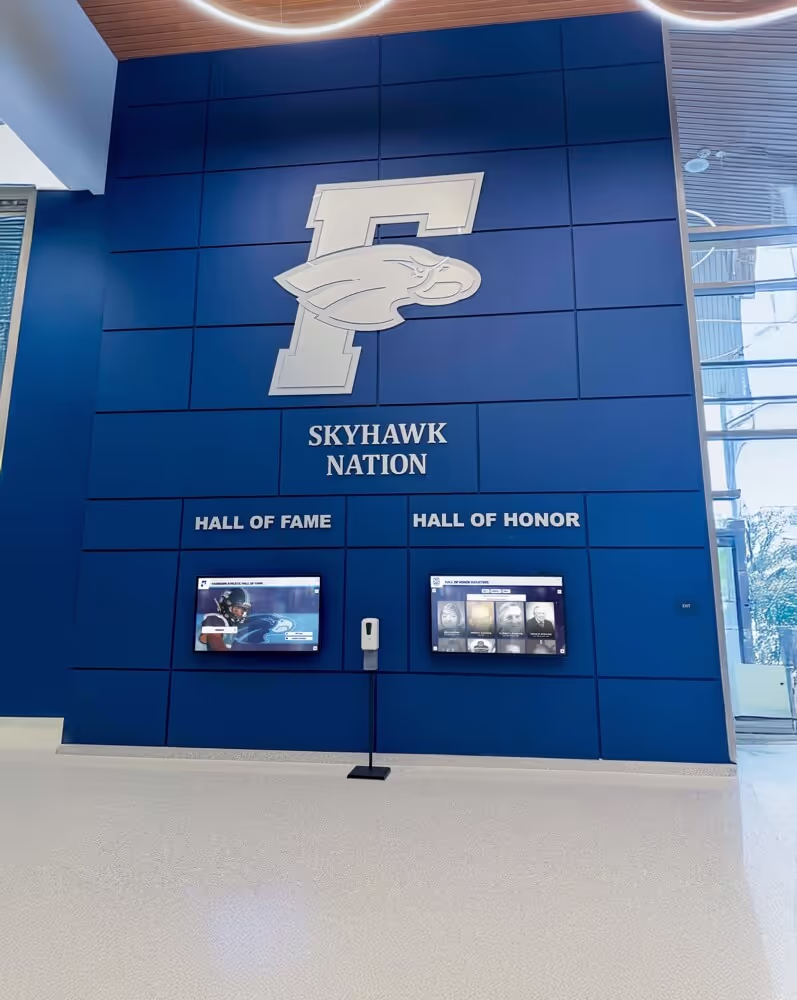
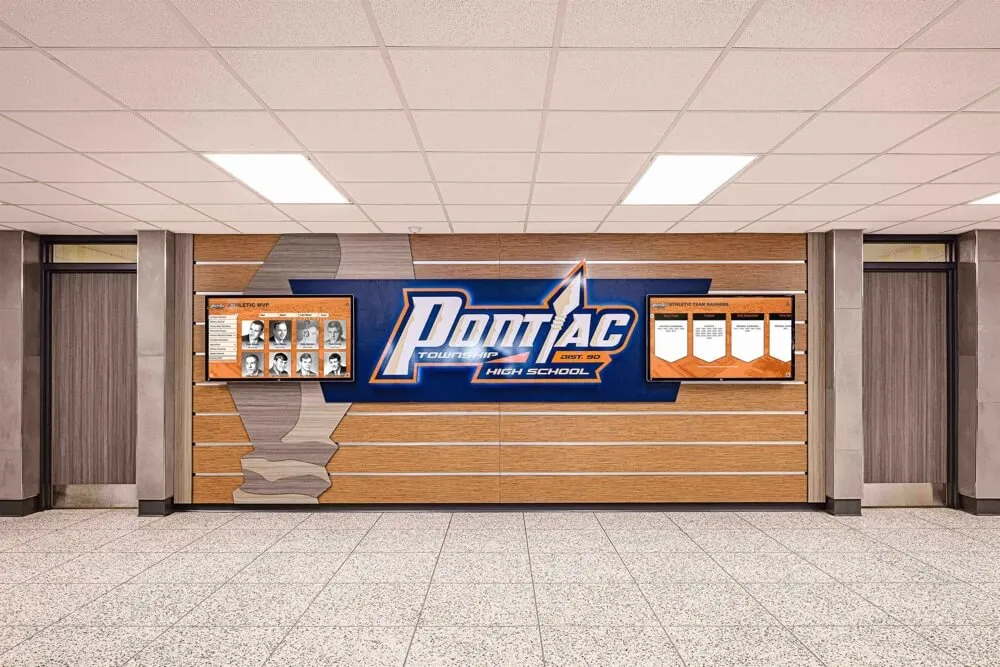
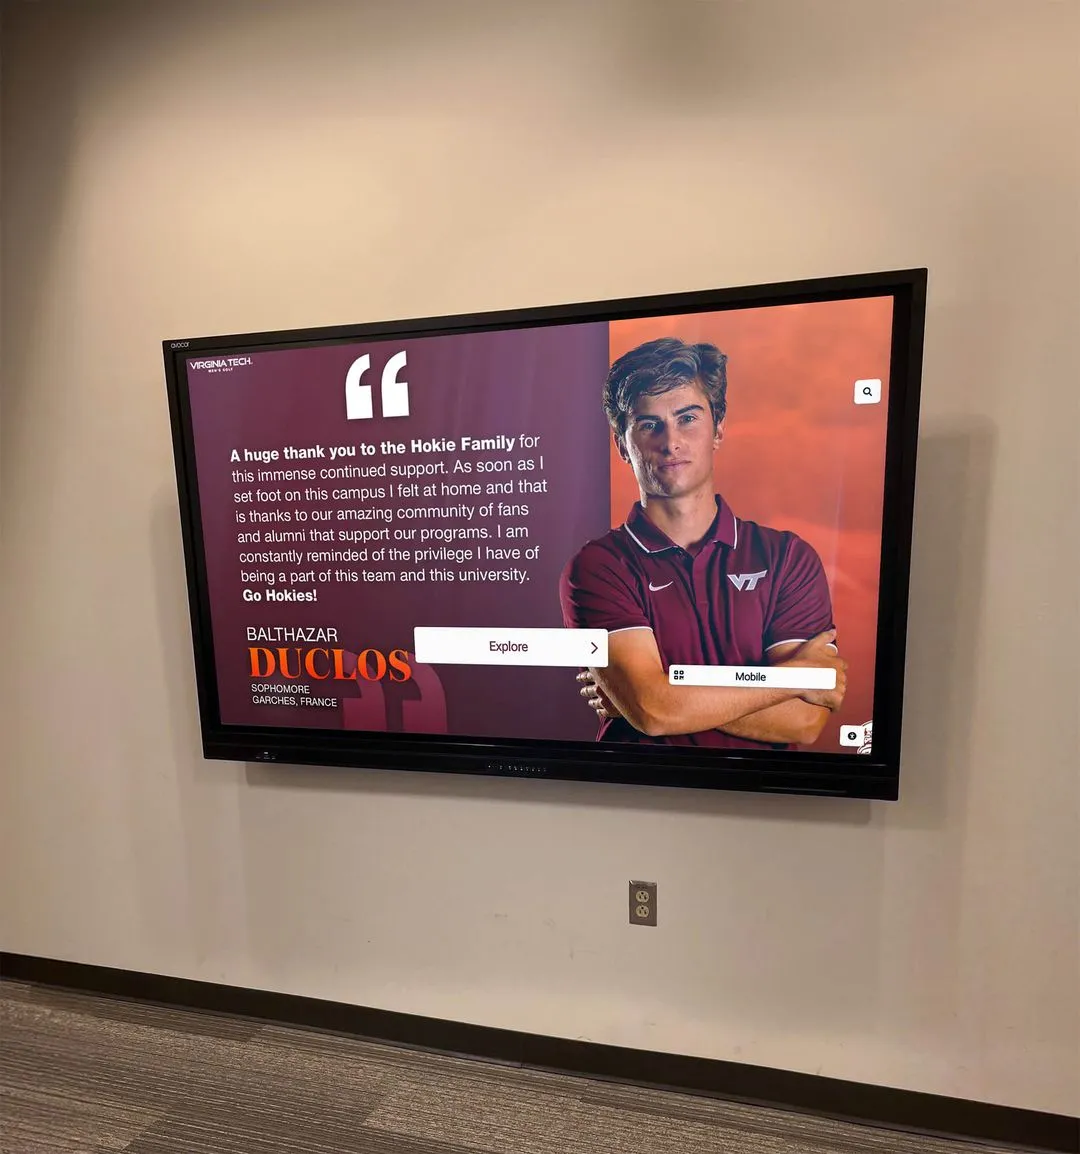
Strategic display placement in high-traffic areas maximizes visibility while maintaining accessibility standards
Testing and Validation After Installation
Installation completion begins a critical validation phase ensuring the display serves all intended users effectively.
Physical Accessibility Audit
Conduct systematic accessibility verification before declaring installation complete:
Reach Range Verification:
- Have wheelchair user verify all interactive elements remain reachable
- Confirm highest touch target falls at or below 48 inches (or 44 inches if obstructed reach applies)
- Test from multiple approach angles verifying clearances
Clear Floor Space Verification:
- Measure 30 × 48 inch clear floor space at display location
- Verify floor slope does not exceed 2.08%
- Confirm no permanent or semi-permanent obstacles encroach into required clearance
- Check that typical traffic patterns do not force users into uncomfortable positions
Viewing Angle Assessment:
- Test from seated wheelchair position
- Test from standing position at typical viewing distance
- Verify screen tilt (if adjustable) provides clear viewing without glare
- Check that overhead lighting does not create reflections obscuring content
Functional Testing
Validate operation beyond physical accessibility:
Touch Response Calibration:
- Verify touch accuracy across entire screen surface
- Confirm edge and corner touch targets respond reliably
- Test multi-touch gestures (pinch-zoom, swipes) if applicable
- Calibrate touch sensor if accuracy issues detected
Content Visibility Assessment:
- Verify text meets minimum size requirements (suggested 18pt+ for body text)
- Confirm color contrast ratios support readability
- Test visibility under varying light conditions throughout day
- Assess glare and reflection during direct sunlight hours
User Testing: Observe actual users from your target demographic interacting with installed display:
- Do users naturally approach from expected direction?
- Do they comfortably reach all interface elements?
- Do viewing angles work from typical standing/seated positions?
- Do users spend expected time engaging vs. abandoning due to usability issues?
Maintenance Access and Long-Term Considerations
Plan for ongoing maintenance requirements when finalizing mounting height and installation approach.
Service Accessibility
Required Clearances for Maintenance:
- Sufficient space to remove display from wall mount without ceiling interference
- Access to power and data connections for troubleshooting
- Ability to reach mounting bolts for periodic tightening
- Room for lift equipment if display weight requires mechanical assistance
Displays mounted above 60 inches to the center point typically require ladders or lifts for service. Factor ongoing maintenance costs into mounting height decisions—displays requiring lift equipment for routine service incur higher long-term operational expenses.
Mounting Hardware Inspection Schedule
Establish periodic inspection protocols:
Quarterly Checks:
- Verify mounting bracket bolts remain tight
- Inspect mounting surface for cracks or degradation
- Check display remains level
- Test security of cable connections
Annual Comprehensive Review:
- Remove display for full mounting bracket inspection
- Verify wall anchors remain secure in masonry or studs
- Replace any degraded or corroded hardware
- Update mounting if display weight increases due to component additions
Special Installation Scenarios
Certain installation contexts require modified approaches to standard mounting practices.
Gymnasium and Athletic Facility Installations
Athletic spaces present unique challenges:
Impact Protection Requirements:
- Mount displays above projectile height (minimum 96 inches to bottom edge) or within protective recesses
- Use impact-resistant screen protectors on interactive displays within 10 feet of playing surfaces
- Consider dedicated athletic spaces may require non-interactive displays mounted high with companion touchscreen at accessible height in adjacent hallway
Acoustic Considerations: High-ceiling gymnasiums with significant acoustic echo benefit from sound-dampening treatments around display areas ensuring audio components remain intelligible.
Historic Building Installations
Schools in historic structures face preservation requirements affecting installation:
Preservation-Compliant Mounting:
- Consult preservation officer before penetrating historic walls
- Use reversible mounting methods allowing future restoration
- Minimize visible cable runs through surface-mount raceways matching architectural details
- Document original wall condition before installation
Outdoor and Semi-Outdoor Installations
Covered entryways or outdoor plazas may host touchscreen recognition systems:
Environmental Protection:
- Specify displays rated for outdoor use (temperature range, humidity resistance)
- Ensure weatherproof enclosures for all electrical connections
- Mount with slight forward tilt (3-5 degrees) preventing water accumulation
- Provide overhead coverage protecting from direct precipitation
Outdoor installations should mount 2-4 inches higher than equivalent indoor installations accounting for standing users on potentially wet surfaces who maintain greater distance from display to avoid spray.
Creating Your Installation Specification Document
Document final specifications before installation ensuring all stakeholders—facilities teams, contractors, content providers, IT departments—work from identical requirements.
Essential Specification Components
Display Specifications:
- Exact model and size (diagonal measurement)
- Weight with mounting bracket
- Required power specifications
- Data connectivity requirements
Mounting Specifications:
- Center point height from finished floor
- Top edge height from finished floor
- Bottom edge height from finished floor
- Distance from adjacent walls or architectural features
- Required clear floor space dimensions
Compliance Verification:
- Maximum interactive element height
- Minimum interactive element height
- Confirmation of clear floor space
- Approach direction and accessibility notes
Electrical Requirements:
- Outlet location and specifications
- Dedicated circuit requirements
- Cable routing and concealment approach
Data Requirements:
- Network connection type (Ethernet, WiFi)
- Bandwidth requirements
- Network security requirements
Distribute this specification document to all installation stakeholders before work begins, requiring written confirmation each party understands requirements.
Implement Your Touchscreen Display with Confidence
Precise touchscreen display mounting height ensures your recognition system serves every member of your school community while maintaining full ADA compliance. By following the measurement protocols, mounting specifications, and accessibility guidelines outlined in this installation guide, facilities directors can confidently deploy interactive displays that students, athletes, alumni, and visitors can comfortably use regardless of physical abilities or age.
The most successful school touchscreen installations balance regulatory compliance with practical usability, accounting for your specific user demographics while maintaining universal design principles that ensure nobody encounters barriers to accessing the recognition and information your displays provide.
Ready to implement a professionally designed touchscreen recognition system with installation specifications optimized for your facility? Rocket Alumni Solutions provides turnkey TouchWall solutions with detailed installation documentation, ADA-compliant mounting specifications, and interface designs optimized for your chosen mounting height. Schedule a consultation to discuss your wall of fame vision and receive installation guidance tailored to your space and audience.