From Traditional Trophy Cases to Interactive Digital Displays
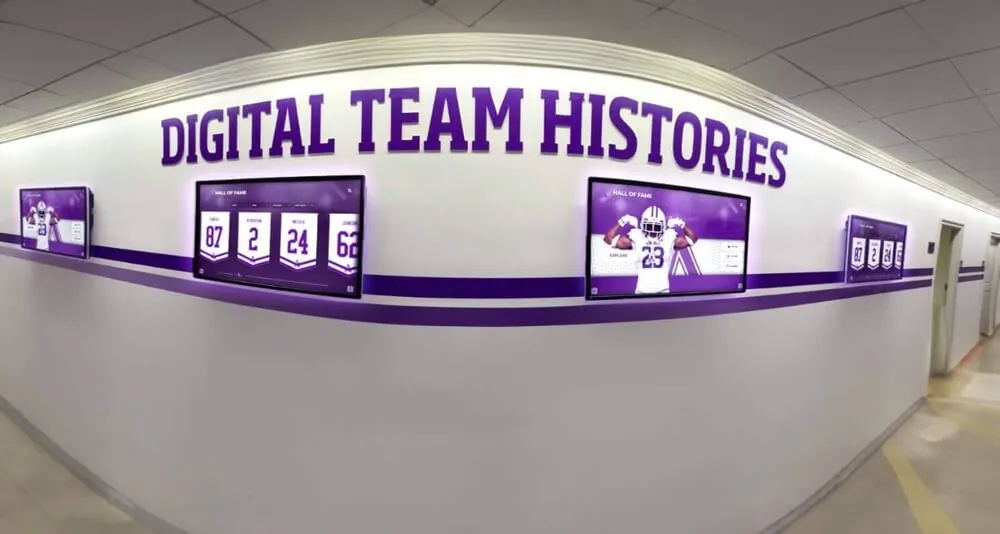
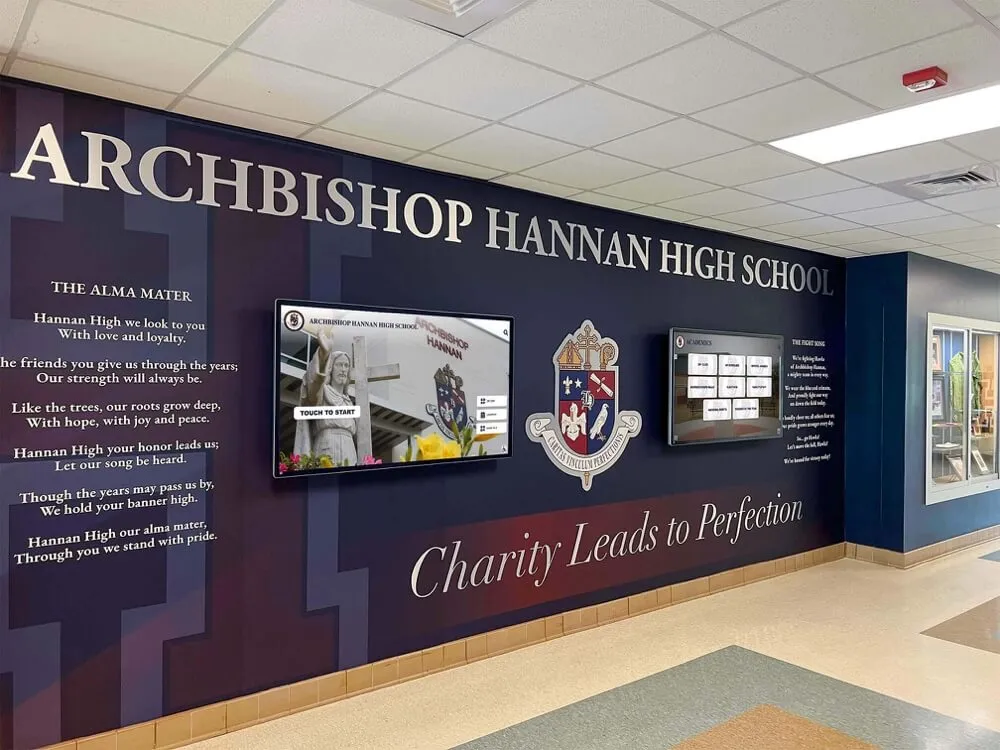
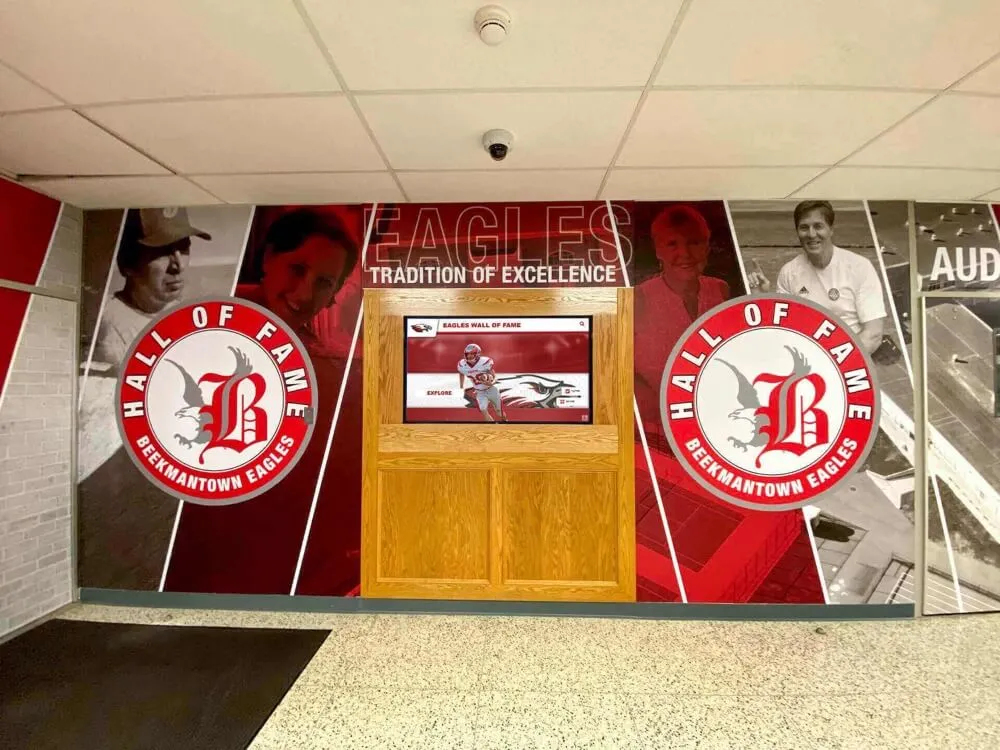
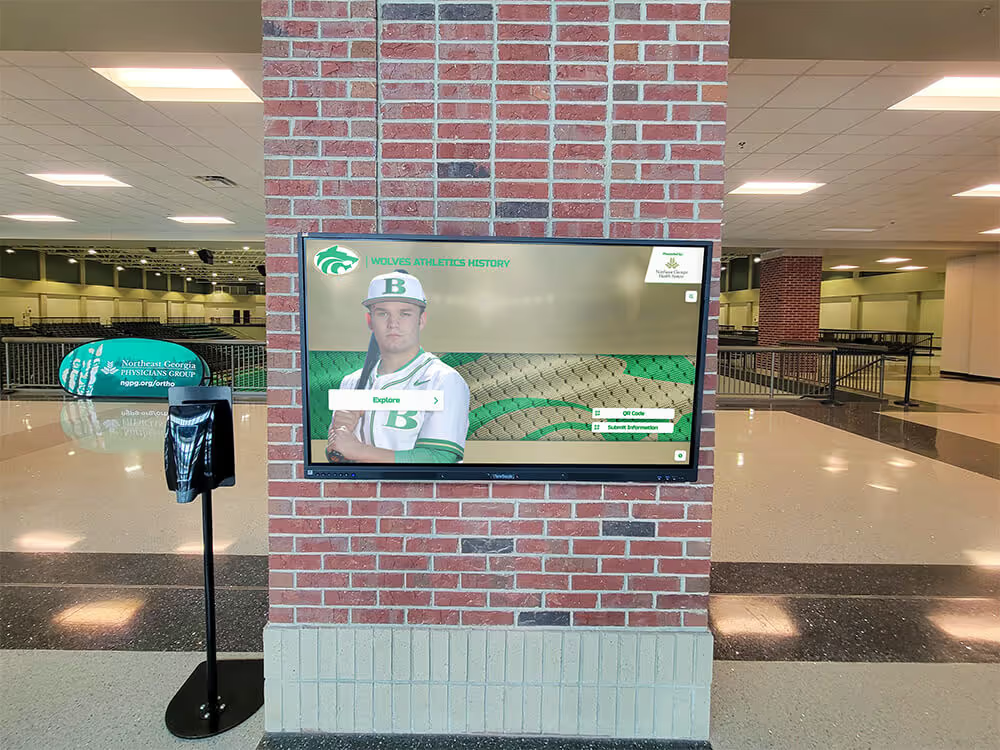
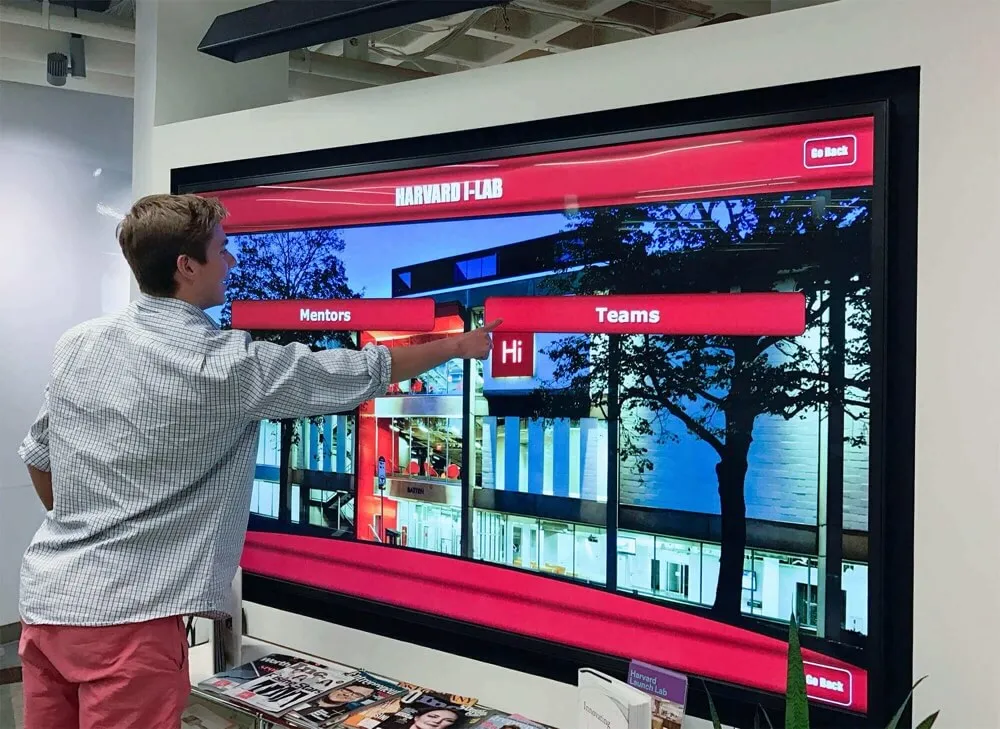
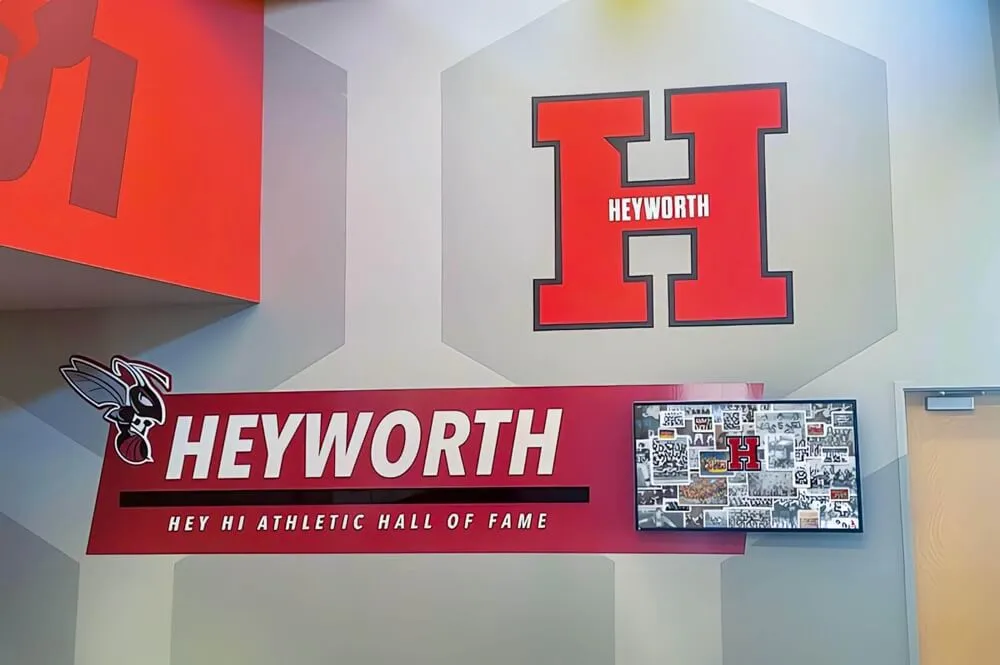
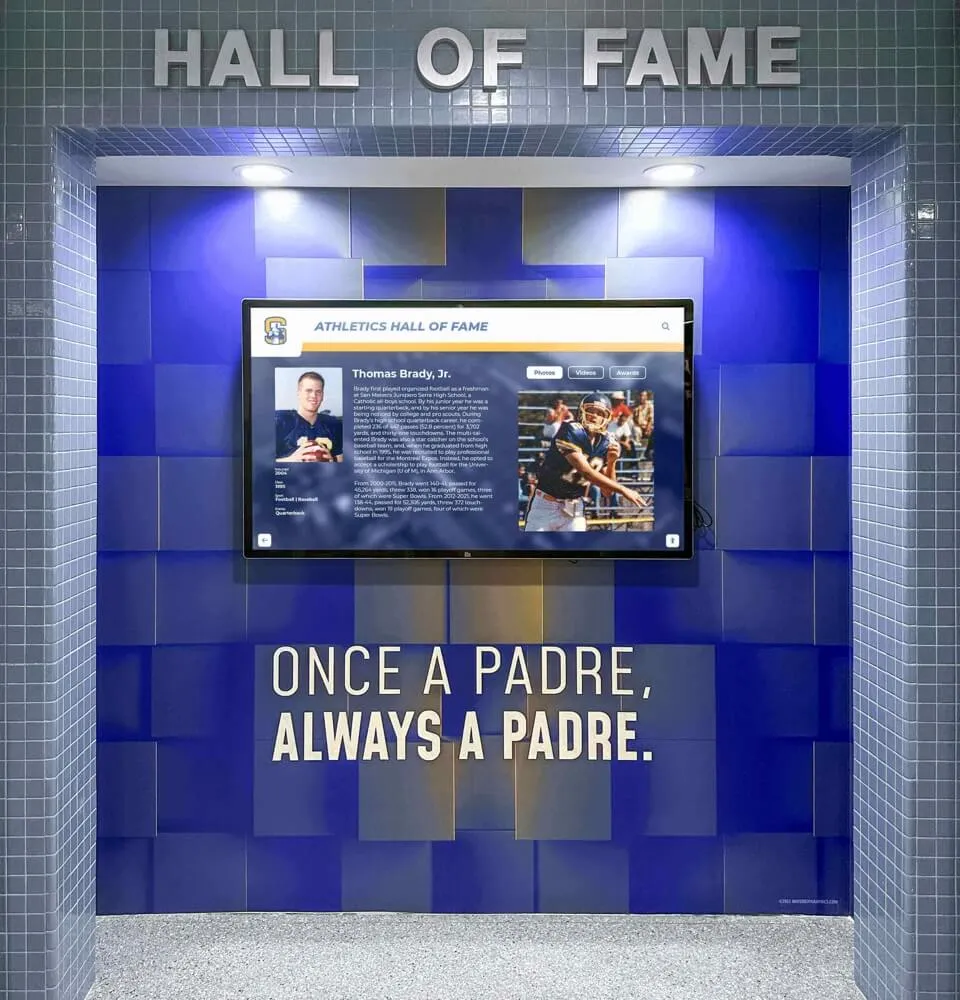
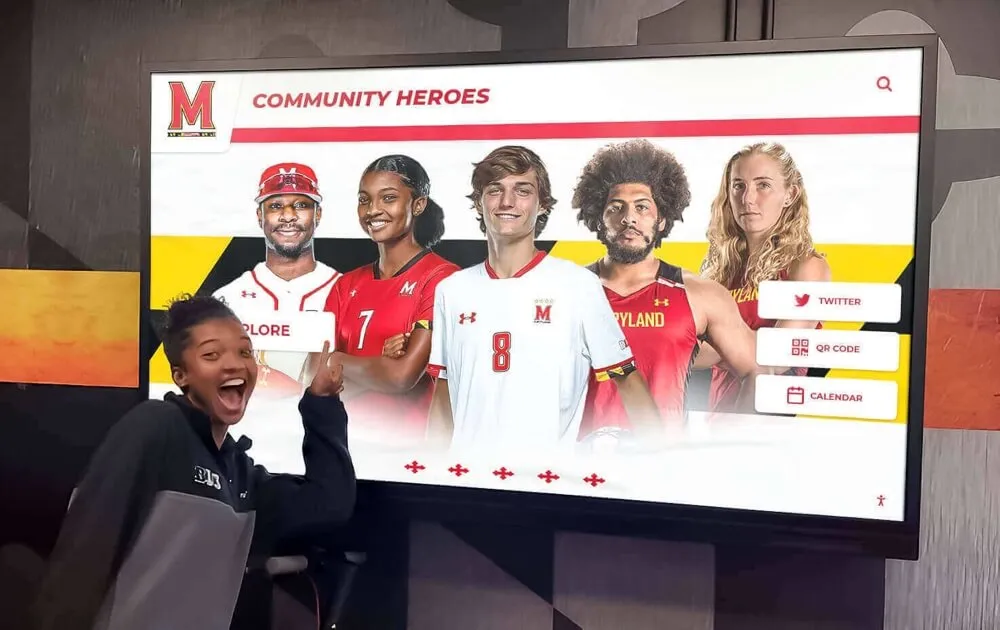
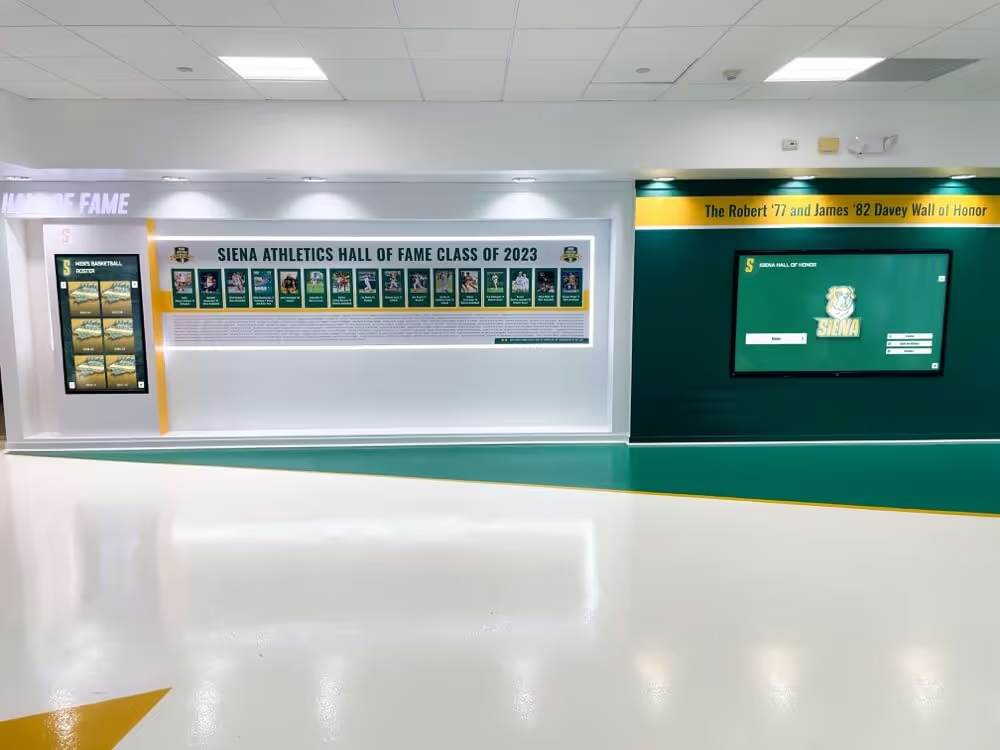
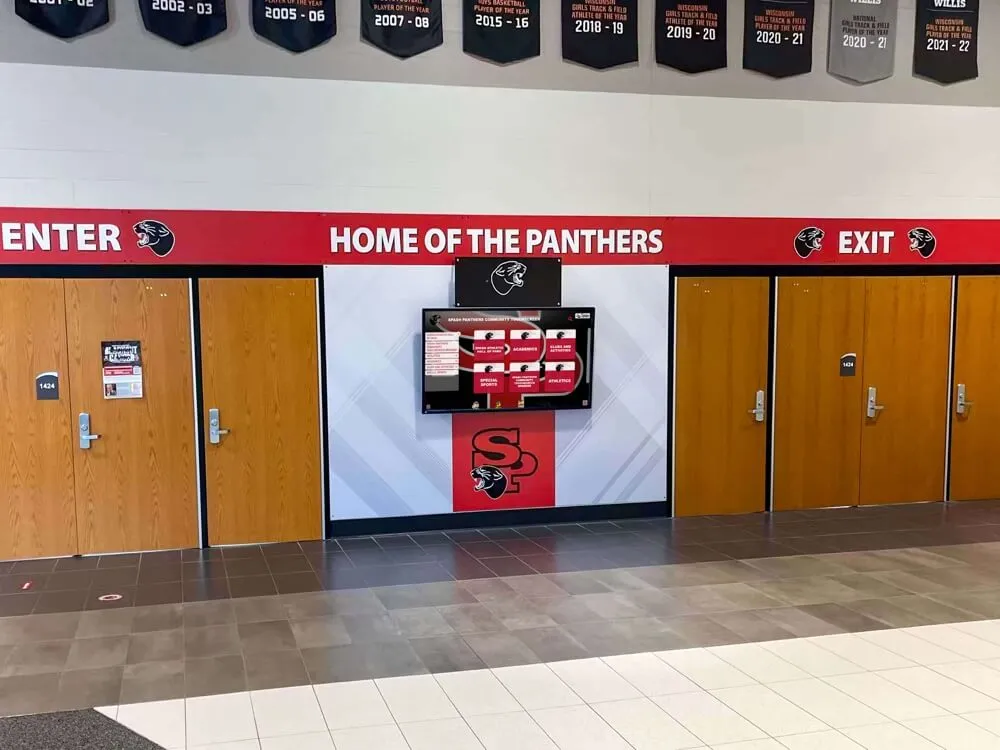
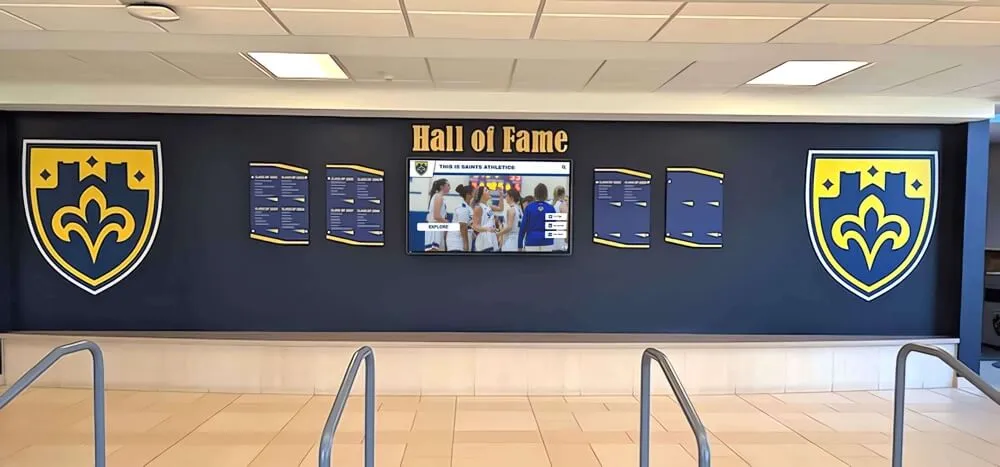
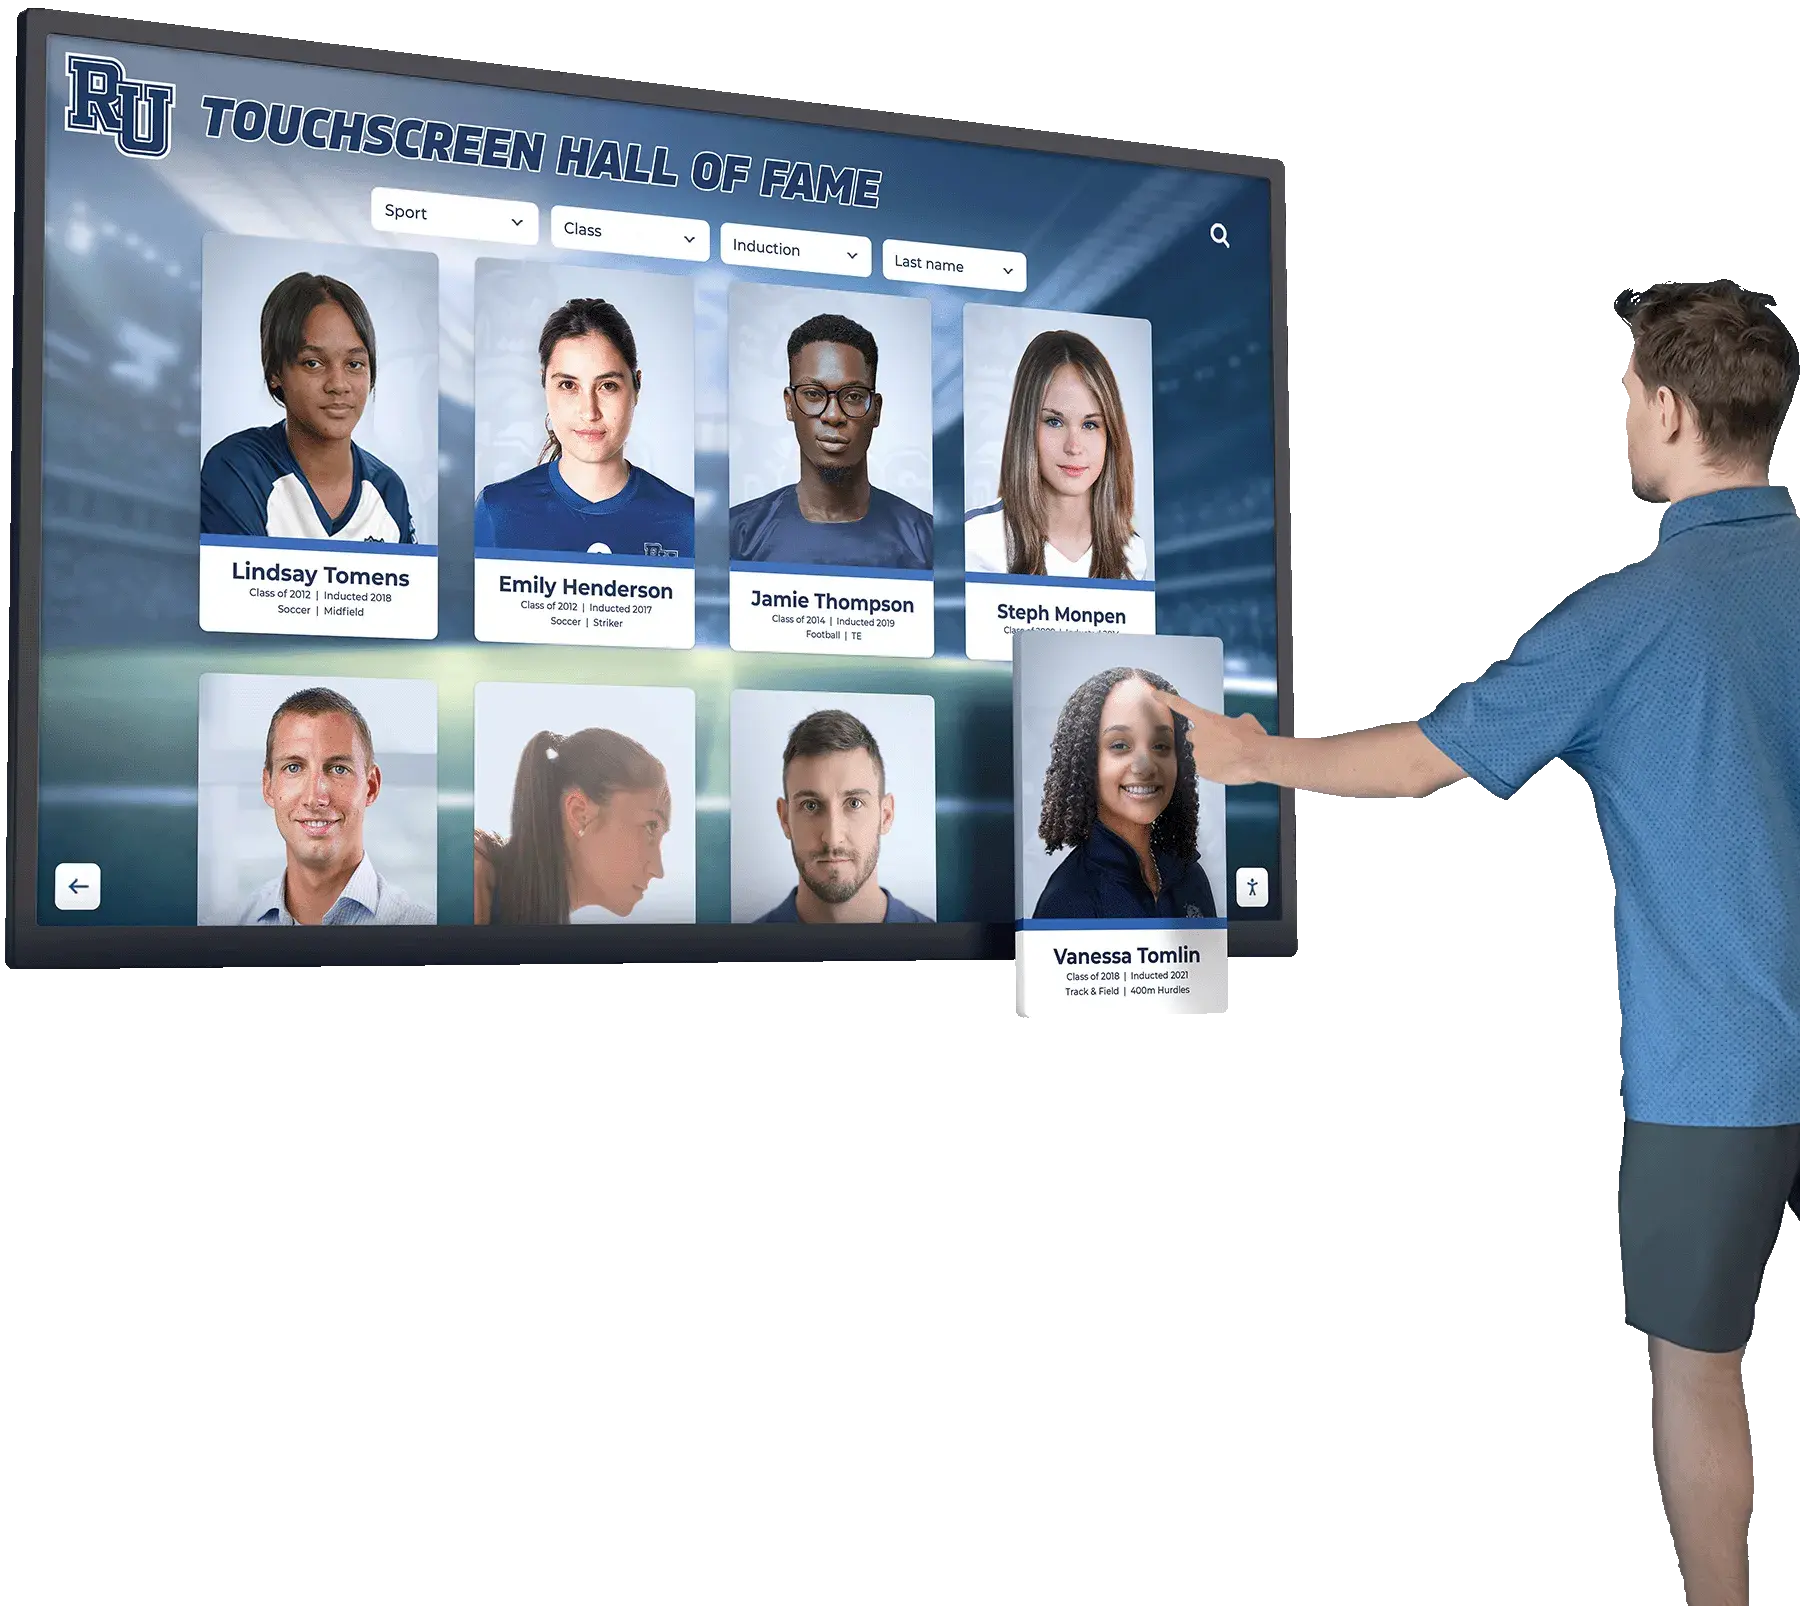
Schools across the country are replacing outdated glass trophy cases with modern touchscreen electronic trophy case kiosks that showcase achievements through interactive digital displays. These systems transform how schools honor student accomplishments while solving common problems like limited space, difficult updates, and lack of engagement with traditional displays.
Setting up a touchscreen electronic trophy case kiosk may seem complex, but with the right guidance, your school can implement a professional interactive display system in just a few weeks. This comprehensive guide walks you through every step of the process, from initial planning to launch day.
Table of Contents
- Why Schools Are Switching to Electronic Trophy Cases
- Understanding Electronic Trophy Case Components
- Step 1: Planning Your Digital Trophy Display
- Step 2: Selecting the Right Hardware
- Step 3: Choosing Touchscreen Kiosk Software
- Step 4: Installation and Setup
- Step 5: Content Creation and Migration
- Step 6: Testing and Quality Assurance
- Step 7: Launch and Training
- Ongoing Maintenance and Updates
- Common Setup Challenges and Solutions
Why Schools Are Switching to Electronic Trophy Cases
Before diving into the setup process, it’s important to understand the advantages driving this transformation in school recognition displays.
Traditional Trophy Case Limitations
- Limited physical space restricts recognition capacity
- Cluttered displays diminish individual achievements
- Updates require physical access and manual labor
- No multimedia capabilities for videos or interactive content
- Fixed layouts prevent easy reorganization
- Maintenance requires case opening and rearrangement
Electronic Trophy Case Advantages
- Unlimited digital storage for thousands of achievements
- Interactive touchscreen engagement keeps visitors interested
- Remote content updates from any location
- Multimedia integration with photos, videos, and audio
- Searchable database for easy information access
- Analytics tracking to measure engagement
According to the Digital Signage Federation, interactive kiosks in educational settings receive 8-10x more engagement than static displays, with average interaction times of 4-6 minutes per visitor.
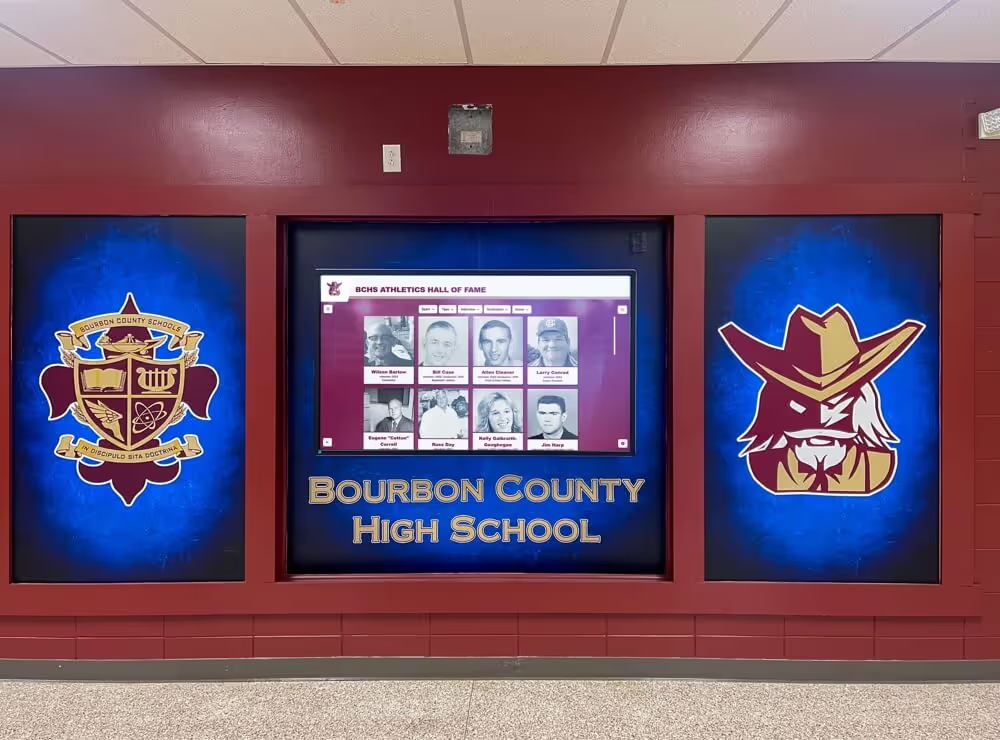
Bourbon County High School's touchscreen trophy case showcases decades of athletic achievements in an engaging interactive format
Understanding Electronic Trophy Case Components
A complete touchscreen electronic trophy case system consists of several integrated components working together:
Hardware Components
- Commercial-Grade Touchscreen Display: The primary interface (typically 43"-75")
- Media Player/Computer: Powers the software and manages content
- Mounting Hardware: Wall mounts, kiosk enclosures, or floor stands
- Connectivity Equipment: Network cables, WiFi adapters, surge protectors
- Speakers (optional): For audio content and multimedia presentations
Software Components
- Kiosk Software Platform: The application displaying your content
- Content Management System (CMS): Backend system for updating content
- Security Software: Prevents unauthorized access and tampering
- Analytics Tools: Tracks usage and engagement metrics
Content Elements
- Digital Assets: Photos, videos, documents, and graphics
- Database Information: Names, dates, achievements, records
- Navigation Structure: How users browse and search content
- Design Templates: Visual layouts and branding elements
Step 1: Planning Your Digital Trophy Display
Proper planning ensures your electronic trophy case meets your school’s specific needs and avoids costly mistakes.
Define Your Recognition Categories
Start by identifying what content your digital trophy case will showcase:
Common Trophy Case Content Categories
Athletic Recognition
- Championship trophies and banners
- Individual athletic records
- Team photos and achievements
- Coach recognition and milestones
- Athletic hall of fame inductees
Academic Excellence
- Academic competition winners
- Scholarship recipients
- National Merit Scholars
- Academic bowl championships
- Science fair achievements
Arts & Activities
- Music and band accomplishments
- Theater productions and awards
- Art competition winners
- Debate team achievements
- Student organization honors
Historical Recognition
- Distinguished alumni profiles
- School history timeline
- Legacy traditions and milestones
- Retired jerseys and honors
- Community contributions
Assess Your Location and Space
Evaluate potential installation locations based on:
- Foot Traffic: High-visibility areas like main entrances, lobbies, or athletic facility entrances
- Viewing Angles: Areas where people can comfortably stop and interact
- Power Access: Proximity to electrical outlets (or budget for electrical work)
- Network Connectivity: WiFi coverage or ethernet port availability
- Physical Space: Clearance for screen size plus interaction space (minimum 4-5 feet)
- Lighting Conditions: Avoid direct sunlight that creates screen glare
- ADA Compliance: Accessible mounting height and approach space
Set Your Budget and Timeline
Typical costs for touchscreen electronic trophy case systems:
| System Type | Hardware Cost | Software Cost | Total Investment |
|---|---|---|---|
| Entry-Level System | $3,000-$6,000 | $1,500-$3,000 | $4,500-$9,000 |
| Mid-Range System | $6,000-$12,000 | $3,000-$6,000 | $9,000-$18,000 |
| Premium System | $12,000-$25,000 | $6,000-$12,000 | $18,000-$37,000 |
| Multi-Display System | $25,000-$60,000 | $8,000-$15,000 | $33,000-$75,000 |
Implementation typically takes 6-12 weeks from initial planning to launch, depending on content volume and customization requirements.
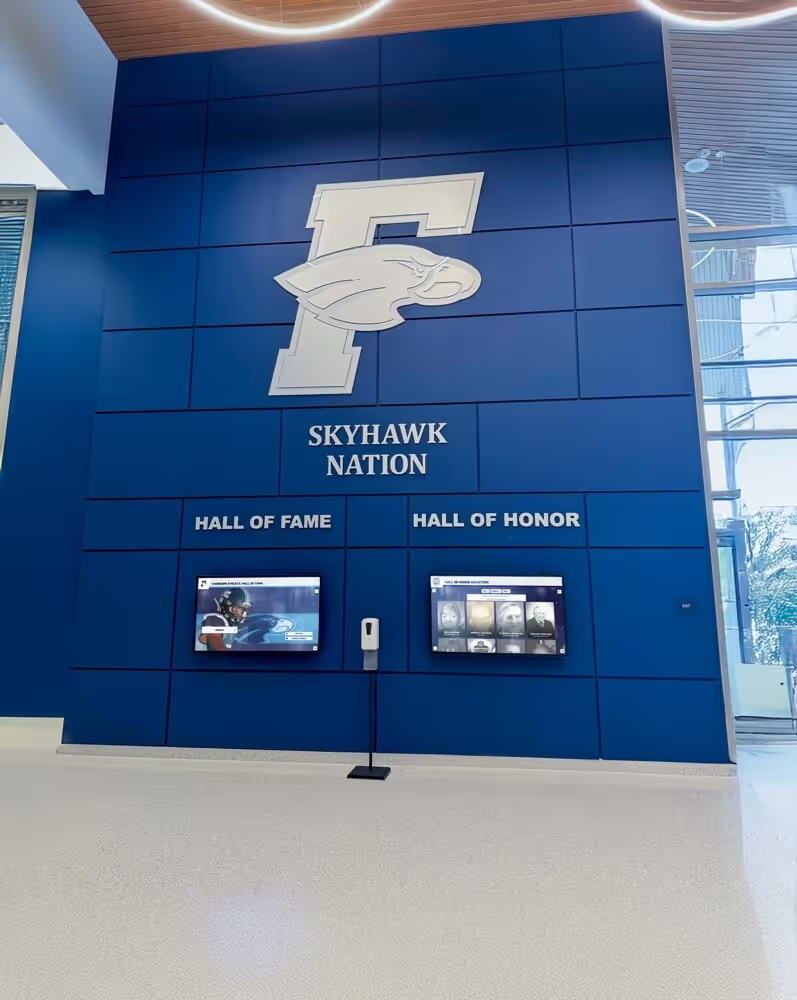
Fairborn High School's planning phase included cataloging decades of trophies and achievements for digital conversion
Step 2: Selecting the Right Hardware
Hardware selection significantly impacts your system’s performance, reliability, and user experience.
Touchscreen Display Selection
Key considerations for choosing your display:
Screen Size
- 43"-49": Suitable for individual kiosk stations or smaller spaces
- 55"-65": Most popular for general trophy case applications
- 70"-75": Ideal for large lobbies or multi-user interaction
- 80"+: Premium installations with significant viewing distance
Display Technology
- Commercial-Grade vs Consumer: Commercial displays are designed for 16-18 hour daily operation (critical for high-traffic areas)
- Touch Technology: Capacitive touch (like smartphones) provides better responsiveness than resistive touch
- Resolution: Minimum 1080p (Full HD); 4K recommended for displays 65" and larger
- Brightness: 350-500 nits for indoor installations; 700+ nits if near windows
Durability Features
- Tempered glass front panel for impact resistance
- Anti-glare coating for varied lighting conditions
- Warranty: Minimum 3-year commercial warranty
Media Player/Computer Options
Your display needs a computer to run the kiosk software:
Option 1: Dedicated Mini PC
- Intel Core i5 or equivalent AMD processor (minimum)
- 8GB RAM (16GB recommended for video-heavy content)
- 256GB SSD storage (512GB for extensive multimedia)
- Cost: $400-$1,200
Option 2: Built-In Display Computer
- Some commercial displays include integrated computers
- Simpler installation with fewer components
- Cost: Included in display price (typically adds $500-$1,000)
Option 3: Commercial Media Player
- Purpose-built for digital signage applications
- Often includes remote management capabilities
- Cost: $300-$800
Mounting and Enclosure Options
Wall-Mount Installation
- Sleek, space-efficient design
- Fixed or articulating mount options
- Requires wall structural support
- Cost: $200-$600
Floor-Standing Kiosk
- Portable and relocatable
- No wall installation required
- Professional enclosure protects components
- Cost: $1,500-$4,000
Tabletop/Countertop Stands
- Smaller footprint option
- Works well for 43"-49" displays
- Cost: $300-$800
Additional Hardware Components
Don’t forget these essential items:
- Surge Protector: Protects equipment from electrical damage ($50-$150)
- Cable Management: Conceals wiring for professional appearance ($50-$200)
- Network Equipment: WiFi adapter or ethernet cable ($20-$100)
- Speakers: For multimedia content ($100-$400)
- Backup Power: UPS battery backup for uninterrupted operation ($150-$400)
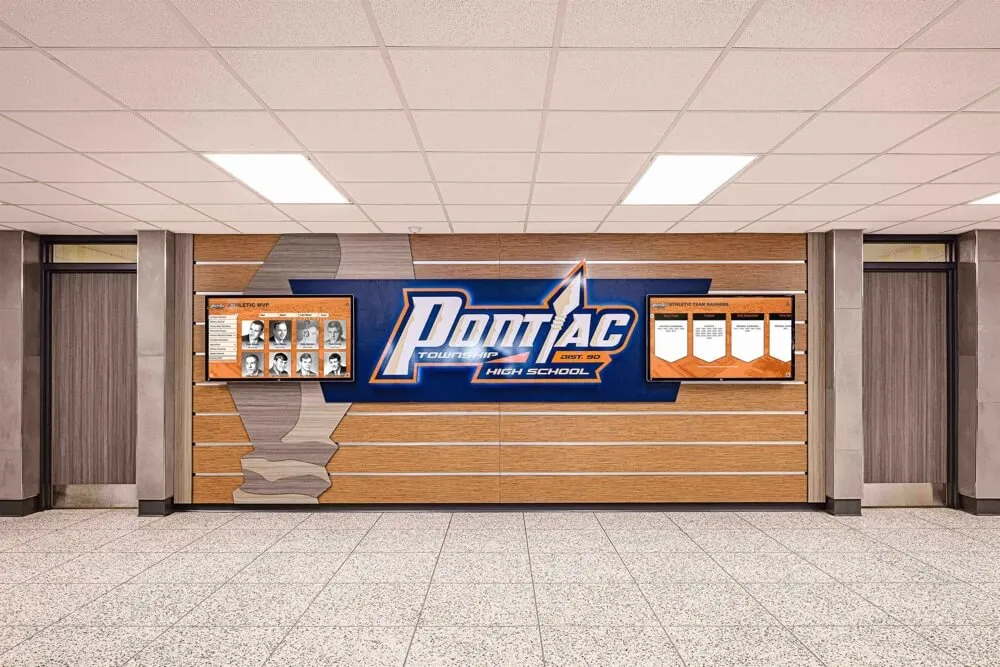
Pontiac High School's wall-mounted touchscreen trophy case installation showcases clean cable management and professional mounting
Step 3: Choosing Touchscreen Kiosk Software
The software platform is the heart of your electronic trophy case, managing content display, user interaction, and system security.
Essential Software Features
When evaluating touchscreen kiosk software platforms, look for:
Content Management Capabilities
- Cloud-based CMS for remote content updates
- Intuitive interface requiring no technical expertise
- Drag-and-drop content organization
- Batch import for large historical datasets
- Media library for centralized asset management
- Scheduled content publishing
User Interface Features
- Responsive touchscreen navigation
- Search and filter functionality
- Multimedia support (images, videos, documents)
- Customizable design templates
- Branded interface matching school colors
- Accessibility features (text size, high contrast, screen reader support)
Security and Reliability
- Kiosk lockdown mode preventing unauthorized access
- Automatic system recovery after power loss
- Scheduled restart capabilities
- User activity logging
- Remote monitoring and diagnostics
Analytics and Reporting
- Visitor engagement tracking
- Popular content analysis
- Usage patterns and peak times
- Search term reporting
- Export capabilities for reporting
Software Platform Options
Specialized Recognition Software
Solutions like Rocket Alumni Solutions are purpose-built for school recognition:
Advantages:
- Pre-built templates designed for trophy cases and halls of fame
- Integrated database for athletes, achievements, and records
- Alumni engagement features
- Specialized support for educational use cases
- Community features and submission forms
Best For: Schools prioritizing recognition and alumni engagement
General Digital Signage Software
Platforms like ScreenCloud, NoviSign, or OptiSigns offer flexible content display:
Advantages:
- Lower initial cost
- Flexible content types
- Multi-screen management
- Integration with various data sources
Limitations:
- Requires custom content creation
- May lack specialized recognition features
- More technical setup required
Best For: Schools with technical resources and custom requirements
Custom Development
Building your own system using web technologies:
Advantages:
- Complete customization control
- No ongoing software fees
- Integration with existing school systems
Limitations:
- Significant development time and cost
- Ongoing maintenance responsibility
- Requires technical expertise
- No vendor support
Best For: Schools with dedicated IT resources and unique needs
Software Selection Criteria
Evaluate software options based on:
- Ease of Content Management: Can non-technical staff update content?
- Initial Setup Time: How quickly can you launch?
- Ongoing Costs: Subscription fees vs. one-time licensing
- Support Quality: Vendor responsiveness and documentation
- Customization Options: Can you match your school’s branding?
- Scalability: Can you expand to multiple displays later?
- Integration Capabilities: Does it connect with your existing systems?
Step 4: Installation and Setup
Proper installation ensures reliable operation and professional appearance.
Pre-Installation Preparation
Electrical Requirements
- Verify adequate power outlet capacity (typically 300-600 watts)
- Consider dedicated circuit for critical installations
- Plan for cable concealment through walls or conduit
- Budget for electrician if new outlets needed ($200-$800)
Network Connectivity
- Test WiFi signal strength at installation location
- Run ethernet cable for more reliable connection (recommended)
- Configure network access and firewall permissions
- Assign static IP address for easy remote access
Physical Site Preparation
- Verify wall construction type (drywall, concrete, brick)
- Locate wall studs or install backing board for support
- Ensure ADA-compliant mounting height (center at 48"-54")
- Clear installation area and protect surrounding surfaces
Installation Process
Step 1: Mounting Hardware Installation
For wall mounts:
- Locate studs or install wall anchors rated for display weight
- Use level to ensure perfectly horizontal mounting
- Leave adequate clearance for ventilation (2-4 inches)
- Install cable management channels
For kiosk enclosures:
- Assemble enclosure per manufacturer instructions
- Ensure stability on intended floor surface
- Check that all panels align properly
- Install any integrated cable management
Step 2: Display and Computer Setup
- Carefully mount display to wall bracket or kiosk frame
- Install media player/computer in designated location
- Connect power cables through cable management
- Run network cables (ethernet preferred over WiFi)
- Connect any external speakers or peripherals
Step 3: Initial Software Configuration
- Power on system and verify display functionality
- Install operating system if not pre-installed
- Configure network settings and internet connectivity
- Install kiosk software platform
- Configure security settings and auto-start behavior
- Test touchscreen calibration and responsiveness
Step 4: Security Configuration
Critical security measures for kiosks in public spaces:
- Enable kiosk lockdown mode to prevent access to operating system
- Disable pinch-to-zoom to maintain intended display size
- Configure auto-restart after power loss
- Set up system restore points
- Implement content approval workflows
- Create password-protected admin access
Installation Checklist
- ✓ Display securely mounted and level
- ✓ All cables concealed and organized
- ✓ Network connectivity tested and confirmed
- ✓ Touchscreen calibrated and responsive
- ✓ Audio tested (if applicable)
- ✓ Kiosk mode activated and locked down
- ✓ Auto-start configured after power loss
- ✓ Emergency admin access documented
- ✓ System restore point created
- ✓ Ventilation confirmed adequate
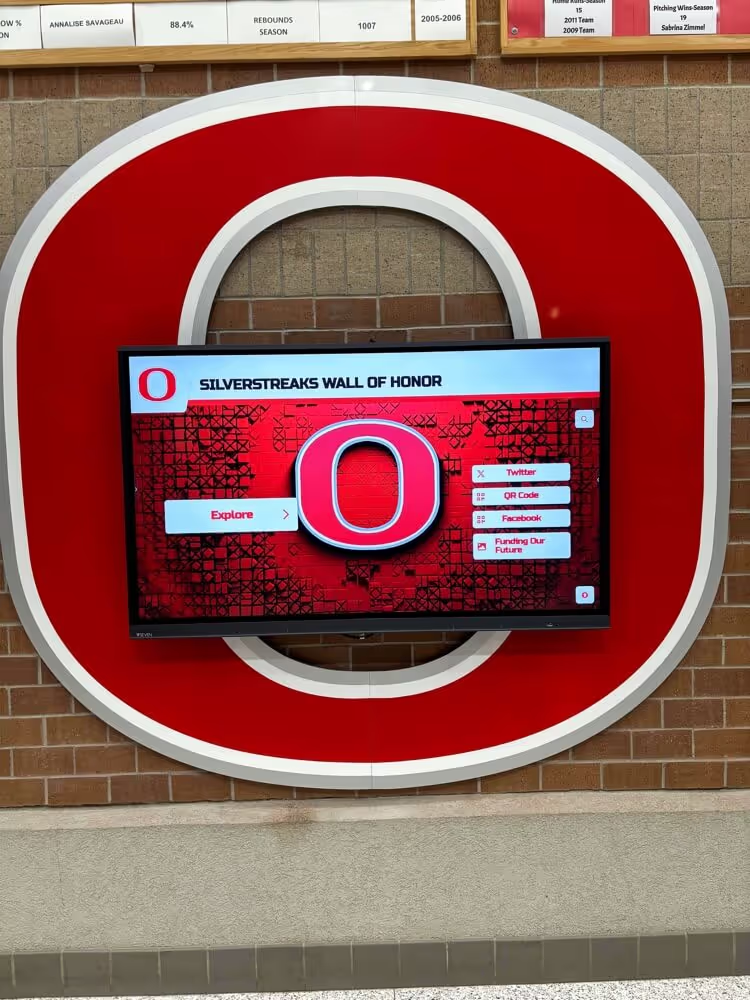
Professional installation ensures proper mounting, cable management, and system configuration at Osakis High School
Step 5: Content Creation and Migration
Transforming your physical trophy case contents into engaging digital content is often the most time-intensive phase of setup.
Content Inventory and Planning
Catalog Existing Recognition
- Photograph all trophies, plaques, and awards
- Document names, dates, and achievements
- Gather team photos and individual portraits
- Collect program covers, newspaper clippings, and memorabilia
- Interview coaches and staff for additional context
Organize Content Structure
- Create logical categories and subcategories
- Decide on chronological vs. thematic organization
- Plan search and filter capabilities
- Design navigation flow and user journeys
Digital Asset Preparation
Photography Guidelines
- Use consistent lighting and backgrounds
- Minimum resolution: 1920x1080 pixels
- Format: JPG for photos, PNG for graphics with transparency
- Optimize file sizes for fast loading (under 500KB per image)
- Crop and straighten for professional appearance
Video Content
- Resolution: 1080p minimum
- Format: MP4 (H.264 codec) for broad compatibility
- Keep videos under 3 minutes for engagement
- Include captions for accessibility
- Optimize file size (under 50MB per video)
Data Entry Best Practices
- Use consistent naming conventions
- Include comprehensive search terms and keywords
- Verify spelling of all names and titles
- Add contextual information beyond basic facts
- Include dates in standardized format (MM/DD/YYYY or YYYY)
Content Migration Strategies
Phased Approach (Recommended)
Launch with priority content first, then expand:
Phase 1: Current year achievements (1-2 weeks) Phase 2: Recent history (5 years) (2-3 weeks) Phase 3: Extended history (10-20 years) (4-6 weeks) Phase 4: Complete archives (ongoing)
This approach allows earlier launch while continuing content development.
Bulk Import Tools
Most digital trophy case software includes batch import capabilities:
- Prepare spreadsheet with standardized fields
- Map spreadsheet columns to database fields
- Import records in batches for review
- Verify accuracy before making content live
- Use batch operations for common updates
Content Quality Standards
Maintain consistency across all content:
- Completeness: Every entry includes name, date, and achievement description
- Accuracy: All information verified against source documents
- Imagery: Every person/team has associated photo when possible
- Context: Achievements include relevant background and significance
- Currency: Regular review schedule to keep information up-to-date
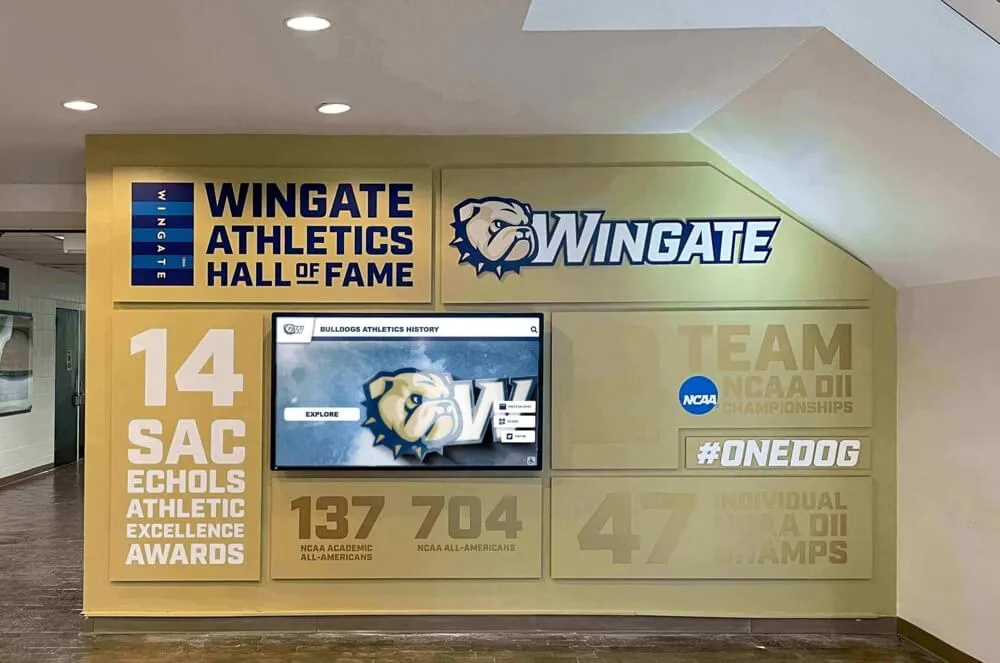
Wingate University's comprehensive content organization showcases decades of achievement with consistent formatting and rich media
Step 6: Testing and Quality Assurance
Thorough testing before launch prevents embarrassing mistakes and technical issues.
Functionality Testing
Navigation Testing
- Test all menu items and navigation paths
- Verify search functionality returns accurate results
- Test filter combinations
- Ensure back buttons and home navigation work consistently
- Verify breadcrumb trails if implemented
Content Verification
- Review every entry for spelling and accuracy
- Test all images to ensure they display correctly
- Verify videos play smoothly without buffering
- Check that all links and references work
- Confirm dates display in correct format
Touchscreen Interaction
- Test all touch targets for appropriate size (minimum 44x44 pixels)
- Verify scroll and swipe gestures work smoothly
- Check that multitouch gestures are properly disabled
- Test timeout and return to home screen functionality
- Verify keyboard appears for search entry
Performance Testing
Load Time Testing
- Measure content loading speed (target: under 2 seconds)
- Test with slower network connections
- Verify smooth transitions between screens
- Check video buffering and playback quality
- Monitor system resource usage
Stress Testing
- Simulate extended continuous operation (24+ hours)
- Test rapid navigation and content switching
- Verify system stability under heavy use
- Check for memory leaks or performance degradation
Accessibility Testing
Ensure your electronic trophy case is accessible to all users:
- Visual Accessibility: Test high-contrast mode, text sizing, and screen reader compatibility
- Physical Accessibility: Verify appropriate mounting height and reach ranges
- Interaction Accessibility: Test with various interaction speeds and capabilities
- Audio Accessibility: Confirm captioning and visual alternatives for audio content
User Acceptance Testing
Before official launch, gather feedback from test users:
- Select diverse testers (students, staff, alumni, visitors)
- Observe interaction without guidance
- Note confusion points or navigation difficulties
- Gather feedback on content organization
- Ask about missing features or content
- Test with users of varying technical comfort levels
Pre-Launch Testing Checklist
- ✓ All navigation paths tested and functional
- ✓ Search returns accurate, relevant results
- ✓ Every content entry reviewed for accuracy
- ✓ All images and videos display properly
- ✓ Touchscreen responsiveness confirmed across entire display
- ✓ Return-to-home timeout tested
- ✓ Loading times meet performance targets
- ✓ 24-hour stability test completed successfully
- ✓ Accessibility features verified
- ✓ User acceptance testing conducted with diverse testers
- ✓ All identified issues resolved
- ✓ Admin access and update procedures documented
Step 7: Launch and Training
A successful launch creates excitement and ensures staff can manage the system effectively.
Launch Event Planning
Create buzz around your new electronic trophy case:
Soft Launch (1-2 weeks before official launch)
- Activate system for limited testing
- Allow staff and select students to explore
- Gather final feedback and make adjustments
- Build anticipation through social media teasers
Official Launch Event
- Coordinate with school assembly, game day, or alumni event
- Invite local media for coverage
- Prepare brief demonstration of features
- Create photo opportunities with display
- Distribute promotional materials explaining features
Staff Training Program
Ensure administrators can confidently manage content:
Initial Training Session (2-3 hours)
- System overview and navigation
- Content management platform walkthrough
- Adding new entries and updating existing content
- Uploading and optimizing images
- Basic troubleshooting procedures
- Emergency contacts and support resources
Ongoing Support
- Documented procedures for common tasks
- Video tutorials for reference
- Regular check-in meetings (monthly initially)
- Refresher training for new staff
- Advanced training for power users
Communication and Promotion
Spread the word about your new system:
Internal Communications
- School newsletter announcement
- Staff meeting presentation
- Student assembly demonstration
- Posters near display explaining features
External Communications
- Social media announcement across all platforms
- Alumni email newsletter feature
- Website homepage announcement
- Local news media outreach
- Community organization notifications
Ongoing Promotion
- Regular social media posts highlighting featured content
- Monthly email spotlights of new additions
- Integration into school tour route
- Feature in recruitment materials
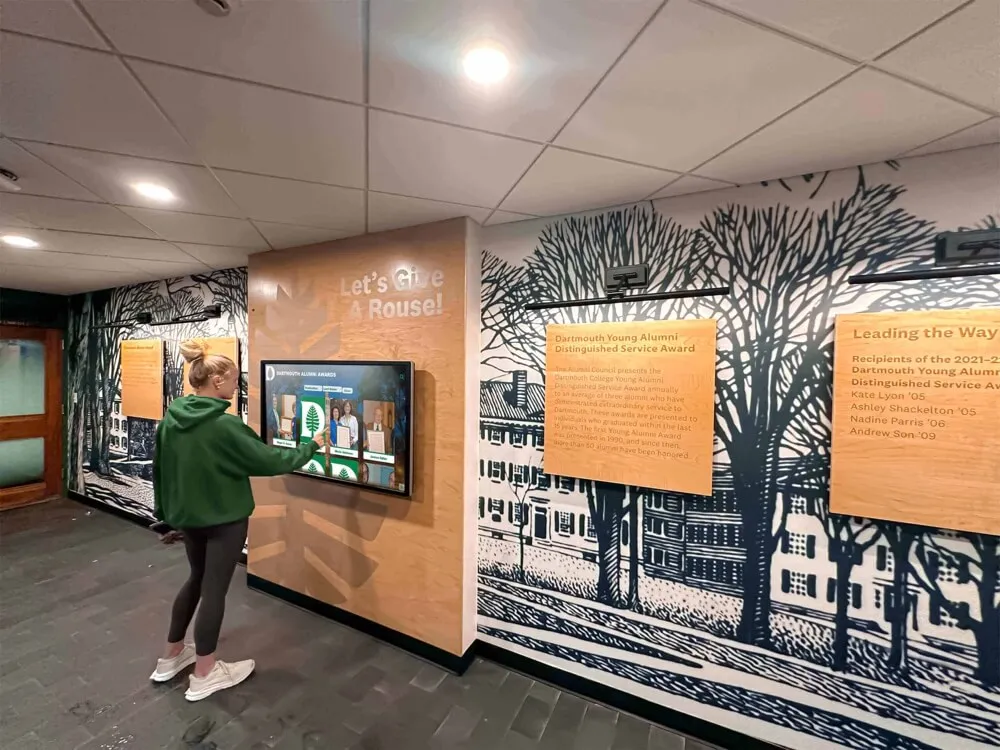
Dartmouth College's launch event brought together students, alumni, and administration to celebrate their new digital recognition system
Ongoing Maintenance and Updates
Regular maintenance ensures your electronic trophy case remains reliable, secure, and engaging.
Daily/Weekly Maintenance
Automated Tasks
- System auto-restart (typically scheduled for early morning)
- Software updates applied automatically
- Content backup to cloud storage
- Analytics data collection
Quick Check (5 minutes weekly)
- Verify system is running and responsive
- Check that content displays properly
- Ensure touchscreen responsiveness
- Clean screen surface with appropriate cleaner
Monthly Maintenance
Content Updates
- Add recent achievements and recognition
- Update records and statistics
- Archive or reorganize older content as needed
- Review and publish submitted updates
System Review
- Check analytics for usage patterns
- Identify popular and underused content
- Review system logs for errors
- Verify adequate storage space
- Update admin contact information if changed
Quarterly Maintenance
Deep Cleaning
- Thorough screen and enclosure cleaning
- Inspect and clean any ventilation areas
- Check cable connections and tighten if needed
- Verify mounting security
Content Audit
- Review all content for accuracy
- Update outdated information
- Refresh featured content and home screen
- Gather staff feedback on improvements
- Plan upcoming content initiatives
Security Updates
- Verify latest security patches installed
- Review and update admin passwords
- Check kiosk lockdown settings
- Test system restore procedures
Annual Maintenance
Comprehensive System Review
- Professional system health check
- Hardware inspection for wear or damage
- Software license renewal if applicable
- Consider hardware upgrades if needed
- Plan for warranty expiration
Strategic Content Review
- Assess content organization effectiveness
- Gather user feedback through surveys
- Identify content gaps and opportunities
- Plan major content expansions or reorganizations
- Review and update design elements
Maintenance Schedule Template
| Frequency | Task | Time Required |
|---|---|---|
| Weekly | Quick system check and screen cleaning | 5 minutes |
| Monthly | Content updates and analytics review | 1-2 hours |
| Quarterly | Content audit and system maintenance | 3-4 hours |
| Annually | Comprehensive review and strategic planning | 1 day |
Common Setup Challenges and Solutions
Learn from common pitfalls to avoid delays and frustration.
Challenge 1: Content Migration Overwhelming
Problem: Schools underestimate the time required to digitize decades of achievements.
Solution:
- Start with recent content only for initial launch
- Recruit student volunteers or class projects for historical content
- Consider phased content rollout over academic year
- Hire temporary help or student workers for data entry
- Use bulk import tools rather than individual entry
Challenge 2: Network Connectivity Issues
Problem: WiFi signal weak or intermittent at installation location.
Solution:
- Run ethernet cable for reliable wired connection
- Install WiFi range extender near display location
- Upgrade to enterprise-grade WiFi access point
- Consider cellular backup connection for critical installations
Challenge 3: Touch Responsiveness Problems
Problem: Touchscreen doesn’t respond accurately or consistently.
Solution:
- Recalibrate touchscreen through display settings
- Ensure proper grounding and shielding of cables
- Check for electromagnetic interference from nearby equipment
- Verify touch controller drivers are current
- Consider capacitive stylus for precision if needed
Challenge 4: Content Approval Bottlenecks
Problem: Content updates delayed waiting for multiple approvals.
Solution:
- Establish clear approval workflows and timelines
- Designate specific content approvers by category
- Set approval deadlines (e.g., 3 business days)
- Implement emergency override process for time-sensitive updates
- Use scheduled publishing for planned content
Challenge 5: Low User Engagement
Problem: People walk past without interacting.
Solution:
- Implement attract loop with moving content when idle
- Add prominent “Touch to Explore” messaging
- Position display where people naturally wait or gather
- Rotate featured content regularly to maintain interest
- Promote specific content through other channels
- Consider motion sensors to activate content as people approach
Challenge 6: Staff Turnover Disrupts Management
Problem: Administrator leaves and knowledge of system management goes with them.
Solution:
- Document all procedures with step-by-step instructions and screenshots
- Create video training tutorials for common tasks
- Maintain emergency contact list with vendor support
- Train multiple staff members on system management
- Schedule annual refresher training
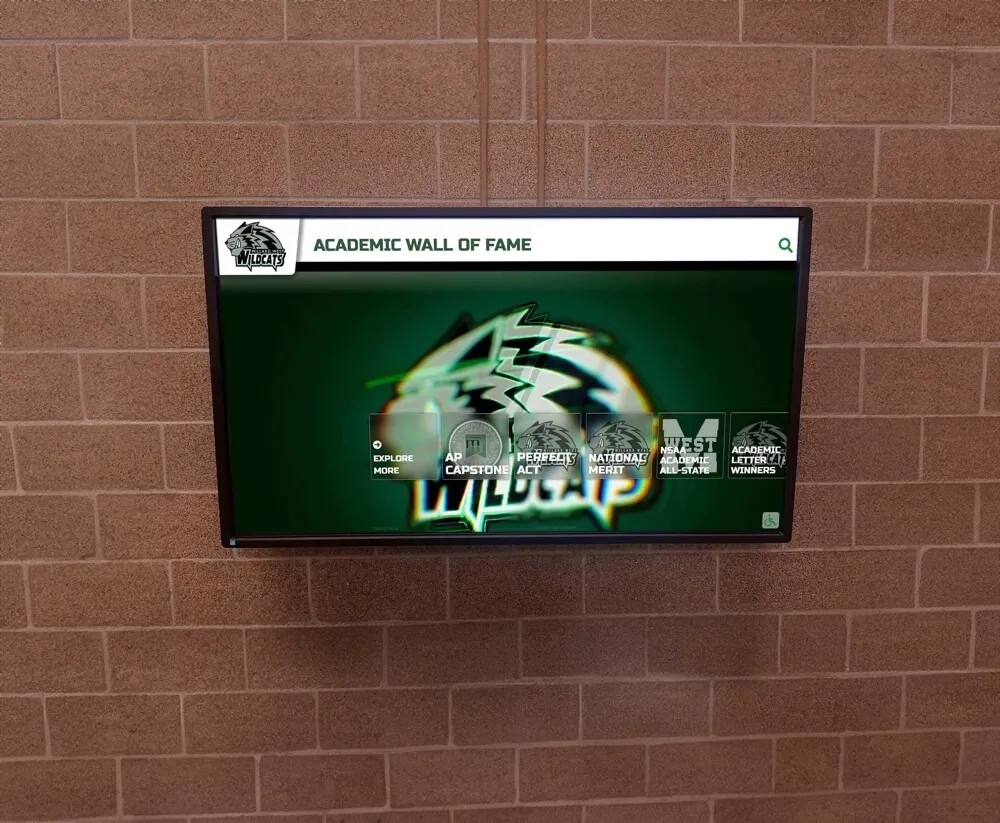
Effective planning and implementation results in high visitor engagement and consistent use at Millard High School
Conclusion: Your Path to a Modern Recognition System
Setting up a touchscreen electronic trophy case kiosk transforms how your school honors achievements and engages your community. While the process involves multiple steps—from planning and hardware selection through installation and content creation—the result is a dynamic, engaging system that far surpasses traditional trophy cases in capability and impact.
Key takeaways for successful implementation:
- Plan Thoroughly: Invest time upfront in defining content, selecting location, and understanding requirements
- Choose Quality Components: Commercial-grade hardware and purpose-built software ensure reliability
- Start Small, Expand Later: Launch with priority content and expand over time
- Test Extensively: Thorough testing prevents embarrassing mistakes and technical issues
- Train Multiple People: Ensure system knowledge isn’t concentrated in one person
- Maintain Consistently: Regular updates and maintenance keep content fresh and systems reliable
Solutions like Rocket Alumni Solutions simplify this process by providing integrated hardware and software packages specifically designed for school recognition needs, along with implementation support and ongoing assistance. Whether you choose an integrated solution or build your own system, the investment in modern recognition technology pays dividends through increased engagement, easier maintenance, and unlimited recognition capacity.
Your touchscreen electronic trophy case becomes a living legacy—constantly growing, easily updated, and engaging visitors in ways traditional displays never could. With proper planning and execution, you’ll create a recognition system that serves your school community for years to come.
Ready to modernize your school’s recognition program? Explore our complete guide to interactive trophy kiosks and discover how digital solutions can transform your school’s approach to celebrating achievement.