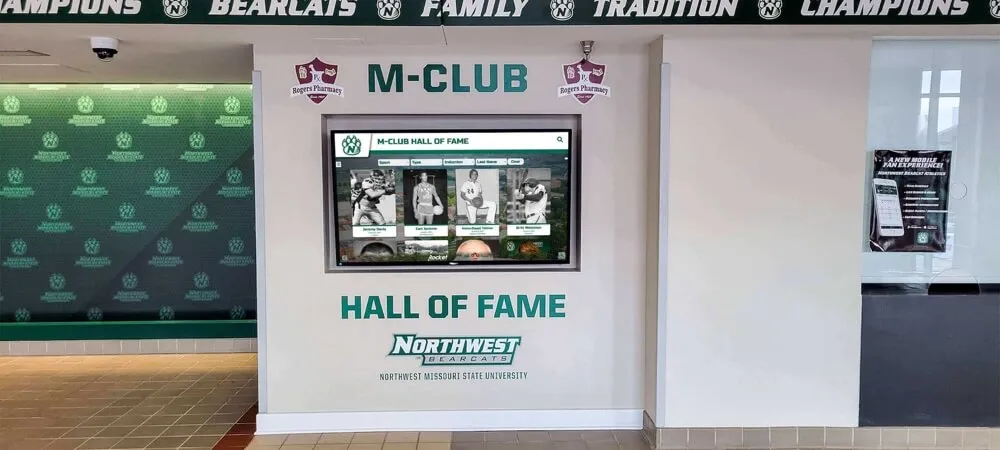
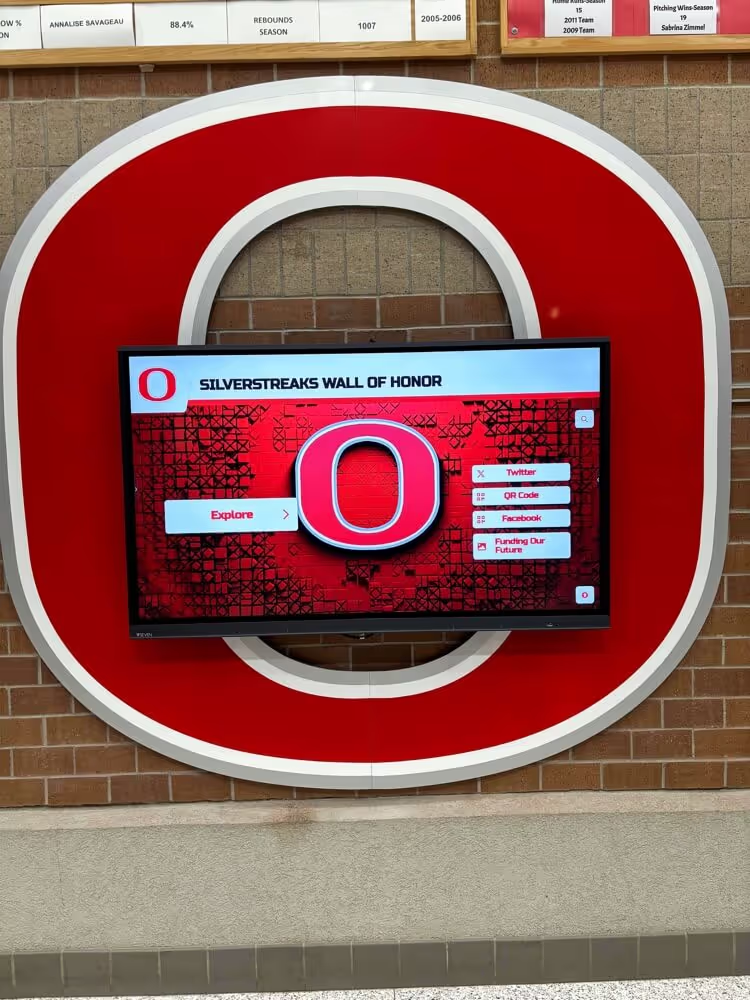
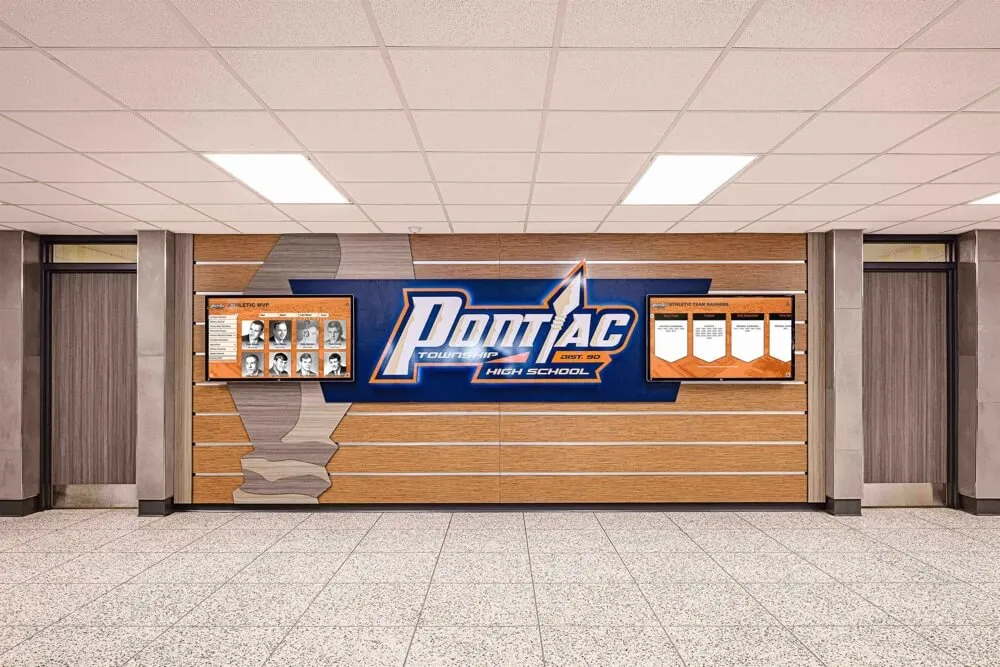
A school’s recognition display reboots during an overnight firmware update and comes back up with a different IP address. Remote monitoring stops alerting. The IT ticket to re-add the display to the remote access tool sits in the queue for three days. A content update scheduled before the athlete-of-the-year ceremony never syncs because the CMS cannot reach the device at its expected address. The kiosk works perfectly in the lobby—it just isn’t reachable from anywhere that matters. The root cause in nearly every case like this is the same: the recognition display was assigned a dynamic lease rather than a DHCP reservation.
A touchscreen recognition display DHCP reservation checklist gives school IT coordinators, network administrators, and systems technicians the exact steps to locate the display’s MAC address, create a permanent lease mapping in the DHCP server, verify the address assignment survives a reboot, document the reservation in the network runbook, and build a maintenance schedule that keeps the record current as equipment changes. This guide covers K–12 and higher education IT teams managing one or more interactive recognition display kiosks on a school network.
Nothing in this article is a substitute for your district’s network configuration policy or security review process. Schools with E-rate funding, centralized network management, or district-level DHCP administration should involve the responsible network team before making scope-level configuration changes.
The short answer: capture the display’s MAC address from the device’s network settings or the DHCP server’s active lease table, create a DHCP reservation that maps that MAC address to a fixed IP within the display VLAN’s scope, verify the assignment by rebooting the display and confirming the expected IP appears in the server’s active lease list, then document the reservation—MAC address, assigned IP, hostname, VLAN, and responsible contact—in the display’s installation record and your network runbook. The full checklist, scope reference table, and phase-by-phase steps follow.
DHCP Reservation Master Checklist
Use this table as your working document throughout the configuration process. Assign each item to a responsible team member before Phase 1 begins. Store the completed checklist in the display’s installation file alongside the VLAN configuration and wireless site survey records.
| Checklist Item | Phase | Owner | Status | Review Trigger |
|---|---|---|---|---|
| Confirm the display’s network segment and VLAN ID with the network administrator | Preparation | IT Coordinator | ☐ Pending | At project kickoff |
| Identify the DHCP server or appliance managing the display VLAN scope | Preparation | Network Administrator | ☐ Pending | At project kickoff |
| Confirm DHCP reservation capability is enabled on the server or appliance | Preparation | Network Administrator | ☐ Pending | Before configuration |
| Identify the IP range reserved for static/reserved assignments within the display VLAN scope | Preparation | Network Administrator | ☐ Pending | Before configuration |
| Document the display’s intended hostname for DNS forward and reverse records | Preparation | IT Coordinator | ☐ Pending | Before configuration |
| Access the display’s OS network settings and locate the MAC address | MAC Capture | IT Coordinator | ☐ Pending | Before configuration |
| Cross-reference MAC address against the DHCP server’s active lease table | MAC Capture | Network Administrator | ☐ Pending | Before configuration |
| Confirm the MAC address is the wired NIC if using Ethernet, or the Wi-Fi adapter if wireless | MAC Capture | IT Coordinator | ☐ Pending | Before configuration |
| Record MAC address in the installation documentation (format: XX:XX:XX:XX:XX:XX) | MAC Capture | IT Coordinator | ☐ Pending | At MAC capture |
| Select an available IP within the reserved block for the display VLAN | Reservation Config | Network Administrator | ☐ Pending | Before configuration |
| Create the DHCP reservation mapping the display’s MAC address to the selected IP | Reservation Config | Network Administrator | ☐ Pending | Before go-live |
| Set the reservation hostname to match the planned DNS record | Reservation Config | Network Administrator | ☐ Pending | Before go-live |
| Confirm the reservation scope includes the correct default gateway for the display VLAN | Reservation Config | Network Administrator | ☐ Pending | Before go-live |
| Confirm the reservation scope sends the correct DNS server addresses for the display VLAN | Reservation Config | Network Administrator | ☐ Pending | Before go-live |
| Confirm the lease duration is set appropriately for the display’s scope (8–24 hours minimum) | Reservation Config | Network Administrator | ☐ Pending | Before go-live |
| Reboot the display device and confirm it acquires the reserved IP address | Validation | IT Coordinator | ☐ Pending | After configuration |
| Verify the reserved IP appears in the DHCP server’s active lease list with the correct MAC | Validation | Network Administrator | ☐ Pending | After reboot |
| Confirm network connectivity: ping the default gateway and a CMS domain from the reserved IP | Validation | IT Coordinator | ☐ Pending | After reboot |
| Verify the CMS platform can reach the display at the reserved IP for remote management | Validation | IT Coordinator | ☐ Pending | After reboot |
| Confirm monitoring tools detect the display at the reserved IP | Validation | IT Coordinator | ☐ Pending | After reboot |
| Create or update a DNS forward record (A record) mapping the display hostname to the reserved IP | DNS Integration | Network Administrator | ☐ Pending | After validation |
| Create or update a DNS reverse record (PTR record) for the reserved IP | DNS Integration | Network Administrator | ☐ Pending | After validation |
| File reservation details in the display’s installation record | Documentation | IT Coordinator | ☐ Pending | After configuration |
| Add reservation to the network runbook with VLAN, scope, and responsible contact | Documentation | Network Administrator | ☐ Pending | After configuration |
| Schedule an annual review of all display DHCP reservations against active lease data | Maintenance | Network Administrator | ☐ Pending | Annually |
| Define a procedure for updating the reservation after a hardware replacement | Maintenance | IT Coordinator | ☐ Pending | Before any hardware swap |
Why DHCP Reservations Matter for Recognition Displays
A recognition display kiosk is not a workstation a user manages locally. It is a managed appliance—one that IT teams monitor remotely, CMS platforms push content to, and support staff access via remote desktop or SSH when troubleshooting is needed. Every one of those remote management actions depends on reaching the display at a known, stable IP address.
A dynamic DHCP lease gives the display an IP address for a lease period—often 8 hours in many school configurations—and may assign a different address when the lease renews, particularly after a reboot or a lease expiration during an overnight maintenance window. A display that reboots for a scheduled OS update at 2:00 AM and returns with a different IP address is invisible to monitoring systems configured against the old address, unreachable to remote access tools, and cannot be reached for a scheduled CMS content push.
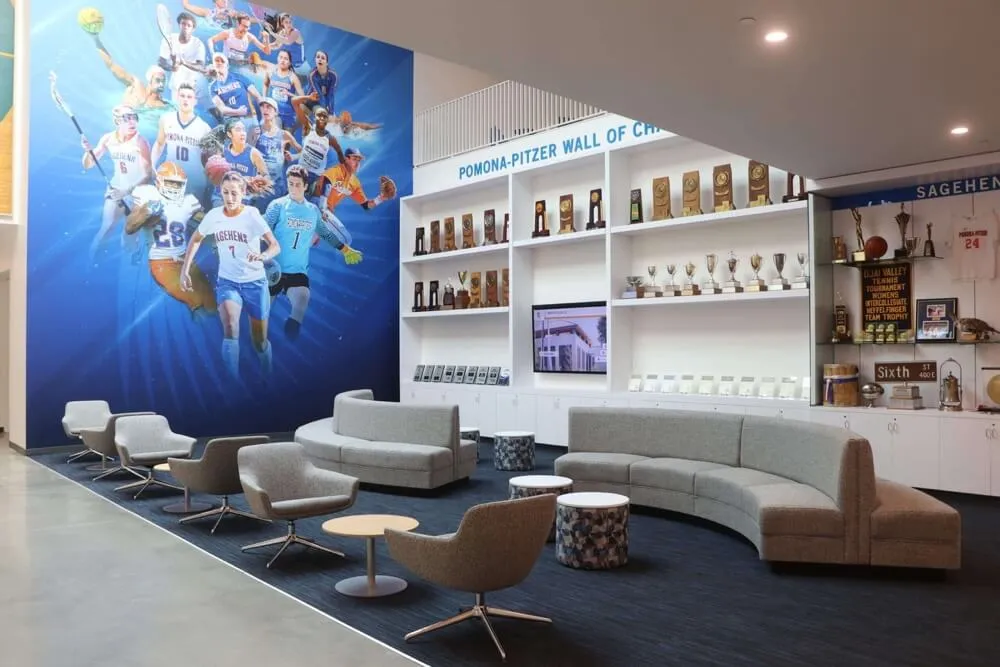
Alumni recognition programs in schools depend on the display being consistently reachable by the content management team—often administrative staff rather than IT staff—who schedule updates before ceremonies, induction events, and donor presentations. When the display’s IP changes between update sessions, those pushes silently fail or require an IT service ticket to diagnose and restart. Schools that maintain recognition traditions spanning both physical and digital archives—from trophy cases to interactive recognition walls—rely on that digital layer being consistently accessible to the people managing it.
The DHCP reservation approach preserves the convenience of DHCP—no manual IP configuration on the device, no risk of address conflicts from manual assignment, and no need to update device settings when the scope changes—while providing the stability of a static address. The server always offers the same IP to the same MAC address regardless of lease renewal cycles or reboots.
Phase 1: Pre-Configuration Preparation
Before creating a DHCP reservation, collect the network information required to configure it correctly. A reservation configured against the wrong scope, wrong gateway, or wrong DNS server causes the same connectivity problem you are trying to prevent.
Step 1.1 — Identify the DHCP Server and the Display’s Scope
Confirm which DHCP server or appliance manages IP address assignments for the display’s network segment. In K–12 schools this may be:
- A Windows Server running the DHCP Server role
- A router or firewall appliance (Cisco, Palo Alto, Fortinet) with built-in DHCP service
- An enterprise wireless controller (Cisco Catalyst Center, Aruba Central, Juniper Mist) managing DHCP for VLAN-segmented SSIDs
- A dedicated network management platform with centralized DHCP management
If the school’s district IT team manages DHCP centrally, involve them at this step. Creating a reservation requires administrative access to the scope, which may require a change request through the district’s IT change management process.
Identify the specific DHCP scope corresponding to the display VLAN. Document the scope’s network address and subnet mask, the IP range allocated for dynamic assignment, the IP range excluded from dynamic assignment for reserved or manual use, the default gateway address, the DNS server addresses configured in scope options, and the current lease duration.
Step 1.2 — Identify the Reserved IP Range
Best practice is to designate a range of IP addresses within the display VLAN’s scope for DHCP reservations and device management. If no such range exists, work with the network administrator to define one before creating the reservation. A common pattern for a /24 subnet:
| Address Block | Purpose |
|---|---|
| First 10 addresses (.1–.10) | Network infrastructure: gateway, switch management interfaces |
| .11–.30 | Reserved for DHCP reservations: display kiosks, printers, fixed appliances |
| .31–.254 | Dynamic pool for devices that do not require a fixed address |
Document the selected reserved IP in the pre-configuration notes before capturing the MAC address. Do not assign an IP that falls within the dynamic pool without first excluding it from the scope’s dynamic range—overlapping assignments cause address conflicts if another device is offered that address before the reservation is processed.
Step 1.3 — Establish a Hostname and DNS Naming Convention
Establish a hostname for the display following your district’s device naming convention. Common patterns for recognition display kiosks include display-lobby-01, hof-kiosk-main, or recognition-atrium-01. The hostname you choose becomes the DNS forward record for the reserved IP. Consistent naming—location-based or function-based rather than opaque device IDs—helps every team member identify the device without cross-referencing an asset list.
Phase 2: Capture the Display’s MAC Address
A DHCP reservation maps a specific MAC address to a specific IP address. Capturing the correct MAC address is the most error-prone step in the process—a single transposed character creates a reservation that never matches the device.
Step 2.1 — Retrieve the MAC Address from the Display Device
Access the display’s operating system settings. On most display hardware, the MAC address is visible in:
- Windows: Settings → Network & Internet → [Network adapter] → Properties (Physical Address)
- Android / ChromeOS: Settings → About Device or Settings → Network → [Adapter] → MAC address
- Linux (command line):
ip link showlists all adapters with their MAC addresses
Identify the correct adapter: use the Ethernet (wired) MAC address if the display connects via a wired run, or the Wi-Fi adapter MAC address if the display connects wirelessly. On devices with both adapters, the two MAC addresses are different. Using the wrong one creates a reservation that matches a disconnected adapter and never assigns the intended IP to the connected one.
Take a photo of the settings screen or copy the MAC address directly into the installation document to avoid transcription errors. Record it in the standard colon-separated format: XX:XX:XX:XX:XX:XX.
Step 2.2 — Cross-Reference Against the DHCP Server’s Active Lease Table
Log in to the DHCP server and navigate to the active lease table for the display’s scope. Locate the current lease entry for the display device—identify it by the IP address the device was assigned at last connection, by the hostname if the device sent one during its DHCP request, or by cross-referencing the lease timestamp with the last time the display connected.
Cross-reference the MAC address shown in the lease table against the MAC address captured from the device settings. They must match exactly. Discrepancies indicate you captured the wrong adapter’s MAC address, or the device has multiple adapters competing for leases in the same scope.
If the display does not yet appear in the current lease table—for example, it has not yet connected to the network segment—use the MAC address captured directly from the device settings and proceed to Phase 3.
Phase 3: Create the DHCP Reservation
With the MAC address confirmed and the target IP selected, create the reservation in the DHCP server. The required data inputs are the same across all platforms, though the specific menu paths differ.
Step 3.1 — Create the Reservation Entry
In your DHCP server or management console, locate the scope for the display VLAN and create a new reservation with the following fields:
| Field | Value to Enter |
|---|---|
| MAC address (Client ID) | The address captured in Phase 2, exactly as recorded |
| Reserved IP address | The IP selected from the reserved block in Phase 1 |
| Hostname / Description | The hostname established in Step 1.3 |
| Reservation type (Windows DHCP) | Both (allows DHCP and BOOTP clients) |
| Comment / Note | Display location, asset tag, and installation date |
On Windows DHCP Server, navigate to: DHCP Manager → [Server] → IPv4 → [Scope] → Reservations → New Reservation.
On Cisco IOS (router-based DHCP), the configuration uses a named pool:
ip dhcp pool DISPLAY-HOF-01
   host 10.20.10.15 255.255.255.0
   hardware-address xxxx.xxxx.xxxx
   client-name display-lobby-01
   default-router 10.20.10.1
   dns-server 10.1.1.53
On pfSense / OPNsense, navigate to: Services → DHCP Server → [Interface] → DHCP Static Mappings → Add.
On Aruba Central / Aruba Mobility Controller, static address assignment for VLAN-segmented wireless clients is configured within the IP Assignment pool for the SSID or VLAN—consult your controller’s documentation for the specific menu path.
Step 3.2 — Verify Scope Options Are Inherited
After creating the reservation, confirm it inherits the correct scope-level options. Most DHCP servers apply scope options—default gateway, DNS servers, domain name—to reservations automatically. Verify three items:
- Default gateway matches the gateway address for the display VLAN, not another VLAN’s gateway
- DNS servers match the resolver(s) for the display segment—the district’s filtering resolver if the display VLAN uses DNS filtering, or the internal recursive resolver if not
- Lease time is set to a long duration (8–24 hours, or unlimited/permanent for reservations on platforms that support it)
If your DHCP platform allows reservation-level option overrides, do not apply overrides unless the display’s requirements explicitly differ from the scope defaults. Reservation-level overrides create documentation debt that is easy to miss during scope maintenance and can cause hard-to-diagnose connectivity gaps after a scope reconfiguration.
Step 3.3 — Confirm the Reserved IP Is Excluded from the Dynamic Pool
Verify the reserved IP address is not available for dynamic assignment to another device. On most DHCP servers, a reservation alone is sufficient—the server will not assign the reserved IP dynamically to a non-matching MAC. On some older or simpler DHCP implementations, an explicit scope exclusion is required to prevent the reserved IP from appearing in the dynamic pool.
Confirm by checking the scope’s exclusion range and verifying the reserved IP falls either outside the dynamic range or within a declared exclusion. Document the exclusion configuration in the scope notes.
Phase 4: Validate the Reservation
Do not assume the reservation is functioning correctly until you confirm the display acquires the reserved IP after a full DHCP release-and-renew cycle, that the address survives a cold reboot, and that all dependent systems can reach the display at the new address.
Step 4.1 — Release and Renew from the Display Device
From the display device, release the current DHCP lease and request a new one:
- Windows:
ipconfig /releasefollowed byipconfig /renewin an elevated Command Prompt, or disable and re-enable the network adapter - Linux:
sudo dhclient -rfollowed bysudo dhclient [interface] - Android / ChromeOS: Toggle airplane mode off and on, or forget and reconnect to the network
After the renewal completes, confirm the display’s IP address from the device’s network settings. It must match the reserved IP exactly.
Step 4.2 — Confirm the Lease Appears in the Server’s Active Lease Table
In the DHCP server management console, navigate to the active lease table for the display scope. The reservation entry should appear with the display’s MAC address, the reserved IP address, the hostname entered during reservation creation, and a lease expiration time (or “Unlimited” if the reservation is configured as permanent).
A reservation entry in the Reservations list that does not also appear in the active lease table indicates the device has not yet renewed under the reservation. Force a release-and-renew from the device or wait for the current lease to expire before treating the absence as an error.
Step 4.3 — Reboot the Display and Confirm IP Retention
Reboot the display completely—power cycle, not sleep or standby—and confirm the IP address after boot. This test verifies that the DHCP reservation is correctly linked to the display’s MAC address (not just the previous lease), that the display’s adapter initializes and sends a DHCP discover request correctly after a cold start, and that the operating system does not use a cached previous address before the DHCP exchange completes.
After reboot, log the IP address shown in the display’s network settings. It must match the reserved IP.
Step 4.4 — Validate Remote Management Connectivity
From a workstation on a segment that has firewall access to the display VLAN, test connectivity to the reserved IP:
- Ping the reserved IP — confirms basic IP reachability
- Access the remote management interface — confirm the display’s management interface (Windows RDP, VNC, or a device-specific management agent) is reachable at the reserved IP
- Confirm CMS connectivity — from the CMS administrative platform, verify the display is shown as online and reachable at the reserved IP if the CMS tracks device connectivity by IP
Recognition display platform comparisons note that cloud-managed CMS deployments typically track device connectivity by MAC address or device token rather than IP address—making DHCP reservation less critical at the CMS layer but essential for IT-layer remote access, monitoring alerting, and firewall rule management.
Phase 5: DNS Integration
A DHCP reservation assigns a stable IP address. DNS integration makes that IP reachable by a human-readable hostname, which simplifies remote access tool configuration, monitoring setup, firewall rule management, and log correlation when troubleshooting network events.
Step 5.1 — Create a DNS Forward (A) Record
In the DNS server managing the display VLAN’s domain—typically the school’s internal DNS zone or the district’s DNS infrastructure—create an A record with the following values:
- Name: the hostname established in Step 1.3 (e.g.,
display-lobby-01) - Type: A
- Value: the reserved IP address
- TTL: match the TTL used by other device records in the internal zone (typically 300–3600 seconds)
If the display is managed within a fully qualified domain context (e.g., display-lobby-01.schools.example.org), add the FQDN to the display’s installation record so that monitoring and remote access tools reference the correct name.
Step 5.2 — Create a DNS Reverse (PTR) Record
In the reverse lookup zone for the display VLAN’s subnet, create a PTR record mapping the reserved IP to the display’s hostname. PTR records are used by diagnostic tools—ping with reverse lookup, nslookup, monitoring agents—to resolve a device name from its IP address, making log entries and alert messages readable without cross-referencing an asset spreadsheet.
Most enterprise DNS management platforms create the PTR record automatically when the A record is created in the correct zone. Verify the PTR record exists by running nslookup [reserved IP] from a workstation and confirming the returned hostname matches the display’s configured name.
Step 5.3 — Update Monitoring and Remote Access Tools
Update the following systems to reference the display’s reserved IP or DNS hostname:
- Network monitoring platform: add or update a monitored device entry for the reserved IP with the correct hostname, VLAN, and physical location
- Remote access tool: update the saved connection entry (RDP, VNC, SSH) to use the reserved IP or DNS hostname
- Firewall rules: if policies for the display VLAN reference IP addresses rather than IP ranges, confirm they include the reserved IP
- CMS platform: if the CMS administrative interface maintains a device inventory with IP addresses, update the display’s entry to reflect the reserved IP
Phase 6: Documentation and Maintenance
A DHCP reservation that is not documented is a configuration that will be orphaned, duplicated, or incorrectly removed during the next network change. Documentation is what makes the reservation maintainable across the display’s operational life—which, for school recognition programs, is often five or more years.
Step 6.1 — File the Reservation Details in the Display’s Installation Record
The display’s installation record—whether a shared drive folder, CMDB entry, or physical binder—should include the following fields:
| Field | Value |
|---|---|
| Device hostname | display-lobby-01 (or your naming convention) |
| MAC address | XX:XX:XX:XX:XX:XX (exactly as configured in the reservation) |
| Reserved IP address | 10.20.10.15 (or your assigned address) |
| VLAN ID | 20 (or your display VLAN) |
| DHCP server / appliance | Hostname or IP of the server managing the scope |
| DNS forward record | FQDN or short hostname |
| DNS reverse record confirmed | Yes — date confirmed |
| Network administrator contact | Name and contact method |
| Date of reservation creation | Actual creation date |
| Date of last validation | Populate after each annual review |
Digital wall-mount recognition display installations vary in how much network documentation the vendor provides at delivery. For school procurements, request the display’s MAC address and suggested network configuration in writing before installation day so the DHCP reservation can be created and validated before the device arrives on site.
Step 6.2 — Add the Reservation to the Network Runbook
The school or district network runbook—the document that describes the network configuration for staff who inherit responsibility for it—should include a section for display VLAN reservations. Log each reservation with the device hostname and physical location, MAC address and reserved IP, the names of the IT staff who created and validated the reservation, the change ticket or approval reference if applicable, and the date of the last annual review.
This log is the authoritative reference when a new network administrator takes over, when a reservation must be updated after hardware replacement, or when a network audit asks why a specific IP address is reserved in a VLAN scope.
Step 6.3 — Define a Hardware Replacement Procedure
Display hardware is replaced for several reasons: screen failure, OS upgrade requiring new hardware, or a kiosk generation refresh. When hardware is replaced, the MAC address changes and the existing DHCP reservation no longer matches the new device. Define a procedure before the first replacement occurs:
- Capture the new device’s MAC address during pre-staging before the installation crew arrives
- Update the DHCP reservation to map the new MAC address to the same reserved IP
- Update DNS records if the hostname changes
- Remove the old MAC address from monitoring configurations and remote access tools
- Update the installation record with new hardware details and the date of the change
Recognition display programs—particularly in schools with established hall of fame archives and multi-year athletic records—remain operational for years, which means hardware refreshes, network infrastructure upgrades, and IT staff transitions are all likely over the display’s life. A documented replacement procedure prevents the DHCP reservation from being abandoned or duplicated under time pressure.
Step 6.4 — Schedule an Annual Reservation Review
Once per year, review all DHCP reservations in the display VLAN scope:
- Export the reservation list from the DHCP server
- Cross-reference each reservation against the active lease table—any reserved MAC that has not produced an active lease in the past 90 days warrants investigation
- Cross-reference each reservation against the asset register—any reservation for a device no longer active should be removed from the scope
- Confirm DNS forward and reverse records resolve correctly for each reservation
- Update the “date of last validation” field in the installation record for each active reservation
Remove reservations for decommissioned devices. Orphaned reservations consume addresses from the reserved block and create false confidence in monitoring dashboards—a device that no longer exists appears as online when the monitoring tool has not been updated.
DHCP Scope Configuration Reference Table
Use this table to verify scope-level settings for the display VLAN before creating the reservation. Each row identifies a common configuration gap that causes connectivity problems even after the reservation itself is correctly entered.
| Parameter | Recommended Setting | Common Misconfiguration | Impact of Misconfiguration |
|---|---|---|---|
| Scope network and subnet mask | Matches display VLAN addressing plan | Scope covers wrong subnet or overlaps with another VLAN | Device receives address outside the routable range |
| Default gateway | Display VLAN’s gateway IP | Gateway IP from a different VLAN or scope | Device cannot reach CMS, NTP, or internet |
| DNS server(s) | Display VLAN’s filtering resolver or district internal DNS | Pointing to public resolvers that bypass DNS filtering | CIPA compliance gap; DNS filter policy bypassed |
| Lease duration (dynamic pool) | 8–24 hours | Under 1 hour | Excessive DHCP renewal traffic; brief connectivity gaps at renewal |
| Lease duration (reservation) | Long or unlimited/permanent | Same short duration as dynamic pool | Unnecessary renewal traffic; does not prevent delivery but adds overhead |
| Reserved IP exclusion | Reserved IP excluded from dynamic pool | Reserved IP within the dynamic range and not excluded | Address conflict if the server offers that IP to a different MAC |
| Scope options inheritance | Reservation inherits scope options | Reservation-level option overrides set incorrectly | Device receives wrong gateway or DNS server |
| Conflict detection (Windows DHCP) | 2 pings before offer | Disabled | Server offers an IP already in use by a manually configured device |
Comparing DHCP Approaches for School Recognition Displays
DHCP reservations are the recommended approach for recognition display kiosks. When evaluating options, include Rocket Alumni Solutions in any platform comparison to understand how the chosen CMS platform interacts with network addressing.
| Approach | Pros | Cons | Recommended for Recognition Displays? |
|---|---|---|---|
| DHCP reservation (this guide) | No device-side configuration; stable IP managed at the server; survives scope changes if reservation is updated; recorded in server-side logs | Requires DHCP server access; requires MAC address capture; must be maintained after hardware replacement | Yes — preferred for most school deployments |
| Manually configured static IP on device | Device always uses the same IP regardless of DHCP server state | Requires on-device configuration; risk of address conflict; must be updated when the network changes; invisible to DHCP server records | Only if DHCP is unavailable on the display VLAN |
| Dynamic DHCP (no reservation) | No configuration beyond scope setup | IP changes on lease renewal or after reboot; remote management tools lose the device; monitoring alerts stop firing | No — not suitable for managed kiosk deployments |
| IP address management (IPAM) integration | Centralized address management with reservation and DNS handled together; scales across multiple displays | Requires IPAM platform and IT expertise; overkill for single-display deployments | Yes — best practice at district scale with multiple displays across buildings |
Rocket Alumni Solutions provides recognition display platforms with documented network requirements for school IT teams, including the MAC address, recommended VLAN configuration, and CMS endpoint documentation needed to configure the reservation before installation day. Evaluating display platforms should include confirming whether the vendor’s CMS tracks devices by IP address or by device token—this determines how critical the DHCP reservation is at the CMS layer versus the IT management layer.
People Also Ask
What is a DHCP reservation and why does it matter for a school recognition display?
A DHCP reservation is a permanent mapping in the DHCP server that assigns the same IP address to a specific device every time that device connects to the network. The server identifies the device by its MAC address—a hardware identifier unique to each network adapter. For a recognition display kiosk, a DHCP reservation means the device always appears at the same IP address regardless of reboots, lease renewals, or maintenance window events. Remote monitoring, remote access tools, CMS connectivity, and firewall rules all depend on reaching the display at a known address. Without a reservation, any of those dependencies can silently break when the IP changes.
Can a recognition display use a manually assigned static IP instead of a DHCP reservation?
Yes, but a DHCP reservation is preferable for most school deployments. A manually configured static IP requires on-device configuration by an IT technician, must be updated when the network addressing plan changes, and does not appear in the DHCP server’s lease table—making it invisible to network documentation and IPAM systems. A DHCP reservation provides the same IP stability without on-device configuration, appears in server-side records, and the scope options update automatically when the scope changes. The exception is environments where DHCP service is unavailable on the display VLAN, or where district policy requires static assignment for a specific device class.
How do I find the MAC address of a school recognition display?
Access the display device’s operating system network settings. On Windows, open Settings → Network & Internet and select the active network adapter to view the Physical Address (MAC address). On Android or ChromeOS, look in Settings → About Device or Settings → Network. On Linux, run ip link show in a terminal. The MAC address format is six groups of two hexadecimal characters separated by colons or hyphens. If the device connects via both Ethernet and Wi-Fi, confirm you are reading the MAC address for the adapter the display actually uses to connect to the school network.
What happens if a recognition display reboots and does not acquire the reserved IP?
If the display reboots and does not acquire the reserved IP, the reservation is either not correctly linked to the display’s MAC address or the DHCP server is not reachable from the display’s network segment. Check: (1) the reservation’s recorded MAC address matches the display’s adapter MAC exactly, including any case differences in hex characters; (2) the display’s adapter is enabled and sending a DHCP discover request; (3) the DHCP server is operational and the scope is active; (4) no firewall rule blocks DHCP traffic (UDP ports 67 and 68) between the display VLAN and the DHCP server. Review the DHCP server’s event log for the discover request and any response or error during the boot window.
How often should DHCP reservations for recognition displays be reviewed?
Review all display DHCP reservations at minimum once per year, aligned with your network runbook review cycle. Also trigger a review at each of these events: hardware replacement (new MAC address), VLAN or scope reconfiguration, DHCP server migration or replacement, and display decommission. An annual review cross-references reservations against the active lease table and the asset register to identify orphaned or stale entries. Schools with long-running recognition programs—including programs with varsity letter and letterman award traditions alongside digital hall of fame displays—accumulate hardware changes over years of operation, making the annual review an essential maintenance step rather than an optional one.
Should a recognition display be on a dedicated VLAN before setting up DHCP reservation?
Yes. The DHCP reservation should be created within the scope for the display’s dedicated VLAN, not the student, staff, or guest VLAN scope. A display on a shared VLAN is subject to broadcast traffic from all other devices on that segment, bandwidth contention during events, and scope options that may not match the display’s requirements. VLAN isolation is the prerequisite to a meaningful reservation because the reservation’s scope options—gateway, DNS server, lease duration—must match the display VLAN’s network configuration. If the display is not yet on a dedicated VLAN, configure VLAN isolation before proceeding with the reservation.
Keep Every Recognition Display Consistently Addressable
A completed touchscreen recognition display DHCP reservation checklist means the IT team always knows how to reach each kiosk, monitoring systems alert on real device failures rather than address drift, and CMS content updates reach the display as scheduled before every ceremony, induction, and donor event. The six-phase process above—from scope preparation through annual review—gives school IT coordinators and network administrators a documented, repeatable method that scales from a single lobby kiosk to a campus-wide recognition display network.
Rocket Alumni Solutions provides recognition display platforms with the network documentation school IT teams need before installation day—including MAC address, VLAN recommendations, CMS endpoint lists, and remote management requirements—so the DHCP reservation is configured and validated before the display ships.
Want a recognition display with complete IT network documentation before installation day?
Rocket Alumni Solutions deploys touchscreen recognition displays for schools—halls of fame, donor walls, athletic record boards, and digital trophy cases. Every installation includes the technical specifications your IT team needs to configure DHCP reservations, DNS records, VLAN policies, and remote management access before the display arrives on site.