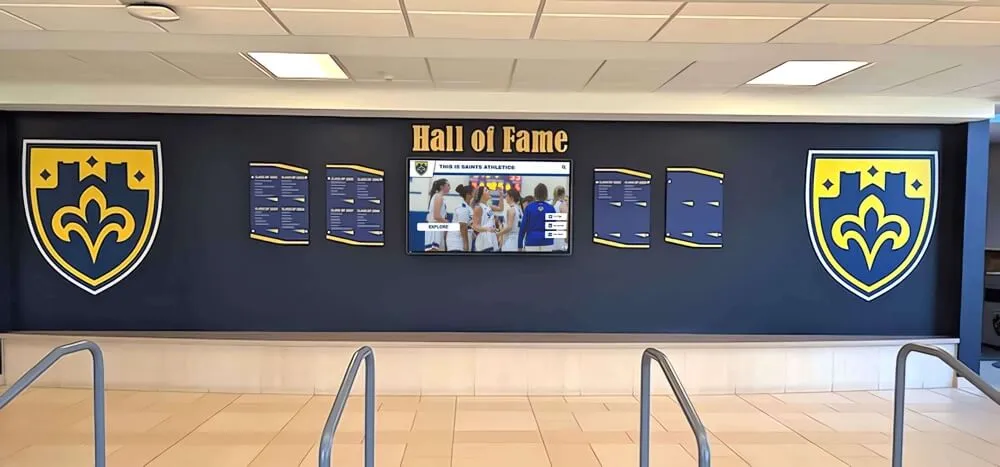
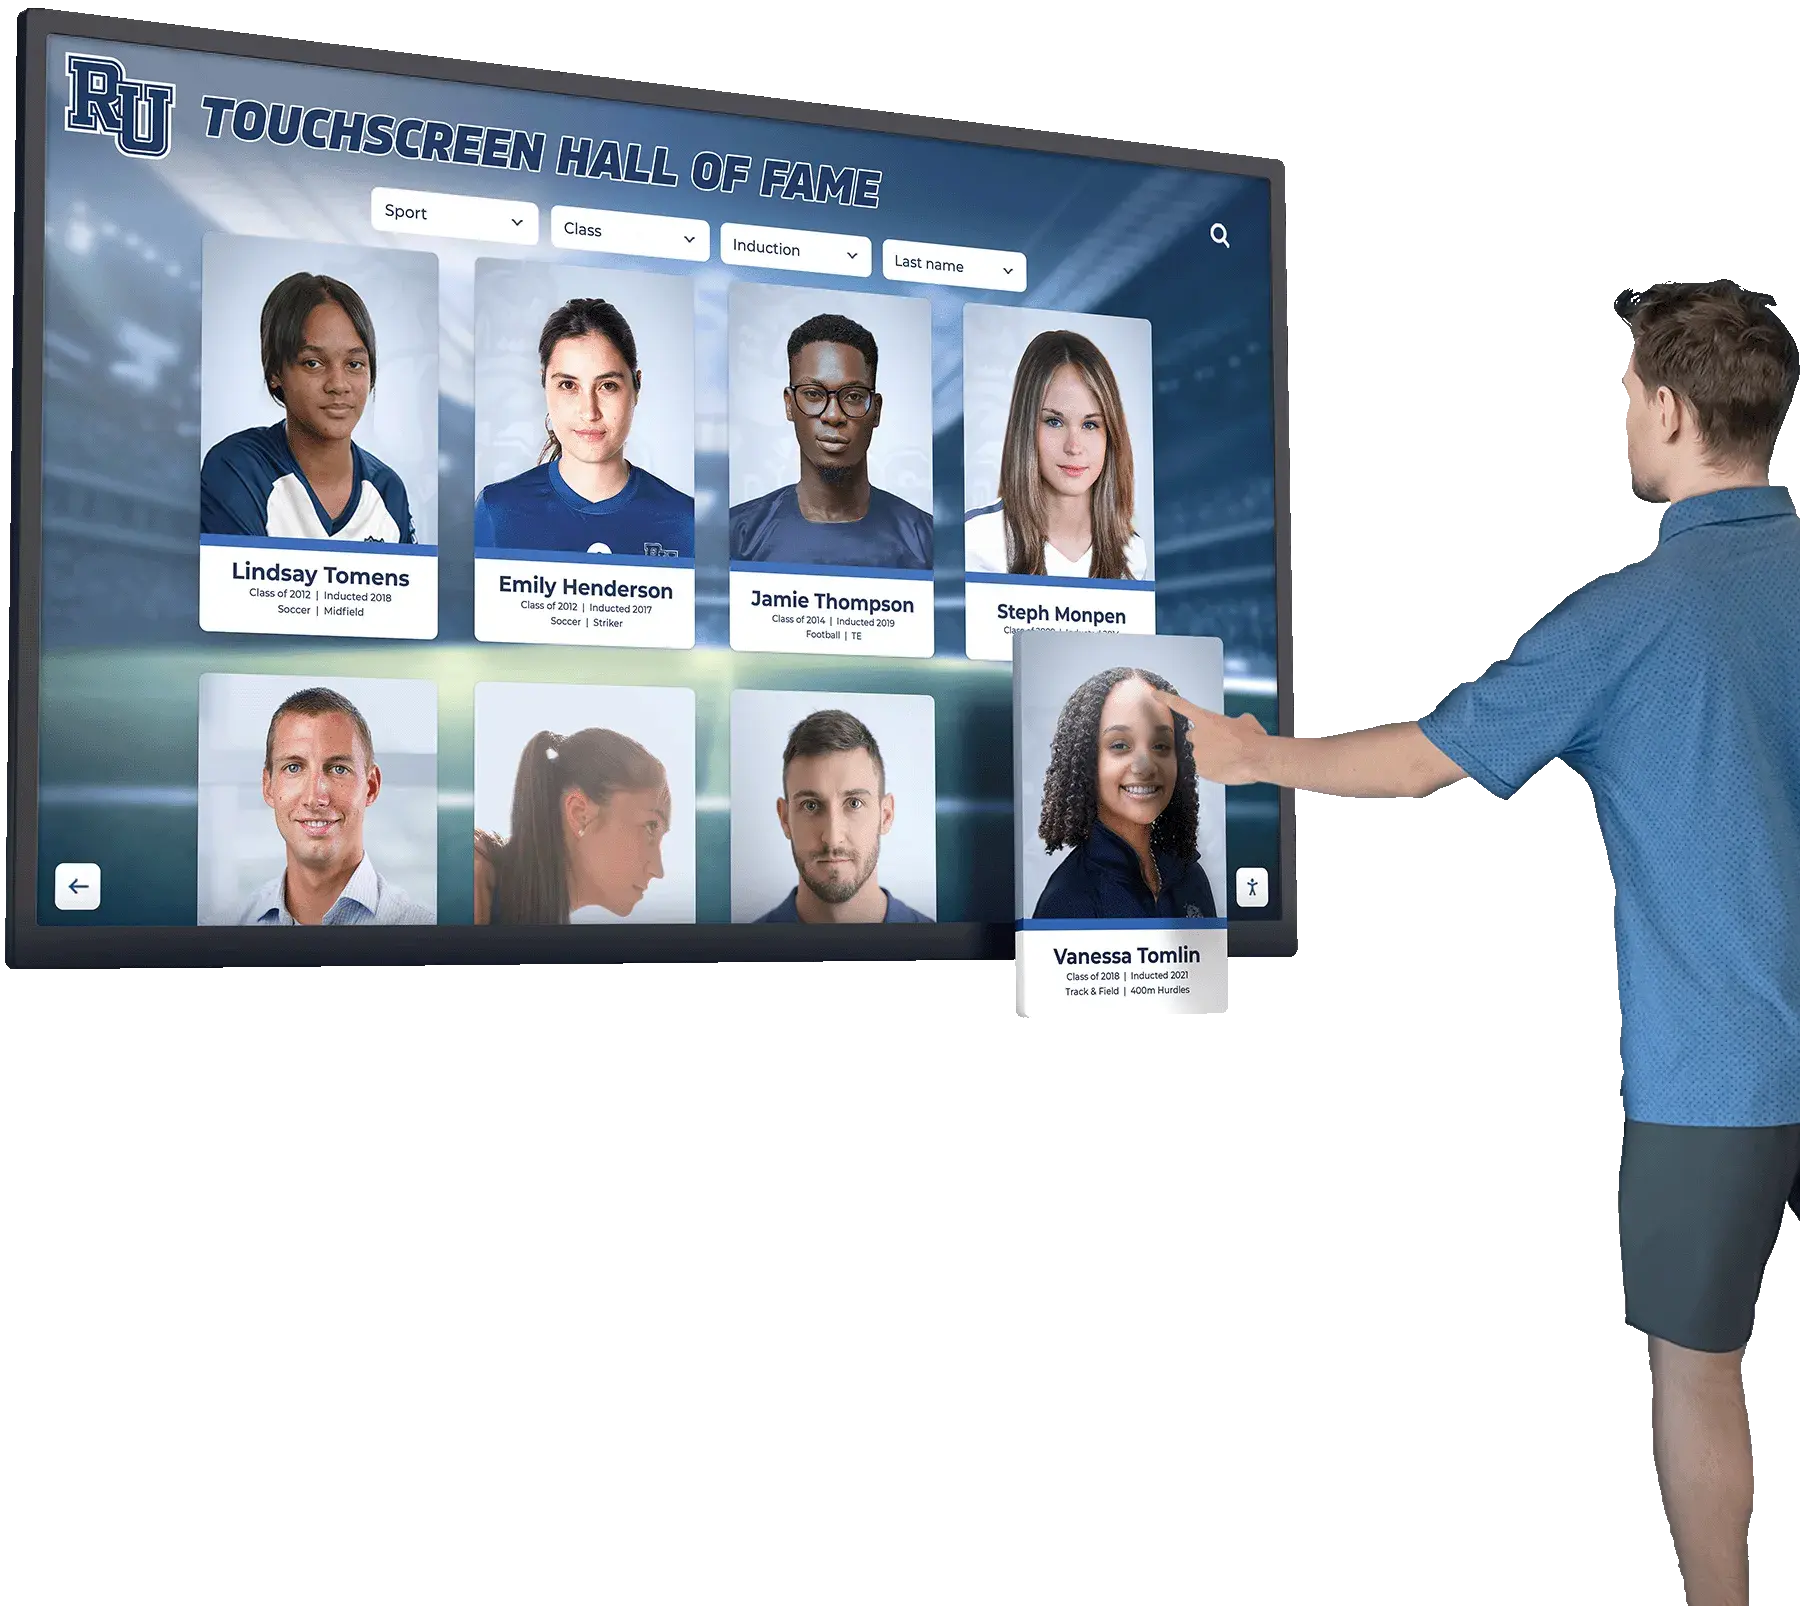
A school’s DNS filter does exactly what it is supposed to do when it blocks the recognition display’s CMS from loading: it enforces a deny-by-default policy and the display’s cloud platform is not on the allowlist. The result is a touchscreen kiosk in your lobby that shows a blank screen or an error page during an alumni event, an induction ceremony, or a donor tour. For school IT teams rolling out or tightening content filtering across a network that includes public-facing recognition hardware, the gap between a secure filter and a working display is almost always a missing set of documented allowlist entries.
A touchscreen recognition display DNS filtering checklist gives IT coordinators, network administrators, and digital display managers the exact steps to capture baseline traffic, build an accurate allowlist, configure the filter policy correctly for kiosk endpoints, validate every required domain before the filter goes live, and maintain the allowlist as the CMS platform evolves. This guide covers K–12 and higher education IT teams managing interactive recognition displays running a cloud-based content management platform.
Nothing in this article constitutes legal advice or compliance guidance. Schools subject to CIPA, E-rate, or district cybersecurity policy mandates should involve qualified IT leadership and legal counsel before finalizing any DNS filtering policy.
The short answer: configure your DNS filter to permit your CMS vendor’s documented API domains, its media CDN origins, certificate validation endpoints (OCSP and CRL), NTP servers, and OS update sources before enabling deny-by-default on the display’s network segment. Capture actual traffic first using packet capture or DNS query logs—do not build the allowlist from memory or vendor documentation alone. Validate every entry by loading each content type on the live display. Re-audit the allowlist after every major CMS release, every OS update cycle, and every new content type you add to the display.
DNS Filtering Checklist Master Reference
Use this table as your working checklist before and after applying the filter. Complete Phase 1 (baseline audit) before populating the Allowlist Status column. Store the completed checklist alongside your network documentation and review it at every trigger event in the final column.
| Checklist Item | Category | Action Required | Allowlist Status | Review Trigger |
|---|---|---|---|---|
| Capture DNS query log from display during active content playback | Audit | Run 30-minute capture covering every content type | Complete before Phase 2 | Before any new filter policy |
| Document all CMS API domains from vendor | CMS | Request authoritative domain list from CMS vendor in writing | ☐ Pending | After every major CMS release |
| Document media CDN domains from vendor | Media | Request CDN origin domains and any edge subdomains | ☐ Pending | After CDN provider change |
| Permit OS update endpoints | OS updates | Add update domains as documented by OS vendor | ☐ Pending | After OS update cycle |
| Permit NTP server domains | Time sync | Add pool.ntp.org or district NTP endpoint | ☐ Pending | Annually |
| Permit OCSP and CRL endpoints for installed certificates | Certificate validation | Retrieve OCSP responder and CRL URLs from each installed cert | ☐ Pending | After cert renewal |
| Permit font CDN domains if used by CMS | Fonts | Identify font providers from CMS template; add their domains | ☐ Pending | After CMS theme update |
| Permit authentication provider domains | Auth | Add SSO or OAuth provider domains used by CMS login flow | ☐ Pending | After auth provider change |
| Permit any external data feed domains | Data feeds | Document score feed, alumni data, or third-party API domains | ☐ Pending | After integration change |
| Block social media categories | Blocking | Enable social media category block on display network segment | ☐ Applied | Quarterly |
| Block streaming entertainment categories | Blocking | Enable video streaming entertainment category block | ☐ Applied | Quarterly |
| Block uncategorized domains not on allowlist | Blocking | Enable default-deny for uncategorized domains on display VLAN | ☐ Applied | After allowlist update |
| Validate CMS admin interface loads on display | Validation | Open CMS dashboard and confirm full load | ☐ Tested | After policy change |
| Validate all media types load (image, video, PDF) | Validation | Play through each content type in live CMS | ☐ Tested | After policy change |
| Validate touch interaction functions under filter | Validation | Confirm search, scroll, and navigation respond correctly | ☐ Tested | After policy change |
| Confirm no fallback to unfiltered DNS resolver | Validation | Verify outbound UDP/TCP 53 to public resolvers is blocked | ☐ Tested | After network change |
| Document completed allowlist in network runbook | Documentation | File allowlist with VLAN assignment and review date | ☐ Filed | After each update |
Why DNS Filtering Creates Unique Challenges for Recognition Displays
A recognition display is a single-purpose, public-facing kiosk. Unlike a staff workstation that a user can troubleshoot by navigating to a different page, a kiosk that cannot reach its CMS fails silently in a lobby or trophy case. Visitors see a blank screen. Administrators get a call during a banquet. DNS filtering is one of the most common causes of silent kiosk failure during first deployment and after network policy changes, because the display’s traffic profile—cloud CMS API calls, media CDN requests, authentication pings—looks unfamiliar to filters calibrated primarily for general browser traffic from managed workstations.
Schools building or upgrading interactive hall of fame and campus directory displays have a specific set of network dependencies that differ from general classroom technology. A recognition display may request high-resolution image assets from a CDN, stream a congratulatory video clip at a resolution sized for a 55-to-75-inch screen, or pull live data from an alumni records integration. Each of those request types has its own DNS dependency, and a filter that blocks any one of them degrades the visitor experience in ways that are difficult to diagnose without query-level logging.
DNS filtering in K–12 schools also carries a compliance dimension. Schools that receive E-rate funding and discounts through the Schools and Libraries Program are required by the Children’s Internet Protection Act (CIPA) to operate an internet safety policy that includes technology protection measures for all devices accessing the network. CIPA does not prescribe how filtering must be implemented, but most compliant deployments use DNS-level or proxy-level filtering as part of a layered approach. Recognition display kiosks on the school network fall within that scope, which means the filtering requirement applies alongside the operational requirement to maintain working display access—a balance the allowlist process in this guide is designed to achieve.
Phase 1: Capture Baseline Traffic Before You Filter
The most common allowlist failure is building it from documentation rather than observation. Vendor-published domain lists are often incomplete. CDN providers change edge domains. Authentication libraries call additional subdomains. Build your allowlist from what the display actually requests during a live content session.
Step 1.1 — Isolate the display on a monitored network segment.
Place the recognition display on a dedicated VLAN or test subnet with full DNS query logging enabled at the resolver. If your filtering platform—Cisco Umbrella, Cloudflare Gateway, Zscaler Internet Access, or equivalent—supports per-device query logging, enable it before the baseline capture session begins.
Step 1.2 — Run a 30-minute active content session.
Trigger every content type the display will serve in production: image carousels, video segments, PDF overlays, athlete profile pages, donor wall sections, search interactions, and any external data feed integrations. Include a full startup and CMS login cycle. Idle display operation does not capture the full traffic profile; the session must replicate what the display does during a busy visitor interaction.
Step 1.3 — Export and categorize the DNS query log.
Export the full query log for the session. Group queries by root domain and categorize each group:
- CMS infrastructure: API and application servers for the content management platform
- Media delivery: CDN and object storage domains serving images, video, and documents
- Authentication: Identity provider and OAuth domains
- OS services: Update, telemetry, certificate validation, and NTP domains
- Third-party integrations: Score feeds, alumni data APIs, font providers, analytics endpoints
Remove any queries that are clearly unrelated to display operation, such as browser-default telemetry if the display runs in a full browser rather than a dedicated kiosk app.
Step 1.4 — Cross-reference against your CMS vendor’s documentation.
Compare your captured list against the domain list your vendor publishes. Domains the vendor documented but that did not appear in your capture may indicate optional features you have not enabled. Domains that appeared in your capture but are absent from the vendor’s documentation warrant a support inquiry before allowlisting—confirm what each unrecognized domain serves before adding it.
Phase 2: Build Your Display Allowlist
With a verified traffic baseline, build an allowlist that is as narrow as possible while covering every required request.
Step 2.1 — Permit CMS platform domains by specific subdomain where possible.
Allowlisting *.example-cms.com is broader than necessary if the display only calls api.example-cms.com and media.example-cms.com. Where your vendor confirms the subdomain list is stable, use specific entries to limit allowlist scope. If the vendor uses dynamically generated subdomains—common with some CDN configurations—wildcard entries at the second level are acceptable but must be documented as a known scope exception with a vendor confirmation on file.
Step 2.2 — Permit media CDN domains including edge subdomains.
Media CDN architectures often route requests through edge subdomains that vary by geographic region. Test playback from the actual physical location of the display to capture the edge subdomains used in production—a workstation at a different network location may hit different CDN nodes. Donor recognition display installations frequently include video components whose CDN traffic is distinct from the CMS API traffic; capture both separately.
Step 2.3 — Permit OS maintenance domains on a schedule.
OS update domains must be reachable, but not necessarily at all times. If your filtering platform supports time-based policies, configure update domain access during the display’s maintenance window—typically overnight—and restrict it during active display hours. Document the maintenance window schedule in the same allowlist record.
Step 2.4 — Permit certificate validation endpoints.
Every TLS certificate installed on the display has an OCSP responder URL and may have a CRL distribution point. If these endpoints are blocked, TLS validation can fail silently or introduce latency that breaks application timeouts. Retrieve the OCSP and CRL URLs from each installed certificate using the OS certificate viewer or a command-line tool, and add them explicitly to the allowlist.
Step 2.5 — Document every entry with a rationale and owner.
An allowlist entry without documentation creates a future maintenance problem. For each entry record: the domain or subdomain, the content type it serves, the vendor or service it belongs to, the date it was added, and the name of the person who added it. This record is the foundation for your annual review.
Phase 3: Configure the DNS Filter Policy for the Display Segment
DNS filter configuration for a recognition display kiosk differs from configuration for a general-purpose browsing endpoint. The kiosk has a defined, narrow traffic profile; the filter policy should match that profile rather than inheriting a general user policy.
Step 3.1 — Assign the display to a dedicated network segment or device group.
Never apply a kiosk-specific DNS policy to a segment that also carries staff or student traffic. The display policy will have a more permissive allowlist for specific CDN and CMS domains and a stricter default-deny posture than is appropriate for user endpoints. Separate the segments before applying the policy.
Step 3.2 — Apply category blocks for categories with no display role.
Enable DNS category blocks for: social media, video streaming entertainment, online gaming, adult content, and peer-to-peer file sharing. None of these categories have an operational role on a recognition display. Team roster and social recognition content served through a CMS platform is hosted in the CMS media library and fetched from your allowlisted CDN domains—it does not require direct access to any social media platform domain.
Step 3.3 — Enable default-deny for uncategorized domains.
Most enterprise DNS filtering platforms support a policy that blocks domains not present in the filter’s category database and not on your explicit allowlist. Enable this for the display segment. Monitor the query block log for the first two weeks after deployment to catch any legitimate domains missed during the baseline capture.
Step 3.4 — Configure a bypass procedure for IT maintenance sessions.
IT staff performing maintenance may need to reach domains outside normal display operation—vendor support portals, diagnostic tools, firmware download sites. Document a time-limited bypass procedure that allows a named staff member to temporarily add a domain to the allowlist for a maintenance session, with automatic expiry and a log entry. This prevents informal workarounds—such as connecting the display to an unfiltered hotspot—that undo the security posture the filter maintains.
Phase 4: Validate After Filter Deployment
Do not assume the filter is configured correctly until you have confirmed every content type loads on the live display under the active filter policy. Validation is not optional; it is the only reliable way to verify that the allowlist you built in Phase 2 was complete.
Step 4.1 — Validate CMS login and dashboard access.
From the display device, open the CMS administrative interface and confirm full login, dashboard load, and navigation. If the display runs in kiosk mode, confirm from a workstation on the same network segment with the same DNS policy applied.
Step 4.2 — Validate each content type in sequence.
Test in this order: static image load, video playback start-to-finish, PDF overlay open and scroll, search function, athlete or honoree profile page, and any external data feed panel. Record pass or fail for each. A failure at any step requires reviewing the query block log to identify the blocked domain before proceeding—do not skip ahead.
Step 4.3 — Validate touch interaction response.
Some touch digitizer drivers make authentication or telemetry calls that pass through DNS. Confirm that touch response, scroll behavior, and navigation remain fully functional under the filter. DNS filter validation is one step within the broader deployment readiness process for interactive recognition display installations—complete it as part of your go-live checklist, not as a retrospective audit after problems appear.
Step 4.4 — Confirm no fallback to unfiltered DNS.
Verify that the display device cannot bypass the DNS filter by querying a public resolver directly. Configure your router or DHCP server to block outbound UDP and TCP port 53 traffic to any resolver other than your filtering resolver. If your filtering platform supports DNS-over-HTTPS (DoH) enforcement, enable it to prevent DoH-based bypass.
Step 4.5 — Document the validation run.
Record the validation date, the tester’s name, each test item and its result, and any domains added to the allowlist as a result of the validation run. File this record alongside the allowlist documentation.
Phase 5: Maintain Your Allowlist Over Time
A DNS filtering allowlist is not a one-time configuration. Recognition display platforms release CMS updates, change CDN providers, add new content types, and modify API architectures in ways that introduce new domain dependencies. A maintenance process that reviews the allowlist at defined trigger points keeps the display operational without requiring a full baseline recapture every time.
Step 5.1 — Subscribe to your CMS vendor’s infrastructure change notifications.
Most enterprise CMS platforms publish release notes, infrastructure change announcements, or dedicated IT mailing lists for domain and endpoint changes. Subscribe to these notifications at deployment. When a notification references a new domain, API endpoint, or CDN change, treat it as a trigger for an allowlist review before the change takes effect in production.
Step 5.2 — Review after every major CMS release.
Major CMS version releases commonly introduce new API subdomains, modified authentication flows, or updated media delivery architecture. Schedule an allowlist review for every major release. Run a baseline capture session on a test device updated to the new version before applying the update to the production display.
Step 5.3 — Review when new content types are added.
Adding a video integration, a PDF archive section, an external score feed, or a campus directory or staff listing component to an existing recognition display introduces domain dependencies that were not present at the original baseline capture. Treat each new content type as an allowlist review trigger before the content goes live on the production display.
Step 5.4 — Conduct an annual allowlist audit.
Once per year—aligned with your district’s annual IT policy review if one exists—review every allowlist entry against current usage. Remove entries for domains that are no longer required: deprecated CMS features, replaced CDN providers, retired integrations. Document each removal with a rationale and date.
Step 5.5 — Log all allowlist changes in your network runbook.
Every addition, modification, and removal from the display allowlist is a network configuration change. Log it with the same rigor as a firewall rule change: date, description, requester, approver, and any associated change ticket number. This log is your primary audit trail if a security review or E-rate compliance review asks how content filtering decisions were made for kiosk endpoints.
People Also Ask
What is DNS filtering and why do schools use it?
DNS filtering intercepts domain name lookups before they resolve to an IP address and blocks the request if the domain falls into a prohibited category or is not on an allowlist. Schools use DNS filtering as a technology protection measure required under CIPA for E-rate-funded networks, and as a general security control to prevent staff, students, and visitor-facing kiosks from reaching malicious, inappropriate, or unauthorized domains. DNS filtering applies to all devices on the filtered network segment, including recognition display kiosks.
Will a standard school content filter block a recognition display’s CMS?
It can, and frequently does during initial deployment. Standard school content filter policies are calibrated for student and staff browsing. Cloud-based CMS platforms and media CDNs used by recognition display vendors often appear as uncategorized or general hosting services—categories that a default-deny policy blocks. Without an explicit allowlist review before the filter applies to the display’s network segment, the display may load without content, fail to authenticate, or show placeholder errors in place of media.
How often should I update the DNS allowlist for a recognition display?
Review the allowlist after every major CMS platform release, after every OS update cycle, after every new content type is added, and at minimum once per year as part of a network runbook audit. If your CMS vendor provides infrastructure change notifications, treat each notification as an additional trigger event.
Can a recognition display share a network segment with student devices?
Running a recognition display on the same segment as student devices creates conflicting policy requirements: the student device policy is typically more restrictive than the display policy requires, and the display policy needs allowlist entries that would expand access for student devices beyond what the student policy intends. Place recognition displays on a dedicated VLAN with its own DNS policy. This is also the recommended configuration for interactive recognition displays in public corridors and lobbies where physical access to the device is uncontrolled.
What should I do if DNS filter logs show blocked queries I cannot identify?
Export the blocked query log and cross-reference each unrecognized domain against your CMS vendor’s support documentation and current release notes. For domains that remain unidentified, run a WHOIS lookup and review registration and ownership before taking any action. Submit domains you cannot identify to your CMS vendor’s support team for clarification. Do not allowlist unidentified domains without a documented rationale and vendor confirmation.
Build a Recognition Display That Works on Your Network
A DNS filtering checklist removes the guesswork from one of the most common causes of recognition display failure at deployment: a content filter that blocks the CMS before a single visitor touches the screen. When you build the allowlist from observed traffic, configure the filter policy on a dedicated network segment, and validate every content type before go-live, the display performs consistently whether the IT team is on-site or not.
Rocket Alumni Solutions designs recognition display platforms with documented network requirements for IT teams—including API domain lists, CDN architecture documentation, and deployment checklists that align with common DNS filtering configurations. To review the network dependencies before your IT team finalizes the filter policy, schedule a TouchWall demo with Rocket and work through the configuration with the team that built the platform.