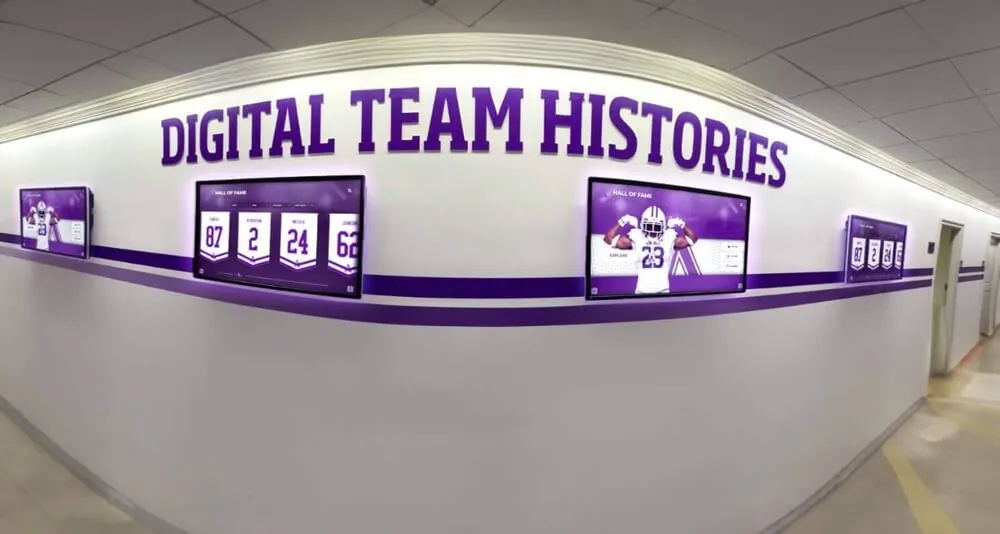
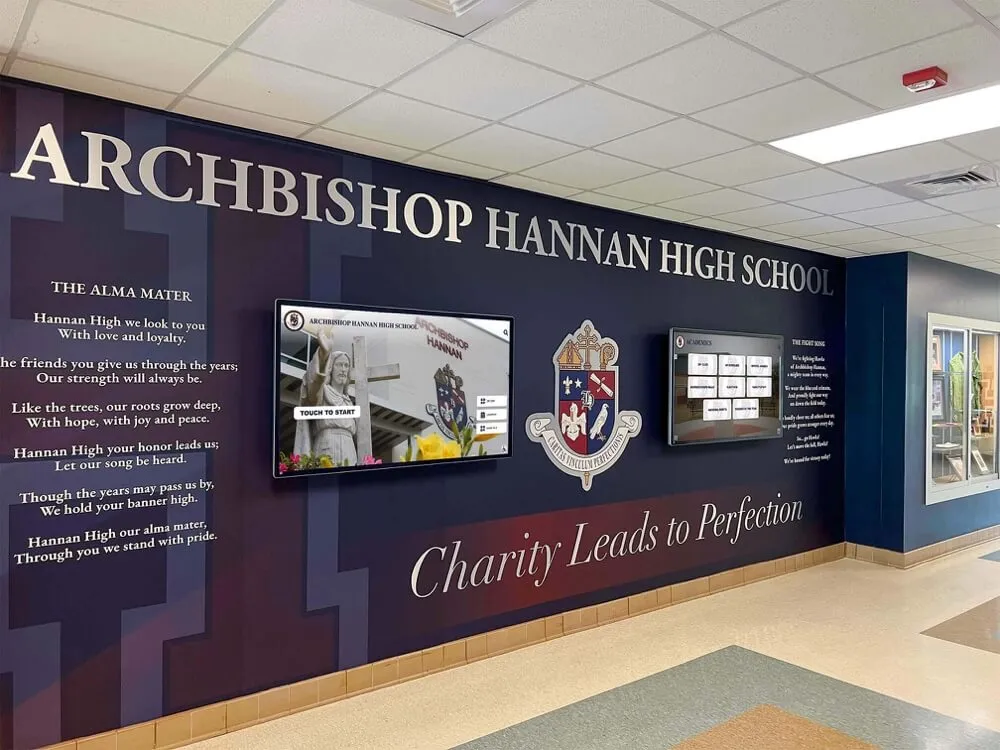
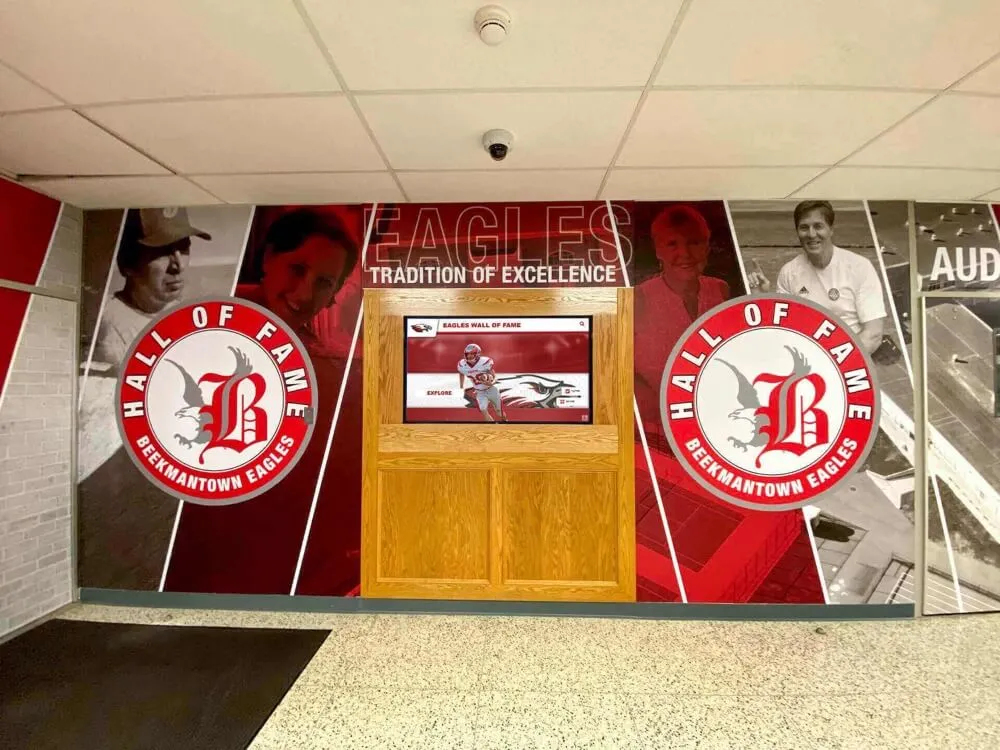
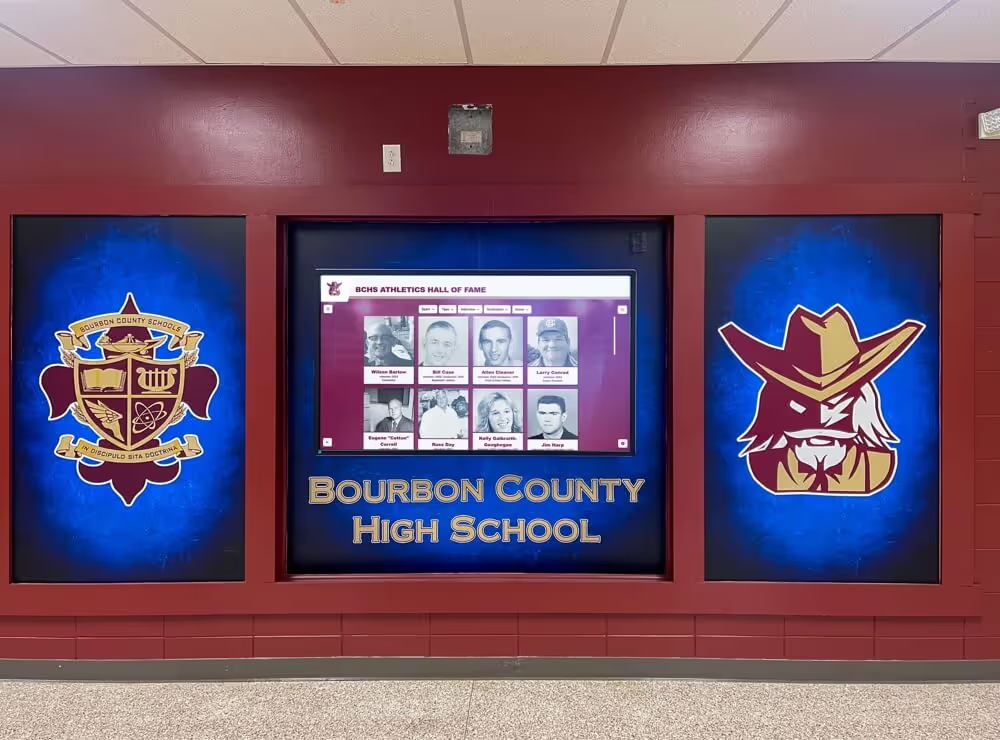
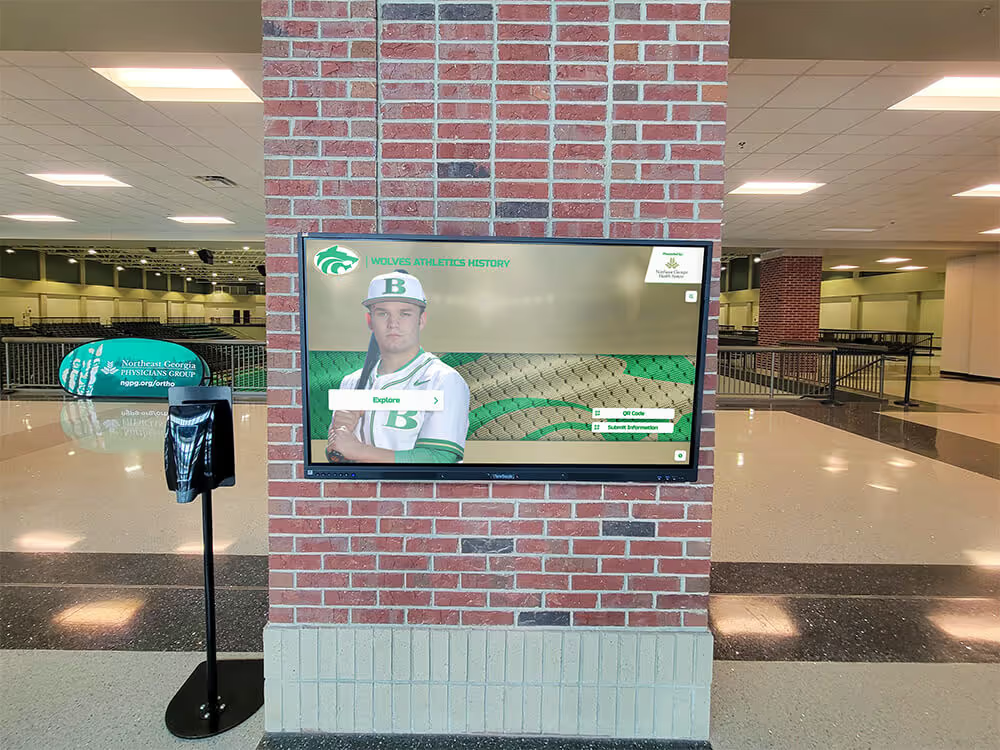
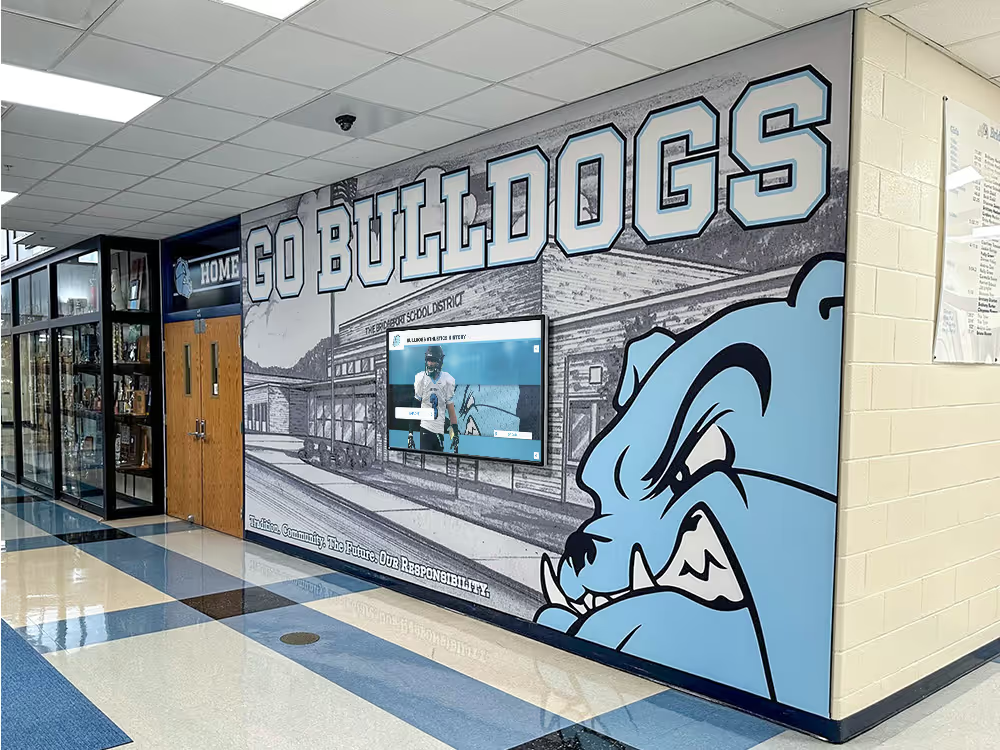
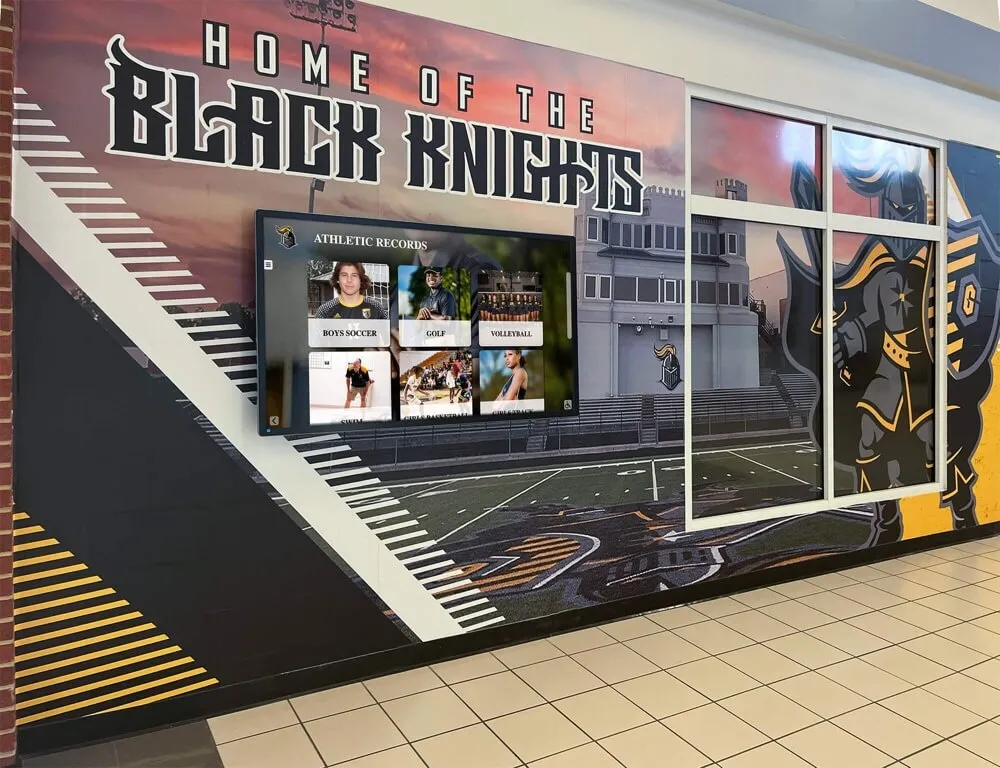
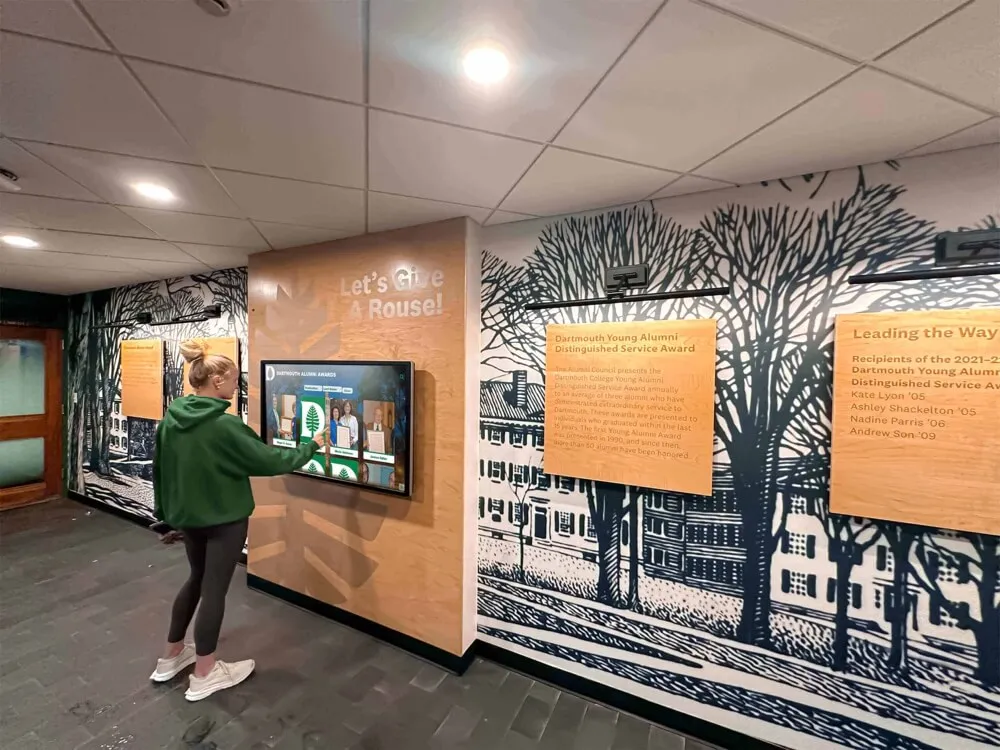
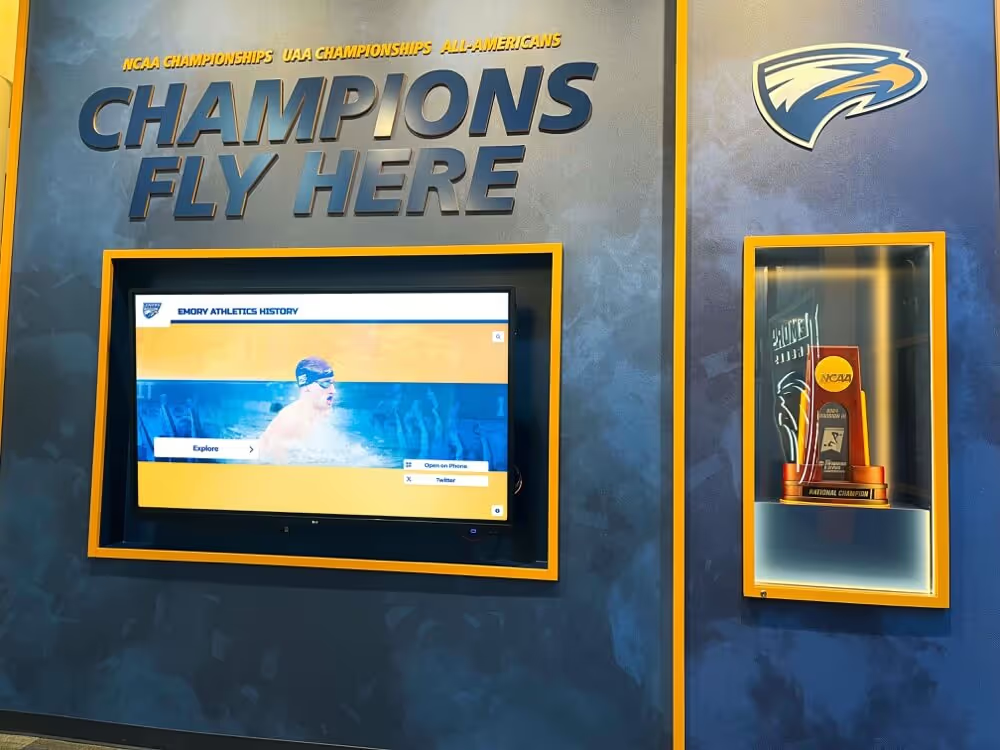
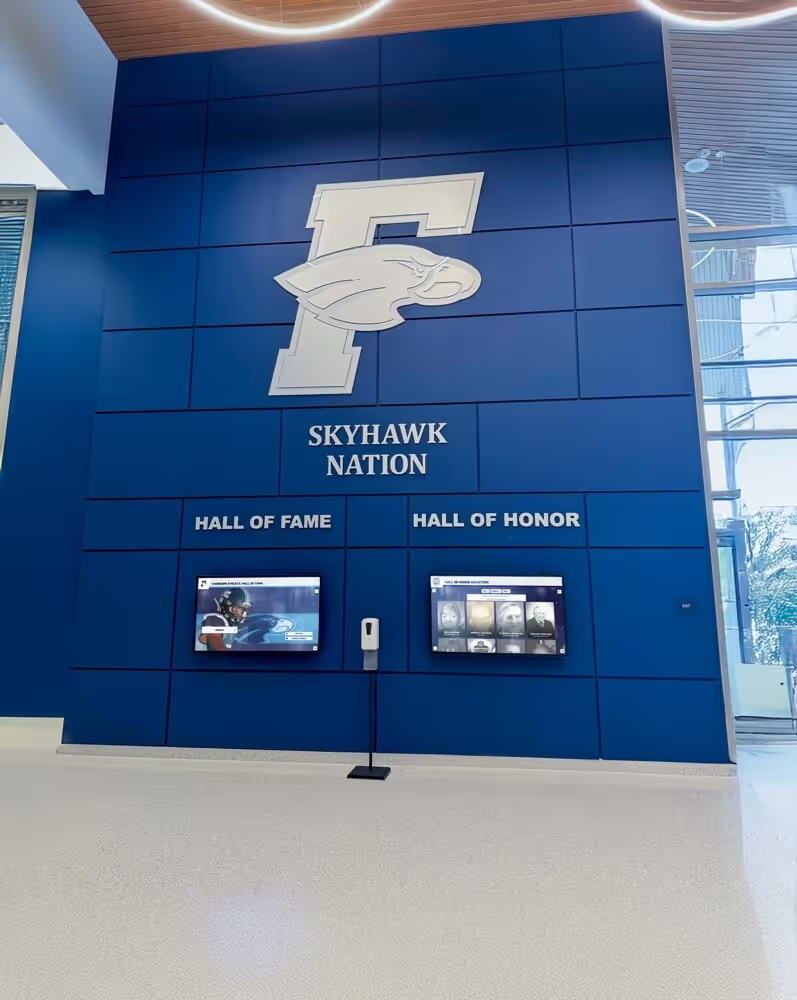
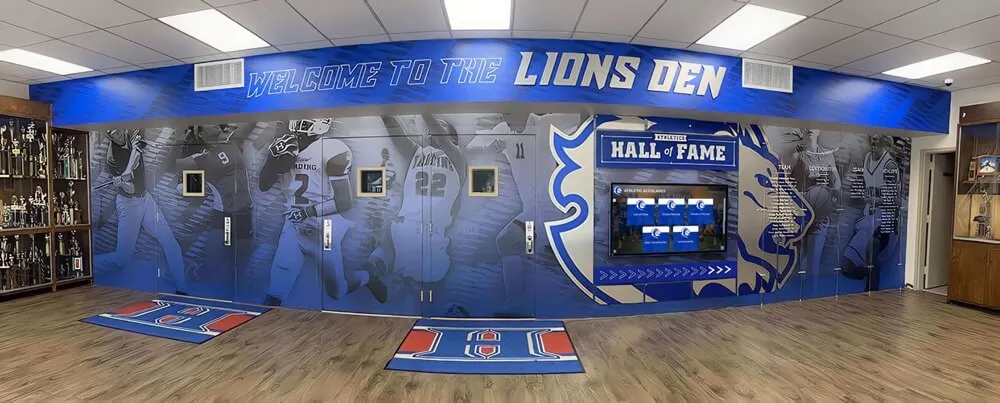
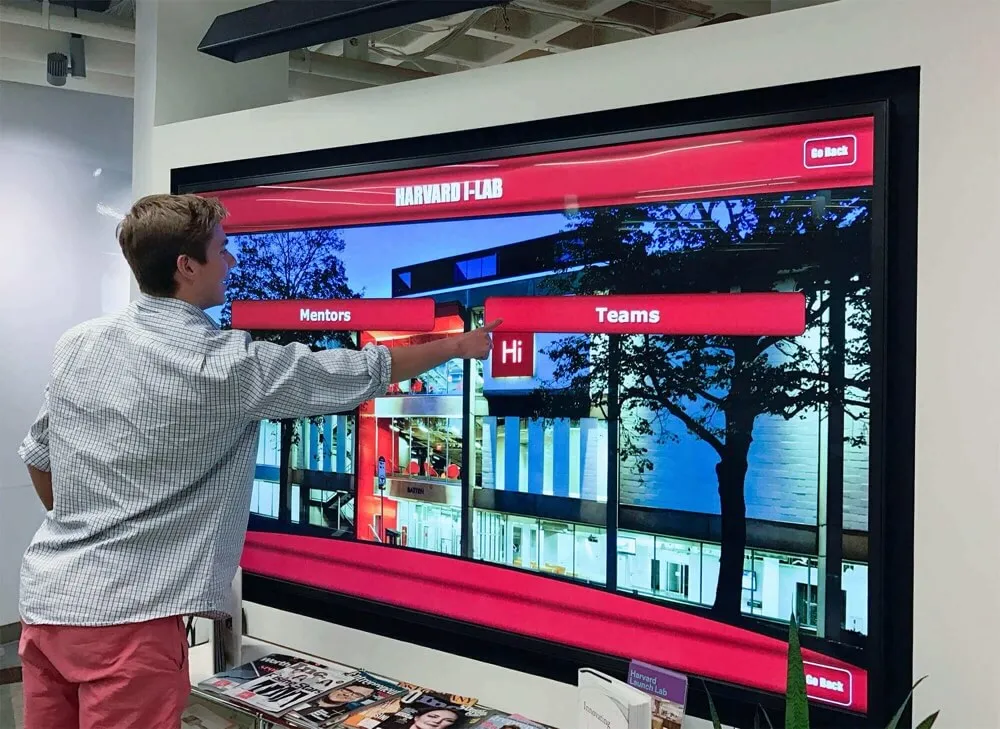
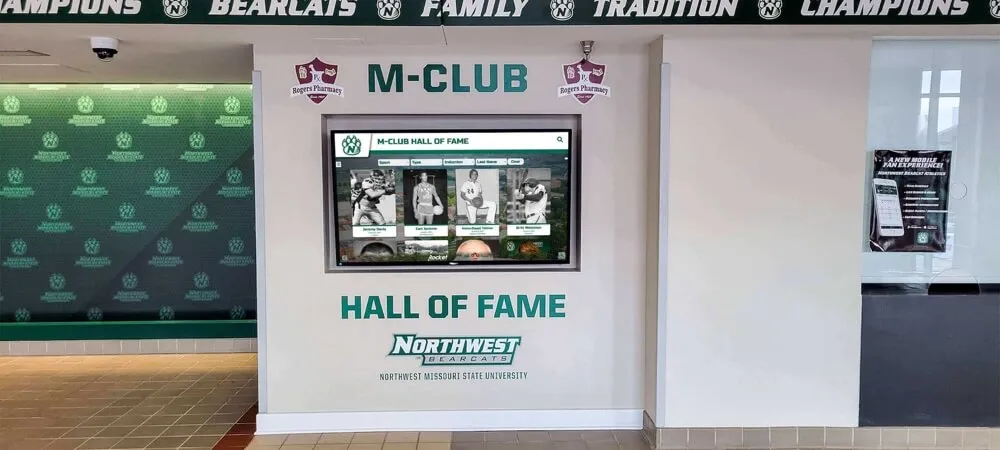
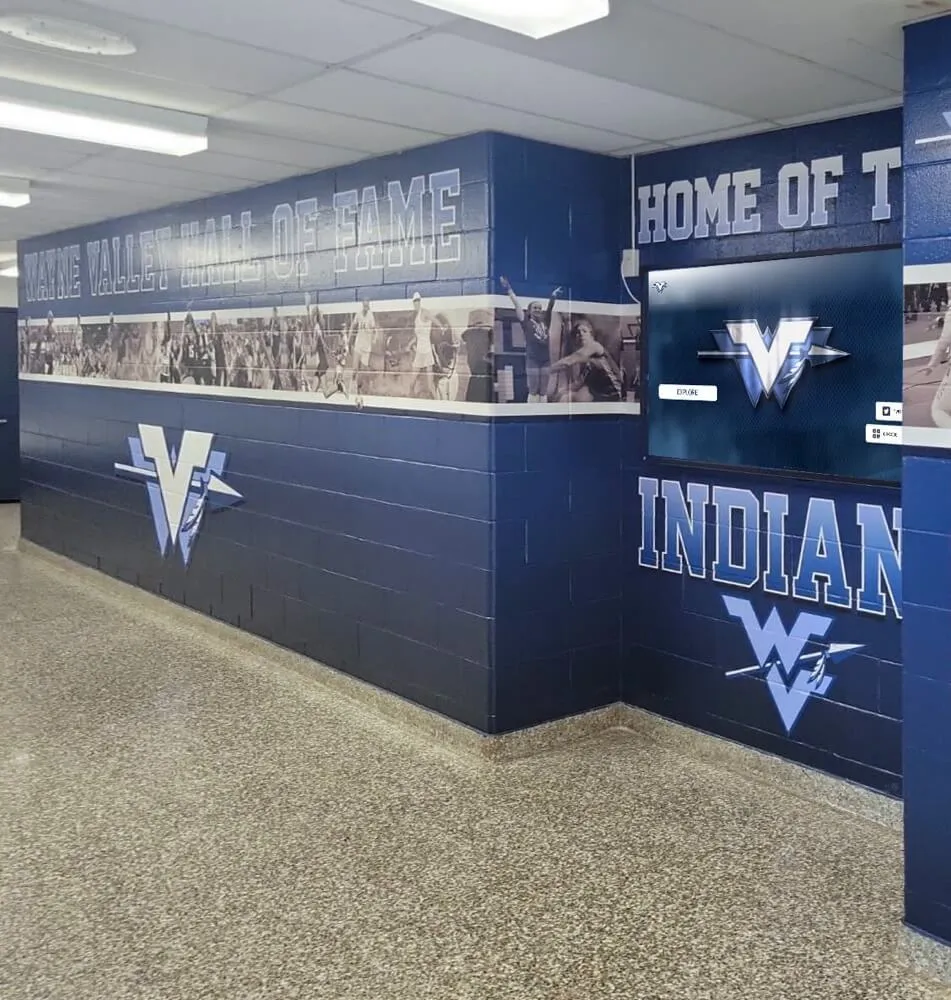
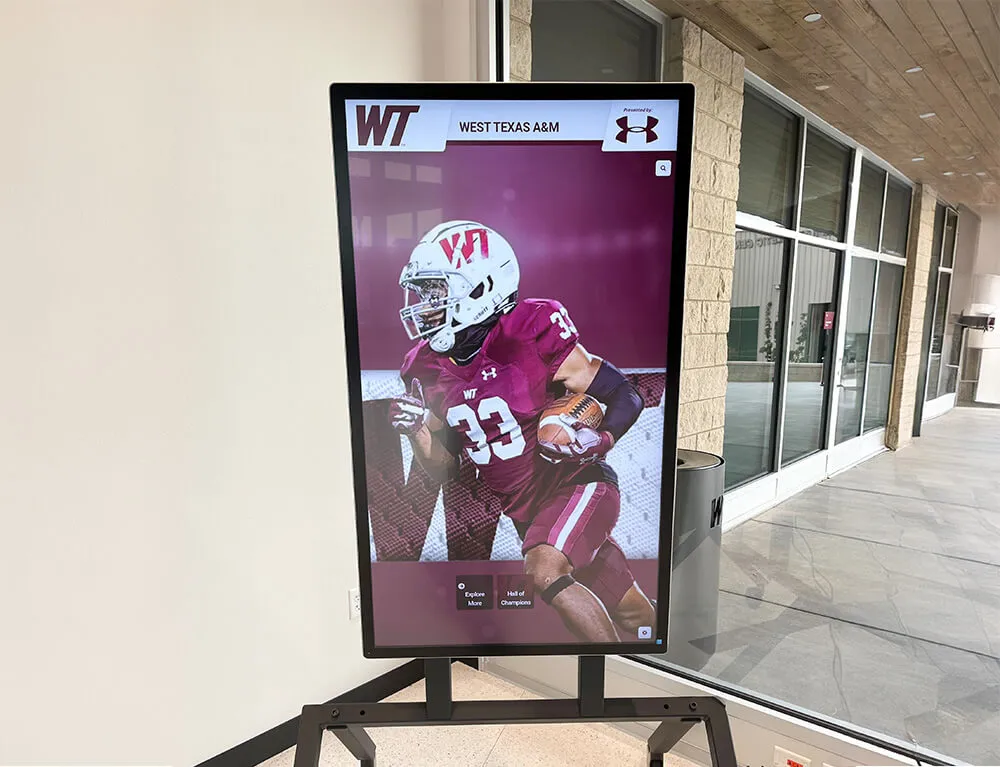
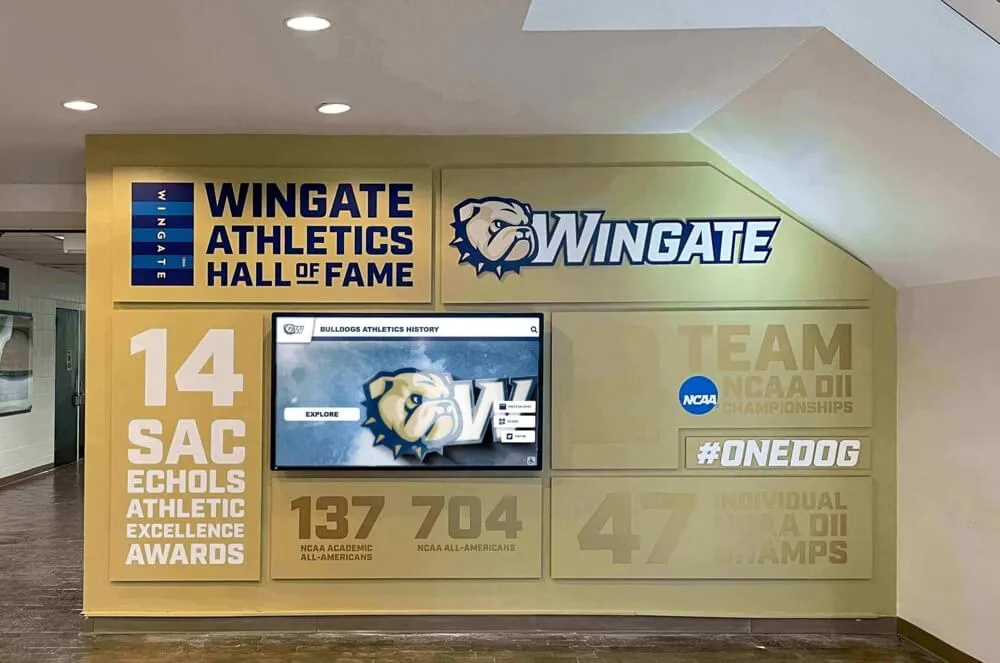
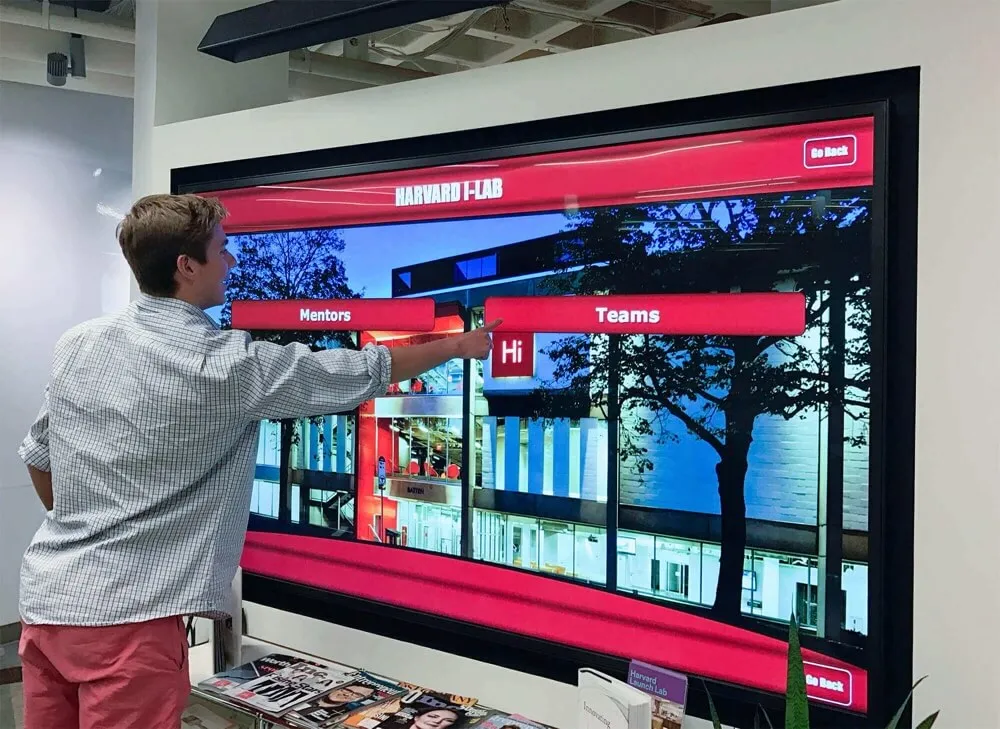
A touchscreen recognition display in a school lobby is not a desktop computer, a classroom device, or a managed workstation. It sits in a high-traffic corridor, it is connected to the same building network that hosts student records and staff email, and it operates unattended for hours at a time with no IT staff in sight. Default out-of-box settings — open USB ports, broad outbound firewall rules, remote desktop enabled, administrator passwords unchanged from the vendor’s staging configuration — are tuned for rapid deployment, not sustained public operation in an educational environment. The same kiosk that scrolls athlete hall of fame profiles during a Friday playoff game is also an endpoint that can be physically prodded, network-probed, and targeted by opportunistic scripts scanning for open services.
A touchscreen recognition display endpoint hardening checklist gives school IT coordinators, district security leads, and facilities managers a systematic layer-by-layer guide for removing unnecessary attack surface from every recognition kiosk on campus — without disrupting the schedules, content rotations, and donor spotlights that athletic directors and advancement staff depend on. The checklist covers OS hardening, network isolation, kiosk mode lockdown, browser controls, physical port management, patch procedures, and monitoring thresholds your team can implement this semester.
Nothing in this article constitutes legal advice. Schools subject to FERPA, state privacy statutes, or district cybersecurity policy mandates should involve qualified IT leadership and legal counsel before formalizing any security standard for public-facing endpoint devices.
The short answer: endpoint hardening for recognition displays means systematically disabling every service, port, credential, and capability that the display does not need to show content — because anything left enabled is an unnecessary risk on a device that faces the public. The full checklist below provides a master reference table, a layer-by-layer setup walkthrough, a patch and review cycle, and a documentation format your team can adapt and deploy today.
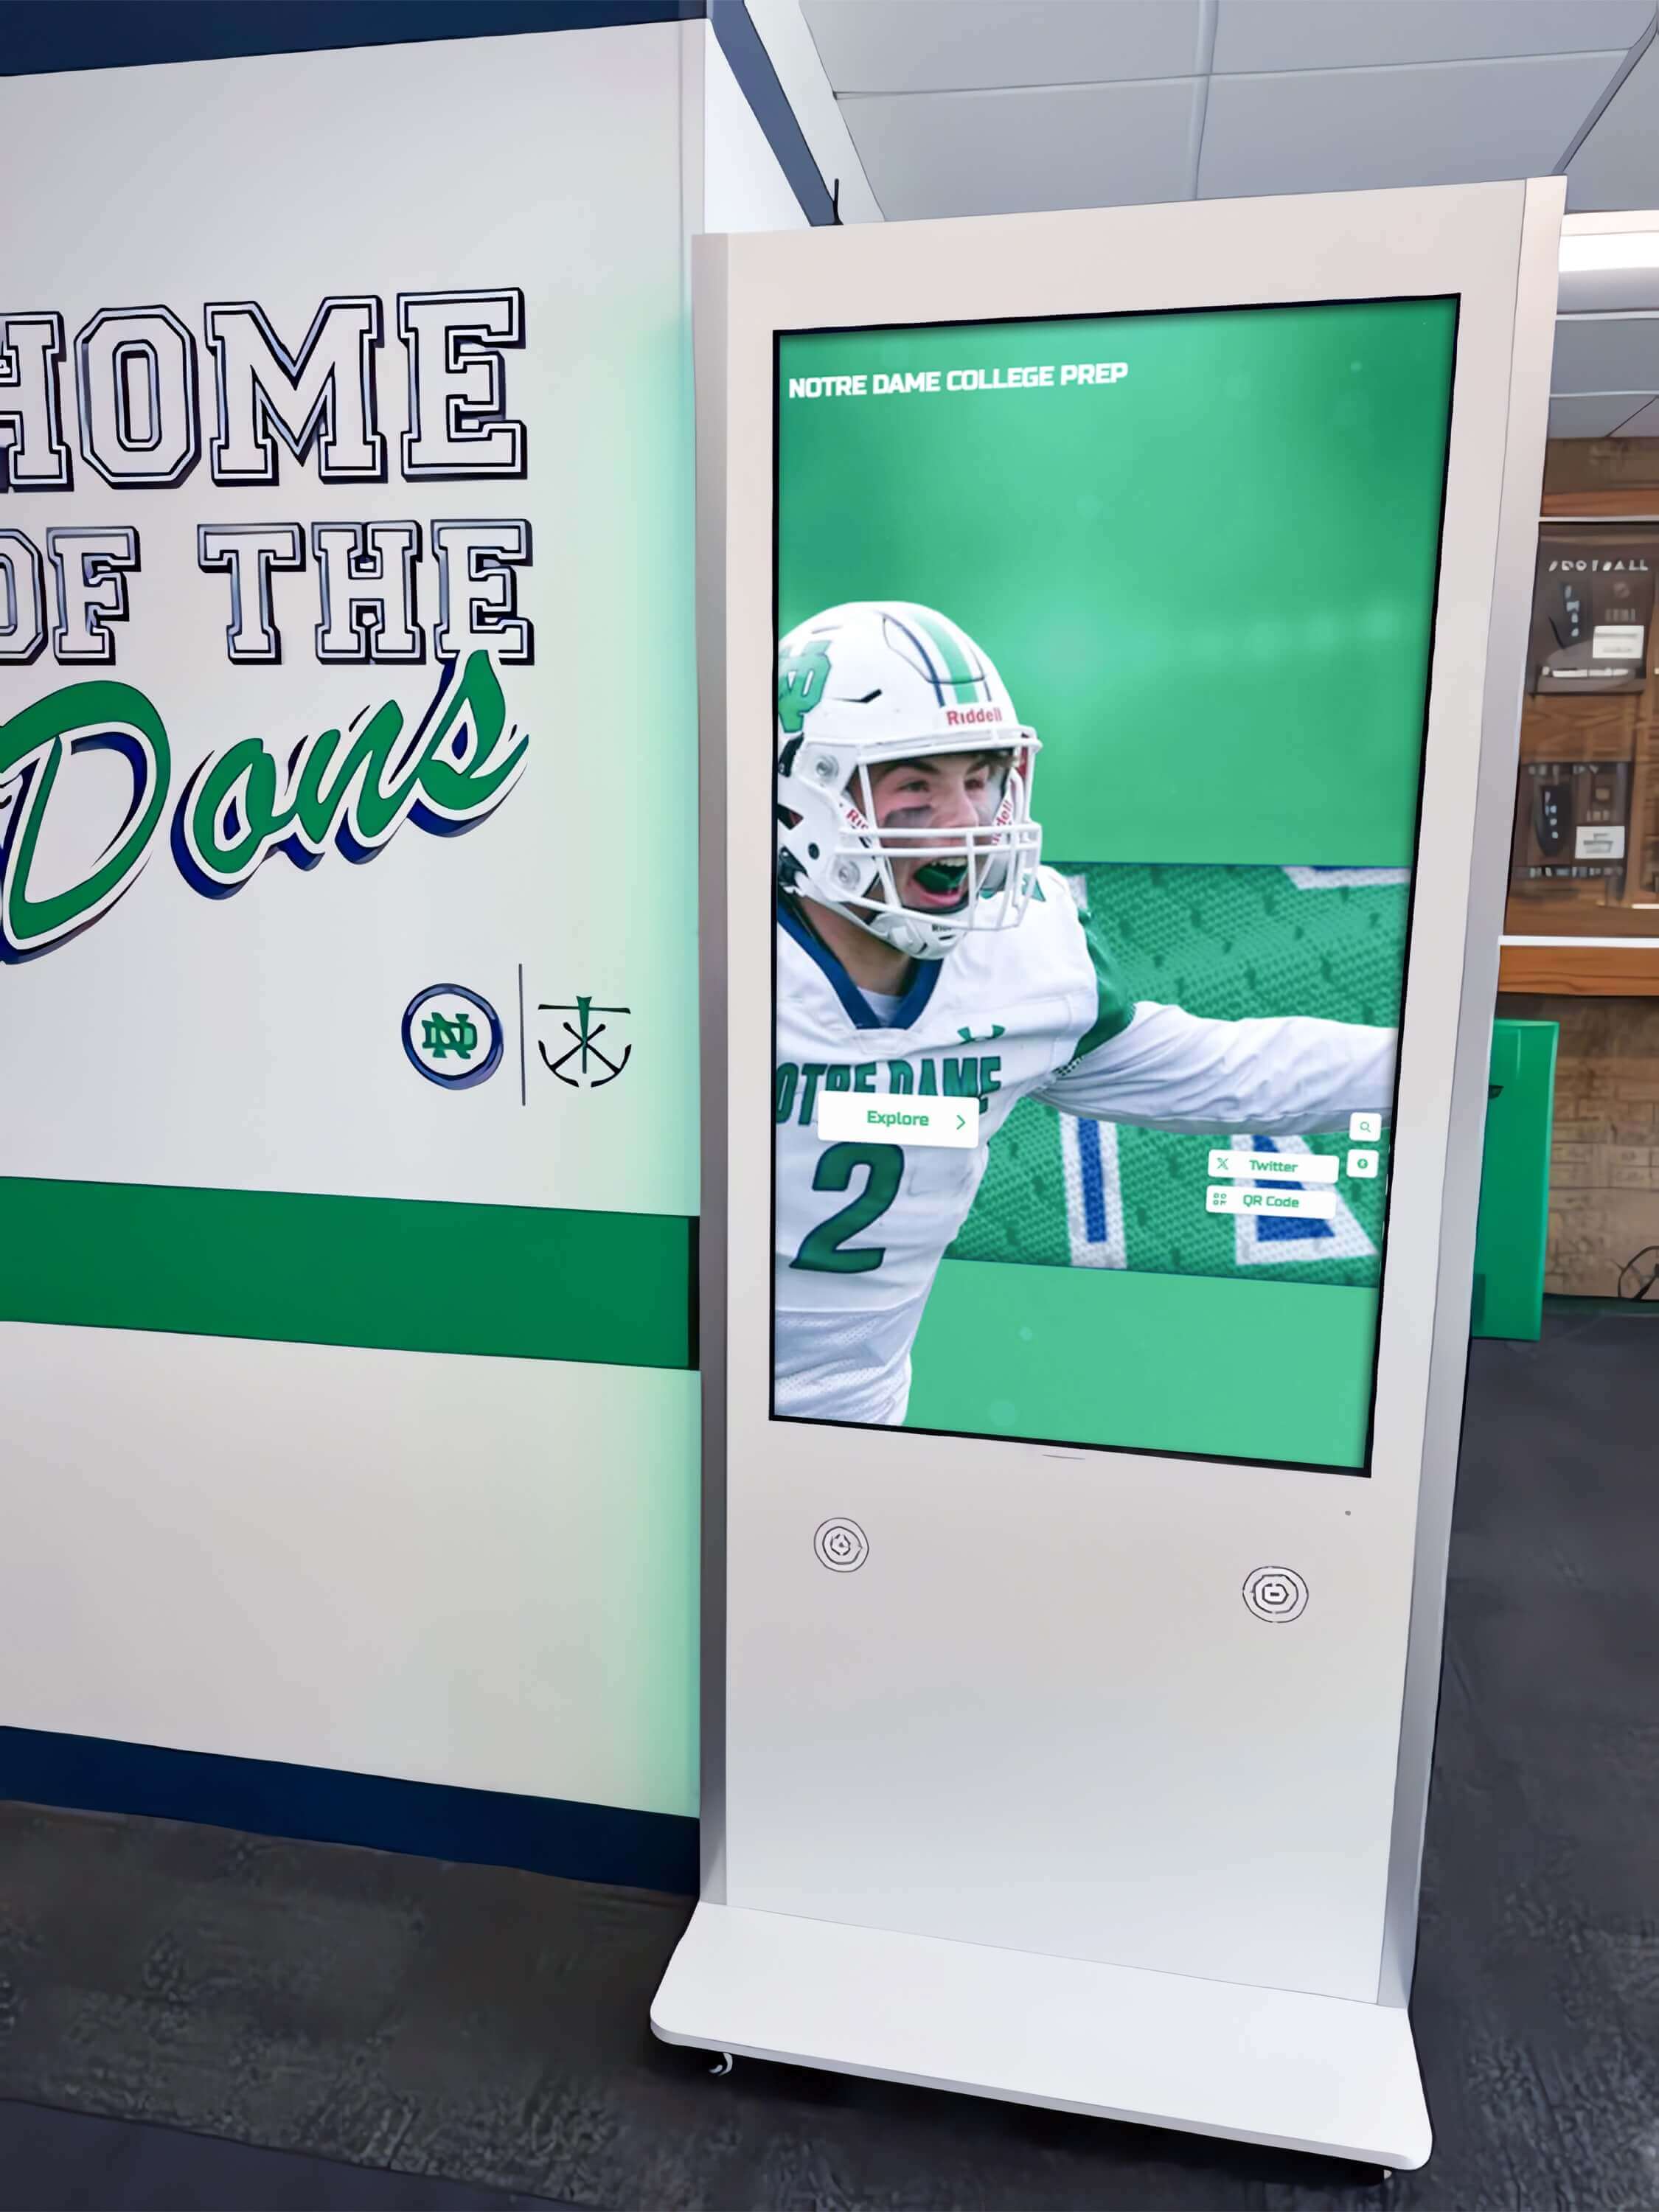
Endpoint Hardening Master Checklist
Use this table as your primary reference. Complete every row for each display device in your deployment. Store the finished document alongside your configuration baseline and review it after every OS or CMS update, after every vendor service visit, and at the start of each semester.
| Layer | Control | Hardened State | Verification Method | Review Frequency |
|---|---|---|---|---|
| OS | Default vendor credentials changed | Yes — unique username and complex password | Local user account list | After every service visit |
| OS | Guest and public OS accounts | Disabled | Local user account list | Quarterly |
| OS | Remote desktop / SSH / VNC | Disabled unless actively in use; restricted by source IP if required | Network port scan | Monthly |
| OS | Automatic OS updates | Disabled or locked to IT-approved maintenance window | OS update settings panel | Monthly |
| OS | Host firewall | Enabled; inbound rules documented | OS firewall settings | Monthly |
| OS | USB storage device class | Blocked via Group Policy or BIOS/UEFI | Policy audit + physical test | Quarterly |
| OS | Bluetooth | Disabled if not required by display hardware | OS adapter settings | Quarterly |
| OS | Unnecessary services and daemons | Stopped and disabled | services.msc or systemctl list-units | Quarterly |
| OS | OS event logging | Enabled; login attempts, policy changes, crashes captured | Log viewer | Monthly |
| Network | VLAN assignment | Dedicated display VLAN; isolated from student, staff, and admin segments | Switch port configuration | Quarterly |
| Network | Inbound firewall rules | No inbound ports open except documented management source IP | Firewall rule review | Quarterly |
| Network | Outbound firewall rules | CMS platform ports only; all others blocked at perimeter | Firewall rule review | Quarterly |
| Network | IP address | Static or DHCP reservation pinned to device MAC address | Router ARP table | Monthly |
| Network | DNS servers | District-approved resolvers; exceptions documented | Network adapter settings | Quarterly |
| Network | Wi-Fi SSID (if wireless) | Dedicated display SSID with WPA2 or WPA3; not student or staff network | Wi-Fi adapter settings | Quarterly |
| Network | NTP source | Named district or public NTP server; not “Local CMOS Clock” | w32tm /query /status or timedatectl | Monthly |
| Kiosk Mode | Escape to OS desktop | Disabled via kiosk shell, Group Policy, or MDM policy | Keyboard shortcut and gesture test | After every software update |
| Kiosk Mode | Application auto-start on boot | Enabled; launches before any login prompt is visible to a public visitor | Cold-restart test | After every software update |
| Kiosk Mode | Physical keyboard access | Disabled in software and physically removed or locked | Physical inspection | Monthly |
| Kiosk Mode | Touch-to-desktop gestures | Disabled at OS and browser layers | Multi-touch gesture test | After every OS update |
| Kiosk Mode | Pinch-to-zoom | Disabled at CSS, OS, and browser layers | Multi-touch gesture test | After every browser update |
| Kiosk Mode | Session idle reset | Enabled; returns to home screen after documented inactivity period | Idle behavior test | After every CMS update |
| Browser | Browser version | Documented major.minor.patch version; auto-update disabled | Browser About page | Before and after every patch |
| Browser | Developer tools | Disabled via policy | F12 and right-click test in kiosk session | After every browser update |
| Browser | Address bar visibility | Hidden via kiosk mode launch flag | Visual inspection | After every browser update |
| Browser | Installed extensions | None except vendor-approved; each documented by name and version | Browser extension list | Quarterly |
| Browser | Cached CMS credentials | Prohibited; CMS login handled via token or config file | Browser password manager check | Monthly |
| Physical | Exposed USB ports | Covered with port blockers; one IT-only key retained | Physical inspection | Monthly |
| Physical | Exposed HDMI / display ports | Covered or physically inaccessible from public side | Physical inspection | Monthly |
| Physical | Enclosure or mounting | Tamper-evident fasteners; enclosure rated for public access | Physical inspection | Monthly |
| Physical | Power outlet access | Outlet not accessible from public side; protected or mounted behind panel | Physical inspection | Monthly |
| Patch | OS patch cadence | Patched on documented schedule; applied during approved maintenance window | Patch management log | Monthly |
| Patch | CMS platform version | Current or one minor version behind; emergency patches applied within documented SLA | CMS admin panel | After each vendor release |
| Patch | Browser patch cadence | Patched with OS or on separate documented schedule | Browser About page | Monthly |
| Patch | Endpoint protection definitions | Within 7 days of current; updated on approved schedule | AV console | Monthly |
| Monitoring | Endpoint protection product | Installed and active | AV console or MDM dashboard | Monthly |
| Monitoring | Failed login alert | Configured to notify IT Coordinator after threshold exceeded | Log management or SIEM rule | Quarterly |
| Monitoring | Unauthorized port access alert | Network IDS or firewall alert on unexpected inbound connection attempt | Firewall alert configuration | Quarterly |
| Monitoring | CMS audit logging | Enabled; content changes, logins, and configuration modifications captured | CMS admin panel | Monthly |
| Recovery | Full system image | Created after commissioning; stored off-device; restore tested | Restore test on spare device | After every major OS or CMS update |
| Recovery | CMS configuration export | Exported after every configuration change; stored off-device with date and device ID | File existence check | After every configuration change |
| Recovery | Acceptable downtime threshold | Documented in hours; escalation path defined | Tabletop recovery exercise | Annually |
Layer 1: Operating System Hardening
The operating system is the foundation of every other control. A display with a hardened network configuration and locked kiosk shell is still vulnerable if a service technician can log in with vendor default credentials or enable remote desktop through the OS settings panel.
Change All Default Credentials Before the Display Goes Live
Vendors ship recognition display hardware and embedded PCs with default administrator usernames and passwords for their own staging convenience. Those defaults are often documented in vendor manuals and can be trivially searched online. Changing them before the device reaches the lobby is the single highest-impact step on this entire checklist.
Steps:
- Boot the device into the OS desktop before mounting.
- Open the local user account manager (
lusrmgr.mscon Windows, or System Settings → Users on macOS/Linux). - Rename the built-in administrator account to a name that does not reveal its role (avoid “admin,” “administrator,” or the vendor’s default).
- Set a complex password that meets your district’s complexity policy. Document it in your IT team’s password vault — not in a spreadsheet stored on the display itself.
- Disable any built-in guest account.
- Verify that no other accounts exist beyond the administrator and the kiosk service account.
Document the account names (not passwords) in your configuration baseline. Any technician arriving for a service visit should be able to verify the account structure without knowing the credentials.
Disable Remote Access Services Not in Active Use
Remote desktop, SSH, VNC, and vendor-specific remote management agents are convenient for IT support but represent open inbound paths to the device. On a recognition display deployed in a school lobby, remote access should be the exception, not the default.
Steps:
- Open the OS services panel and identify remote access services: Remote Desktop, SSH Server, VNC Server, TeamViewer, AnyDesk, or vendor-specific agents.
- Stop and set to Disabled any service not documented as required.
- If a vendor requires a remote agent for updates or diagnostics, restrict its inbound port to the vendor’s documented source IP range at the host firewall.
- Log all remote sessions in your service visit record. Re-disable any remote agent after the session closes.
For school IT teams deploying recognition displays alongside digital wayfinding and campus navigation kiosks, maintain separate remote access policies for each device category — wayfinding kiosks may require broader management access than a dedicated recognition display.
Disable Unnecessary OS Services
Every running service is a potential entry point and an additional process consuming system resources. Recognition displays need almost nothing beyond what the CMS client and browser require.
Common services to disable on Windows-based kiosk PCs:
- Print Spooler (unless the display is also used for printing — it should not be)
- Windows Remote Management
- Remote Registry
- Fax service
- Smart Card service (unless your MDM uses smart card authentication)
- Tablet PC Input Service (if not required by touch driver)
Run services.msc, sort by Status, and review every running service against documented requirements. Disable and stop anything not on the approved list.
Layer 2: Network Isolation
A recognition display on the same flat network segment as student devices, staff workstations, or the district’s administrative VLAN creates unnecessary lateral movement risk. Network isolation through VLAN assignment and firewall rules contains any compromise to the display itself.
Assign the Display to a Dedicated VLAN
Steps:
- Work with your network administrator to create a dedicated VLAN for display devices — separate from student, staff, and administrative segments.
- Assign the display device’s switch port to that VLAN.
- If wireless, create a dedicated display SSID mapped to the same VLAN. Do not use the student or staff Wi-Fi network.
- Configure the VLAN to allow only the traffic the display legitimately needs: outbound to the CMS platform over its documented ports, outbound to NTP servers over UDP 123, and outbound to your endpoint protection update service.
- Block all inter-VLAN routing between the display VLAN and student or administrative segments at the firewall.
- Document the VLAN ID, switch port assignments, and SSID name in the configuration baseline.
School campuses that host multiple display types — athletics hall of fame kiosks, gym lobby record boards and sponsor displays, and corridor information panels — benefit from grouping all display-class endpoints onto the same VLAN with a single outbound rule set, rather than managing per-device firewall exceptions.
Restrict Outbound Traffic to Required Ports Only
Default-allow outbound firewall rules let a compromised display communicate with any external address on any port. Permit-list outbound rules limit blast radius to the services your display actually uses.
Typical outbound rules for a cloud-CMS recognition display:
- HTTPS (TCP 443) to the CMS platform’s documented hostname or IP range
- HTTP (TCP 80) only if the CMS or licensing server requires it; otherwise block
- UDP 123 to your district NTP server or a documented public NTP pool
- DNS (TCP/UDP 53) to district-approved resolvers only
- HTTPS (TCP 443) to endpoint protection update servers (document the vendor’s published IP ranges)
Block all other outbound traffic at the perimeter firewall and log blocked connection attempts. Review logs monthly for new connection attempts that might indicate software updates trying to phone home to undocumented hosts.
Layer 3: Kiosk Mode Lockdown
A recognition display running in a hardened kiosk mode presents exactly one interface to a public visitor: the CMS content. There is no visible browser chrome, no taskbar, no right-click menu, no path to a file manager or system settings panel. Achieving that state requires controls at multiple layers simultaneously.
Prevent Escape to the OS Desktop
A visitor who can exit kiosk mode gains access to the underlying OS session — potentially including stored credentials, configuration files, and network tools. Preventing escape requires layered controls because no single mechanism covers every method.
Steps:
- Use your CMS platform’s built-in kiosk shell if available; it handles OS-level launch and escape prevention in one package.
- Configure Windows Group Policy (or equivalent on other OSes) to restrict the allowed applications list to only the CMS client and browser.
- Disable the Win key, Ctrl+Alt+Del behavior, and Alt+F4 response during kiosk session via Group Policy.
- Remove or physically secure the physical keyboard. If a keyboard is required for content administrators, store it in a locked compartment accessible only with a key.
- Test every gesture combination a curious visitor might try: long-press, three-finger swipe, pinch-to-zoom, edge swipe. Verify none reaches a desktop context.
- Document the test results and the date tested in the configuration baseline.
Configure Session Idle Reset
Kiosk displays that show a visitor’s last interaction state — a specific athlete profile, a donor search result — when the next visitor approaches create a minor privacy concern and a usability problem. Idle reset returns the display to the home screen after a defined inactivity period.
Steps:
- Enable idle timeout in the CMS platform settings. Set the timeout value to a period your content team approves — typically 90 to 180 seconds for lobby recognition displays.
- If the CMS platform does not natively support idle reset, configure it at the browser or kiosk shell level using the platform’s inactivity API or a screen-saver-equivalent policy.
- Test the idle reset by interacting with the display and then walking away. Verify return to home screen within the documented timeout window.
- Retest after every CMS update — idle timeout settings are occasionally reset to defaults during updates.
Layer 4: Physical Port and Enclosure Security
Physical access to a recognition display is the most direct path around software controls. An attacker who can reach the device’s USB ports or power switch can boot from external media, reset credentials, or install unauthorized hardware. Physical hardening is non-negotiable for any public-facing endpoint.
Block All Exposed USB Ports
Steps:
- Inventory every USB port on the display device’s embedded PC or media player.
- Install keyed USB port blockers on all ports not operationally required. Purchase blockers that use a key type distinct from any other lock on campus.
- Retain one set of keys per display, stored in the IT department’s physical key management system.
- If the CMS vendor requires a USB dongle for licensing, document which port is in use and verify the dongle cannot be removed without triggering a license alert.
- Configure Group Policy or BIOS/UEFI to block the USB storage device class even if a port blocker is defeated.
- Inspect port blockers during every physical maintenance visit and replace any that show signs of tampering.
Schools that manage physical security across a portfolio of displays — including championship banner storage and trophy case displays alongside interactive kiosks — can streamline port blocker key management by standardizing on a single key type district-wide and tracking key issuance in the facilities management system.
Verify Enclosure and Mounting Tamper Resistance
Steps:
- Confirm that the display enclosure or wall mount uses tamper-evident or anti-tamper fasteners (e.g., one-way screws, security Torx). Standard Phillips screws accessible from the public side are not acceptable.
- Verify that the internal PC or media player is not accessible from the front panel without removing the enclosure.
- Confirm that the power outlet serving the display is either hidden behind the enclosure or mounted in a locked electrical panel. A display someone can unplug from the public side can be cold-booted with a USB drive.
- Document enclosure type, fastener type, and power outlet location in the configuration baseline.
Layer 5: Patch Management
Unpatched software is the most common initial access vector in endpoint compromises. Recognition displays running outdated OS builds, browser versions, or CMS clients carry known vulnerabilities that automated scanners can identify and exploit without any human targeting.
Establish a Documented Patch Cadence
Recognition displays cannot be patched on the same ad hoc schedule as desktops a technician visits daily. Define and document the patch cadence before the display goes live.
Recommended baseline cadence:
- OS patches: Monthly, applied during a scheduled maintenance window outside school hours. Avoid applying patches immediately before high-visibility events.
- Browser patches: Coordinated with OS patching. Lock the browser auto-update setting and apply manually on the documented schedule.
- CMS platform updates: Applied within one week of a vendor security release; within two weeks of a feature release. Coordinate with the content team — CMS updates may reset kiosk mode or idle timeout settings.
- Endpoint protection definitions: Updated automatically on a daily schedule; alert if definitions go more than seven days without updating.
- Firmware (BIOS/UEFI, display panel firmware): Reviewed quarterly; applied when a security advisory is issued.
Steps:
- Document the approved maintenance window (day, time, and duration) in the configuration baseline.
- Enable only the update mechanisms used during the maintenance window. Disable all other auto-update behavior.
- Test the display immediately after patching: verify kiosk mode, idle reset, scheduled content, and NTP synchronization before returning the display to unattended operation.
- Record patch date, version applied, and technician name in the patch log.
For schools coordinating patches across a portfolio of recognition displays, school history software platforms that include centralized device management make it possible to push and verify patches from a single console rather than touching each device individually.
Layer 6: Monitoring and Incident Response
A hardened display that is never monitored provides a false sense of security. Monitoring closes the loop: it tells you when a control has drifted, when someone has probed the device, and when a patch is overdue.
Define Alerting Thresholds
Steps:
- Configure your endpoint protection or MDM platform to alert the IT Coordinator when:
- A failed login attempt exceeds three attempts in ten minutes
- The endpoint protection definition age exceeds seven days
- The device has not checked in to the management console in more than 24 hours
- A new USB device is connected to the display device
- Configure your perimeter firewall or IDS to alert when an inbound connection attempt reaches the display’s IP address on any port.
- Route alerts to the IT Coordinator’s ticketing system, not only to email — email alerts are often missed outside business hours.
- Document alert thresholds and the responsible recipient in the configuration baseline.
Conduct Quarterly Drift Reviews
Configuration drift is the gradual divergence between the documented baseline and the live device state. Vendor service visits, CMS updates, and OS patches all create opportunities for drift.
Steps:
- Schedule a quarterly review for each display device.
- Compare each row of the master checklist table against the live device settings.
- Document any divergence, its probable cause (service visit, update, physical change), and the remediation taken.
- Update the configuration baseline if a setting change was intentional and approved.
- Store the completed quarterly review report alongside the baseline document.
Athletic directors and archive teams planning all-state plaque installations and digital display upgrades often schedule quarterly recognition display reviews to coincide with quarterly IT drift reviews — one scheduled visit covers both content review and security verification.
Endpoint Hardening Implementation Sequence
Follow this numbered sequence when hardening a new or existing recognition display.
- Boot to OS desktop before wall mounting. Do not complete installation with default credentials in place.
- Change all default credentials — administrator account name and password, any vendor remote management agent credentials.
- Disable guest and unnecessary OS accounts. Verify the account list shows only the administrator and the kiosk service account.
- Disable remote access services not documented as required. Stop and set to Disabled.
- Disable unnecessary OS services. Use the approved services list from the configuration baseline.
- Enable the host firewall. Document the inbound rule set.
- Configure VLAN assignment with your network administrator before the device goes live on the production network.
- Set outbound firewall rules at the perimeter: CMS platform, NTP, endpoint protection updates only.
- Block USB storage device class via Group Policy or BIOS/UEFI.
- Install USB port blockers on all non-operationally-required ports. Record key storage location.
- Verify enclosure fasteners and power outlet access are not reachable from the public side.
- Configure kiosk mode — auto-start on boot, escape prevention, idle reset, keyboard and gesture lockdown.
- Configure browser — hide address bar, disable developer tools, document version, disable auto-update.
- Set endpoint protection — install, update definitions, configure alerting.
- Configure NTP — verify named time source, test sync, document in baseline.
- Enable OS event logging and CMS audit logging.
- Create and store a full system image off-device.
- Complete the master checklist table and store with the configuration baseline.
- Schedule the first quarterly drift review before the display goes live.
- Test the complete display — kiosk mode, scheduled content, idle reset, gesture lockdown — before returning to unattended public operation.
Frequently Asked Questions
Does endpoint hardening apply to wireless-connected recognition displays the same way it applies to wired ones?
Yes, with additional controls specific to wireless. A wireless display needs a dedicated SSID mapped to the display VLAN (not the student or staff network), WPA2 or WPA3 authentication, and a reviewed Wi-Fi password that is changed whenever a device is decommissioned or a technician with access leaves the organization. Wireless displays should also have signal strength monitoring configured so an unexpectedly weak signal — which might indicate the device has moved or the AP has changed — triggers an alert.
What is the minimum set of controls for a school with limited IT staff?
If resources force prioritization, implement these five controls first: change default credentials, disable remote access services, assign the display to a dedicated VLAN with permit-list outbound rules, block USB storage via policy, and enable endpoint protection with definition-age alerting. These five controls address the most common initial access vectors at low implementation cost. Add the remaining controls on a documented schedule.
How does endpoint hardening affect the content team’s workflow?
Hardening primarily affects the device’s OS and network layers, not the CMS platform’s content authoring interface. Content teams continue to publish, schedule, and update recognition content through the CMS web interface or app — hardening does not restrict that workflow. The controls most likely to affect content operations are the patch maintenance window (content teams need to know when the display will be offline for updates) and the idle reset timeout (content teams should verify that timeout does not disrupt scheduled content windows). Coordinate both with athletic directors and advancement staff before finalizing settings.
Should recognition displays be included in the district’s annual security audit?
Yes. Public-facing kiosk endpoints are often excluded from district security audits because they are perceived as low-risk consumer devices. In practice, they share building network infrastructure, may store cached CMS credentials, and are physically accessible to anyone who enters the building. Including them in scope — even with a simplified checklist — closes a gap that attackers have historically exploited in education environments. Review with your district’s IT security lead or external auditor whether your recognition displays should fall under the same policy framework as other public-facing endpoints.
How do we handle endpoint hardening for recognition displays managed by a third-party vendor?
Obtain the vendor’s published security configuration guide before deployment. Document which hardening controls the vendor manages and which are the district’s responsibility. Verify that vendor remote access agents are disabled when no service session is active, that the vendor uses documented and auditable remote access methods (not ad hoc screen-sharing tools), and that the vendor provides a post-service configuration verification report. Include the vendor’s responsibilities in your configuration baseline so both parties have a shared reference.
How does endpoint hardening relate to donor and alumni recognition privacy?
Donor recognition displays often show names, giving levels, and occasionally portraits or biographical information drawn from a CMS database. Donor wall and alumni recognition programs typically limit what the public-facing display can query — usually read-only access to published content rather than the full donor database. Endpoint hardening reduces the risk that a compromised display device becomes a pivot point into the CMS backend. Verify with your CMS vendor that the display’s authentication token has the minimum required permissions: content read, telemetry write, and nothing beyond those.
What documentation should we retain for each hardened display?
Retain the completed master checklist table with approved settings filled in, the patch log with dates and versions, service visit records with technician name and changes made, quarterly drift review reports, the off-device system image with creation date, and the CMS configuration export with date and display identifier. Store these documents in a location accessible to the IT Coordinator and reviewed during any security incident investigation. Schools that also manage physical recognition archives — hall of fame records, historical athlete files, and award documentation — can integrate display security documentation into the same archive management workflow used for physical records.
Snippet Reference: Key Hardening Controls at a Glance
| Priority | Control | Why It Matters |
|---|---|---|
| Critical | Change default vendor credentials | Default credentials are public knowledge; first thing an attacker tries |
| Critical | Assign display to dedicated VLAN | Prevents lateral movement to student or administrative segments |
| Critical | Block USB storage device class | Prevents boot-from-USB attacks and unauthorized data transfer |
| Critical | Disable remote access services when not in use | Eliminates the most common inbound attack surface |
| High | Permit-list outbound firewall rules | Limits what a compromised display can communicate with |
| High | Kiosk escape prevention (layered) | Stops public visitors from reaching the OS desktop |
| High | USB port blockers (physical) | Physical complement to software USB restrictions |
| High | Endpoint protection with alerting | Detects and surfaces active threats in near-real-time |
| Medium | Monthly patch cadence (documented) | Closes known vulnerabilities before they are actively exploited |
| Medium | CMS and OS audit logging | Provides forensic record for incident investigation |
| Medium | Quarterly configuration drift review | Catches control degradation from updates and service visits |
| Medium | System image stored off-device | Enables recovery without rebuilding from scratch after an incident |
Schedule a TouchWall Endpoint Review
If your school is deploying a touchscreen recognition display or auditing an existing installation, Rocket Alumni Solutions can review your endpoint configuration alongside the CMS platform setup — so your hall of fame, donor wall, or athletic history display is hardened before it goes live in front of students, families, and community visitors.
Schedule a free TouchWall demo and endpoint review →
The demo covers CMS configuration, content scheduling, kiosk mode settings, and the network and OS controls that apply to your specific deployment. Bring your IT coordinator and your athletic director — the session is designed for both audiences simultaneously.
What to Review Next
Once endpoint hardening controls are in place, the next step is validating that your display’s configuration matches a documented baseline and stays there across updates and service visits. A touchscreen recognition display configuration baseline checklist gives your team the layer-by-layer reference document that makes quarterly drift reviews systematic rather than ad hoc.
For display programs that include physical recognition components alongside digital kiosks — banners, plaques, trophies, and framed archives — coordinate your IT security review schedule with the facilities team responsible for championship banner and physical display storage so physical and digital components receive the same structured review cadence.
Schools integrating recognition displays with broader graduation and award ceremony workflows can also align endpoint review cycles with graduation recognition planning milestones — both timelines cluster around the same semester boundaries and involve coordination across IT, facilities, and administration.