When your facilities team receives approval for a wall-mounted touchscreen display, the real work begins: determining the right screen size for your space, selecting mounting hardware that meets safety and accessibility standards, planning electrical and network connectivity, and ensuring compliance with building codes. These technical decisions directly impact both installation costs and long-term functionality, yet many schools approach them without systematic guidance.
A 55-inch display mounted at the wrong height becomes unusable for wheelchair users. Inadequate power planning leads to visible extension cords snaking across lobbies. Insufficient network bandwidth causes frustrating lag during peak usage. Missing a single wall stud during mounting creates liability risks that facilities directors lose sleep over.
This comprehensive guide walks through every technical specification decision you’ll face when installing wall-mounted touchscreen displays in educational settings. You’ll learn how to select appropriate screen sizes based on viewing distance and space constraints, choose mounting solutions that satisfy both ADA requirements and structural safety, plan electrical and network infrastructure supporting reliable operation, and validate your installation against accessibility and building code requirements.
Screen Size Selection Based on Viewing Distance and Space
The relationship between screen size and viewing distance determines whether your touchscreen delivers effective engagement or user frustration.
Optimal Viewing Distance by Screen Size
Screen size selection starts with measuring how far users will stand from the display during typical interaction. Touchscreen interfaces require closer proximity than passive digital signage, creating different sizing requirements.
Standard sizing recommendations for interactive touchscreens:
- 32-43 inches: Intimate settings where users stand 2-4 feet away (small offices, individual workstations, narrow hallways)
- 49-55 inches: Standard lobby installations with 4-6 feet interaction distance (main entrances, athletic halls, administration areas)
- 65-75 inches: Large gathering spaces where users approach from 6-8 feet (auditorium lobbies, gymnasium entrances, multipurpose rooms)
- 86+ inches: Grand entrances and ceremonial spaces with 8-12 feet approach distance (district offices, university main lobbies, performing arts centers)
Schools commonly default to larger screens assuming “bigger is better,” but oversized displays in confined spaces force uncomfortable viewing angles and neck strain. A 75-inch screen mounted in a 6-foot-wide hallway creates poor user experience despite impressive specifications.
Space Constraints and Architectural Considerations
Beyond viewing distance, physical space dimensions constrain screen size selection in ways that aren’t immediately obvious during initial planning.
Measure these critical dimensions before selecting screen size:
- Wall width available for mounting: Screen width plus mounting brackets must fit between architectural features (doorways, windows, fire extinguishers, light switches)
- Ceiling height: Taller displays require higher ceiling clearance to maintain ADA-compliant reach ranges
- Protrusion from wall: Mounting depth affects hallway clearance requirements and ADA protruding object regulations
- Surrounding visual competition: Nearby displays, bulletin boards, or high-traffic areas may require larger screens maintaining visual prominence
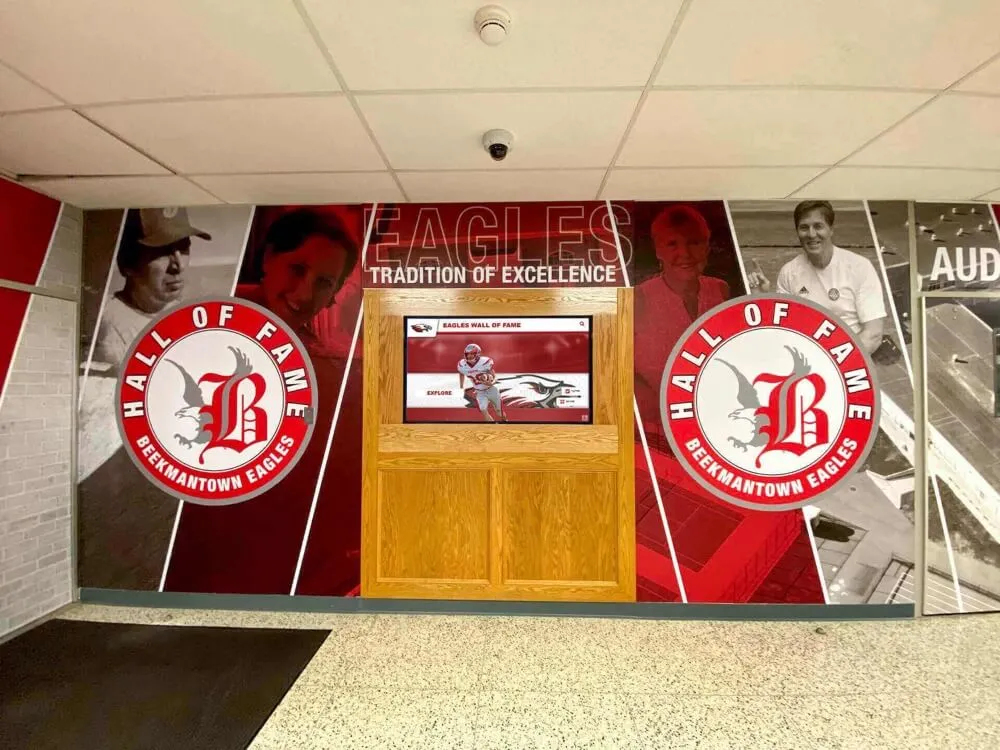
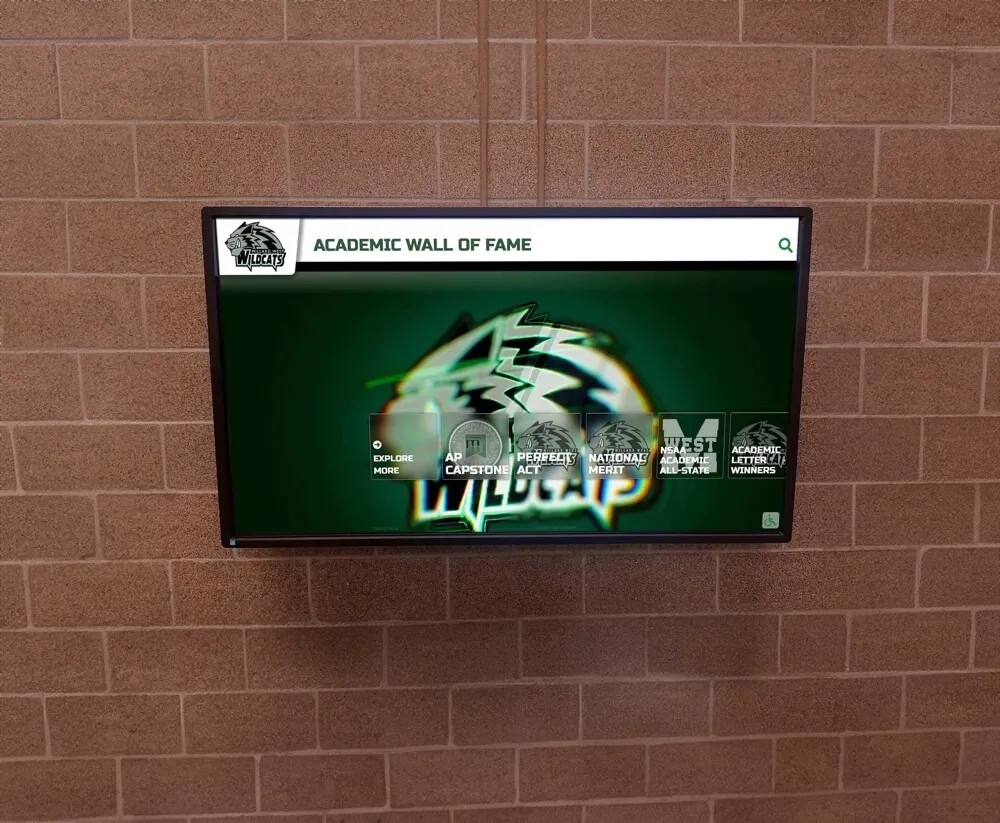
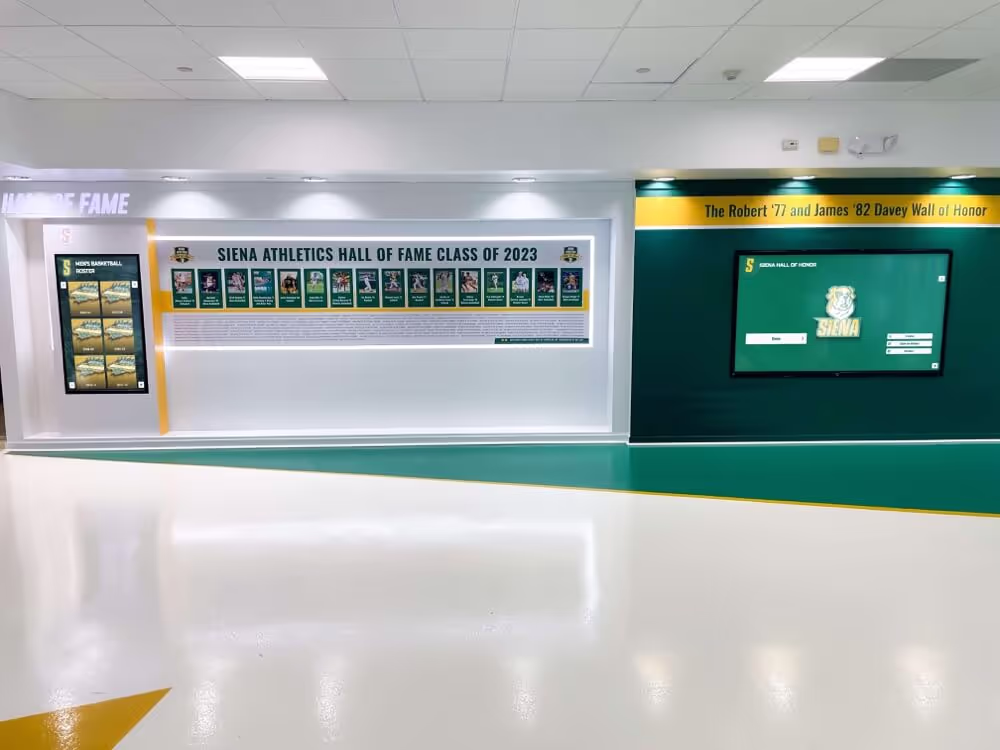
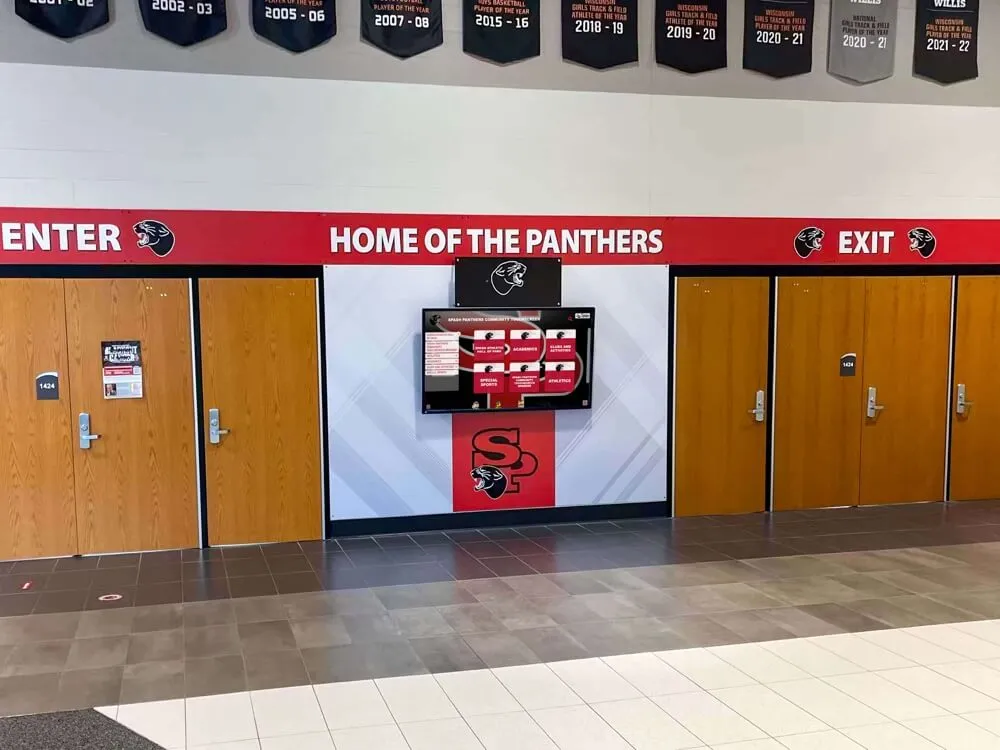
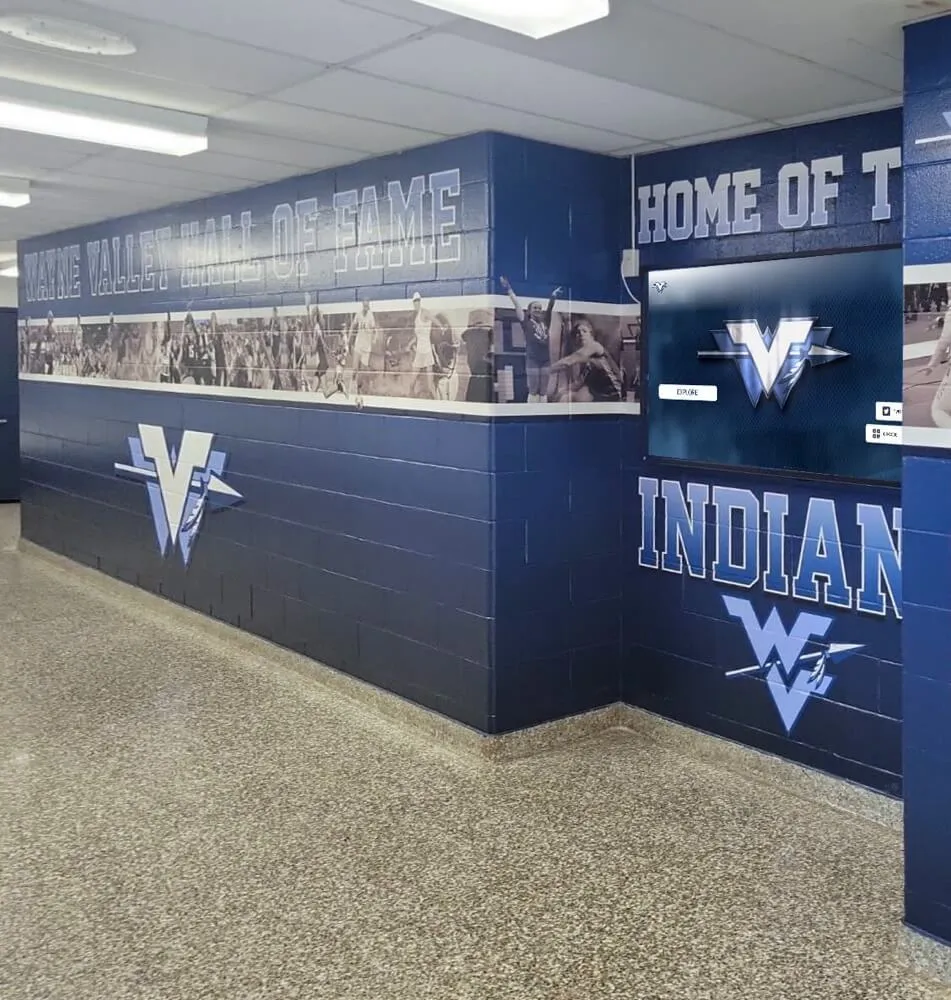
Athletic departments often install touchscreen displays in trophy case alcoves or hallway niches. These recessed installations provide protection from accidental contact but limit maximum screen size based on alcove dimensions.

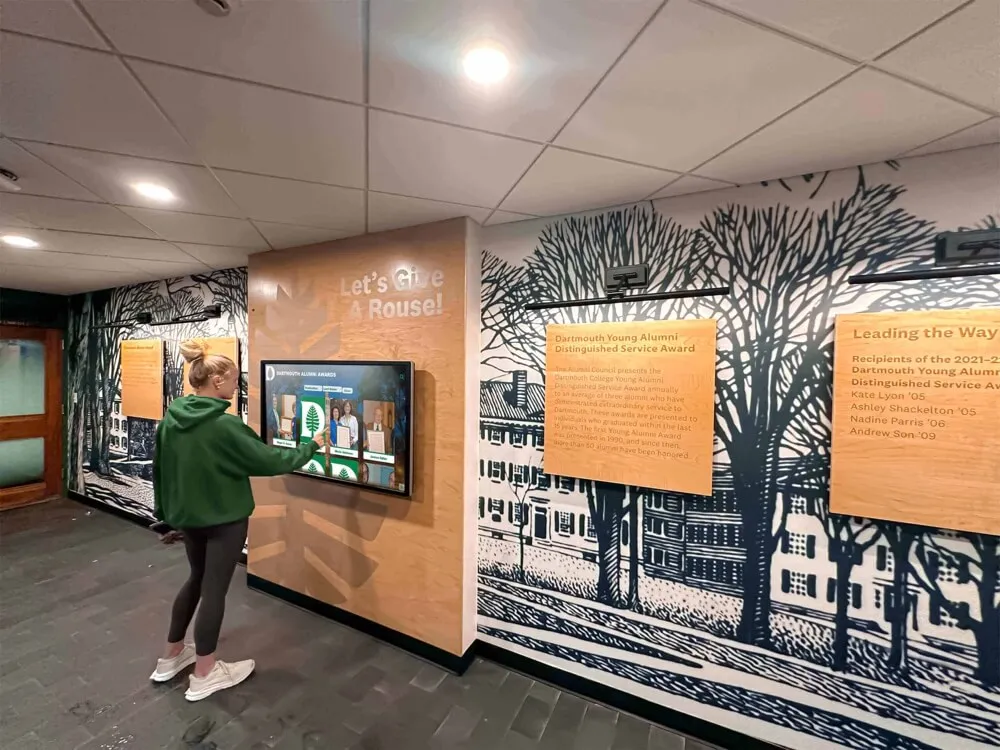
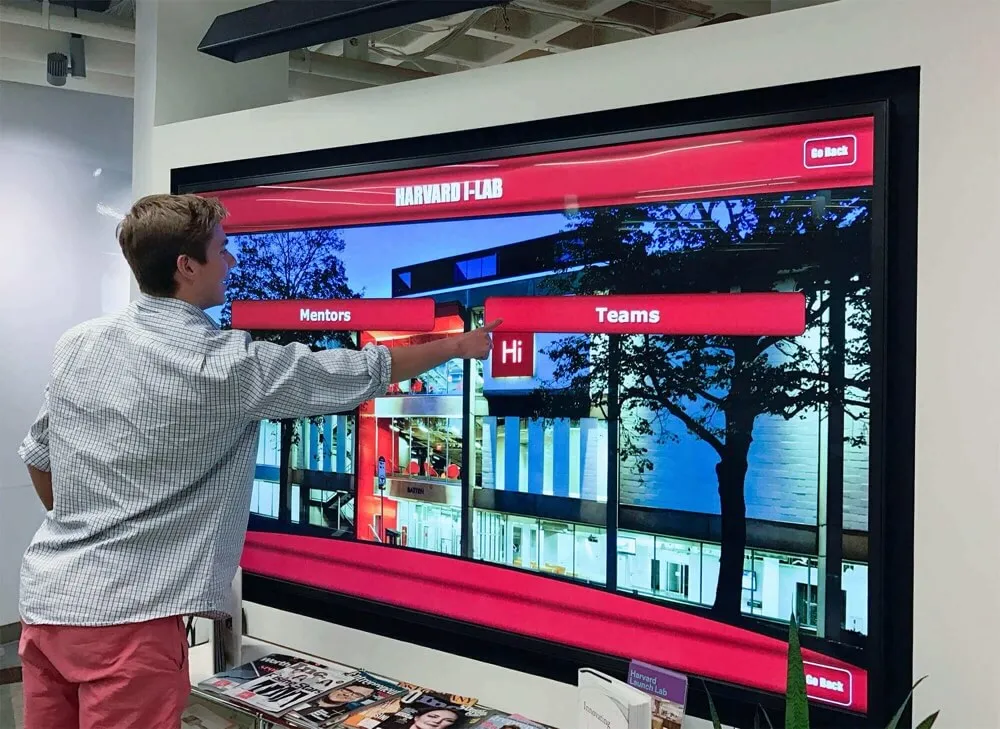
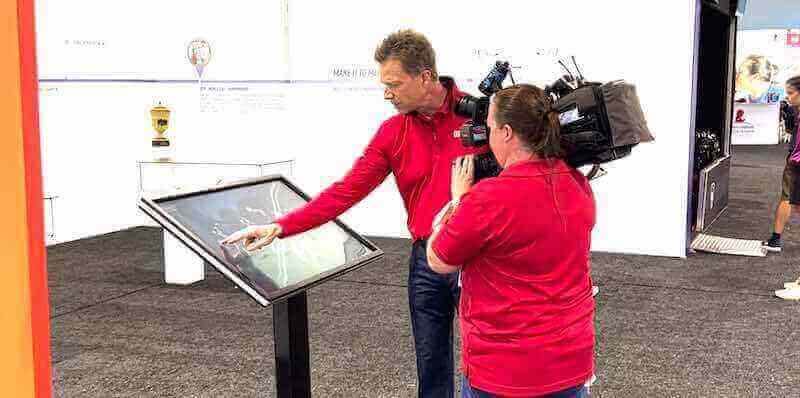
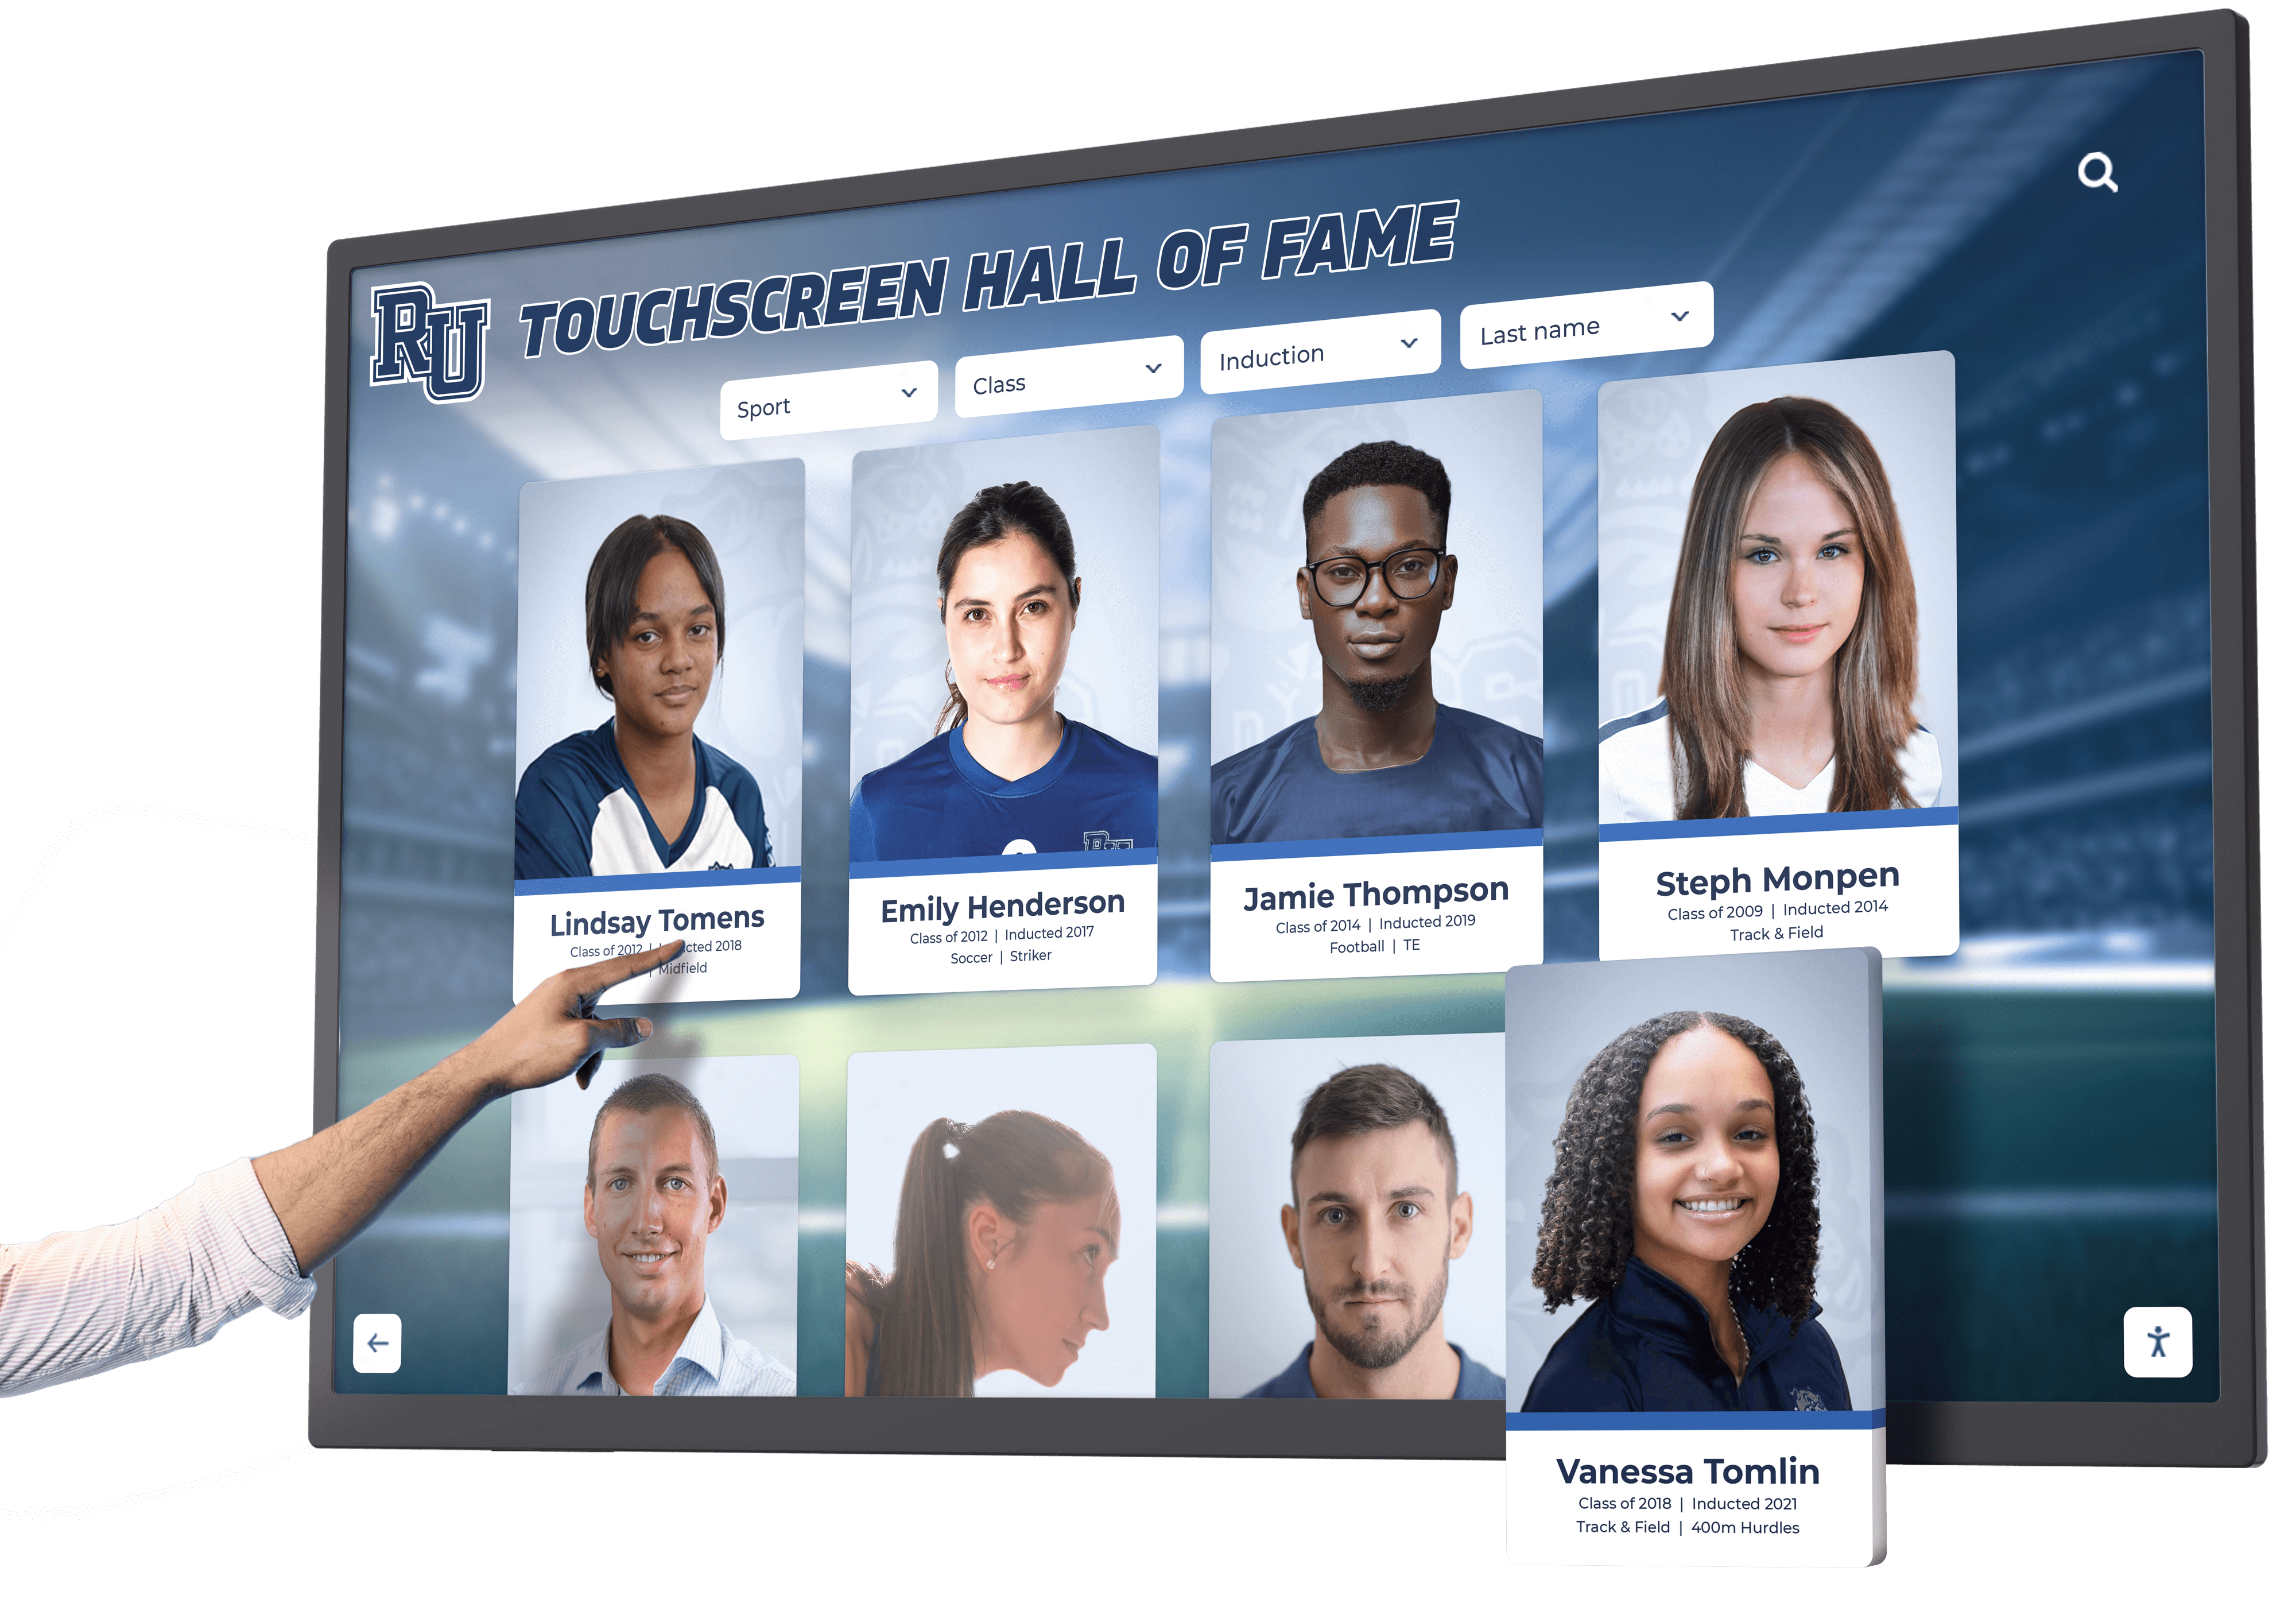
Proper screen sizing and mounting height ensures comfortable interaction in school hallways without obstructing traffic flow
Portrait vs. Landscape Orientation
While most displays default to landscape orientation, portrait mounting offers advantages for specific applications and space constraints.
Portrait orientation works well for:
- Narrow wall spaces between doorways
- Vertical content formats (honor rolls, donor lists, timeline displays)
- Limited horizontal wall width
- Content emphasizing individual profiles or portraits
Landscape orientation suits:
- Wide wall expanses
- Photo galleries and team images
- Video content and multimedia presentations
- Standard donor recognition and achievement displays
Some interactive touchscreen kiosk software platforms support both orientations, allowing content adaptation to physical space requirements. Verify orientation compatibility before finalizing screen selection.
Commercial vs. Consumer Grade Displays
Schools evaluating display options encounter both consumer-grade (home TV) and commercial-grade touchscreens at vastly different price points. Understanding these differences prevents costly mistakes.
Commercial-grade displays provide:
- Extended operating hours: Rated for 16-24 hours daily operation vs. 4-8 hours for consumer models
- Warranty coverage: 3-5 year commercial warranties vs. 1 year consumer coverage
- Durability: Reinforced screens, industrial components, better thermal management
- Mounting compatibility: Standard VESA patterns supporting professional mounting hardware
- Longevity: 50,000-100,000 hour lifespan vs. 30,000-60,000 hours for consumer displays
Consumer TVs cost significantly less initially but fail within 12-24 months under continuous school operation. The facilities director explaining to the superintendent why the lobby display died after one year rarely makes that purchasing decision twice.
Budget $2,500-$4,500 for quality commercial-grade 55-inch touchscreens versus $600-$1,200 for consumer equivalents. The price difference buys reliability, warranty protection, and displays that function throughout their expected 8-10 year service life.
Mounting Solutions: Safety, Accessibility, and Code Compliance
Proper mounting transforms screens from expensive liability risks into secure, accessible installations meeting all regulatory requirements.
ADA Mounting Height Requirements
The Americans with Disabilities Act establishes specific height requirements ensuring wheelchair users can reach and operate touchscreen displays.
Critical ADA specifications for forward approach:
- Maximum touch height: 48 inches from floor to highest interactive element
- Minimum touch height: 15 inches from floor to lowest interactive element
- Knee clearance: 27 inches minimum height, 8 inches minimum depth beneath screen
- Toe clearance: 9 inches minimum height, 6 inches minimum depth
For side approach installations:
- Maximum touch height: 54 inches from floor (when knee/toe clearance isn’t feasible)
- Clear floor space: 30 x 48 inch minimum wheelchair maneuvering area
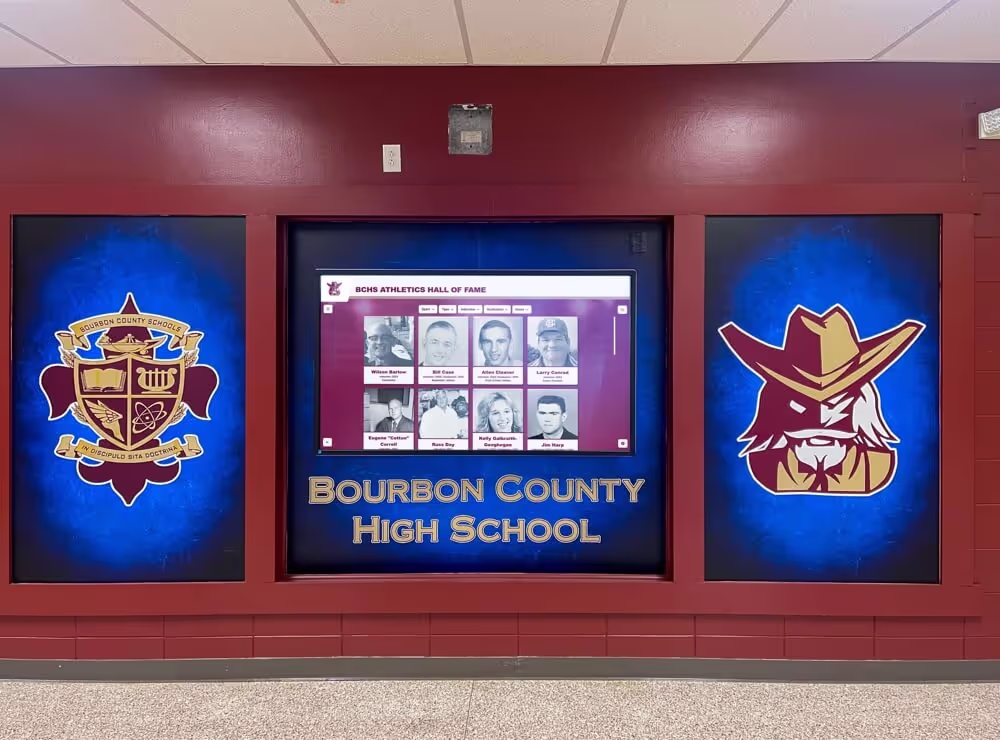
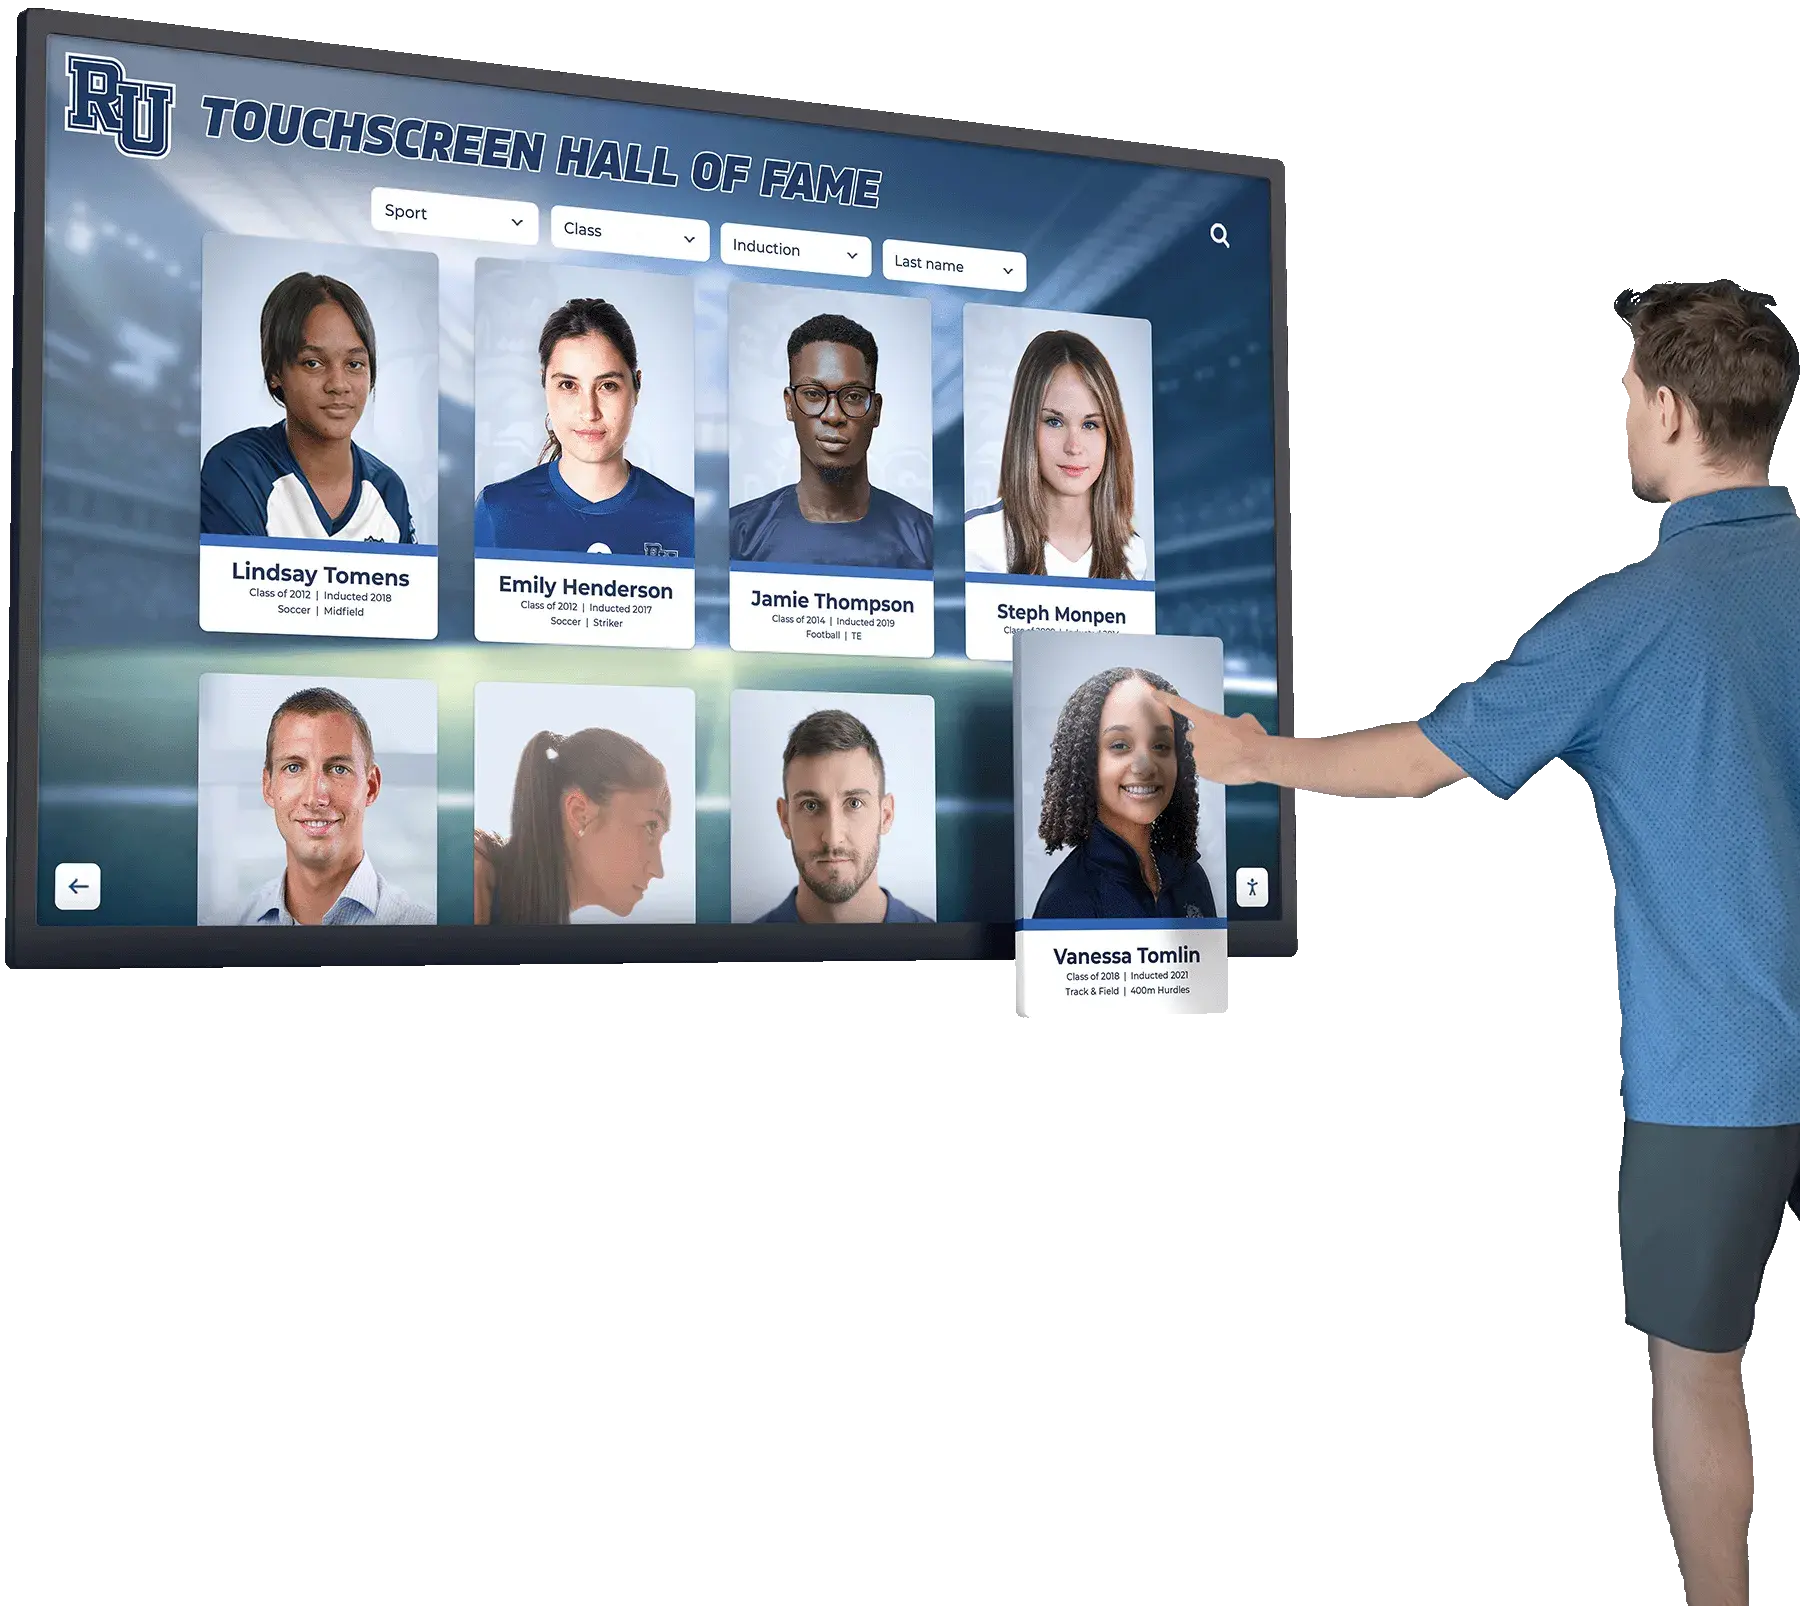
These requirements mean that large touchscreens (65+ inches) mounted at standard eye level violate ADA regulations because top portions exceed the 48-inch maximum reach height. Your kiosk software must concentrate interactive elements in the lower two-thirds of the screen, or you must provide alternative access methods.
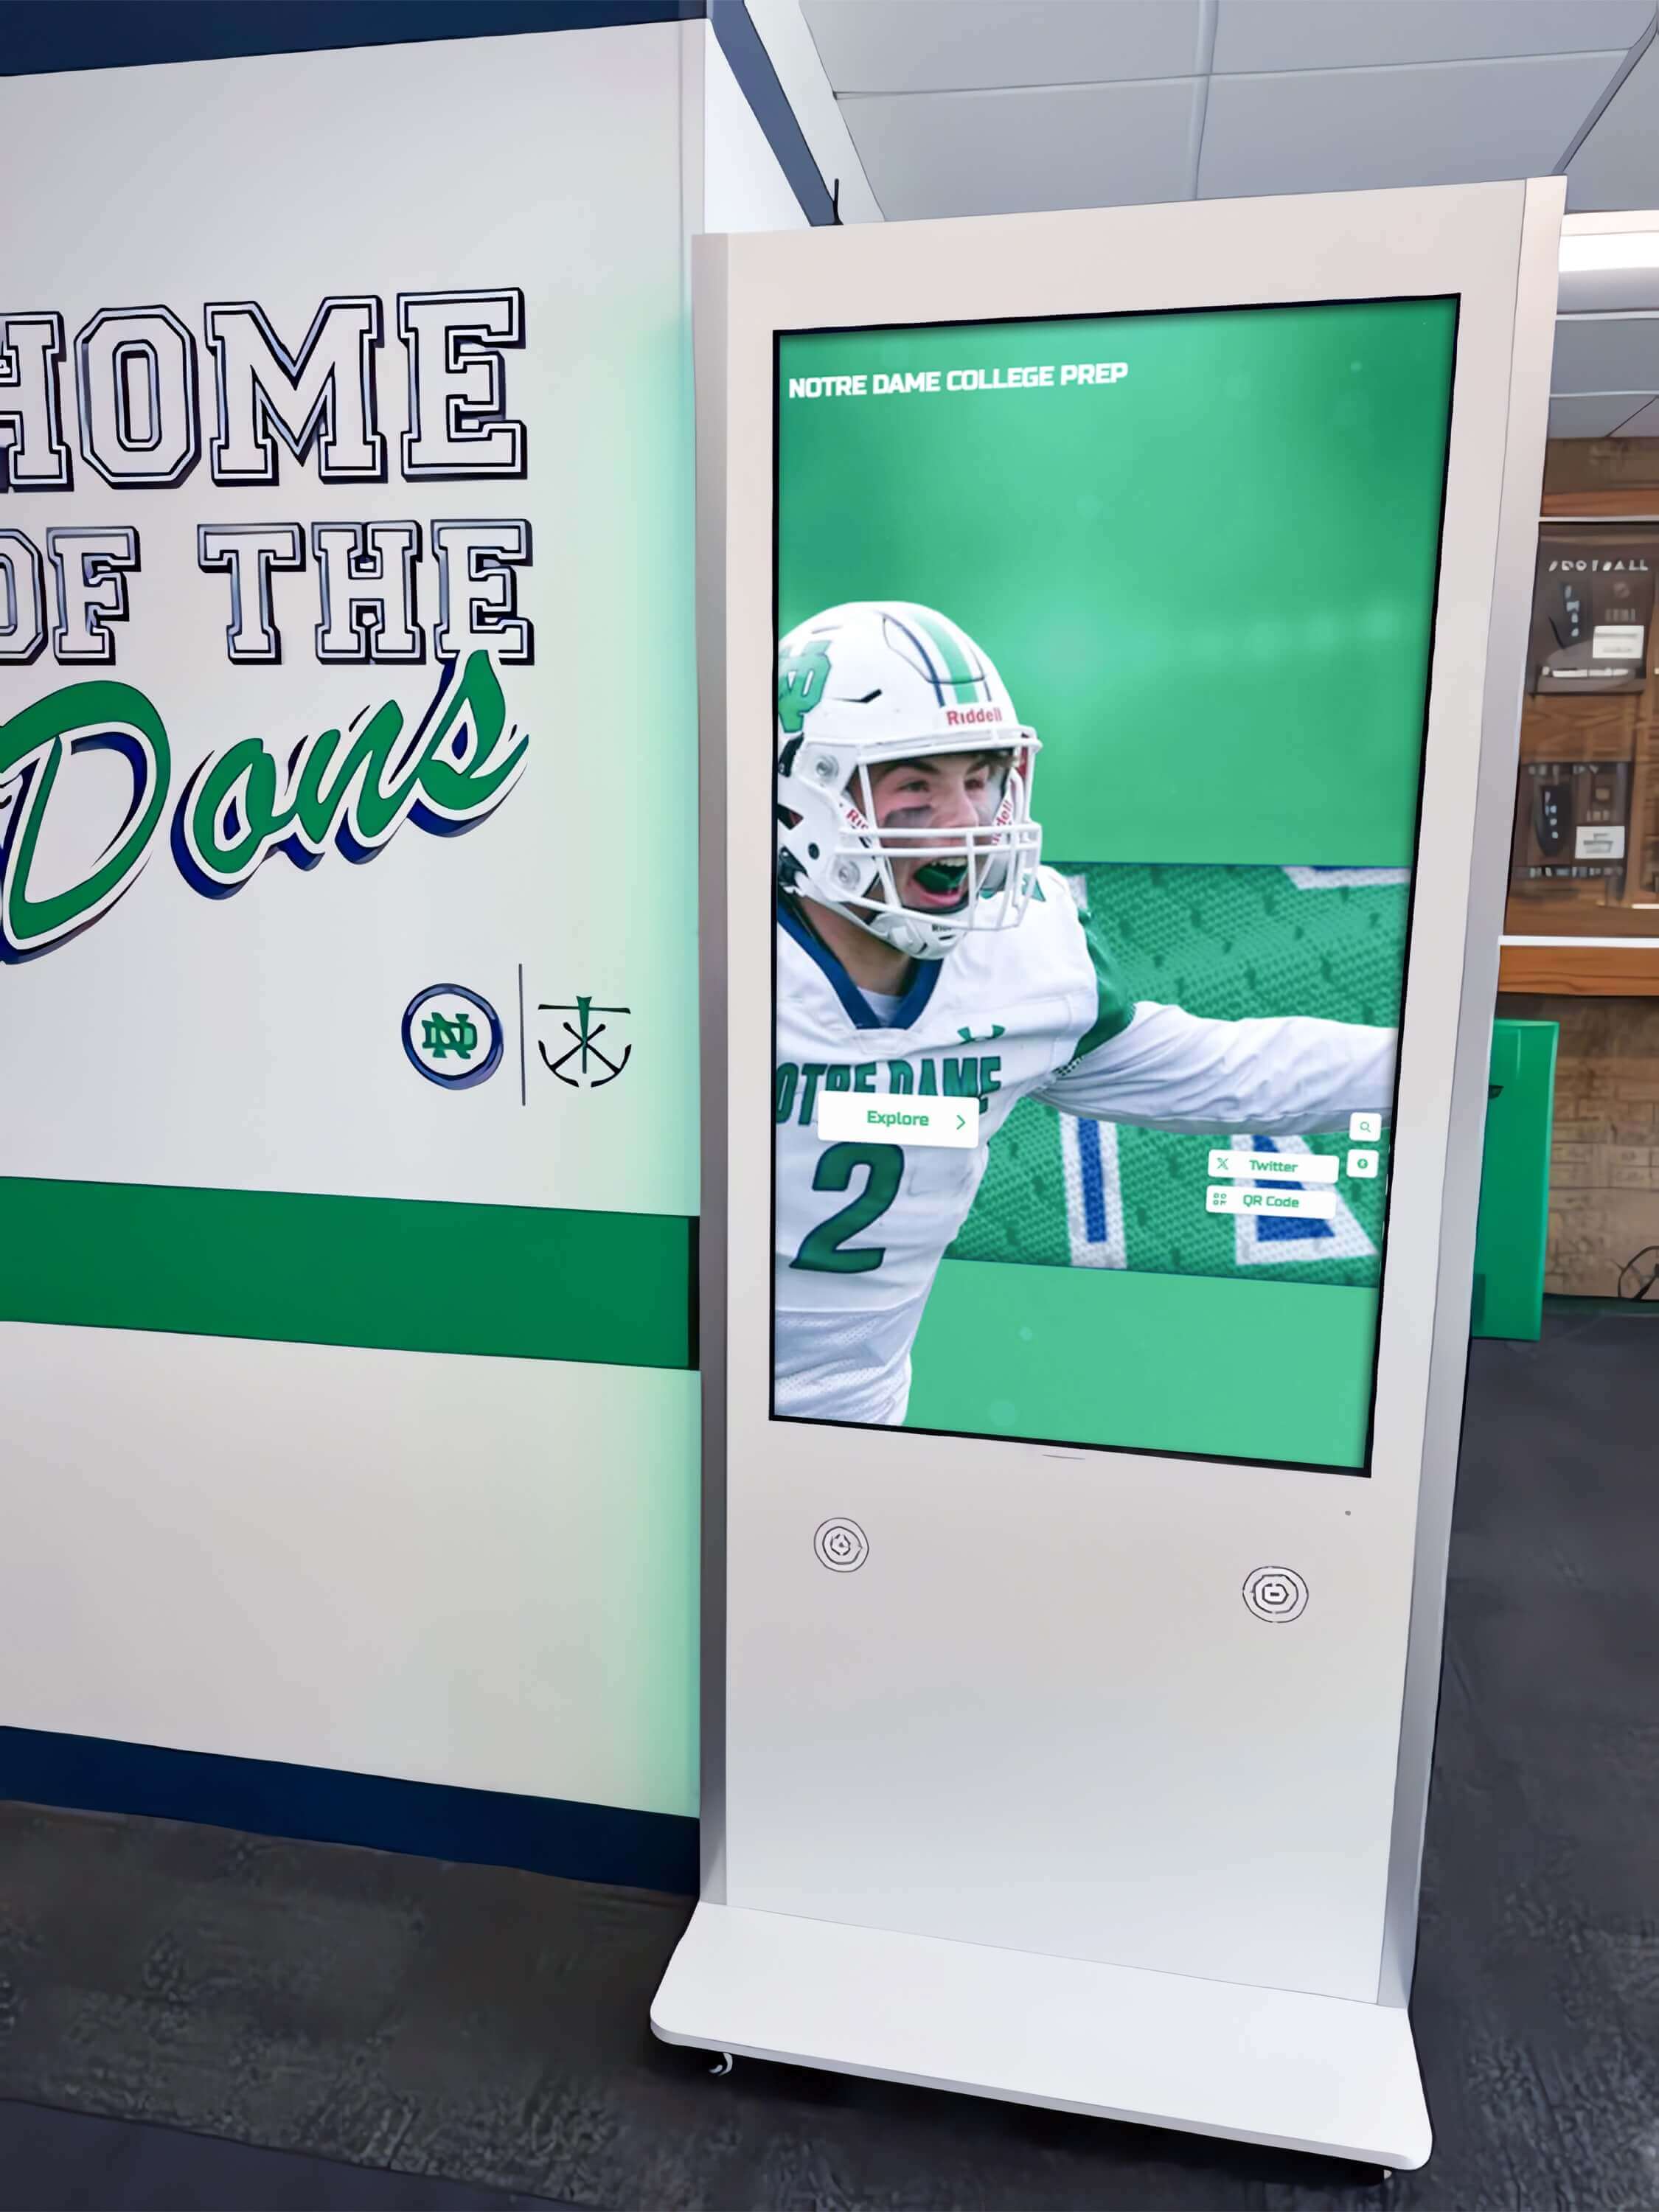
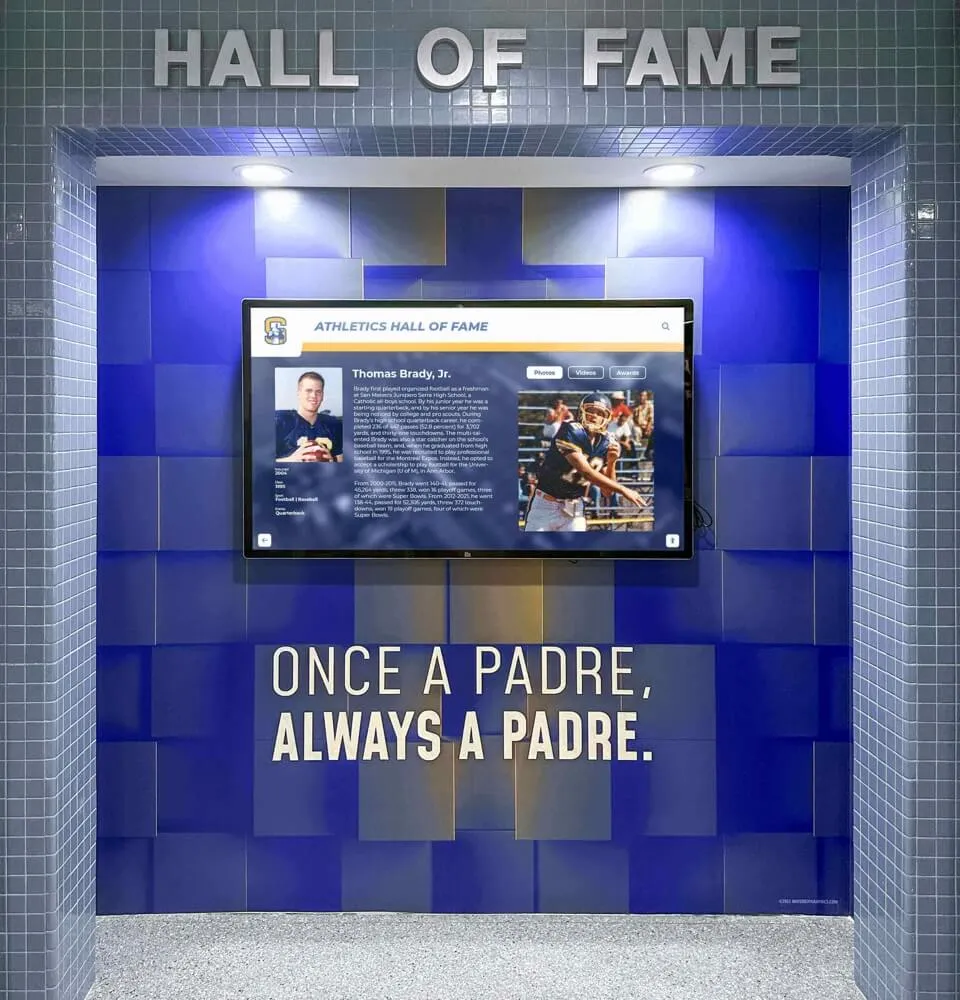
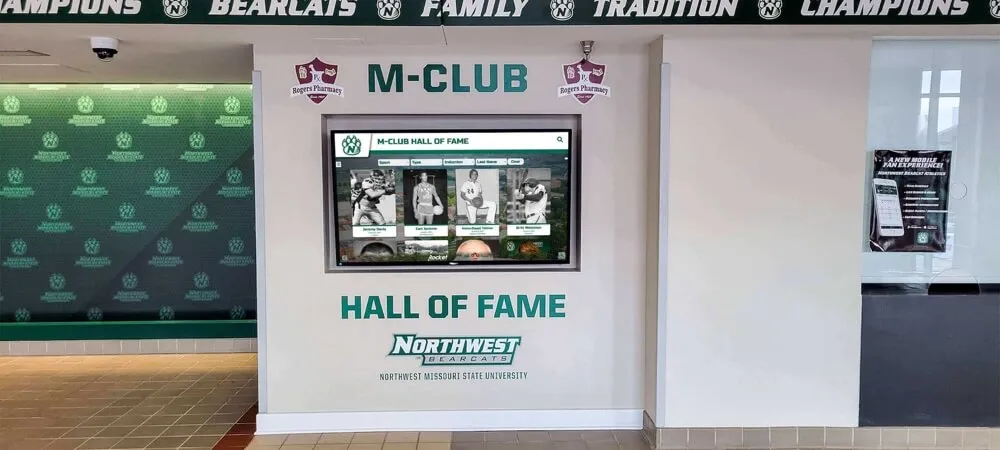
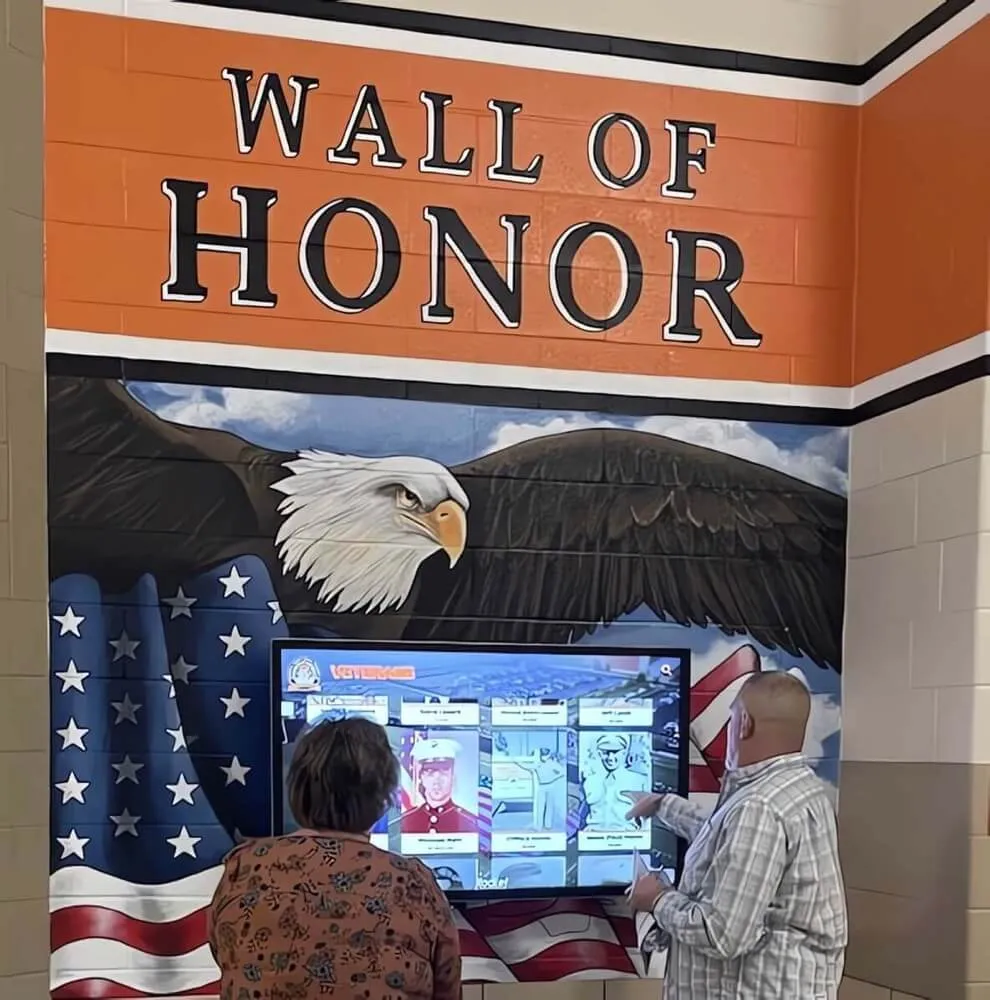
Touchscreen kiosks mounted at ADA-compliant heights with proper clear floor space ensure accessibility for all users
Wall Mounting Hardware and Load Requirements
Touchscreen displays with mounting hardware weigh 75-200+ pounds depending on screen size. Proper mounting hardware supporting these loads is non-negotiable.
Mounting hardware specifications:
- VESA pattern compatibility: Verify the screen’s VESA pattern (200x200, 400x400, 600x400, etc.) matches your mounting bracket
- Weight capacity: Mount must support 3-4x the combined weight of screen plus mounting plate (safety factor for seismic events, accidental contact)
- Wall type: Stud-mounted installation into wood or steel framing vs. concrete/masonry anchors
- Tilt angle: Fixed, tilting, or articulating mounts (tilting mounts improve glare reduction and viewing angles)
For standard drywall installation:
- Mount into wall studs (16-24 inch centers), not drywall alone
- Use minimum 3-inch lag bolts through mounting plate into studs
- Distribute load across multiple studs when possible
- Add backing boards during construction for mid-wall mounting locations
For concrete or CMU (concrete masonry unit) walls:
- Use concrete anchors rated for 4x the load
- Sleeve anchors or wedge anchors provide superior holding strength versus expansion anchors
- Verify anchor depth meets manufacturer specifications (typically 2.5-3 inches minimum)
Schools retrofitting displays into existing buildings sometimes discover that ideal mounting locations don’t align with stud positions. Surface-mounted conduit or minor drywall patching proves far less expensive than structural damage from failed mounts.
Protruding Object Regulations
Touchscreens projecting from walls create navigation hazards for visually impaired individuals using canes or guide dogs. Building codes and ADA regulations limit how far objects can protrude.
ADA protruding object standards:
- Objects protruding 4-27 inches above floor must not extend more than 4 inches from wall
- Objects protruding more than 4 inches require detectable warnings (cane-detectable barriers) below 27 inches
- Recessed alcoves containing touchscreens must not create traps for cane users
Low-profile mounts minimize protrusion while maintaining screen security. Budget 2-6 inches total protrusion including display thickness and mounting hardware. Screens in hallways require particular attention to protrusion limits to maintain accessible passage width.
Vandal Resistance and Physical Security
Schools face reality that displays in public spaces attract unintended contact, deliberate vandalism, and accidental impacts from equipment carts, cleaning supplies, and enthusiastic students.
Security features to specify:
- Tamper-resistant mounting: Security screws, concealed access, or locking brackets preventing unauthorized removal
- Impact-resistant screens: Tempered glass or polycarbonate overlays protecting LCD panels
- Protective bezels: Reinforced frames absorbing impact and protecting screen edges
- Alcove mounting: Recessed installation providing physical protection while maintaining accessibility
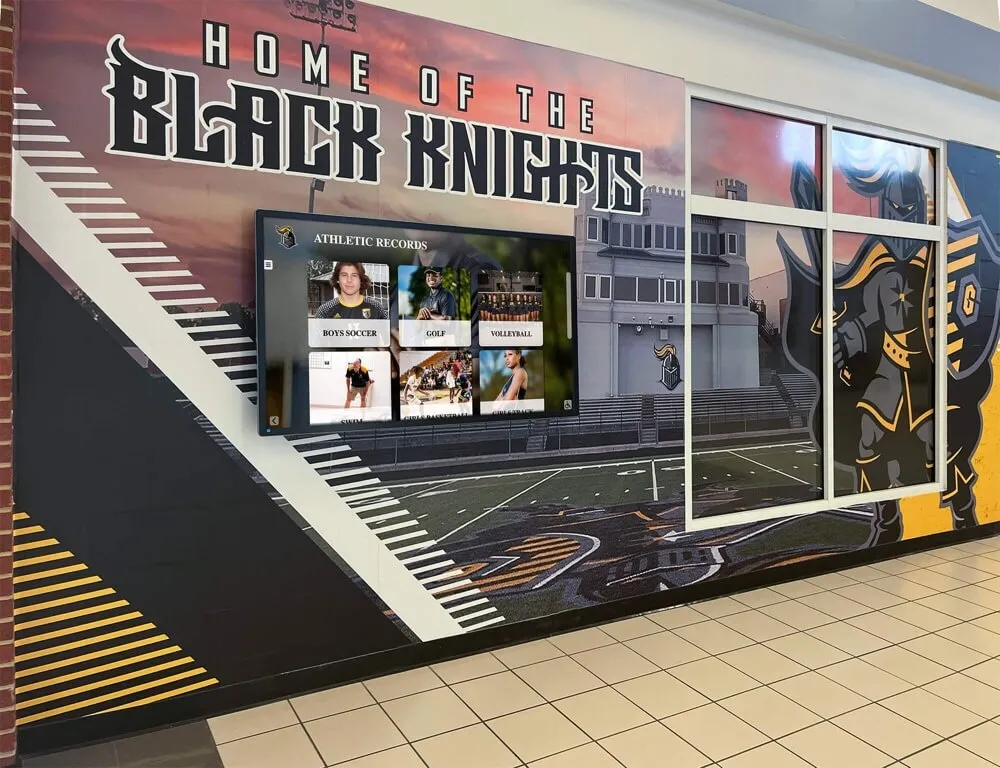
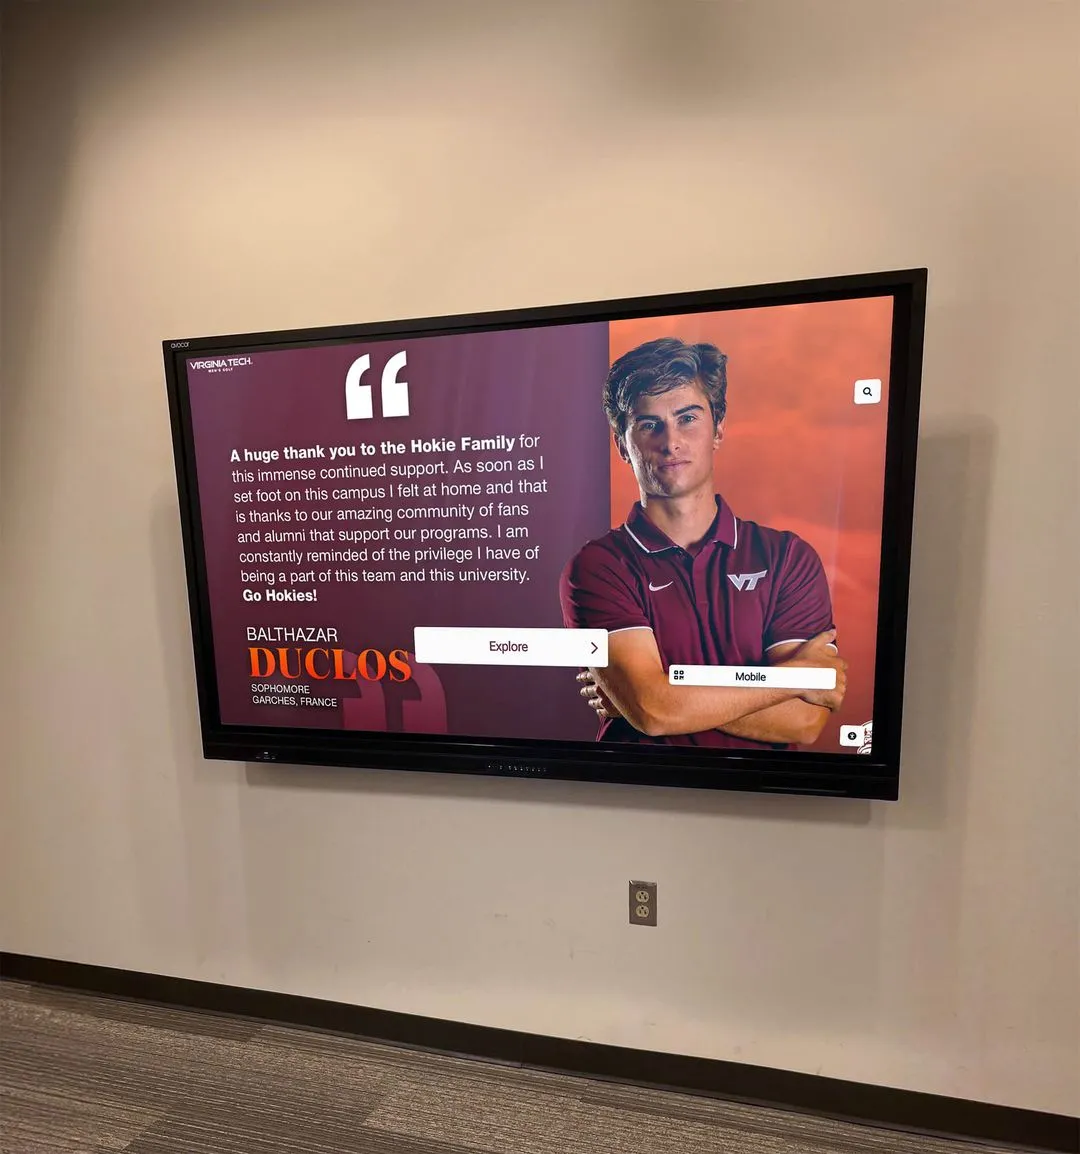
High-traffic areas like gymnasium lobbies and cafeteria entrances justify additional vandal-resistance features. Quiet administrative hallways may not require the same protection level, allowing budget allocation to other priorities.

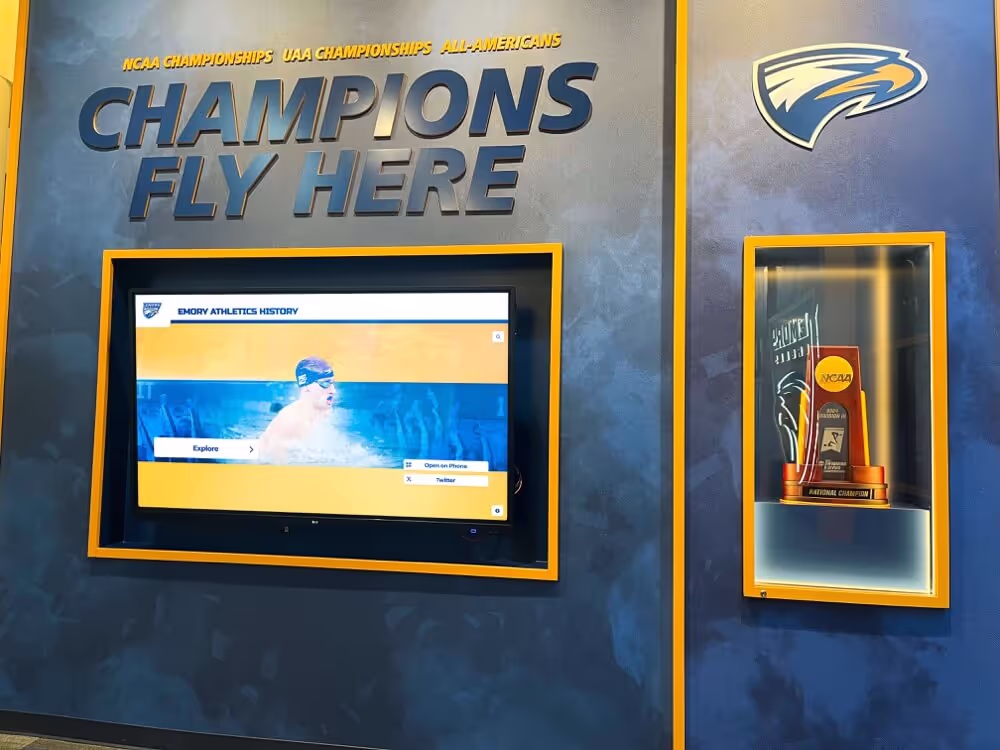
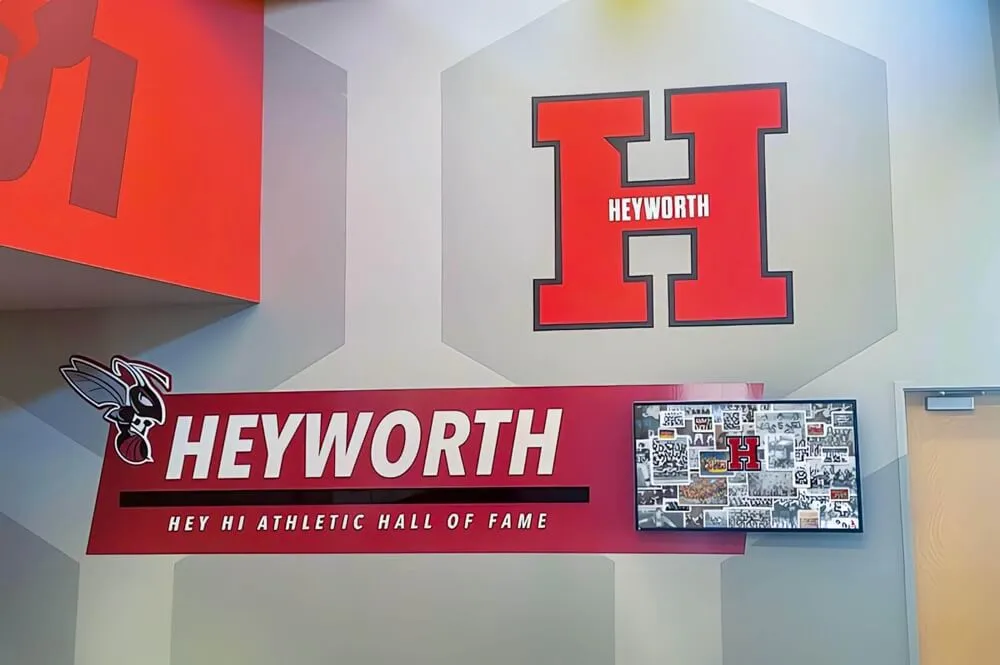
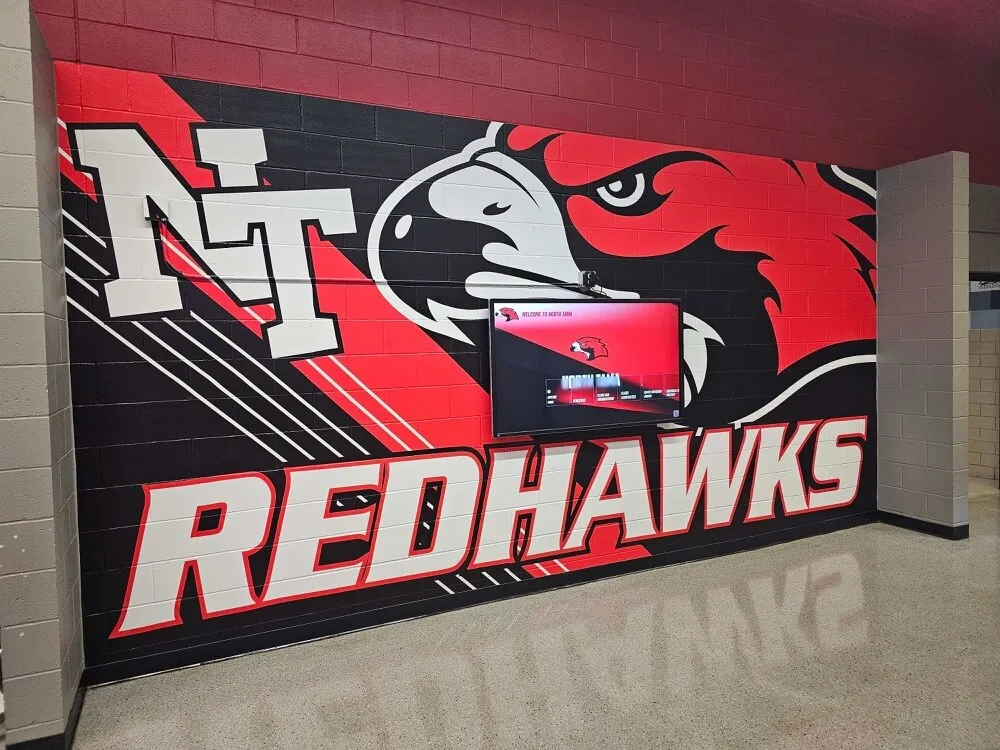
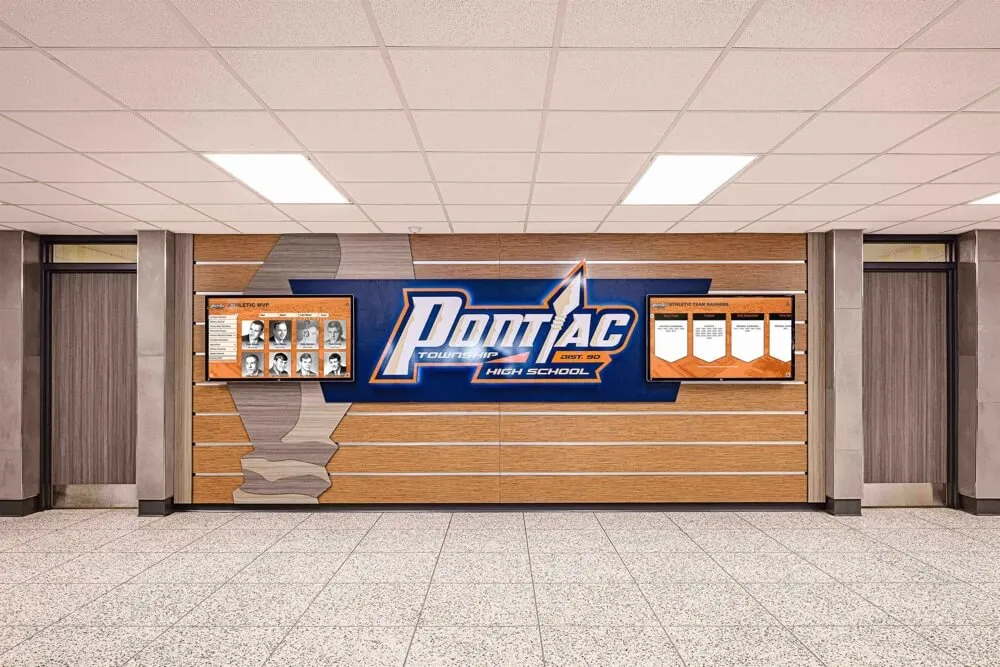
Flush-mounted displays with protective bezels provide vandal resistance while maintaining clean aesthetics in high-traffic athletic areas
Electrical Requirements and Power Planning
Inadequate electrical planning creates obvious problems (visible extension cords, insufficient capacity) and hidden costs (electrician change orders, delayed installations).
Power Consumption and Circuit Requirements
Modern commercial touchscreens consume 150-400 watts depending on size and features, creating specific electrical requirements.
Standard power specifications by screen size:
- 43-49 inch displays: 120-180 watts, standard 15A circuit adequate
- 55-65 inch displays: 180-280 watts, dedicated 15A circuit recommended
- 75-86 inch displays: 280-400+ watts, dedicated 20A circuit may be required
Add 20-30% to base consumption for touch functionality, integrated computers (if present), and peak brightness operation. Multiple displays sharing circuits require load calculations preventing circuit overload.
Outlet Placement and Code Compliance
Electrical code requires outlets to be accessible for maintenance but not create visual clutter or accessibility hazards.
Optimal outlet locations:
- Behind the display: Concealed outlet within reach of display power cable (6-8 feet typical length)
- Within mounting alcove: Protected outlet inside recessed mounting area
- Above display: Ceiling-mounted outlet with conduit running behind display to power connection
Code compliance considerations:
- Outlets must remain accessible for maintenance (not permanently sealed behind displays)
- Hospital-grade outlets provide superior retention force preventing accidental disconnection
- GFCI protection may be required depending on local codes and proximity to water sources
- Surge protection recommended protecting expensive displays from power fluctuations
Schools renovating lobbies should install electrical during construction when walls are open. Retrofitting power to existing walls costs 3-5x more due to patching, painting, and limited access.
Backup Power for Critical Displays
Schools using touchscreens for emergency communications or critical wayfinding may require backup power maintaining operation during outages.
Backup power options:
- UPS (Uninterruptible Power Supply): Battery backup providing 15-60 minutes runtime during outages
- Emergency circuit connection: Tie display to generator-backed emergency power system
- Redundant displays: Multiple smaller displays instead of single large screen (partial operation during failures)
Most recognition and achievement displays don’t justify backup power expense. Administrative information kiosks or emergency communication displays may warrant this investment.
Network Connectivity: Wired vs. Wireless
Content management systems require reliable network connectivity supporting content updates, remote management, and usage analytics.
Wired Ethernet Installation
Wired network connections provide superior reliability, security, and bandwidth versus wireless alternatives.
Ethernet installation specifications:
- Cable standard: Cat6 or Cat6a supporting gigabit speeds and future bandwidth growth
- Run length: Maximum 100 meters (328 feet) from network switch to display
- Cable routing: Through walls or above ceilings concealing cables, avoiding visible conduit when possible
- Termination: Wall-mounted Ethernet jack behind display or direct connection to display network port
Network connectivity installed during construction costs $50-$150 per drop including materials and labor. Retrofit installations range $200-$500 per drop depending on accessibility and cable run complexity.
Wireless Connectivity Considerations
WiFi connections eliminate cabling costs but introduce reliability variables and security considerations.
When wireless connectivity works:
- Strong, consistent WiFi signal at installation location (-60 dBm or better)
- Content updates during off-peak hours minimizing bandwidth competition
- Displays showing relatively static content without real-time data feeds
- Budget constraints preventing wired installation
Wireless connectivity challenges:
- Signal interference from neighboring networks, building materials, or equipment
- Bandwidth sharing with student devices and other school traffic
- Security vulnerabilities requiring proper network segmentation
- Inconsistent performance during high-traffic periods
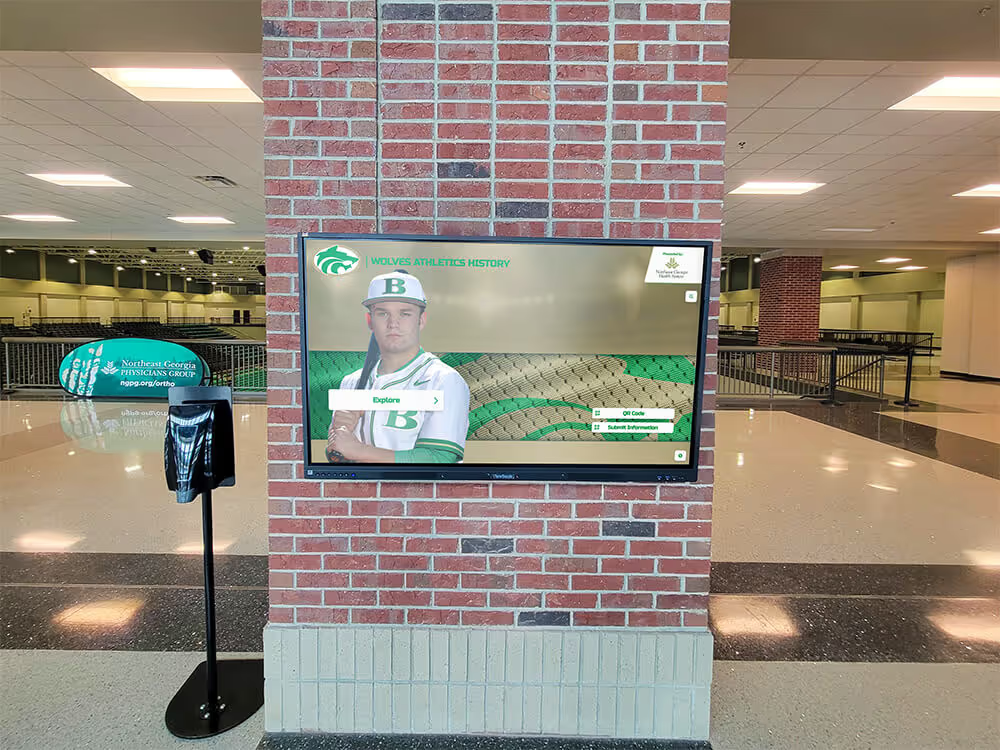
Test WiFi signal strength at proposed installation locations before assuming wireless connectivity will suffice. Many schools discover that architectural materials (brick, concrete, metal studs) create dead zones exactly where displays are planned.
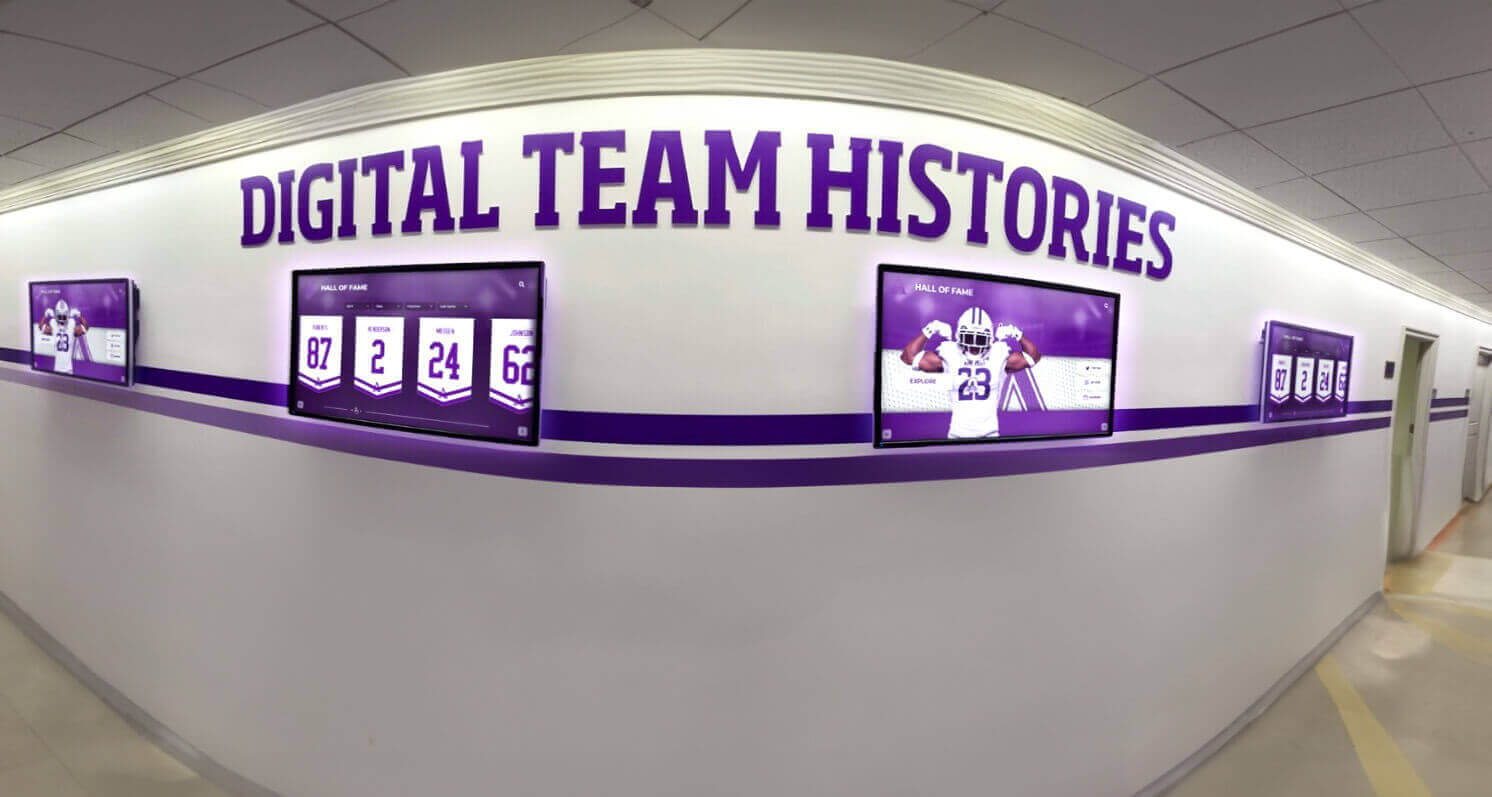
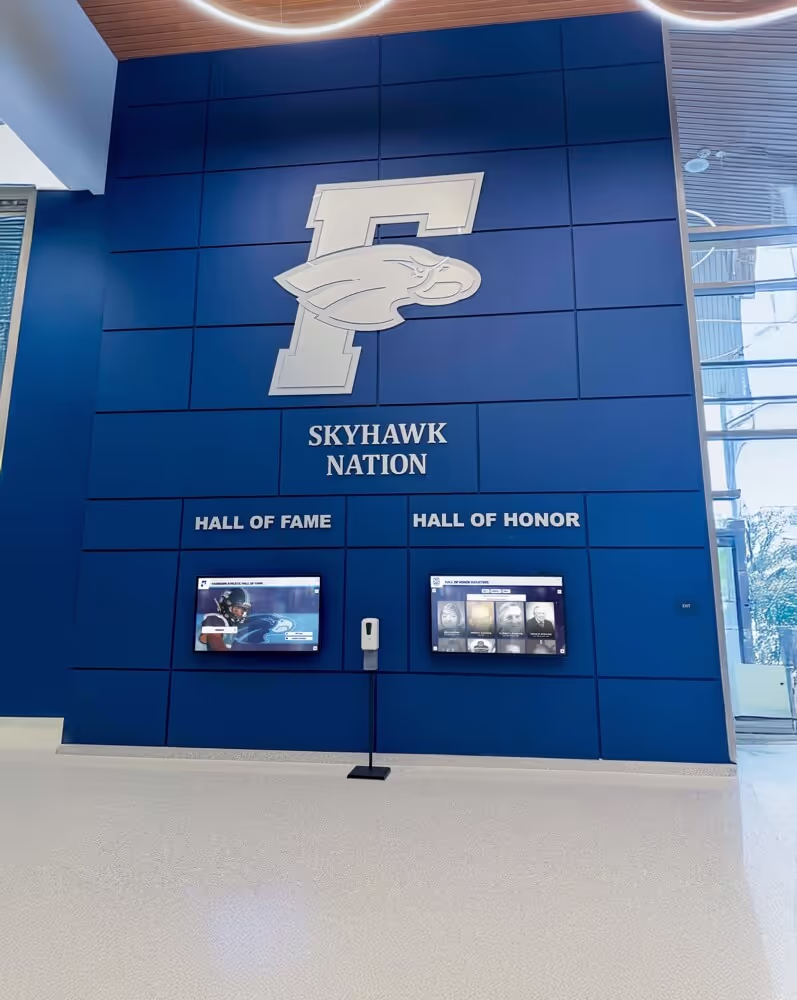
Multiple networked displays require proper bandwidth planning and network infrastructure supporting reliable content distribution
Bandwidth Requirements for Content Updates
Understanding bandwidth needs prevents network bottlenecks and poor performance.
Typical bandwidth consumption:
- Static image content: 1-5 Mbps for initial content load, minimal ongoing bandwidth
- Video content: 5-25 Mbps depending on resolution and compression
- Live data feeds: 2-10 Mbps continuous for real-time information
- Remote management: 1-3 Mbps for administrative access and monitoring
Content management systems using local caching dramatically reduce bandwidth requirements by storing content on the display device and only downloading updates when content changes. This architecture supports multiple displays without overwhelming network infrastructure.
Integration with Content Management Systems
Hardware installation represents only half of touchscreen display deployment. Software platforms manage what content appears and how users interact with displays.
Cloud vs. Local Content Management
Content management architecture affects both ongoing operational costs and network dependency.
Cloud-based CMS advantages:
- Updates from anywhere with internet access
- Automatic software updates and security patches
- No local server infrastructure to maintain
- Centralized management across multiple displays and locations
Local CMS considerations:
- Operates without internet connectivity (useful for isolated buildings)
- No recurring cloud subscription fees
- Faster content updates (no internet upload delays)
- Requires dedicated server hardware and IT management
Most modern school deployments favor cloud-based solutions eliminating server infrastructure while providing convenient remote management. A touchscreen kiosk app running on the display connects to cloud CMS platforms for content distribution and updates.
Security and Network Segmentation
Touchscreen displays on school networks require proper security configuration preventing unauthorized access while maintaining functionality.
Network security best practices:
- Separate VLAN: Isolate displays from student and staff networks
- Firewall rules: Restrict display network access to required services only
- Regular updates: Maintain current software versions patching security vulnerabilities
- Access controls: Limit CMS administrative access to authorized personnel
- Content filtering: Prevent inappropriate content display through system controls
Work with your district IT department early in planning ensuring security requirements are understood and accommodated without compromising display functionality.
User Interaction Tracking and Analytics
Modern touchscreen platforms capture interaction data revealing what content engages users and what goes ignored.
Valuable analytics metrics:
- Touch frequency: Which content areas receive most interaction
- Search queries: What users look for (revealing content gaps)
- Session duration: How long users engage with displays
- Peak usage times: When traffic concentrates (informing content scheduling)
- User paths: How visitors navigate through content categories
This data informs content strategy improvements and justifies continued investment in recognition programs by demonstrating measurable engagement. Schools implementing displays without analytics miss opportunities to optimize content based on actual user behavior.
Installation Process and Professional Services
Even with proper specifications, installation quality determines long-term success and safety.
DIY vs. Professional Installation
Schools with capable facilities teams may consider internal installation saving contracted labor costs.
Skills required for proper installation:
- Electrical work (may require licensed electrician per local codes)
- Network cabling and termination (or coordination with IT department)
- Structural mounting (identifying load paths, proper anchor selection)
- ADA compliance verification
- System configuration and testing
When to hire professional installers:
- Display value exceeds facilities team’s comfort with liability
- Local codes require licensed trades (electrical, low-voltage)
- Timeline constraints demand rapid deployment
- Complex installations involving structural modifications
- Warranty requirements specify professional installation
Professional installation typically adds $800-$2,500 per display depending on complexity, location, and electrical/network requirements. This investment includes proper mounting, code-compliant electrical and network connections, and often includes warranty coverage for installation work.
Pre-Installation Site Preparation
Successful installations begin with thorough site preparation before equipment arrives.
Pre-installation checklist:
- Confirm wall construction type and mounting substrate
- Verify electrical capacity and outlet locations
- Test network connectivity (wired or wireless signal strength)
- Measure ADA compliance dimensions (reach heights, clear floor space)
- Identify and mark utility locations (pipes, conduit, wiring in walls)
- Arrange access to installation areas (ladders, lifts, parking for installers)
- Coordinate with school schedule (avoiding high-traffic times, special events)
Schools scheduling installations during academic breaks avoid disruptions to daily operations while providing installers uninterrupted access to work areas.
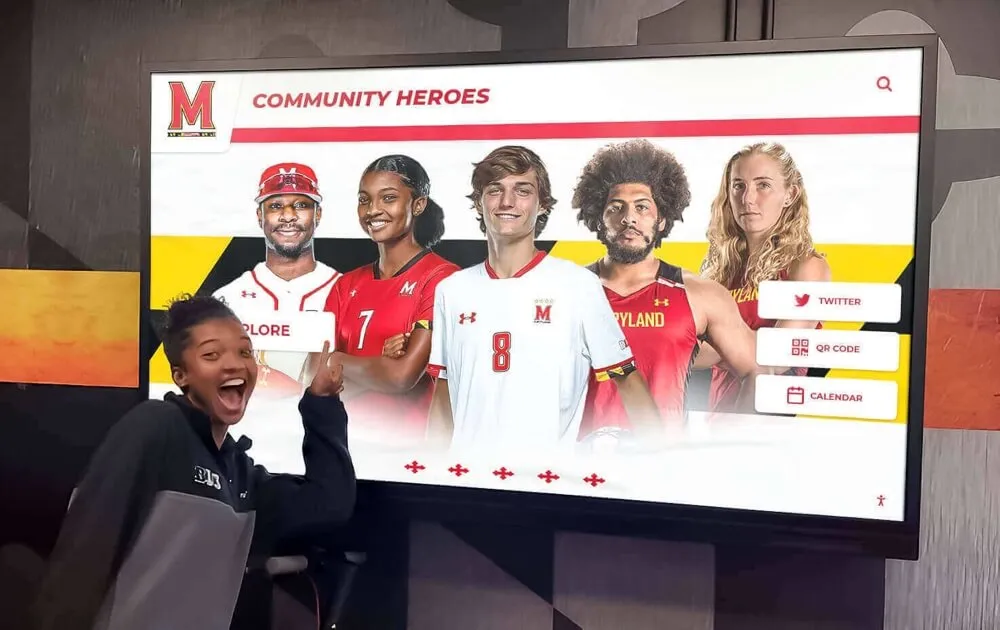
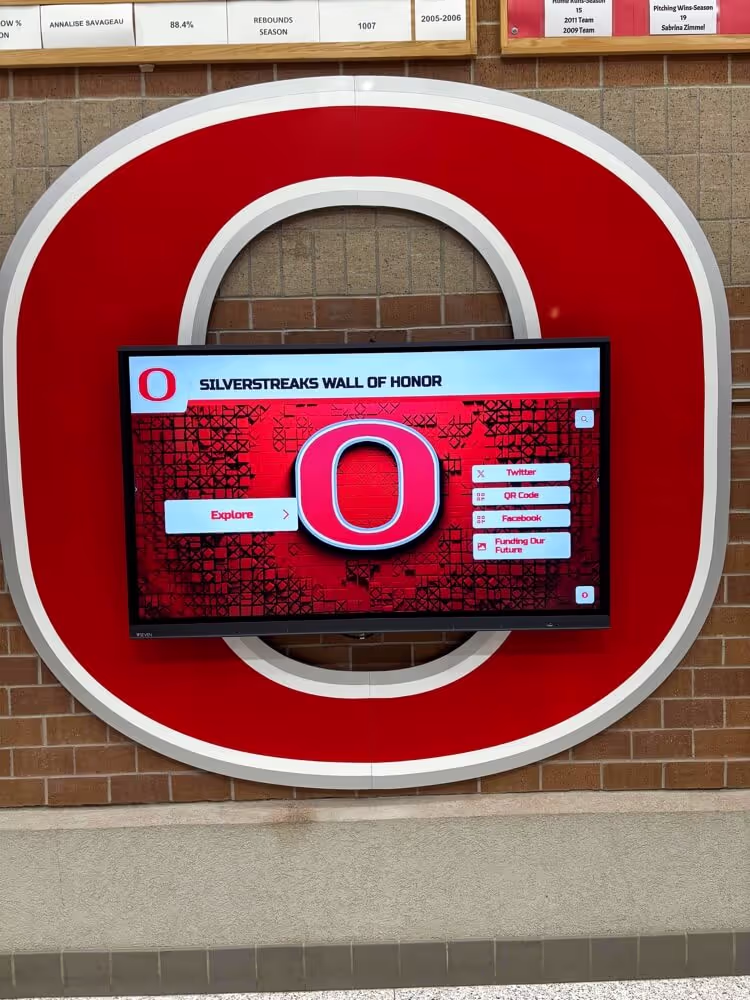
Professional installation ensures touchscreen responsiveness and proper calibration for intuitive user interaction
Post-Installation Testing and Validation
Installation isn’t complete until systematic testing verifies all functionality.
Post-installation validation checklist:
- Physical security: Verify mounting stability, proper anchoring, tamper resistance
- Touch response: Test touch accuracy across entire screen surface
- Content display: Confirm proper resolution, color accuracy, brightness
- Network connectivity: Verify stable connection and proper bandwidth
- CMS functionality: Test content updates, remote management, administrative access
- ADA compliance: Measure and document reach heights, clear floor space
- Safety inspection: Check for sharp edges, pinch points, electrical hazards
Document installation with photos showing mounting details, electrical connections, and network terminations. This documentation proves invaluable during future troubleshooting or warranty claims.
Accessibility Beyond ADA Compliance
Legal compliance represents minimum standards, not optimal accessibility. Consider additional features serving diverse user needs.
Visual Accessibility Features
Users with visual impairments benefit from interface design considerations beyond basic compliance.
Visual accessibility enhancements:
- High contrast modes: Alternative color schemes improving readability for low vision users
- Adjustable text size: User-controlled text scaling without breaking layouts
- Screen reader compatibility: Audio descriptions of visual content
- Glare reduction: Anti-glare screen treatments and proper tilting to minimize reflections
- Brightness adjustment: Ambient light sensors adapting screen brightness to viewing conditions
These features require software platform support. Evaluate CMS capabilities during vendor selection ensuring accessibility features align with your institution’s commitment to universal design.
Cognitive and Physical Accessibility
Touchscreen interfaces serving diverse populations should accommodate varying cognitive and physical abilities.
Inclusive design considerations:
- Simple navigation: Clear hierarchy, consistent patterns, obvious action buttons
- Error tolerance: Undo functions, confirmation dialogs for destructive actions
- Timeout management: Extended or disabled timeouts for users requiring additional interaction time
- Touch target sizing: Minimum 44x44 pixel touch targets (adults), 48x48 pixels (preferred)
- Gesture simplicity: Basic tap and scroll interactions avoiding complex multi-touch gestures
Schools implementing recognition displays often focus exclusively on content without considering how users with diverse abilities will interact with that content. Accessible design benefits everyone, not just users with diagnosed disabilities.
Maintenance, Support, and Longevity Planning
Installation represents the beginning of your display’s service life, not the conclusion of your planning responsibilities.
Routine Maintenance Requirements
Touchscreen displays require ongoing care maintaining appearance and functionality.
Regular maintenance schedule:
- Weekly cleaning: Microfiber cloth removing fingerprints and dust from screen
- Monthly inspection: Check for loose mounting hardware, unusual sounds, display anomalies
- Quarterly deep cleaning: Remove bezels (if accessible), clean ventilation areas, inspect connections
- Annual professional service: Comprehensive inspection, calibration, software updates
Establish clear responsibility for maintenance preventing assumptions that lead to neglected displays. Some schools assign facilities staff for physical maintenance while IT handles software and network aspects.
Warranty Coverage and Support Plans
Understanding what’s covered and what requires out-of-pocket expense prevents budget surprises.
Standard warranty coverage typically includes:
- Display panel defects and failures (3-5 years commercial warranties)
- Touch sensor malfunction
- Manufacturing defects in hardware components
What warranties typically exclude:
- Physical damage (cracks, impacts)
- Wear and tear (screen dimming over time within specifications)
- Software issues or CMS problems
- Network connectivity problems
- Installation errors
Extended warranties and support plans add 15-25% to purchase price but provide peace of mind and predictable support costs. Evaluate based on your facilities team’s capabilities and budget for unexpected repairs.
Planning for Technology Refresh Cycles
Touchscreen displays serve 8-12 years typically, but content management platforms, network standards, and user expectations evolve faster than hardware lifespan.
Technology refresh planning:
- Year 1-3: Full functionality, current platform
- Year 4-6: Mature platform, possible minor software limitations
- Year 7-9: Platform showing age, may lack newest features
- Year 10+: Replacement planning, compatibility concerns with modern standards
Budget for display replacement beginning year 8-10, earlier if educational technology standards shift dramatically. Some schools plan rolling replacements (20% of displays annually) preventing simultaneous large expenditures when entire installations age out together.
Real-World Implementation Scenarios
Seeing how specifications translate to actual installations clarifies decision-making.
Scenario 1: High School Athletic Hall of Fame
Space: 12x20 foot gymnasium lobby area with brick walls
Requirements:
- 65-inch commercial touchscreen (viewing distance 6-8 feet)
- Landscape orientation showcasing team photos
- Concrete anchor mounting into brick
- Dedicated 20A electrical circuit
- Wired gigabit Ethernet
- ADA-compliant mounting height (bottom edge 18 inches, top interactive elements 46 inches)
Budget: $8,500 total ($4,200 display, $1,800 installation, $1,200 electrical/network, $1,300 CMS annual subscription)
This installation serves as the centerpiece for digital wall mount displays celebrating athletic achievement.
Scenario 2: Elementary School Main Lobby Welcome Display
Space: 8x10 foot entrance lobby, drywall construction
Requirements:
- 49-inch commercial touchscreen (intimate viewing distance)
- Portrait orientation fitting narrow wall between office door and corridor
- Stud-mounted installation with backing board
- Standard 15A circuit, existing outlet relocated behind display
- WiFi connectivity (strong signal verified during testing)
- Child-height mounting (bottom edge 24 inches, top interactive elements 48 inches)
Budget: $4,800 total ($2,800 display, $800 installation, $600 electrical, $600 CMS annual subscription)
Scenario 3: University Donor Recognition Wall
Space: Grand lobby with 30-foot ceilings, architectural prominence
Requirements:
- 86-inch commercial touchscreen (8-10 foot viewing distance)
- Landscape orientation with custom architectural surround
- Steel stud mounting with supplemental backing
- Dedicated 20A circuit with UPS backup power
- Redundant network (primary wired, WiFi failover)
- Standard ADA mounting height despite large screen (interactive elements concentrated in lower portion)
Budget: $22,000 total ($12,000 display, $3,500 installation, $2,800 electrical/network/UPS, $2,200 architectural surround, $1,500 CMS annual subscription)
This installation represents the premium tier of digital donor recognition walls used in capital campaign environments.
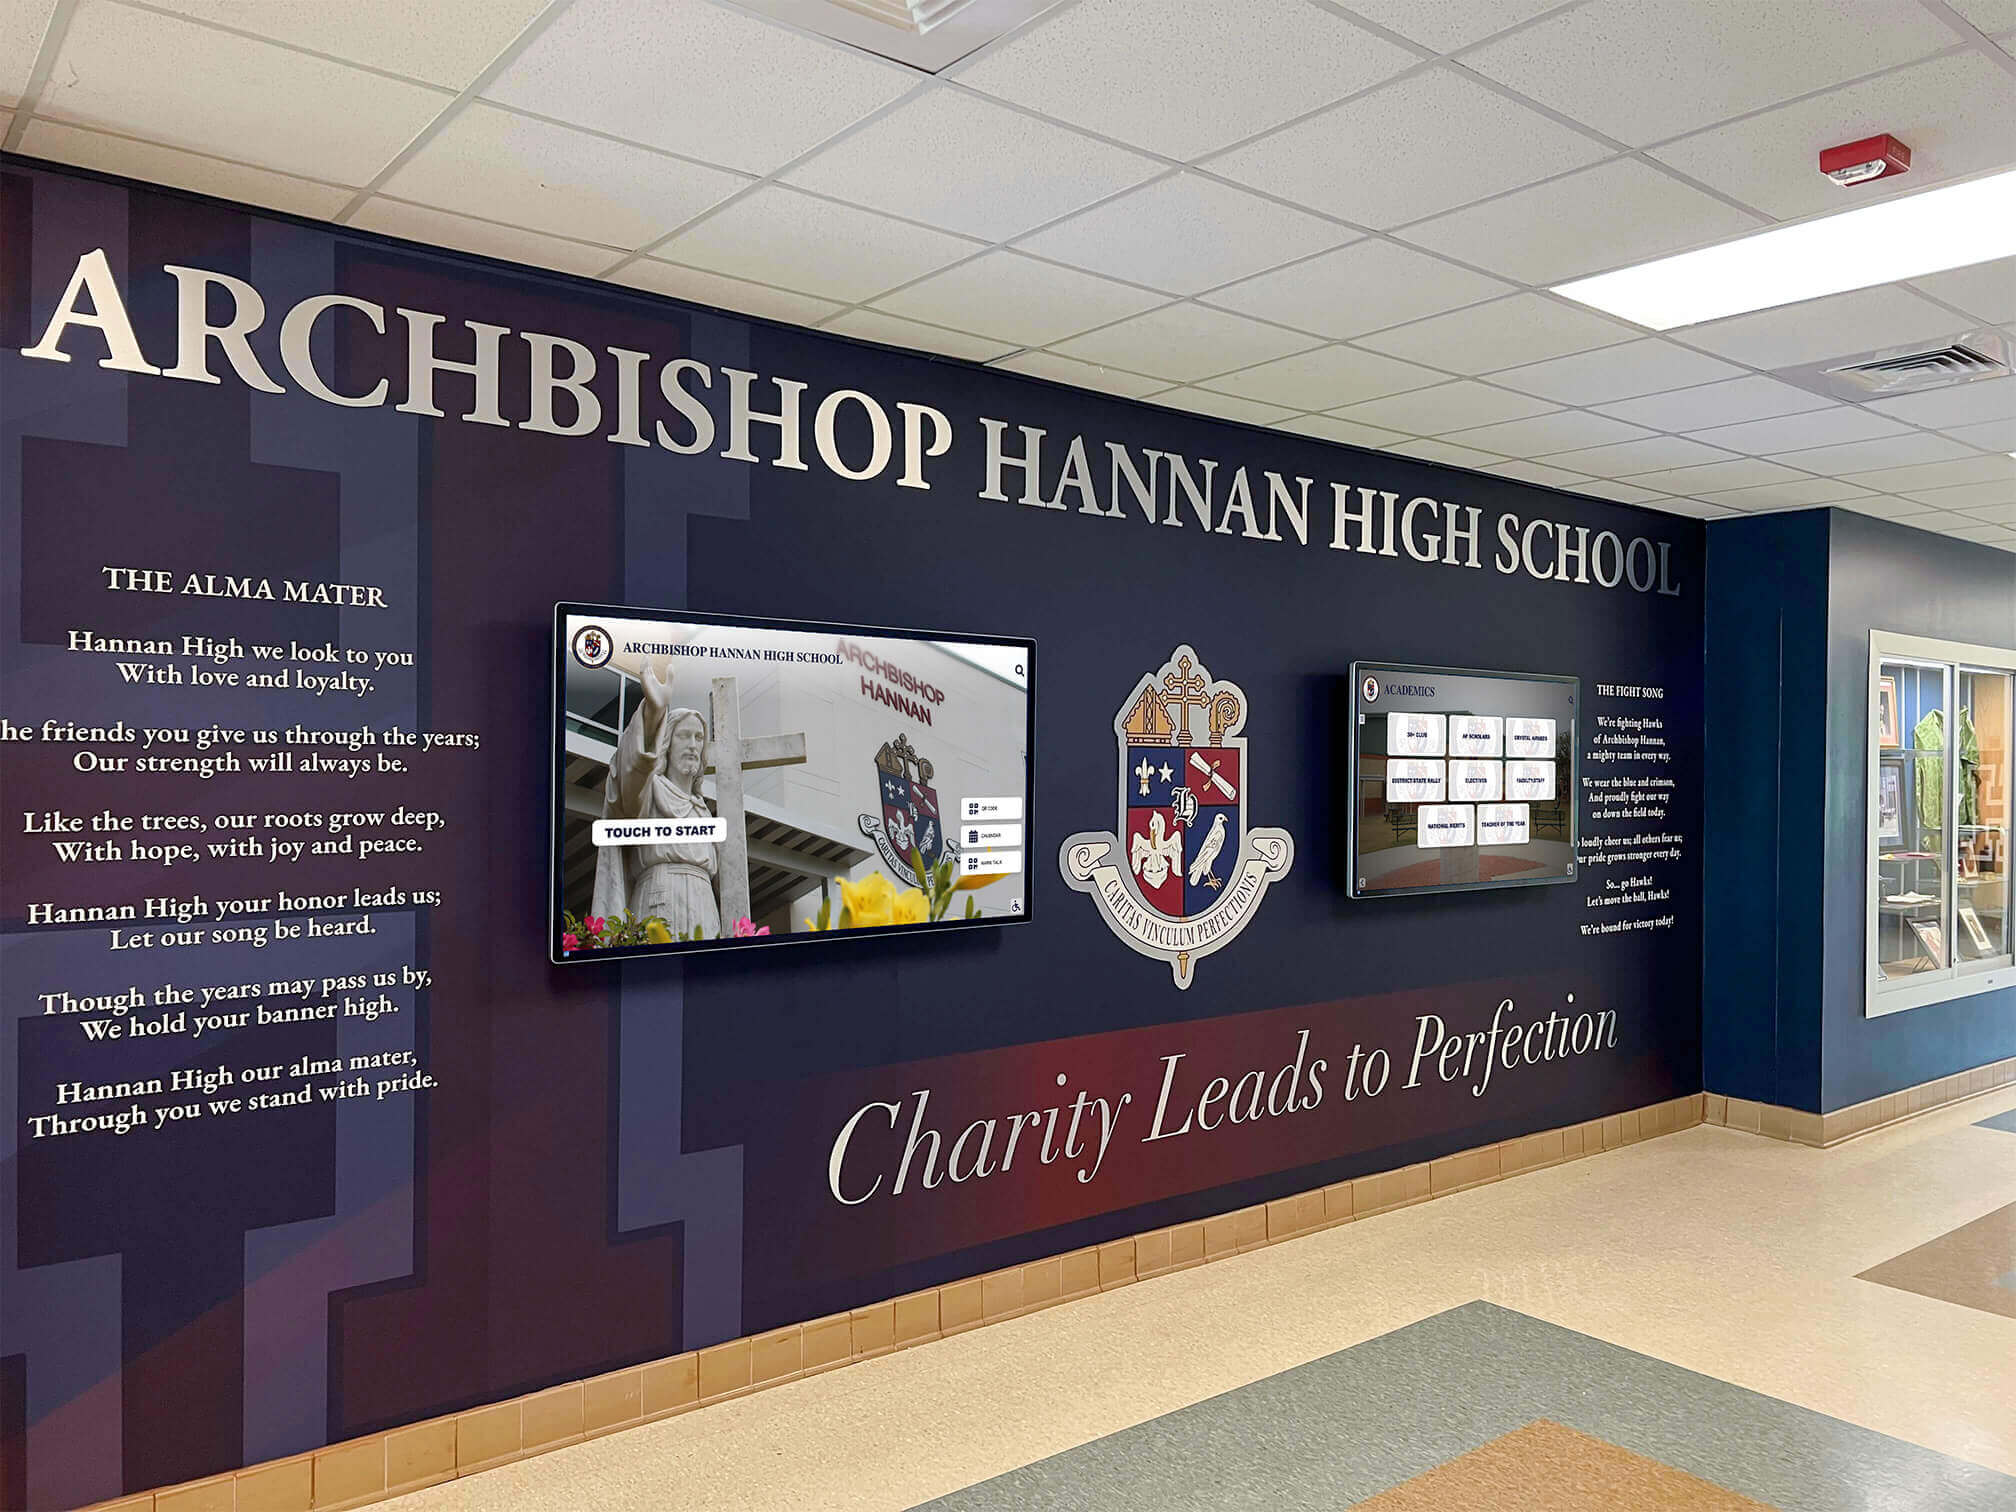
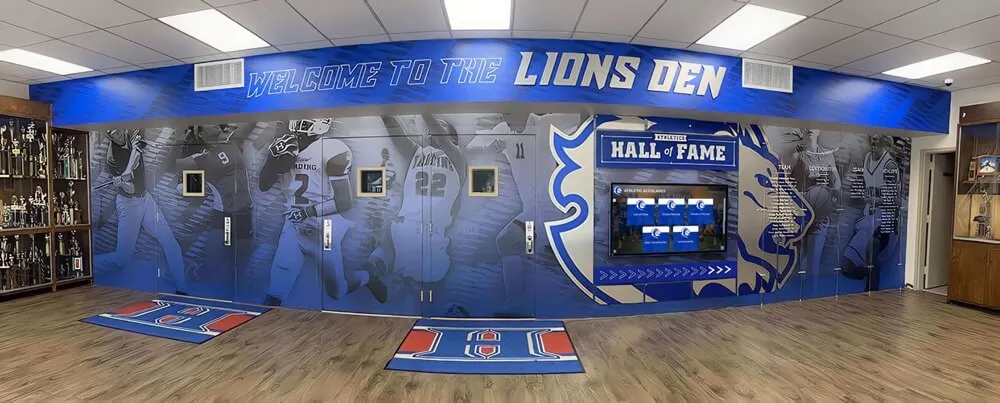
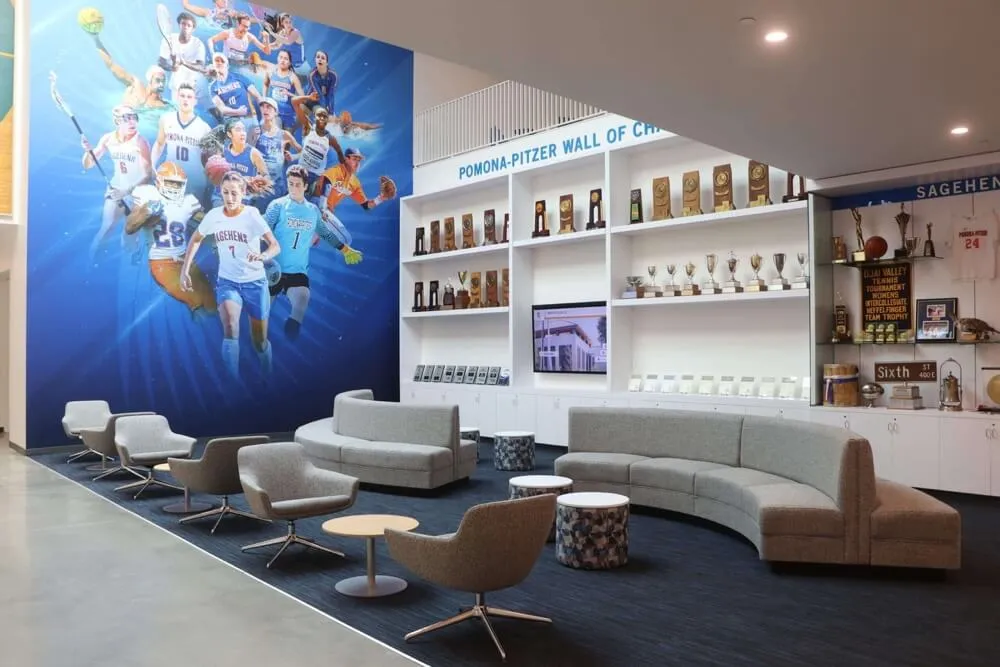
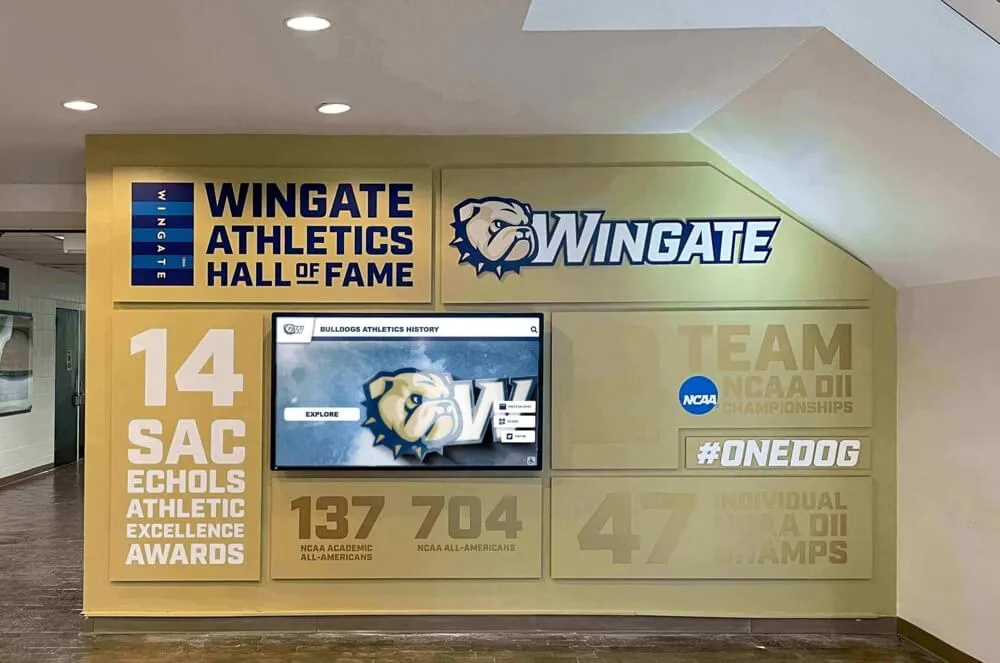
Integrated display installations combining multiple screens with architectural elements create dramatic recognition environments in school lobbies
Budget Planning and Total Cost of Ownership
Purchase price represents only one component of total investment in touchscreen display systems.
Upfront Capital Costs
Initial investment breakdown:
- Display hardware: $2,500-$15,000 depending on size and commercial grade
- Mounting hardware: $200-$800 for commercial-grade mounts and security features
- Installation labor: $800-$3,500 depending on complexity and professional services
- Electrical work: $300-$2,500 for circuit installation and outlet placement
- Network infrastructure: $200-$1,500 for wired connections or WiFi improvements
- Content management platform: $0-$5,000 initial setup fees (varies by vendor)
- Content creation: $500-$5,000+ for initial achievement database population and design
Typical total initial investment: $5,000-$30,000 per display installation
Schools with existing electrical and network infrastructure near desired mounting locations save considerably versus installations requiring extensive infrastructure work.
Ongoing Operational Costs
Annual expenses to budget:
- CMS subscription: $600-$2,500 annually depending on features and display count
- Electricity: $50-$150 annually per display (8-16 hours daily operation)
- Internet bandwidth: Often negligible if added to existing connection
- Content updates: $0-$2,000 annually depending on internal capability versus contracted services
- Maintenance supplies: $50-$150 annually (cleaning supplies, minor repairs)
5-year total cost of ownership: $8,000-$40,000 per display including initial capital investment and ongoing operational expenses
Compare TCO across vendors rather than focusing exclusively on initial purchase price. Lower upfront costs offset by expensive annual subscriptions or limited functionality may prove more expensive over displays’ service lives.
Funding Sources and Grant Opportunities
Creative funding approaches help schools afford recognition technology that budgets don’t immediately accommodate.
Potential funding sources:
- Booster club campaigns: Athletic or arts boosters funding displays honoring their programs
- Alumni associations: Reunion giving campaigns or major gift initiatives
- Capital campaign integration: Including recognition technology in larger fundraising efforts
- Naming opportunities: Sponsor recognition displays (with appropriate content controls)
- Education technology grants: State or federal programs supporting educational technology
- PTA/PTO initiatives: Parent organization fundraisers for school enhancement
Many athletic directors successfully pitch recognition displays as fundraising tools that honor donors while encouraging additional philanthropy, creating self-funding mechanisms over time.
Vendor Selection and Procurement
Choosing the right technology partner determines both initial implementation success and long-term satisfaction.
Critical Vendor Evaluation Criteria
Essential questions for vendor comparison:
- Track record in education: How many school installations? Can you visit reference sites?
- Hardware specifications: Commercial-grade components? What warranty terms?
- Software capabilities: Does CMS support your content requirements and workflows?
- Accessibility compliance: WCAG 2.1 AA compliance? ADA-compliant interface design?
- Support services: What’s included in annual subscription? Response time for issues?
- Content migration: Will vendor import existing recognition data or must you manually enter everything?
- Training provision: Is staff training included? What format and duration?
- Ownership and portability: Can you export your data? What happens if you change vendors?
Request detailed proposals from 3-5 vendors allowing meaningful comparison across price, features, and service levels.
RFP Development for School Procurement
Districts with formal procurement requirements benefit from structured RFP processes.
Key RFP sections to include:
- Project background: School demographics, space description, goals for recognition program
- Technical specifications: Screen sizes, mounting requirements, electrical/network infrastructure
- Functional requirements: Content types to display, CMS capabilities needed, accessibility standards
- Service expectations: Installation, training, support response times, warranty terms
- Submission requirements: Proposal format, pricing breakdown, reference contacts, sample sites
- Evaluation criteria: Weighted scoring for price, technical merit, experience, service
Schools sharing RFP templates across districts save development time while ensuring comprehensive vendor evaluation. State education associations sometimes provide procurement templates for common technology categories.
Installation Timeline Planning
Understanding realistic timelines prevents frustration and allows proper coordination with school calendars.
Typical project timeline:
- Week 1-2: Vendor selection, contract execution
- Week 3-4: Design finalization, content planning, site preparation
- Week 5-6: Electrical and network infrastructure installation
- Week 7-8: Display delivery, mounting, system configuration
- Week 9-10: Content loading, staff training, final testing
- Week 11: Go-live and user familiarization
Total timeline: 10-12 weeks from vendor selection to public launch
Rushing installations to meet arbitrary deadlines creates stress, errors, and suboptimal results. Schools beginning planning 4-6 months before desired completion dates allow proper vendor selection, infrastructure work, and content development.
Creating Exceptional Recognition Experiences
Technical specifications and proper installation create the foundation, but compelling content transforms displays from functional information kiosks into meaningful recognition experiences.
While this guide focuses on the hardware, mounting, and infrastructure decisions that facilities teams and technology coordinators face, the ultimate success of wall-mounted touchscreen displays depends equally on what content you show and how users interact with it.
Effective recognition displays celebrate diverse achievement (not just athletics), tell meaningful stories (not just list names), provide easy navigation (not overwhelming options), update regularly (maintaining relevance), and reflect your institution’s unique culture and values.
Schools implementing these technical specifications correctly create reliable, accessible platforms ready to showcase the recognition content that builds school pride, honors achievement, and preserves institutional memory for current students and future generations.
Rocket Alumni Solutions provides complete wall-mounted touchscreen display solutions designed specifically for educational institutions. Their systems combine commercial-grade hardware, ADA-compliant mounting, intuitive content management platforms, and unlimited layout flexibility supporting recognition across academics, athletics, arts, and community service. With professional installation services, comprehensive training, and ongoing technical support, Rocket eliminates the technical complexity while delivering recognition displays that schools can manage confidently. Contact their team to discuss your specific requirements and receive a detailed proposal tailored to your space, budget, and recognition program goals.