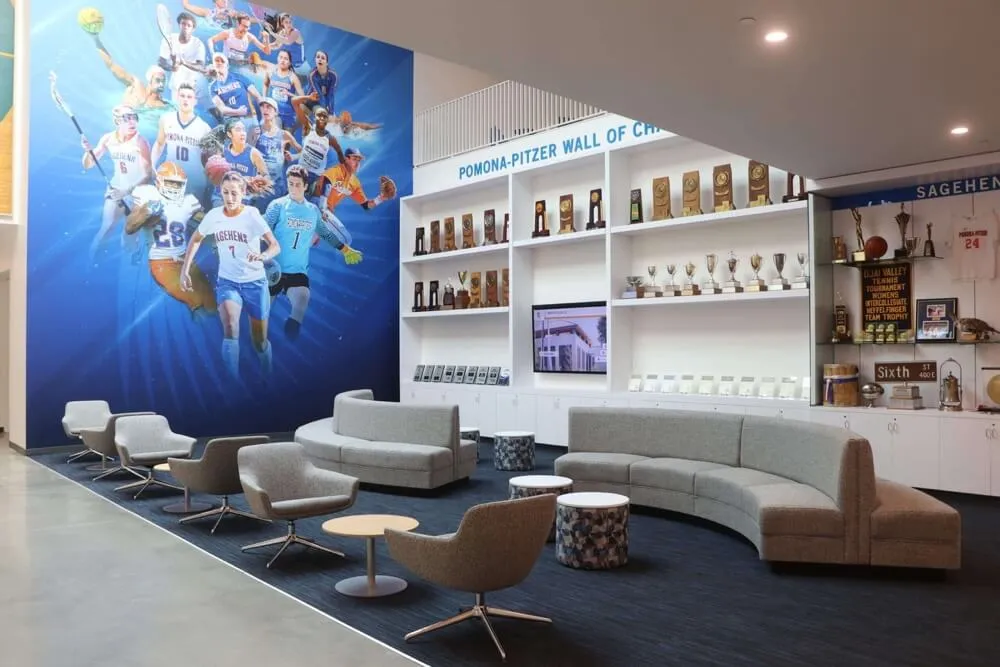
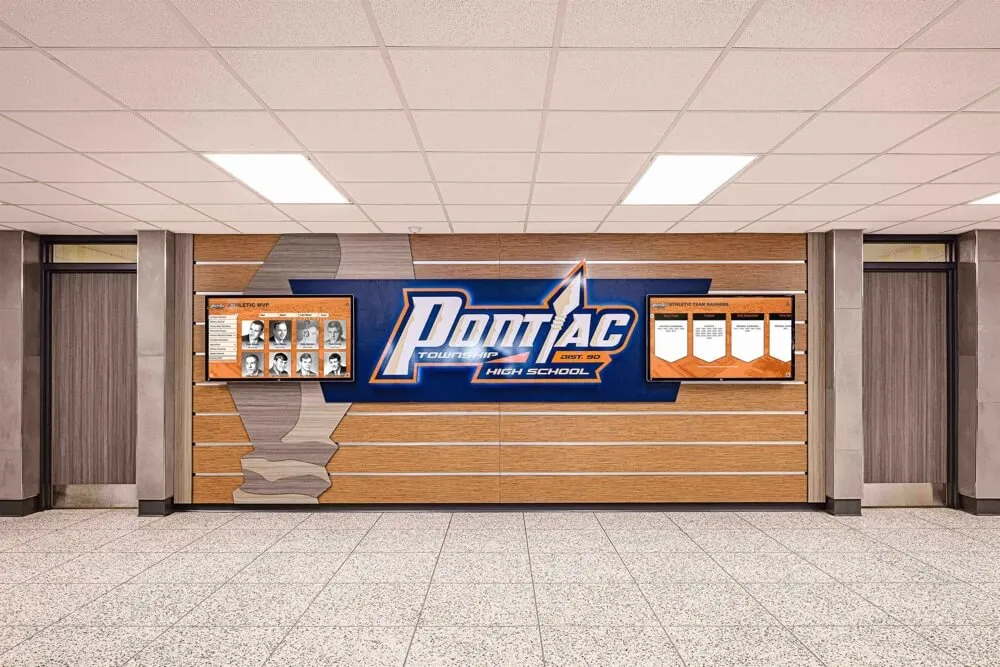
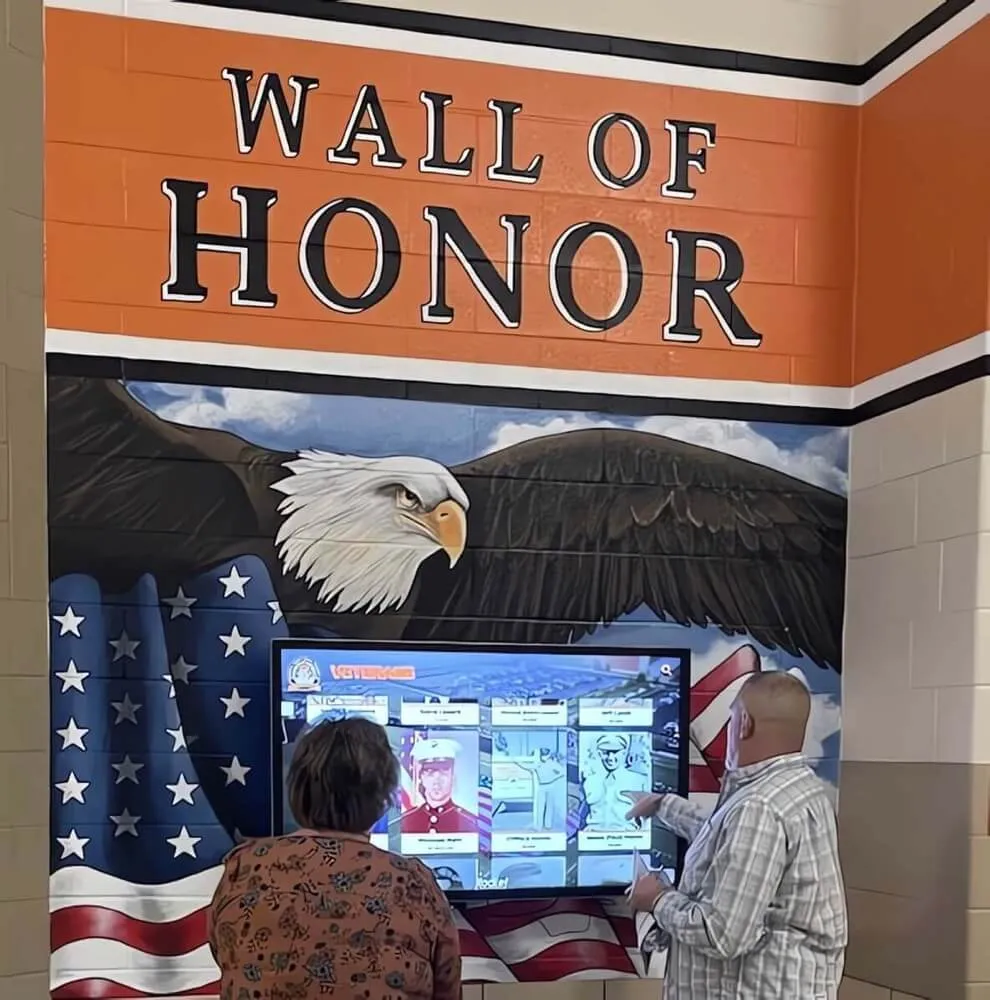
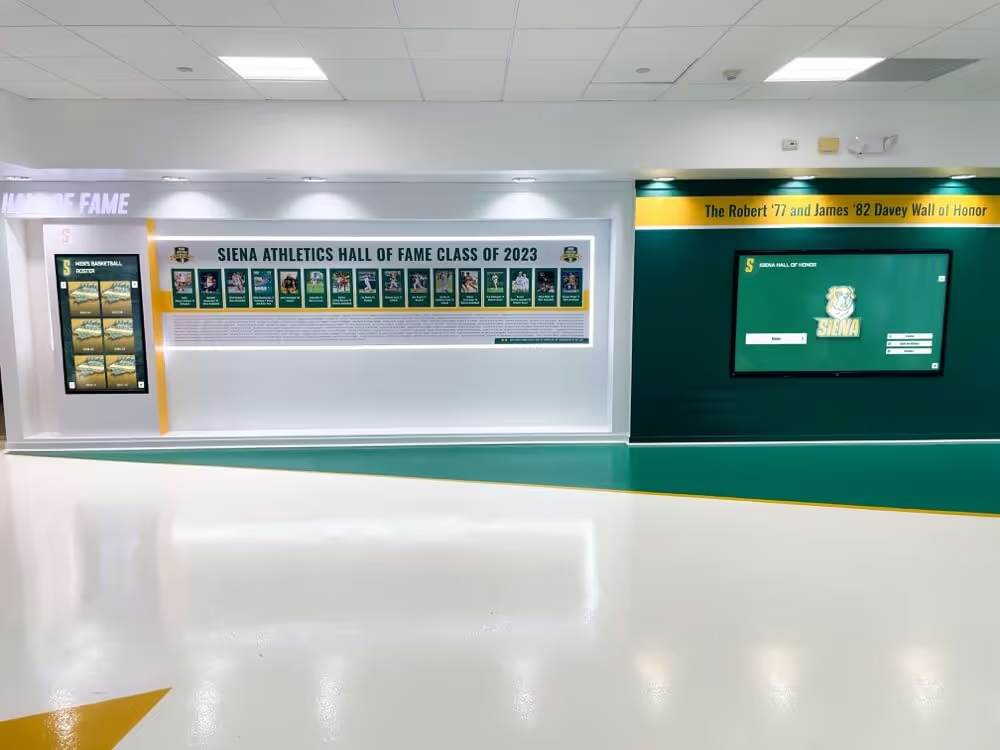
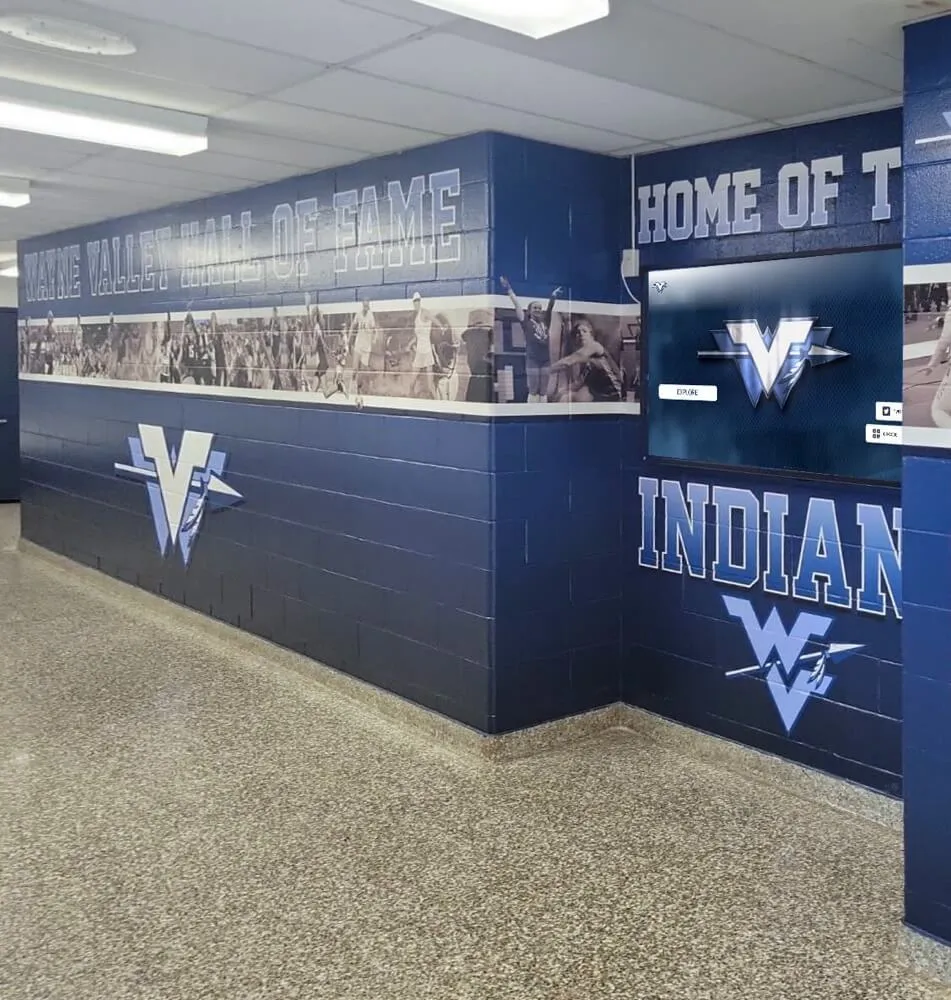
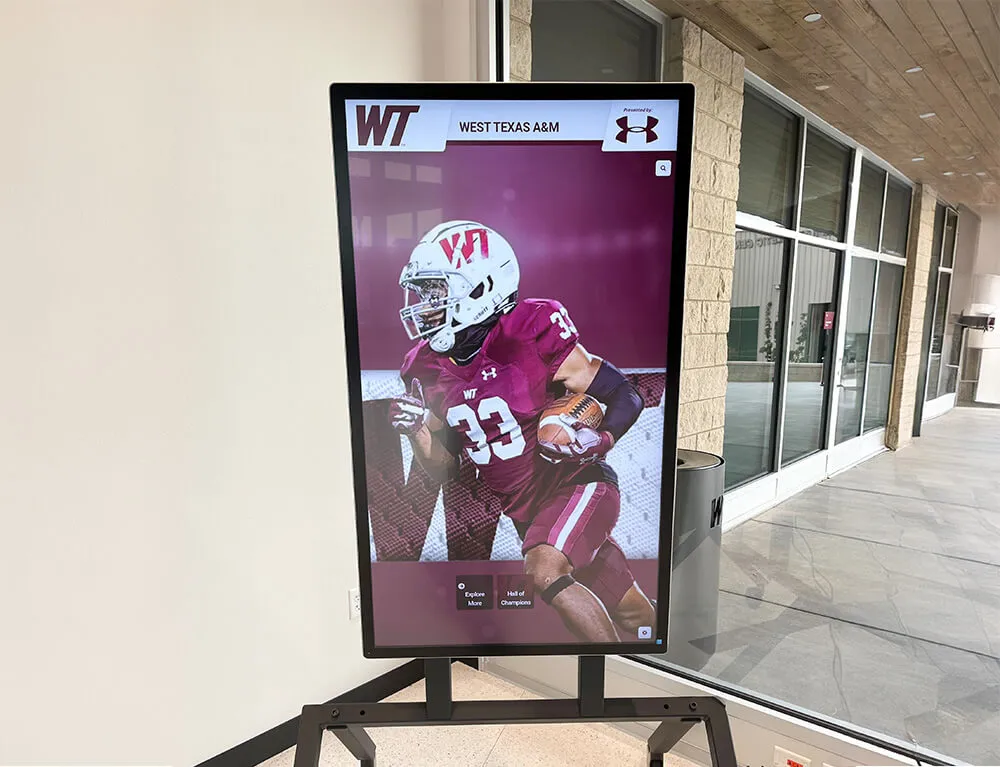
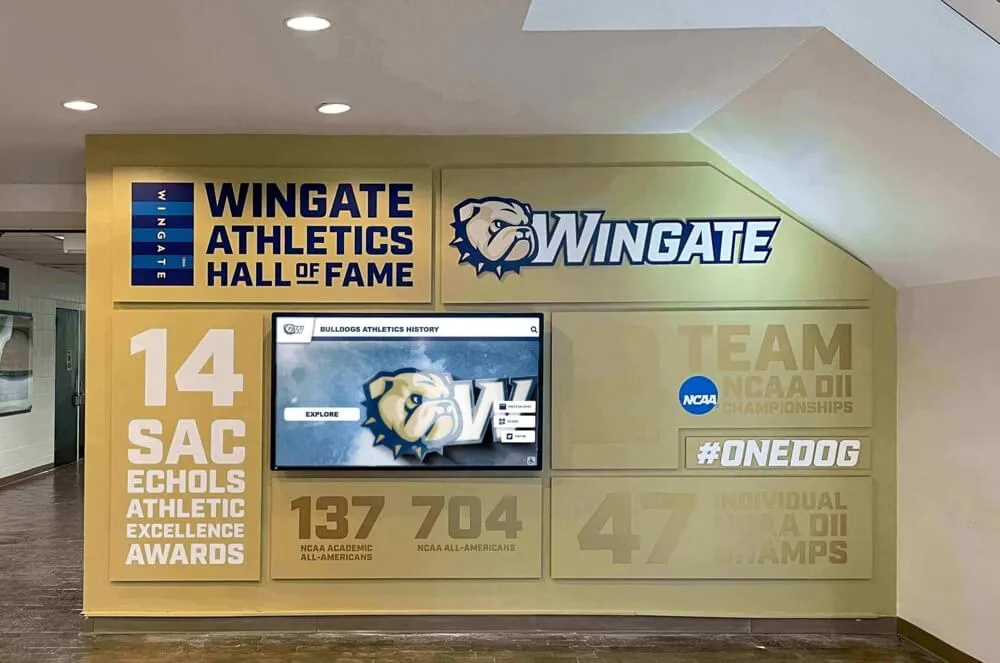
School administrators exploring wall wraps face decisions about materials, installation requirements, budget allocation, and long-term maintenance. Whether you’re a facilities director evaluating vendors, an athletic director planning recognition displays, or a principal managing a renovation project, you need concrete specifications and implementation frameworks.
This guide provides the technical requirements, budget calculators, material comparison tables, and vendor evaluation criteria that transform wall wrap concepts into actionable installation plans. You’ll find measurement protocols, substrate preparation checklists, and maintenance schedules that address the operational questions facilities teams need answered.
Before You Start: Space Assessment and Planning
Wall wrap projects fail when installation teams discover substrate issues or measurement errors after materials arrive. Complete this assessment before requesting vendor quotes.
Wall Surface Evaluation Checklist
Surface material identification:
- Painted drywall or CMU block
- Textured surfaces or smooth finishes
- Existing vinyl or wallpaper that needs removal
- Damage, cracks, or irregularities requiring repair
Surface condition assessment:
- Paint age and adhesion quality (peel test in inconspicuous area)
- Moisture presence or evidence of water damage
- Temperature variations or exposure to direct sunlight
- High-traffic areas with impact or abrasion concerns
Environmental factors:
- Humidity levels in the space (should be 40-60% for optimal adhesion)
- Temperature control consistency
- Cleaning chemical exposure from janitorial staff
- Physical contact from students, carts, or equipment
Document these conditions with photos and measurements. Substrate preparation often represents 30-40% of total installation cost—identifying issues early prevents budget surprises.
Measurement and Documentation Protocol
Accurate measurements prevent material waste and installation delays. Use this protocol for comprehensive documentation:
Horizontal measurements:
- Measure wall length at three heights: floor level, 4 feet, and 8 feet
- Walls bow outward or inward—use the longest measurement
- Account for baseboards, chair rails, or other trim elements
- Add 2-3 inches to each edge for wrap-around or trim allowance
Vertical measurements:
- Measure wall height at left, center, and right positions
- Document ceiling height variations
- Identify suspended ceiling tiles, light fixtures, or HVAC vents
- Account for floor irregularities or carpet thickness changes
Obstruction documentation:
- Light switches and electrical outlets (measure from two fixed points)
- Fire alarms, sprinkler heads, and emergency equipment
- Door frames, window frames, and their trim dimensions
- Display cases, trophy cabinets, or permanent fixtures
Create a dimensioned sketch showing all measurements and obstructions. Professional installers can work from detailed documentation, but measurement errors require expensive reprinting.
Material Options: Specifications and Applications
Wall wrap materials range from basic calendered vinyl to premium cast films with specialty finishes. Understanding material specifications helps match products to application requirements.
Vinyl Film Comparison Matrix
| Material Type | Typical Lifespan | Cost per Sq Ft | Best Applications | Limitations |
|---|---|---|---|---|
| Calendered vinyl (3-5 year) | 3-5 years indoor | $2-$4 | Temporary displays, budget projects | Limited conformability, prone to shrinkage |
| Cast vinyl (7-10 year) | 7-10 years indoor | $4-$7 | Permanent installations, high-traffic areas | Higher cost, still requires replacement |
| Fabric wall covering | 10-15 years | $6-$12 | Premium appearance, acoustic benefits | Professional installation required, higher cost |
| Specialty textured vinyl | 7-10 years | $8-$15 | Feature walls, dimensional effects | Complex installation, limited design flexibility |
Adhesive Technology Selection
Adhesive backing determines installation difficulty and removal characteristics:
Permanent adhesive:
- Strongest bond for long-term installations
- Difficult removal may damage paint or drywall
- Best for walls where graphics won’t change
- Lowest cost option
Removable adhesive:
- Clean removal within 2-3 years typically
- Slightly higher material cost
- Allows periodic updates without wall damage
- May fail prematurely in high-heat environments
Low-tack or repositionable adhesive:
- Permits adjustment during installation
- Weakest bond strength
- Not suitable for high-traffic areas
- Used primarily for temporary applications
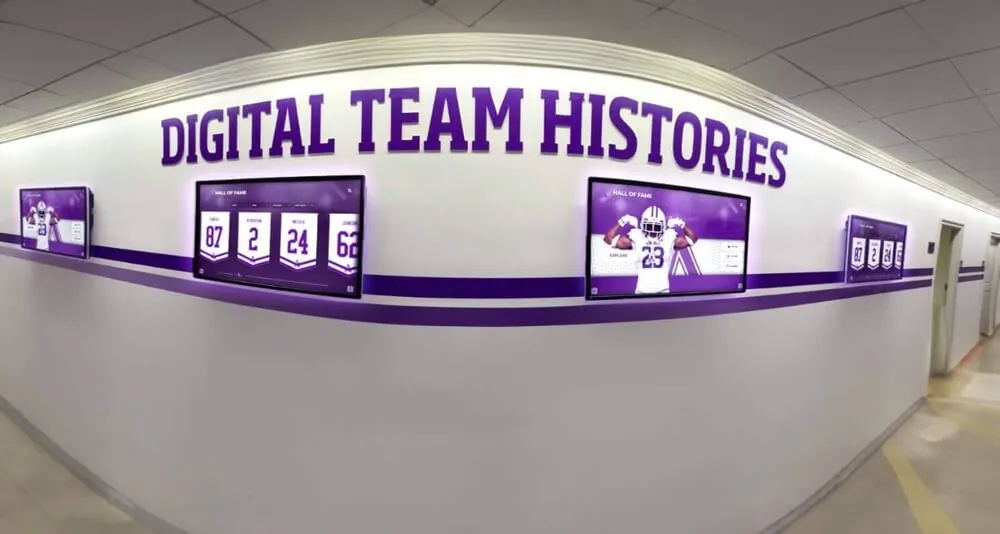
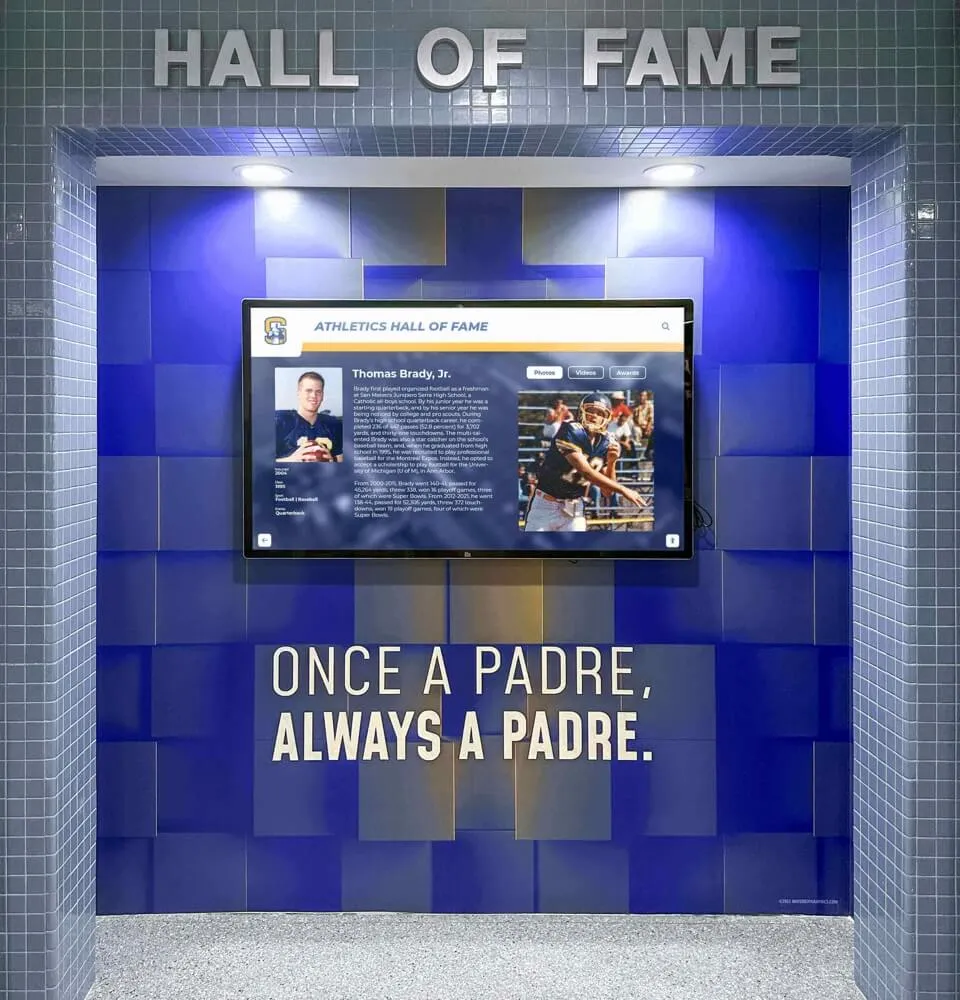
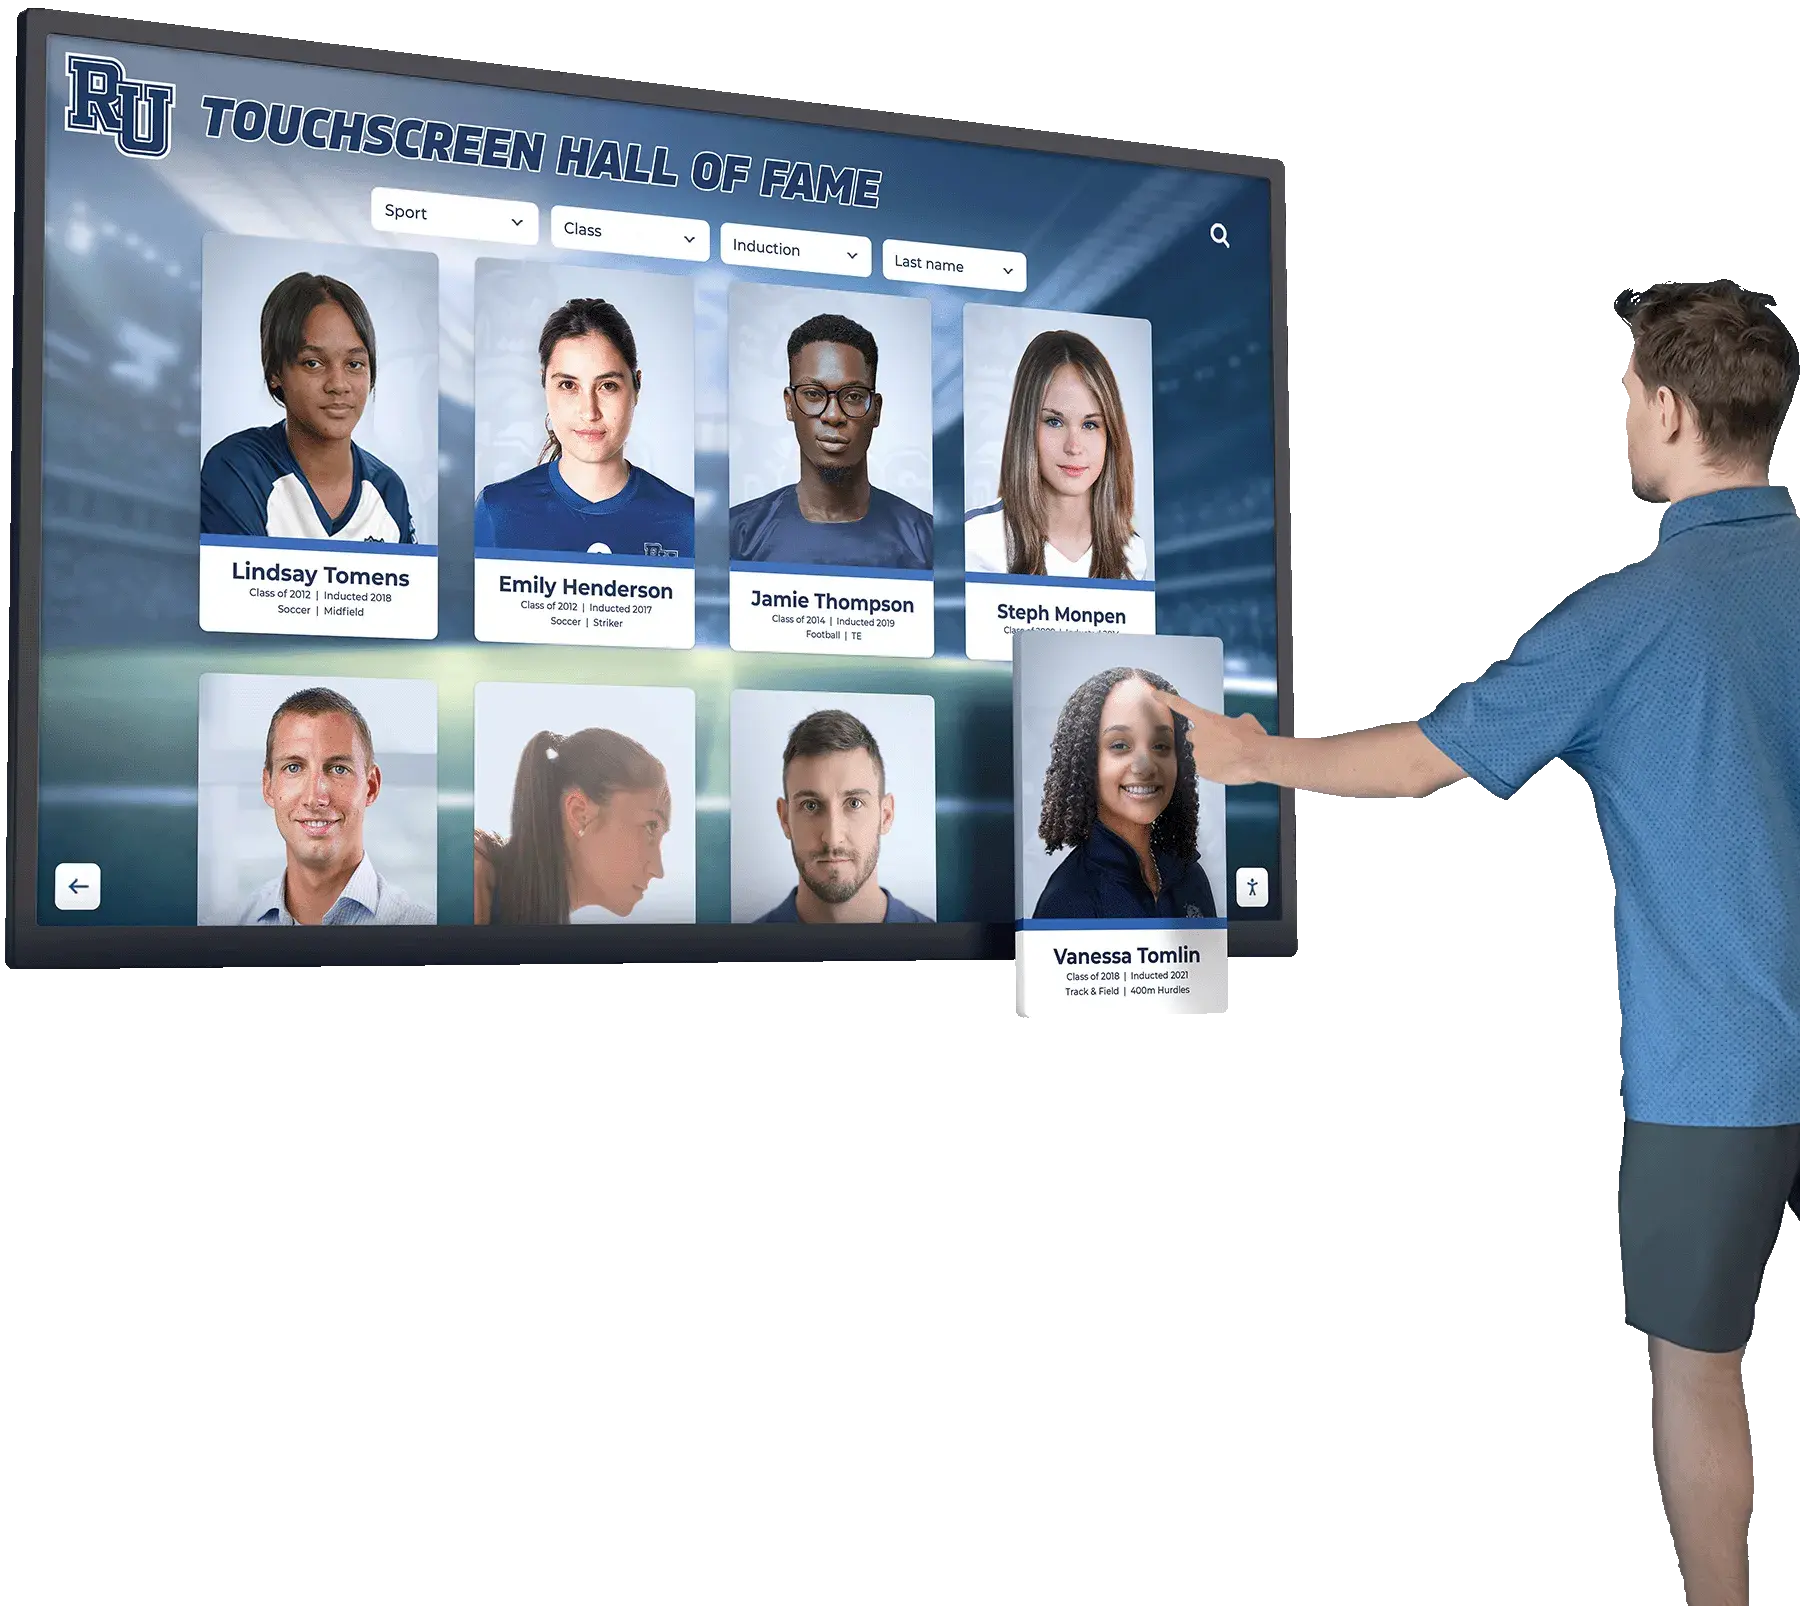
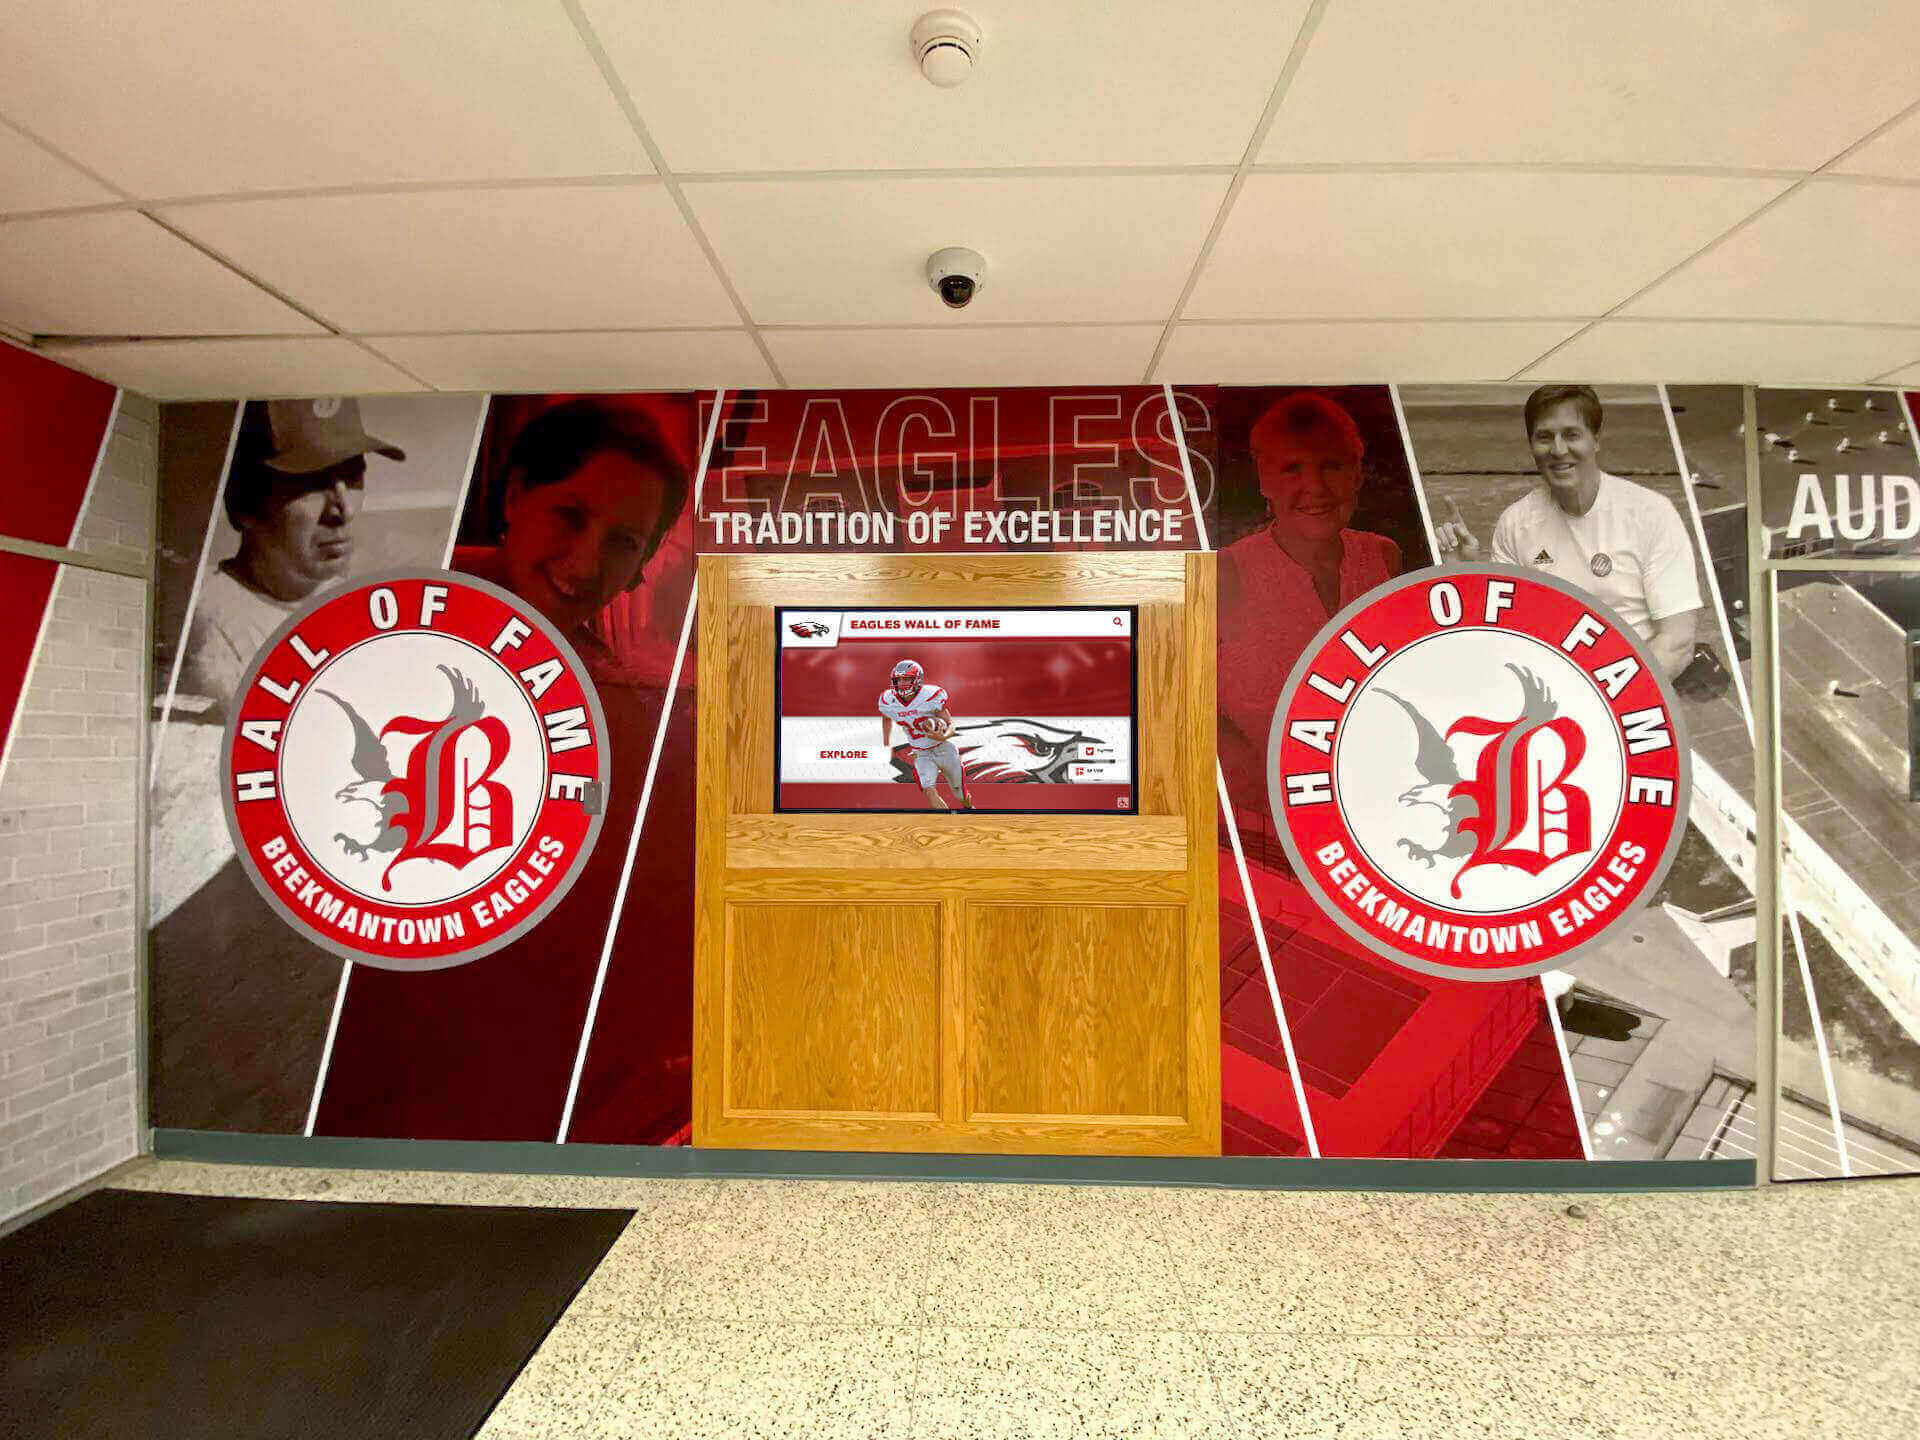
Athletic directors planning recognition displays should consider that static wall wraps require complete replacement when content updates are needed. This limitation drives many schools toward digital recognition systems that can be updated remotely without physical reinstallation.
Finish Options and Visual Effects
Matte finish:
- Reduces glare in bright corridors
- Professional, understated appearance
- Shows fingerprints and smudges less prominently
- Most common choice for school applications
Gloss finish:
- Rich color saturation
- Reflects light, can cause glare
- Easier to clean but shows fingerprints
- Works well for graphics with photographic elements
Textured finishes:
- Canvas, linen, or brushed metal effects
- Premium appearance with dimensional quality
- Hides minor wall imperfections
- Higher cost and installation complexity
Specialty films:
- Dry-erase surfaces for interactive spaces
- Magnetic receptive films for changeable displays
- Metallic or pearlescent effects
- Significantly higher cost, limited design flexibility
Design Specifications and File Preparation
Design files with incorrect specifications waste time and money. Use these requirements to ensure files are production-ready.
Resolution and File Format Requirements
Minimum resolution standards:
- Vector graphics: Create at actual size with no resolution limits
- Raster images: 150 PPI at final print size minimum
- Photographic elements: 200-300 PPI for best quality
- Text: Always use vector fonts when possible
File format specifications:
- Vector files: Adobe Illustrator (.ai) or EPS with fonts outlined
- Raster files: Layered PSD, TIFF, or high-quality PDF
- Avoid: JPEG (lossy compression), low-resolution PNG, Office documents
- Provide: All linked images and fonts if not outlined
Color specifications:
- Use CMYK color mode for accurate color matching
- Include Pantone spot colors for exact brand matching
- Avoid RGB files (colors shift during conversion)
- Provide printed color reference if exact matching is critical
Bleed and Safe Zone Planning
Bleed requirements:
- Add 2-3 inches bleed beyond trim edge on all sides
- Bleed accommodates wrap-around corners and installation variance
- Critical content must stay inside safe zone
Safe zone definition:
- Keep all important elements 4-6 inches from trim edges
- Text and logos need larger margins than background graphics
- Account for obstructions (outlets, switches) with extra clearance
- Horizontal and vertical safe zones may differ based on installation method
Design Considerations for School Environments
Durability factors:
- Avoid large areas of solid dark colors (show scuffs more readily)
- Use patterns or textures in high-contact zones
- Plan for impact zones near door frames and corners
- Consider protective lamination for vulnerable areas
Maintenance-friendly design:
- Matte finishes in high-traffic areas
- Avoid delicate details that become illegible when dirty
- Design with replacement sections in mind
- Include cleaning-safe ink systems
ADA and safety compliance:
- Maintain required contrast ratios for text readability
- Don’t obscure emergency signage or exit indicators
- Ensure graphics don’t create confusing wayfinding
- Comply with local fire marshal requirements for flame spread
Installation Requirements and Process
Professional installation prevents bubbles, wrinkles, and premature failure. Understanding the process helps you set realistic timelines and prepare facilities.
Substrate Preparation Standards
Surface cleaning protocol:
- Remove all dust, dirt, and debris with vacuum and tack cloth
- Wash with diluted isopropyl alcohol or approved cleaner
- Allow complete drying (24 hours minimum in humid conditions)
- Final wipe with isopropyl alcohol just before application
Surface repair requirements:
- Fill cracks, holes, and gouges with appropriate compound
- Sand repairs smooth and flush with surrounding surface
- Prime bare drywall or repaired areas
- Allow all repairs and primer to cure fully (72 hours typically)
Paint preparation:
- Newly painted walls must cure 30 days minimum before application
- Test paint adhesion with tape pull test
- Apply primer coat over glossy or semi-gloss paint
- Document paint type and condition for warranty purposes
Facilities directors should verify that janitorial staff won’t clean the installation area for 48 hours before application. Floor wax, cleaning chemicals, or dust can compromise adhesion.
Installation Timeline Calculation
Use this framework to estimate project duration:
Small projects (under 100 sq ft):
- Preparation: 2-4 hours
- Installation: 3-6 hours
- Total project time: 1-2 days
Medium projects (100-300 sq ft):
- Preparation: 4-8 hours
- Installation: 8-16 hours
- Total project time: 2-4 days
Large projects (300+ sq ft):
- Preparation: 1-2 days
- Installation: 2-5 days
- Total project time: 1-2 weeks
Add 50% contingency time for:
- Textured wall surfaces
- Complex designs with multiple panels
- Integration around numerous obstructions
- First-time installations by less experienced crews
Installation Method Selection
Wet application method:
- Uses application fluid to allow positioning adjustment
- Permits squeegee work without immediately bonding
- Better for large format panels and inexperienced installers
- Requires longer drying time before final adhesion develops
Dry application method:
- Direct application without fluid
- Immediate bond formation
- Faster completion with no drying time
- Requires skilled installers to avoid bubbles and wrinkles
- Preferred for smaller panels and skilled professionals
Pre-trimmed vs. field-trimmed:
- Pre-trimmed panels arrive cut to exact size
- Field-trimming cuts material in place after application
- Field-trimming accommodates measurement variances
- Pre-trimmed requires precise measurements and installation
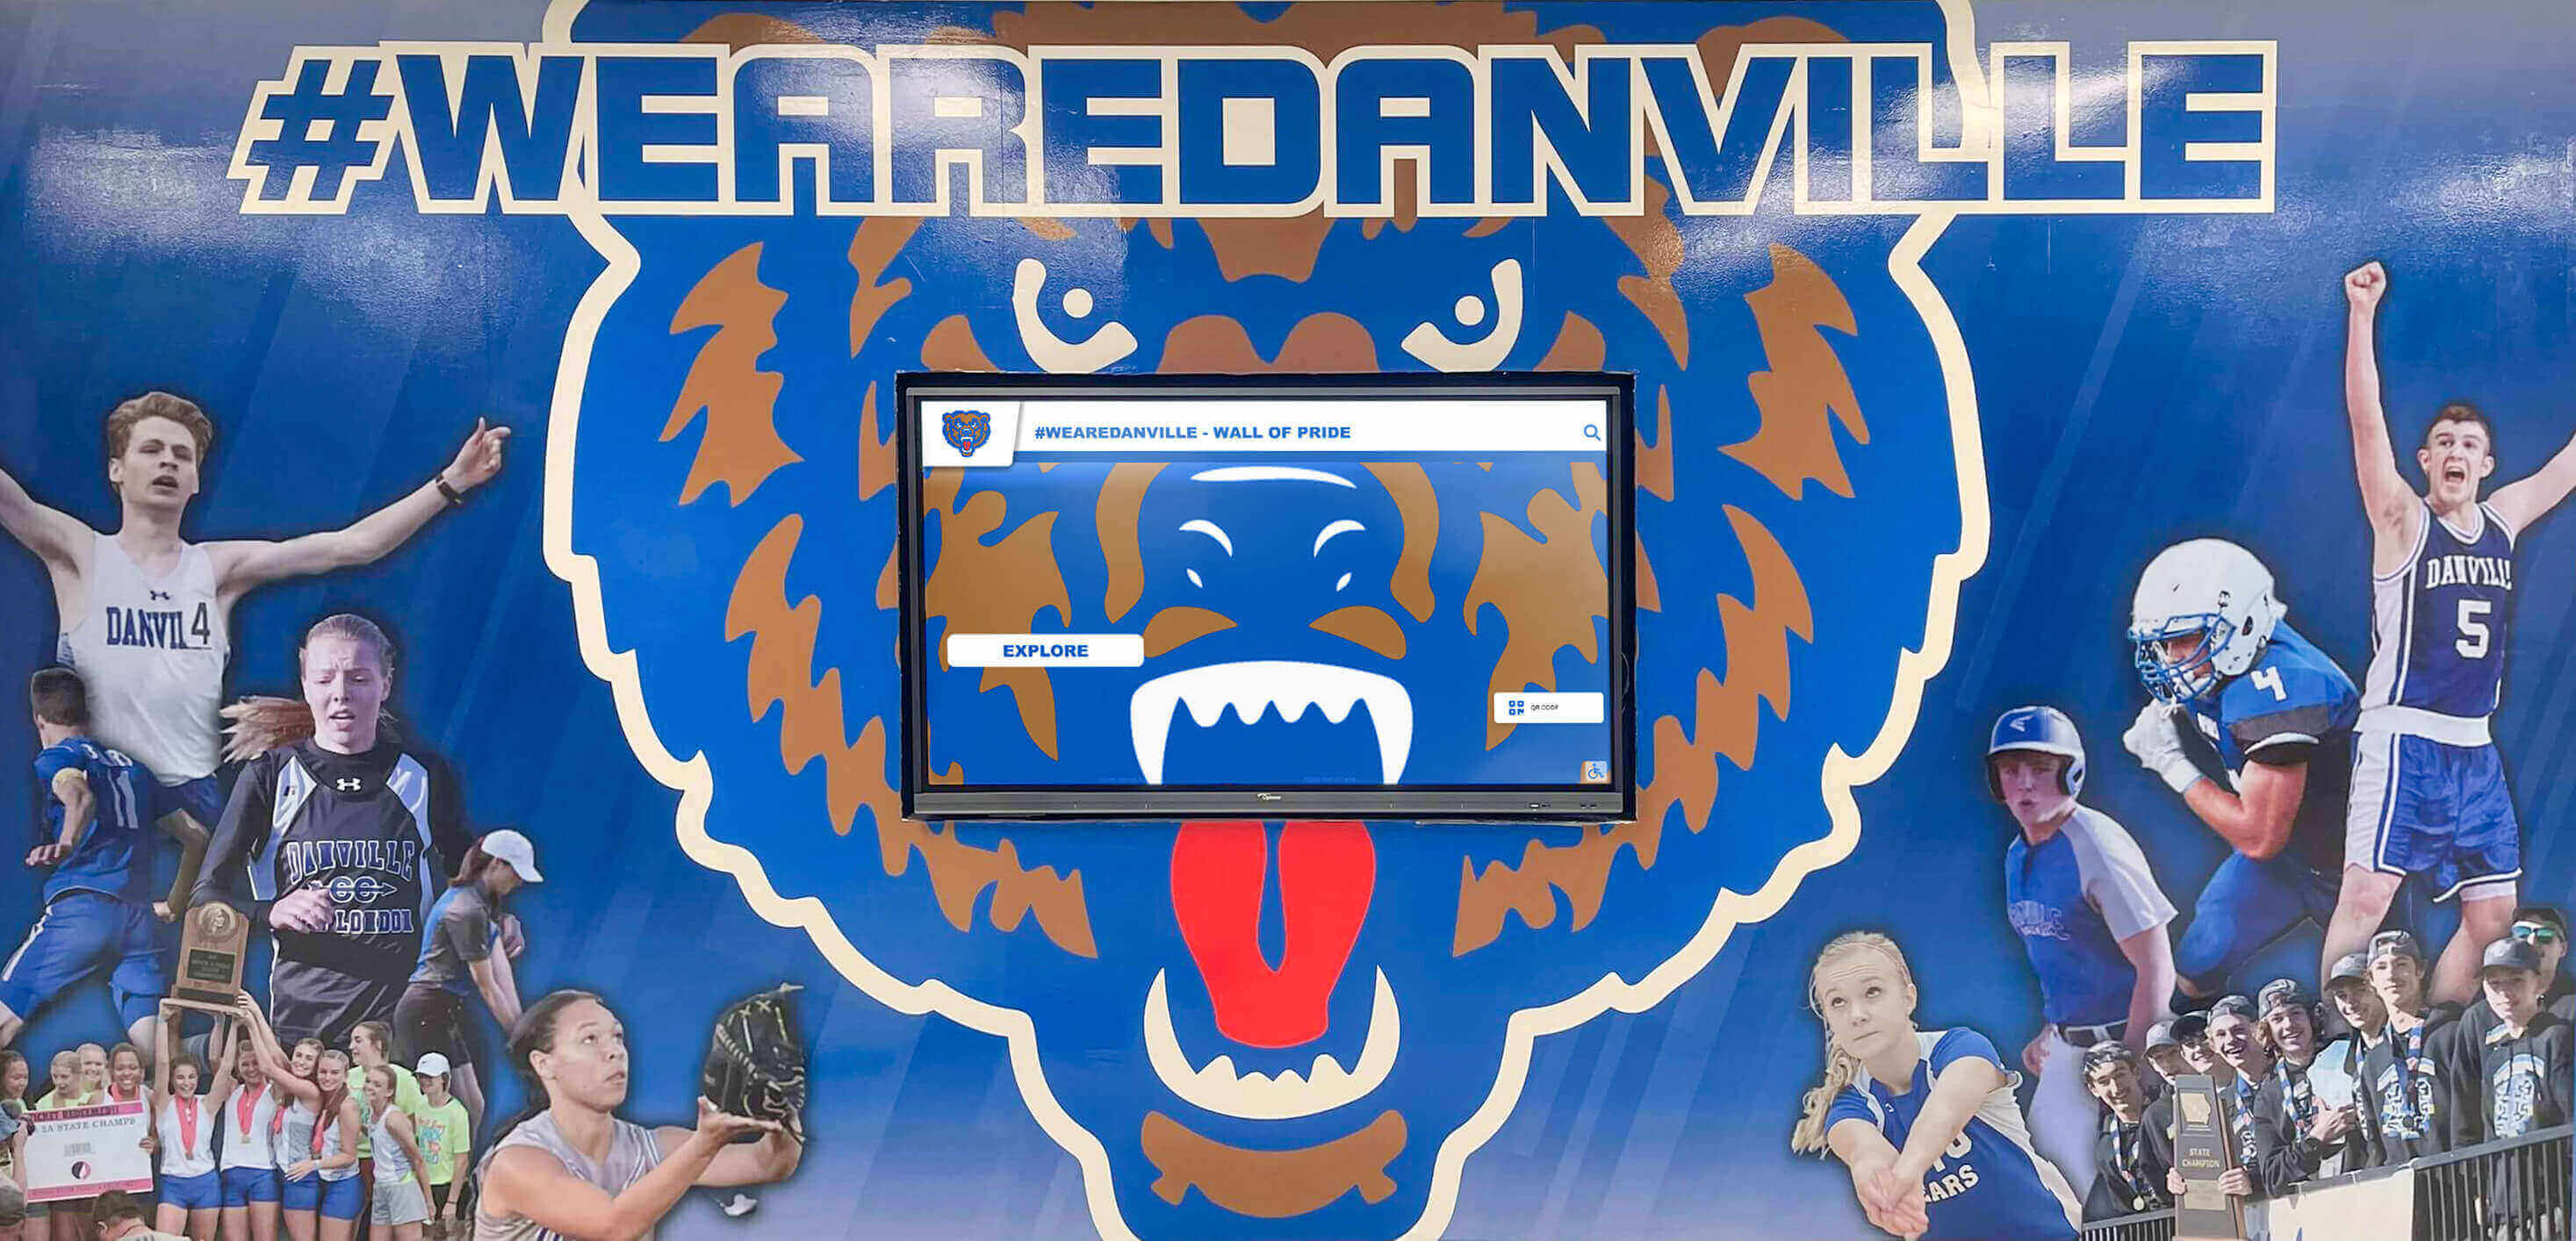
Schools implementing wall wraps as part of athletic recognition programs should understand that each content update requires complete reinstallation. This ongoing expense drives many institutions toward digital alternatives with unlimited content capacity and remote update capabilities.
Budget Calculator: True Project Costs
Athletic directors often receive quotes for materials only, not comprehensive project costs. Use this framework to calculate realistic budgets.
Material and Installation Cost Structure
| Line Item | Small Project (50-100 sq ft) | Medium Project (200-400 sq ft) | Large Project (500+ sq ft) |
|---|---|---|---|
| Design services | $300-$800 | $800-$2,000 | $2,000-$5,000 |
| Material costs (cast vinyl, printed) | $200-$700 | $800-$2,800 | $2,500-$7,000+ |
| Substrate preparation | $150-$400 | $400-$1,200 | $1,200-$3,000 |
| Installation labor | $300-$800 | $1,000-$2,400 | $2,500-$6,000 |
| Project management/site supervision | $100-$300 | $300-$800 | $800-$1,500 |
| Total Project Investment | $1,050-$3,000 | $3,300-$9,200 | $9,000-$22,500+ |
Hidden Cost Factors
Substrate repair expenses:
- Minor repairs (small holes, cracks): $100-$300
- Major repairs (large damaged areas): $500-$2,000
- Complete wall resurfacing: $2,000-$5,000+
- Prime coat over existing paint: $200-$600
Building access and logistics:
- After-hours installation to avoid disruption: +25-50% labor cost
- Scissor lift or scaffolding rental: $200-$800 per week
- Furniture/fixture moving and replacement: $300-$1,000
- Temporary protection of adjacent surfaces: $100-$400
Design revision and approval cycles:
- Initial design concepts: Typically included
- Each major revision cycle: $200-$500
- Rush design services: +50-100% of design fee
- Multiple stakeholder approval processes: Plan 4-6 weeks minimum
Replacement and Update Economics
Unlike digital recognition displays that allow content updates without physical changes, vinyl wall wraps require complete replacement when information changes.
Typical update scenarios:
- Annual athletic achievements: Full replacement needed each year
- Championship recognition: Each new season requires new graphics
- Hall of fame inductees: Adding new honorees means reprinting entire display
- Sponsor or donor recognition: Changes require complete reinstallation
10-Year Total Cost Comparison:
| Solution Type | Initial Investment | Annual Update Cost | 10-Year Total |
|---|---|---|---|
| Vinyl wall wrap (annual updates) | $5,000 | $4,000 | $41,000 |
| Vinyl wall wrap (biennial updates) | $5,000 | $2,000 | $25,000 |
| Digital recognition display | $12,000-$20,000 | $1,000 | $22,000-$30,000 |
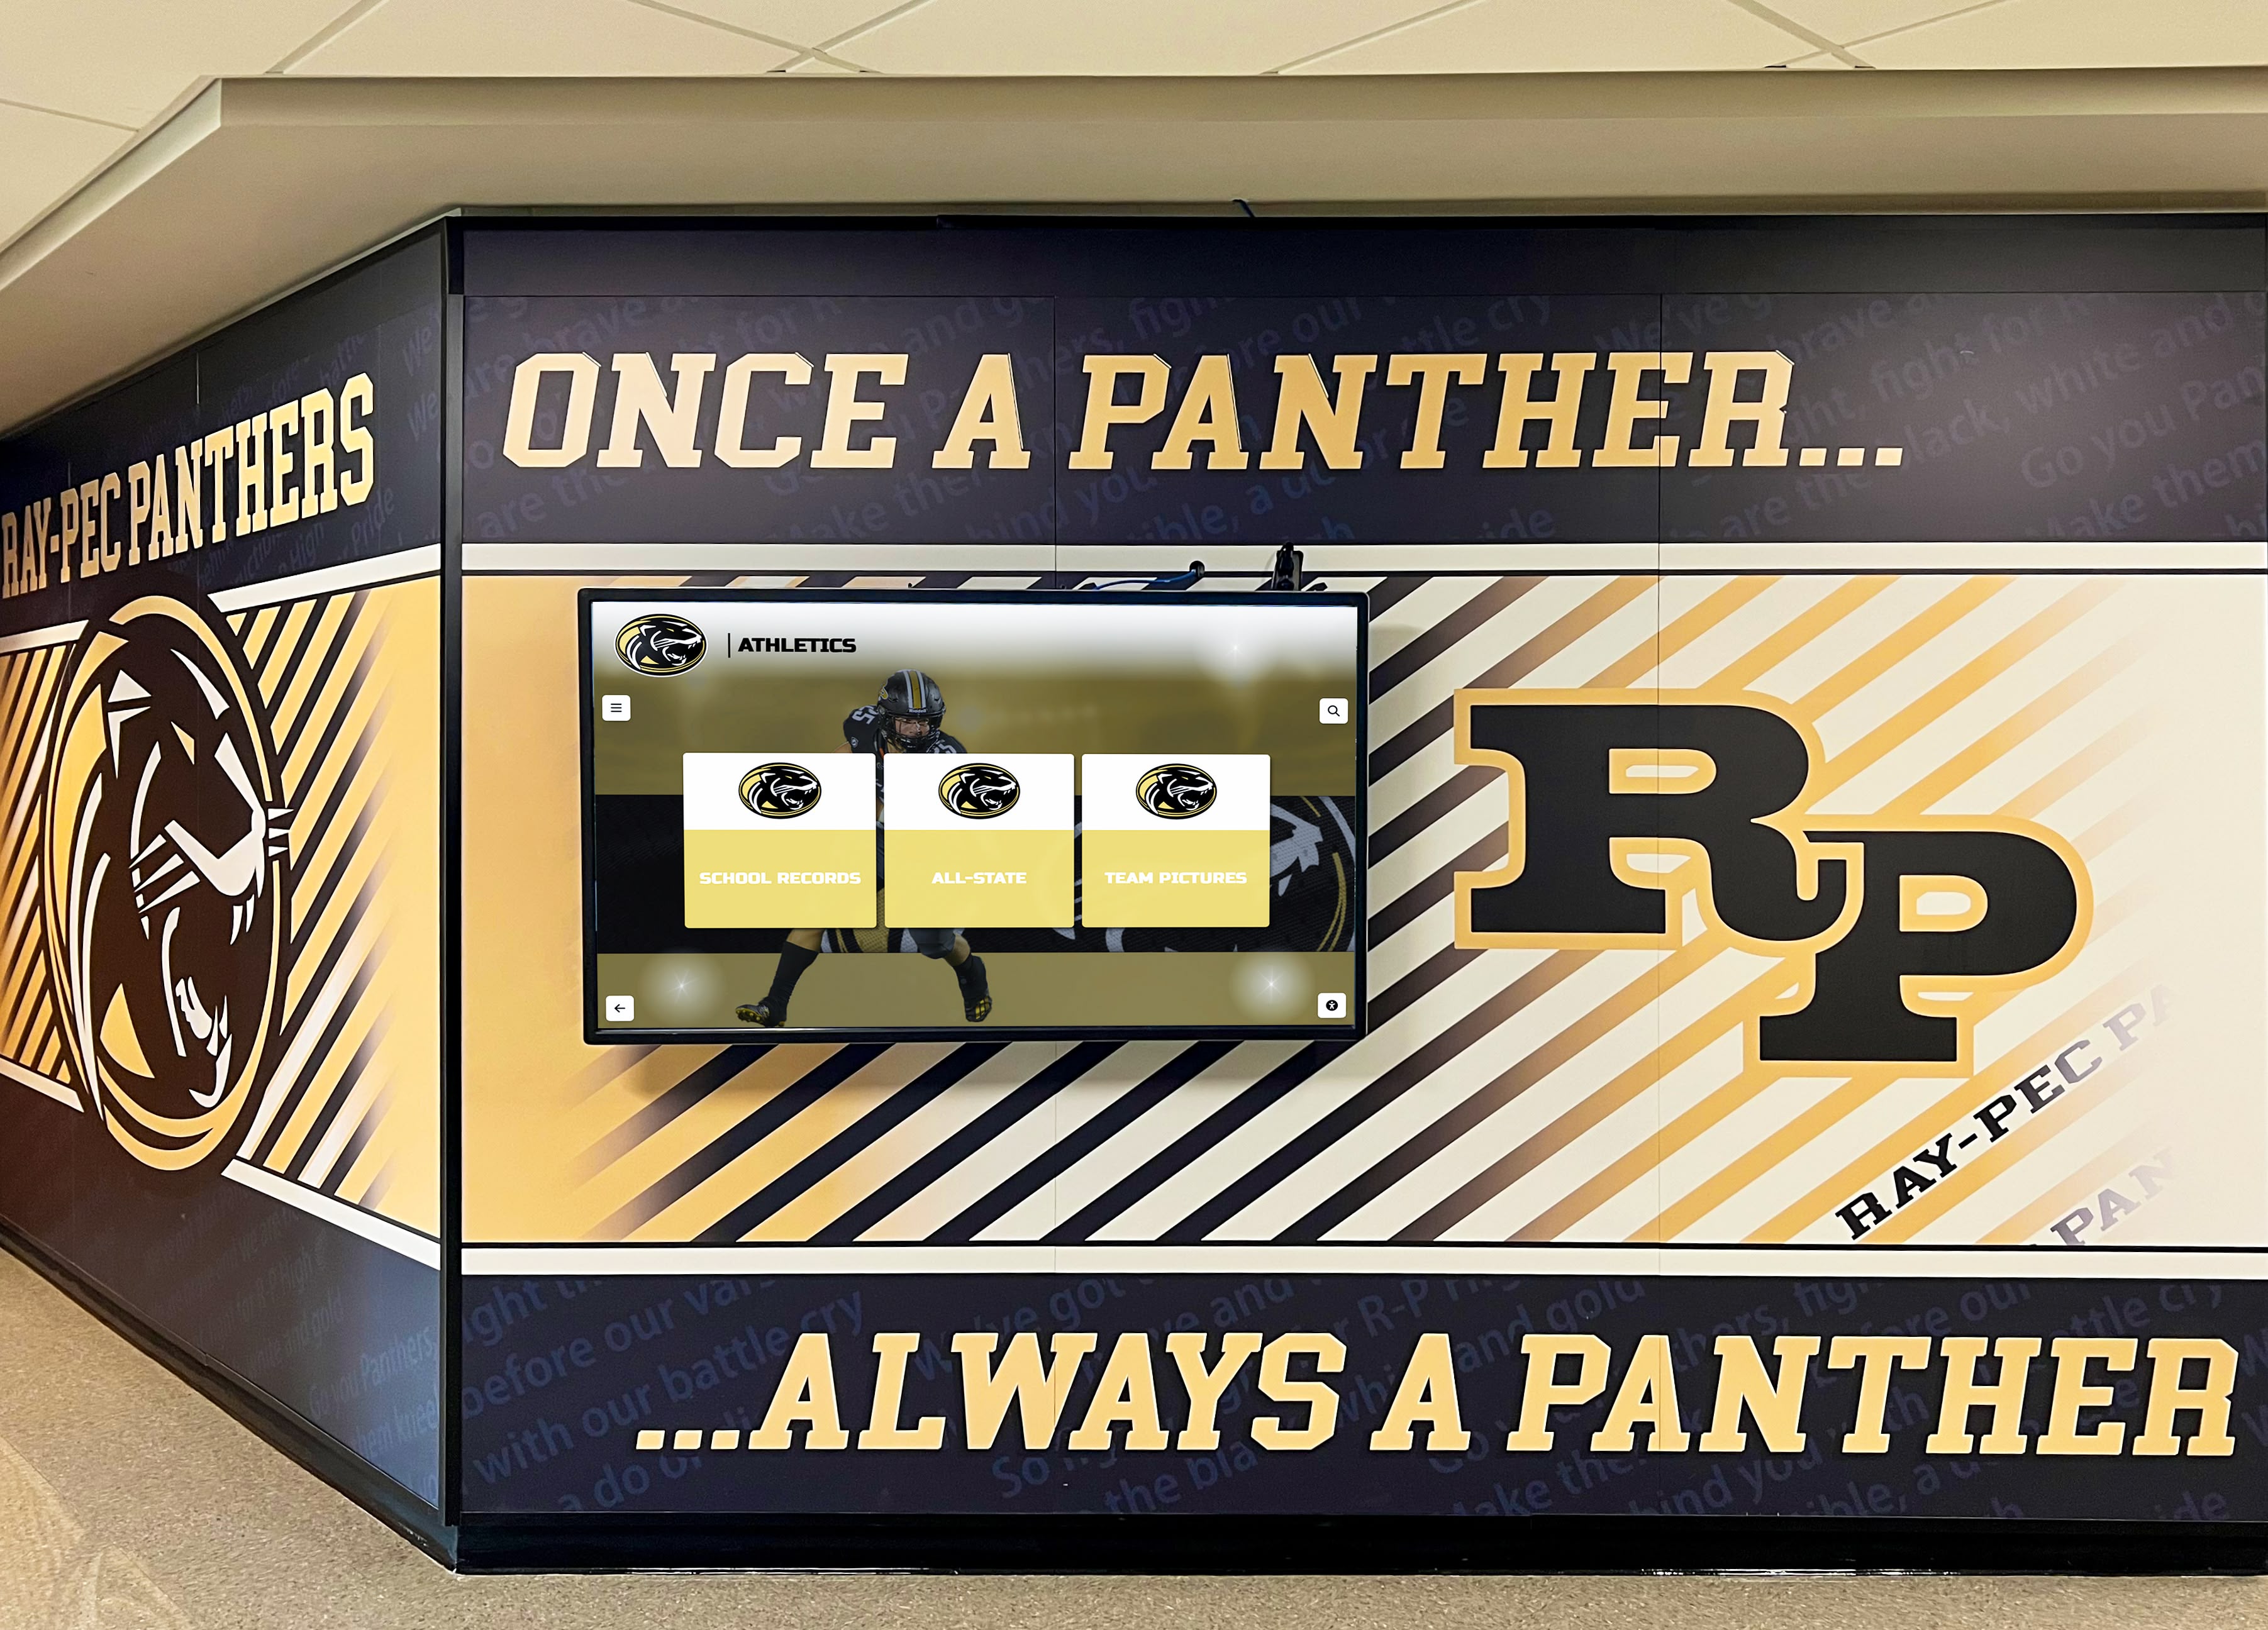
This economic analysis reveals why many schools transition to digital systems after experiencing the recurring costs of vinyl replacement. Solutions like Rocket Alumni Solutions offer unlimited content updates without physical reinstallation, significantly reducing long-term costs while providing superior flexibility.
Vendor Selection and Evaluation Criteria
Not all wall wrap providers deliver equivalent quality or service. Use these criteria to compare vendors objectively.
Technical Capability Assessment
Production equipment and capacity:
- Large-format printer specifications (width, resolution, color gamut)
- Backup equipment availability if primary printer fails
- In-house finishing and lamination capabilities
- Quality control processes and inspection protocols
Material quality indicators:
- Vinyl manufacturer and product line specifications
- Warranty coverage (typically 3-7 years for quality materials)
- Ink system specifications (solvent, eco-solvent, latex, UV)
- Lamination options and protective coatings available
Installation expertise:
- Years of experience with school installations
- Installer training and certification programs
- Portfolio of completed school projects with references
- Insurance coverage (general liability, workers comp)
Portfolio and Reference Evaluation
Request vendors provide:
- 3-5 completed school projects similar in scope
- Contact information for facility directors at reference schools
- Photos documenting installations at 6 months, 1 year, 3 years
- Examples of how they handled installation challenges
Reference interview questions:
- How did the installation process affect building operations?
- Were timeline and budget estimates accurate?
- How has the wall wrap held up over time?
- How responsive was the vendor to warranty issues?
- Would you use this vendor again?
Service and Support Evaluation
Project management approach:
- Single point of contact throughout project
- Design revision process and approval workflow
- Installation scheduling coordination with facilities
- Post-installation inspection and documentation
Warranty and service commitments:
- Material warranty coverage and exclusions
- Installation warranty separate from material warranty
- Response time for warranty claims
- Maintenance recommendations and support
Schools planning donor recognition walls or academic recognition displays should ask vendors specifically about experience with recognition content that changes periodically.

Maintenance Protocols and Longevity
Wall wraps require consistent maintenance to preserve appearance and maximize lifespan. Establish these protocols during planning, not after installation.
Daily and Weekly Maintenance
Routine cleaning protocol:
- Inspect for damage, lifting edges, or vandalism daily
- Spot clean fingerprints and smudges weekly
- Use only approved cleaning solutions (mild soap and water typically)
- Avoid abrasive cleaners, solvents, or high-pressure water
- Clean with soft microfiber cloths, not paper towels or rough materials
Damage documentation:
- Photograph any issues immediately
- Measure affected area dimensions
- Note location relative to fixed reference points
- Report to vendor within warranty period requirements
Quarterly and Annual Inspection
Comprehensive assessment checklist:
- Edge and seam examination for lifting or separation
- Color fading assessment, especially in sunlit areas
- Surface degradation from cleaning or physical contact
- Adhesive failure or bubbling indicators
- Evaluate whether repairs or replacement are needed
Environmental factor monitoring:
- Temperature and humidity levels in installation area
- Changes in building systems affecting the wall
- New equipment or fixtures installed near graphics
- Cleaning chemical changes by janitorial contractor
Repair vs. Replacement Decision Matrix
Minor issues that can be repaired:
- Small tears or punctures (under 2 inches)
- Lifting corners or edges that can be re-adhered
- Isolated bubbles or wrinkles that can be worked out
- Minor fading that doesn’t affect overall appearance
Issues requiring replacement:
- Large damaged areas (over 6 inches)
- Widespread fading across the entire installation
- Multiple seam failures or extensive lifting
- Substrate damage affecting adhesion
- Content updates or design changes needed
Most schools find vinyl wall wraps reach end-of-life after 5-7 years due to accumulated wear, fading, and content becoming outdated. At this replacement cycle, many institutions evaluate whether digital recognition systems would provide better long-term value with unlimited content flexibility.
Traditional Wall Wraps vs. Digital Recognition Systems
Schools planning recognition displays should evaluate both static vinyl and digital alternatives to determine which approach best meets long-term needs.
When Traditional Wall Wraps Make Sense
Vinyl wall wraps work best when:
Content remains static:
- Historical timelines that don’t change
- Permanent branding or wayfinding graphics
- Decorative elements without information updates
- Motivational quotes or mission statements
Budget strongly favors lower initial cost:
- Upfront funds available but no annual budget for updates
- Temporary installations (2-3 years maximum)
- Spaces where recognition won’t require regular updates
Aesthetic preferences prioritize large-scale graphics:
- Immersive environmental graphics covering entire walls
- Photographic murals creating specific atmosphere
- Branded environments reinforcing school identity
However, understand the limitations:
- Cannot accommodate content changes without complete replacement
- Fixed information becomes outdated as achievements continue
- No interactivity beyond visual impact
- Physical modification required for any updates
- Limited recognition capacity based on physical space
- No remote access for alumni viewing content
When Digital Recognition Provides Superior Value
Digital systems excel when:
Content updates regularly:
- Athletic achievements added each season
- Annual honor roll or academic recognition
- Rotating spotlight on different inductees
- New championships or records continuously occurring
Recognition capacity needs to grow:
- Decades of history requiring unlimited storage
- Multiple recognition categories (athletics, academics, arts, service)
- Expanding programs adding new achievement types
- Comprehensive databases of alumni accomplishments
Remote engagement matters:
- Alumni networks spanning geographic distances
- Parents and community members viewing from home
- Integration with school websites and social media
- Mobile accessibility for smartphones and tablets
Administrative efficiency is valuable:
- Remote content management from any location
- Multiple staff members with update permissions
- Scheduled publishing for planned recognitions
- Searchable databases with filtering capabilities
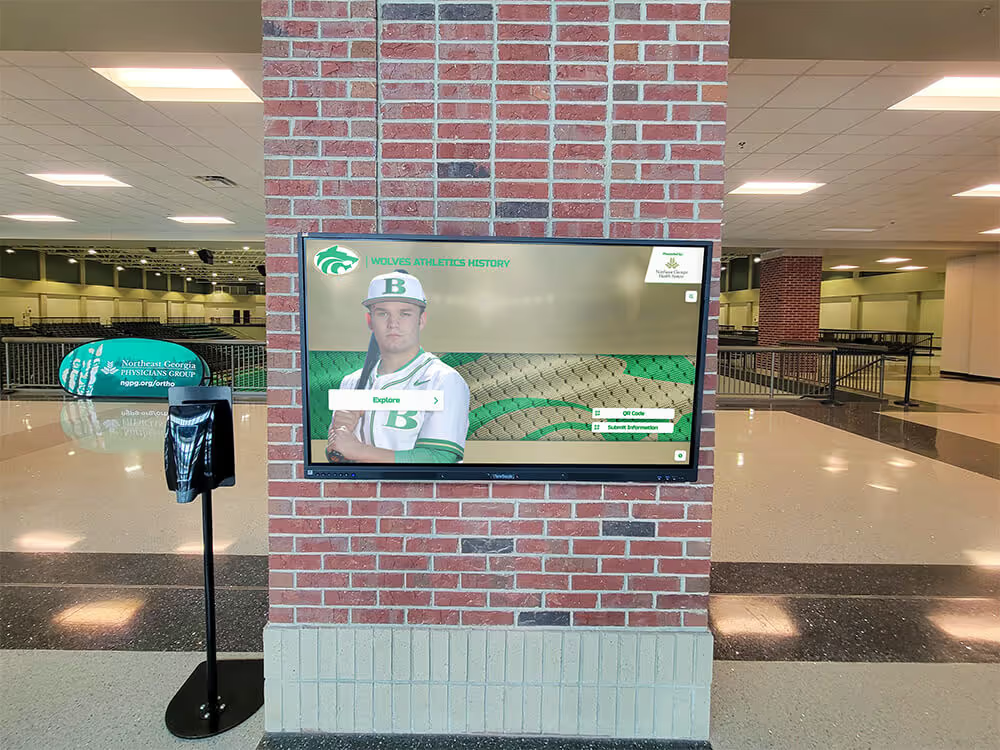
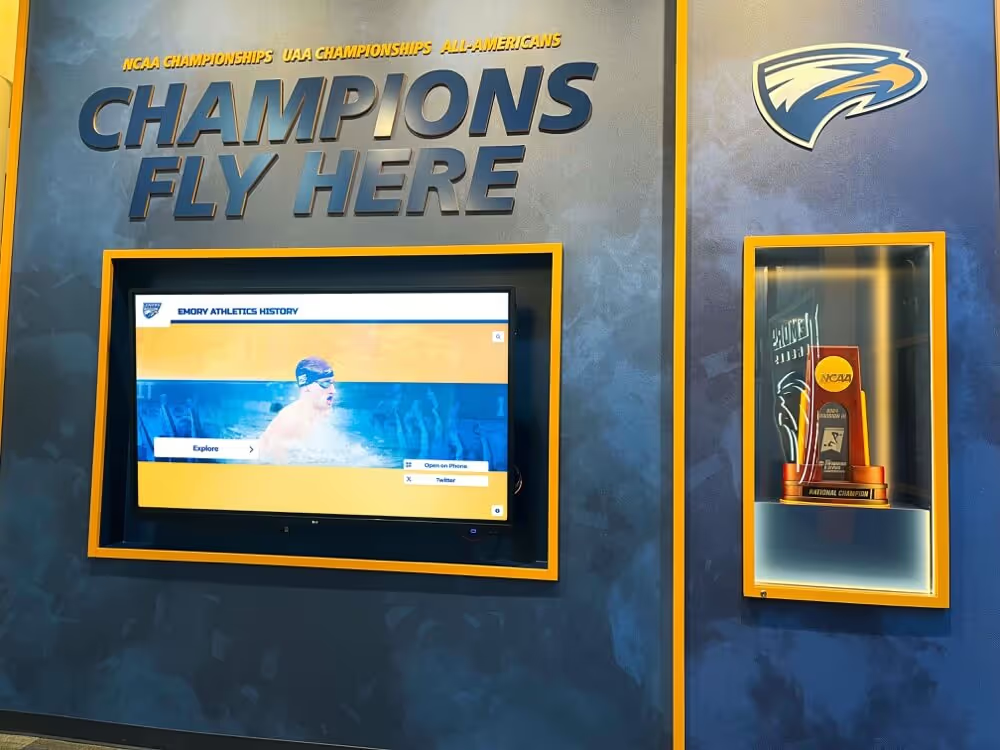
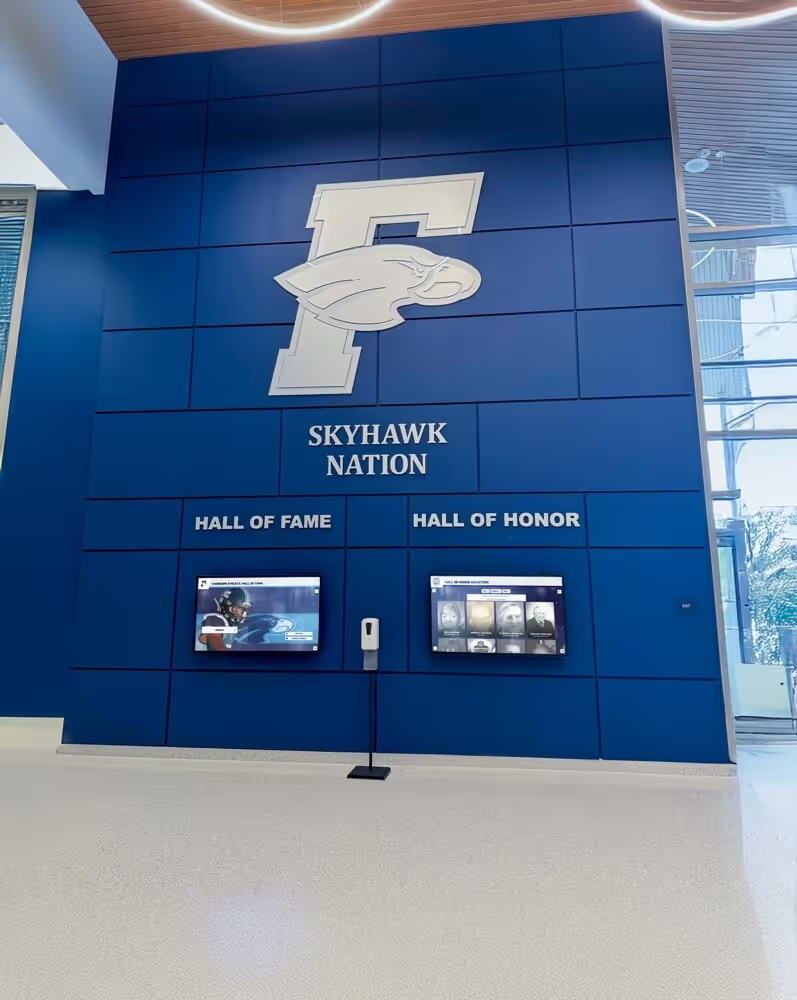
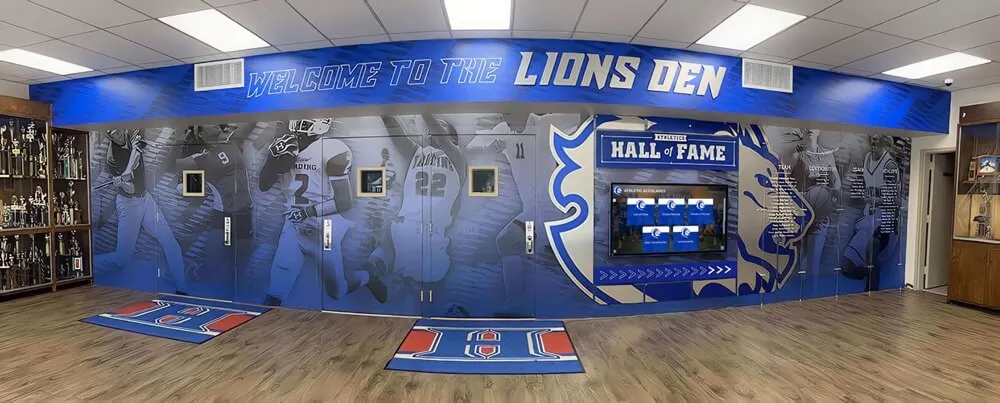
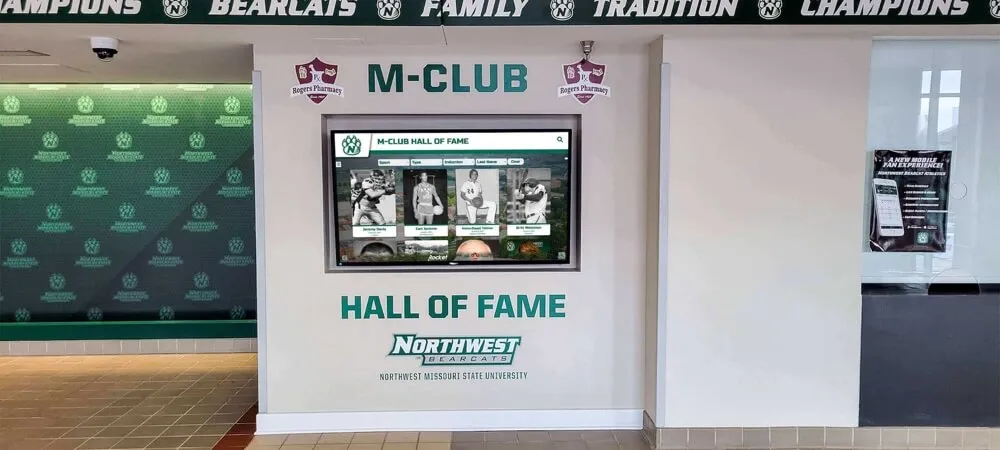
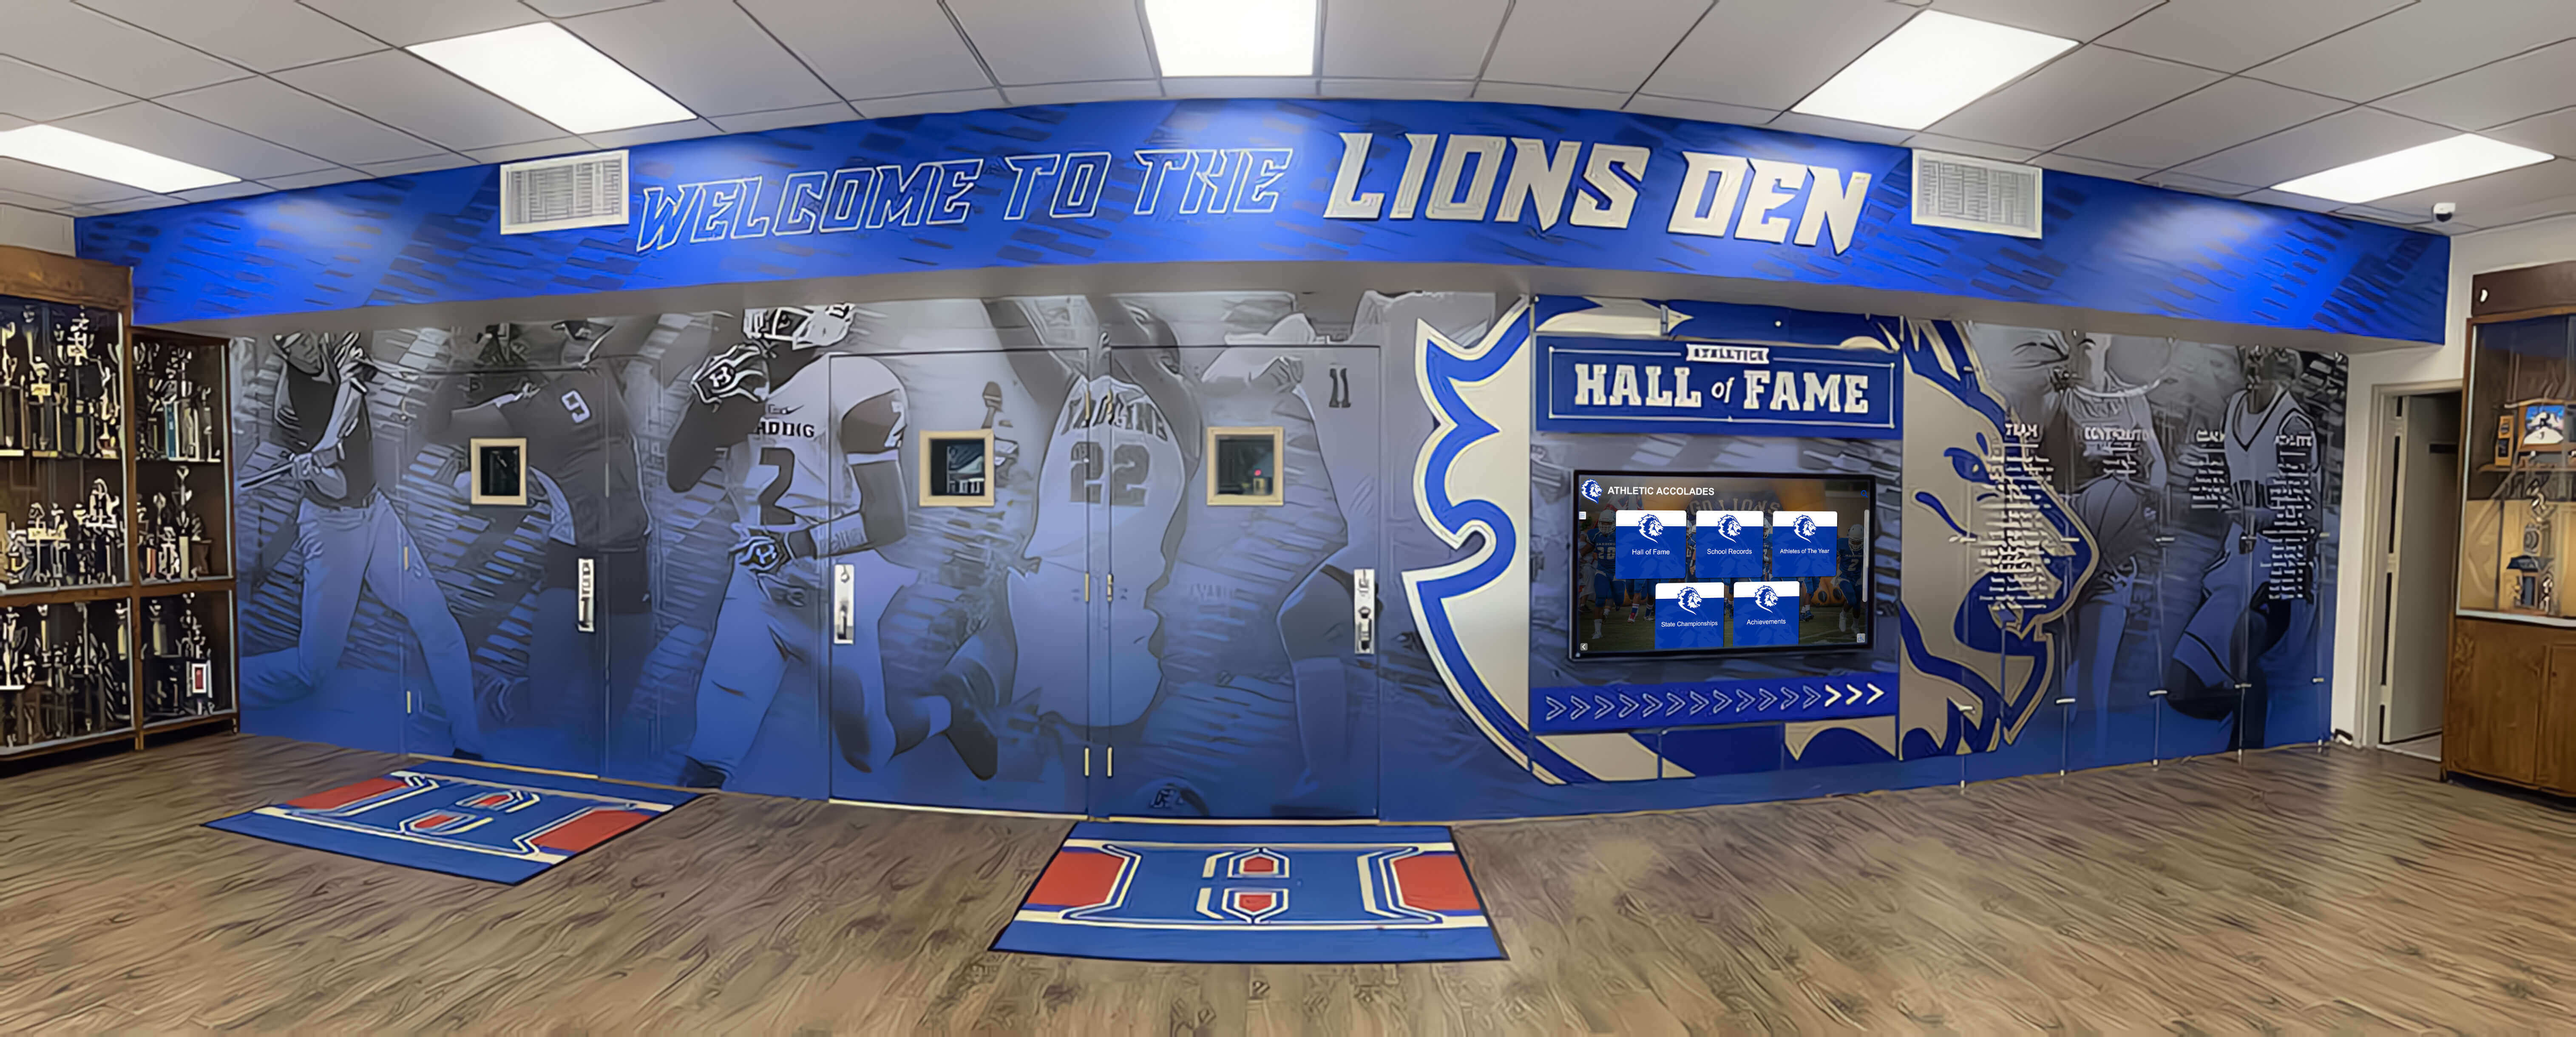
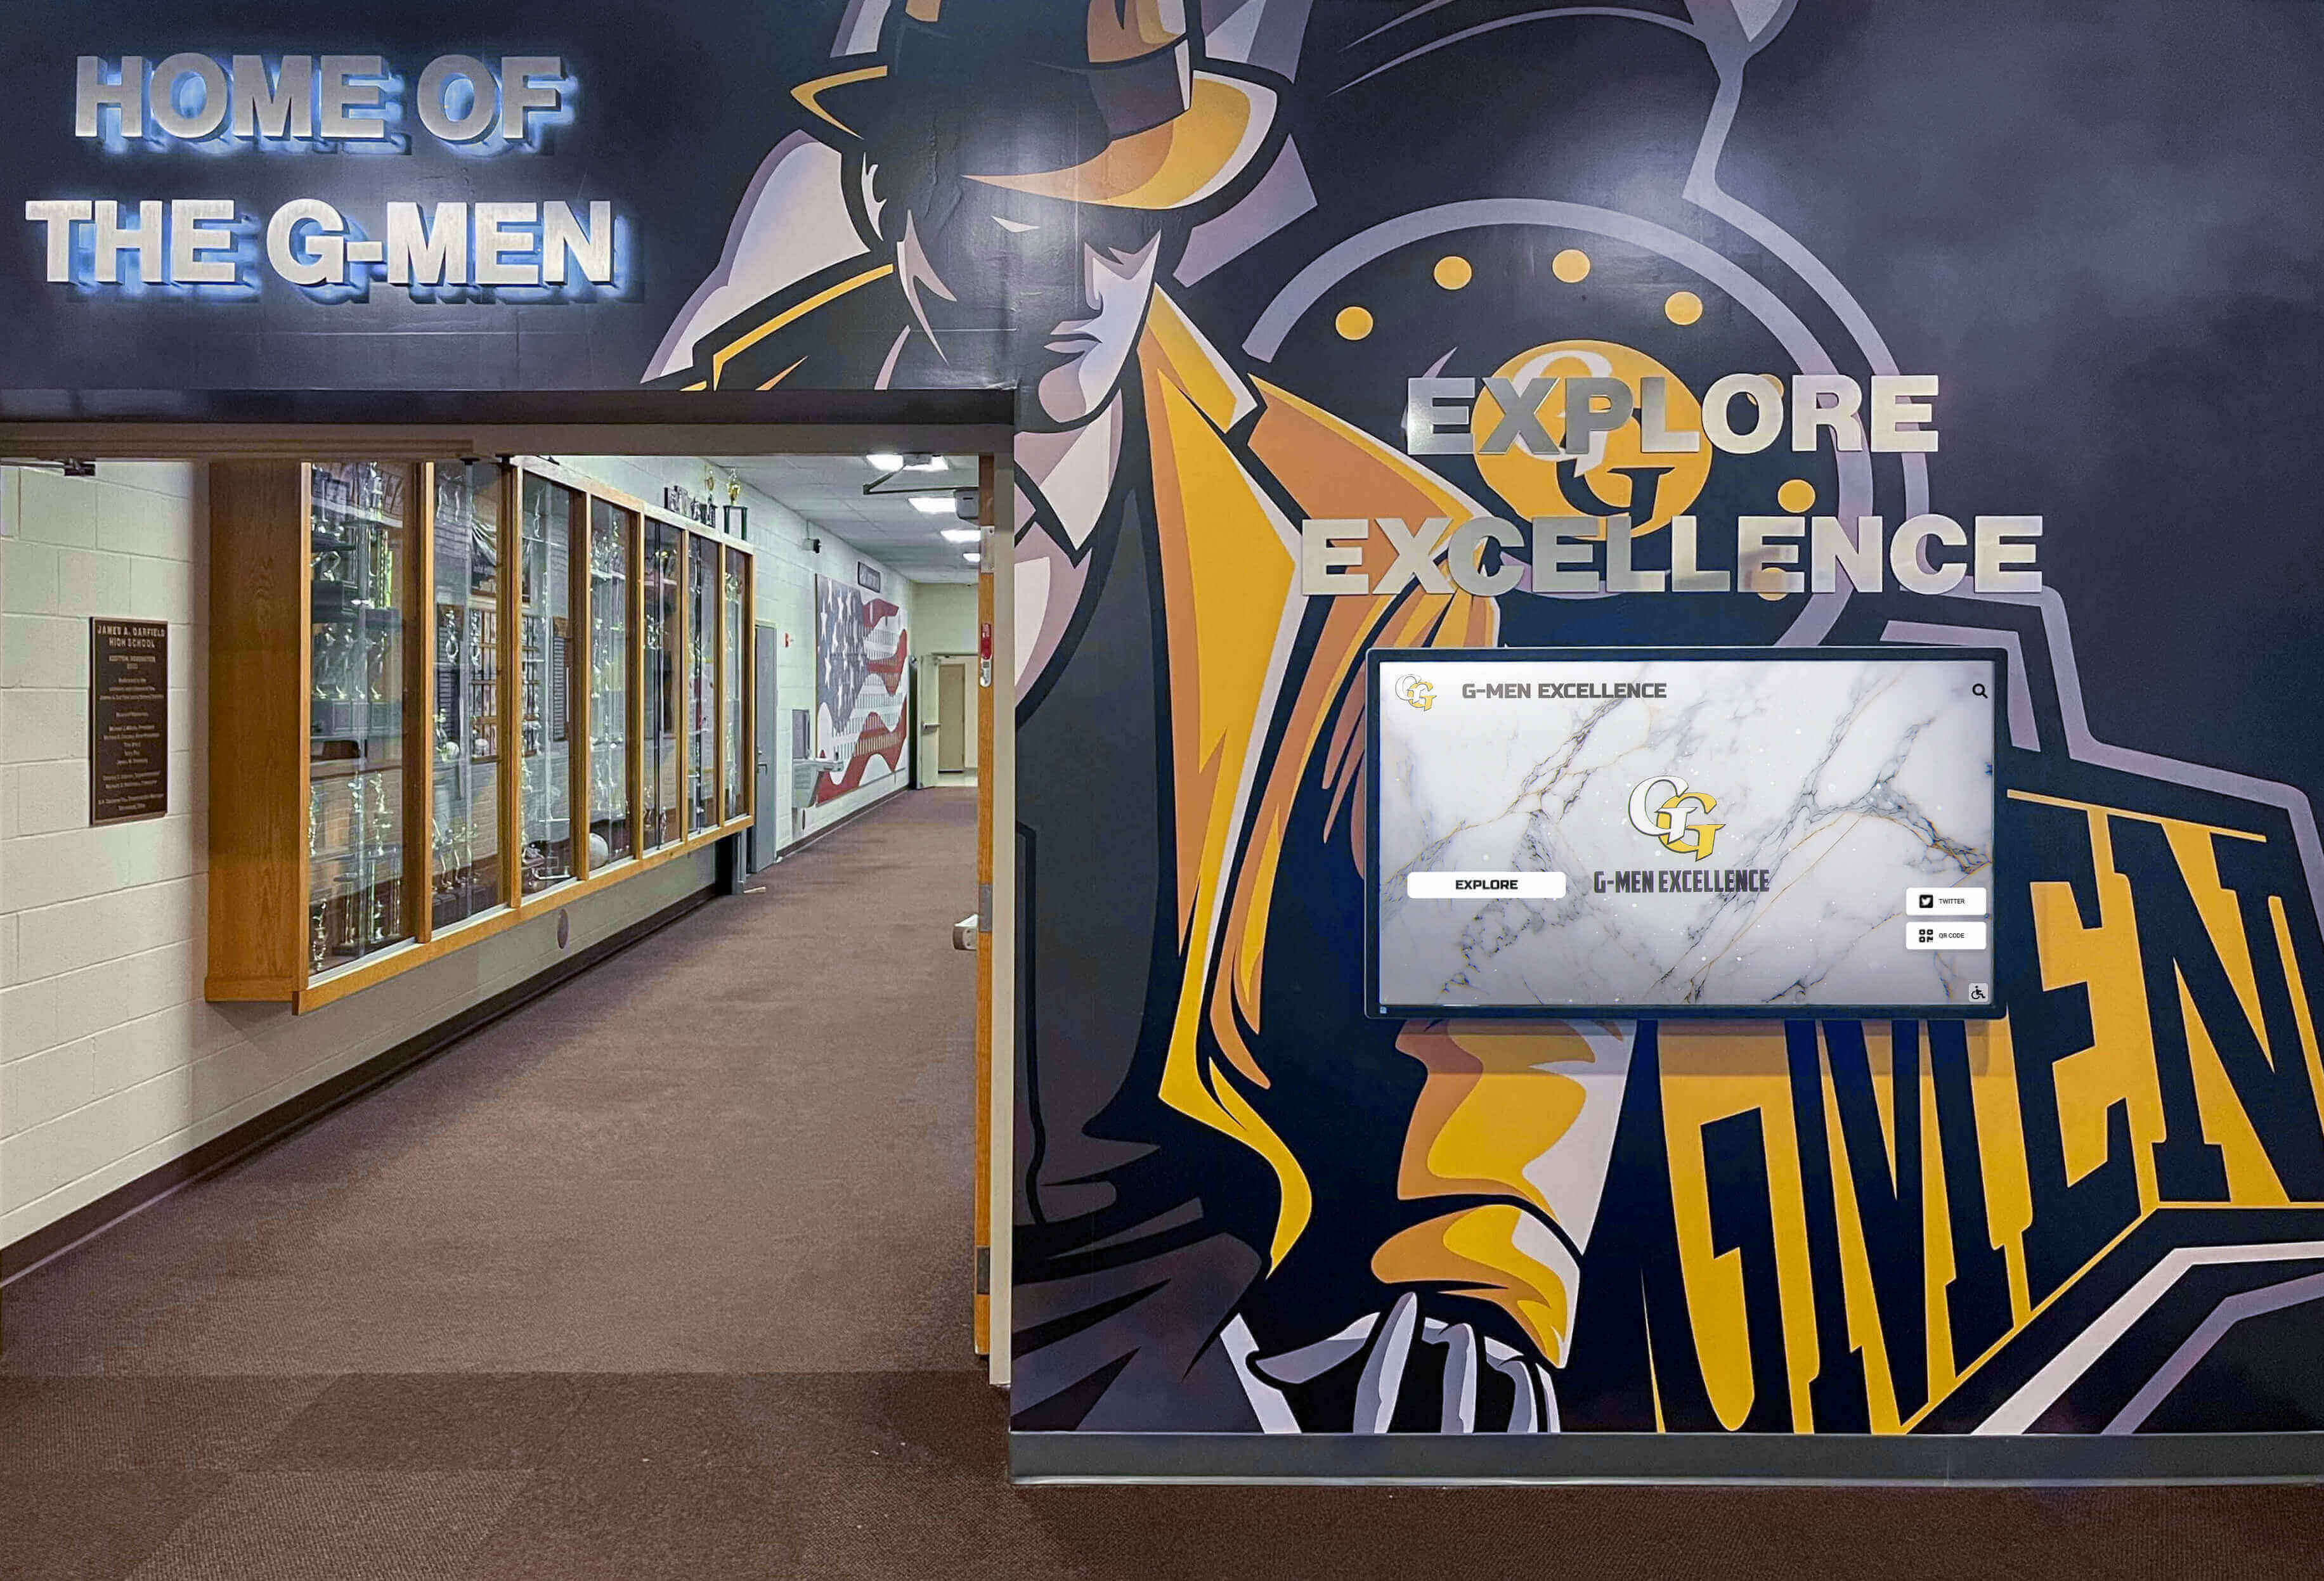
Schools implementing comprehensive hall of fame programs find digital systems provide dramatically better return on investment despite higher initial costs. Many combine approaches—using vinyl graphics for permanent branding elements while deploying digital displays for dynamic recognition content.
Hybrid Approaches: Combining Static and Dynamic Elements
The most effective school recognition spaces often blend traditional graphics with digital displays to use the strengths of both approaches.
Integration Design Strategies
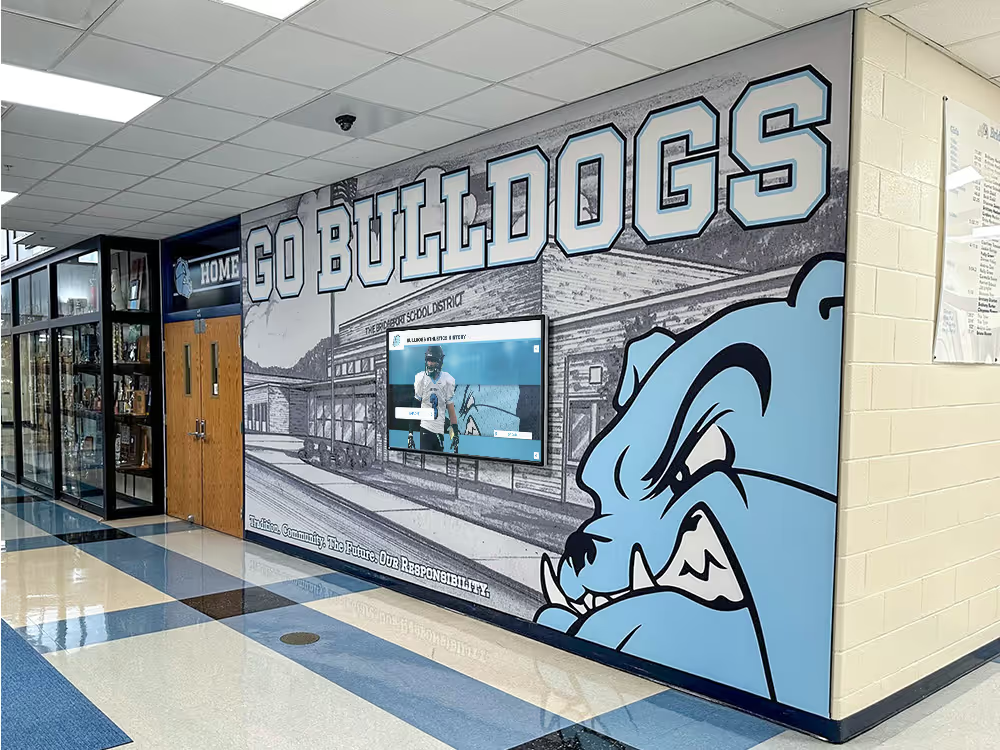
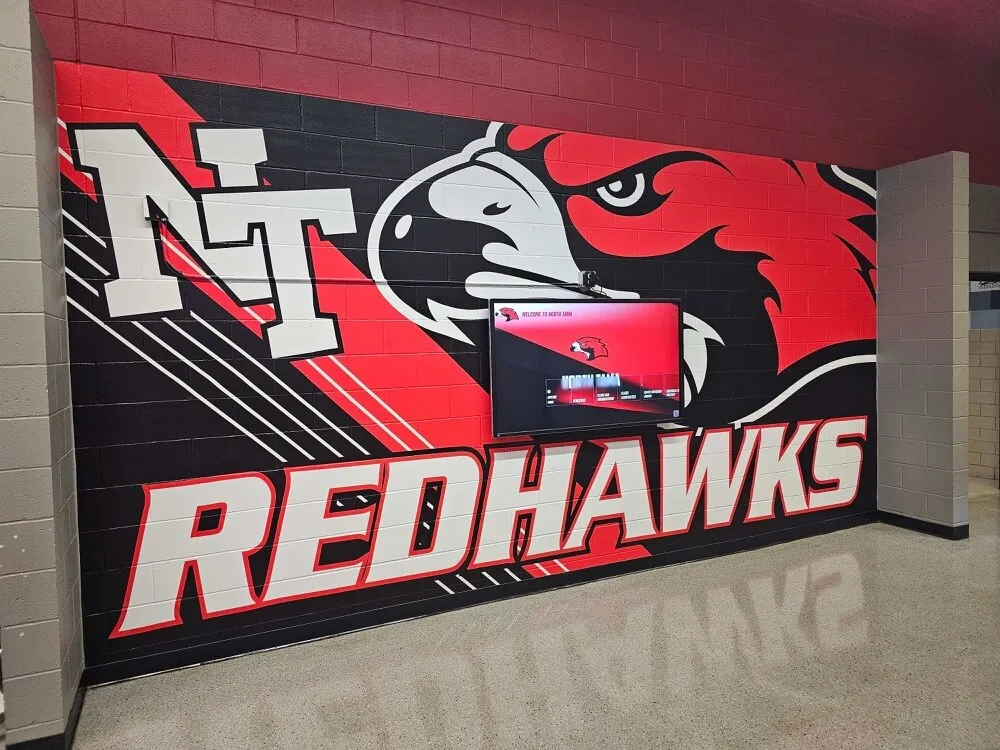
Permanent graphic framework with digital content:
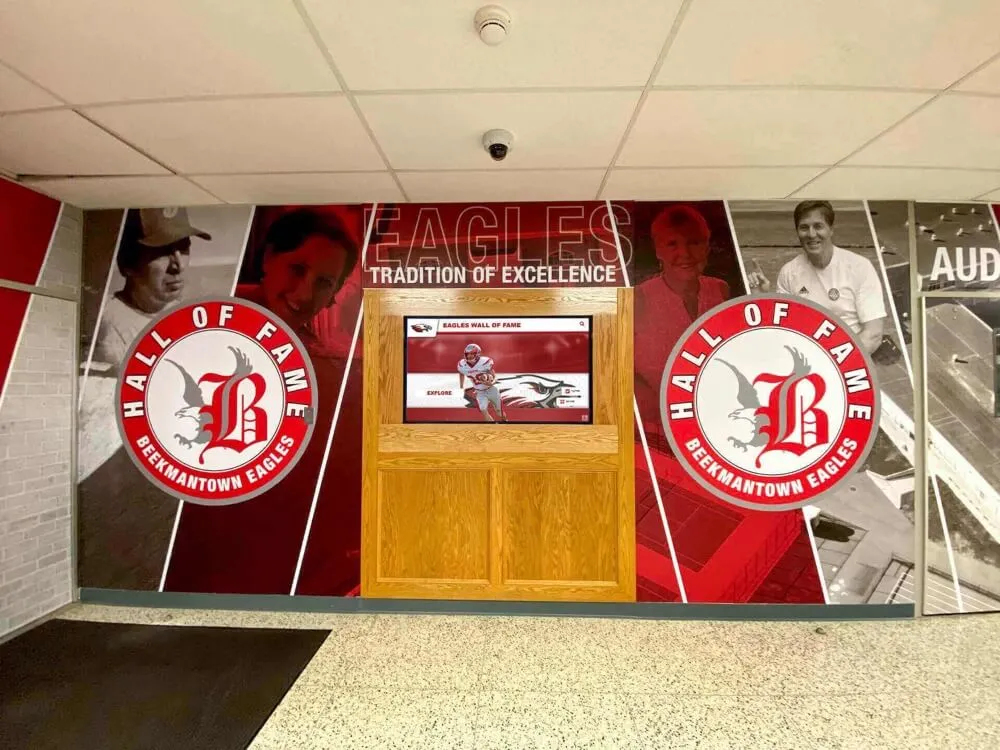
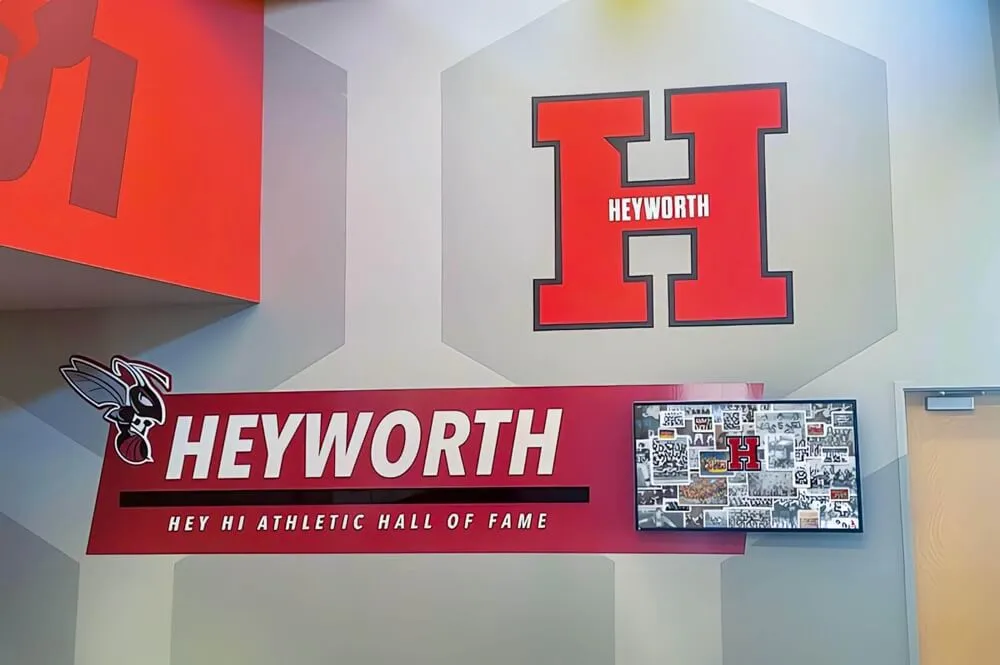
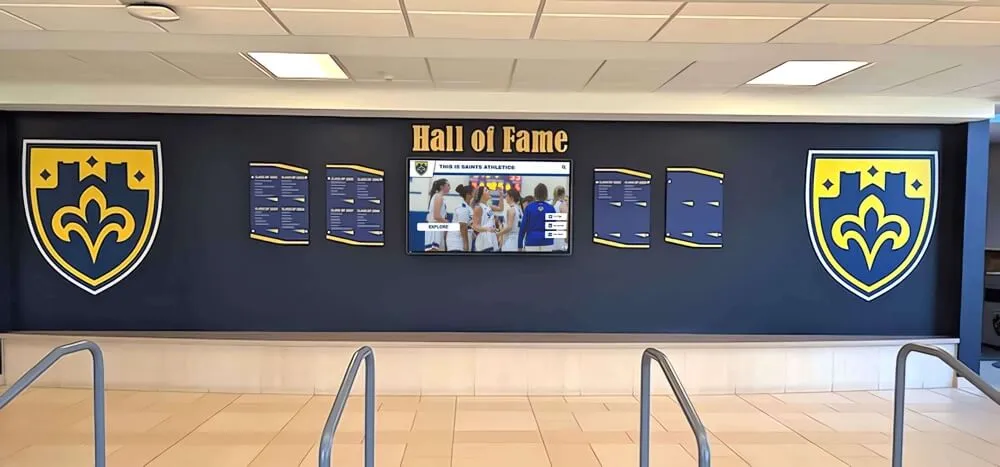
- Vinyl wall wraps establish branded environment and visual identity
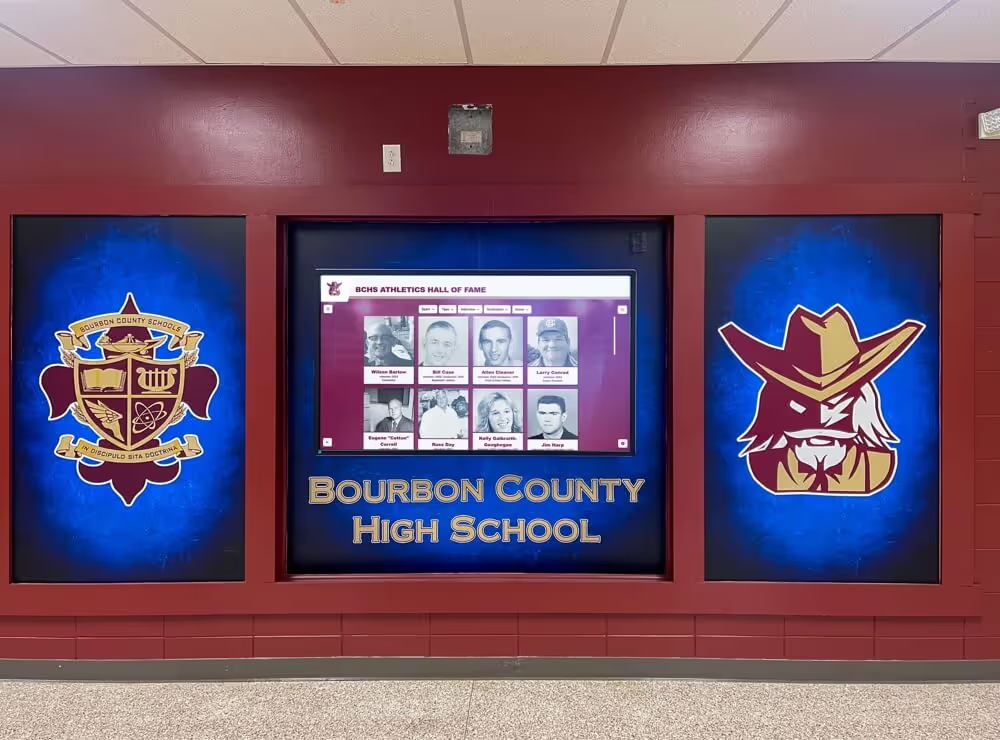
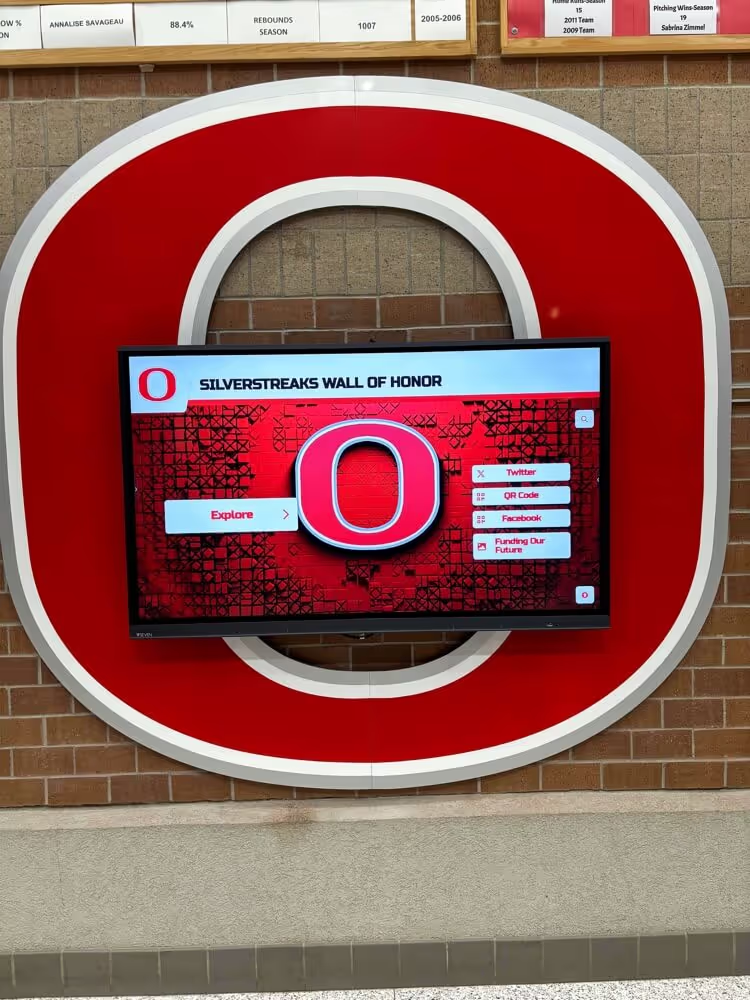
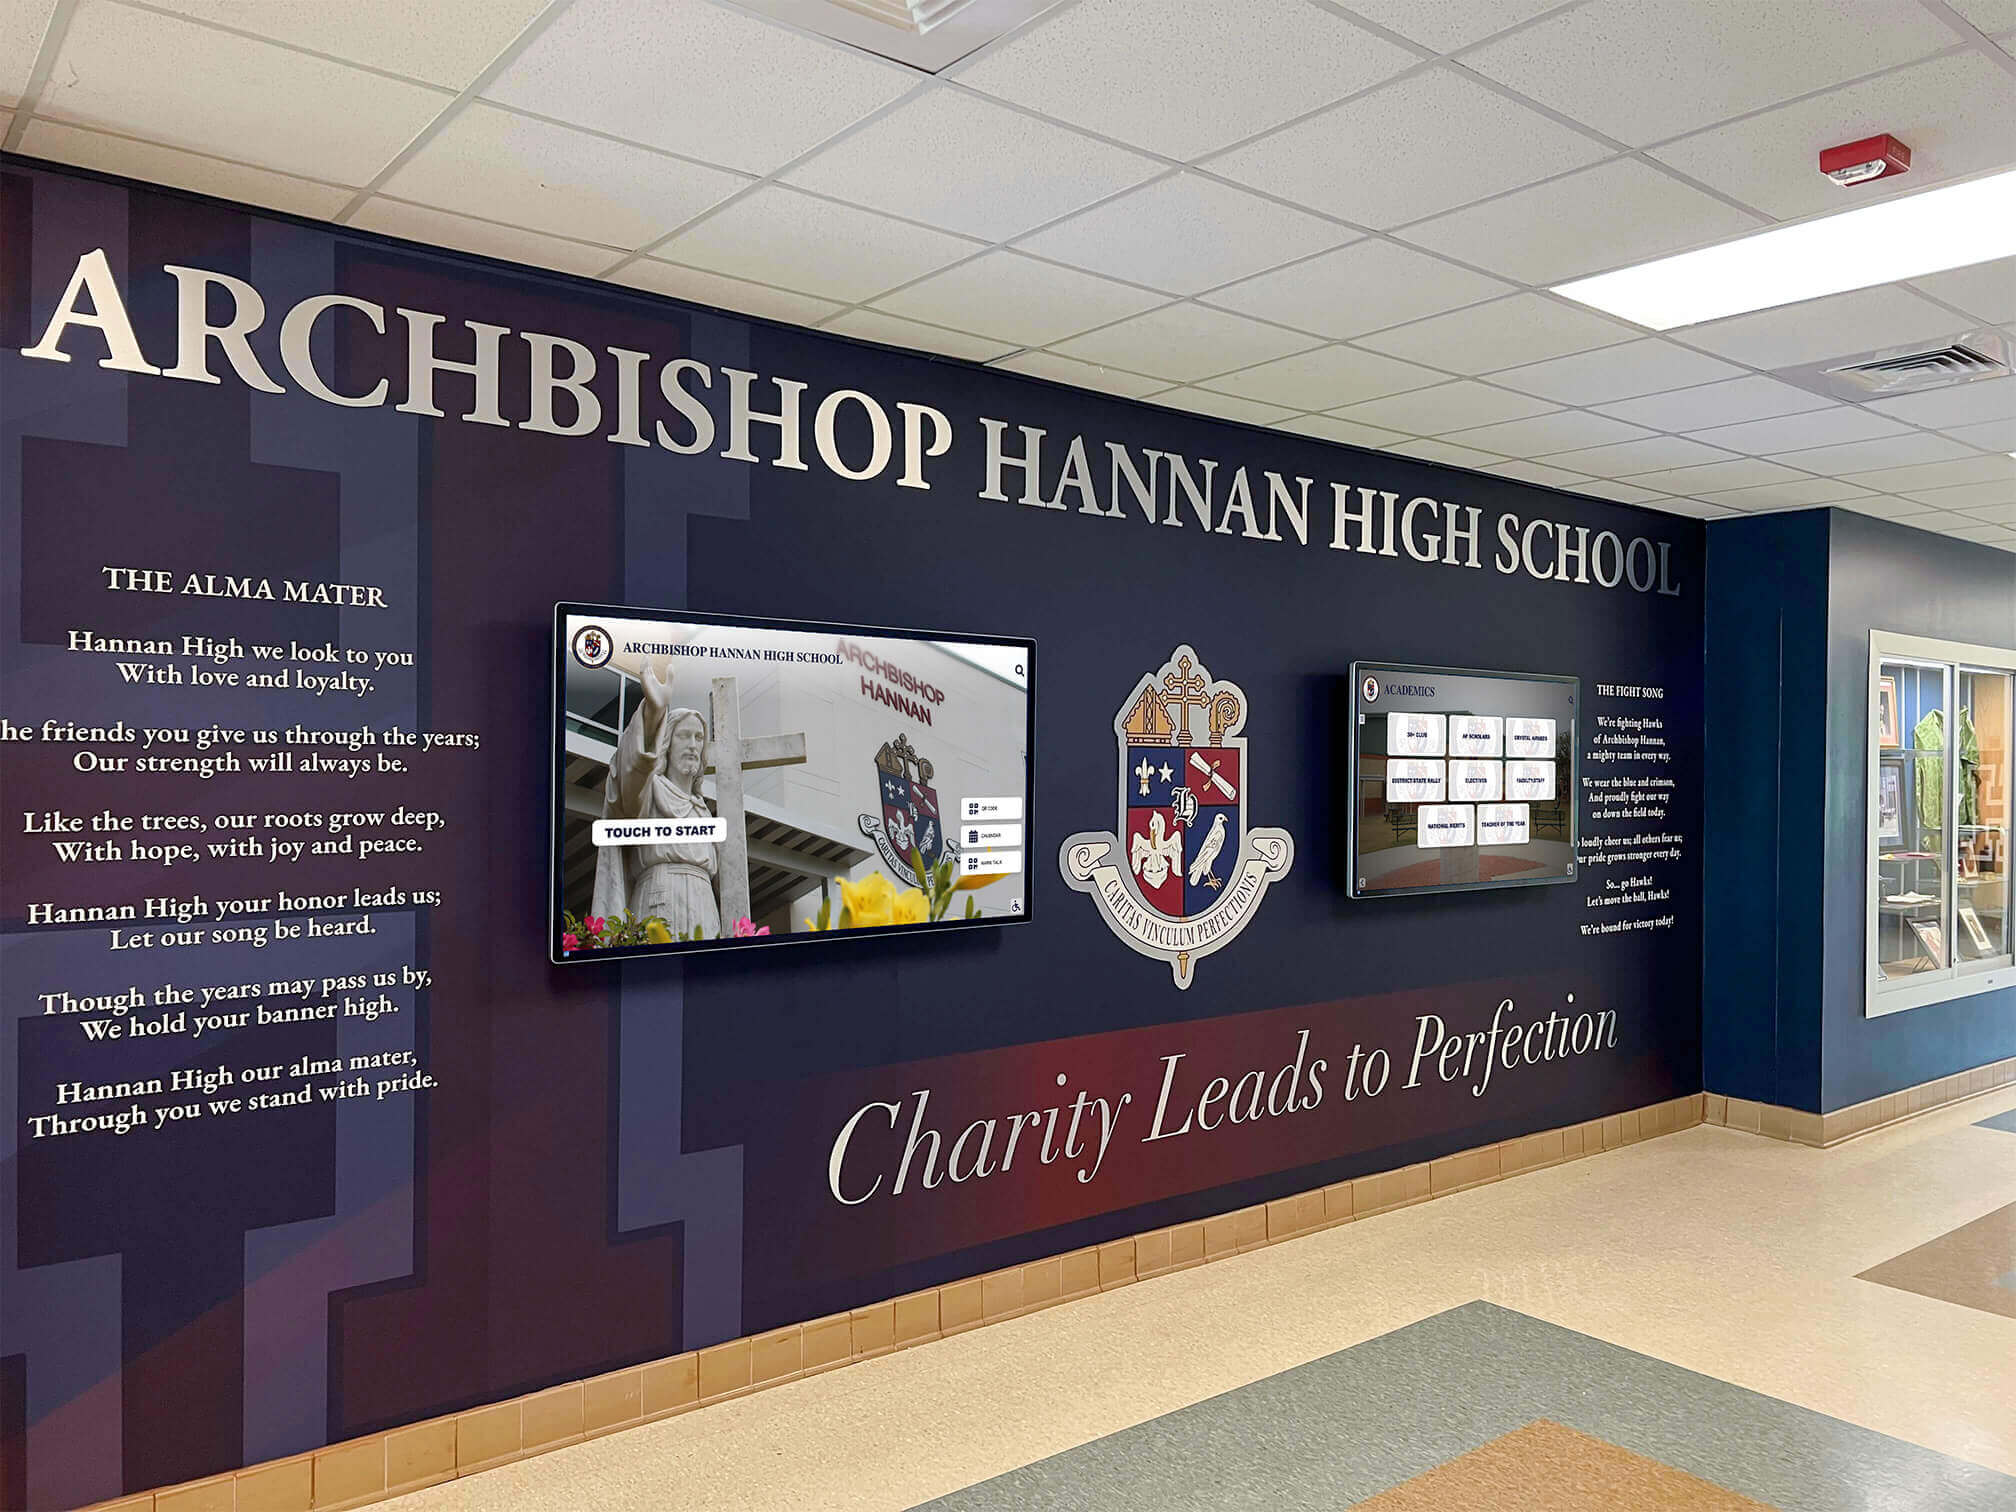
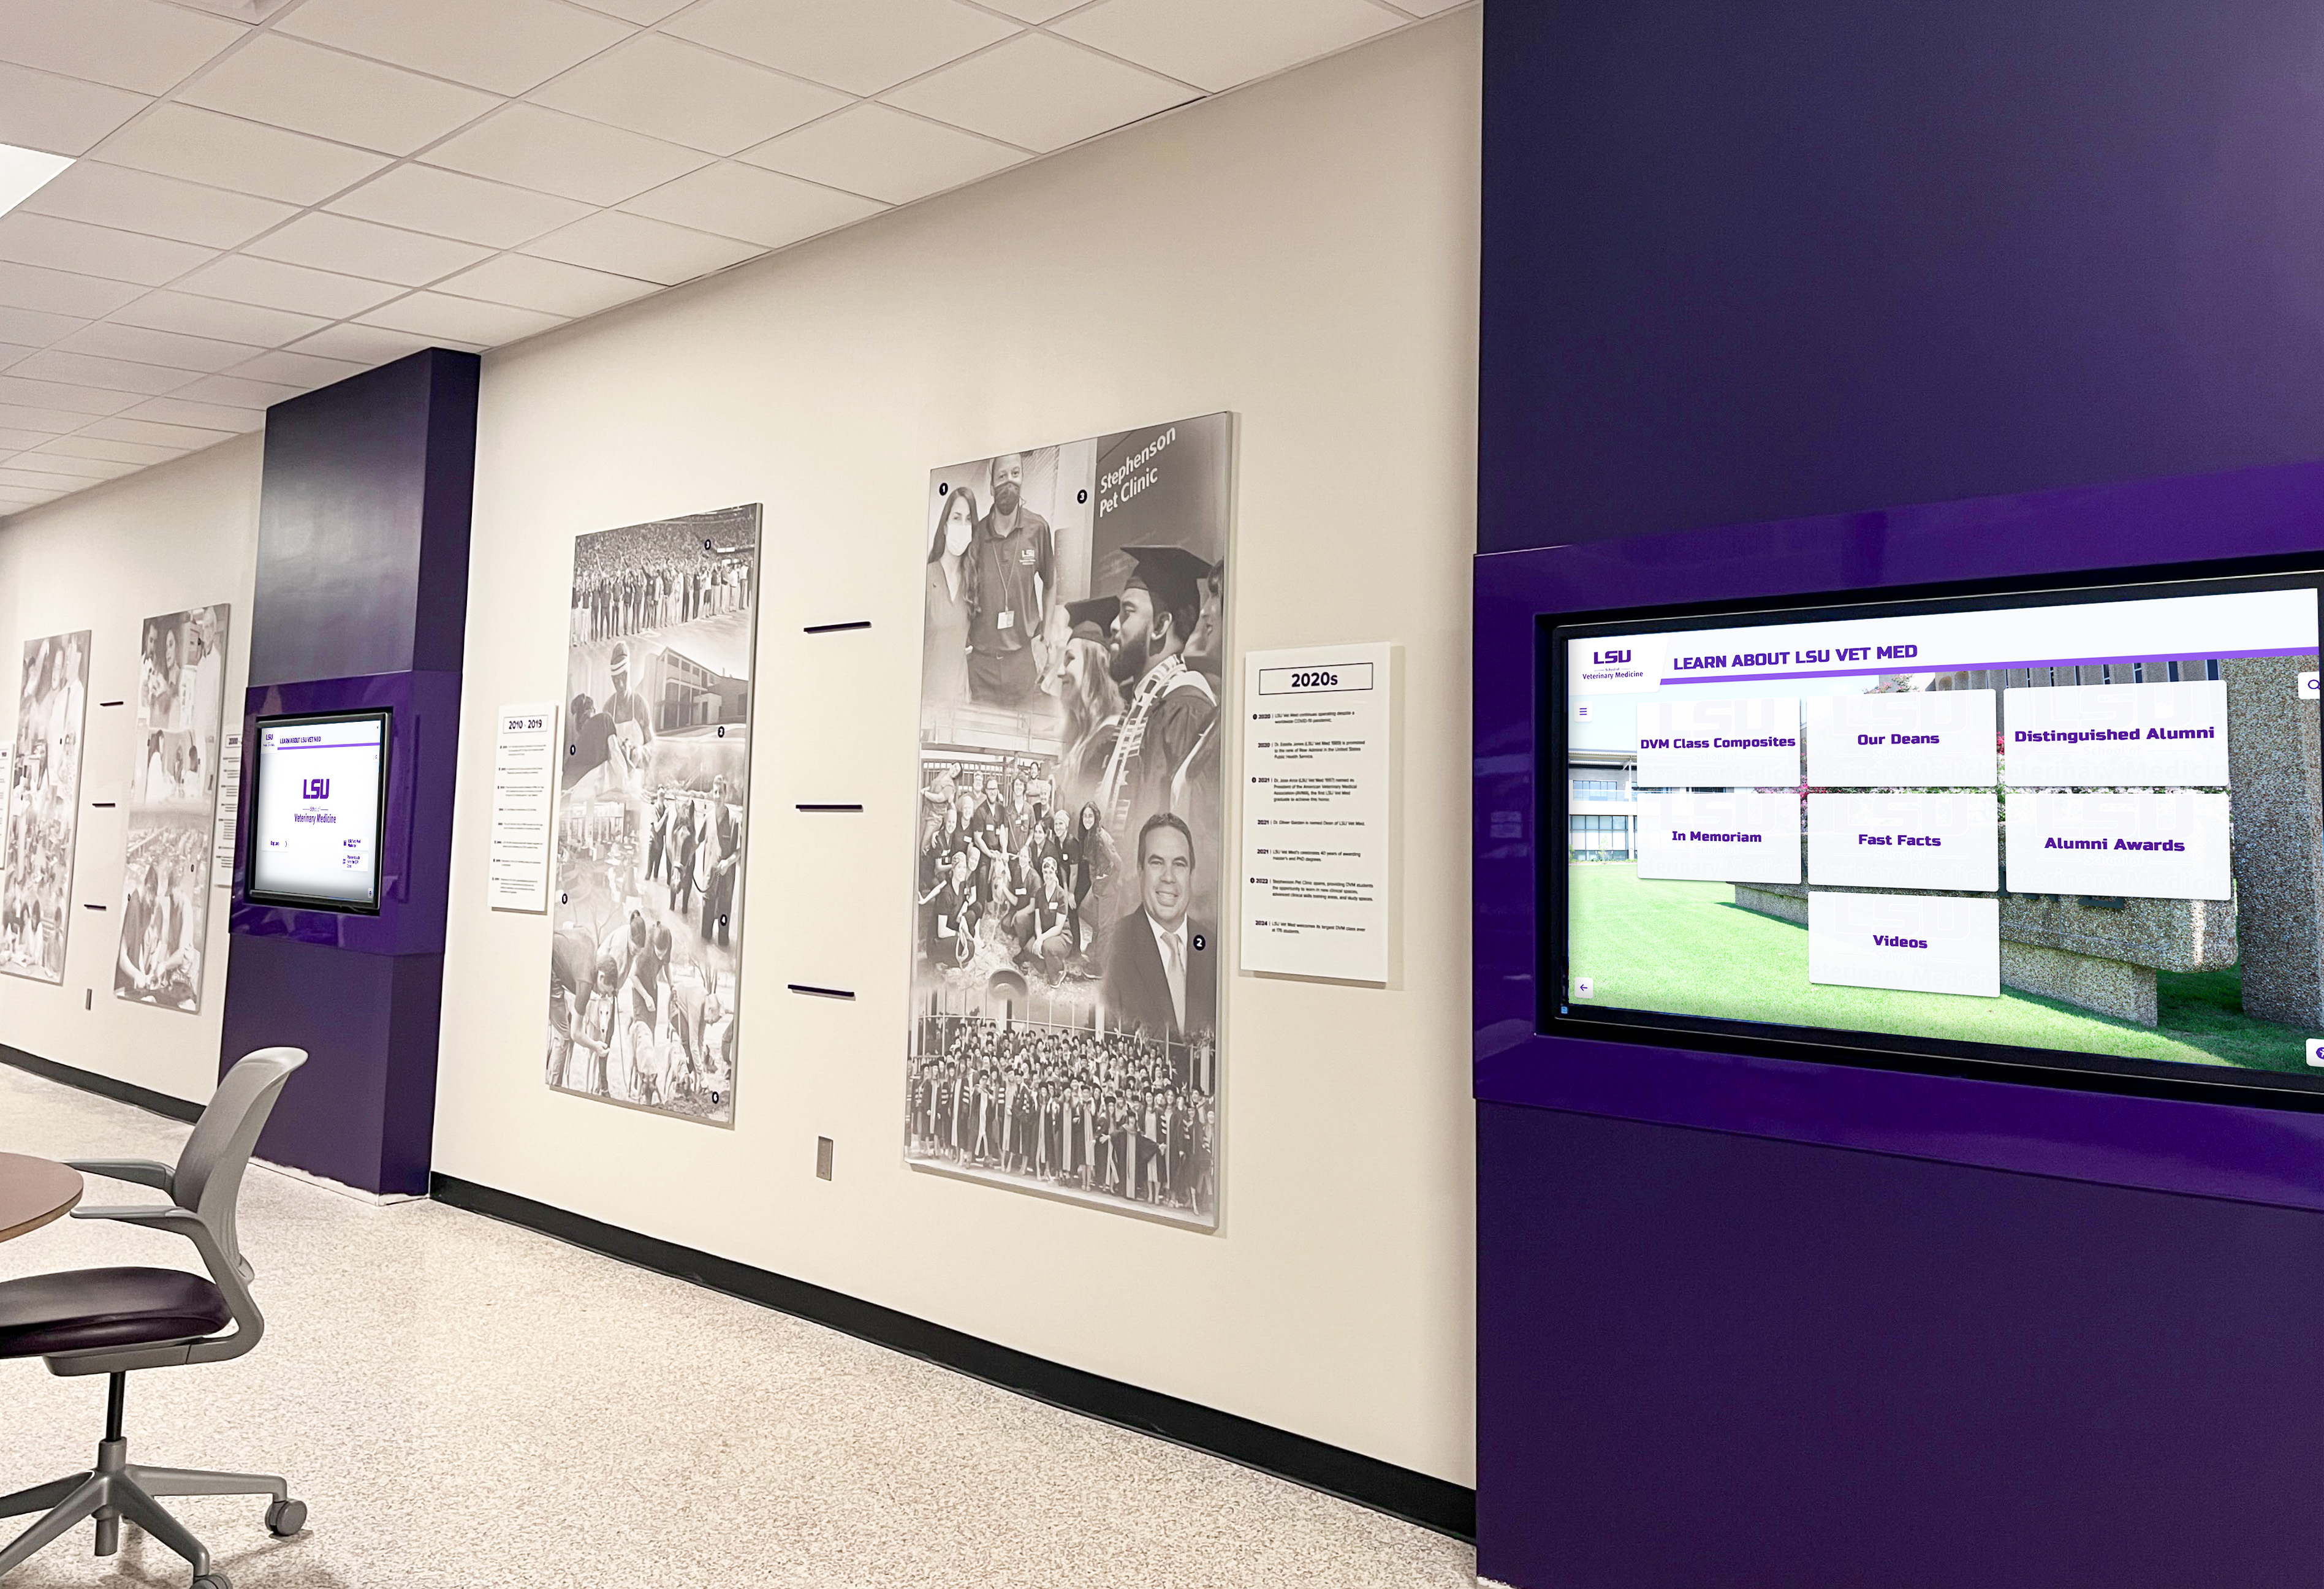
- Digital displays embedded within graphics show changing content
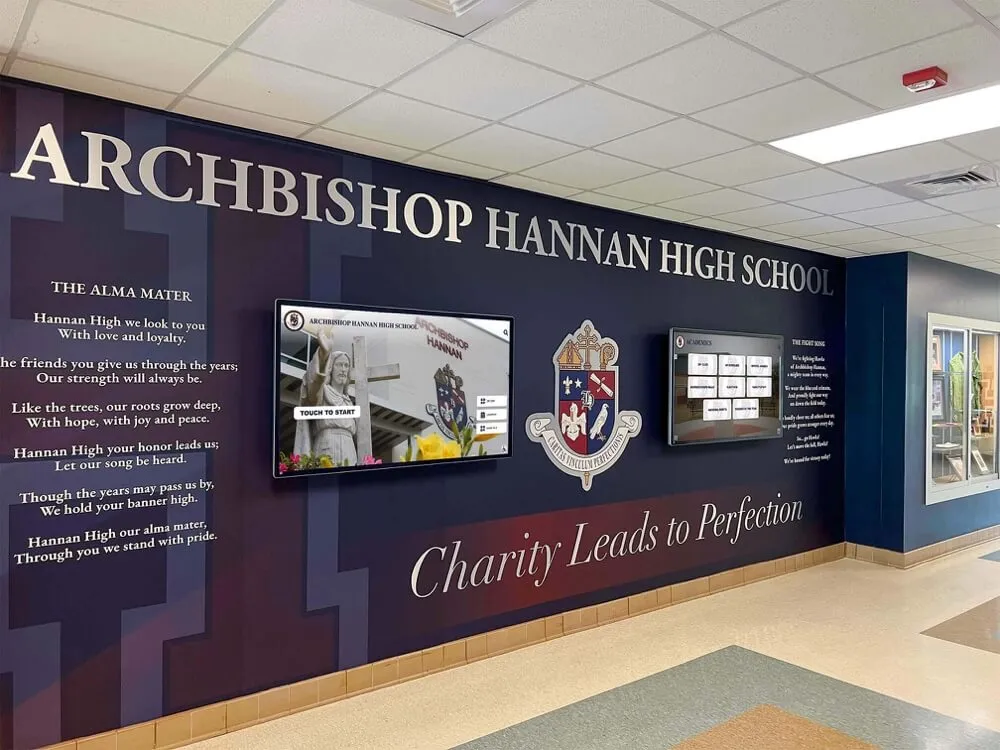
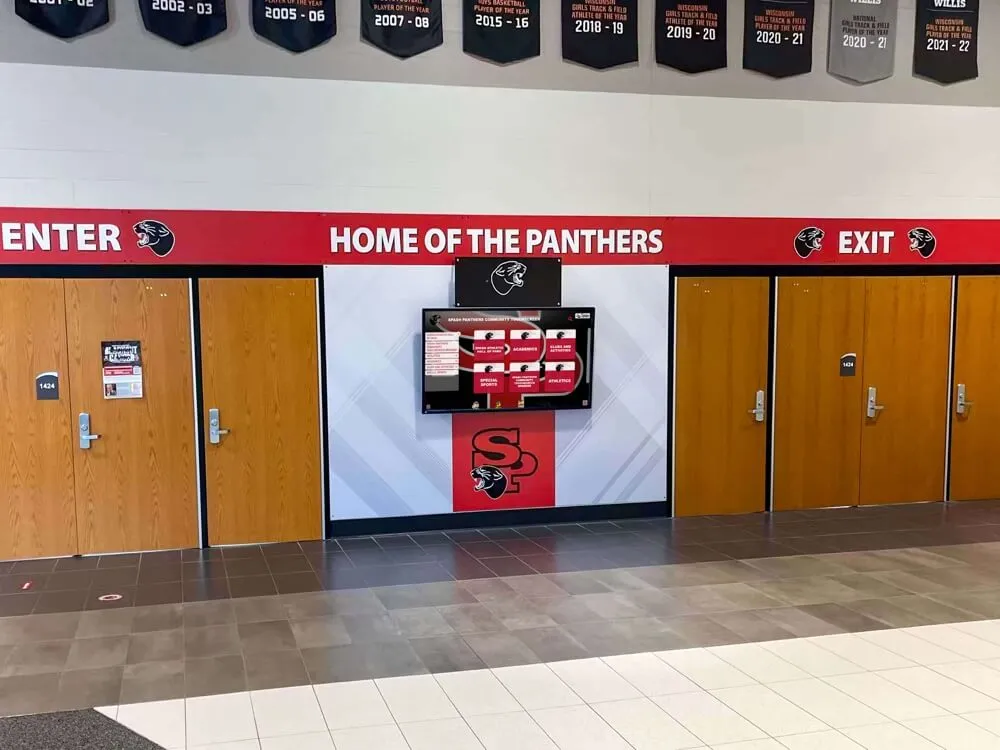
- Graphics direct attention to interactive touchscreens
- Updates happen digitally without affecting surrounding graphics
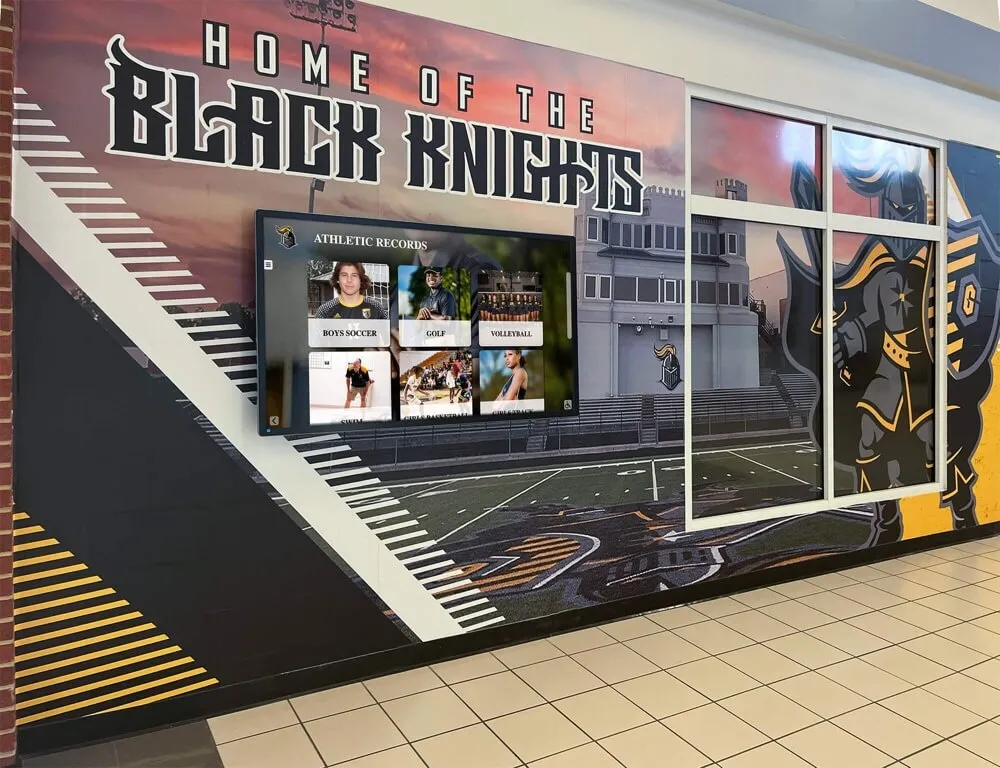
Thematic graphics with modular digital zones:
- Large-scale photographic or illustrated backgrounds
- Multiple digital displays show different recognition categories
- Graphics tie displays together into cohesive design
- Each display can update independently
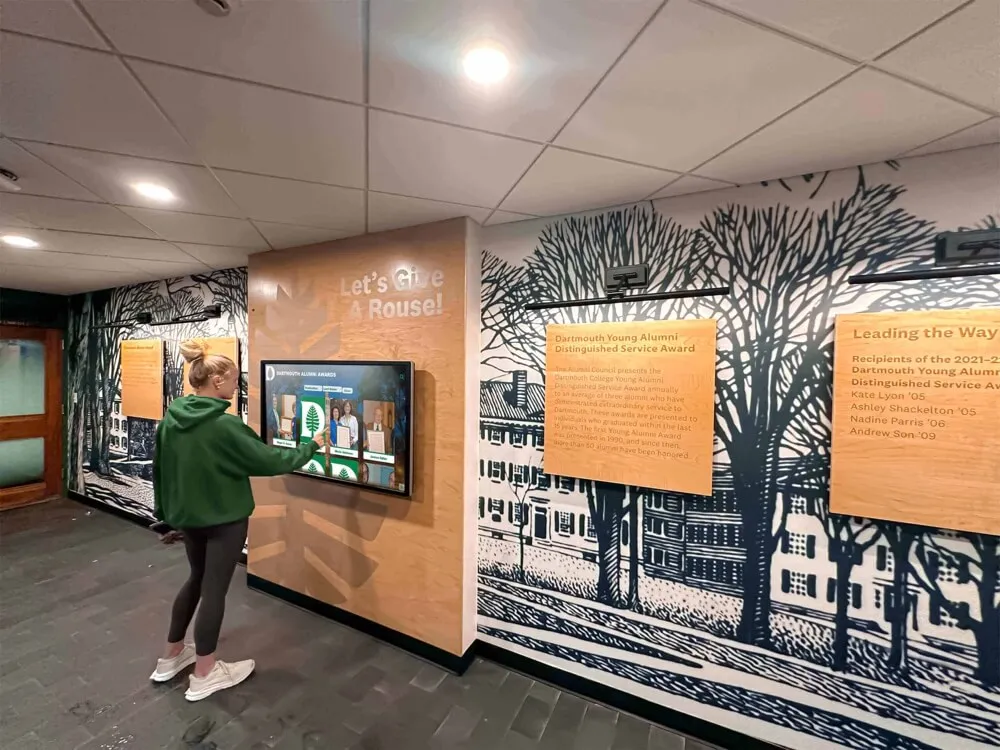
Traditional elements with digital enhancement:
- Physical trophy cases or award displays remain
- Digital screens provide searchable database of all achievements
- QR codes on graphics link to expanded digital content
- Combines tangible artifacts with unlimited digital capacity
Budget Allocation for Hybrid Systems
| Component | Budget Allocation | Typical Cost Range |
|---|---|---|
| Environmental wall graphics | 30-40% | $3,000-$8,000 |
| Digital display hardware | 40-50% | $5,000-$12,000 |
| Content development | 10-15% | $1,000-$3,000 |
| Installation (combined) | 10-15% | $1,000-$3,000 |
Hybrid approaches typically require $10,000-$25,000 initial investment but eliminate ongoing vinyl replacement costs while maintaining strong visual impact.
Installation Project Timeline and Coordination
School wall wrap projects require careful coordination with building operations, academic schedules, and facility access. Use this timeline framework to set realistic expectations.
Pre-Project Planning Phase (Weeks 1-4)
Week 1-2:
- Complete space assessment and measurements
- Document substrate conditions with photos
- Identify required repairs or preparation work
- Obtain administrative and facilities approvals
Week 3-4:
- Request vendor proposals with detailed specifications
- Review vendor portfolios and check references
- Negotiate contract terms and finalize purchase order
- Schedule kickoff meeting with design team
Design and Production Phase (Weeks 5-10)
Week 5-6:
- Initial design concepts presented
- Stakeholder review and feedback collection
- First revision cycle incorporating feedback
Week 7-8:
- Final design approval from all stakeholders
- Production file preparation with technical specifications
- Material ordering and production scheduling
- Installation coordination with facilities management
Week 9-10:
- Graphic production and finishing
- Quality inspection of completed materials
- Delivery scheduling and installation timeline confirmation
- Substrate preparation work completion
Installation and Completion Phase (Weeks 11-12)
Week 11:
- Final substrate cleaning and preparation
- Installation crew mobilization
- Graphics application following approved methods
- Daily progress documentation
Week 12:
- Installation completion and inspection
- Punch list item correction
- Final cleaning and area restoration
- Project documentation and warranty materials
Add 2-4 weeks for complex projects, multiple stakeholder approval processes, or installation around school schedules requiring after-hours work.
Validation: Pre-Installation Quality Checklist
Before finalizing vendor selection and beginning production, complete this validation audit to confirm critical requirements are addressed.
Technical Specifications Confirmed
- Wall measurements documented at multiple points with maximum dimensions used
- Substrate material identified with condition assessment completed
- Surface repairs scoped with responsible party and timeline confirmed
- Environmental conditions (temperature, humidity) verified as suitable
- Obstruction locations measured from two fixed reference points
Design Files Production-Ready
- Resolution meets minimum 150 PPI at print size
- Color mode set to CMYK with Pantone spot colors specified
- Bleed added on all sides per installer requirements
- Safe zones established 4-6 inches from trim edges
- All fonts outlined or provided as separate files
- Linked images included at full resolution
Vendor Evaluation Complete
- Received detailed proposals from at least 2-3 vendors
- Reviewed portfolios of similar school installations
- Checked references from comparable institutions
- Confirmed material specifications and warranty coverage
- Verified installer insurance and certification credentials
Project Coordination Documented
- Installation timeline coordinated with academic schedule
- Facility access arrangements confirmed (keys, alarm codes, hours)
- Janitorial schedule modified to avoid cleaning before installation
- Adjacent area protection planned for furniture and floors
- Budget allocation confirmed with required sign-offs
Long-Term Planning Addressed
- Maintenance protocols documented and responsibilities assigned
- Warranty coverage and claim process understood
- Content update strategy planned (if applicable)
- Future expansion possibilities considered in design
- Budget allocated for expected lifespan and replacement cycle
This validation prevents issues that derail projects after materials are ordered or installation begins.
Case Study: Medium-Scale Athletic Recognition Project
This worked example demonstrates how the frameworks in this guide translate into actual project plans.
Institution Profile:
- High school with 600 students
- Desire to recognize athletic achievements in main gym entrance
- Available wall space: 240 square feet
- Budget range: $5,000-$8,000
Step 1: Define Project Scope
The athletic director’s committee determines:
Recognition categories:
- State championship teams (15 teams historically)
- School record holders by sport
- All-state athletes from past decade
- “Where Are They Now” alumni spotlights
Update frequency: Annual updates needed to add new achievements each spring
Step 2: Evaluate Approach Options
Option A: Vinyl wall wrap
- Initial cost: $5,500
- Annual update cost: $4,500 (complete replacement)
- 5-year total: $23,500
- Limitations: Fixed capacity, no interactivity
Option B: Digital recognition display
- Initial cost: $14,000
- Annual update cost: $800 (staff time)
- 5-year total: $18,000
- Benefits: Unlimited capacity, remote updates, web access
Option C: Hybrid approach
- Environmental graphics: $3,500
- Integrated digital display: $9,000
- Initial total: $12,500
- Annual update: $800
- 5-year total: $15,700
- Benefits: Visual impact plus digital flexibility
Step 3: Implementation Decision
Committee selects Option C (hybrid) because:
- Combines visual impact of large graphics with content flexibility
- 5-year cost lower than vinyl-only approach
- Accommodates growth in achievement recognition
- Provides alumni access through web interface
- Eliminates recurring replacement costs
This example shows how comprehensive cost analysis over realistic timespans reveals the value of digital integration even when initial costs are higher.
Moving Forward: Implementation Next Steps
Administrators who have reviewed this guide should now understand the specifications, budget requirements, and decision frameworks needed for wall wrap projects. Your immediate actions:
Complete the space assessment checklist documenting wall conditions, measurements, and environmental factors.
Calculate realistic project budget using the cost frameworks provided, including design, materials, installation, and recurring expenses.
Evaluate static vs. digital approaches based on content update frequency, recognition capacity needs, and long-term economics.
Request vendor proposals with specific requirements derived from this guide’s technical specifications.
Develop project timeline accounting for design approval, production, and installation coordination with facility operations.
For schools discovering that content update requirements and long-term costs favor digital approaches, consider evaluating comprehensive recognition platforms that eliminate vinyl replacement cycles while providing unlimited content capacity.
Build Recognition Displays That Grow With Your Program
Rocket Alumni Solutions provides digital recognition systems designed for schools that need flexible, updateable displays without recurring vinyl replacement costs. Our TouchWall platform addresses every concern outlined in this guide—from unlimited content capacity to remote management to mobile accessibility.
We offer detailed technical specification documents, installation planning assistance, professional content development services, and comprehensive administrator training. Whether you're recognizing athletic achievements, academic excellence, or donor contributions, we'll help you implement a system that honors your community while eliminating the recurring costs and limitations of static graphics.
Frequently Asked Questions
How long do vinyl wall wraps typically last in school environments?
Vinyl wall wraps in school hallways and gymnasiums typically last 5-7 years before requiring replacement due to fading, edge lifting, or accumulated wear from physical contact. Cast vinyl films with protective lamination provide the longest lifespan. Material warranties cover 3-7 years depending on vinyl quality and environmental conditions. However, many schools replace wall wraps earlier than material lifespan when content becomes outdated—new achievements accumulate, honored individuals change, or recognition needs expand. This content obsolescence before material failure is why many institutions transition to digital systems that accommodate ongoing updates without physical replacement.
Can we install wall wraps ourselves to save money?
While possible, self-installation rarely saves significant money once you account for the learning curve, tools required, and risk of costly mistakes. Professional installers complete projects 3-5x faster than first-time DIY attempts. They have specialized tools (large squeegees, cutting systems, application fluids) and techniques that prevent bubbles, wrinkles, and alignment errors. Material waste from installation mistakes often exceeds the labor savings. Additionally, many material warranties require professional installation to remain valid. Consider self-installation only for very small projects (under 20 square feet), and plan for extended timeline and potential material replacement if issues occur.
What happens if the wall needs painting or repairs after the wrap is installed?
Removing vinyl wall wraps for maintenance access is technically possible but often damages the graphics beyond reuse. Permanent adhesive wraps typically remove paint when pulled off, requiring wall repair and repainting before new graphics can be applied. Removable adhesive wraps may peel cleanly if they’re less than 2-3 years old, but there’s no guarantee graphics can be reapplied successfully after removal. Plan wall maintenance before installing wraps—complete all painting, repairs, and infrastructure work during substrate preparation. For areas requiring regular access (behind removable panels or access doors), avoid covering these zones with graphics or design modular sections that can be replaced independently.
How do digital displays compare in terms of initial cost and long-term value?
Digital recognition displays require higher initial investment—typically $10,000-$20,000 for quality systems including hardware, software, and installation. However, they eliminate recurring replacement costs that accumulate with vinyl wall wraps. A vinyl installation requiring annual updates costs $3,000-$5,000 each update cycle. Over 10 years, vinyl graphics with annual updates total $35,000-$55,000, while digital systems total $20,000-$30,000 including annual software maintenance. Beyond cost savings, digital systems provide unlimited content capacity, remote updates, web accessibility for alumni, and searchable databases—capabilities impossible with static graphics. Schools that initially select vinyl due to budget constraints often transition to digital systems after experiencing recurring replacement costs and content limitations.
What cleaning products are safe to use on vinyl wall wraps?
Use only mild solutions specifically approved for vinyl graphics. Safe options include diluted dish soap (2-3 drops per quart of water), isopropyl alcohol diluted 50% with water, or commercial vinyl cleaners like Simple Green or Windex (ammonia-free versions). Apply cleaner to a soft microfiber cloth, not directly to the graphic. Use gentle pressure with straight wiping motions, not circular scrubbing. Never use abrasive cleaners, solvents (acetone, lacquer thinner), high-pH detergents, or pressure washers. These damage the vinyl film or printed inks, causing discoloration, surface degradation, or edge lifting. Inform janitorial staff of approved cleaning methods when wall wraps are installed—many standard cleaning products used in schools can damage graphics.
Can wall wraps work in gyms or high-traffic areas where they might get hit?
Wall wraps can work in active areas with proper planning and protective measures. Choose cast vinyl with protective lamination (adds abrasion resistance). Position graphics above impact zones—keep recognition content at 6-8 feet height where contact is less likely. Use durable materials for lower wall sections where ball impacts, equipment, or student contact occurs frequently. Consider applying clear protective film over high-contact areas for additional protection. For extremely active spaces, evaluate whether wall-mounted or ceiling-suspended banners might be more durable than applied graphics. Many schools find that digital displays mounted in protective enclosures or recessed niches provide better durability in gymnasiums than vinyl graphics directly on walls.
Additional Resources
School administrators planning wall wrap or recognition display projects may find value in related resources:
- Digital Signage Content Ideas for Schools - Content strategy for digital displays
- School Pride Building Strategies - Comprehensive recognition program approaches
- Athletic Recognition Display Options - Formats and configurations for sports achievements
These resources provide complementary frameworks that administrators can adapt to their specific recognition and display needs. Together they form a comprehensive implementation toolkit for school branding and recognition projects.