Weight room design directly impacts student-athlete safety, training effectiveness, and long-term program success. When athletic directors and facilities planners approach weight room projects—whether new construction or renovation—dozens of critical decisions await: equipment selection, layout optimization, safety protocols, budget allocation, and space maximization strategies that will serve athletes across multiple sports for decades.
A poorly designed weight room creates bottlenecks during busy training periods, increases injury risk through inadequate spacing or inappropriate equipment, and fails to accommodate the diverse needs of athletes ranging from freshman basketball players to senior football linemen. Meanwhile, thoughtfully designed facilities maximize training capacity, promote proper technique through strategic equipment placement, and create motivating environments that encourage consistent participation.
This comprehensive guide provides practical weight room design strategies grounded in real implementation challenges. You’ll find detailed equipment lists, layout configurations for different space sizes, safety requirements, budgeting frameworks, and technology integration ideas that help you create strength training facilities serving your student-athletes effectively.
Weight Room Design Planning Fundamentals
Successful weight room projects begin with systematic planning that establishes clear objectives, realistic constraints, and comprehensive requirements before equipment selection or layout decisions.
Establishing Design Objectives
Who will use this facility? High school weight rooms typically serve athletes across 15-25 different sports, physical education classes, and potentially community programs during off-hours. User diversity affects equipment selection, capacity planning, and scheduling considerations.
What training goals must the space support? Programs emphasizing Olympic lifting require different equipment and platform configurations than those focused on functional training or general fitness. Clarify your strength and conditioning philosophy early, as this fundamentally shapes design decisions.
How many athletes will train simultaneously? Peak usage capacity determines space requirements and equipment quantities. Calculate your largest team size plus any concurrent users. A school with a 100-player football program needs dramatically different capacity than one with 40-player teams.
What existing constraints must you accommodate? Document available space dimensions, ceiling height, floor loading capacity, electrical service, ventilation, natural light, access points, and budget realities. These constraints often determine what’s achievable more than wish lists do.
Space Requirements and Sizing
Minimum space per athlete: Industry standards recommend 50-100 square feet per athlete training simultaneously. The exact requirement depends on training style—circuit training with rapid equipment rotation needs less per-person space than percentage-based programs where athletes rest at their stations.
Total facility sizing benchmarks:
- Small schools (300-600 students): 1,200-2,000 sq ft minimum
- Medium schools (600-1,200 students): 2,000-3,500 sq ft recommended
- Large schools (1,200+ students): 3,500-6,000+ sq ft optimal
Ceiling height requirements: 12-foot minimum ceiling height accommodates Olympic lifting safely. 14-16 foot ceilings are ideal, preventing psychological limitations during overhead lifts and providing adequate clearance for jump training equipment. Lower ceilings require eliminating certain exercises or creating separate lifting platform areas with adequate overhead clearance.
Floor loading capacity: Weight room floors must support 150-250 pounds per square foot, significantly exceeding standard building codes. Verify structural capacity before equipment installation, especially in second-floor locations. Inadequate floor support creates catastrophic safety risks and expensive remediation needs.
Essential Weight Room Equipment Lists
Equipment selection balances training needs, budget constraints, space limitations, and durability requirements. These lists provide starting points for programs at different scales.
Core Equipment for Small Programs (Budget: $15,000-$30,000)
Foundational Strength Equipment:
- 2-3 power racks with pull-up bars ($800-$2,500 each)
- 2-3 Olympic barbell stations with platforms ($300-$600 per station)
- 1,500-2,500 lbs of Olympic weight plates (bumper and iron mix)
- 6-10 adjustable benches ($200-$600 each)
- Dumbbell set: 5-75 lbs with storage rack ($2,000-$4,000)
Auxiliary Equipment:
- 2-3 cable machines or functional trainers ($1,500-$4,000 each)
- Rowing machine ($800-$1,200)
- 2-3 plyo boxes at varying heights ($150-$400)
- Medicine balls: 4-20 lbs ($200-$500 for set)
- Resistance bands and training accessories ($300-$600)
Safety and Organization:
- Weight plate storage trees ($200-$400 each)
- Barbell storage racks ($300-$800)
- Safety mirrors for form checking ($500-$1,500)
- First aid station and AED ($1,500-$2,500)
This configuration serves 15-25 athletes simultaneously with basic but comprehensive training capabilities across major movement patterns.
Mid-Sized Program Equipment (Budget: $40,000-$75,000)
Building on the small program foundation, mid-sized facilities add:
Expanded Free Weight Area:
- 4-6 power racks and Olympic lifting stations
- Additional 1,000-2,000 lbs of weight plates
- Competition-grade bumper plates for advanced programs
- Extended dumbbell range: 5-100+ lbs
- Multiple specialty bars (trap bars, safety squat bars, Swiss bars)
Machine Supplementation:
- Leg press or hack squat machine ($2,000-$5,000)
- Lat pulldown station ($1,200-$3,000)
- Seated row machine ($1,200-$3,000)
- Leg curl/extension combo unit ($2,500-$4,500)
- Additional cable stations for simultaneous users
Conditioning Equipment:
- 2-3 air bikes or assault bikes ($700-$1,200 each)
- 2-3 rowers ($800-$1,200 each)
- Ski erg or VersaClimber ($1,000-$2,500)
- Sled with turf strip ($800-$2,000 plus installation)
- Battle ropes and anchor system ($200-$500)
Technology Integration:
- Velocity-based training system ($3,000-$8,000)
- Sound system with motivational audio ($500-$2,000)
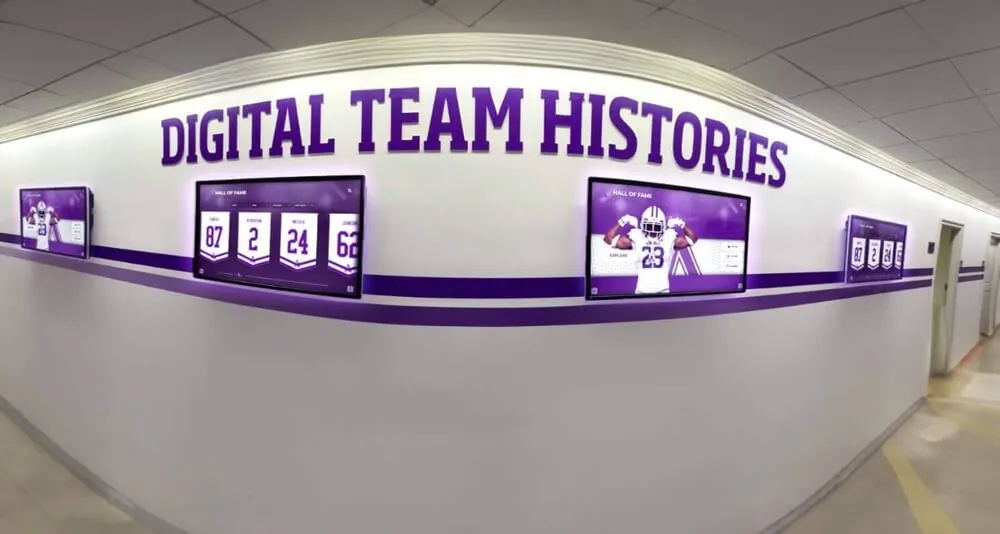
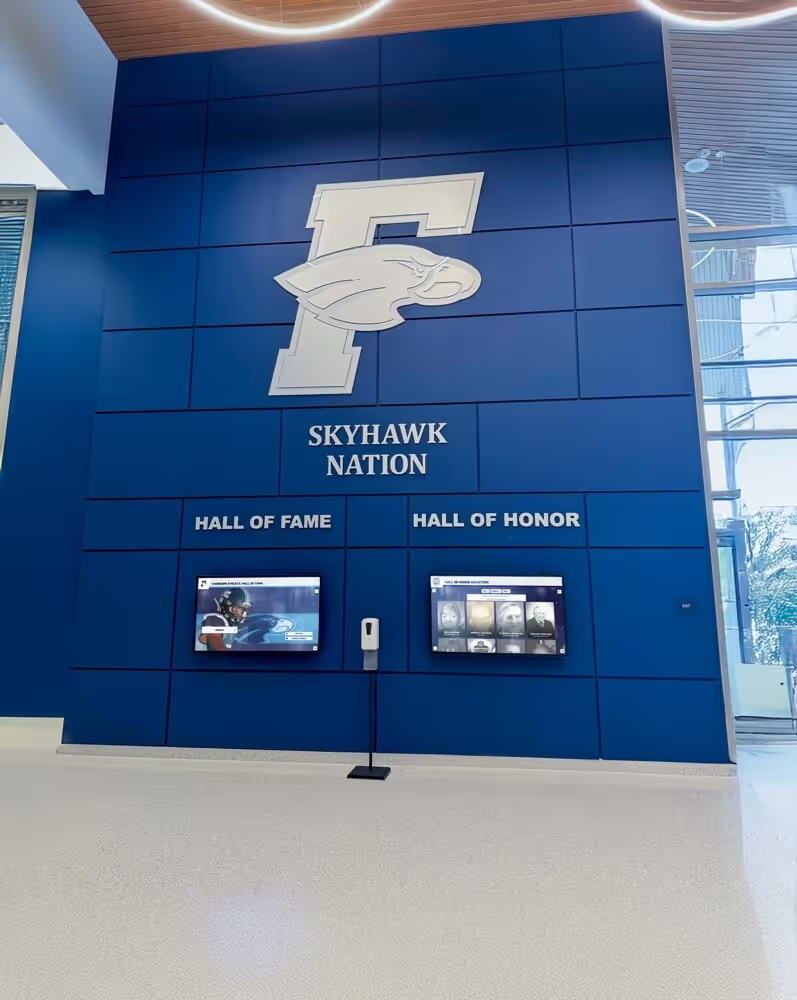
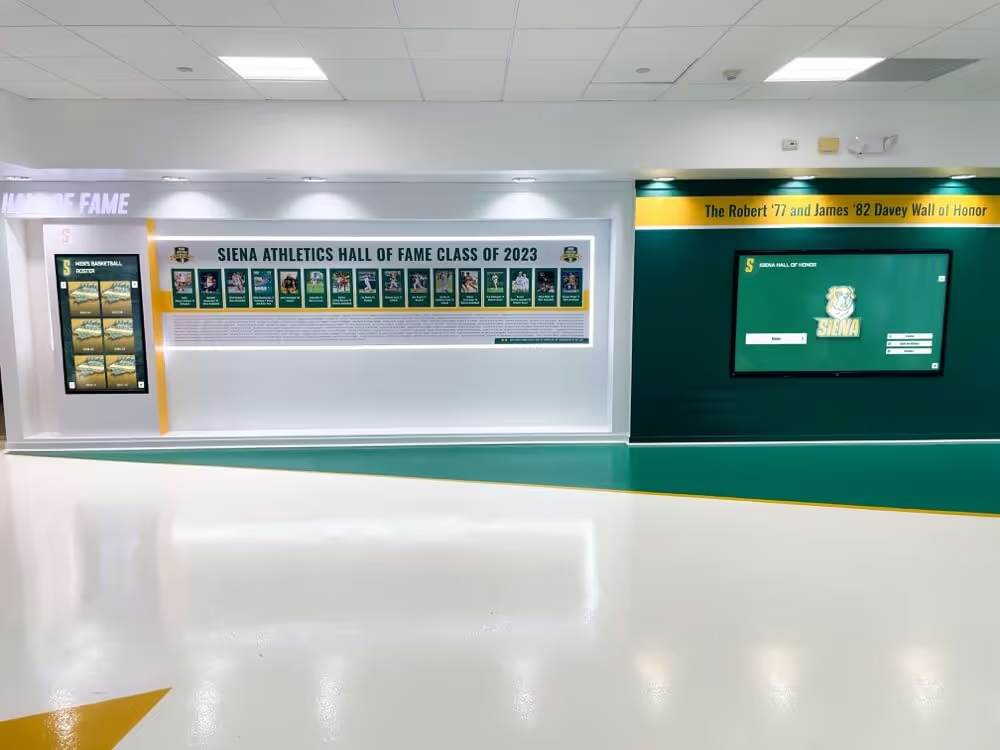
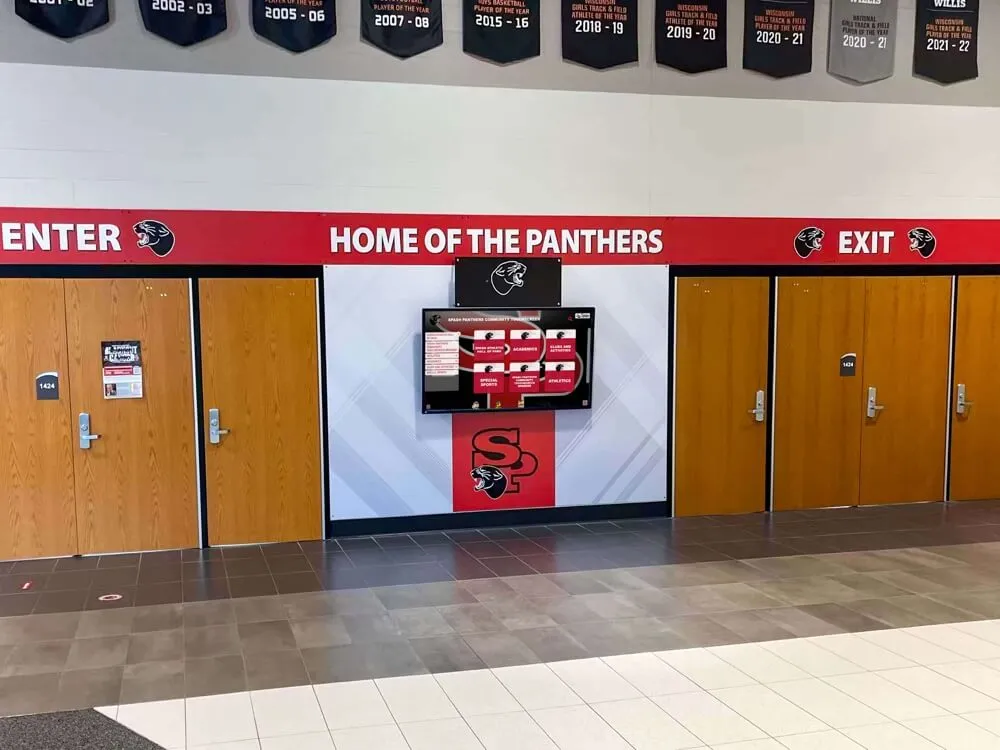
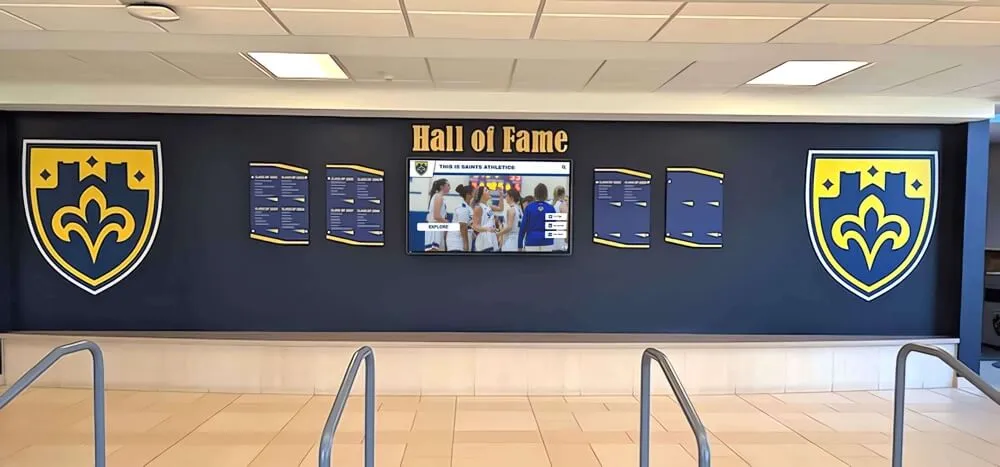
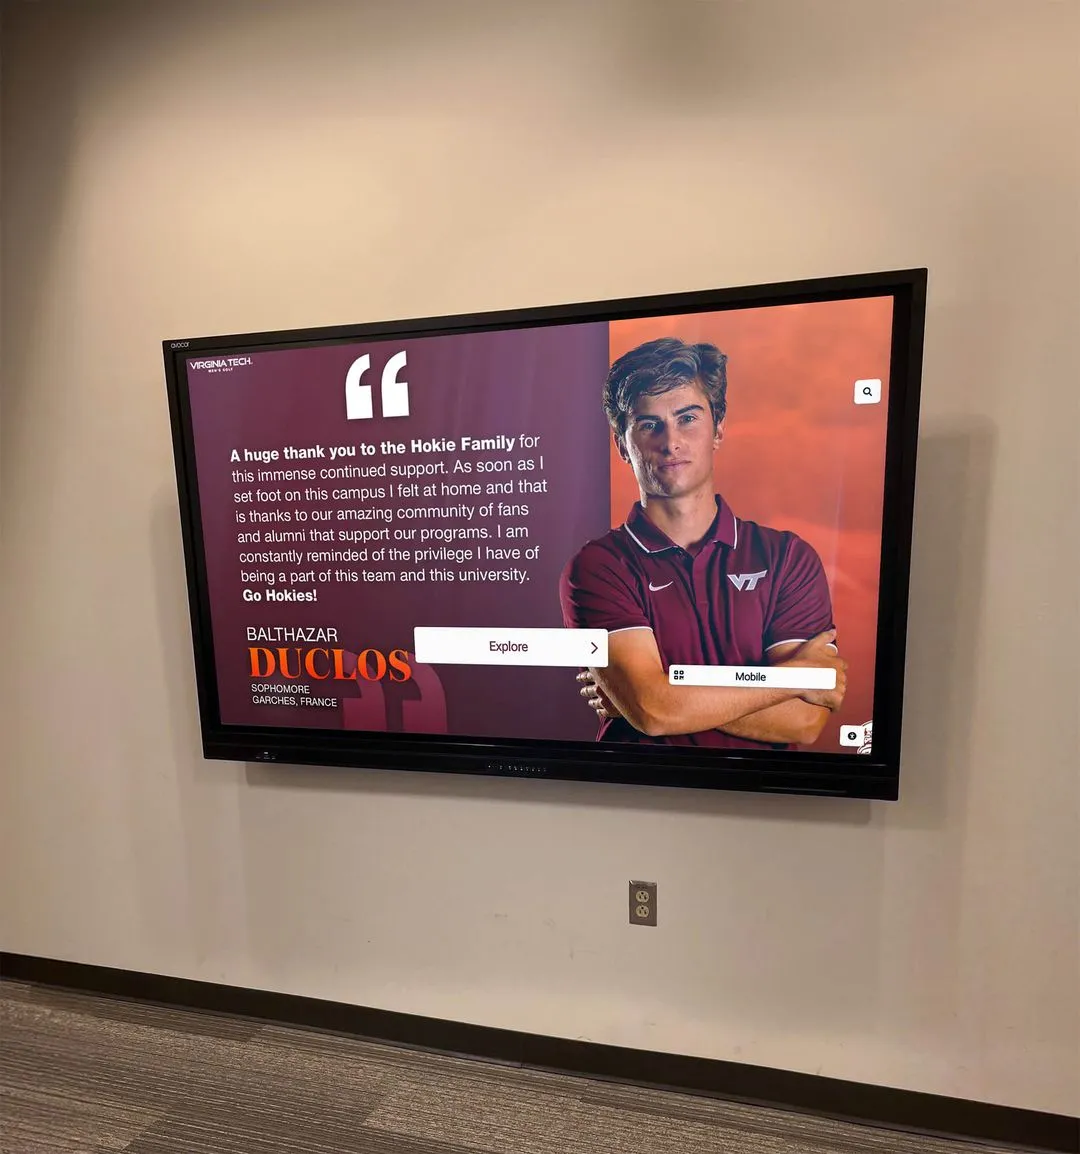
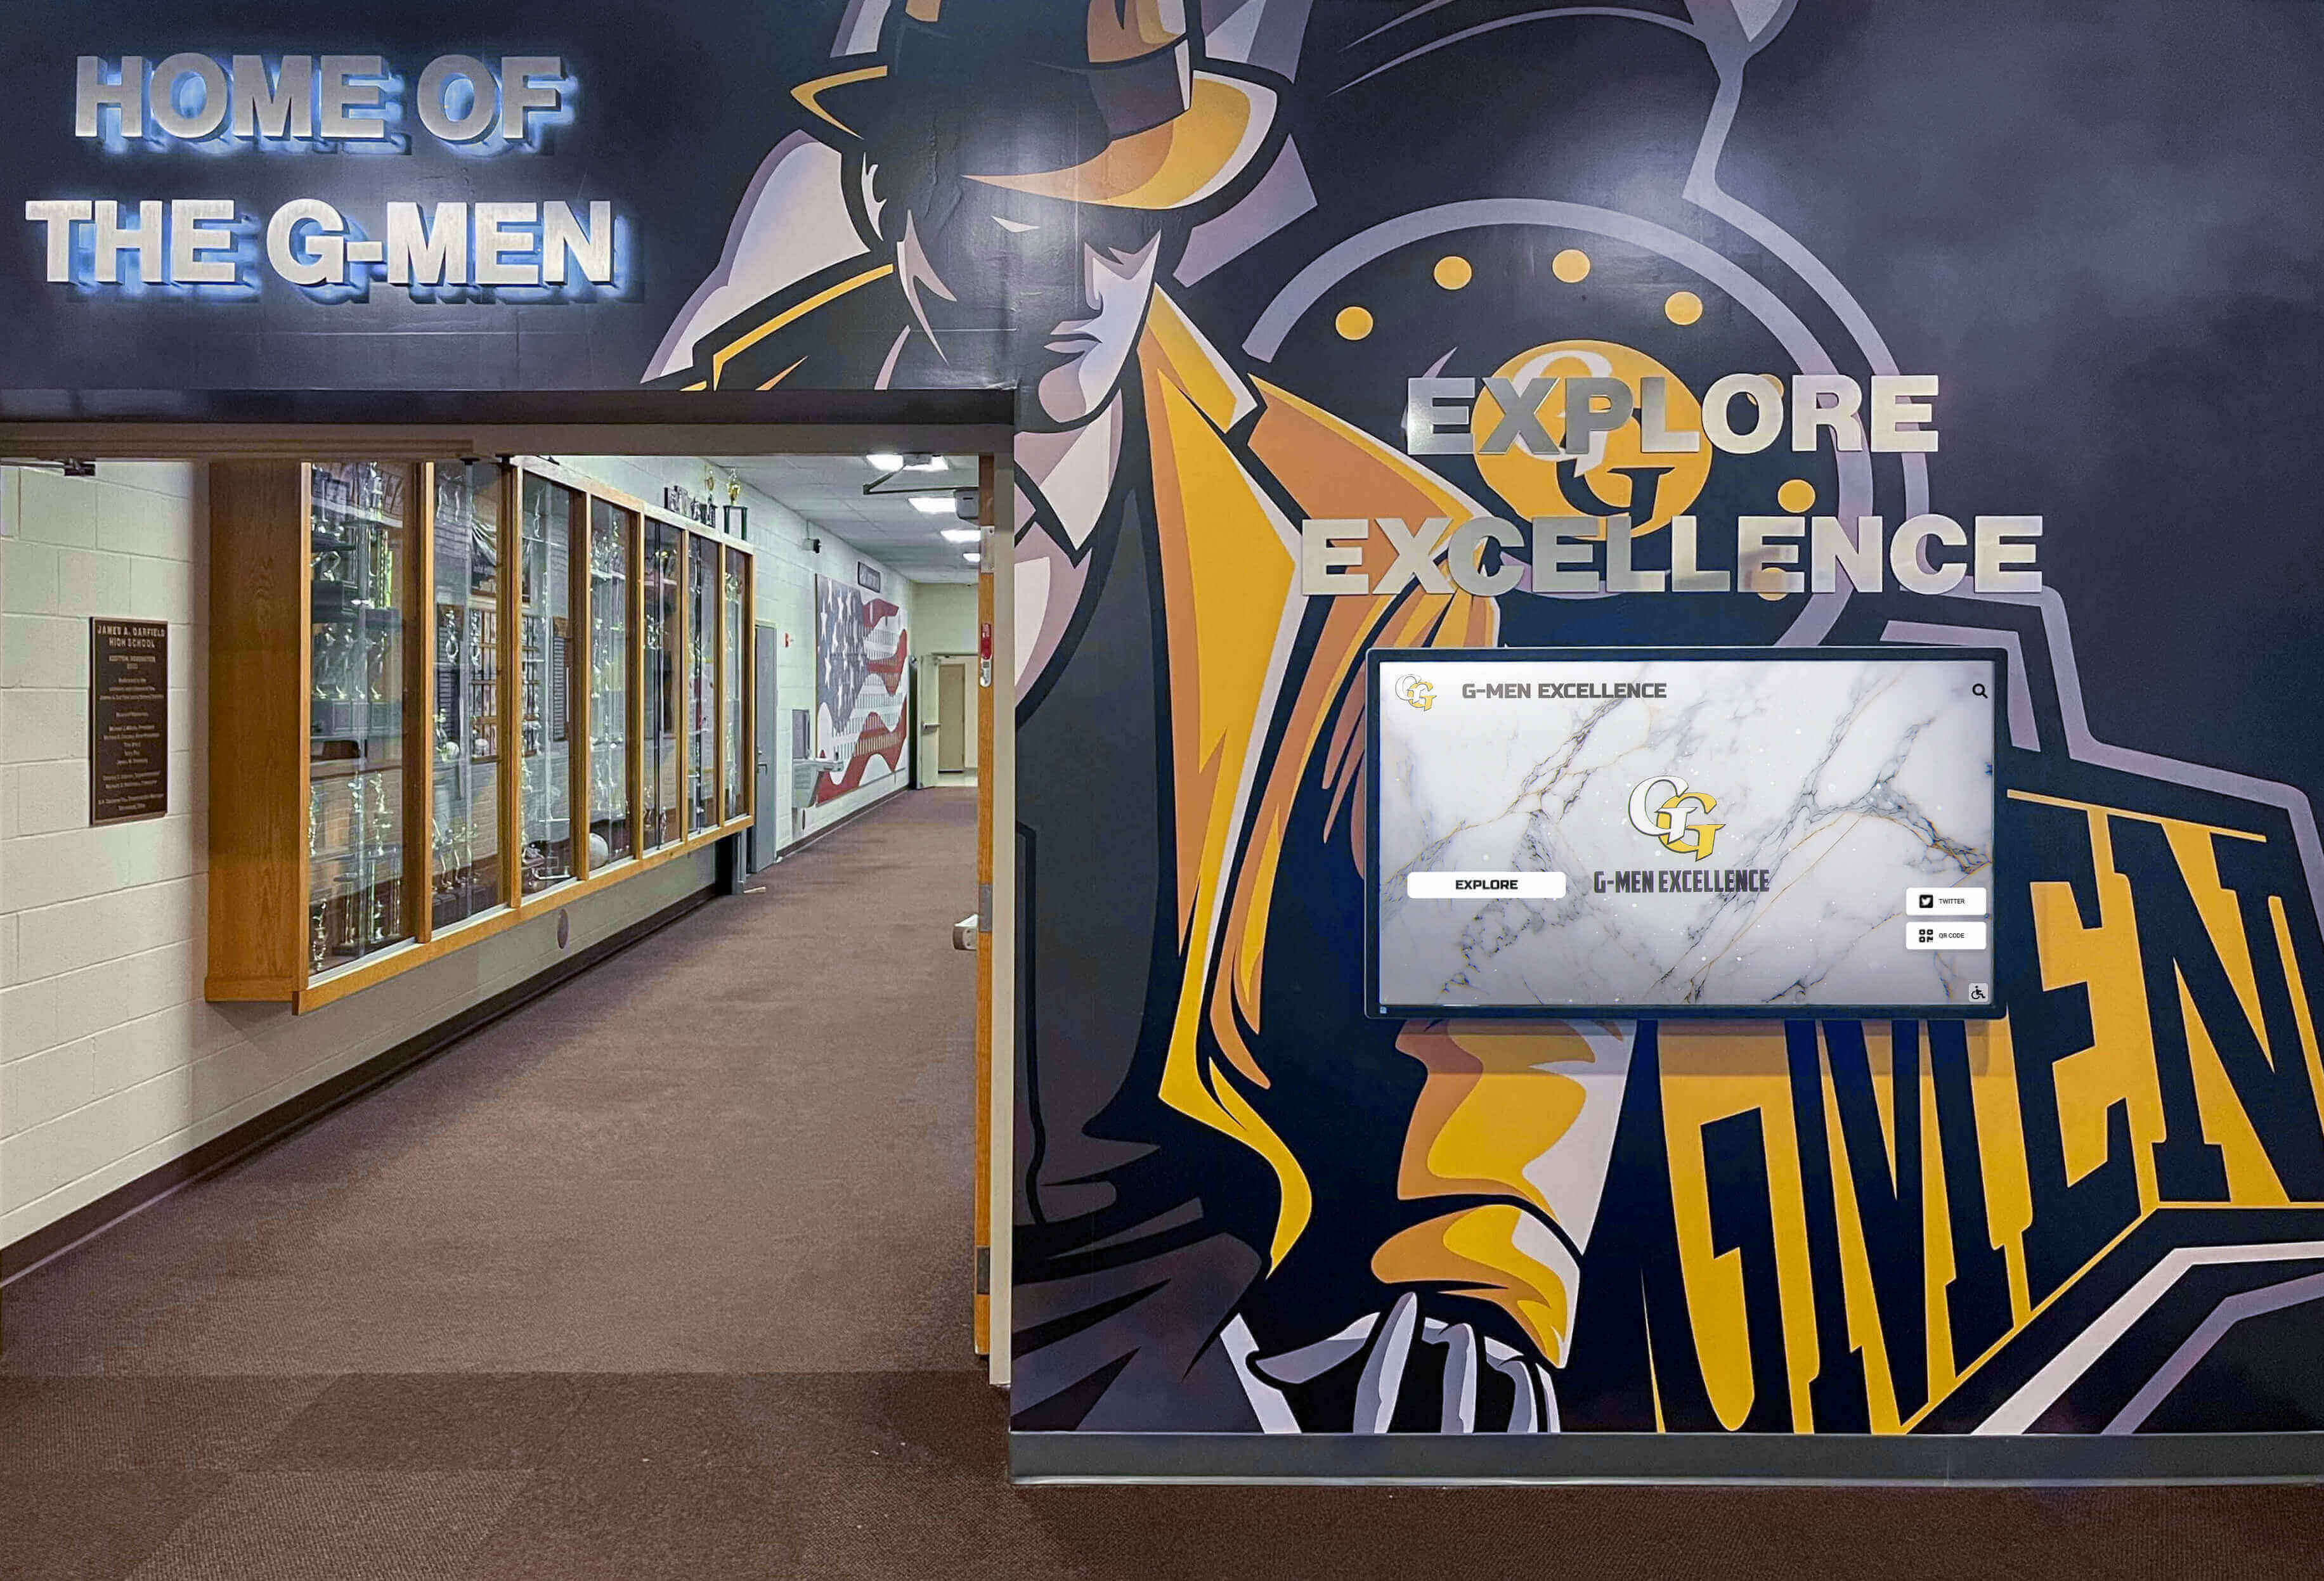
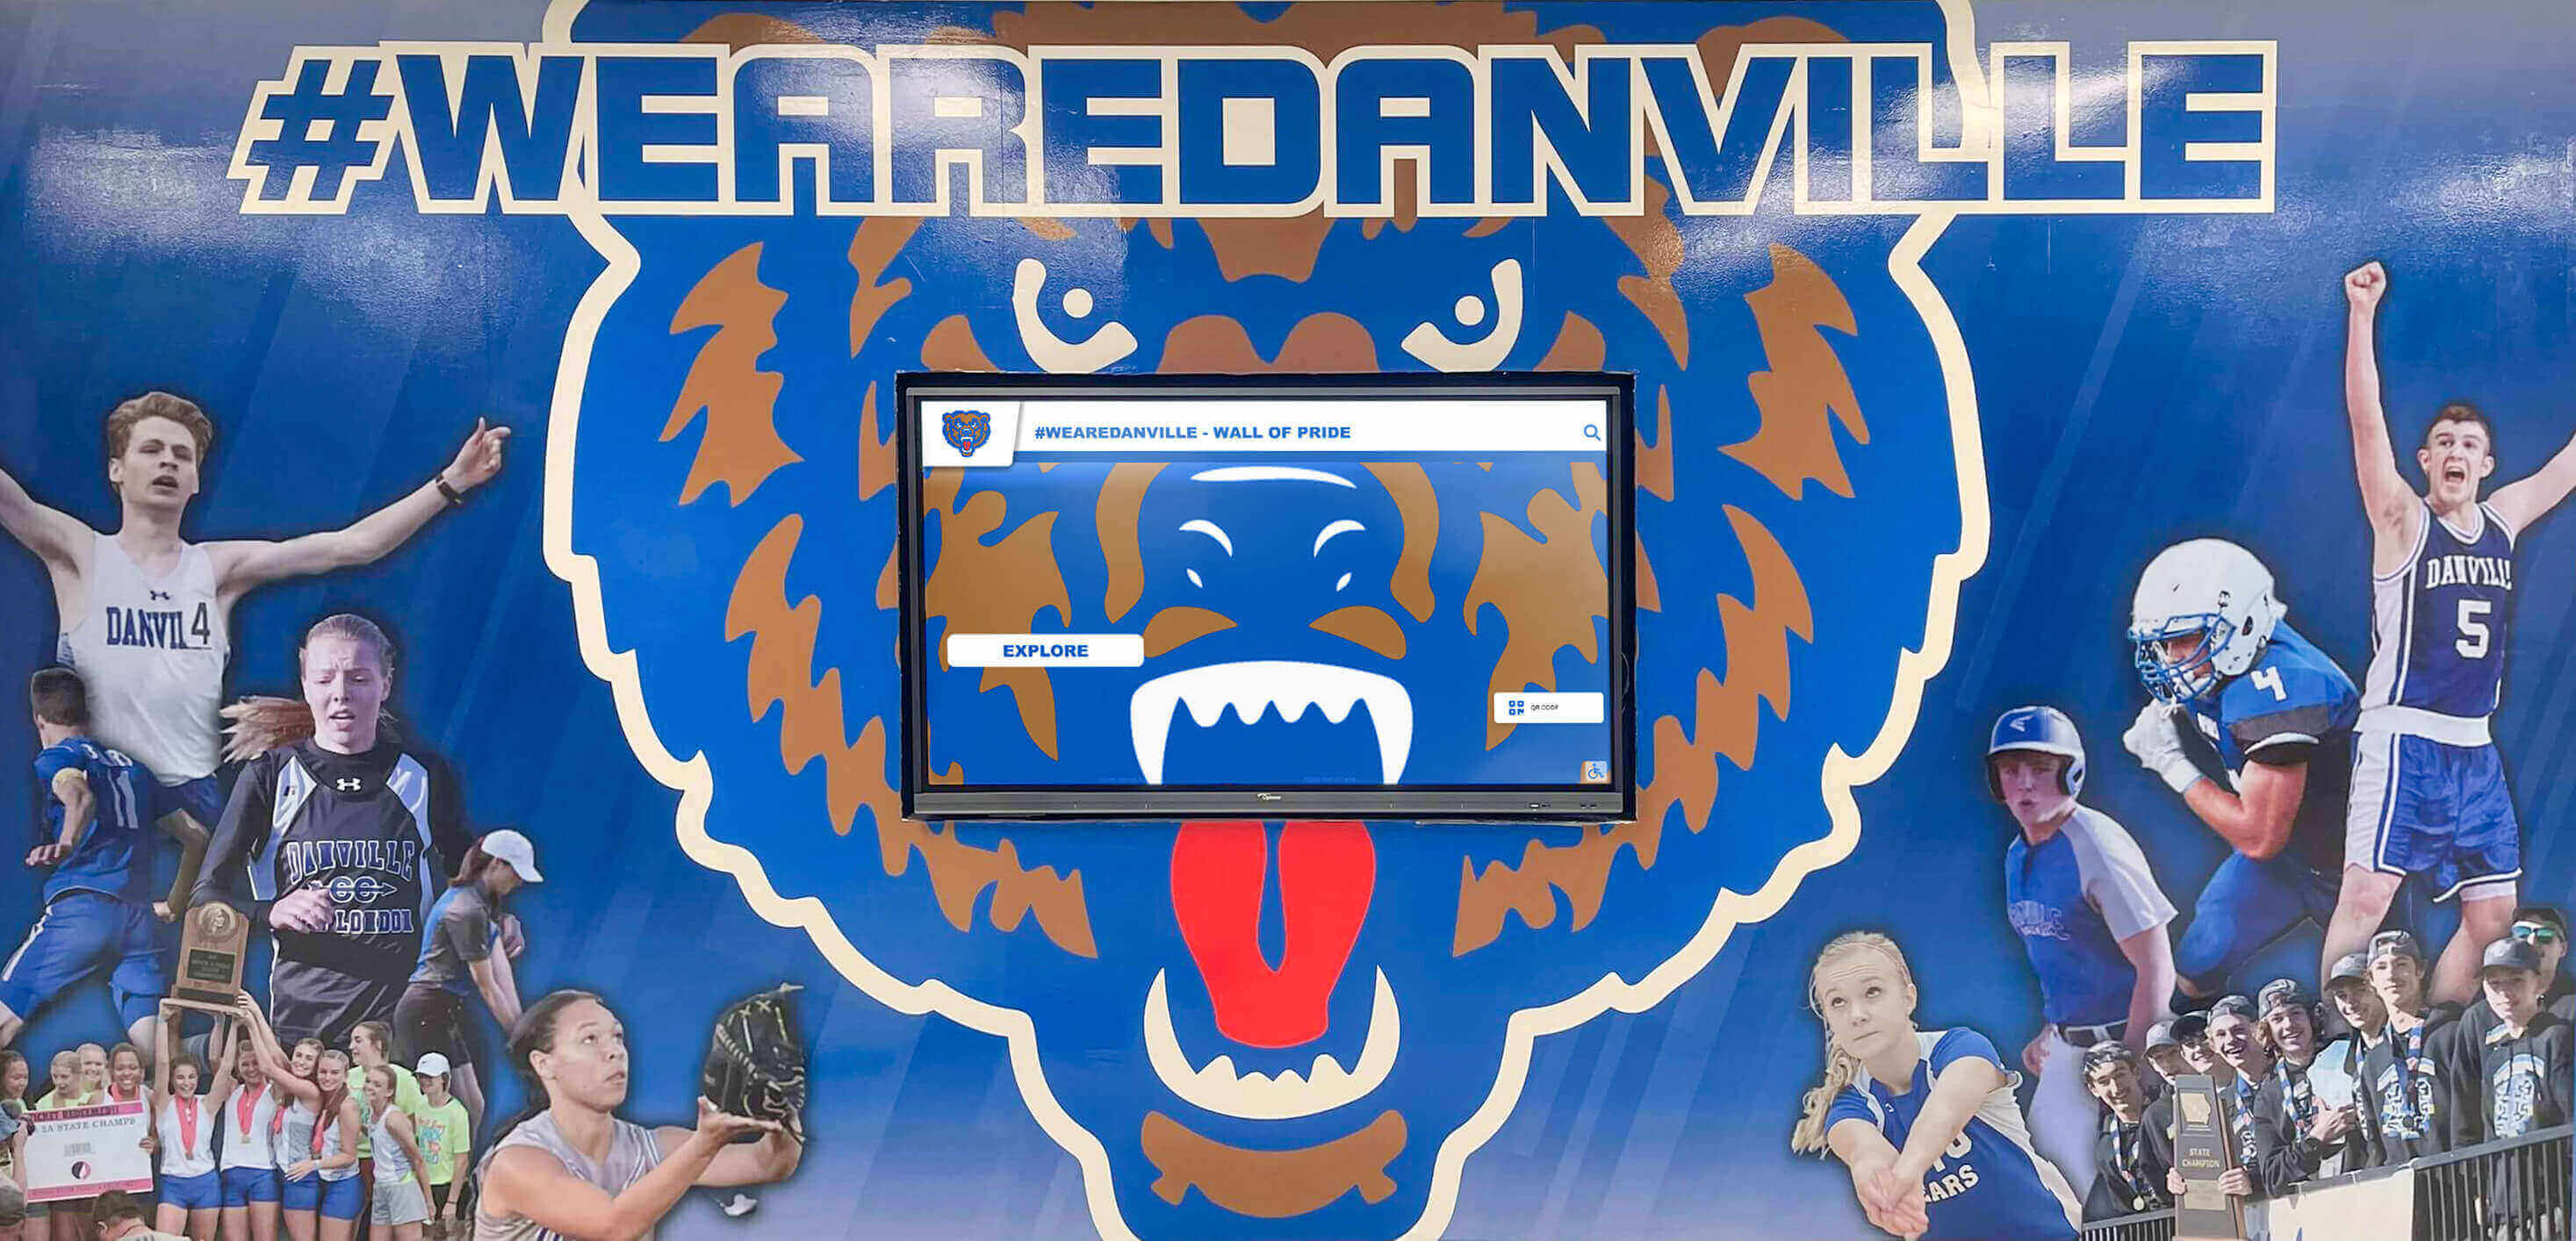
- Digital recognition displays showcasing strength records and athlete achievements
- Workout timing/interval displays ($300-$1,500)
This equipment level accommodates 35-50 concurrent users with specialized training options supporting diverse athletic needs.
Large Program Comprehensive Equipment (Budget: $100,000-$200,000+)
Elite high school programs rival small college facilities with comprehensive equipment coverage:
Premium Strength Equipment:
- 8-12 power racks with integrated platforms
- Multiple deadlift-specific platforms
- Competition lifting platforms for Olympic weightlifting
- Extensive dumbbell range to 150+ lbs with multiple sets
- Complete specialty bar collection
- Multi-station power racks with band pegs and storage
Comprehensive Machine Selection:
- Full circuit of selectorized machines covering all major muscle groups
- Plate-loaded machine alternatives for advanced athletes
- Standing calf raise machine
- Hip thrust bench or Glute Drive
- Multiple cable crossover stations
- Belt squat machine
Advanced Conditioning Zone:
- 6-10 cardio stations across multiple modalities
- Dedicated turf area: 15-30 feet long for sled work, agility, and locomotion
- Specialized conditioning equipment (jacobs ladders, StairMasters)
- Comprehensive plyometric box sets and agility equipment
Technology and Testing:
- Force plate systems for jump testing and asymmetry assessment
- Multiple velocity-based training devices
- Video analysis stations with form review capability
- Professional sound and visual systems
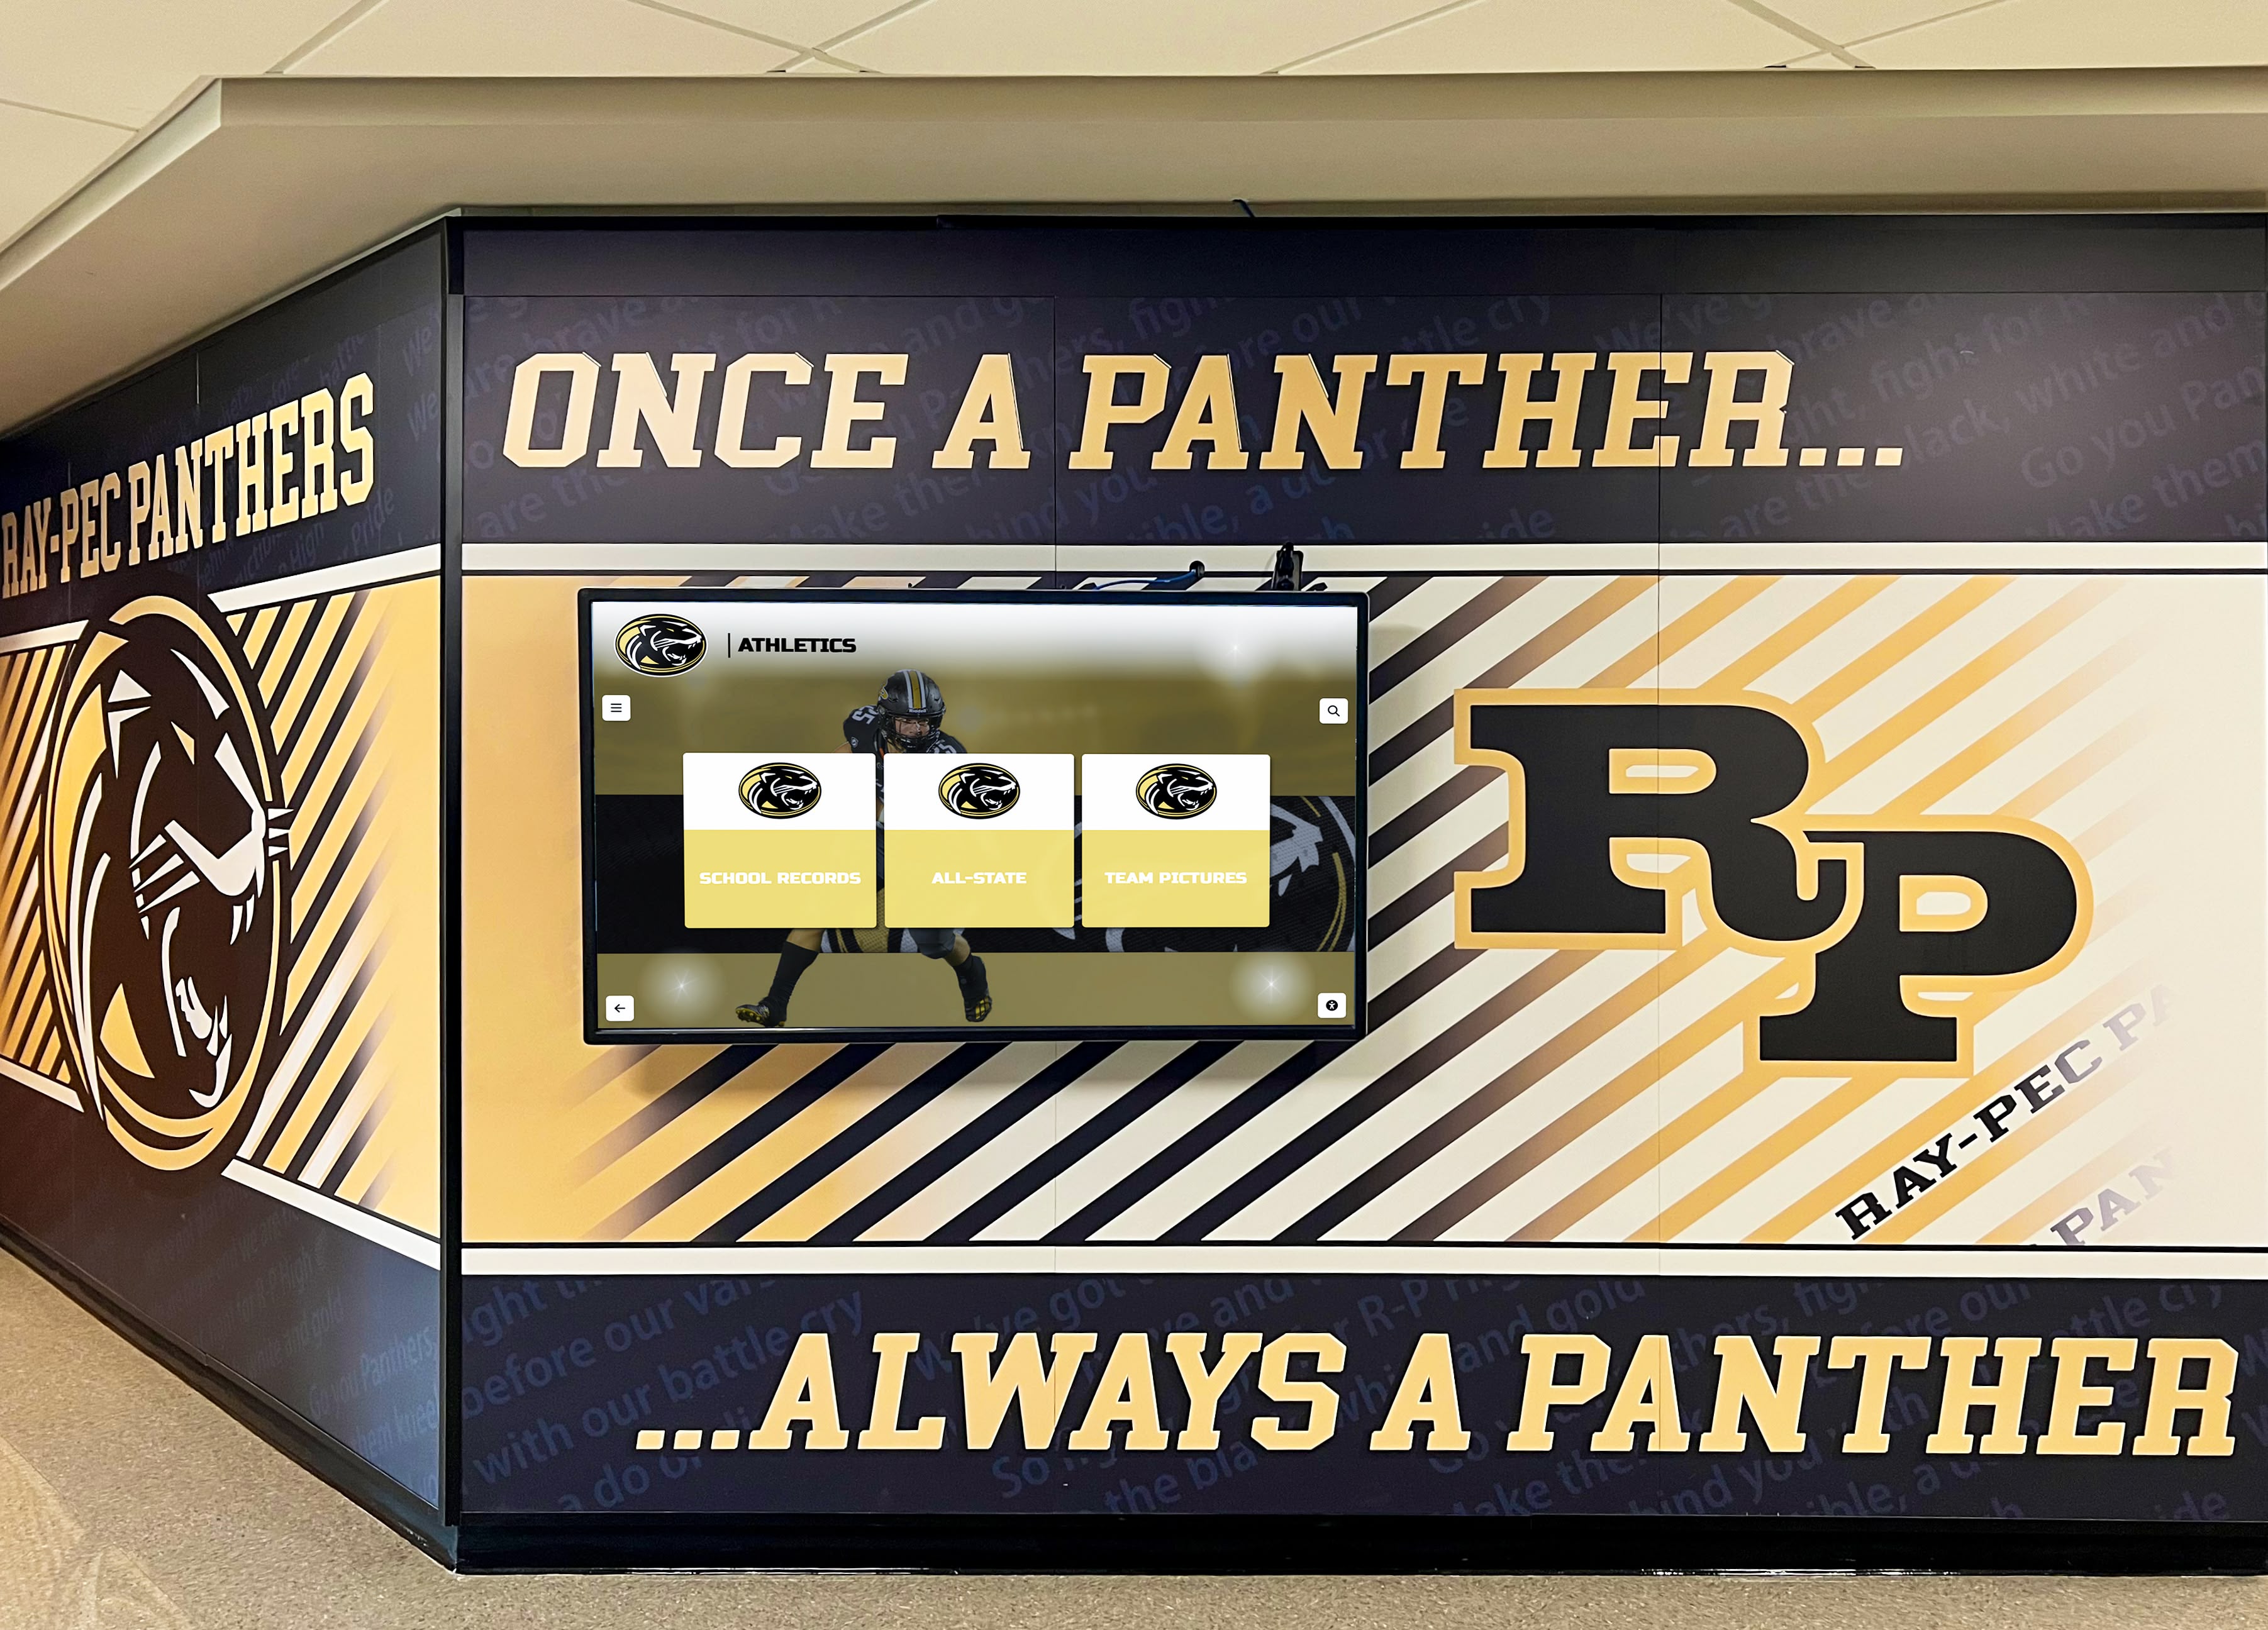
- Interactive digital displays for workout programming, leaderboards, and athlete recognition
This level serves 60-80+ simultaneous users with minimal equipment wait times and specialized options for advanced training techniques.
Weight Room Layout Design Strategies
Strategic layout planning maximizes capacity, promotes traffic flow, enhances safety, and creates distinct training zones accommodating multiple groups simultaneously.
Foundational Layout Principles
Zone-Based Organization: Separate your weight room into distinct functional areas reducing traffic conflicts and enabling concurrent use by different groups:
- Free weight zone: Olympic lifting platforms, power racks, bench press stations
- Machine area: Selectorized and plate-loaded machines arranged in logical circuits
- Dumbbell area: Dumbbell racks with surrounding floor space for exercises
- Functional training zone: Open area for bodyweight work, plyometrics, core training
- Conditioning section: Cardio equipment and metabolic conditioning tools
Traffic Flow Considerations: Design pathways between zones wide enough for safe passage with equipment. Main circulation corridors should be 4-6 feet wide minimum. Position high-traffic equipment like dumbbell racks and water fountains with adequate surrounding clearance preventing bottlenecks.
Equipment Spacing Standards:
- Power racks: Minimum 10-12 feet between bars when oriented face-to-face
- Olympic platforms: 8-10 feet from other lifting areas
- Benches: 6-8 feet from adjacent equipment or walls
- Machine stations: 3-4 feet between units
- Treadmills and cardio equipment: 3-4 feet separation with 6+ feet behind for safe dismount
Sightline Management: Position equipment enabling coaching staff to maintain visual supervision across the entire space. Avoid creating blind spots behind large machines where athletes might train unsupervised or injuries could go unnoticed.
Sample Layout: Small Weight Room (1,500 sq ft)
For a rectangular 30’ × 50’ space serving 20-25 concurrent users:
Back Wall (50’ length):
- 3 power racks: 18-foot section with integrated Olympic lifting platforms
- 2 bench press stations: 12-foot section with bar storage
- Wall-mounted pull-up bars: 10-foot section between racks
- Plate storage trees positioned between stations
Side Wall (30’ length):
- 6 machine stations: leg press, lat pulldown, seated row, cable crossover, leg curl/extension, multi-functional trainer
- Arranged along wall with 4-5 feet of working space in front
Center Floor Area:
- Dumbbell rack: 8-10 foot section with 8-12 feet of open floor space in front for dumbbell exercises
- Functional training zone: 12’ × 12’ open area for bodyweight work, plyometrics, core training
- Medicine balls and accessories storage along wall
Front Entry Area:
- Cardio equipment: 2 rowers and 1 air bike near entrance
- First aid station and AED in visible, accessible location
- Digital workout display showing programming and records
- Whiteboard or programming board
This layout maximizes equipment density while maintaining adequate spacing for safe movement and concurrent multi-group training.
Sample Layout: Medium Weight Room (3,000 sq ft)
For a 50’ × 60’ facility accommodating 40-50 concurrent athletes:
Primary Lifting Zone (30’ × 50’ section):
- 6 Olympic lifting platforms and power racks arranged in two rows of three
- 15-20 feet between front-to-back rows enabling safe bar movement
- Platform orientation perpendicular to longest wall maximizing layout efficiency
- Expansive plate storage between platforms
Machine Circuit (20’ × 50’ perimeter):
- 10-12 machine stations arranged along two walls
- Logical exercise sequencing enabling efficient circuit progressions
- Adequate spacing preventing equipment conflicts during high-traffic periods
Functional Training Area (20’ × 30’ section):
- Open floor space with rubber flooring
- Dedicated sled turf strip: 40 feet long
- Plyometric boxes, medicine balls, resistance bands
- TRX or suspension training anchors
- Agility ladder and cone storage
Conditioning Zone (15’ × 25’ section):
- 4-6 cardio machines with proper spacing
- Battle rope stations with anchors
- Additional metabolic conditioning equipment
Support Areas:
- Dumbbell range: 15-foot section with extensive surrounding floor space
- Stretching/recovery area with foam rollers and mobility tools
- Coaching station with visibility across entire facility
- Digital displays showcasing records, athlete achievements, and daily programming
This design enables multiple teams training simultaneously without interference, while coaching staff maintains supervision and programming can be differentiated across zones.
Large Program Layout (5,000+ sq ft)
Elite programs with extensive space create specialized training environments:
Competition Lifting Area: Dedicated Olympic weightlifting section with 4-6 competition-grade platforms, spectator viewing area, and achievement displays showcasing program records and athlete accomplishments.
Power Development Zone: Multiple power racks, specialty bars, and strongman implements for maximal strength training with extensive plate loading capacity.
Auxiliary Strength Area: Comprehensive machine circuit arranged in logical exercise progressions enabling efficient training sessions.
Speed and Power Section: Dedicated turf area 50-60 feet long for sled work, sprint mechanics, and acceleration development. Plyometric stations and jump training equipment.
Conditioning Lab: Extensive cardio equipment selection, metabolic conditioning tools, and recovery stations with modern technology integration.
Testing and Analysis Area: Force plates, velocity-based training systems, video analysis stations, and assessment equipment for athlete monitoring and program individualization.
This comprehensive approach creates destination training facilities recruiting athletes and supporting professional-level program delivery.
Safety Protocols and Risk Management
Weight room safety extends beyond equipment placement to comprehensive policies, supervision strategies, and emergency preparedness.
Supervision Requirements
Qualified supervision mandatory: Weight rooms should never operate unsupervised. Staff present must possess appropriate certifications—strength and conditioning specialist credentials (CSCS, SCCC), coaching certifications, or equivalent training and experience.
Supervision ratios: Maintain 1 qualified supervisor per 20-30 athletes for general training. More advanced techniques (Olympic lifting, max effort attempts) require enhanced supervision ratios of 1:15 or better. New athlete orientation periods need even closer supervision ensuring proper technique development.
Clear sight lines: Design layouts preventing blind spots. All training areas must be visible from primary coaching positions. Large facilities may require multiple supervisors positioned strategically across the space.
Emergency response planning: Establish and practice emergency protocols. All staff must know AED and first aid kit locations, emergency contact procedures, and evacuation routes. Conduct emergency drills quarterly integrating weight room scenarios.
Equipment Safety Standards
Regular inspection schedules: Implement weekly walk-through inspections checking for:
- Frayed cables or damaged upholstery on machines
- Loose bolts or unstable equipment
- Floor mat shifting or separation
- Damaged barbells or bent bars
- Cracked weight plates or broken collars
- Non-functioning locks on selectorized machines
Maintenance protocols: Schedule professional equipment maintenance annually for machines. Immediately remove damaged equipment from service. Maintain equipment maintenance logs documenting inspections and repairs.
Proper equipment use signage: Post clear instructions on specialized equipment. Include proper setup, form cues, and safety warnings. Make technique videos available via QR codes or digital display systems throughout the facility.
Collars mandatory: Require spring collars or locking collars on all barbell exercises. Establish and enforce zero-tolerance policies for lifting without secured collars.
Access Control and Rules
Establish comprehensive facility rules:
- Proper athletic footwear required (no sandals, boots, or bare feet)
- No jewelry during lifting
- Supervision requirements for new athletes
- Spotter requirements for specific exercises
- Equipment return and organization expectations
- Noise level and music policies
- Prohibited exercises without proper instruction
Access management: Control who can use the weight room and when. Many schools implement:
- ID card access systems tracking facility usage
- Designated training times for different teams and groups
- Supervised open hours versus team-only practice periods
- Guest policies for visiting athletes or community members
- Seasonal access adjustments based on sport demands
Progressive skill development: Don’t allow beginners immediate access to all equipment. Implement orientation programs teaching proper techniques for fundamental exercises before progressing to advanced movements. Consider tier systems where athletes demonstrate competency before accessing complex equipment.
Flooring, Lighting, and Environmental Systems
Beyond equipment and layout, fundamental infrastructure elements dramatically impact safety, functionality, and user experience.
Weight Room Flooring Options
Rubber flooring (most common choice):
- Rolled rubber: 1/4" to 3/4" thickness, installed in large sheets minimizing seams
- Rubber tiles: Interlocking or glue-down, 2’ × 2’ or similar dimensions, easier to replace damaged sections
- Cost: $2-$8 per square foot installed depending on thickness and quality
- Advantages: Excellent impact absorption, noise reduction, durability, easy maintenance
- Considerations: Thicker options (1/2" or 3/4") recommended for heavy Olympic lifting areas
Lifting platforms:
- Competition platforms: 8’ × 8’ with embedded deadlift blocks and Olympic lifting surface
- DIY platform construction: 3/4" plywood base with rubber mats creating safer landing areas
- Strategic placement: Position platforms where dropped bars won’t damage walls or equipment
- Quantity needed: One platform per 10-15 athletes performing Olympic lifts regularly
Specialty flooring zones:
- Turf sections: 30-60 feet long for sled pushing and functional movement
- Cushioned areas: Extra-thick rubber near plyometric boxes and jump training zones
- Machine areas: Standard 1/4" rubber adequate for selectorized equipment sections
Installation considerations: Ensure concrete substrate is level and dry. Address moisture issues before flooring installation. Acclimate rubber flooring to room temperature 48 hours before installation. Hire professional installers for large projects ensuring proper adhesive application and seam management.
Lighting Design
Intensity requirements: Weight rooms need 50-75 foot-candles minimum illumination ensuring athletes can safely see equipment, read weight plates, and maintain proper form. Competition lifting areas benefit from 75-100 foot-candles.
Lighting types:
- LED fixtures: Energy-efficient, long-lasting, minimal heat generation, instant full brightness
- High-bay LED: Ideal for facilities with 12+ foot ceilings
- Avoid fluorescent: Flicker can be problematic, lower quality light, and contains mercury
Strategic placement: Position fixtures to minimize shadows across lifting platforms. Avoid placing lights directly above Olympic lifting platforms where bars travel overhead. Use multiple smaller fixtures rather than few large ones, creating more uniform illumination.
Natural light integration: When possible, incorporate windows providing natural light. Benefits include improved mood, circadian rhythm regulation, and energy savings. However, ensure natural light doesn’t create glare on mirrors or digital displays.
Climate Control
Ventilation requirements: Weight rooms generate significant heat and humidity from athlete exertion. Calculate 20-30 air changes per hour for optimal air quality. Inadequate ventilation creates uncomfortable training environments and accelerates equipment deterioration.
HVAC system specifications:
- Cooling capacity: 1 ton (12,000 BTU) per 400-600 square feet of weight room space
- Temperature targets: 65-70°F optimal for strength training
- Humidity control: Maintain 40-60% relative humidity preventing excessive moisture buildup
- Air distribution: Position vents avoiding direct airflow on lifting platforms causing bar instability
Ceiling fan supplementation: Large-diameter ceiling fans enhance air circulation when ceiling height accommodates installation. Position fans away from Olympic lifting areas where overhead bar paths could create conflicts.
Sound management: Weight rooms generate significant noise from dropped weights, machine clanging, and music. Consider:
- Acoustic ceiling tiles absorbing sound and reducing echo
- Rubber flooring dampening impact noise
- Sound masking systems or carefully managed music creating appropriate atmosphere
- Structural isolation preventing noise transmission to adjacent classrooms
Technology Integration in Modern Weight Rooms
Strategic technology implementation enhances training effectiveness, athlete engagement, and program management.
Performance Tracking Systems
Velocity-based training platforms: Devices measuring bar speed enable auto-regulated training where daily readiness determines workout intensity. Systems like GymAware, PUSH, or Vmaxpro cost $1,000-$8,000 depending on sophistication and number of units needed.
Force plate assessment: Testing vertical jump height, asymmetries, and power output provides objective athlete monitoring data guiding training decisions. Quality systems cost $5,000-$15,000 installed. Best practices involve consistent testing protocols (weekly or biweekly) and longitudinal data tracking showing development trends.
Training management software: Platforms like TeamBuildr, TrainHeroic, or SimpliFaster enable digital workout delivery, athlete tracking, and program management. Coaches create and distribute workouts digitally; athletes log completed work on phones or tablets. Most platforms charge $500-$3,000 annually depending on athlete numbers.
Digital Recognition and Motivation
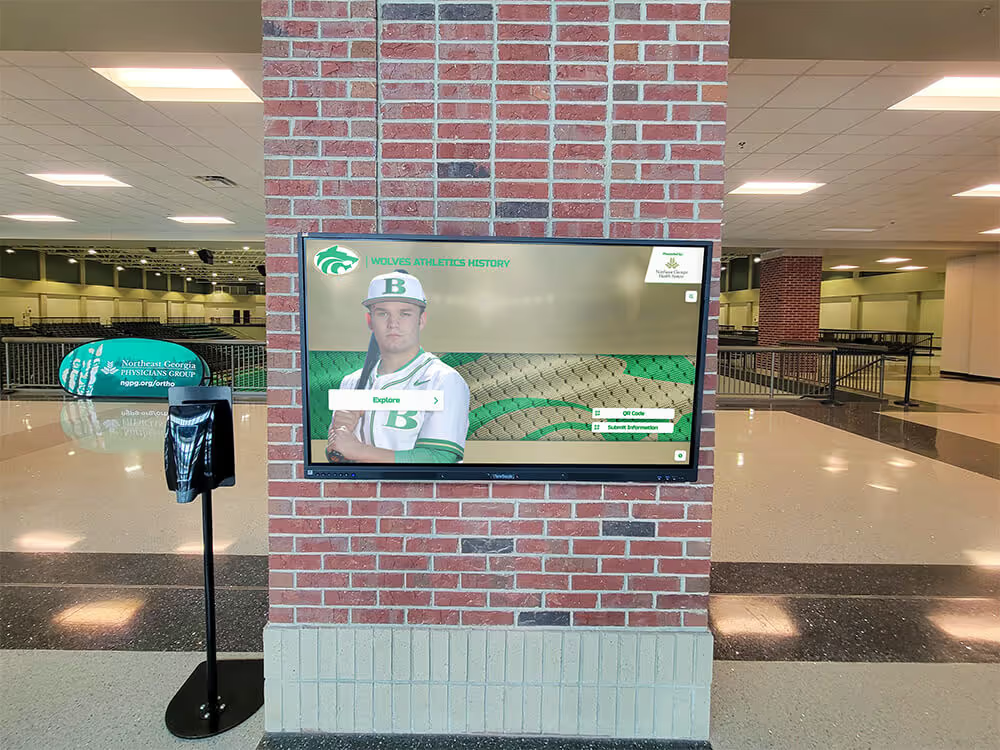
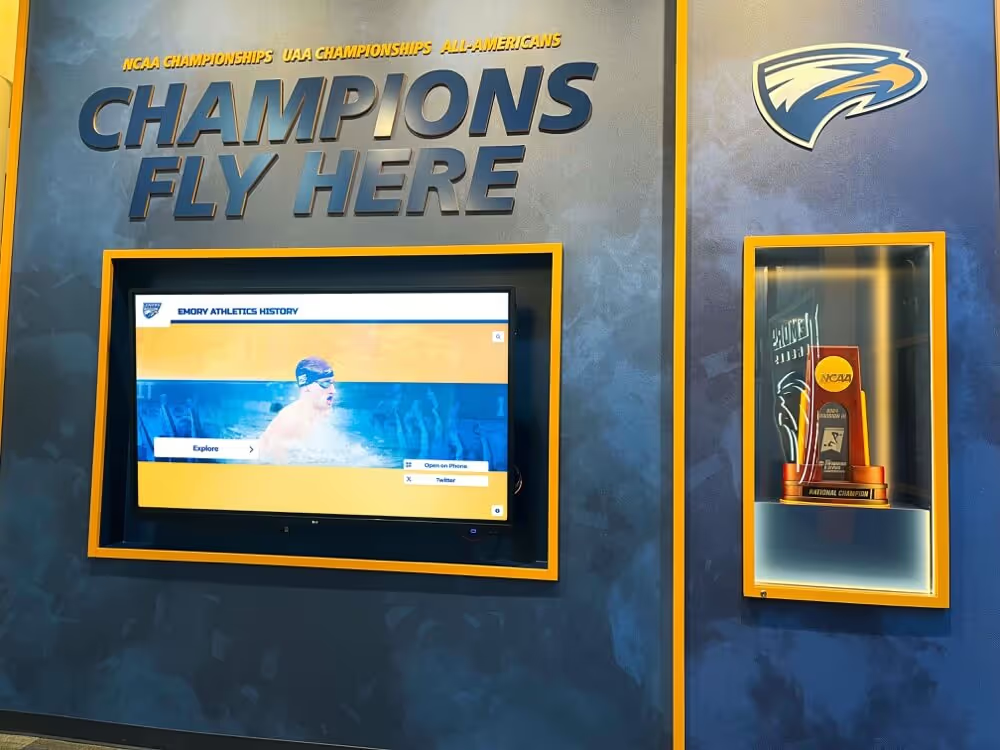
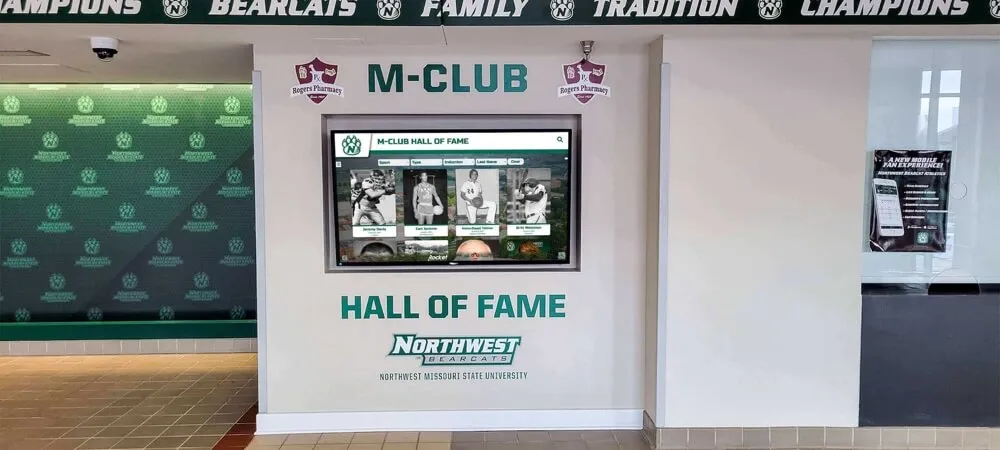
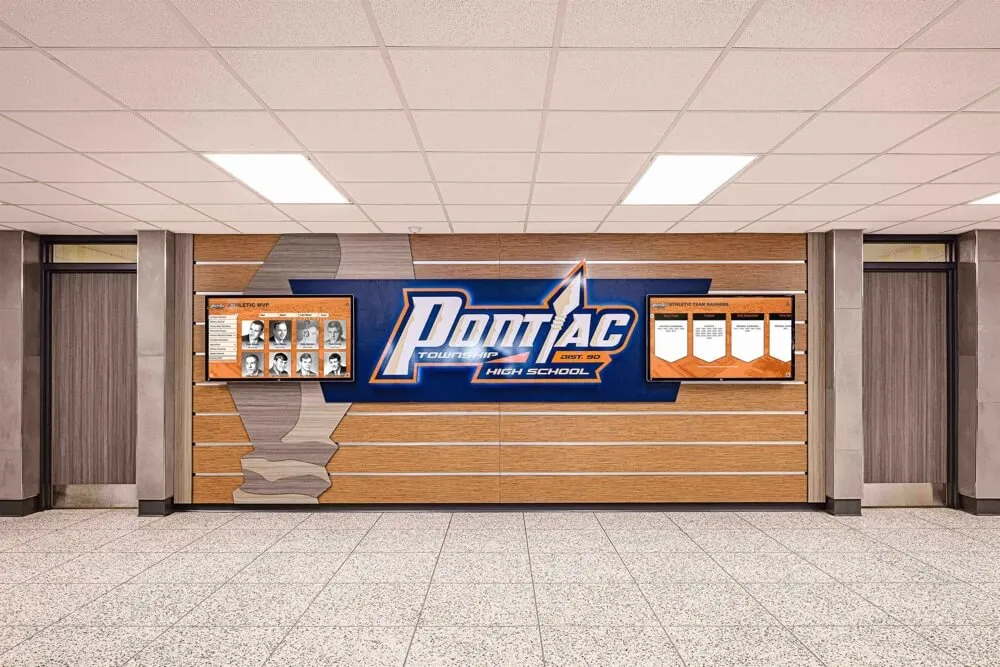
Record boards and leaderboards: Digital displays showcase strength records, creating competitive motivation while celebrating achievements. Cloud-based systems enable remote updates without manual board changes.
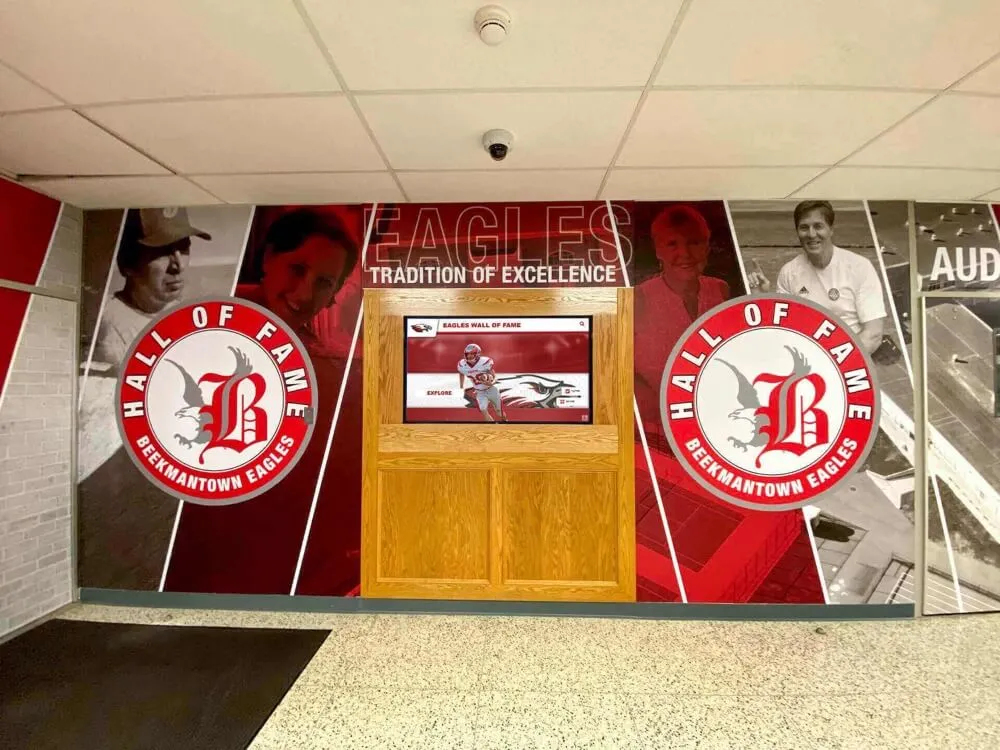
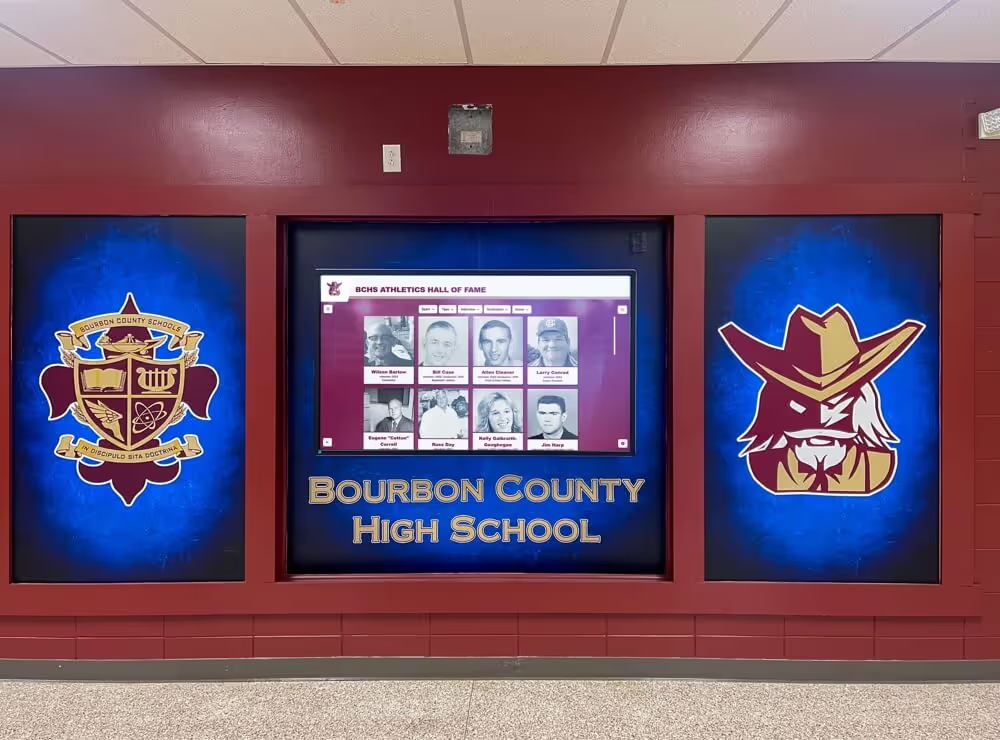
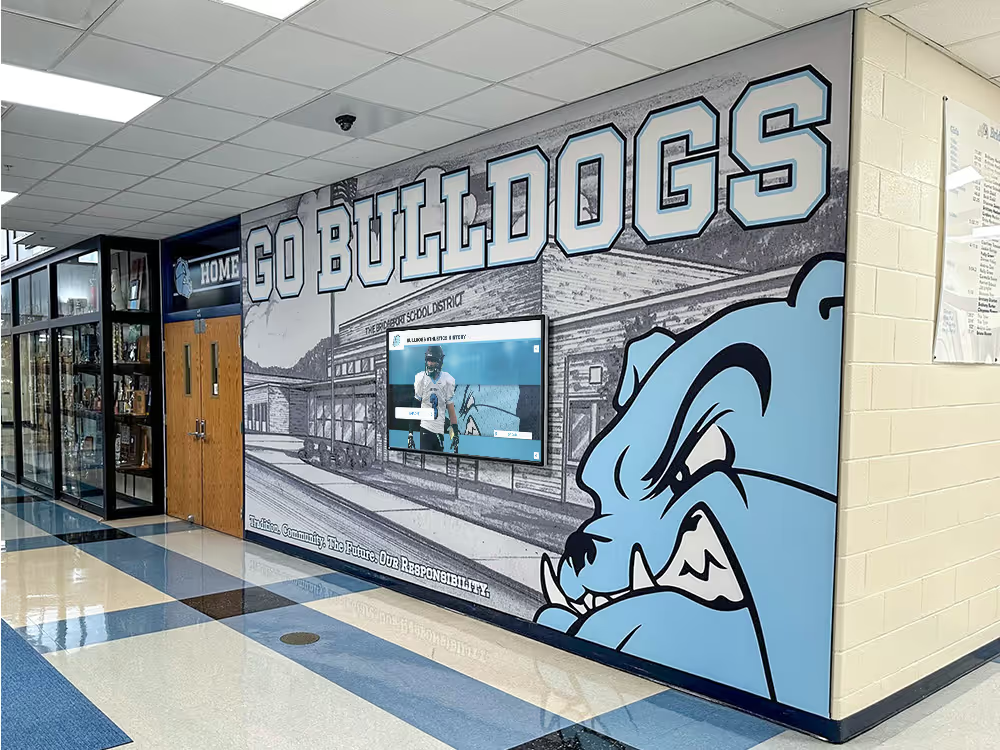
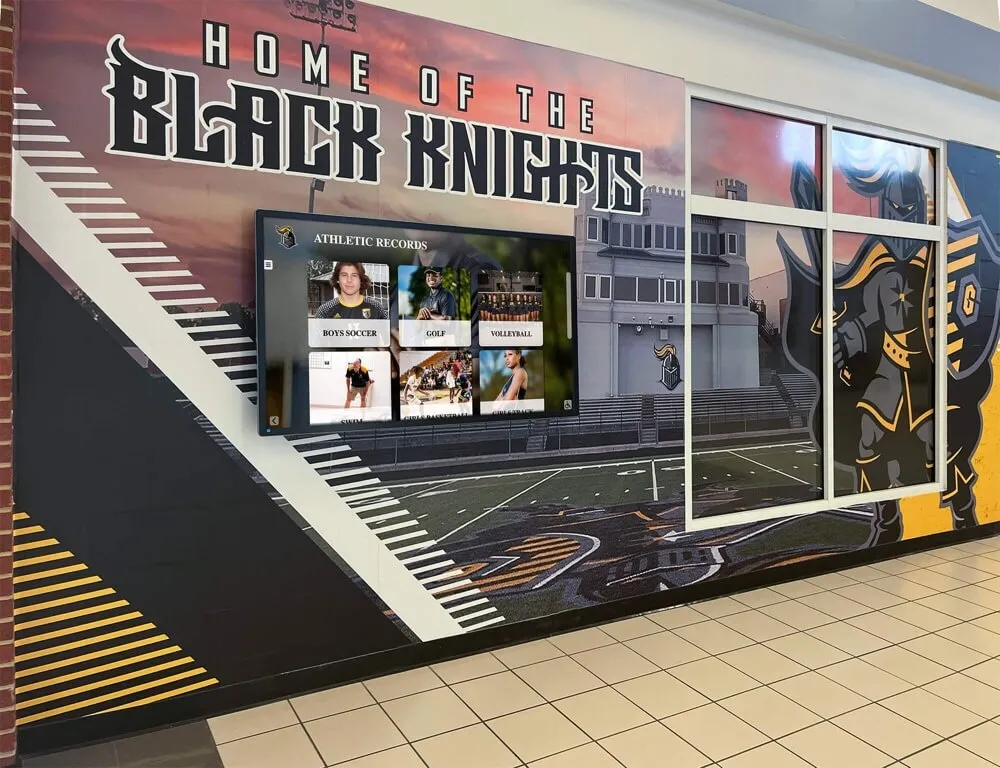
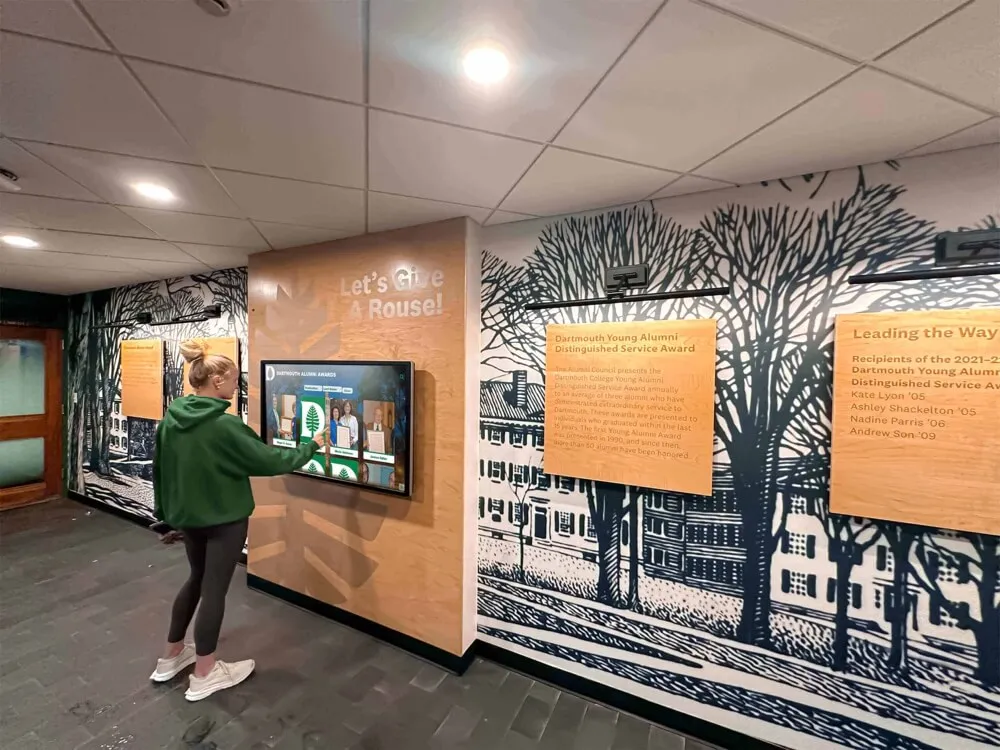
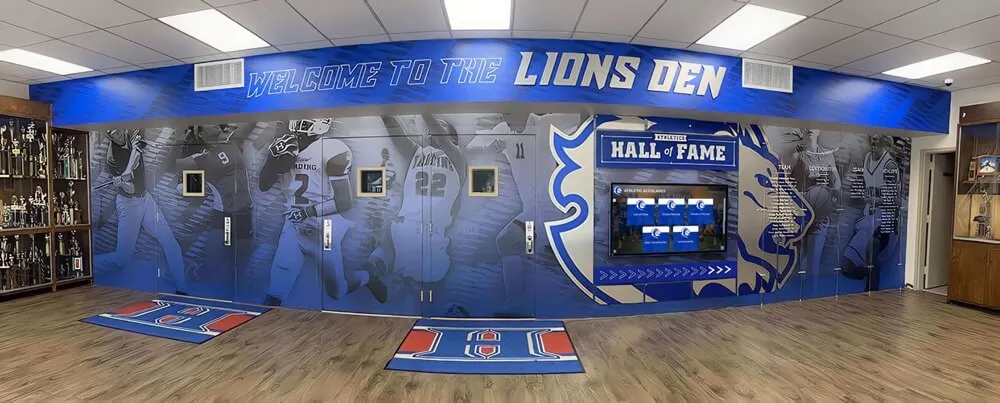
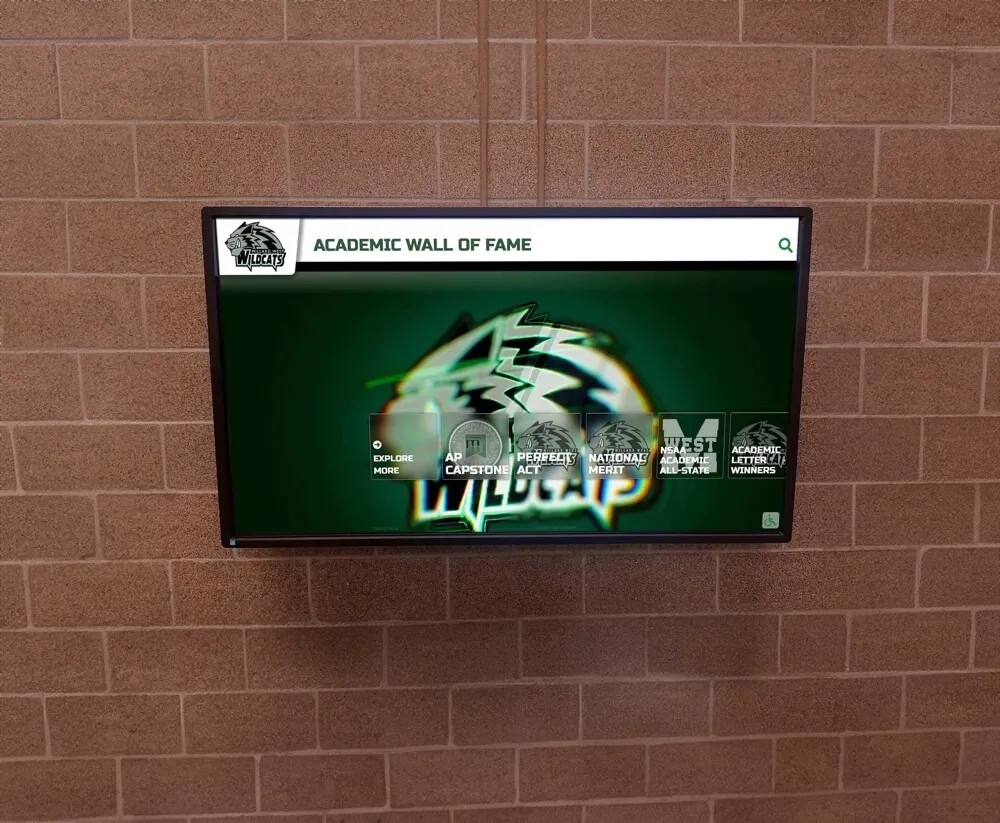
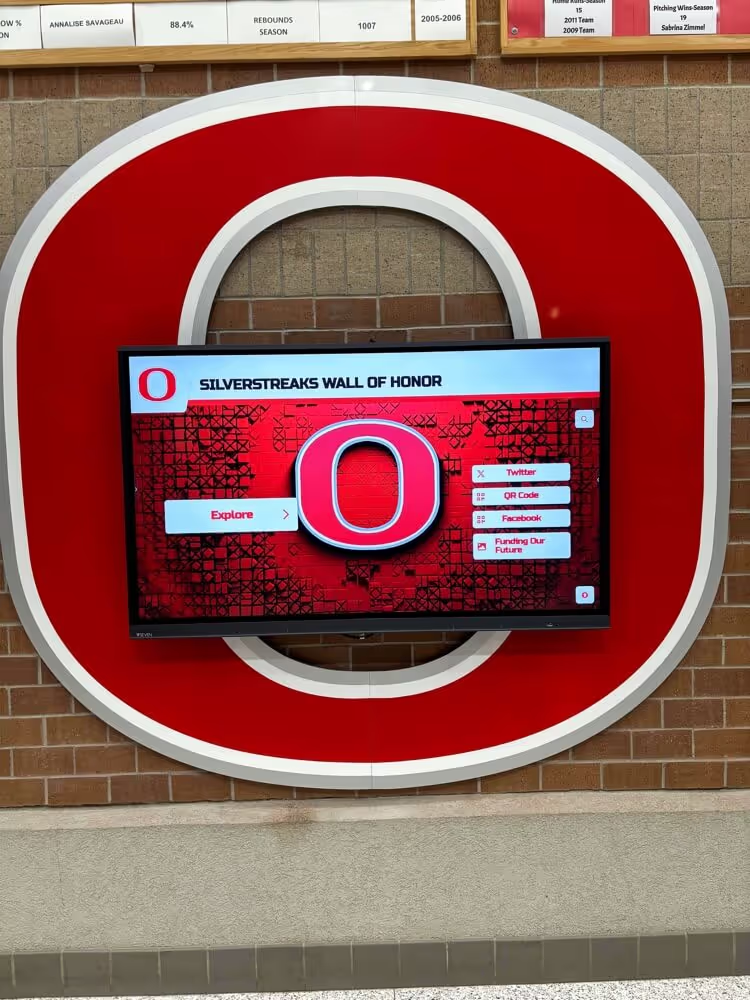
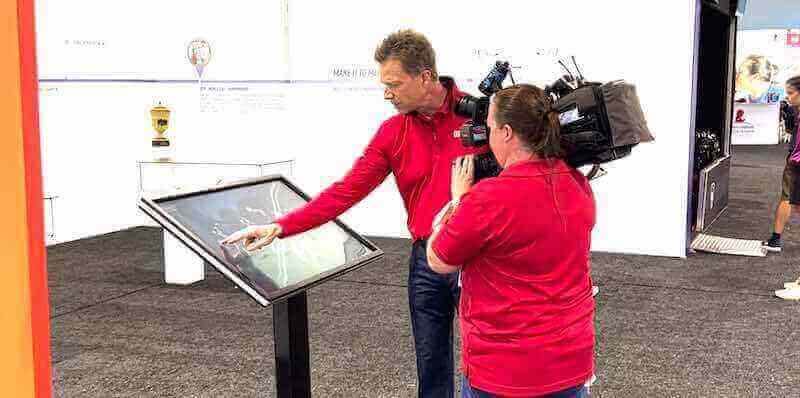
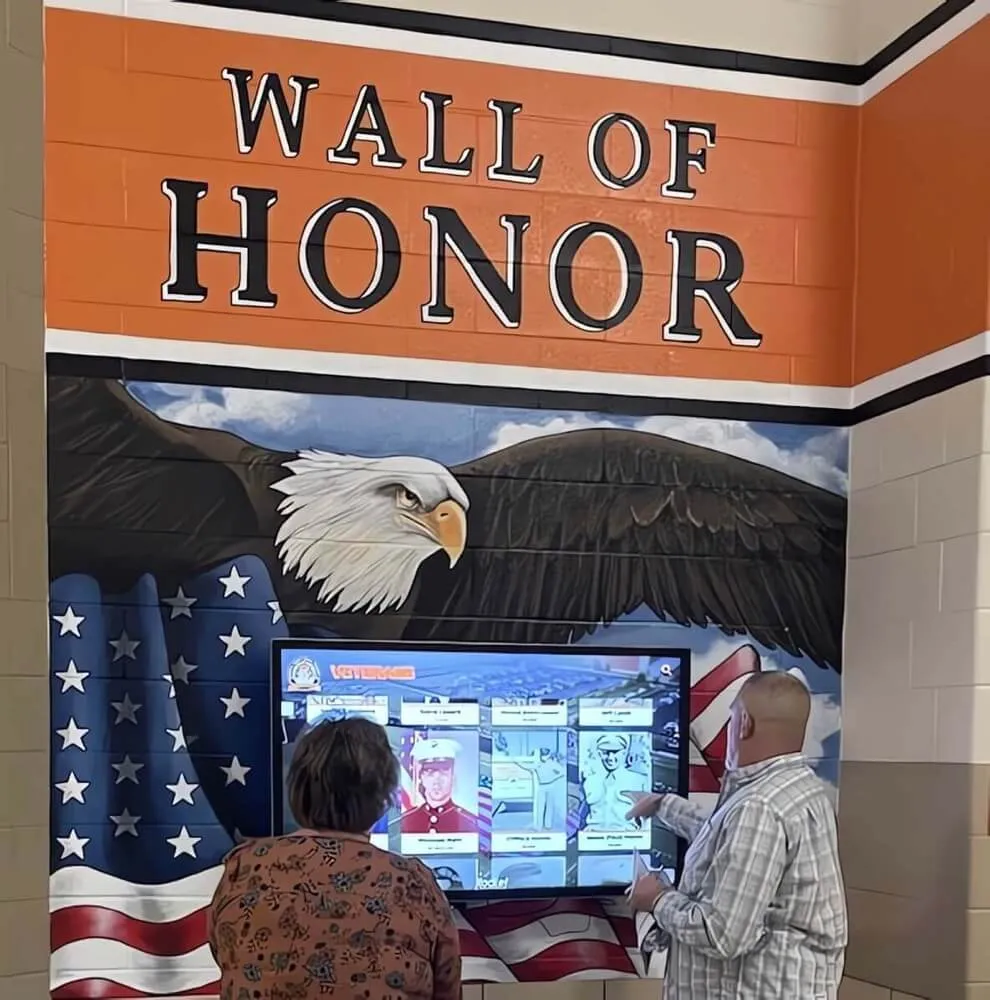
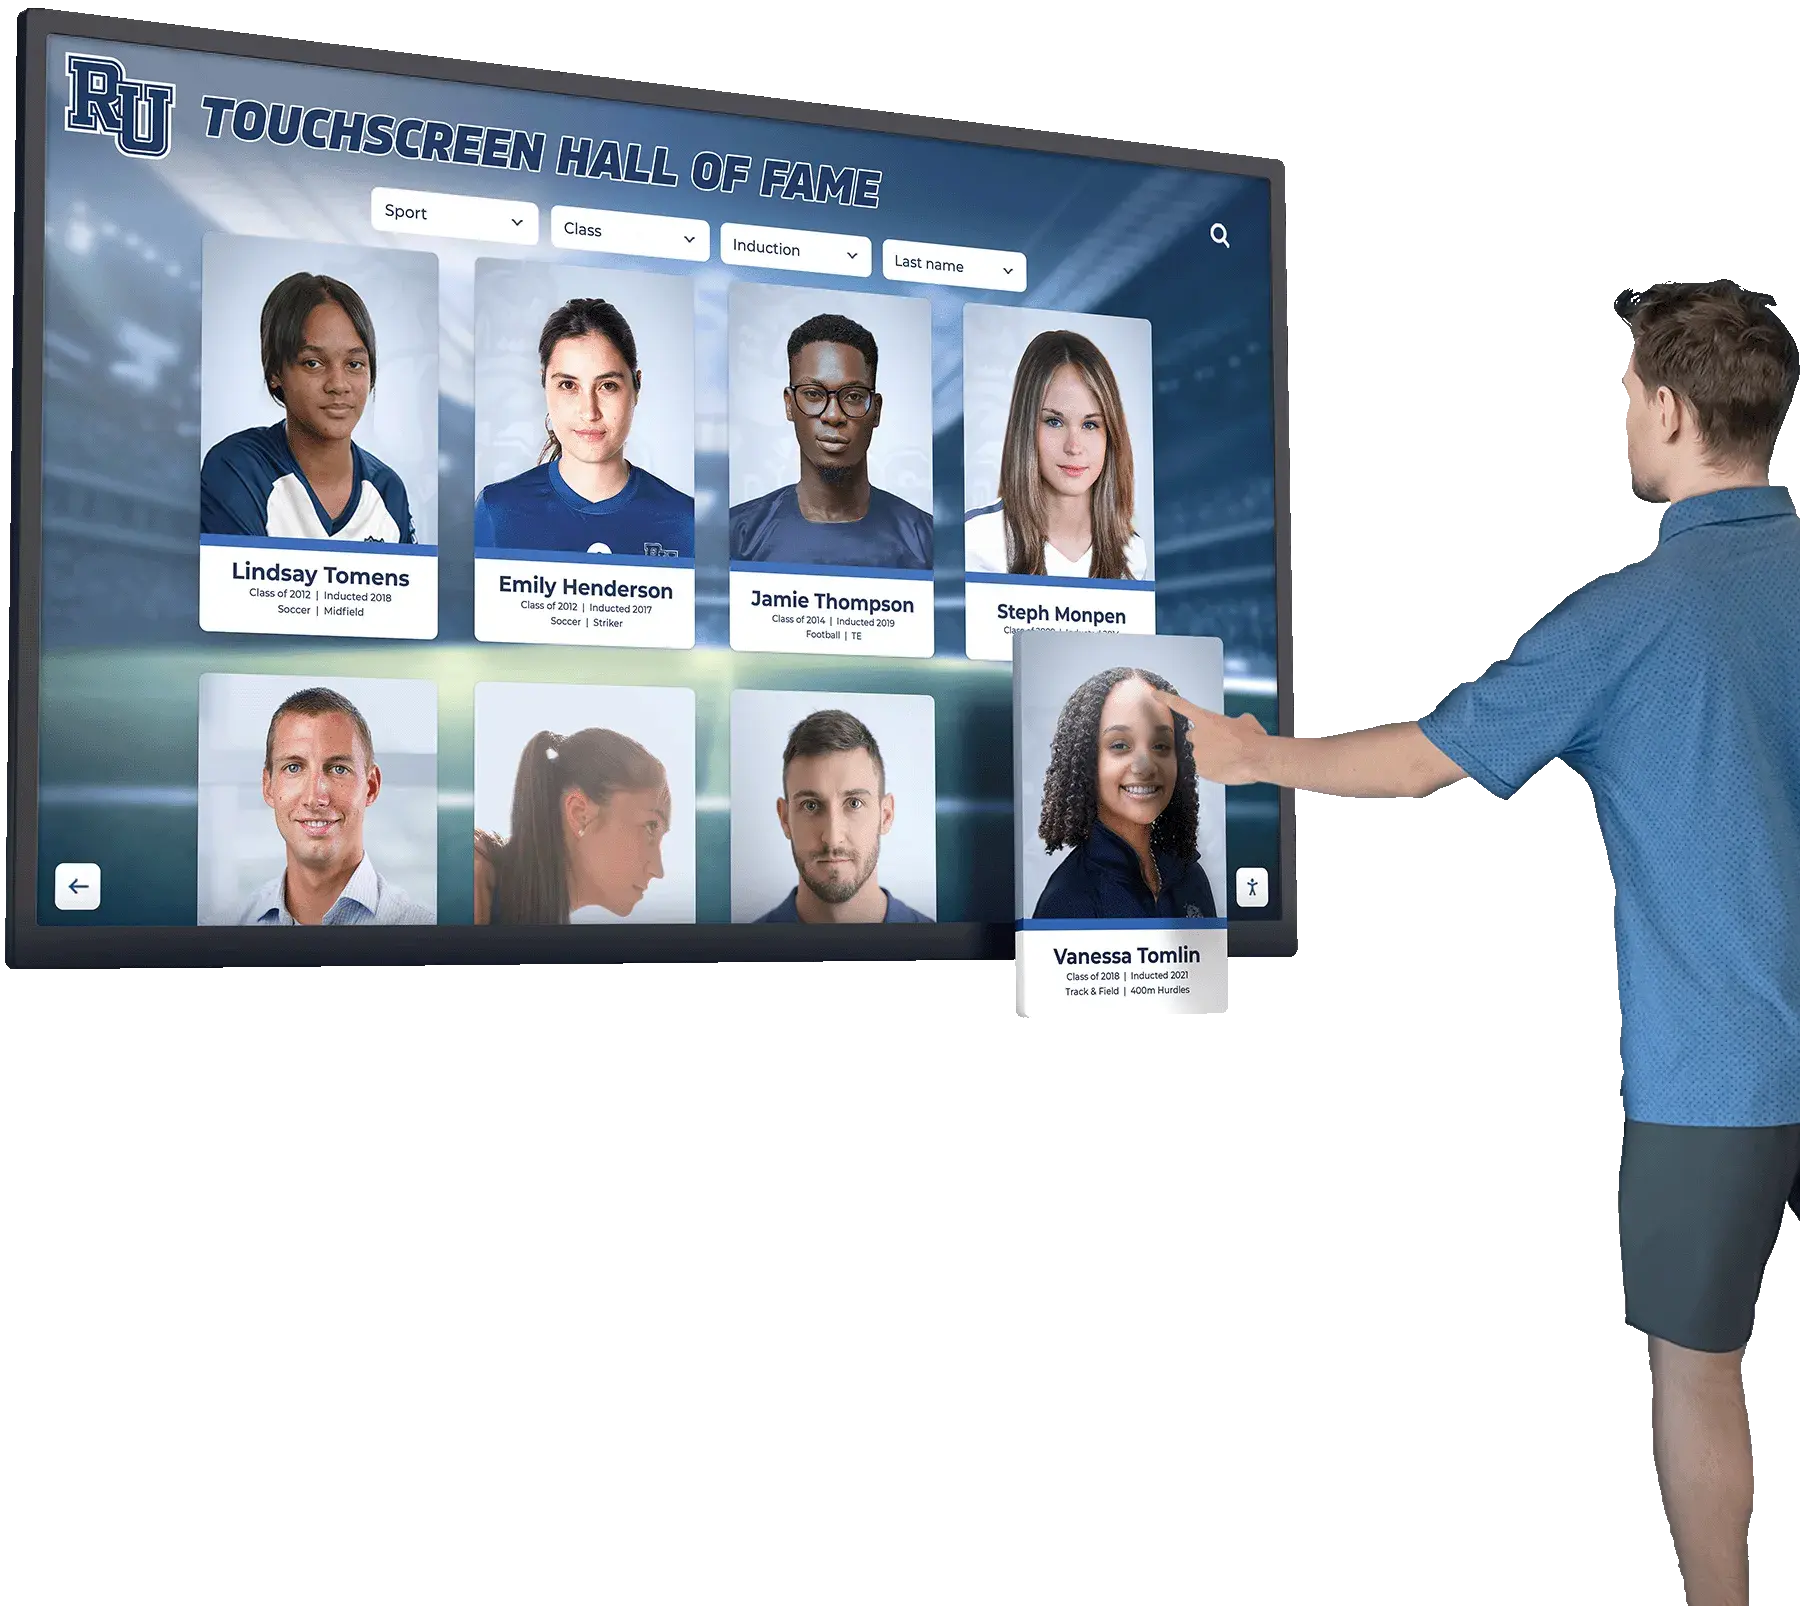
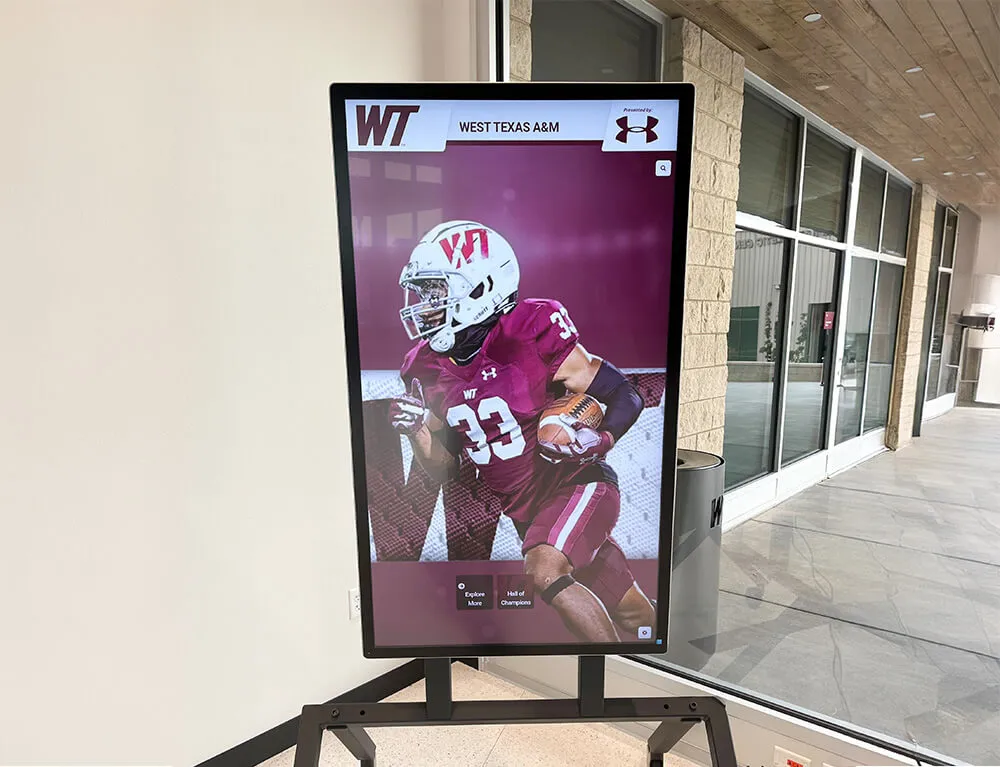
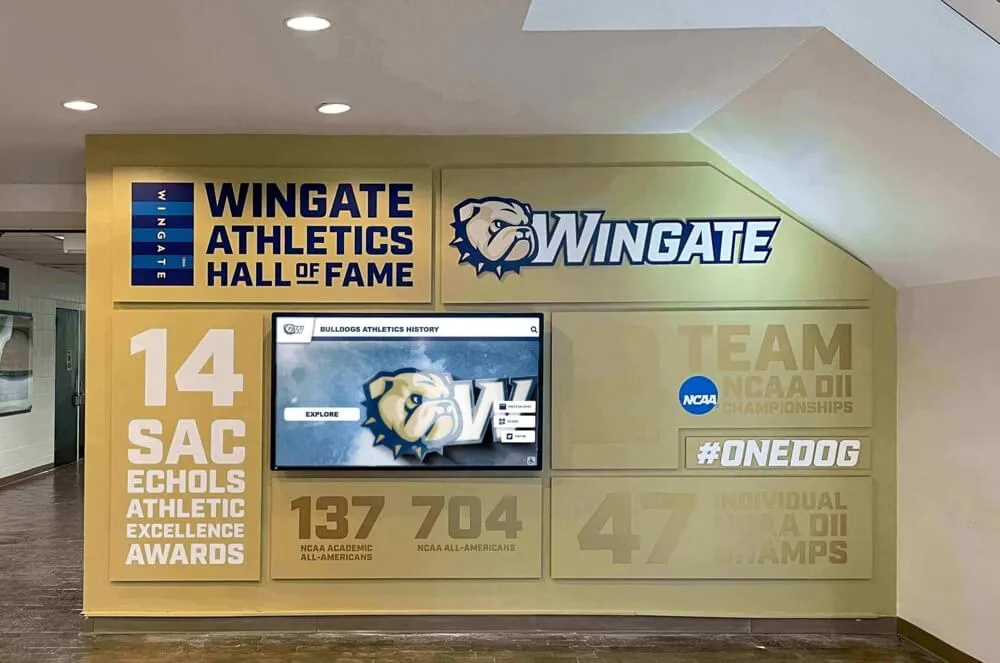
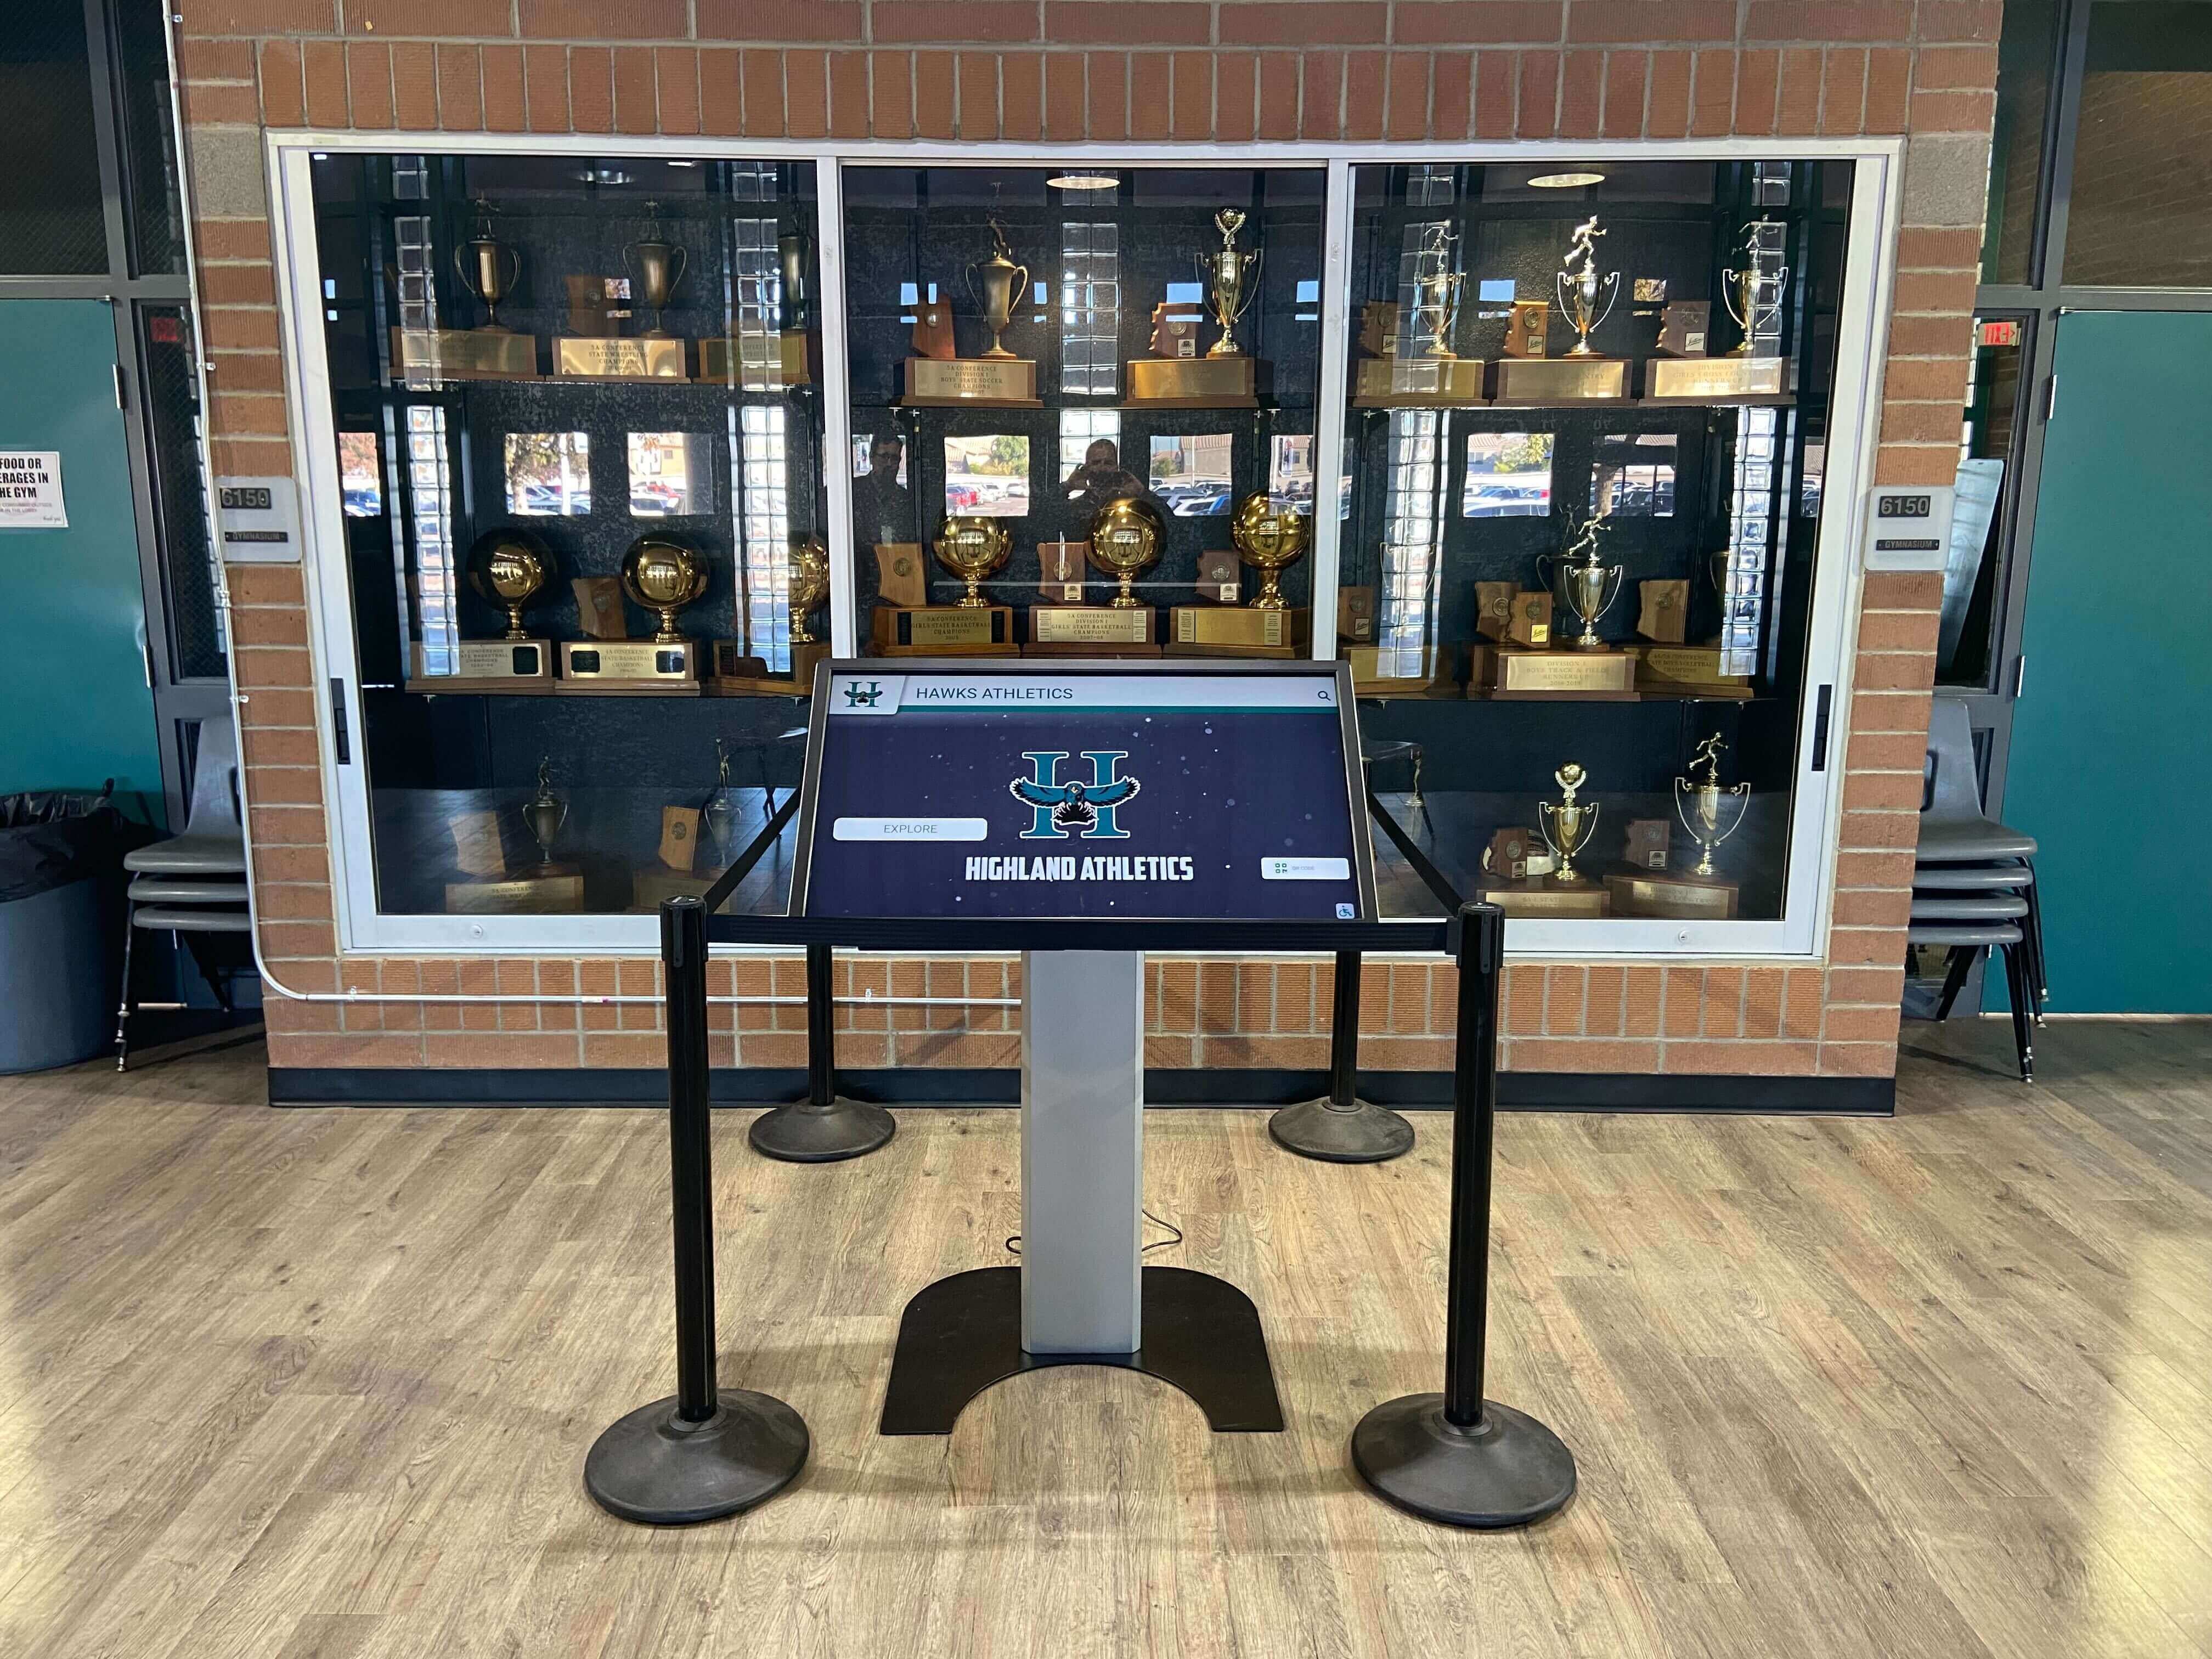
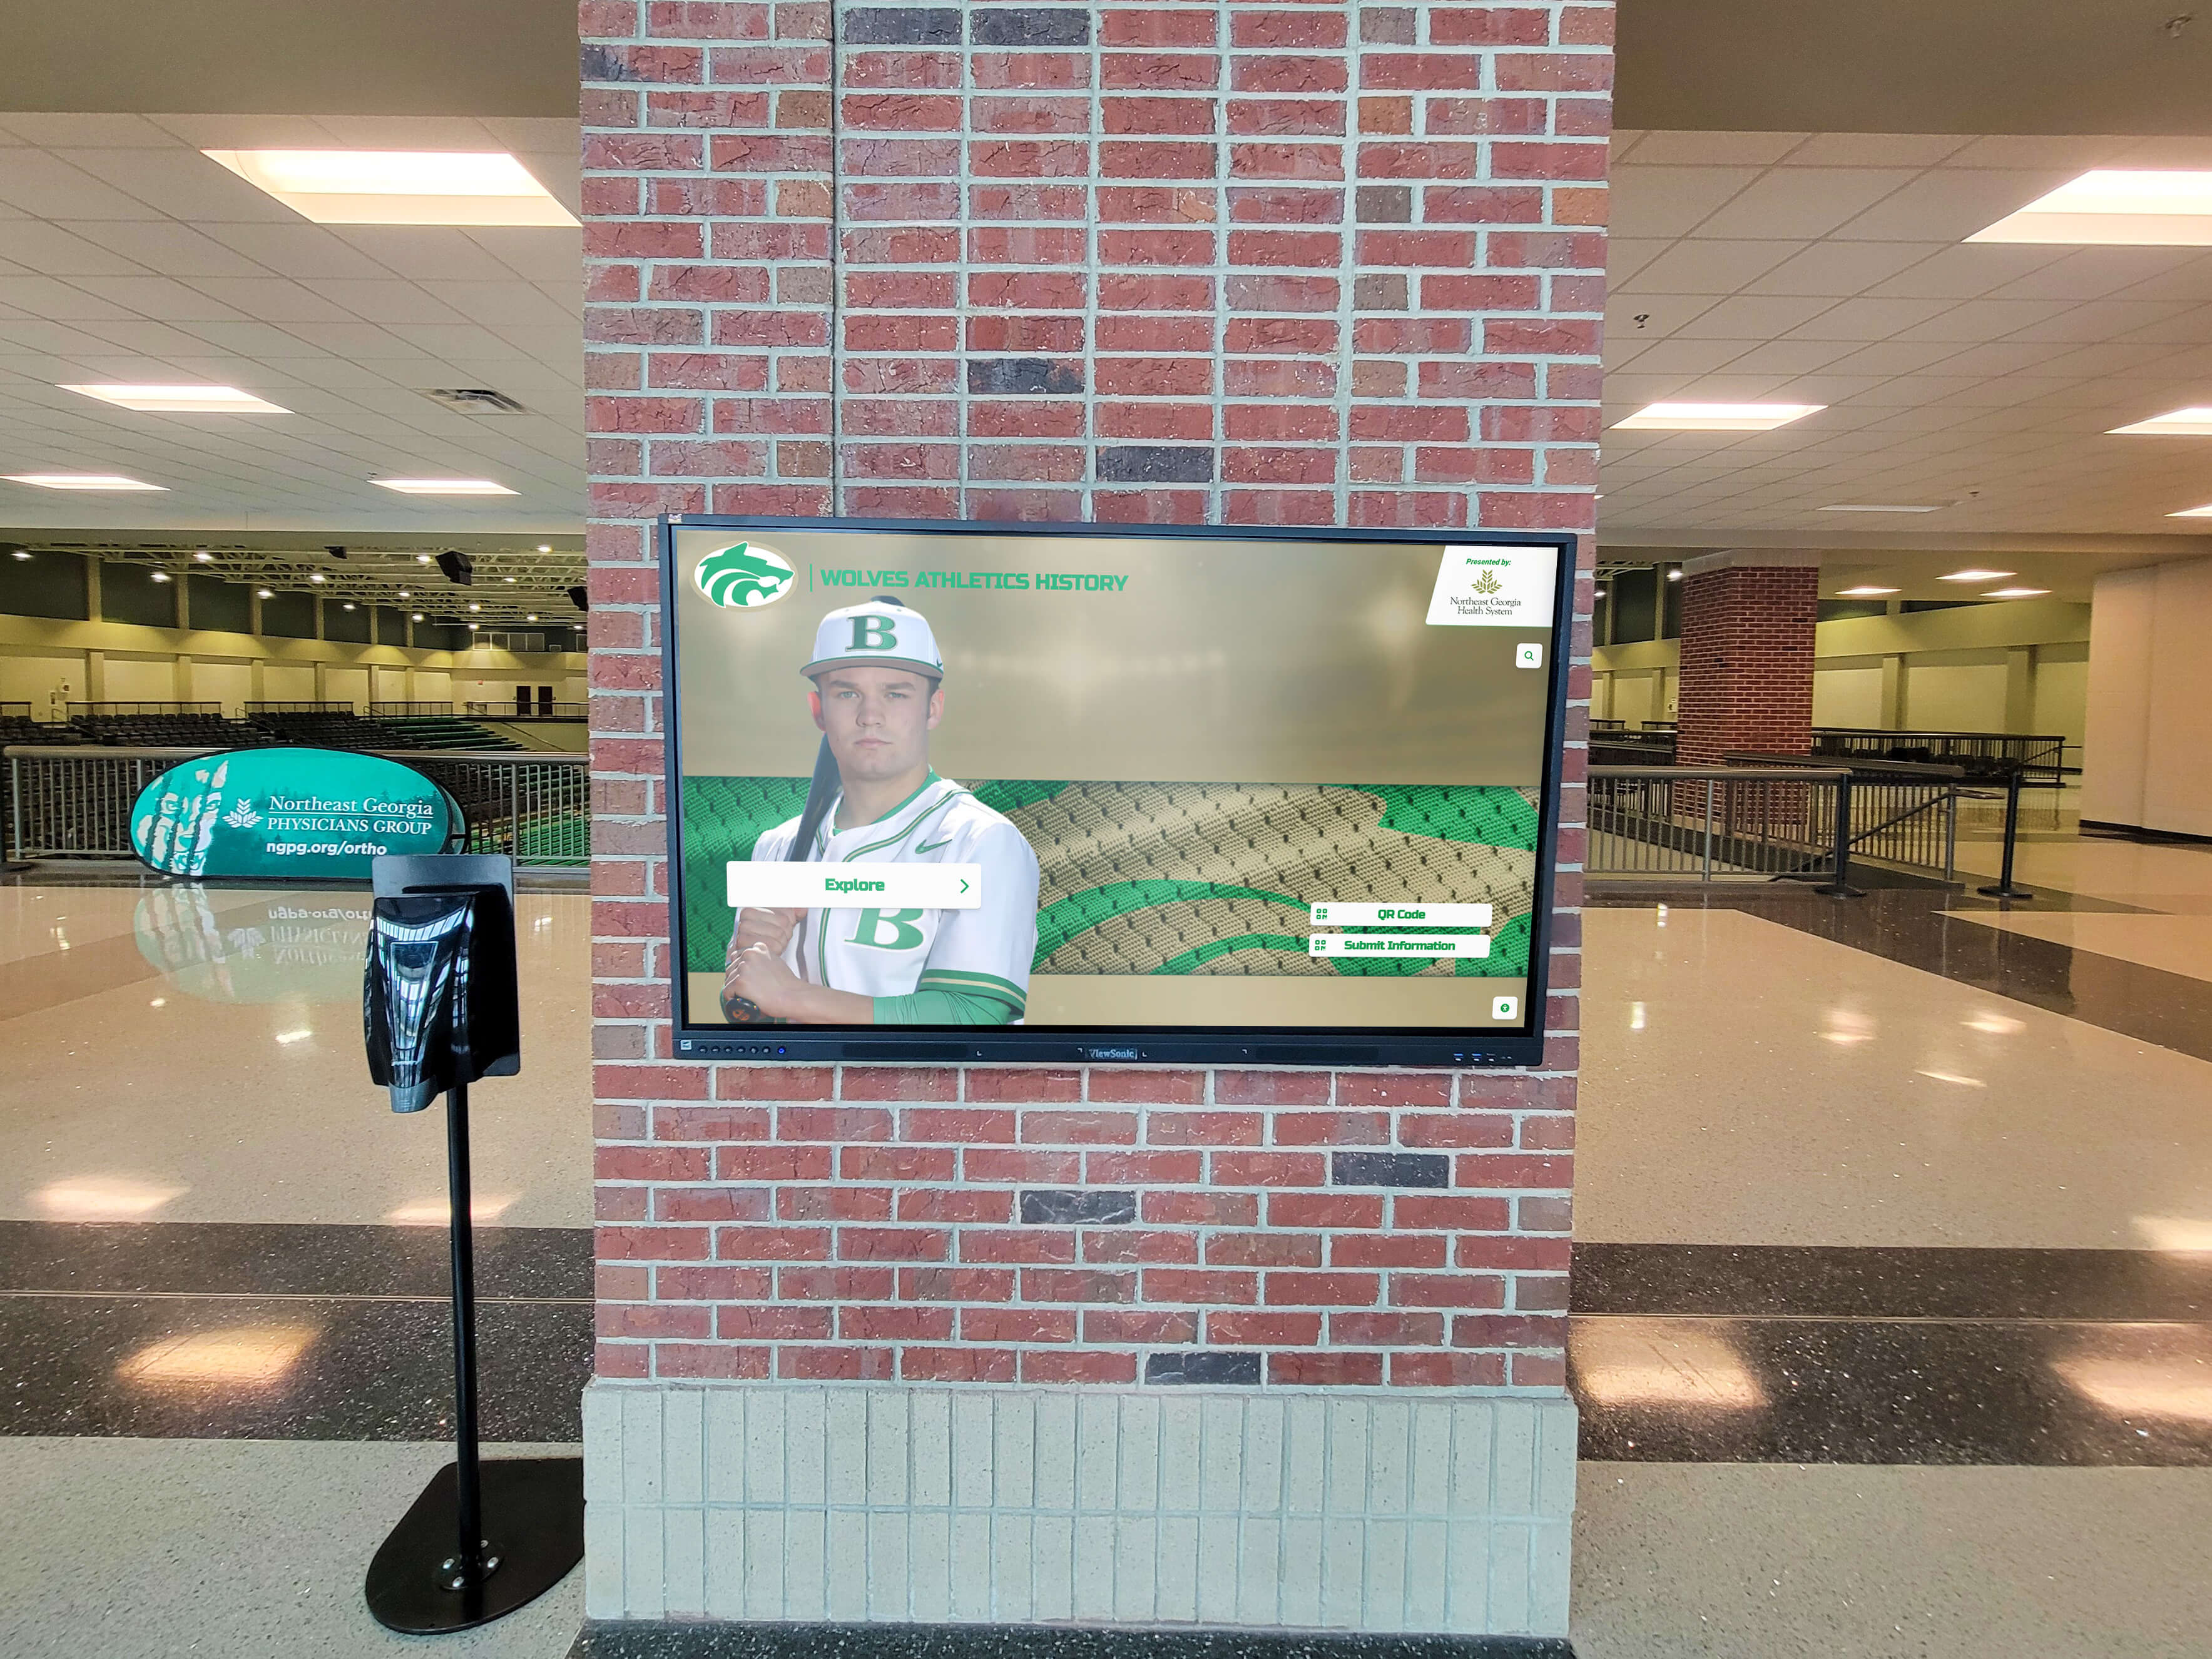
Achievement showcases: Interactive touchscreen displays let athletes explore training accomplishments, program history, and athlete profiles. These systems integrate with broader athletic recognition programs connecting weight room excellence to overall achievement tracking.
Workout programming displays: Large-format screens show daily workouts, exercise demonstrations, and interval timing. Athletes reference programming without printed sheets, and coaches update content remotely through cloud platforms.
Motivational content: Video displays can showcase highlight reels, championship moments, or motivational content between training sessions, creating engaging environments that reinforce program culture.
Audio-Visual Systems
Sound systems: Quality audio enhances training atmosphere. Professional installation ensures even sound distribution without excessive volume levels damaging hearing. Budget $1,000-$5,000 depending on space size and system sophistication.
Video demonstration capability: Screens showing proper exercise technique serve as 24/7 coaching resources. QR codes placed near equipment link to demonstration videos on athlete phones.
Form analysis stations: Dedicated areas with cameras or tablets enable athletes to record lifts and review technique with coaches. This immediate video feedback accelerates skill development in complex movements like Olympic lifts.
Budgeting and Funding Strategies
Comprehensive weight room projects require strategic financial planning and creative funding approaches.
Total Project Cost Components
Equipment purchase: Typically represents 50-60% of total project costs. Reference equipment lists earlier in this guide for budget ranges based on program size.
Flooring installation: Budget $3-$10 per square foot installed depending on flooring type, thickness, and installation complexity. A 3,000 sq ft weight room requires $9,000-$30,000 for quality flooring.
Electrical upgrades: New circuits for machines, lighting, and technology systems typically cost $2,000-$8,000 depending on existing electrical capacity and required upgrades.
HVAC modifications: Climate control improvements range from $5,000-$20,000+ if existing systems are inadequate for increased loads.
Lighting upgrades: LED conversion or new installation: $2,000-$8,000 depending on fixture quantities and ceiling heights.
Technology systems: Performance tracking, digital displays, and audio-visual integration: $3,000-$20,000+ depending on sophistication level.
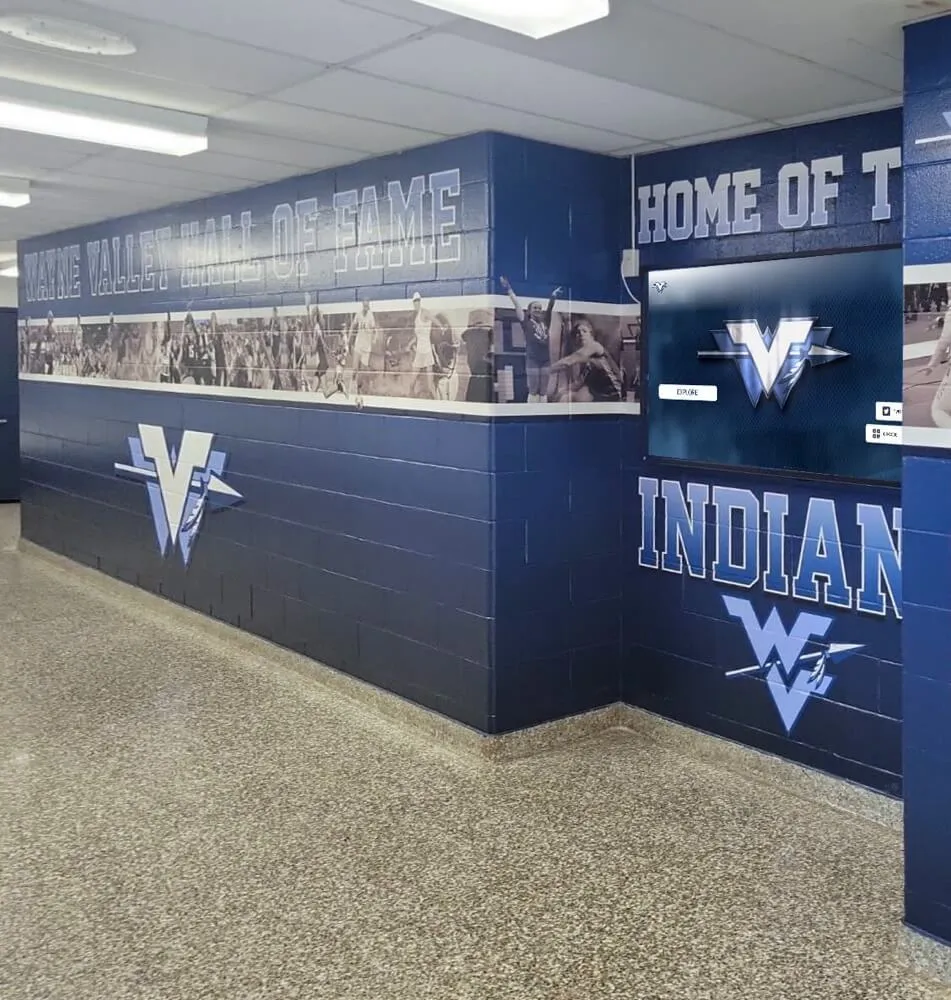
Wall graphics and branding: Motivational murals, school colors, achievement displays: $2,000-$10,000 depending on coverage area and complexity.
Professional design and installation: For larger projects, architect/designer fees and professional installation labor add 10-20% to equipment and materials costs.
Funding Sources
Capital improvement budgets: Work with school administration to include weight room projects in multi-year capital plans. This secures institutional commitment and enables larger-scope projects than annual operating budgets support.
Booster club fundraising: Athletic booster organizations often prioritize strength facility improvements. Develop compelling proposals showing how upgraded facilities benefit all athletes across multiple sports.
Naming rights and major gifts: Consider offering naming opportunities for the overall weight room or specific sections (Olympic lifting area, conditioning zone) in exchange for substantial donations. Target amounts of $25,000-$100,000+ depending on community capacity and facility scope.
Equipment donation programs: Some manufacturers offer educational discounts or donation programs. Build relationships with equipment representatives who may facilitate special pricing or demo equipment conversion to owned assets.
Grant opportunities: Research education foundation grants, corporate giving programs, and state athletic association grants potentially funding facility improvements. Applications require compelling cases showing how improvements benefit student-athletes.
Phased implementation: Rather than delaying projects until full funding is secured, implement in phases as money becomes available:
- Phase 1: Essential free weight equipment and foundational safety needs
- Phase 2: Machine supplementation and technology integration
- Phase 3: Aesthetic improvements, branding, and specialized equipment
Maximizing Budget Efficiency
Prioritize versatile equipment: Multi-functional pieces like power racks with pull-up bars, cable attachments, and storage maximize training options while conserving space and budget.
Consider used equipment markets: Quality used equipment from closing gyms or facility renovations can provide 40-60% savings compared to new purchases. Inspect carefully for structural integrity and remaining useful life.
Negotiate volume pricing: When purchasing multiple items from one vendor, request package pricing. Vendors often discount 10-20% for large orders compared to individual piece purchases.
Time purchases strategically: Equipment dealers often offer year-end promotions or discounts when new models launch. Being flexible on delivery timing may enable price negotiations.
Balance cost and durability: The cheapest equipment rarely proves economical long-term. Mid-tier commercial-grade equipment offers much better durability than residential equipment at modest price premiums. Calculate cost-per-year over expected lifespan rather than initial purchase price alone.
Common Design Mistakes to Avoid
Learning from others’ mistakes prevents expensive corrections and unsafe situations.
Insufficient spacing between equipment: Overcrowding maximizes equipment density but creates safety hazards, traffic bottlenecks, and poor training experiences. Maintain recommended spacing standards even if this means installing fewer stations.
Inadequate electrical planning: Underestimating power requirements forces expensive retrofits. Involve electricians early in planning, documenting all equipment electrical specifications and planning circuits with 20-30% excess capacity for future additions.
Poor flooring choices: Thin rubber (1/4") or inappropriate flooring in Olympic lifting areas accelerates floor damage and creates injury risks. Invest in proper thickness (1/2" to 3/4") in areas with significant impact loads.
Ignoring ceiling height limitations: Installing equipment requiring overhead movements in areas with inadequate ceiling height creates psychological barriers and actual safety risks. Either avoid this equipment or create dedicated lifting areas with adequate clearance.
Placing mirrors incorrectly: Mirrors directly behind squat racks or Olympic lifting platforms create distraction and potential shattering hazards from dropped bars. Position mirrors on perpendicular walls enabling form checking without creating direct-impact risks.
Inadequate storage planning: Failing to plan comprehensive storage for plates, dumbbells, bars, and accessories creates cluttered, unsafe environments with equipment scattered across floors creating trip hazards. Budget adequate storage infrastructure from the start.
Technology for its own sake: Adding expensive tracking systems or digital displays without clear implementation plans wastes resources. Ensure staff have training, capacity, and commitment to actually use technology investments before purchasing.
Neglecting acoustics: Ignoring sound management creates environments uncomfortable for extended periods and transmits disruptive noise to adjacent spaces. Address acoustic concerns during initial design rather than retrofitting solutions.
Inadequate future capacity planning: Designing for current needs without growth allowance quickly renders spaces inadequate. Project 10-year enrollment trends and plan 25-40% excess capacity beyond current requirements.
Renovation Versus New Construction
When possible, new purpose-built weight room construction provides optimal results, but many programs must maximize existing spaces through renovation.
Renovation Advantages
Lower overall costs: Renovating existing space typically costs 30-50% less than new construction since the structure, basic utilities, and foundation already exist.
Faster timelines: Renovation projects can often be completed during summer breaks, whereas new construction extends across multiple years from planning through completion.
Utilizing existing infrastructure: Depending on prior space use, electrical capacity, HVAC systems, and flooring may require only minor upgrades rather than complete installation.
Renovation Challenges
Space constraint limitations: You’re locked into existing dimensions, ceiling heights, structural columns, and architectural features that may compromise optimal layout. Creative design becomes essential maximizing available space.
Floor loading verification: Verify structural capacity supports intended loads before equipment installation. Second-floor renovations are particularly concerning requiring engineer assessment confirming adequate support. Reinforcement adds significant unexpected costs if capacity is insufficient.
Mechanical system adequacy: Existing HVAC may be undersized for weight room loads requiring expensive upgrades or supplemental systems. Electrical panels may lack capacity for additional circuits needed for modern equipment and technology.
Asbestos or environmental remediation: Older buildings may require hazardous material abatement adding substantial costs and timeline extensions. Pre-renovation environmental assessments identify these issues early enabling accurate budgeting.
New Construction Opportunities
Optimal design freedom: Purpose-built spaces enable ideal ceiling heights, column-free open areas, strategic natural lighting, proper electrical distribution, and adequate HVAC from the start.
Future-proofed infrastructure: New construction allows oversizing utilities and building excess capacity for future program growth and technology additions.
Integration with adjacent spaces: New buildings can position weight rooms adjacent to locker rooms, athletic training facilities, and outdoor practice areas creating comprehensive athletic complexes.
Enhanced recruitment value: State-of-the-art facilities provide competitive recruitment advantages and community pride points that older renovated spaces struggle to match regardless of equipment quality.
Weight Room Culture and Athlete Buy-In
Even perfectly designed and equipped weight rooms underperform if program culture doesn’t motivate consistent athlete participation and effort.
Creating Motivating Environments
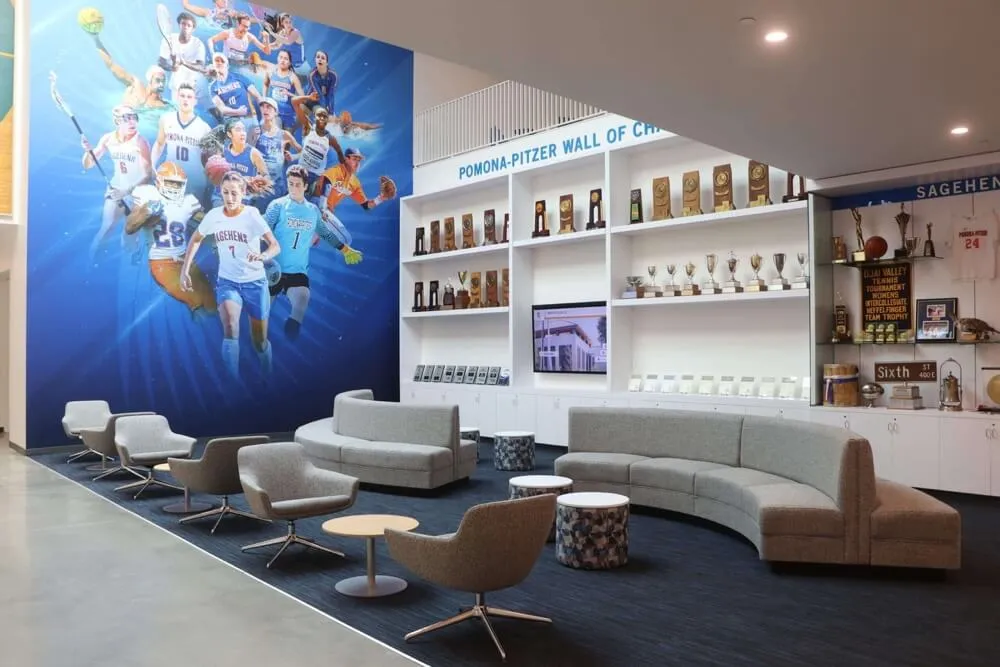
Visual storytelling: Achievement displays and recognition systems throughout the weight room celebrate past successes while inspiring current athletes to add their names to record boards and achievement lists.
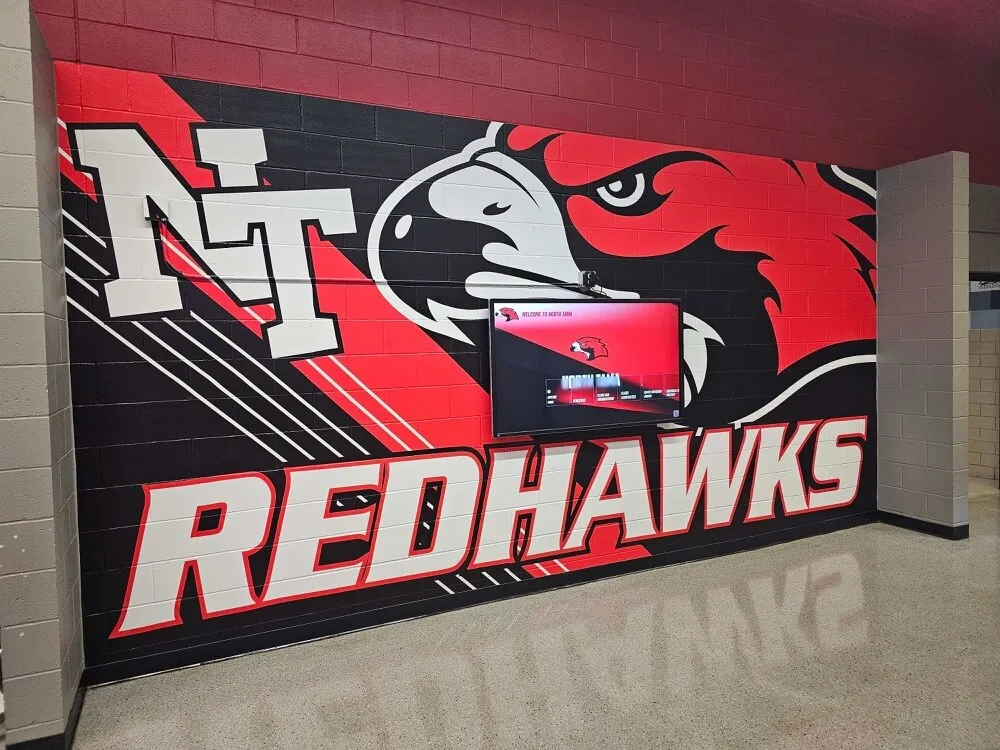
School branding and identity: Wall graphics, school colors, mascots, and mission statements create immediate visual connection to institutional identity. Athletes training in generic facilities struggle to feel the same investment as those in spaces clearly reflecting school pride.
Cleanliness and organization: Maintaining spotless, well-organized facilities communicates expectations and pride. Cluttered, dirty weight rooms signal acceptable mediocrity rather than excellence.
Appropriate music and atmosphere: Carefully curated audio creates energy without chaos. Volume levels should motivate without preventing coach communication or causing hearing concerns.
Establishing Expectations and Accountability
Clear behavioral standards: Post weight room rules prominently. Establish expectations regarding equipment return, spotter use, effort levels, and respect for space and others.
Consistent enforcement: Rules without enforcement become meaningless. Staff must hold all athletes accountable to established standards regardless of status or sport affiliation.
Athlete ownership opportunities: Consider weight room leadership programs where experienced athletes mentor newcomers, monitor equipment condition, and help maintain facility cleanliness. This investment creates personal stake in program and facility success.
Celebration of progress: Regularly recognize strength gains, technique improvements, and consistent attendance. This doesn’t require expensive technology—simple coaching acknowledgment and peer recognition drive motivation effectively.
Weight Room Design as Long-Term Investment
Well-designed strength facilities serve student-athletes for decades when planning appropriately balances current needs with future growth, establishes sustainable maintenance protocols, and creates environments athletes are proud to use.
Your weight room design decisions impact thousands of student-athletes across multiple sports over the facility’s lifespan. Athletes who develop fundamental movement competency, strength foundations, and training habits in well-designed facilities carry these benefits throughout their athletic careers and lives.
Beyond direct training benefits, quality strength facilities strengthen your overall athletic program reputation, support coaching staff recruitment and retention, and create tangible community pride points. Prospective students and families touring schools immediately notice and remember exceptional athletic facilities, recognizing institutional commitment to supporting athletic excellence.
The systematic planning approach outlined in this guide—establishing clear objectives, sizing spaces appropriately, selecting durable equipment matching training philosophies, designing safe layouts maximizing capacity, implementing proper environmental systems, and budgeting comprehensively—positions your weight room project for long-term success serving your athletic community effectively.
Ready to create motivating strength training environments that inspire excellence? Rocket Alumni Solutions provides innovative digital recognition displays perfect for weight rooms and athletic facilities. Our cloud-based platforms showcase strength records, athlete achievements, and program accomplishments through interactive touchscreens and digital displays that create competitive motivation while celebrating your athletes. From record boards to comprehensive athlete recognition systems, we help you build inspiring training environments that strengthen your athletic culture. Schedule a consultation to discover how digital recognition technology can enhance your weight room and broader athletic program.