Schools investing in digital hall of fame displays face a critical planning question: who actually handles the physical installation? The answer varies dramatically based on vendor model, display complexity, and facility requirements. Understanding installation service options—from full-service providers to DIY approaches—determines whether your recognition display launches smoothly or becomes a months-long coordination headache involving electricians, IT staff, carpenters, and frustrated administrators.
Installation encompasses far more than mounting a screen on a wall. Professional implementations require coordinating structural mounting, electrical power routing, network connectivity, display configuration, software setup, and accessibility compliance. The provider you select determines whether one coordinated team handles this complex process or you manage multiple contractors while hoping components work together when finished.
This guide examines who performs digital hall of fame installations in educational environments, what each installation approach entails, and how to evaluate service options that protect your timeline, budget, and sanity when bringing interactive recognition displays online near your front office or main lobby.
Understanding Digital Hall of Fame Installation Requirements
Before exploring who performs installations, understanding what installation actually requires reveals why provider selection matters so much for project success.
Physical Mounting and Structural Considerations
Touchscreen displays weighing 40-120 pounds require secure attachment to structural elements, not just surface-level wall materials. Professional installation includes:
- Wall assessment: Identifying studs, concrete anchors, or structural backing appropriate for display weight
- Load capacity verification: Calculating whether wall construction supports static and dynamic loads from mounted hardware
- Mounting hardware selection: Choosing commercial-grade brackets rated for display weight and size
- Height positioning: Installing displays at appropriate viewing levels while meeting ADA accessibility standards
- Leveling and alignment: Ensuring displays mount perfectly level and match architectural features
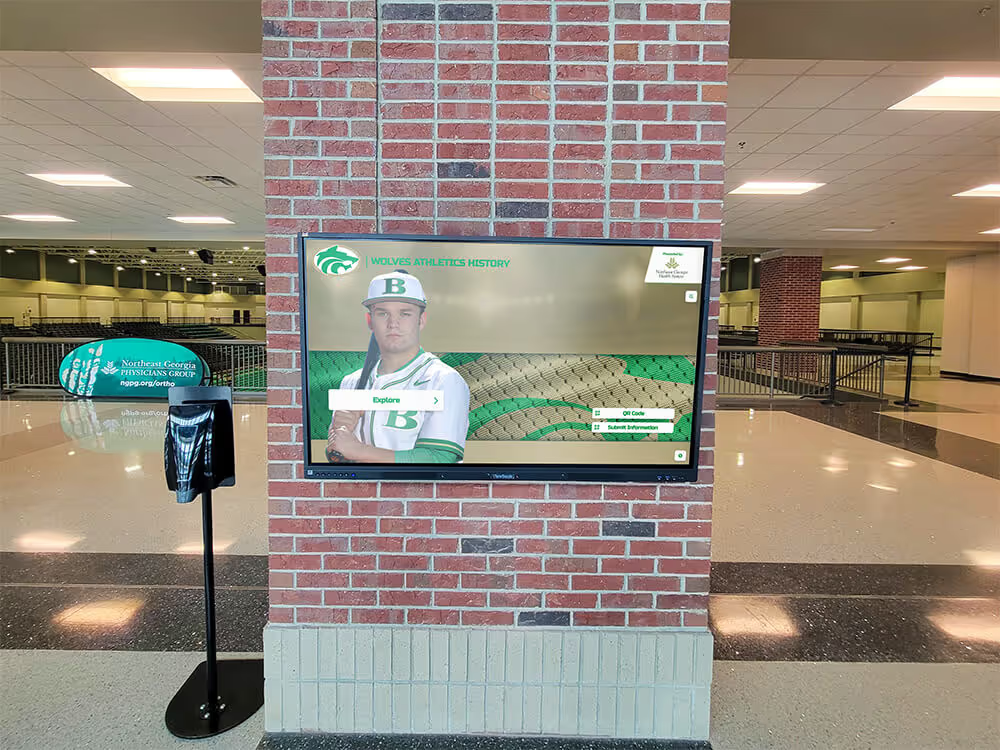
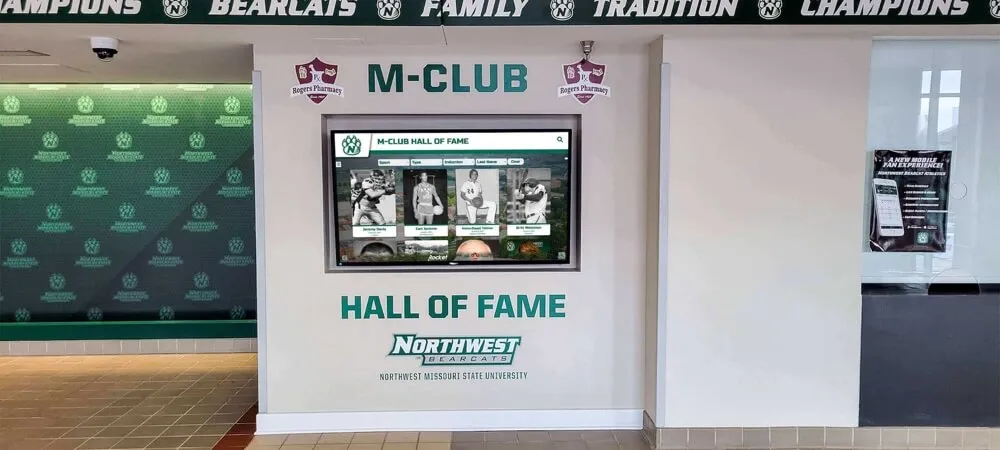
Schools with older buildings face additional complexity. Brick, concrete block, and plaster-over-masonry walls require specialized anchoring techniques that typical residential installers lack experience performing. Display installations in gym lobbies or near front offices often occur in prominent locations where visible mistakes become permanent embarrassments.

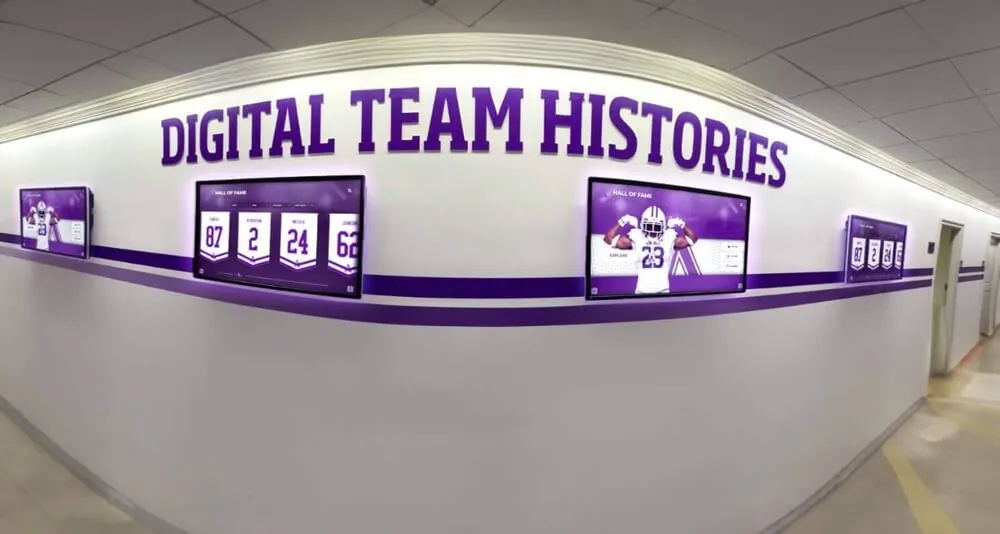
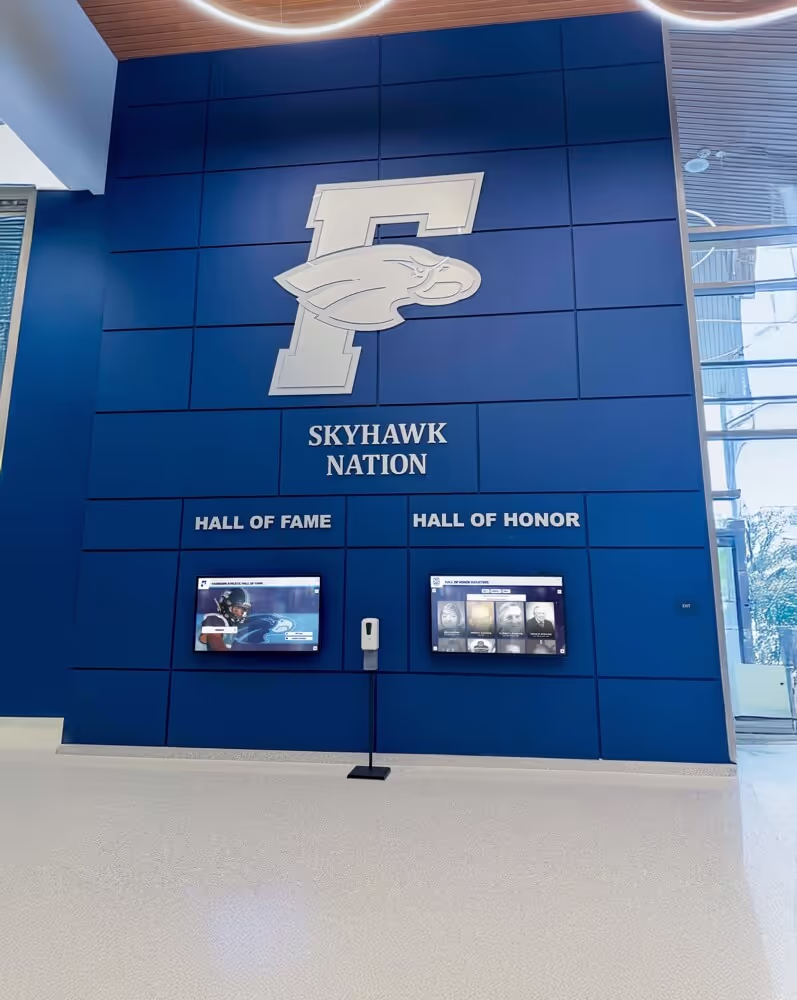
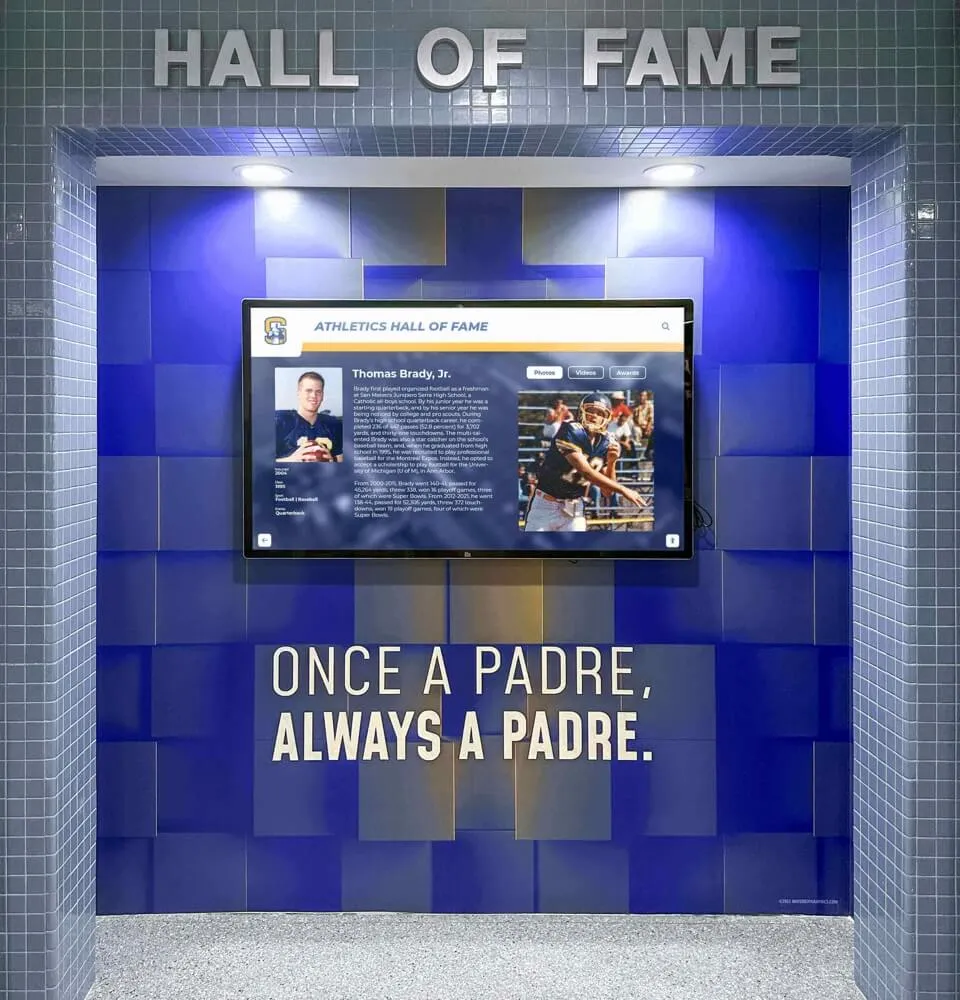
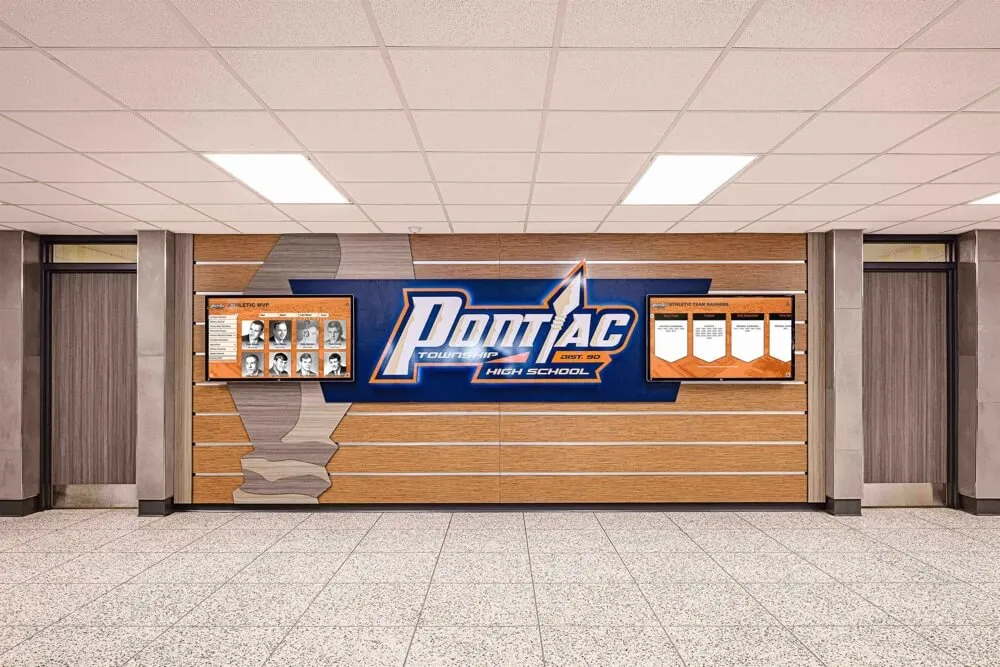
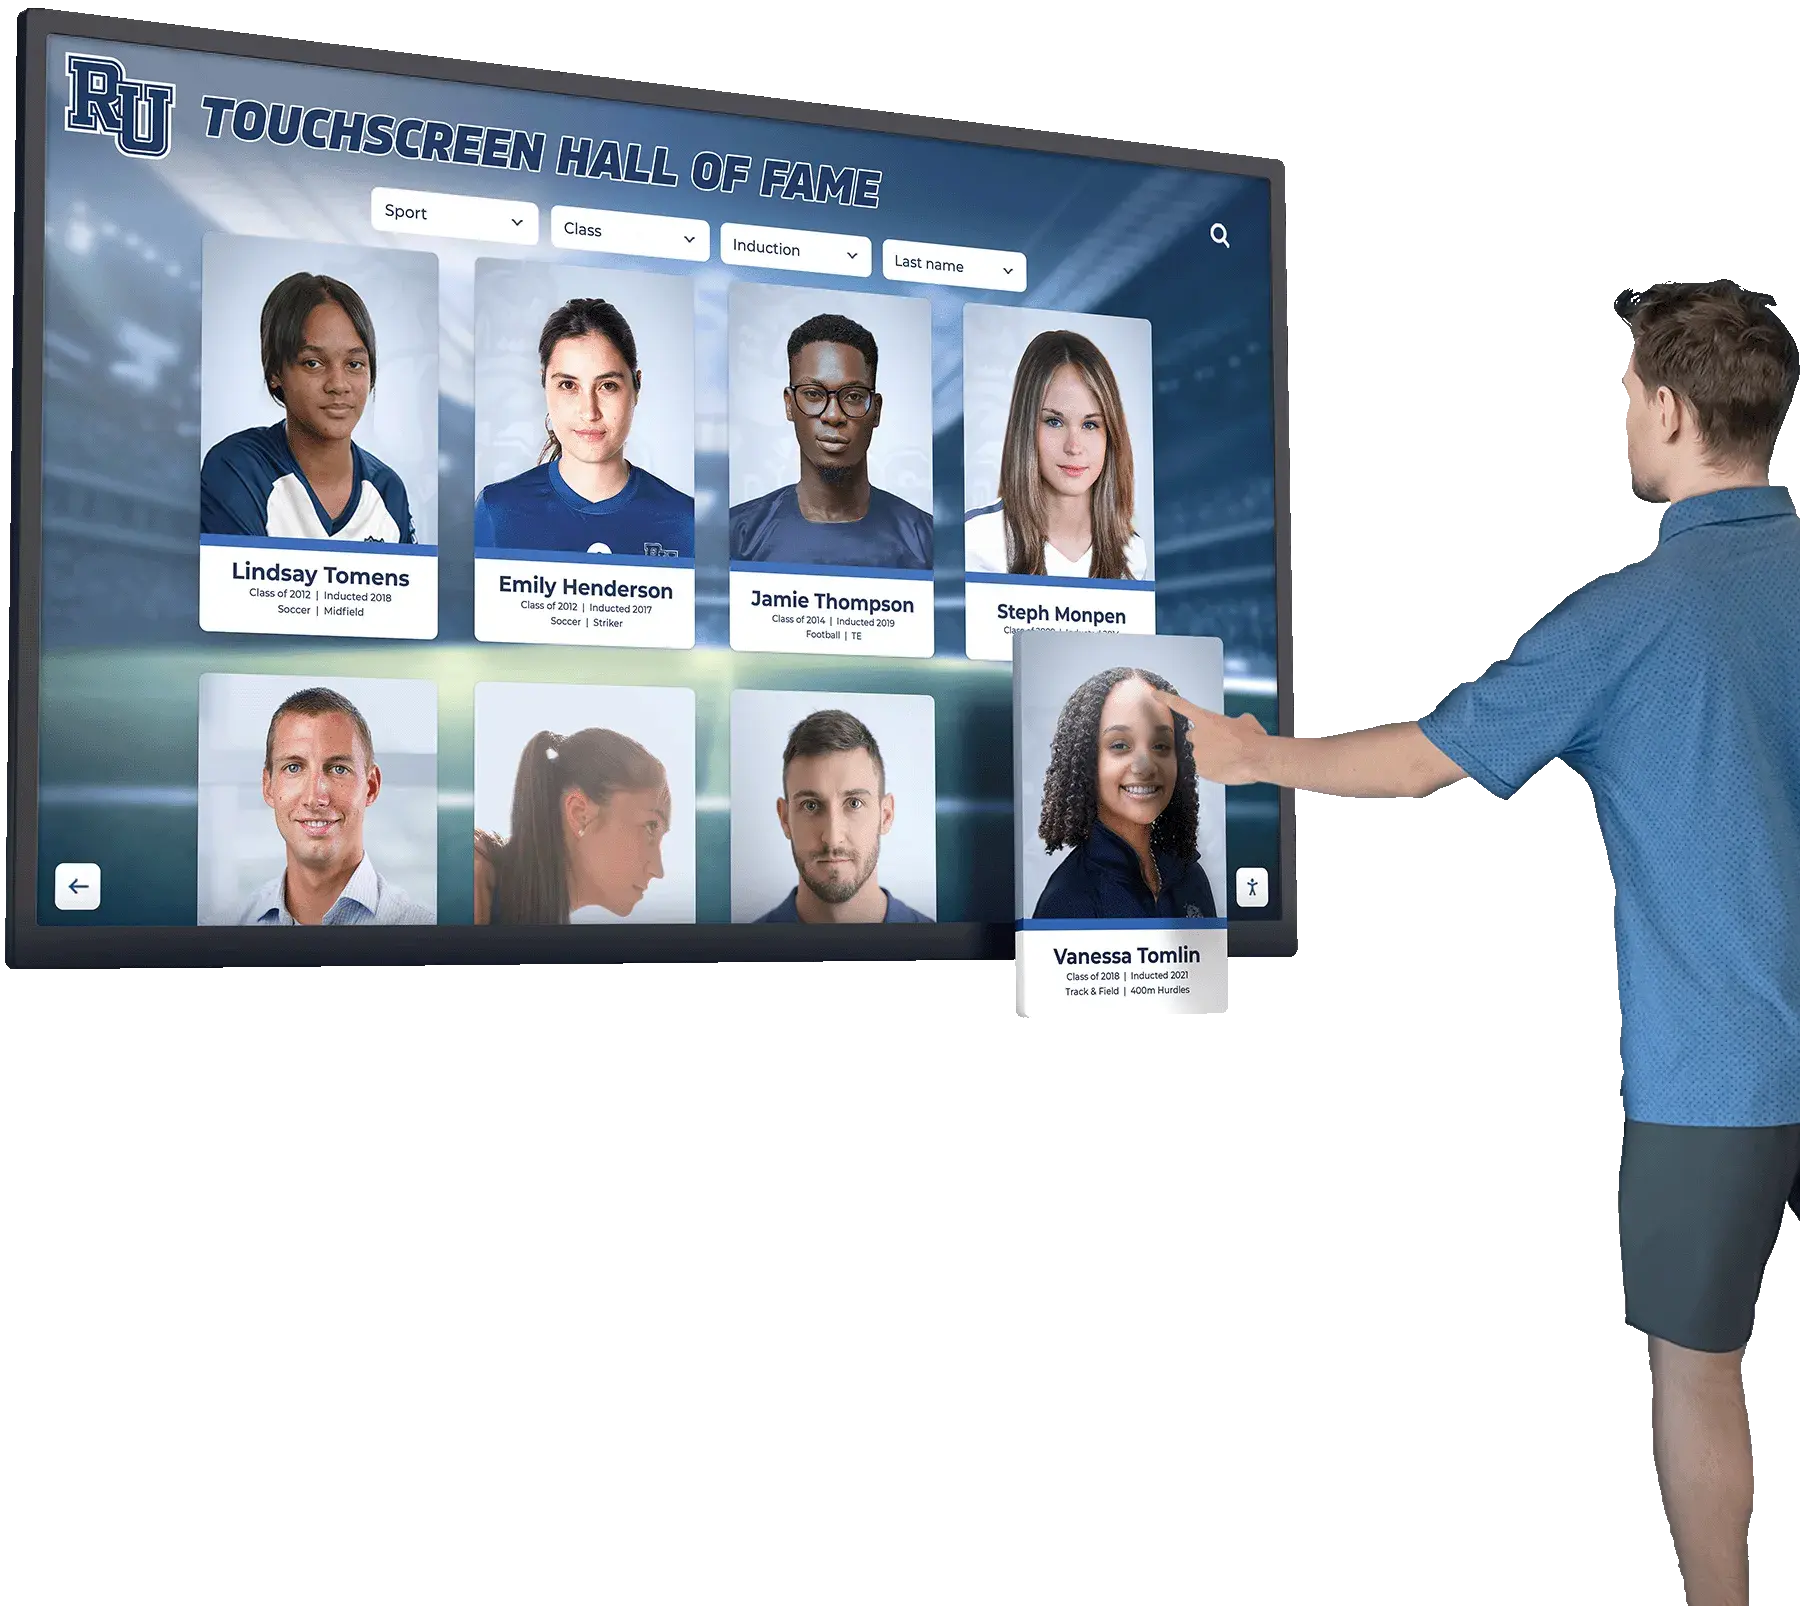
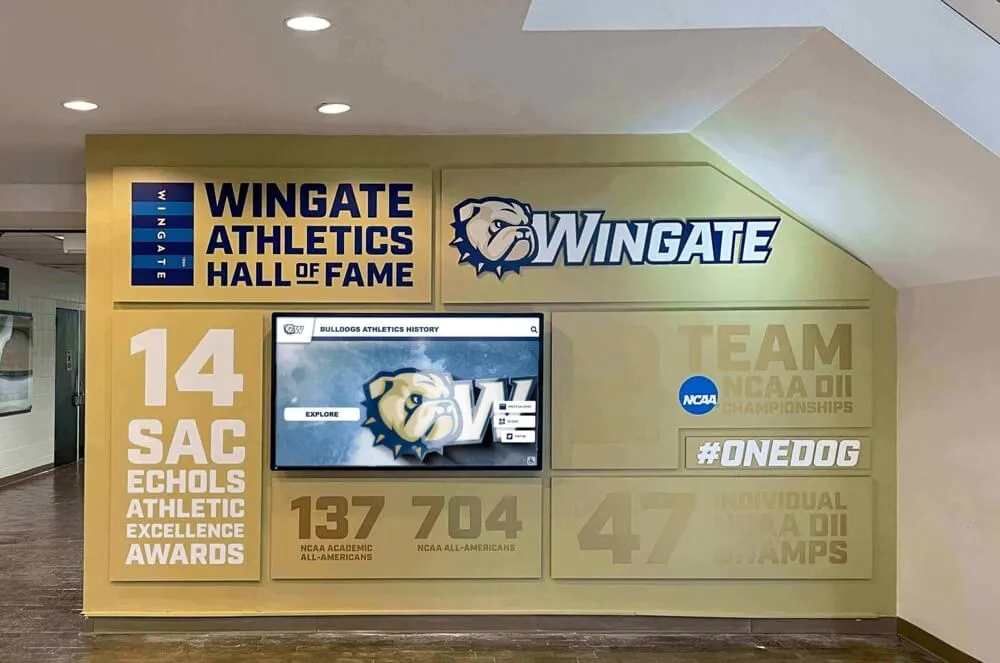
Professional installation ensures clean integration with existing architectural features and proper structural mounting
Electrical Power Requirements
Commercial displays require dedicated electrical service meeting code requirements:
- Power circuit verification: Confirming adequate amperage at mounting location or planning new circuit installation
- Code compliance: Meeting NEC requirements for commercial installations including proper grounding
- Cable routing: Running power lines through walls or conduit to maintain clean aesthetics
- Surge protection: Installing point-of-use surge suppressors protecting expensive electronics
- Emergency power considerations: Determining whether displays connect to emergency circuits or standard power
Many schools discover their planned display location lacks nearby electrical outlets. Adding circuits requires licensed electricians coordinating with school facilities teams to avoid disrupting existing systems. Timeline and cost implications catch administrators off guard when electrical work wasn’t budgeted or planned.
Network Connectivity Setup
Digital recognition displays require reliable network connections for content updates, remote management, and cloud-based functionality:
- Network access planning: Coordinating with IT departments to provision network ports or configure WiFi access
- Cable infrastructure: Running ethernet cables through walls or ceiling spaces to mounting locations
- Network configuration: Assigning IP addresses, configuring VLANs, and opening required firewall ports
- Bandwidth verification: Ensuring adequate network capacity for content synchronization and video playback
- Security compliance: Meeting institutional network security policies for device authentication
IT departments often maintain strict policies about network access. Displays requiring special firewall rules or VLAN configurations involve approval processes that delay go-live dates when not coordinated early in project planning. Professional installers familiar with institutional network requirements navigate these processes far more effectively than vendors throwing equipment over the wall expecting schools to figure out connectivity.
Display Configuration and Software Setup
Physical installation represents only half the work. Operational systems require:
- Operating system configuration: Setting up embedded computers or media players running display software
- Touch calibration: Adjusting touchscreen sensitivity and accuracy for responsive interaction
- Display settings optimization: Configuring brightness, color temperature, and power management
- Network integration testing: Verifying connectivity to content management systems and cloud services
- Initial content population: Loading base content or templates enabling immediate operation
Generic AV installers mount displays competently but often lack expertise configuring specialized recognition software. Schools receive mounted screens requiring days or weeks of additional work before visitors can actually use them. This gap between physical installation and operational readiness creates frustration and delays recognition program launches.
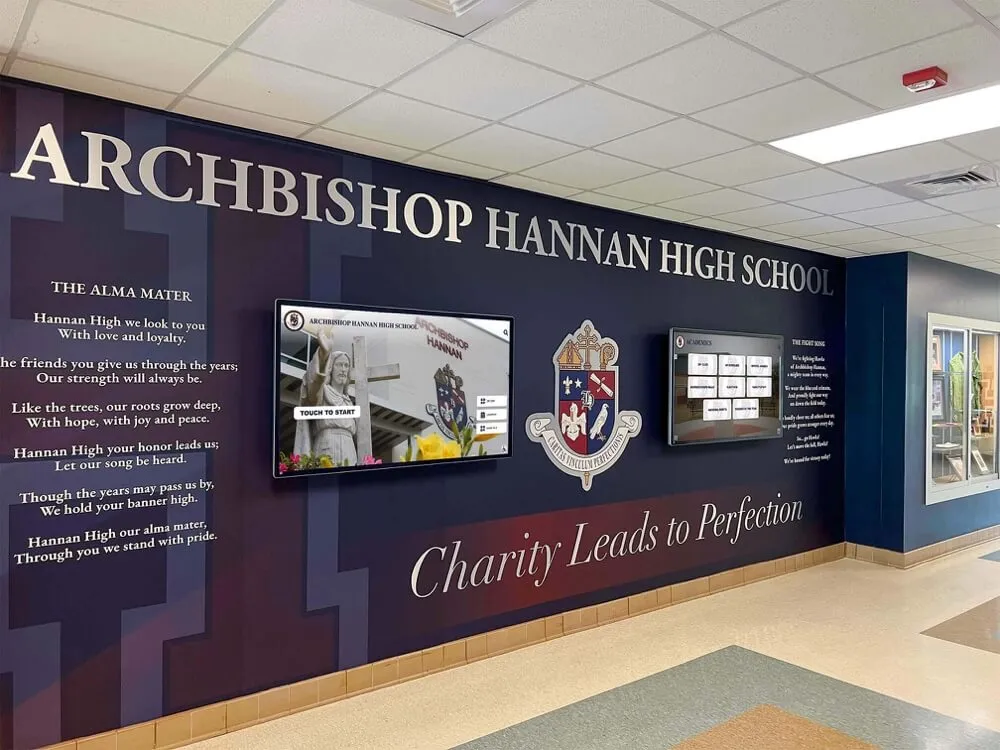
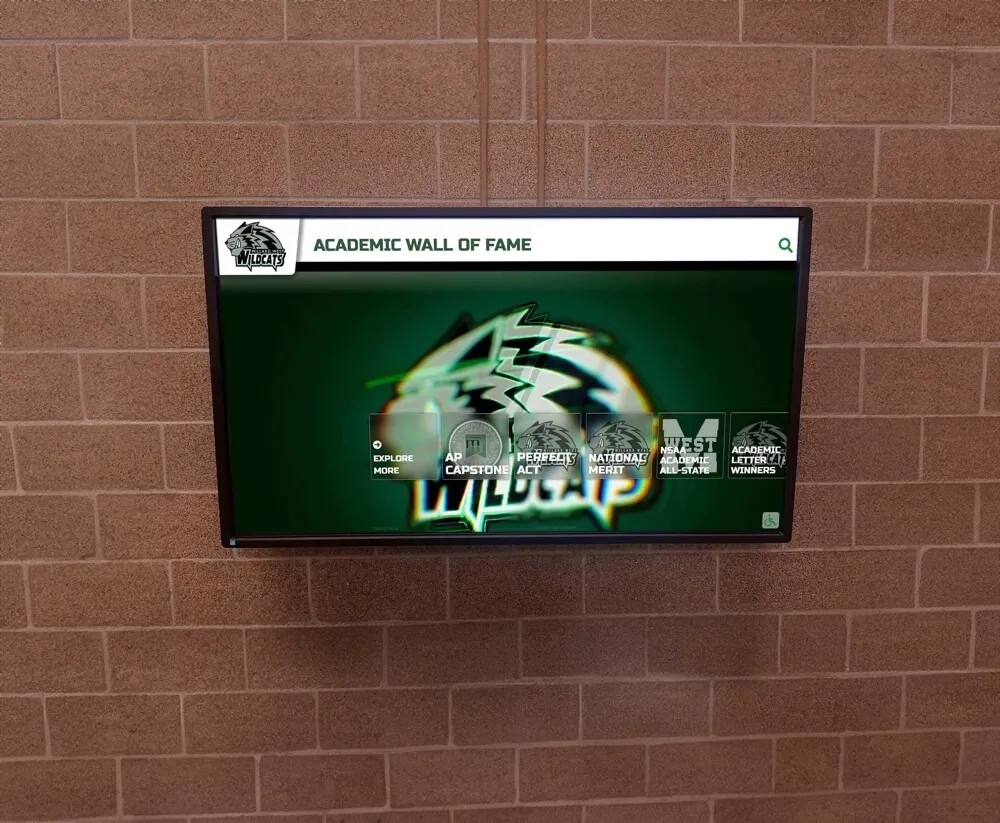
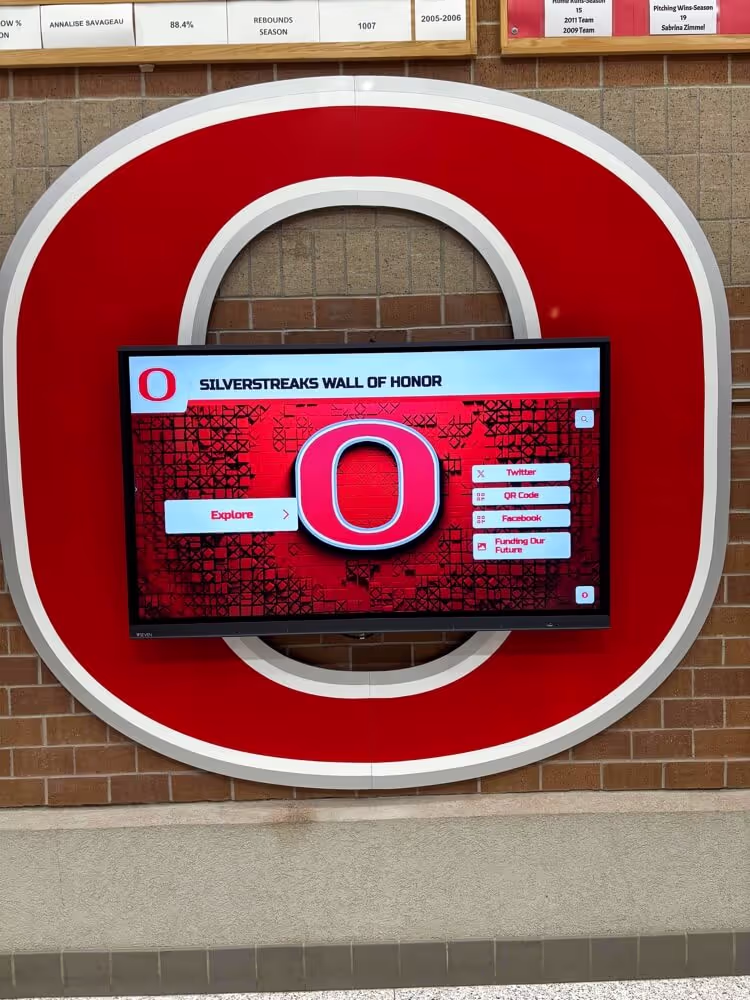
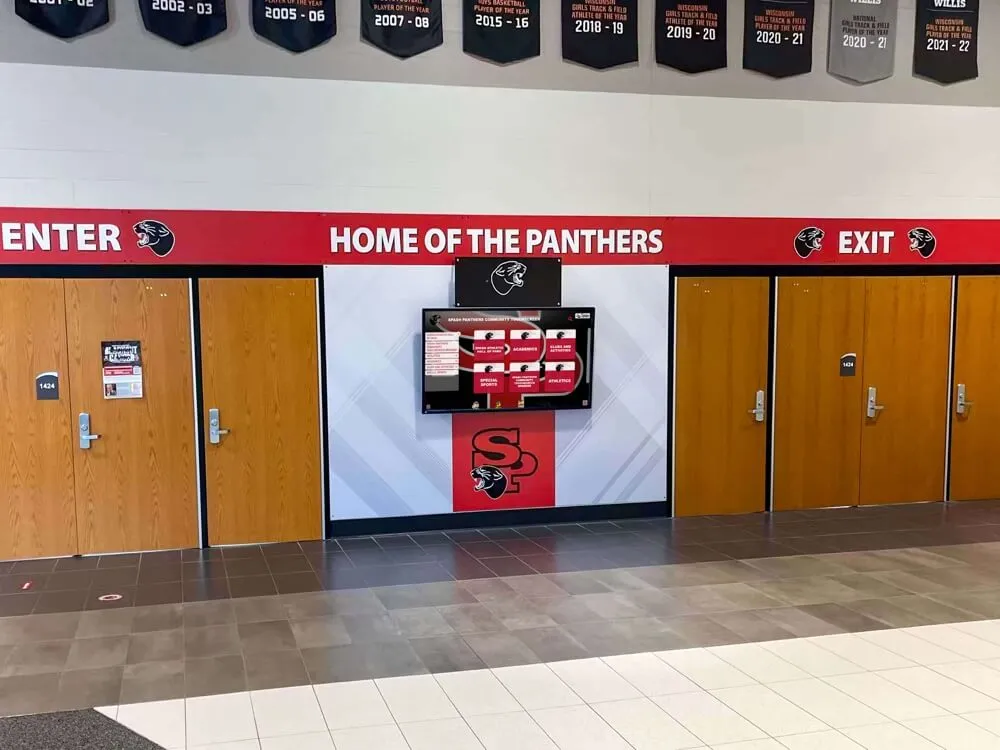
Complete configuration ensures displays launch operationally ready rather than requiring weeks of post-installation setup
Installation Service Models: Who Actually Does the Work
Schools encounter four distinct installation models when acquiring digital hall of fame displays. Each approach assigns responsibility differently, with major implications for timeline, budget, and administrative burden.
Full-Service Provider Installation (Recommended)
Comprehensive providers like Rocket Alumni Solutions own the entire installation process from site assessment through operational handoff:
What Full-Service Includes:
- Pre-installation site survey: Technical team evaluates mounting locations, identifies obstacles, and plans installation approach
- Complete hardware procurement: Provider sources all necessary displays, mounting hardware, cables, and accessories
- Coordinated installation day: Single team handles mounting, electrical connection, network setup, and system configuration
- Testing and verification: Installers confirm all systems operational before leaving site
- Staff training: Brief orientation on basic operation and content management
- Post-installation support: Single point of contact for any issues arising after installation
This model eliminates coordination burden. Schools identify desired location and provider handles everything else. Installation typically completes in 3-5 hours with systems immediately operational.
Cost Structure:
Full-service installation usually adds $1,200-$3,500 to total project cost depending on display size, location complexity, and travel requirements. This premium buys massive time savings and risk reduction compared to coordinating multiple vendors independently.
Best For:
- Schools lacking in-house technical expertise for complex installations
- Institutions valuing single-source accountability
- Projects with aggressive timelines requiring coordinated execution
- Administrators who want displays operational immediately upon installation
Software Vendor with Third-Party Installation Referrals
Some software providers sell platforms and licenses but outsource physical installation to local AV integrators or electricians they maintain relationships with:
How This Model Works:
- School purchases software and display hardware separately or through vendor
- Vendor provides specifications and contacts for installation partners
- School coordinates directly with installation partner for scheduling and payment
- Installation partner handles physical mounting and basic connectivity
- School or software vendor completes system configuration and software setup
This fragmented approach creates coordination challenges. Software vendors blame installation quality when systems underperform while installers deflect issues to software configuration they didn’t handle. Schools mediate these conflicts while displays remain non-operational.
Cost Considerations:
Installation costs appear lower initially ($800-$1,500) but schools often pay additional fees when installers encounter unexpected complexity or software vendors dispatch technicians to complete configuration work installers couldn’t perform. Hidden costs emerge throughout the process.
Challenges:
- Communication gaps between software vendor and installation partner create delays
- Warranty confusion when problems arise (hardware vs. installation vs. software)
- Additional vendor management overhead for school administrators
- Extended timeline from contracting through operational launch
In-House Facilities Team Installation
Some schools attempt installations using internal facilities or IT staff supported by vendor-provided specifications:
Typical Approach:
- Vendor ships display and mounting hardware to school
- Facilities staff mount display and coordinate electrical work
- IT department handles network connectivity and access provisioning
- School staff works through vendor documentation to configure system
- Remote vendor support helps troubleshoot configuration issues
This approach works occasionally for schools with experienced AV staff and straightforward wall construction. More commonly, it results in extended timelines, multiple trips to hardware stores for forgotten components, and displays sitting unused while staff troubleshoot configuration problems between other responsibilities.
Hidden Costs:
While no direct installation invoice appears, staff time diverted from other duties represents real cost. Digital hall of fame displays installed over multiple weeks because staff work on them between other tasks delay program launches and extend project timelines significantly.
When This Works:
- Schools with experienced AV installation staff available for project
- Simple mounting situations (drywall over studs, nearby power and network)
- Flexible timelines allowing work to occur around staff availability
- Strong vendor documentation and remote support
DIY Installation with Online Guidance
Budget-conscious schools occasionally attempt complete self-installation following vendor documentation and online support:
This approach carries substantial risk. Improper mounting creates safety hazards when 100-pound displays detach from walls. Amateur electrical work violates code requirements and creates liability exposure. Poor network configuration prevents systems from functioning properly. Schools save installation costs but create far larger problems requiring expensive corrections.
Not Recommended For:
Display installations in institutional settings require professional expertise. The modest cost savings fail to justify safety risks, liability exposure, and implementation delays self-installation creates.
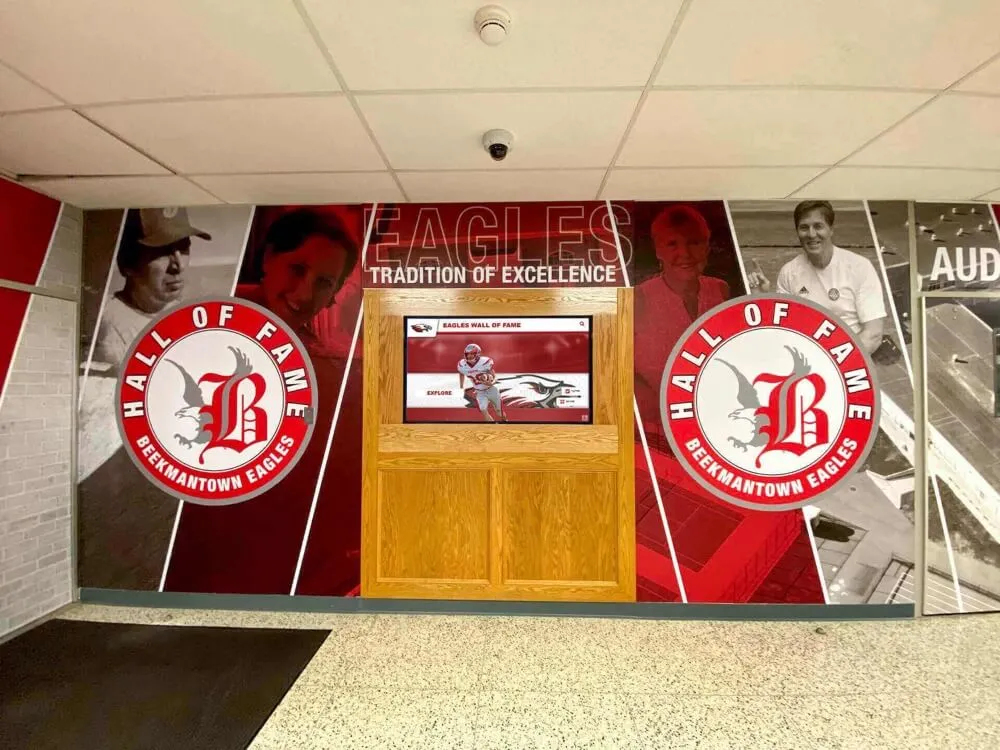
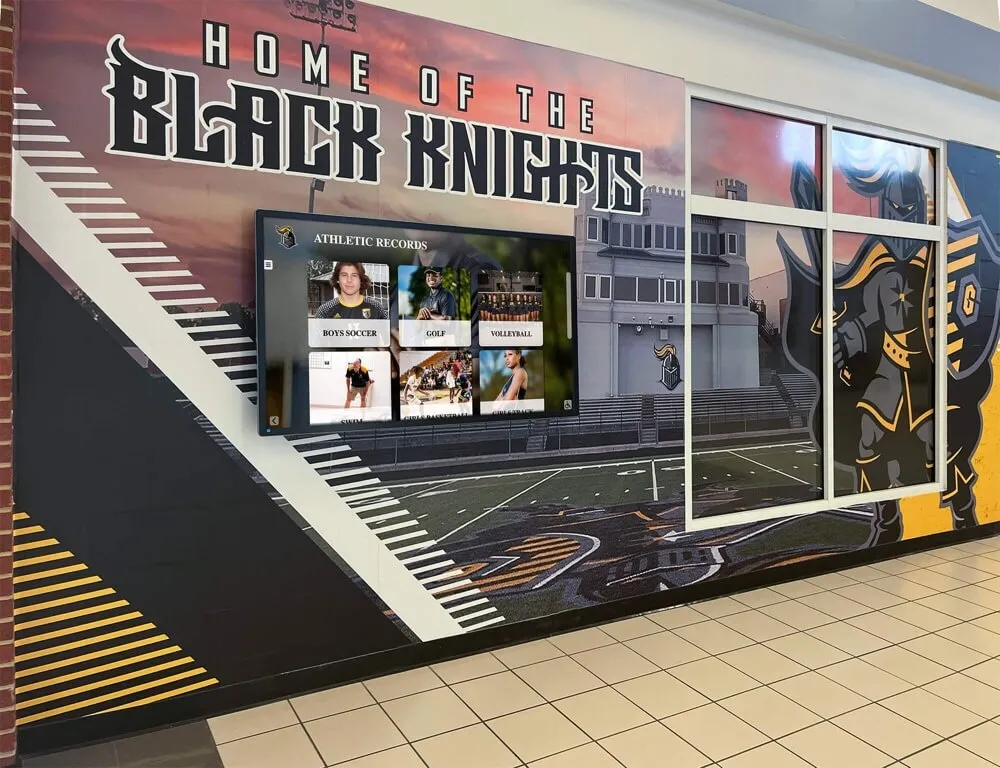
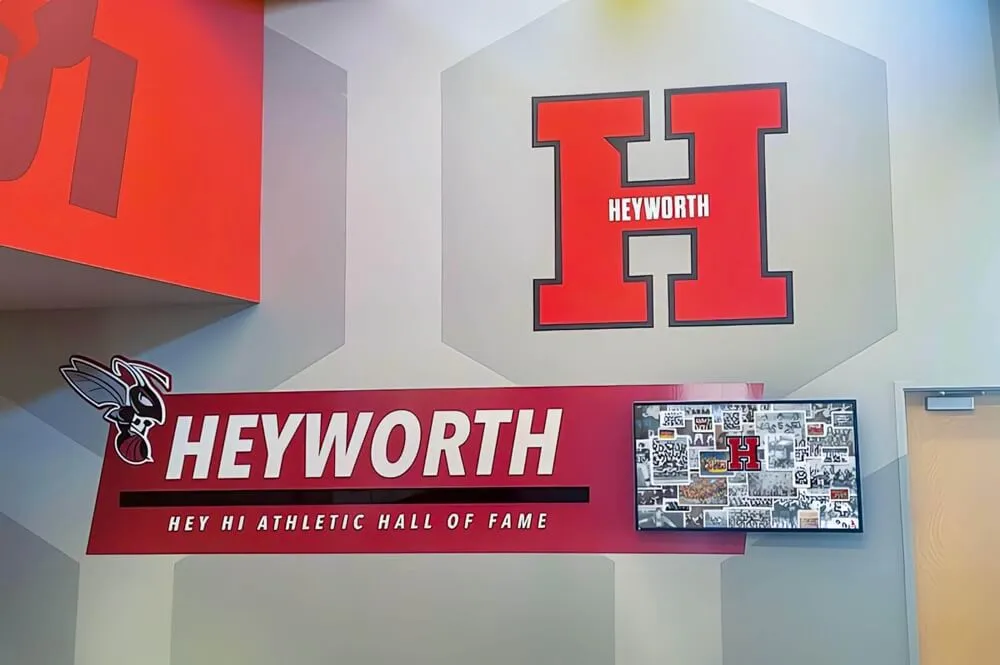
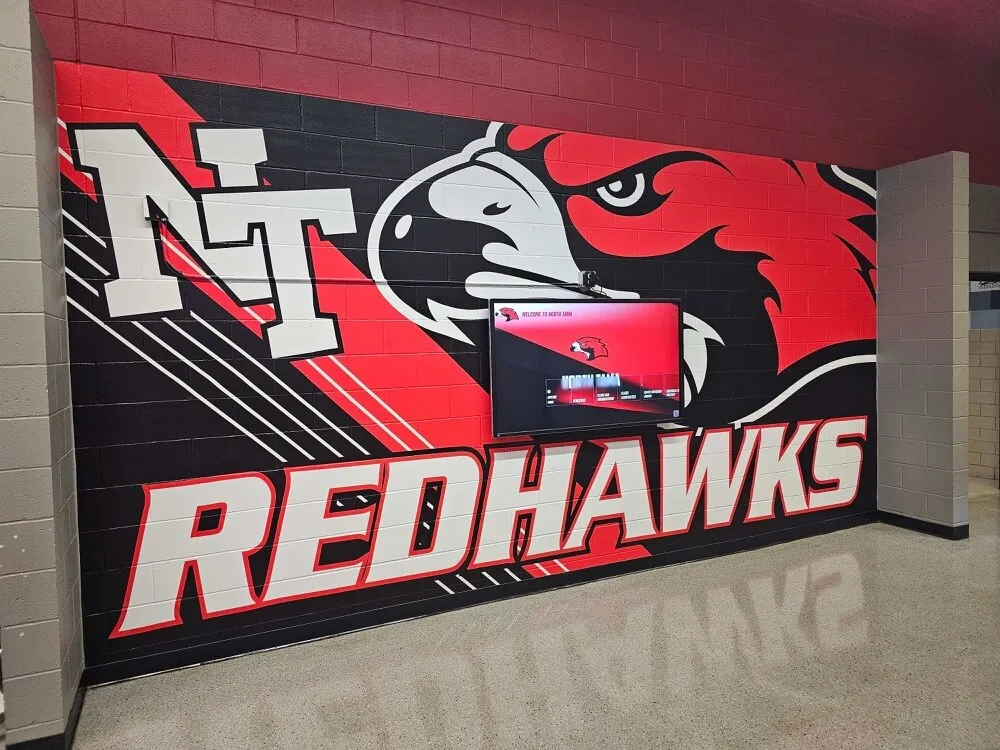
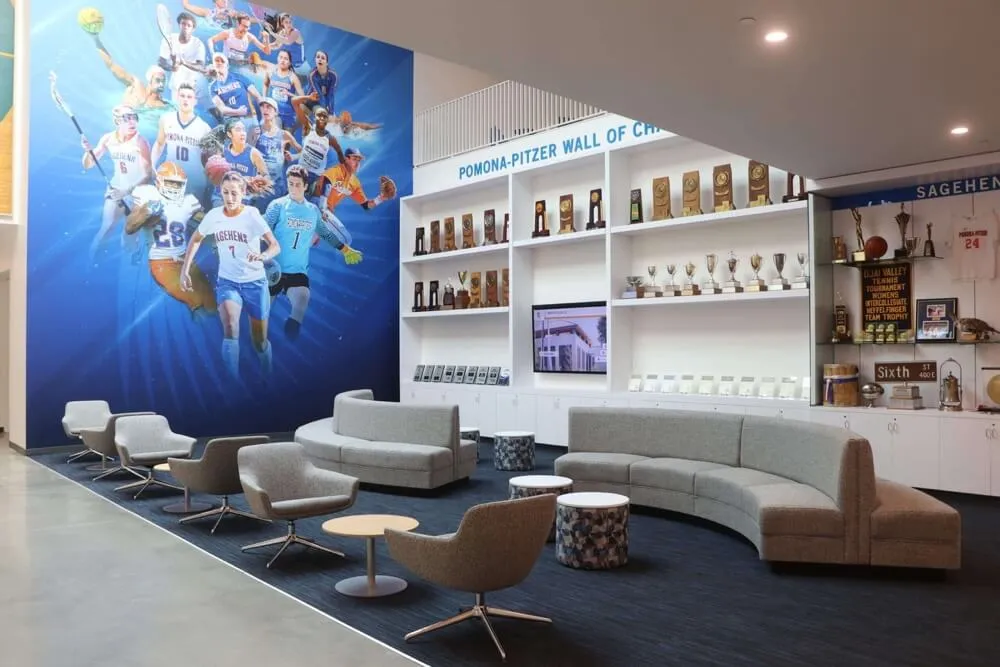
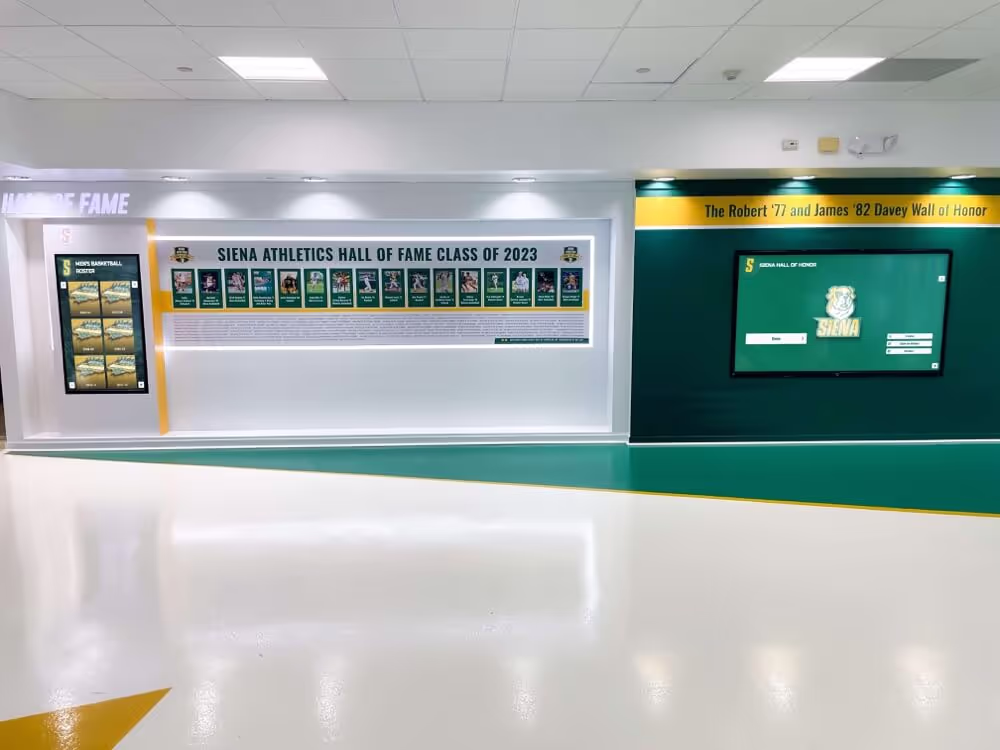
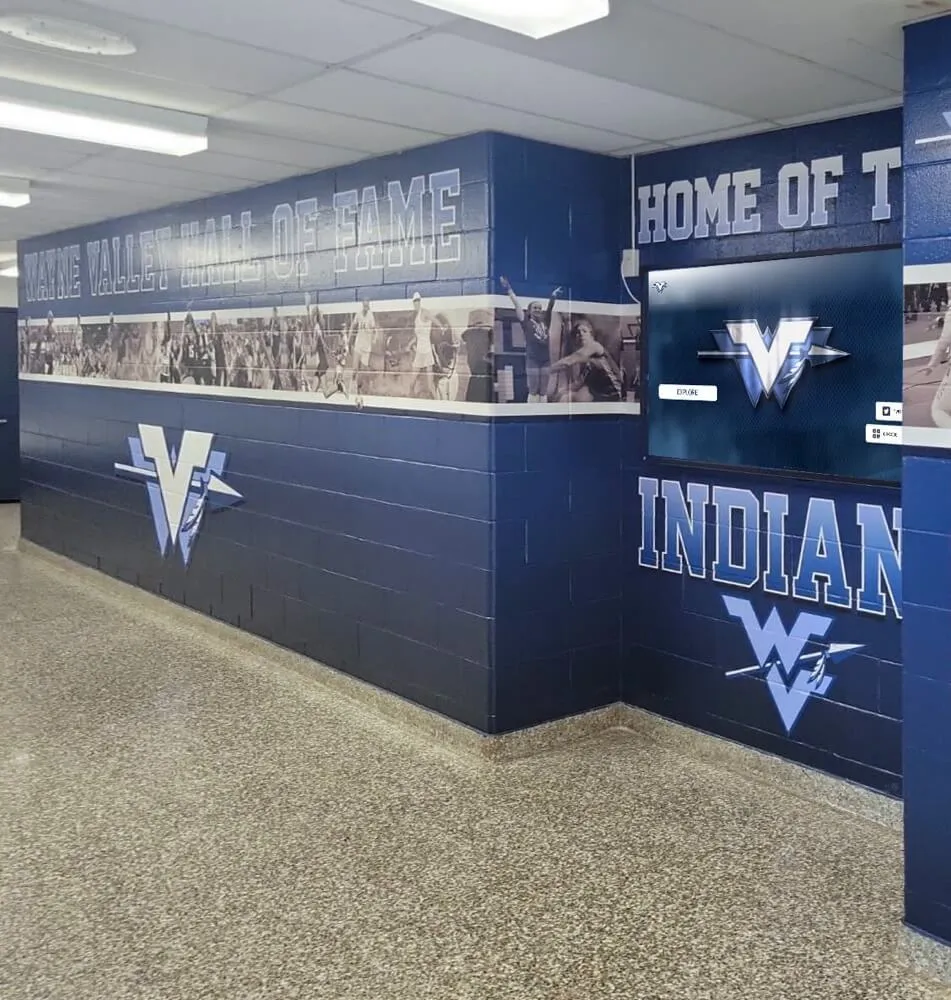
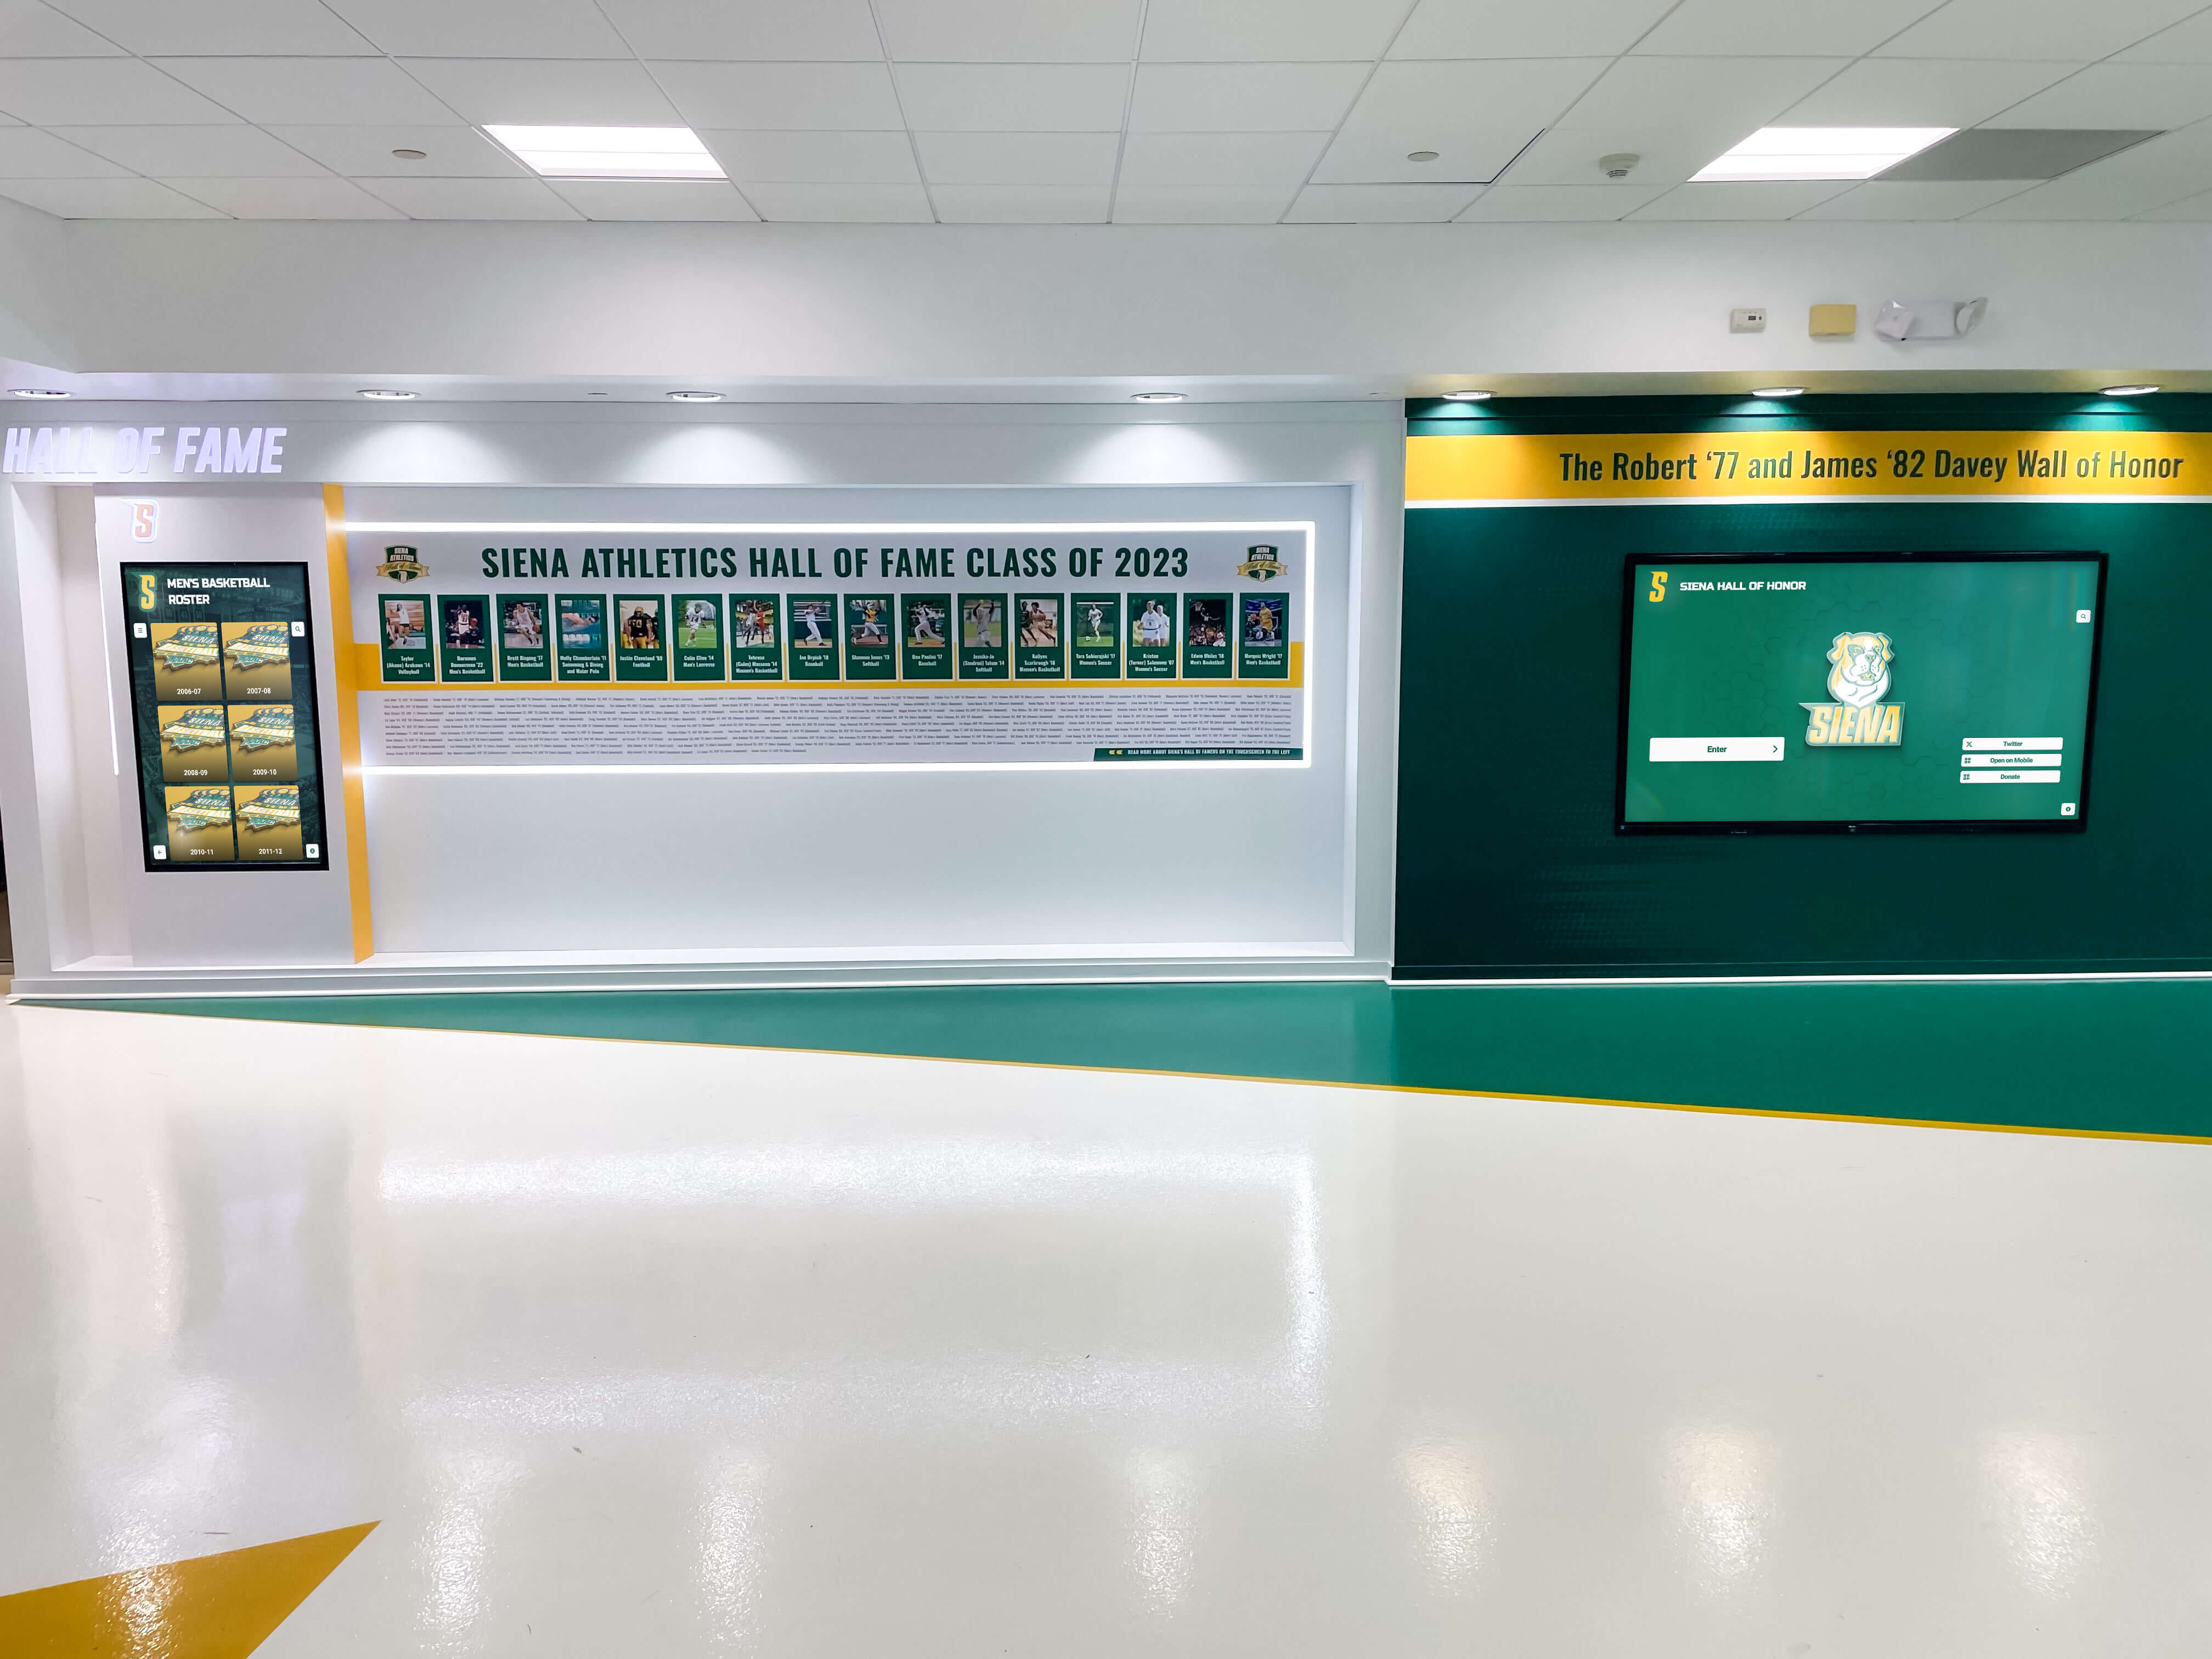
Professional installation delivers clean results that integrate seamlessly with school facilities
The Professional Installation Process: What to Expect
Understanding how experienced installers approach digital hall of fame projects helps schools prepare effectively and identify quality providers.
Phase 1: Pre-Installation Site Assessment
Qualified installation teams begin with detailed site evaluation before scheduling installation:
Structural Assessment:
- Wall construction type (drywall, concrete block, brick, plaster) determines mounting approach
- Stud locations identified using detection equipment (not just guessing)
- Load capacity calculated based on wall type and mounting point distribution
- Ceiling height measured for display positioning calculations
- Architectural features documented for installation planning
Infrastructure Verification:
- Existing electrical outlets located and circuit capacity verified
- Network access points identified (hardwired ports or WiFi coverage strength)
- Environmental factors assessed (lighting, HVAC airflow, ambient temperature)
- ADA compliance requirements reviewed for height and approach clearances
- Traffic flow patterns observed to determine ideal display positioning
This assessment identifies potential obstacles before installation day. Professional teams arrive with appropriate equipment, mounting hardware, and contingency plans rather than discovering problems mid-installation requiring hardware store trips.
Schools should expect site assessment 1-3 weeks before installation date. This timing allows ordering any additional components or coordinating electrical work before installation team arrival.
Phase 2: Pre-Installation Coordination
Between site assessment and installation day, professional teams coordinate preparation work:
Facilities Coordination:
- Scheduling installation during low-traffic periods minimizing disruption
- Arranging building access and parking for installation vehicles
- Identifying secure storage areas for equipment staging
- Planning furniture or fixture relocation if needed for access
- Confirming custodial staff aware of installation preventing premature cleanup
IT Department Collaboration:
- Provisioning network ports or configuring WiFi access credentials
- Creating VLAN assignments and firewall rules for display traffic
- Providing IP addressing schemes or DHCP reservations
- Scheduling IT presence during network testing phase
- Documenting approved network configuration for installer reference
Electrical Preparation:
- Verifying existing circuits adequate for display power requirements
- Scheduling electrician for new circuit installation if required
- Planning conduit routing for clean cable management
- Coordinating electrical work completion before display installation
- Testing power availability at mounting location
This coordination prevents installation day delays. Professional installers arrive with clear plans rather than figuring out basic logistics on-site.
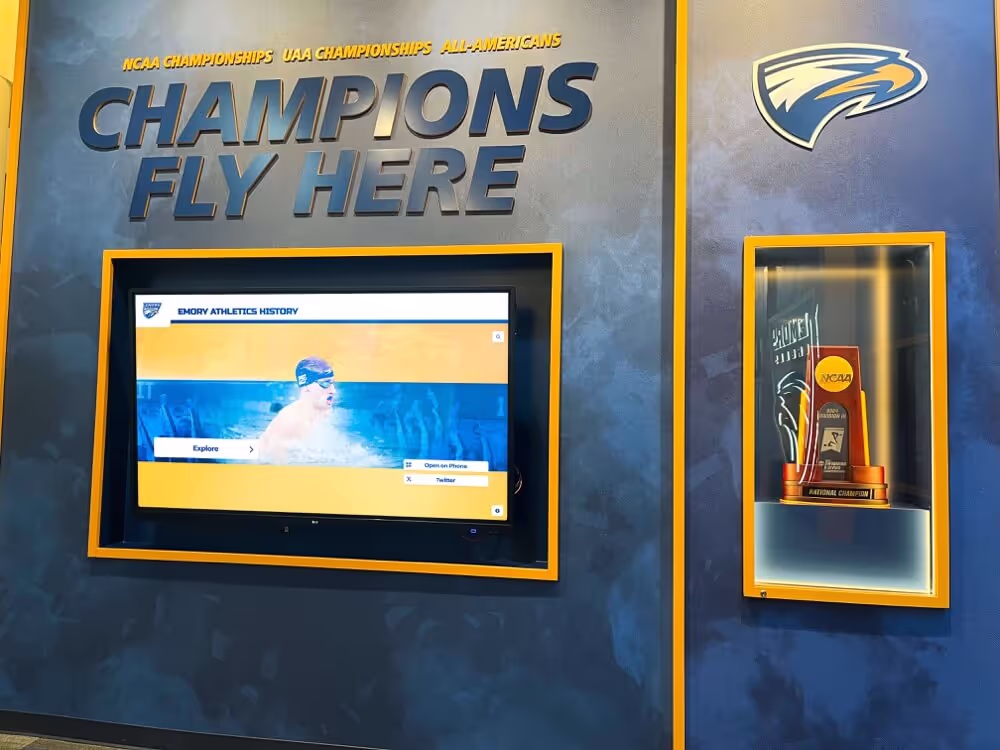
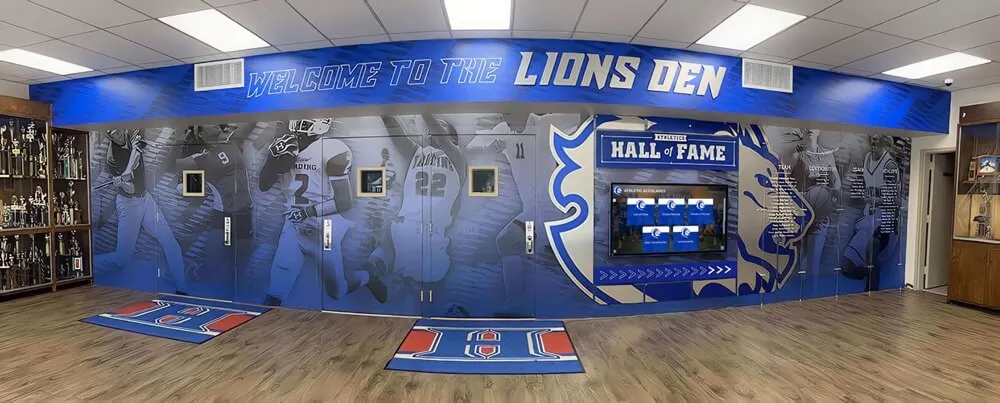
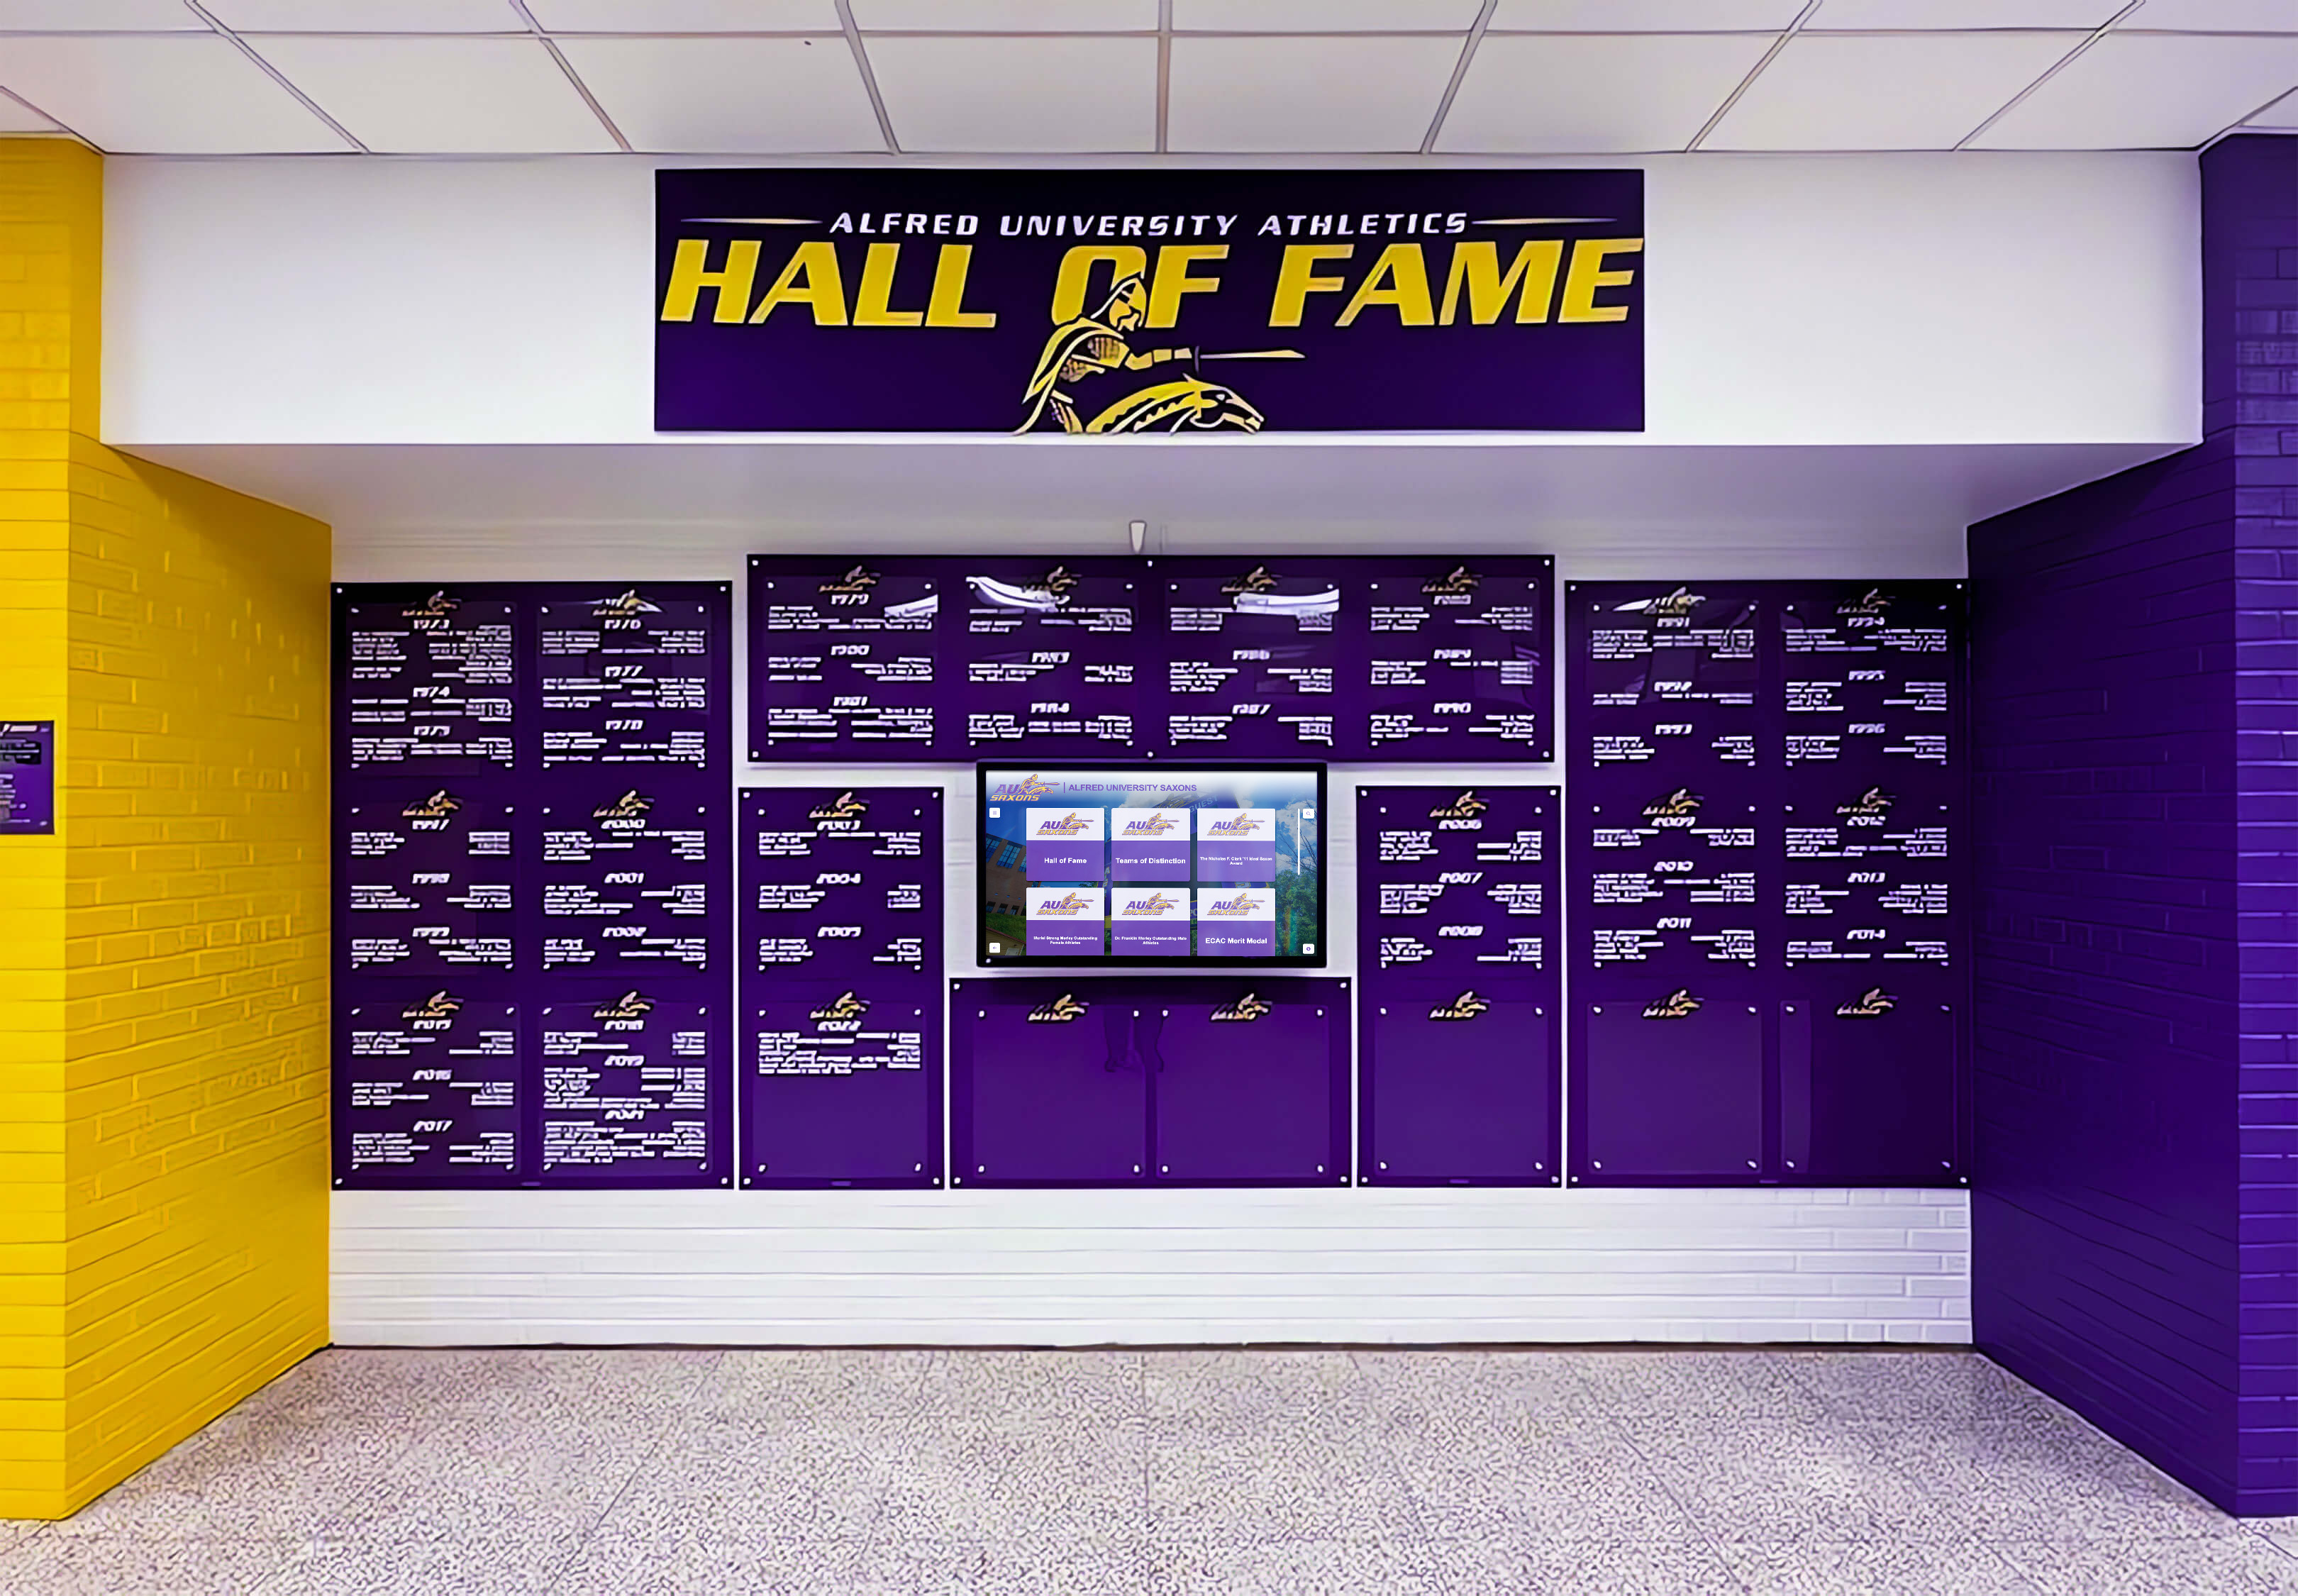
Proper coordination ensures installations integrate cleanly with building systems without visible compromises
Phase 3: Installation Day Execution
Professional installation follows structured process completing all work in single visit:
Physical Mounting (1-2 Hours):
- Protective floor covering positioned preventing damage from dropped tools or equipment
- Final mounting point verification and marking at specified height
- Pilot holes drilled at marked locations
- Wall anchors installed appropriate for wall construction type
- Mounting bracket secured to structural elements with proper torque
- Display attached to mounting hardware and secured
- Leveling verified using precision tools
Power and Network Connection (30-60 Minutes):
- Power cable routed through wall cavities or conduit to outlet location
- Surge protector installed at power connection point
- Network cable fished through walls to nearest access point
- Cable connections made and secured at both display and infrastructure ends
- Cable management installed for professional appearance
- All connections tested for proper seating
System Configuration (1-2 Hours):
- Display powered on and initial boot sequence verified
- Network connectivity tested and IP addressing confirmed
- Touch calibration performed ensuring accurate response
- Software platform accessed and basic configuration completed
- Content management system linked and sync verified
- Display settings optimized for ambient lighting conditions
- Power management configured for facility hours
Testing and Training (30 Minutes):
- Complete functionality test including touch response, network access, and content display
- Staff walkthrough covering basic operation and navigation
- Content update process demonstrated
- Documentation provided for reference
- Support contact information confirmed
- Site cleanup completed with all packaging and waste removed
Total installation time ranges 3-5 hours for standard single-display projects. Complex multi-display installations or challenging locations may require full day or split installation across multiple visits.
Phase 4: Post-Installation Support
Quality installation includes ongoing support ensuring long-term operational success:
- Monitoring period: Installer follows up 48-72 hours post-installation verifying stable operation
- Issue resolution: Any problems discovered addressed promptly through remote support or return visits
- Software updates: Platform updates deployed without requiring on-site service
- Hardware warranty: Defective components replaced under manufacturer warranty coordination
- Expansion support: Additional displays added to installations as programs grow
Full-service providers maintain ongoing relationships rather than disappearing after installation. Schools have established contacts for questions, issues, or expansion needs eliminating vendor search when adding capacity.
Evaluating Installation Service Providers: Key Questions
When comparing installation options, specific questions reveal provider capability and service approach:
Technical Capability Assessment
“How many educational institution installations has your team completed?”
Look for providers with specific school experience understanding unique challenges like summer-only access windows, limited facility staff support, and need to minimize operational disruption. Generic AV installers lack this context.
“What wall types have you successfully mounted displays on?”
Brick, concrete block, and plaster-over-masonry require specialized techniques. Providers should articulate specific approaches for different wall constructions rather than generic “we can mount anything” claims.
“How do you handle unexpected conditions discovered during installation?”
Quality providers carry contingency supplies and authorization to implement solutions without requiring project delays. Installers who stop work pending additional approvals extend timelines unnecessarily.
“What network integration experience does your installation team have?”
Institutional networks require coordination digital signage installations don’t encounter. Teams should understand VLANs, firewall rules, and authentication requirements standard in school environments.

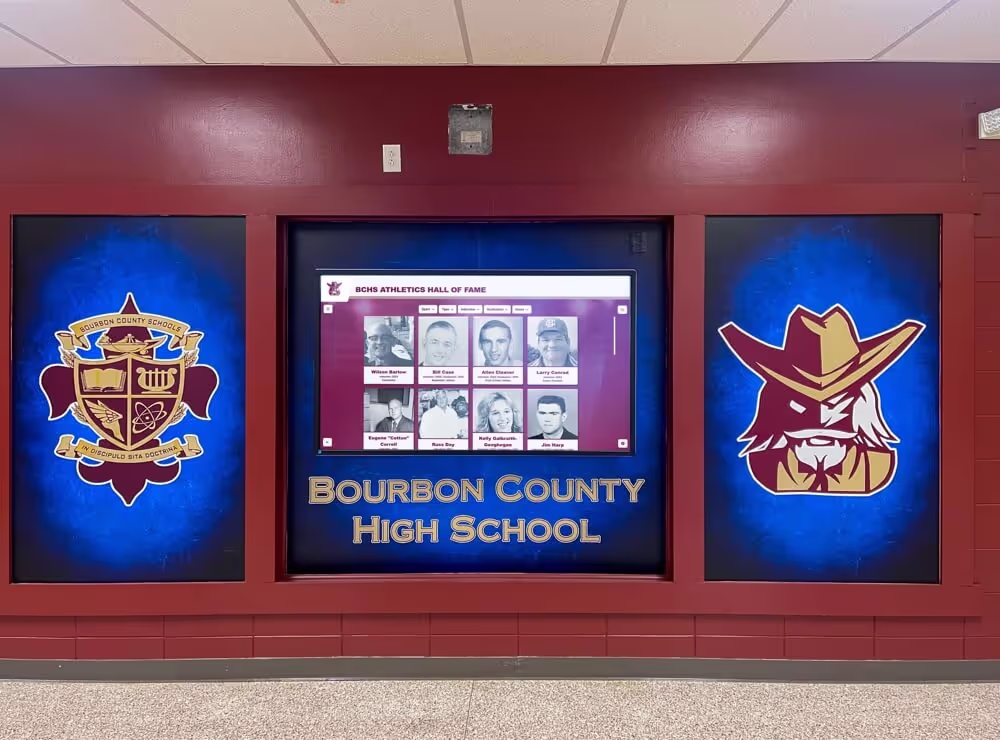
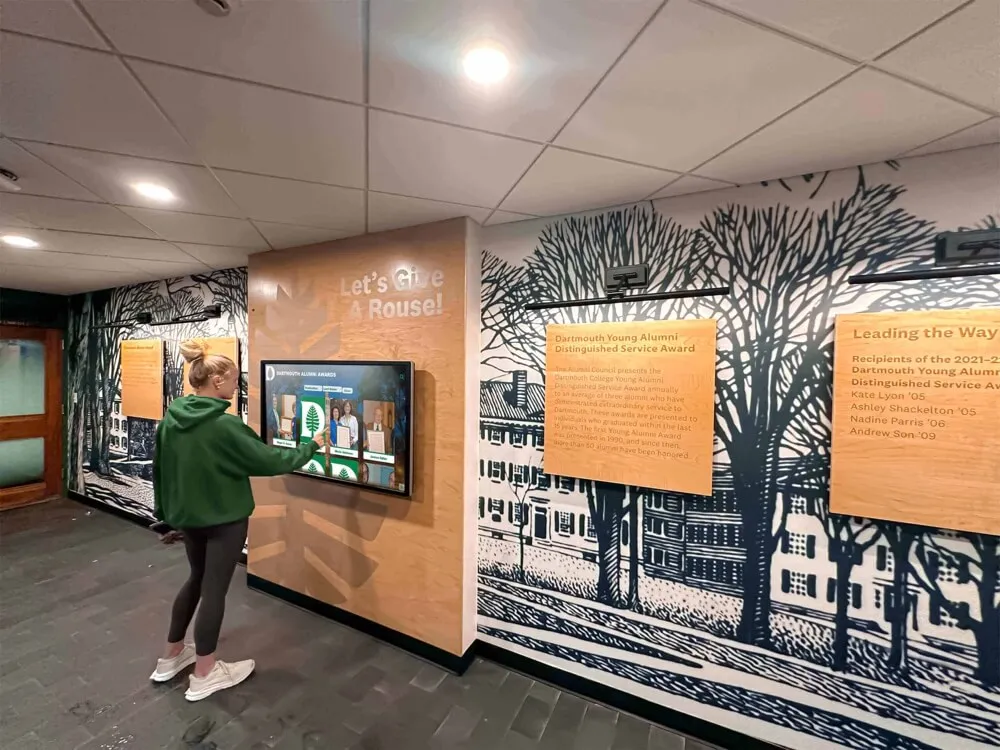
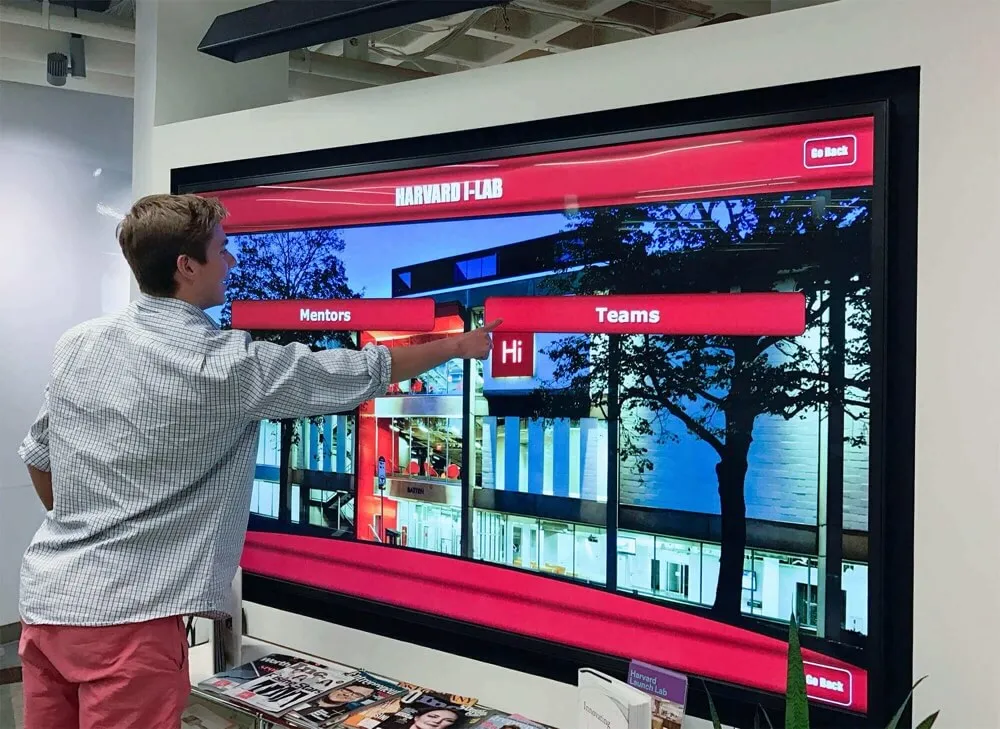
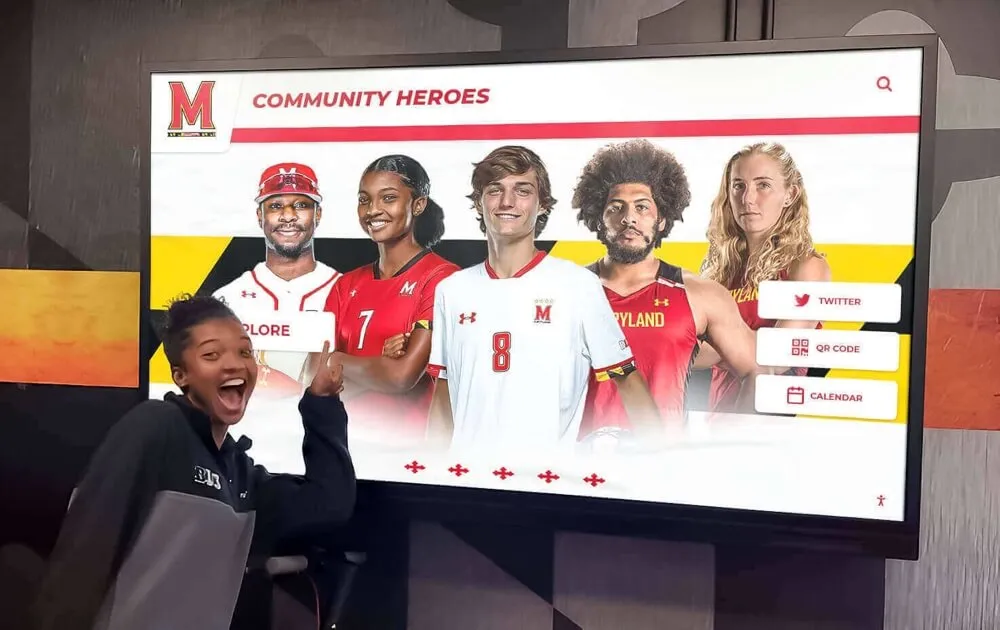
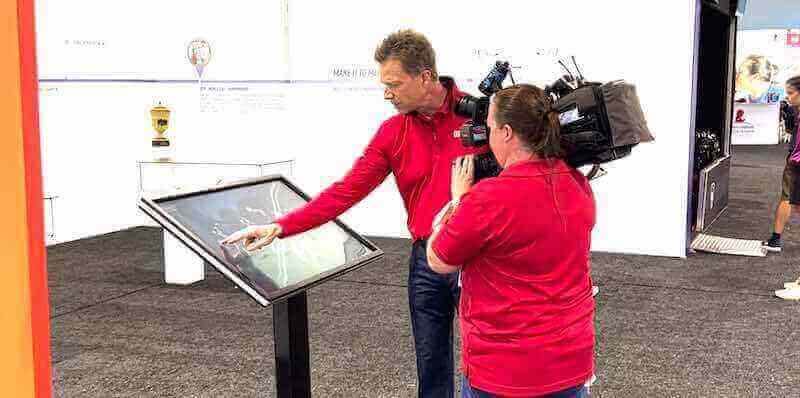
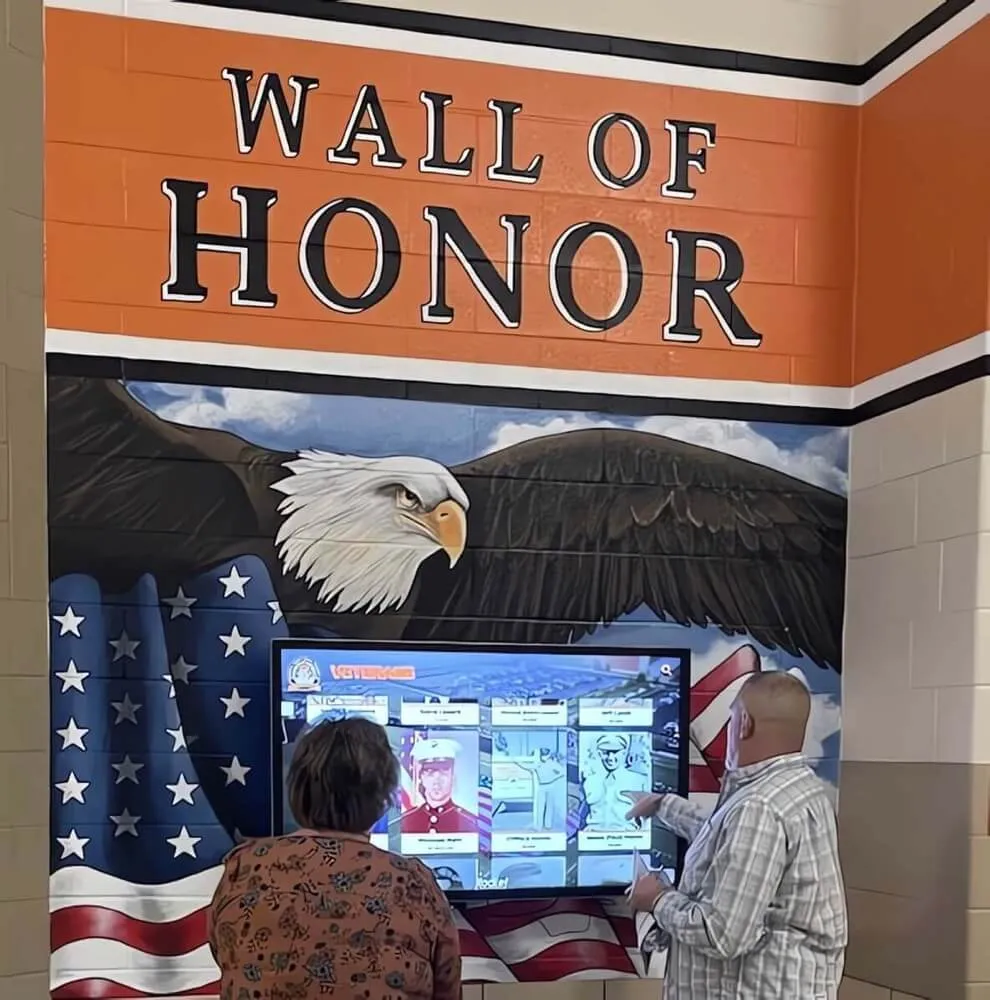
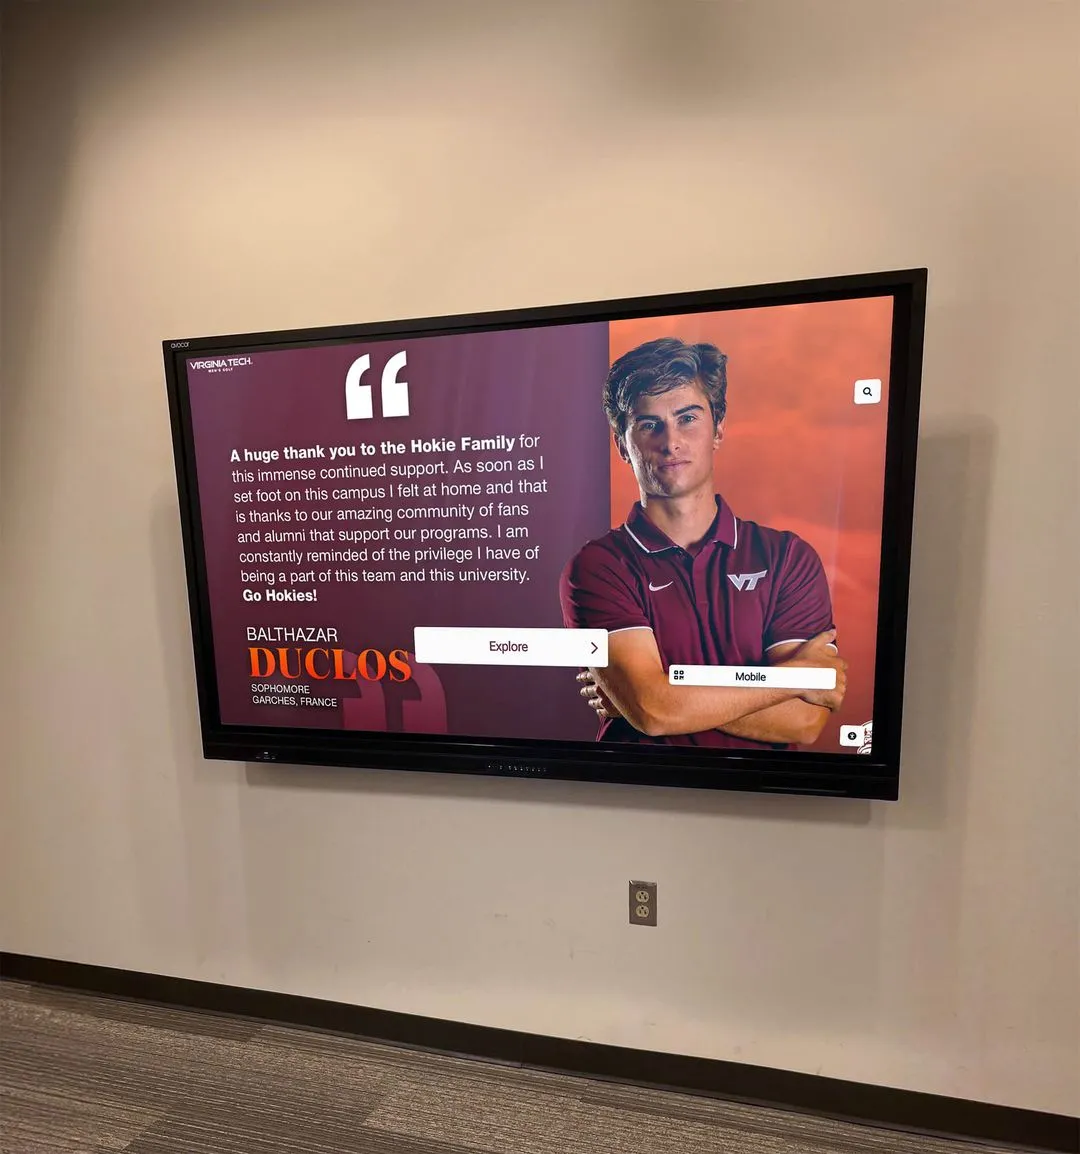
Properly installed displays deliver responsive, reliable operation supporting visitor engagement
Service Model and Accountability
“Who serves as single point of contact if issues arise post-installation?”
Fragmented models create accountability gaps. One team should own complete system performance regardless whether problems stem from hardware, installation quality, or software configuration.
“What does your installation warranty cover and for how long?”
Mounting, electrical work, and network connections should carry workmanship warranties separate from hardware manufacturer coverage. Minimum 1-year installation warranty indicates provider confidence in work quality.
“How quickly can you respond if displays go offline or malfunction?”
Remote diagnostics capability enables many issues resolved without site visits. On-site service response time commitments (24 hours, 48 hours, next business day) reveal service priority level.
“What monitoring do you provide to identify issues proactively?”
Advanced providers monitor system health remotely, identifying connectivity problems or hardware issues before schools notice them. This prevents displays going dark during high-visibility events.
Project Management and Coordination
“What preparation work do you require from school facilities or IT teams?”
Minimal school staff involvement indicates provider self-sufficiency. Extensive prerequisite lists suggest installer will blame schools when projects experience delays.
“How do you handle coordination with electricians if new circuits are required?”
Some installers manage this coordination directly while others require schools to contract electricians separately. Integrated management simplifies project oversight.
“What is your typical timeline from contract to operational display?”
Realistic timelines accounting for site assessment, coordination, and scheduling provide better planning than overly optimistic promises. Expect 3-6 weeks for standard projects, longer during peak periods.
“Can you provide references from similar educational institutions?”
Speaking with athletic directors or facility managers from previous installations reveals real-world experiences beyond marketing materials. Ask specifically about responsiveness, problem-solving ability, and post-installation support quality.
Common Installation Challenges and How Professionals Overcome Them
Even experienced installation teams encounter obstacles. Understanding common challenges and professional solutions helps schools prepare realistic expectations.
Limited Access Windows
Challenge: Many schools restrict installation work to summer months, spring breaks, or specific dates minimizing disruption to educational activities.
Professional Solution: Installers maintain flexible scheduling and staging practices accommodating concentrated installation windows. Pre-installation preparation maximizes efficiency during limited access periods. Some providers stage equipment on-site allowing work completion within single-day access windows.
Inadequate Existing Infrastructure
Challenge: Planned display locations lack nearby electrical outlets or network access requiring additional infrastructure work.
Professional Solution: Site assessment identifies these gaps early. Professional teams coordinate electrical and network infrastructure additions before installation day or integrate this work into installation scope. Schools receive complete cost transparency rather than surprise charges mid-project.
Aging Building Challenges
Challenge: Older facilities present unusual wall construction, asbestos-containing materials, or historic preservation restrictions limiting installation approaches.
Professional Solution: Experienced institutional installers recognize these conditions during assessment and plan appropriate approaches. Surface-mounted conduit, external mounting brackets, or alternative location selection solves problems DIY attempts cannot overcome safely or legally.
IT Security Policies
Challenge: Institutional network security policies restrict device access, require certificate-based authentication, or mandate specific VLAN configurations unfamiliar to installers.
Professional Solution: Providers experienced with school facilities management understand these requirements and engage IT departments early in planning. They provide documentation IT needs for policy review and approval before installation day.
Compressed Timelines
Challenge: Recognition programs tied to specific events (homecoming, alumni weekend, building dedications) create non-negotiable deadlines.
Professional Solution: Full-service providers maintain equipment inventory enabling rapid deployment when schools face urgent timelines. They prioritize urgent projects and deploy additional resources meeting hard deadlines standard project scheduling cannot accommodate.
Front Office and Main Lobby Installation Considerations
Display installations near front offices, main lobbies, and primary entrances present specific considerations beyond typical hallway locations.
High-Visibility Aesthetics
Front office installations receive scrutiny from visitors, prospective families, and board members other locations don’t encounter. Installation quality directly reflects on institutional professionalism. Visible wiring, crooked mounting, or mismatched finishes create poor impressions that persist for years.
Professional installers understand these stakes. They employ premium cable management techniques, precise leveling, and attention to architectural integration that generic installers treating all locations equivalently don’t prioritize.
Accessibility Compliance
Main entrance installations must meet ADA requirements for height, approach clearance, and usability:
- Height positioning: Center touchable area 15-48 inches from floor for standing and seated access
- Approach space: 30x48 inch clear floor space perpendicular to display
- Reach depth: Controls positioned no more than 10 inches from front edge
- Tactile warnings: Floor texture changes if display projects into circulation path
Installers unfamiliar with accessibility requirements position displays for visual appeal without considering usability by individuals with disabilities. Professional teams integrate compliance requirements from initial planning.
Security and Durability
Front office locations create exposure to potential vandalism, accidental damage, and environmental extremes from entrance doors. Installation approaches should include:
- Tempered glass protection: Scratch-resistant, shatter-resistant display surfaces
- Tamper-resistant fasteners: Security hardware preventing removal
- Reinforced mounting: Extra support beyond minimum requirements accounting for potential impact
- Environmental sealing: Protection from temperature swings and moisture near entrances
These precautions prevent damage requiring expensive repairs or display replacement after installations complete.
Cost Factors in Professional Installation
Understanding what drives installation costs helps schools budget accurately and evaluate proposals fairly.
Display Size and Weight
Larger, heavier displays require more robust mounting hardware, additional installation labor, and sometimes lifting equipment for safe positioning. Installation costs typically scale:
- 43-55 inch displays: $1,200-$1,800 installed
- 55-75 inch displays: $1,800-$2,500 installed
- 75-98 inch displays: $2,500-$3,500 installed
These ranges assume straightforward wall construction and nearby power/network access. Complexity factors adjust pricing within and beyond these ranges.
Location Complexity
Simple installations (drywall over studs, nearby outlets, existing network port): Base installation pricing
Moderate complexity (concrete or brick walls, electrical circuit addition, network cable run under 50 feet): +$300-$800
High complexity (multiple mounting points, extensive cable fishing, network infrastructure additions, accessibility modifications): +$800-$2,000+
Geographic and Travel Factors
Providers often include travel costs for installations beyond local service areas. Schools in rural areas or regions with limited installer availability may pay premium pricing covering installer travel time and expenses.
Some providers maintain national coverage with regional installation teams minimizing travel costs. Others dispatch technicians from central locations, adding travel charges to project costs.
Project Timeline
Standard scheduling (4-6 week lead time): Base pricing
Expedited installation (under 2 weeks): Often 15-25% premium for rush scheduling
After-hours or weekend installation (avoiding operational disruption): Typically 25-40% premium reflecting labor costs
Schools with flexible timelines obtain best pricing while urgent projects requiring schedule accommodation pay accordingly.
Making the Installation Decision: Recommendations
Based on institutional resources, project complexity, and timeline requirements, different installation approaches serve different school situations.
Choose Full-Service Provider When:
- Timeline is compressed requiring coordinated execution
- In-house technical staff lack availability or expertise for installation
- Display locations present complexity (difficult wall types, infrastructure gaps)
- Single-source accountability valued over cost savings
- Post-installation support and monitoring important for program success
The additional cost for full-service installation delivers massive value in time savings, reduced coordination burden, and assurance systems launch operational rather than requiring weeks of additional configuration work.
Consider Vendor-Referred Installation When:
- Tight budget constraints limit full-service options
- School has strong project management capability to coordinate multiple vendors
- Software vendor provides comprehensive installation documentation and specifications
- Flexible timeline accommodates potential coordination delays
- Established relationship with local AV integrator capable of following specifications
This middle-ground approach reduces costs while maintaining professional installation quality if schools can effectively manage vendor coordination.
Attempt In-House Installation Only When:
- Facilities staff has demonstrated AV installation experience
- Wall construction is straightforward (drywall over studs)
- Power and network infrastructure exists at planned location
- Flexible timeline allows installation work between other staff responsibilities
- Vendor provides comprehensive installation support and documentation
Even with experienced staff, in-house installation creates opportunity cost diverting personnel from other duties. Factor this hidden cost into decision-making alongside direct installation expenses saved.
Conclusion: Choosing Your Installation Partner
Who installs your digital hall of fame display determines whether your recognition program launches on schedule, operates reliably, and provides the engagement experience you envisioned. The choice between full-service providers, coordinated vendor models, and in-house approaches carries implications extending far beyond initial installation invoices.
Full-service providers like Rocket Alumni Solutions own complete outcomes—from site assessment through long-term operational support. Schools receive displays that work immediately upon installation rather than beginning months-long troubleshooting processes. Single-source accountability eliminates vendor blame games when issues arise. Professional installation protects institutional investments while delivering clean, compliant results that reflect well on your facilities for years to come.
The modest additional investment in professional installation service prevents the far larger costs of extended delays, re-work correcting amateur installation mistakes, and displays sitting unused while schools struggle with configuration problems vendors assume they’ll figure out independently.
Your recognition program deserves installation expertise matching the quality of displays honoring your achievements. Choose partners who understand educational environments, maintain accountability for complete system performance, and stand behind their work with ongoing support ensuring displays remain operational centerpieces of school culture rather than expensive equipment gathering dust because nobody could get it working properly.
Ready to explore professional installation for your digital recognition display? Talk to our team to learn how Rocket Alumni Solutions handles the complete installation process from site assessment through operational launch, eliminating coordination headaches while delivering displays that work perfectly from day one.